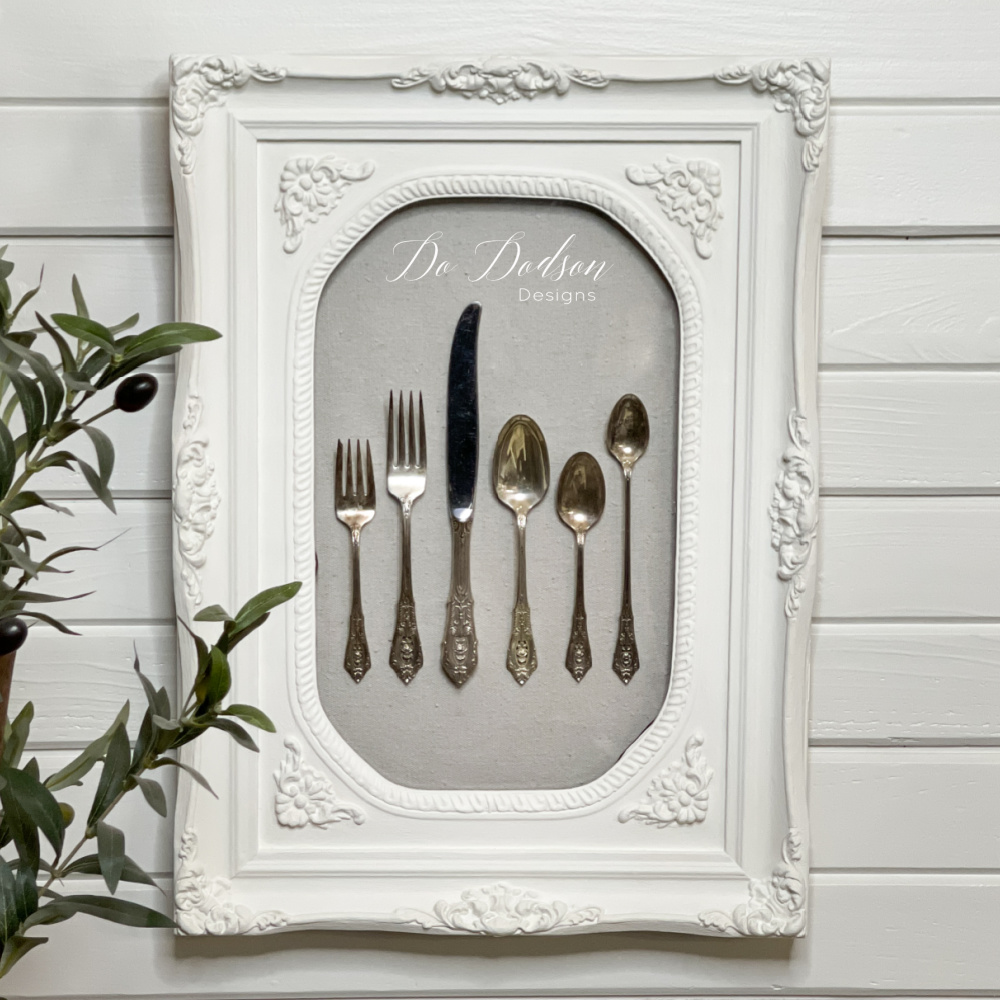
Hey, triple-D friends! Have you ever wondered what to do with your loved one’s vintage silverware? Instead of storing it away in a drawer, why not give it a new life as a stunning piece of wall art? Today, I’m showing you how I repurposed a picture frame and turned it into a unique and stylish display for my dining room wall. It’s a smart way to display a loved one’s vintage silverware that is no longer in use. This DIY project can surely add a touch of creativity and charm to your dining area, too!
Thanks to Dixie Belle Paint Co. for sponsoring this post. While I was compensated to write this post, all opinions are my own.
* As an Amazon Associate, I earn from qualifying purchases and through other companies as well. You will not be charged extra when you purchase through these affiliate links, but any income I make helps me create more amazing DIY projects to share with you! To see my full disclaimer, click here!
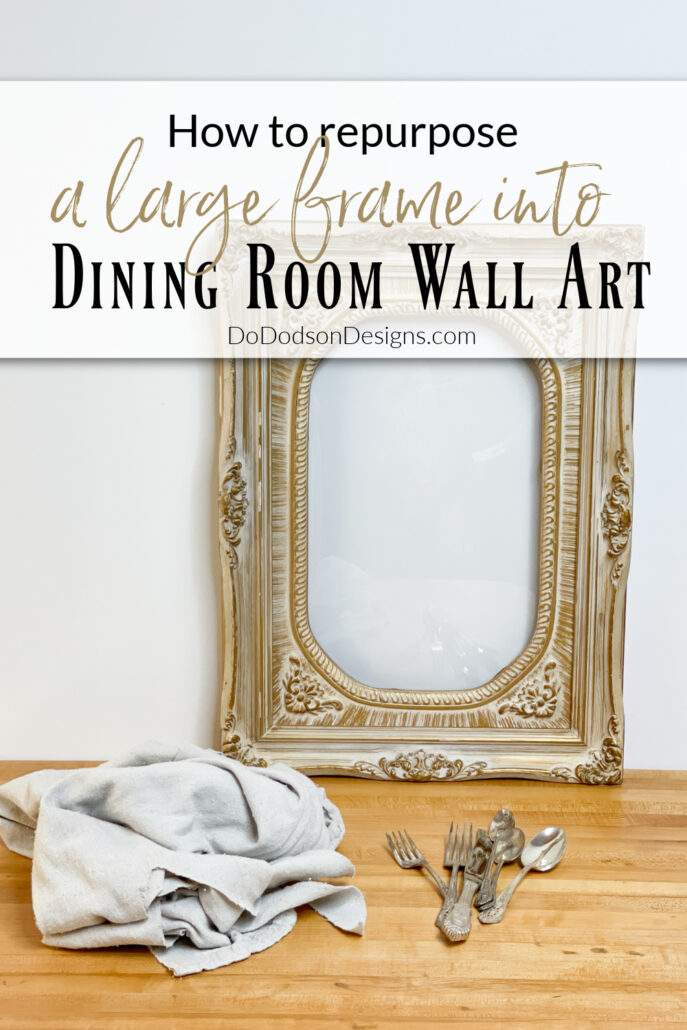
How To Repurpose A Large Picture Frame
My hubby’s Grandmother passed away a few years ago, and each of the grandchildren got a six-piece set of her vintage silverware. I knew I needed to find a creative way to showcase her vintage silverware.
He also inherited a couple of vintage picture frames with bubble glass. I about flipped out when I saw them. They were in great shape, and the glass was still intact. I thought then that this would make a great display frame due to its large size. The silverware! The wheels started to turn inside my head of how I would repurpose this picture frame for my husband and use those precious utensils that his brothers and sister held in their hands as small children.
I could tell by the wear and tear that meals were eaten with these utensils around her huge table. I remember how special my meals were with my Grandma. Some of the best days of my life were spent at a table with her.
Oh, and we also have his Grandmother’s dining room table. It was the one thing my hubby asked for from his Grandmother. The table and the silverware should be together. So be it.
CLICK HERE to see how we updated the finish of her HUGE table to fit in with our modern farmhouse decor. We both love it so much!
Here are a few projects you might love for more frame inspiration.

SUPPLY LIST:
Below are the items I used to create this unique repurposed picture frame silverware display.
- Large picture frame (bubble glass)
- Vintage silverware or repurposed items
- Thin plywood sheet (for backing of frame)
- Measuring tape
- Drop cloth or fabric or choice (for backboard)
- Scissors
- Hot glue gun
- 2 in. mini angle synthetic paintbrush (Dixie Belle Paint Co)
- SILK All-In-One Mineral Paint (Dixie Belle Paint Co) White Cap
- Wood screws (to attach the backboard to the frame)
- Screwdriver
STEP 1: Inspect, Repair, And Clean The frame
First and foremost, you will need a picture frame. It’s best to choose a frame that is large enough to accommodate the silverware you plan to display but also fits well in the space where you intend to hang it. You can either repurpose an old frame you already have or find an affordable one at a thrift store or home goods store.
After settling on an idea, I decided I was going to paint this picture frame to match our modern farmhouse style. Although the frame was super ornate, painting it one solid color really calmed down those details.
But before painting any item, you should always give it a good look over. Inspect the piece for any damage and do any necessary repairs to old picture frames before repurposing them into your DIY projects.
Most of the time, you can secure loose corners with wood glue. Fill in any deep gouges with wood filler or putty and sand them smooth once dried.
Clean the frame with mild soap and warm water, and rinse well with clear water. Pat the frame dry with a soft cloth.
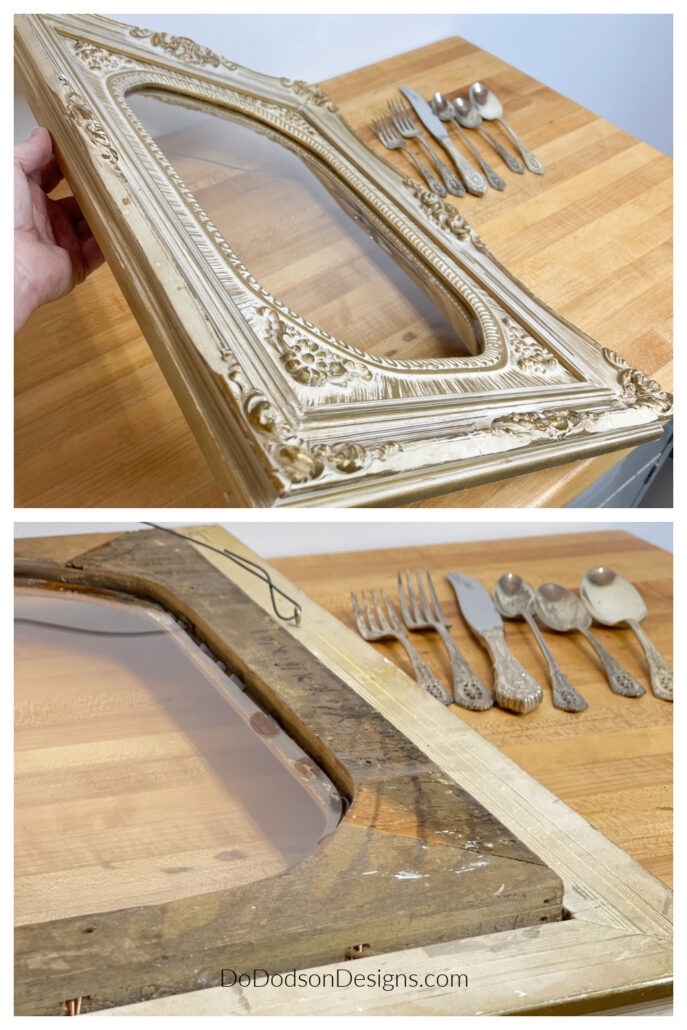
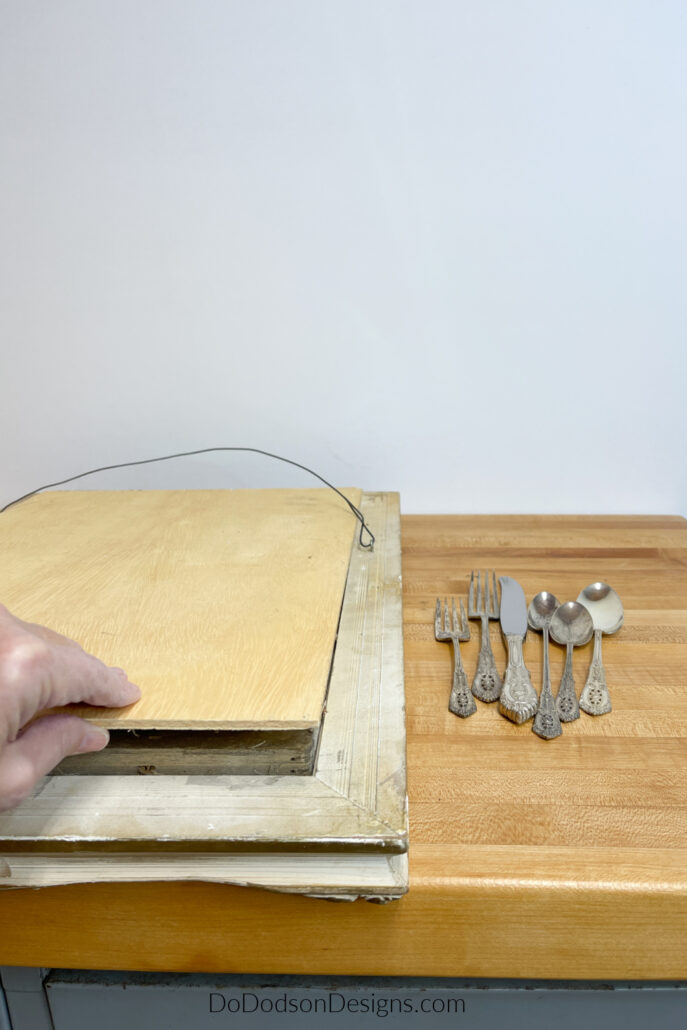
STEP 2: Cut Wood Backing For The Frame
If your picture frame doesn’t have a wood backing, remove the old one and replace it with a piece of thin plywood. The wood will be sturdy and will hold any heavier items you wish to display in your repurposed picture frame better than a paper backing board.
Once you have the size cut to fit the back of the wood frame and proper placement, set the backing aside and grab some fabric, decoupage paper, or anything else you think will look nice for your back display.
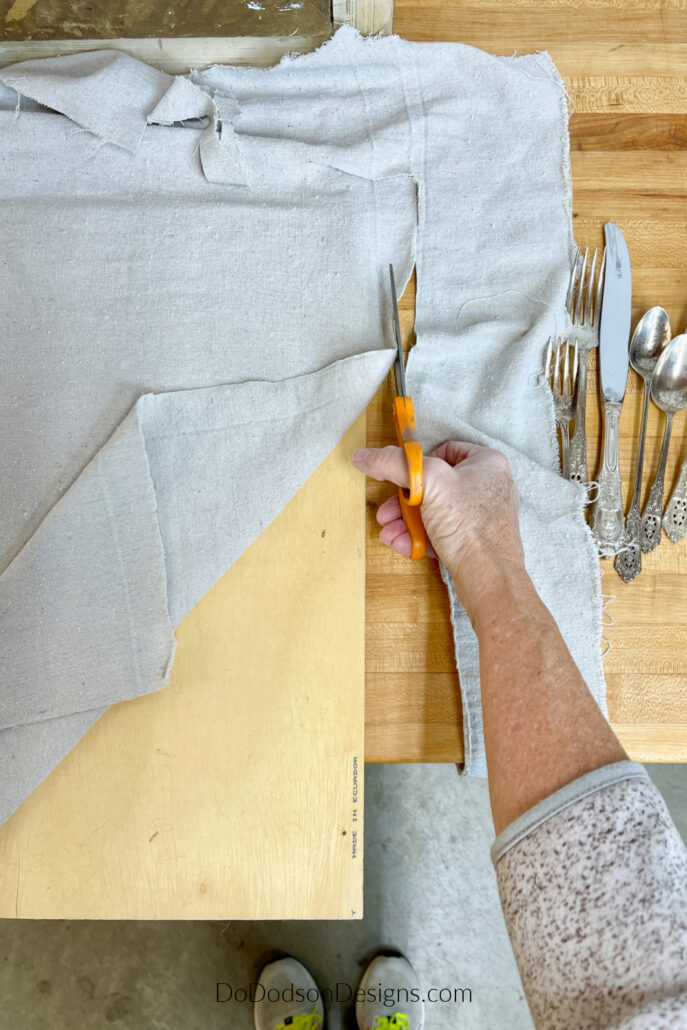
STEP 3: Cut Fabric
Of course, I chose to use a drop cloth. I cut the fabric about 1 inch larger than the backing. This will ensure you have plenty of fabric to fold over and around the board’s edges.
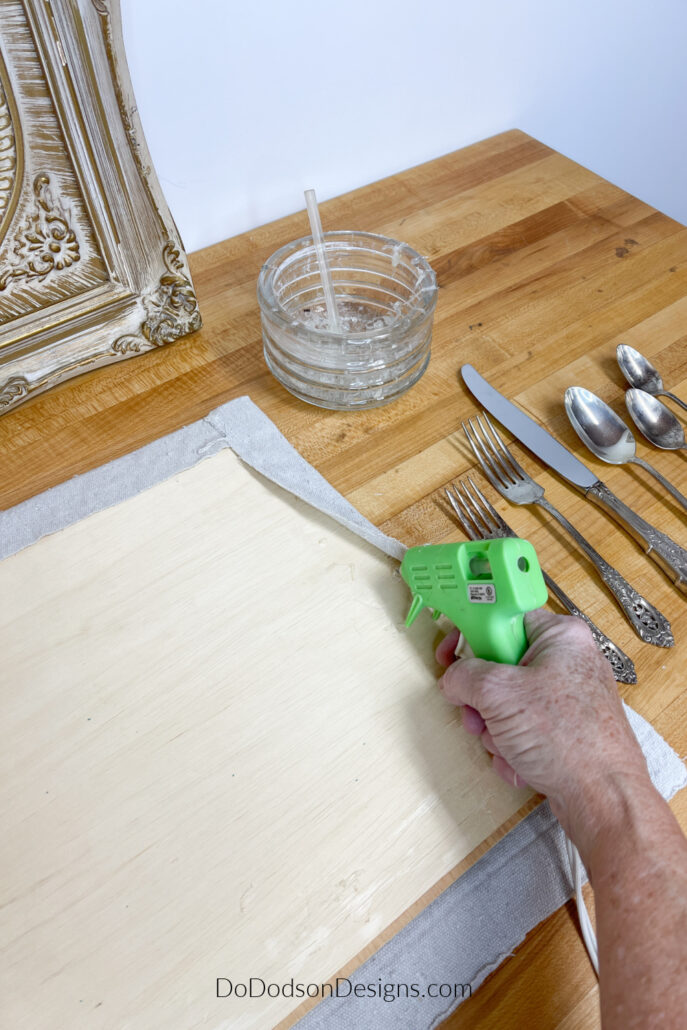
STEP 4: Hot Glue Fabric To Wood Backing
Once the fabric is cut, use hot glue to secure the fabric to the back of the board.
If you use a lighter-weight fabric on your backer board, use spray adhesive to secure the fabric to the board. It all depends on what you want to display in your repurposed picture frame.
And if your picture frame doesn’t have the bubble glass, remove the glass and leave the frame open. That’s a great look, too.
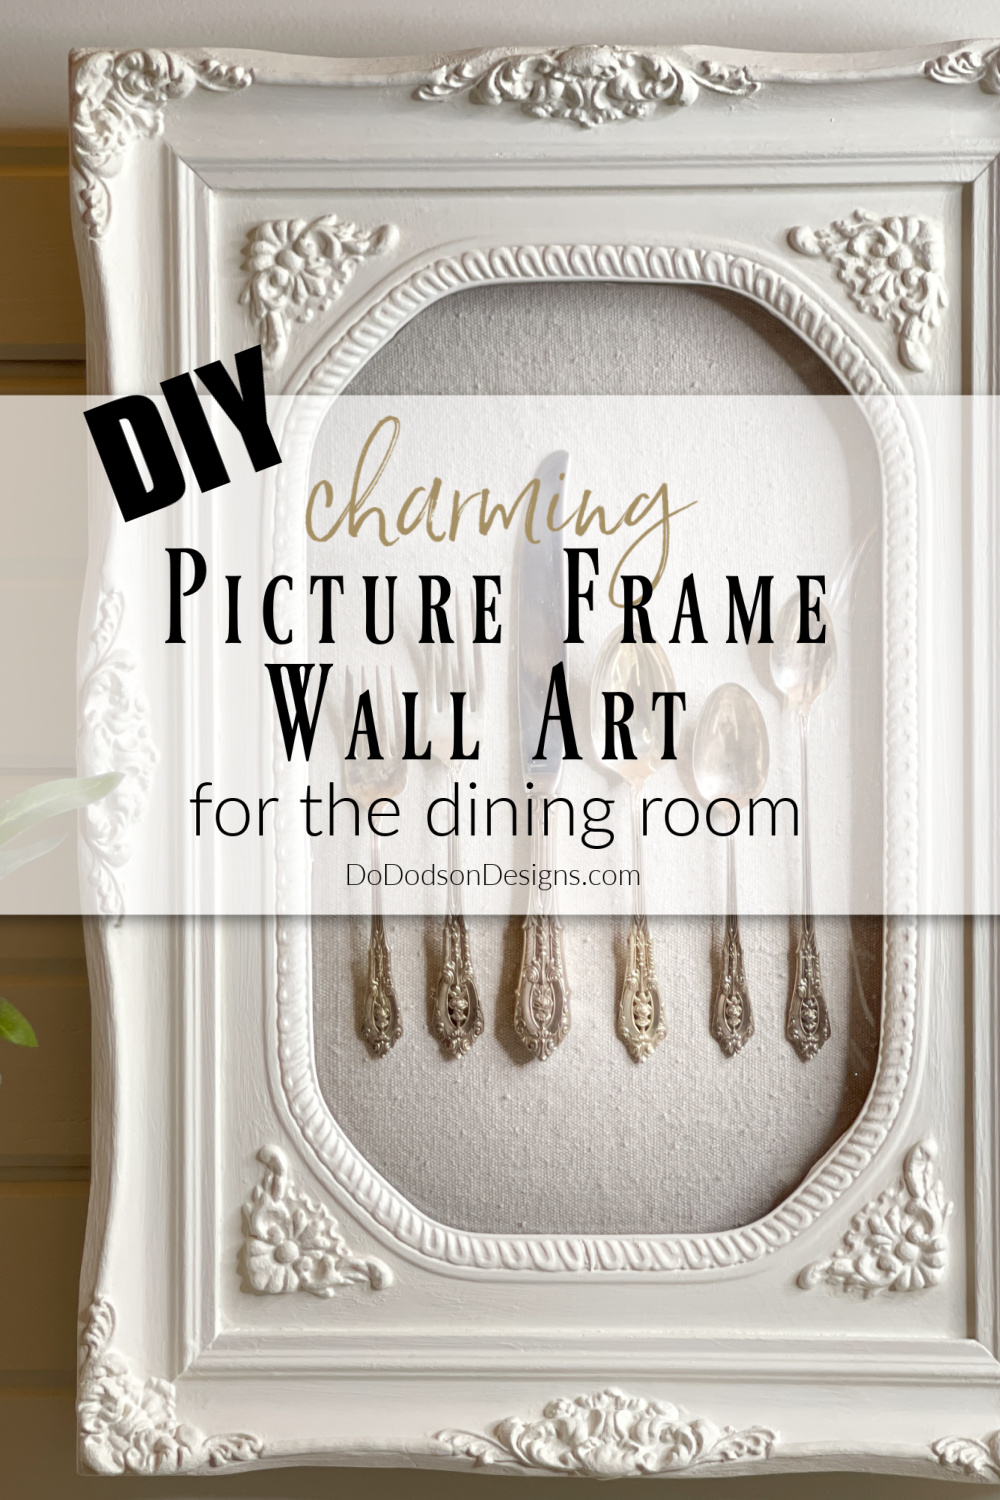
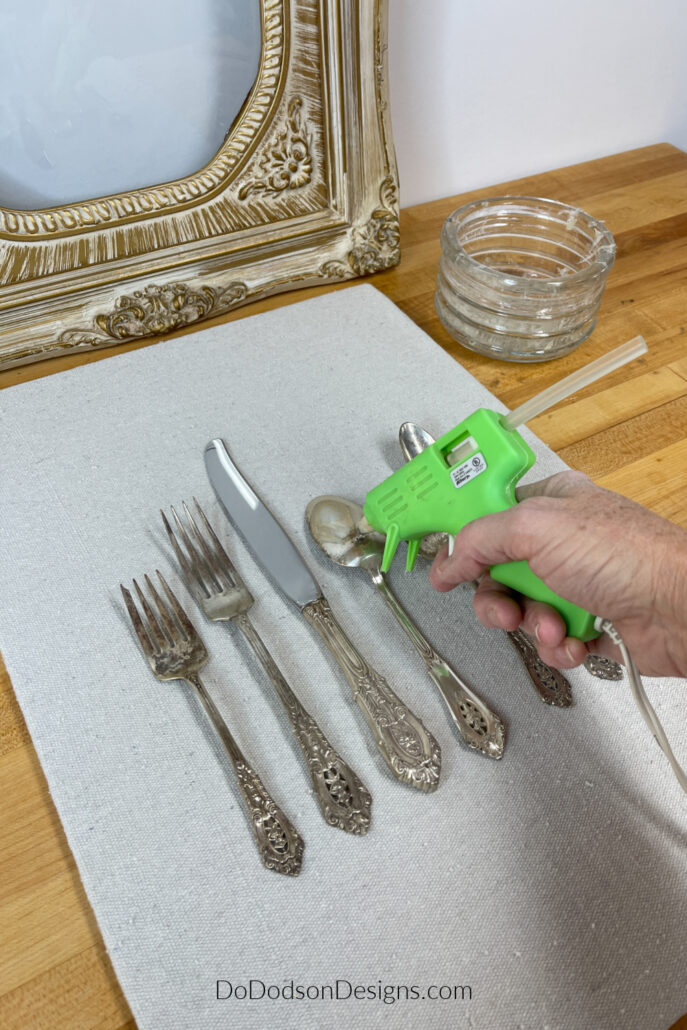
STEP 5: Arrange And Attach The Silverware
Before attaching the silverware to the fabric-covered board, start by laying out the silverware on a clean surface and experimenting with different layouts until you find the one that speaks to you.
For our six-piece set, I decided on a more formal look. I’m not afraid to admit I had to do a quick google search to find out the proper placement for silverware. Live and learn!
I suggest you do a dry run and lay them on the board before hot gluing them to the fabric. Place the picture frame over the board to ensure you have them exactly where you want them displayed and that the cutlery is visible through the glass.
Now, you can glue them in place with confidence. Apply a small amount of glue to the areas touching the fabric once they have been laid flat.
If the placement isn’t perfect after gluing, allow the glue to dry and gently pull it away from the fabric. This is why I use hot glue and not permanent craft glue. The hot glue doesn’t damage the silverware.
Step 6: Add Your Style | Repurposed Picture Frame
Here is the fun part for me. PAINT!
I painted the picture frame using Dixie Belle’s SILK All-In-One Mineral Paint for several reasons.
- Paint is a great way to personalize your space and decor.
- SILK All-In-One Mineral Paint has a built-in primer, stain blocker, and topcoat.
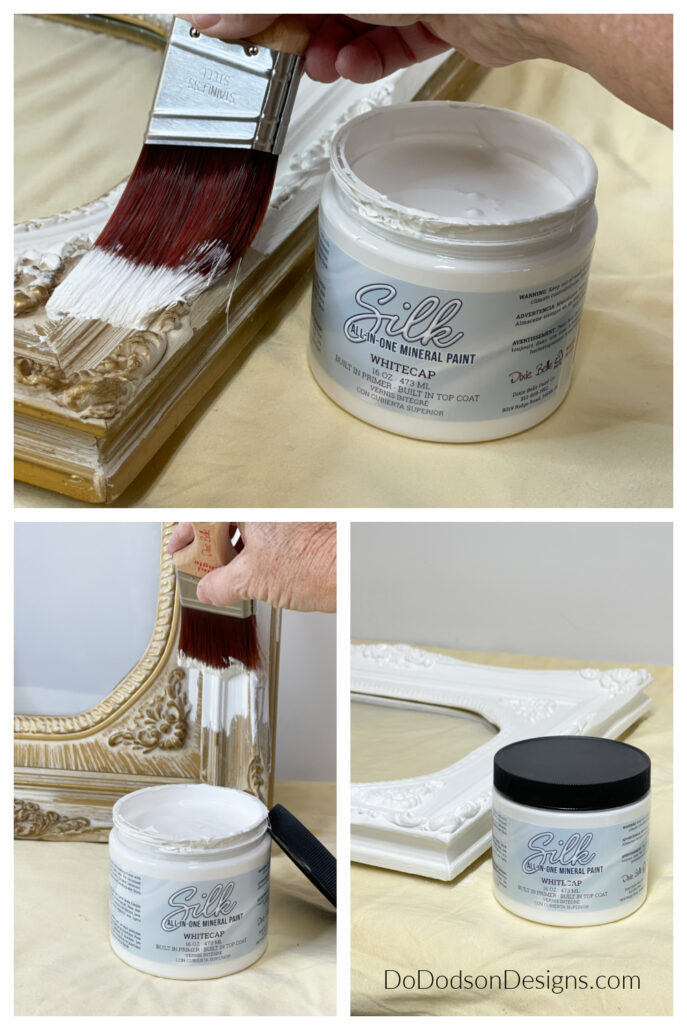
- The paint will typically cover your project with two coats, even white! SHOCKING
- Using a solid color over ornate details will help minimize the appearance of details and give it a cohesive look.
The color I chose is called White Cap.
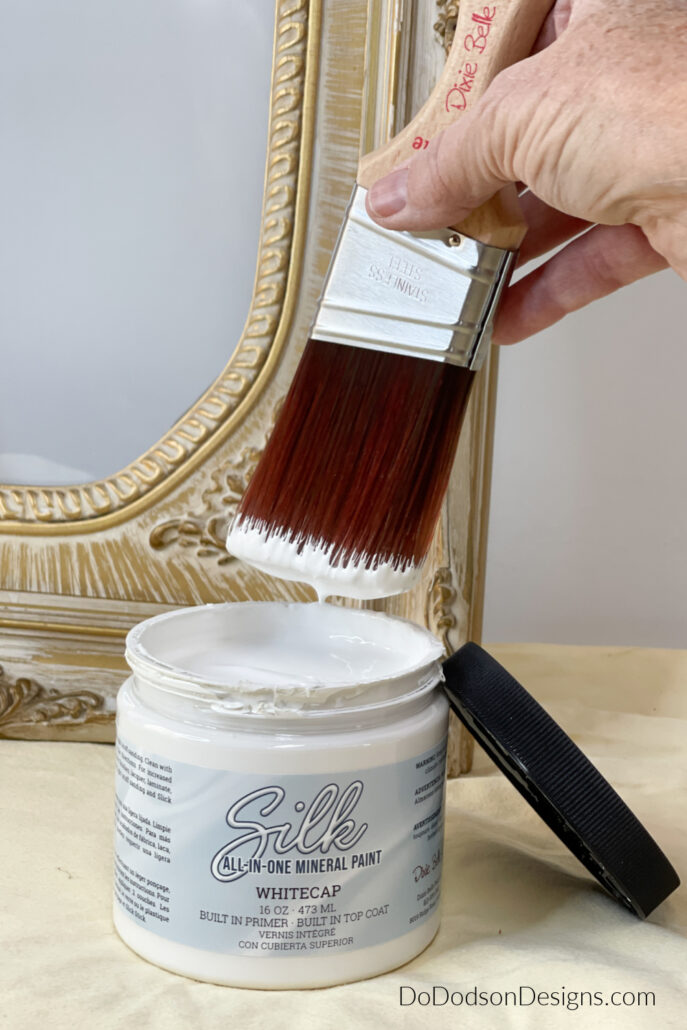
Apply the first coat of paint with a good-quality synthetic paintbrush. Allow the paint to dry per the instructions listed on the container. You will notice that you won’t have full coverage.
Apply the second coat for full coverage and a third if needed. I recommend using a Dixie Belle Paint Brush for the best results. My go-to brush is the 2 in. mini angle brush you see here.
There’s no need to apply a topcoat because Silk Paint has one built into the paint. This paint is great for one-color flawless finishes on furniture and smaller projects like this.
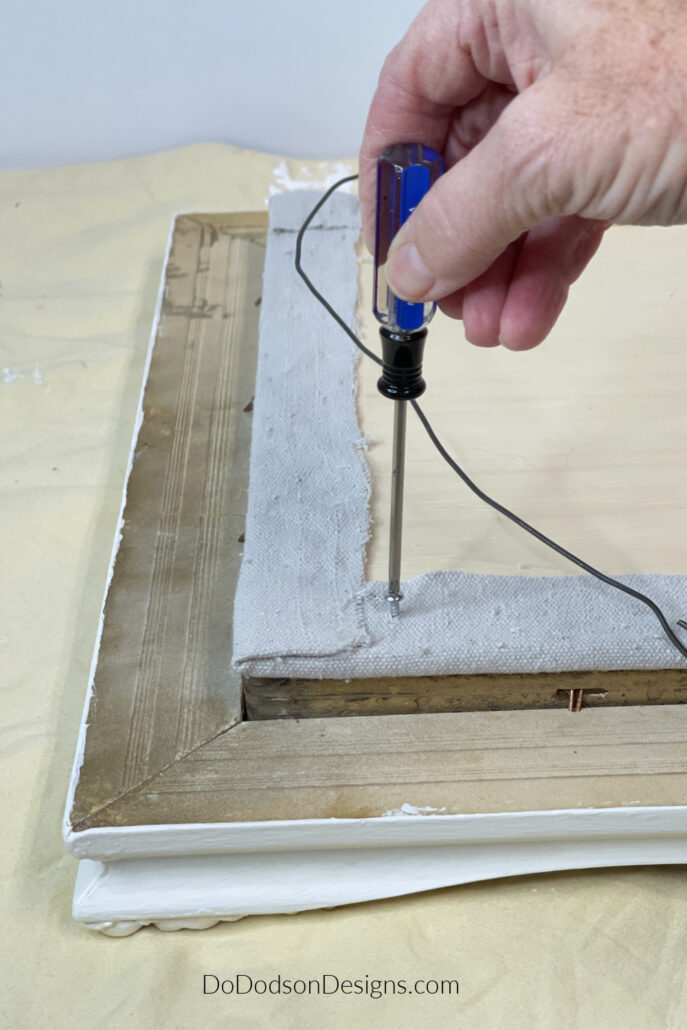
Step 7: Securing The Backing
Allow the picture frame to dry overnight, about 24 hours. Secure the backboard to the frame using wood screws.
I like using this method because if I ever change my mind (not me :)) and want to change things up, I can unscrew the back and make those changes.
Step 8: Hang Your Framed Silverware Display
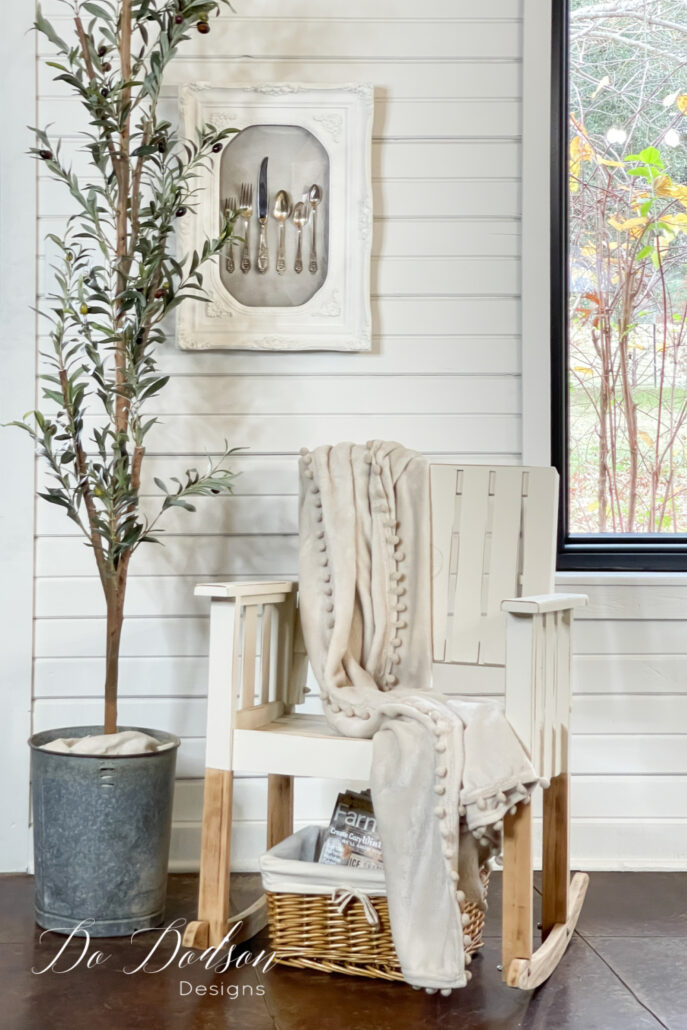
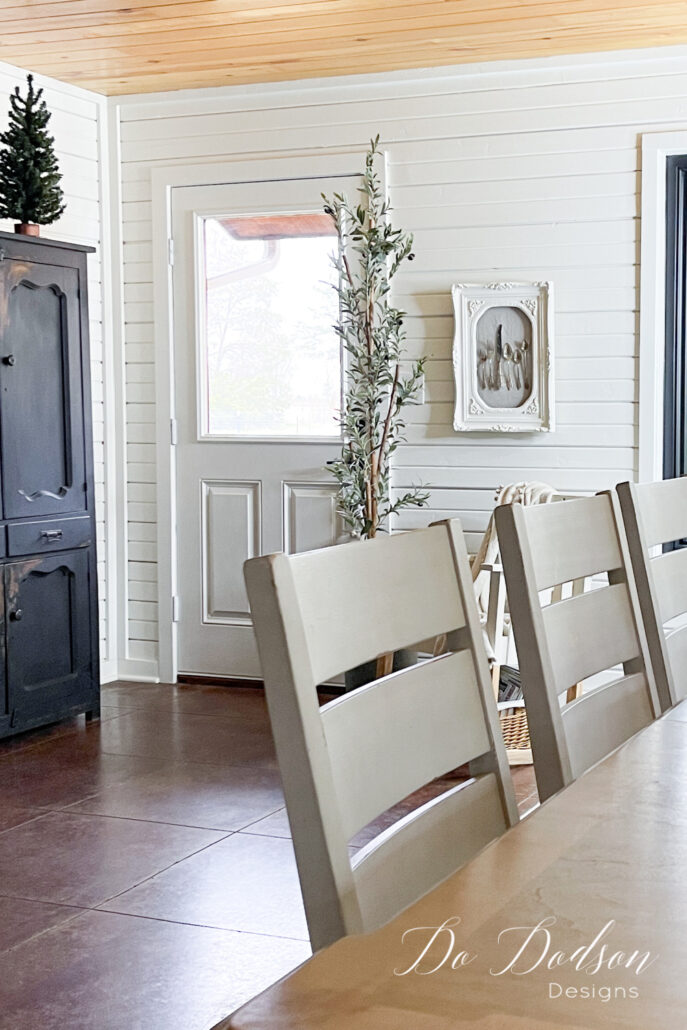
This was a Christmas gift to my hubby. Because we now have his Grandmother’s table (CLICK HERE to see the makeover), I thought it would only be proper that her silverware join us in the dining room.
Would you like to see more of our dining room? CLICK HERE to watch our video home tour. We’re still in remodel mode but have completed most of the downstairs. We love it so much.
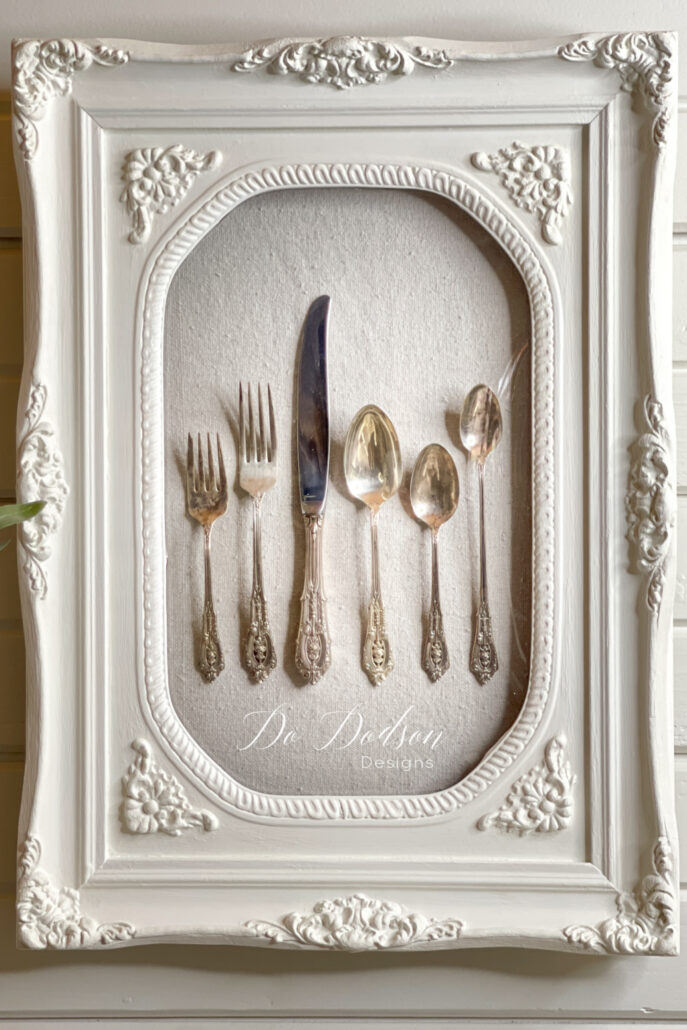
It’s like it was meant to be. We have one small wall in this area of our dining room (mostly windows), and I think it’s the perfect spot for his Grandmother’s special keepsake.
It’s almost Christmas, and I always struggle with what to give my hubby. He always says that he has everything. Well, this year, I gave him the gift of nostalgia and memories that will last a lifetime.
I hope you enjoyed this DIY picture frame project. I was so happy that we acquired both pieces (silverware and the vintage frame) and could make them into one. Repurposing this picture frame into a framed silverware display added a creative and charming way to add the right decor to our room.
Before you go, I’d love to know you stopped by. Just say hi or share your thoughts about this project in the comment section below.
Until the next project… xo, Do
Love this !!! You’re hubby is blessed
to have such a beautiful display of memories
Hi Penny.
We feel blessed to have those special memories. Merry Christmas . 🙂 xo
This is so sweet, yet so elegant!
Thank you, Mary. Merry Christmas. 🙂 xo
This is a fabulous idea – unfortunately, I don’t have a frame or vintage silverware, but I’m going to think of something. Feeling inspired – Merry Christmas and thank you!
Thank you, Marion. Getting inspired is the beginning of something beautifully creative. Merry Christmas to you and yours. xo 🙂
This is so sentimental and I’m sure your hubby loves it, what a fabulous idea Do!!!💕
Thank you, Denise. I was happy to finally find a way to preserve that memory for him that worked with our decor. Merry Christmas. 🙂 xo
It’s an unusual idea but looks great – it’s the way that you do it …
Thanks, Audrey. I have always beat to my own drum. 🙂
This is a brilliant idea Do! And what a special gift for your hubby! I love your ideas and the way your mind works my friend! Pinned. Merry Christmas to you both!
Thank you, sweet friend. I wish you and your family the Merriest Christmas ever. Oh, and happy New Year! xo 😘