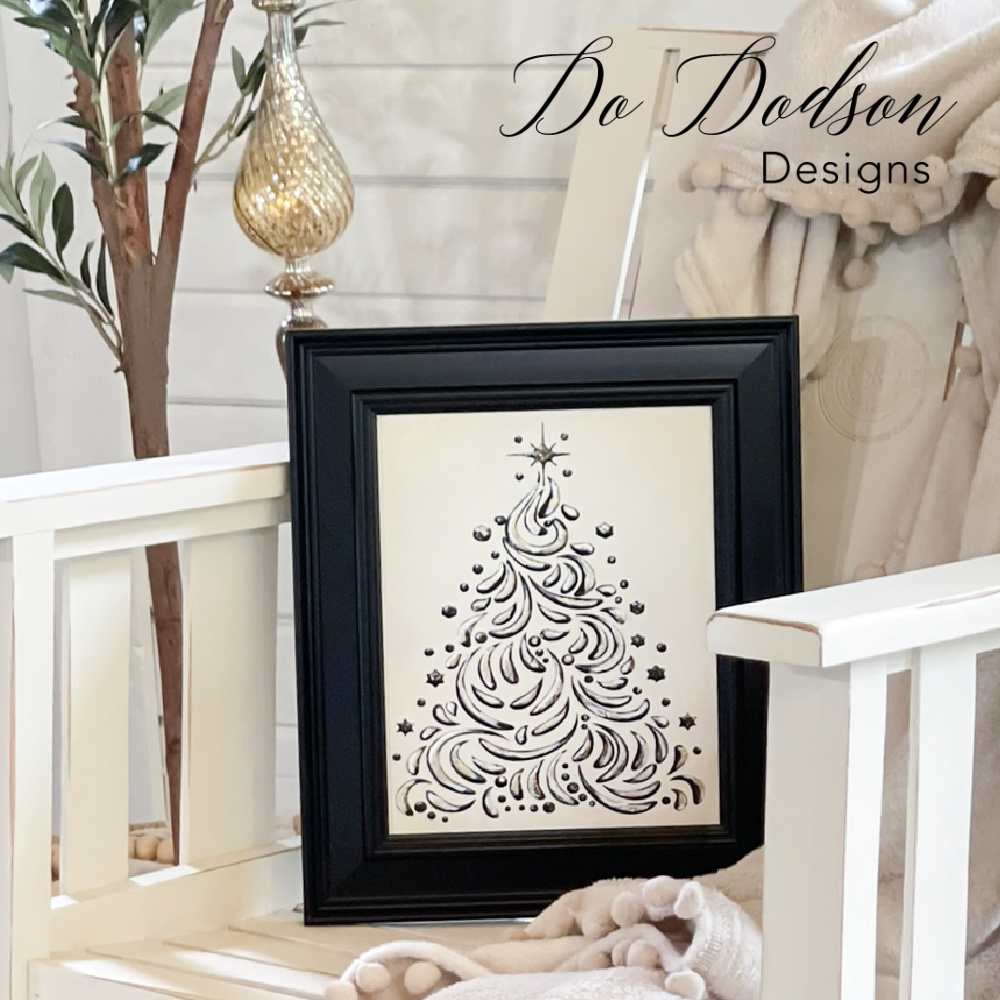
Learn how I transformed an old picture frame into a beautiful Christmas craft picture frame. It makes a great gift idea too!
Thanks to Dixie Belle Paint Co for sponsoring this post. While I was compensated to write this post, all opinions are my own.
* As an Amazon Associate, I earn from qualifying purchases and through other companies as well. You will not be charged extra when you purchase through these affiliate links, but any income I make helps me create more amazing DIY projects to share with you! To see my full disclaimer, click here!
DIY Christmas Picture Frames With Stencils
Ah yes, the old empty picture that sits in your closet. I have so many, and it’s about time I did something about it.
Since moving into our new home, I decided to no longer keep things we don’t use. Since we no longer have a hallway and limited wall space in the living room in our new house, most photos have been taken out of the frames and placed in a photo album for safekeeping. That leaves me with a lot of frames.
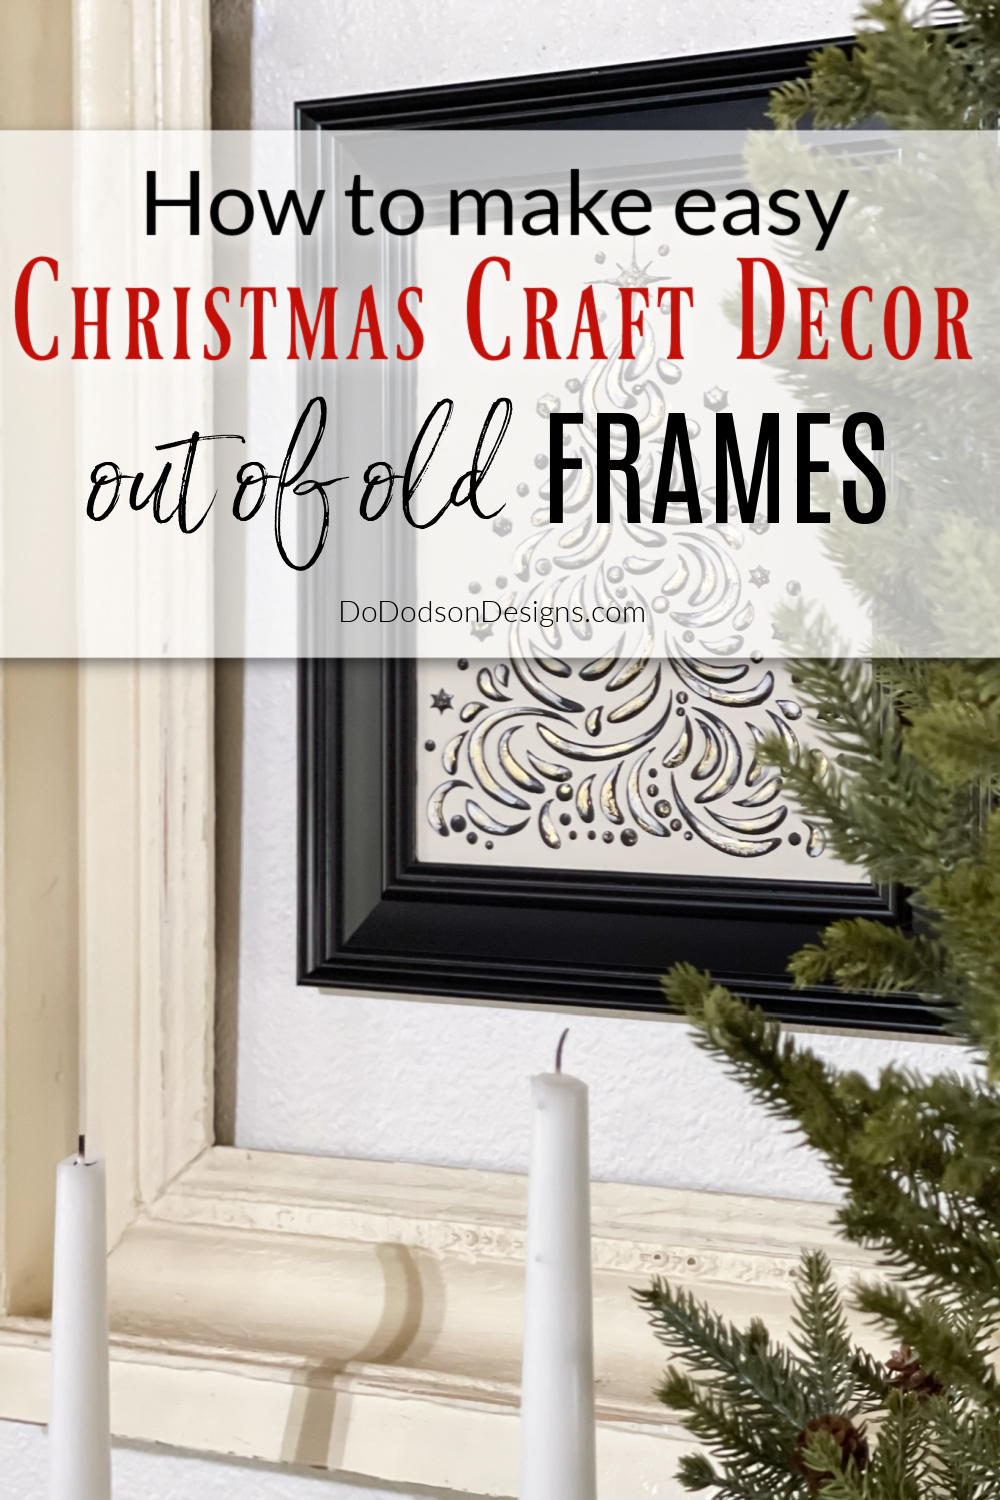
Try this craft idea to repurpose those old frames to create unique and better than Hobby Lobby wall art using a stencil and some paint.

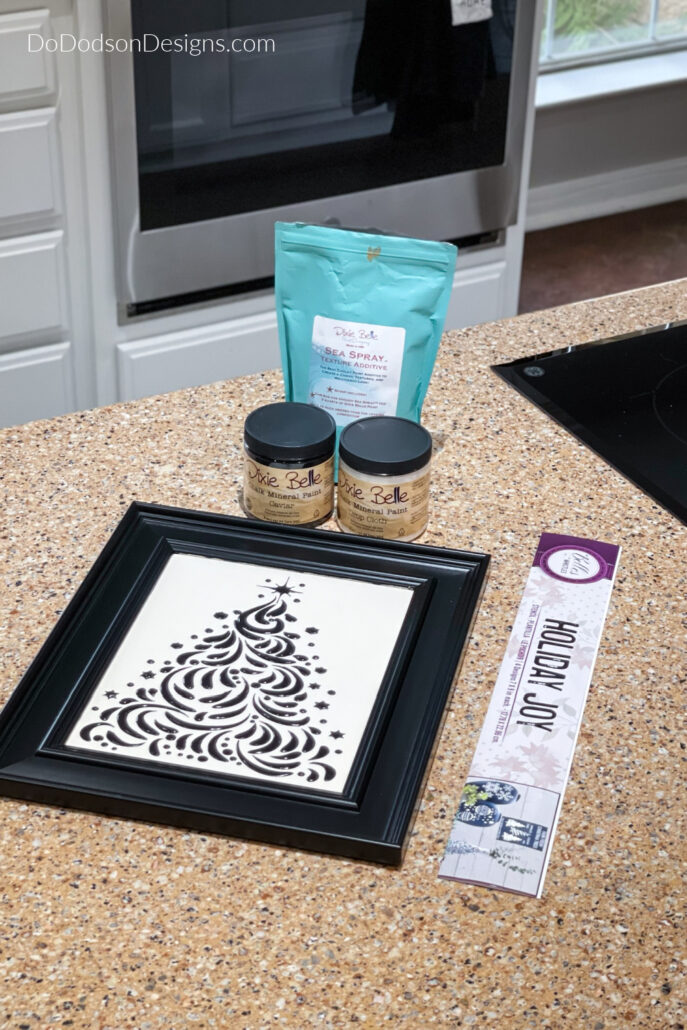
SUPPLY LIST:
What you’ll need to make these DIY Christmas crafts with picture frames.
- photo frame with glass (11X14)
- glass cleaner
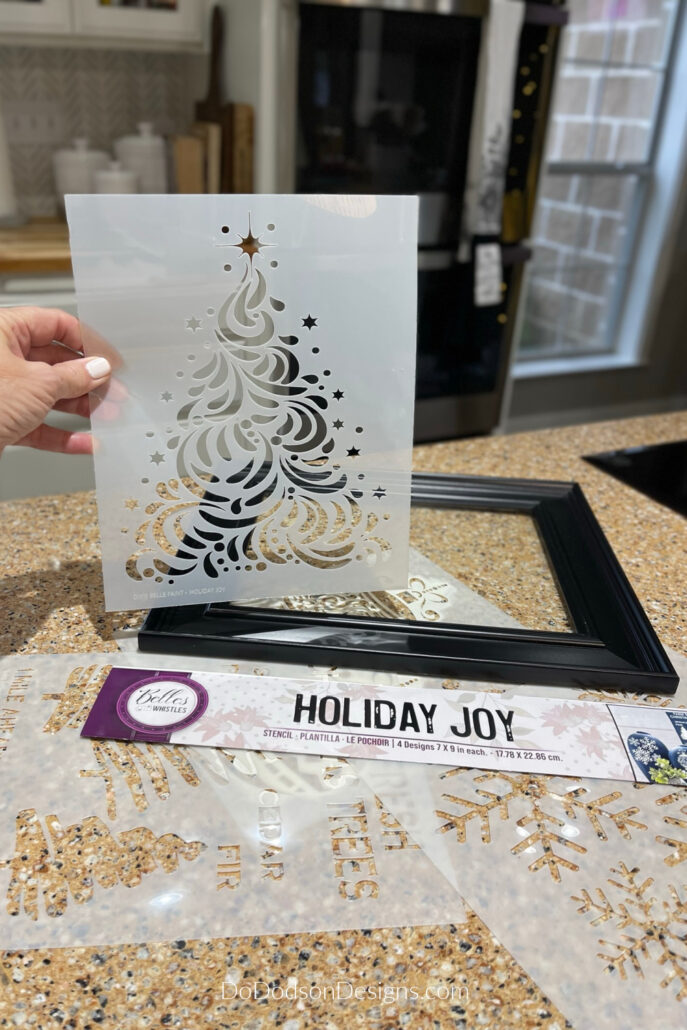
- stencil (Holiday Joy)
- drop cloth (chalk mineral paint)
- cotton (chalk mineral paint)
- caviar (chalk mineral paint)
- artist brushes
- sea spray (texture additive for paint)
- spreader tool
- gilding wax (GOLD)
I’m all about creating holiday joy and I truly BELIEVE that our surroundings have a direct effect on how we feel at Christmas time. Well, at least it does for me. Surely I’m not alone. Get the complete tutorial below.
How To Create A Raised Stencil Design
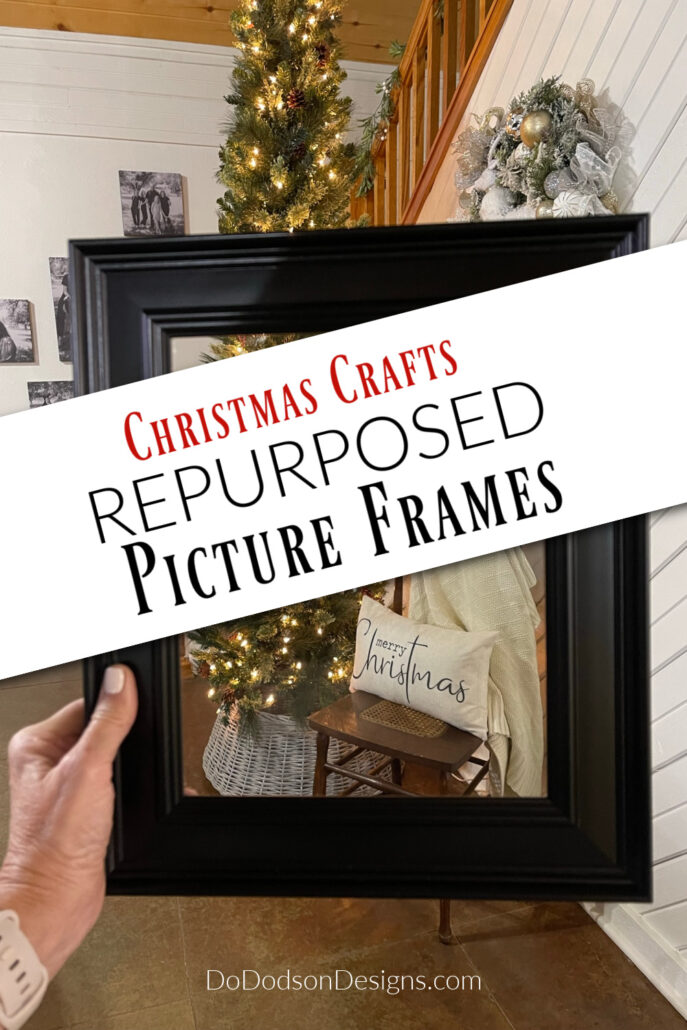
For this project, I prefer the chunkier frames. It will make your art decoration stand out on the wall. The one I chose to use for this project has a black frame that matches my decor so I’m not going to paint this one. But if you want to paint your frame, too, it’s optional. Get creative!
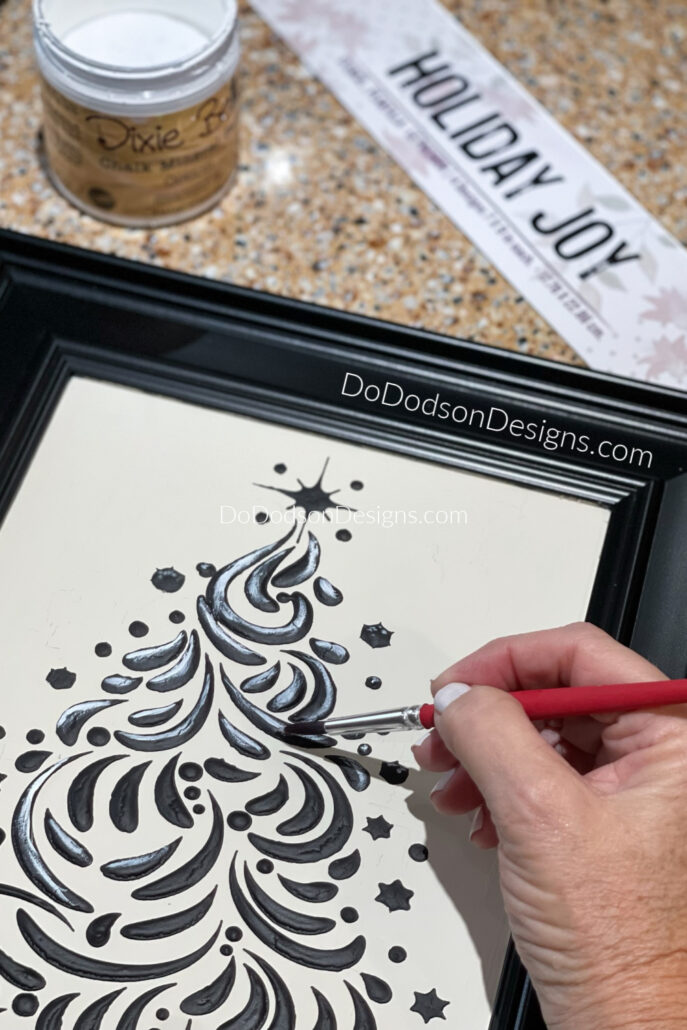
STEP 1: Choose your stencil for your Christmas craft picture frame project.
STEP:2 Clean the front and back of the frame with glass cleaner. The glass especially needs to be streak free.
Yes, You Can Paint Glass
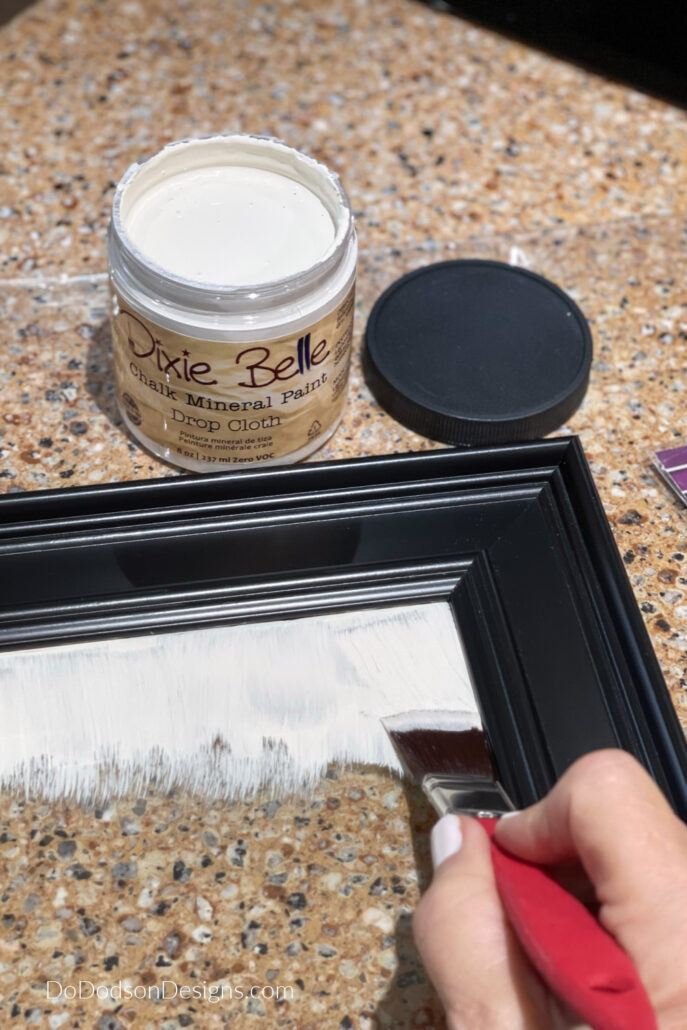
STEP 3: Paint the glass front of the frame with chalk paint using a good-quality artist brush. It makes all the difference. A good brush will eliminate the need for taping off the glass inside the frame if you decide not to paint the entire frame.
With a steady hand, you can cut in around the inside of the frame with ease. You’ll need two to three coats of chalk mineral paint to completely cover the glass. Be sure to allow each layer of paint to dry completely.
No primer or bonding agent is needed on the glass or frame before painting as chalk mineral paint adheres very well to most surfaces.
Remember that this painted frame will be hanging on the wall and not be susceptible to high traffic like my furniture project. For a quick home decor project, this paint is perfect!
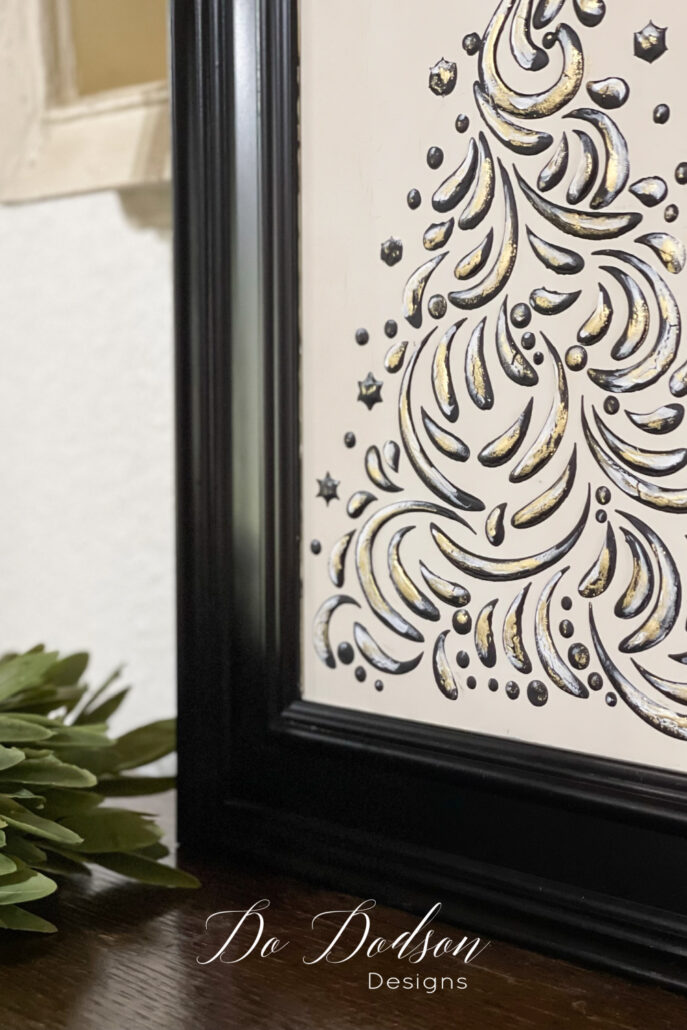
Give Your Picture Frame Christmas Craft Depth And Dimension
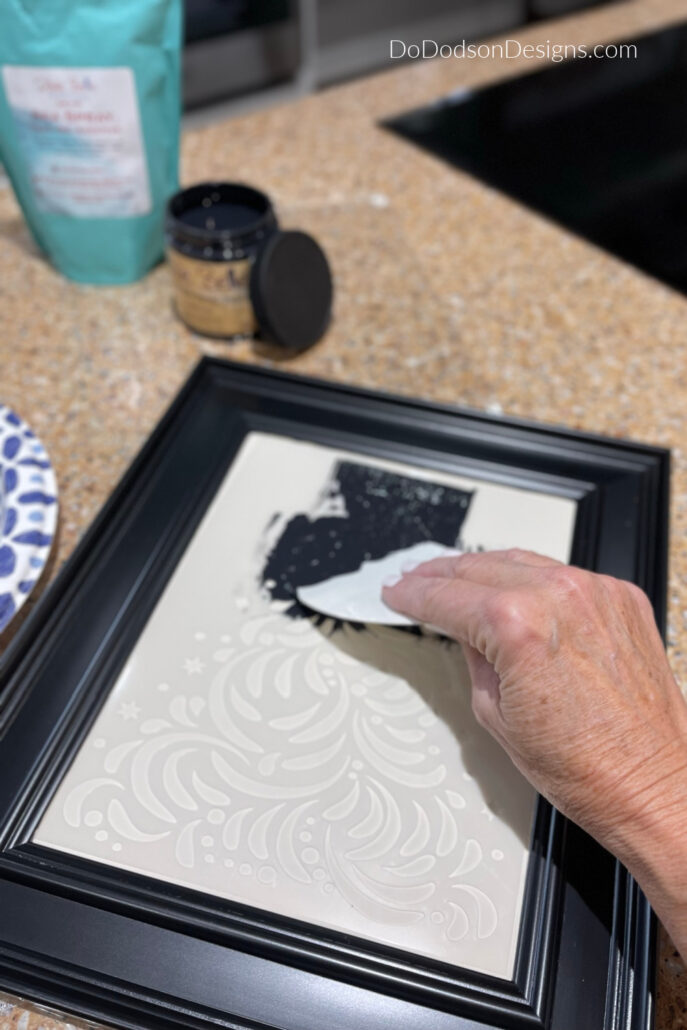
STEP 4: Once the paint is dried on the glass, using a stencil, lay it over the glass. You can secure the stencil with painter’s tape but you risk damaging the painted glass. Instead, I just use my hand to secure it in place.
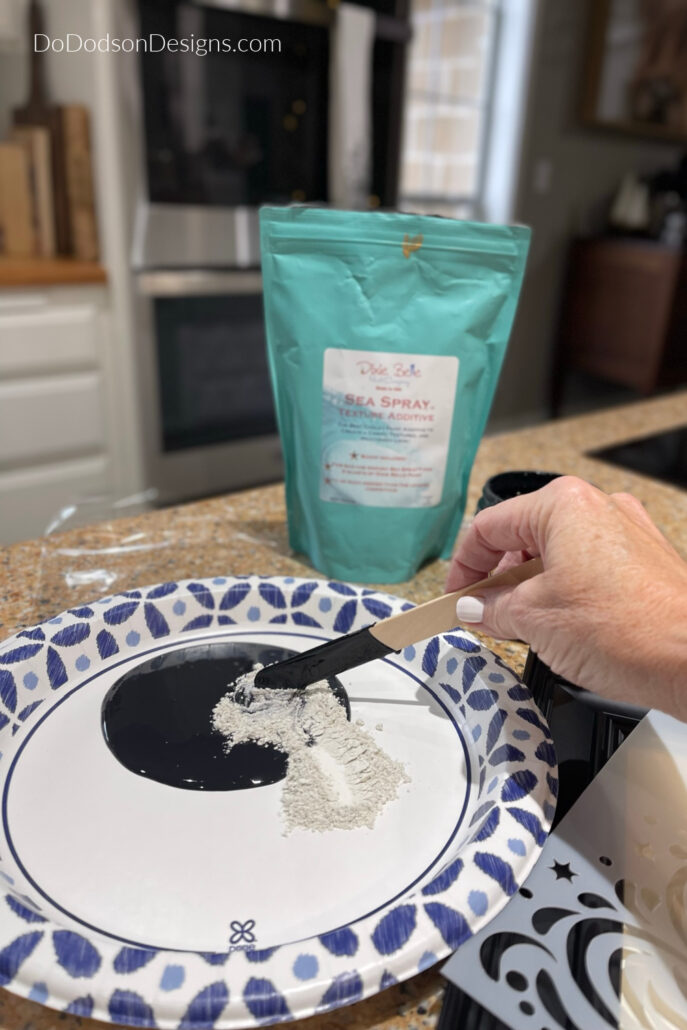
STEP 5: Next, mix the chalk mineral paint with Sea Spray with a 1:1 ratio. I used a paper plate to mix mine. This will create a thicker paint that is spreadable but not runny about the consistency of peanut butter.
STEP 6: With a spreader tool, apply the texture paint over the stencil starting at the top of the frame. The thicker you apply it, the more dimension you’ll create with your design.
You’ll want to apply this pretty quickly while the texture paint mixture is still spreadable. Remove the stencil and allow it to dry. Rinse the stencil with water and pat them dry so that you can reuse them again and again.
Adding Highlights
STEP 7: Now that your raised stencil has dried, add even more dimension with a small sharp-tipped artist brush with bright white paint. This will give the appearance of light reflecting off the highest part of the raised stencil.
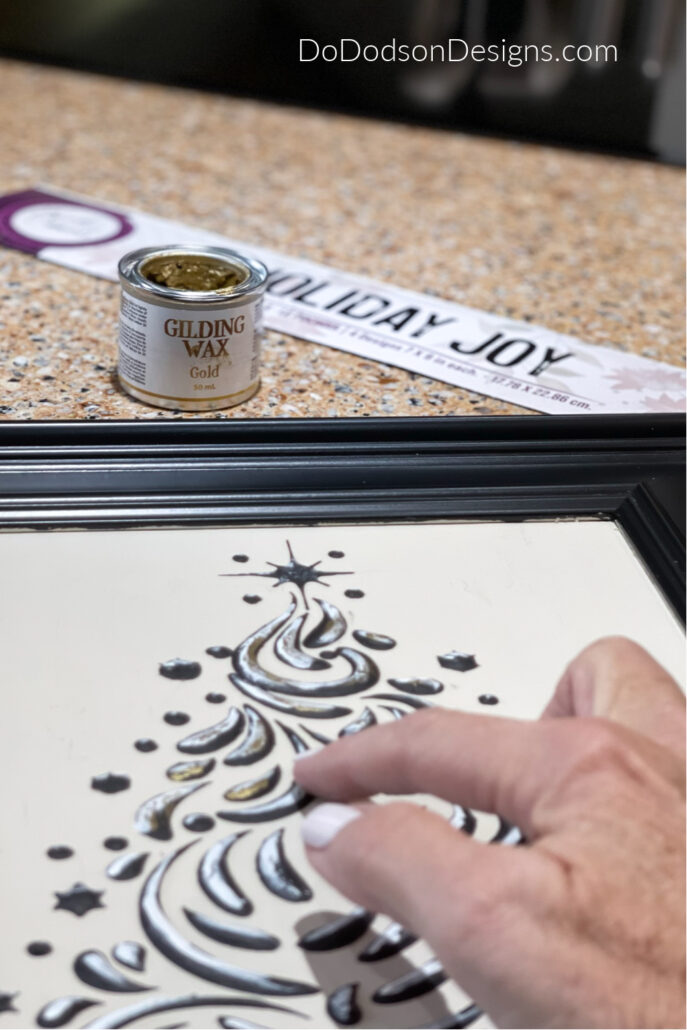
And because I used the bright white, this allowed me to also use a GOLD gilding wax to add just the right amount of brilliance. You could even use glitter on your Christmas frame.
Let your mind wander with ideas of all the embellishments you can add to your holiday picture frames.
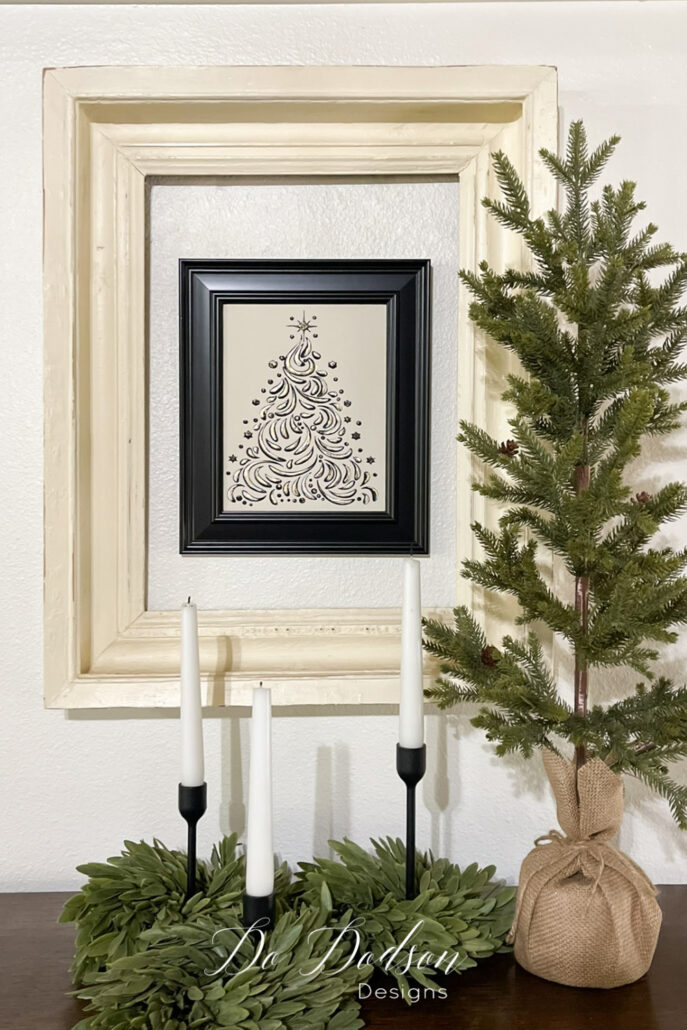
Holiday Season Decorating At Do Dodson Designs
These old frames are blank canvases for art, so why not use them? Instant framed art that is ready to go. It’s the perfect decoration that you don’t have to shop for. I shop in my head all the time.
It’s a fun way to upcycle old frames on cold winter days, and these stencil designs can be used all winter long.
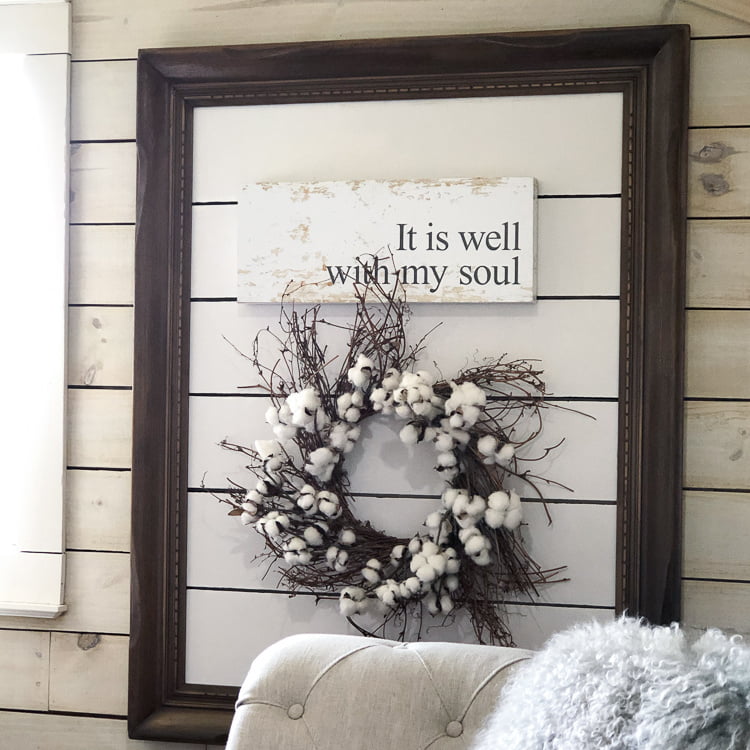
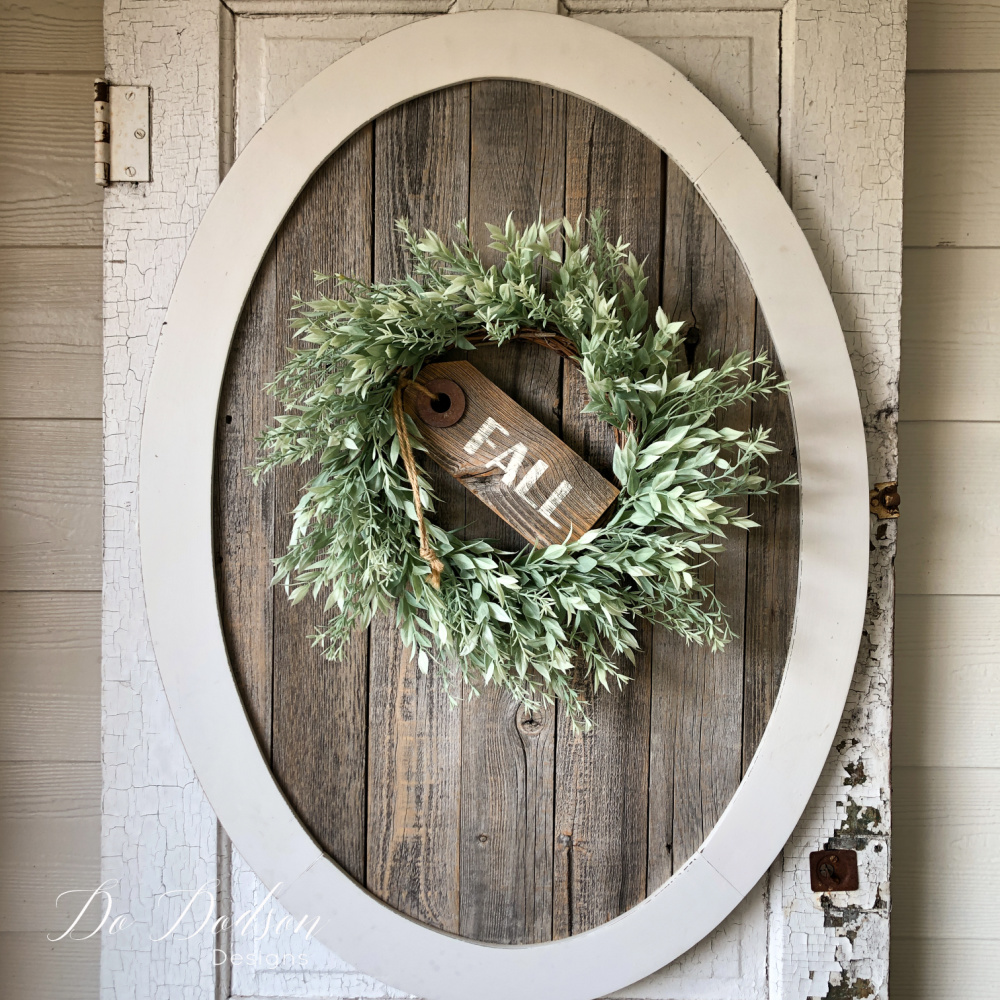
Oh, one last idea. You can also hang a mini wreath inside the frame. Add a ribbon to the back of the frame and hang it on the wall, door, or anywhere you want a little splash of joy to your holiday season. My home is full of my creative personality, and that makes me makes me happy.
My friend once told me she wished she could live inside my head. I told her it was a blessing and a curse. Be careful what you wish for. LOL, it never sleeps.

Thanks for joining me today and I hope you have enjoyed this tutorial on creating Christmas crafts with old picture frames.
Would this be something you would try? Or maybe you have a different spin to add to it. I’d love for you to share it with me and others that read my blog in the comment section. We all learn from each other, which is what it’s all about.
I’m living my best DIY life!
Until the next project… xo, Do
Do
This is real lovely piece! Love the double frame idea❣️
Thank you, Dar. I turned out well, and yes, the double frame adds a lot. Thanks for reading. Have a great week. 🙂 xo
This is so adorable and so festive! And I always love your staging and styling my friend. Have a super weekend! XOXO
Thank you, Denise. That means a lot coming from you. Have a great week, my friend. 🙂 xo
This project is so beautiful. I cannot wait to give this a try. Love the touches of the white and gold accent.
Hey, Tammy! Thanks! Black, white, and gold, what else could we need? Always good to hear from you. 🙂 xo
Love these ideas! Many thanks! Nancy
You’re welcome, Nancy. I’m so glad you enjoyed this post. Have a great weekend. 🙂 xo