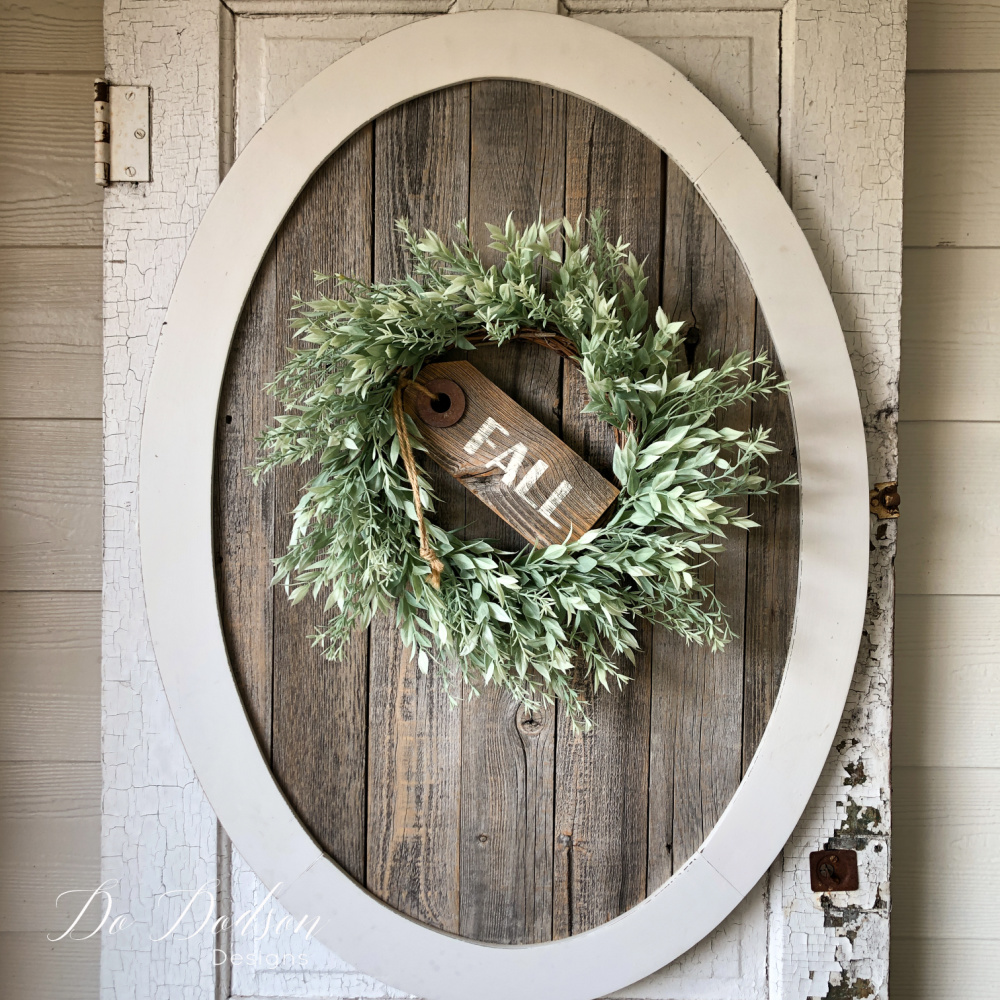
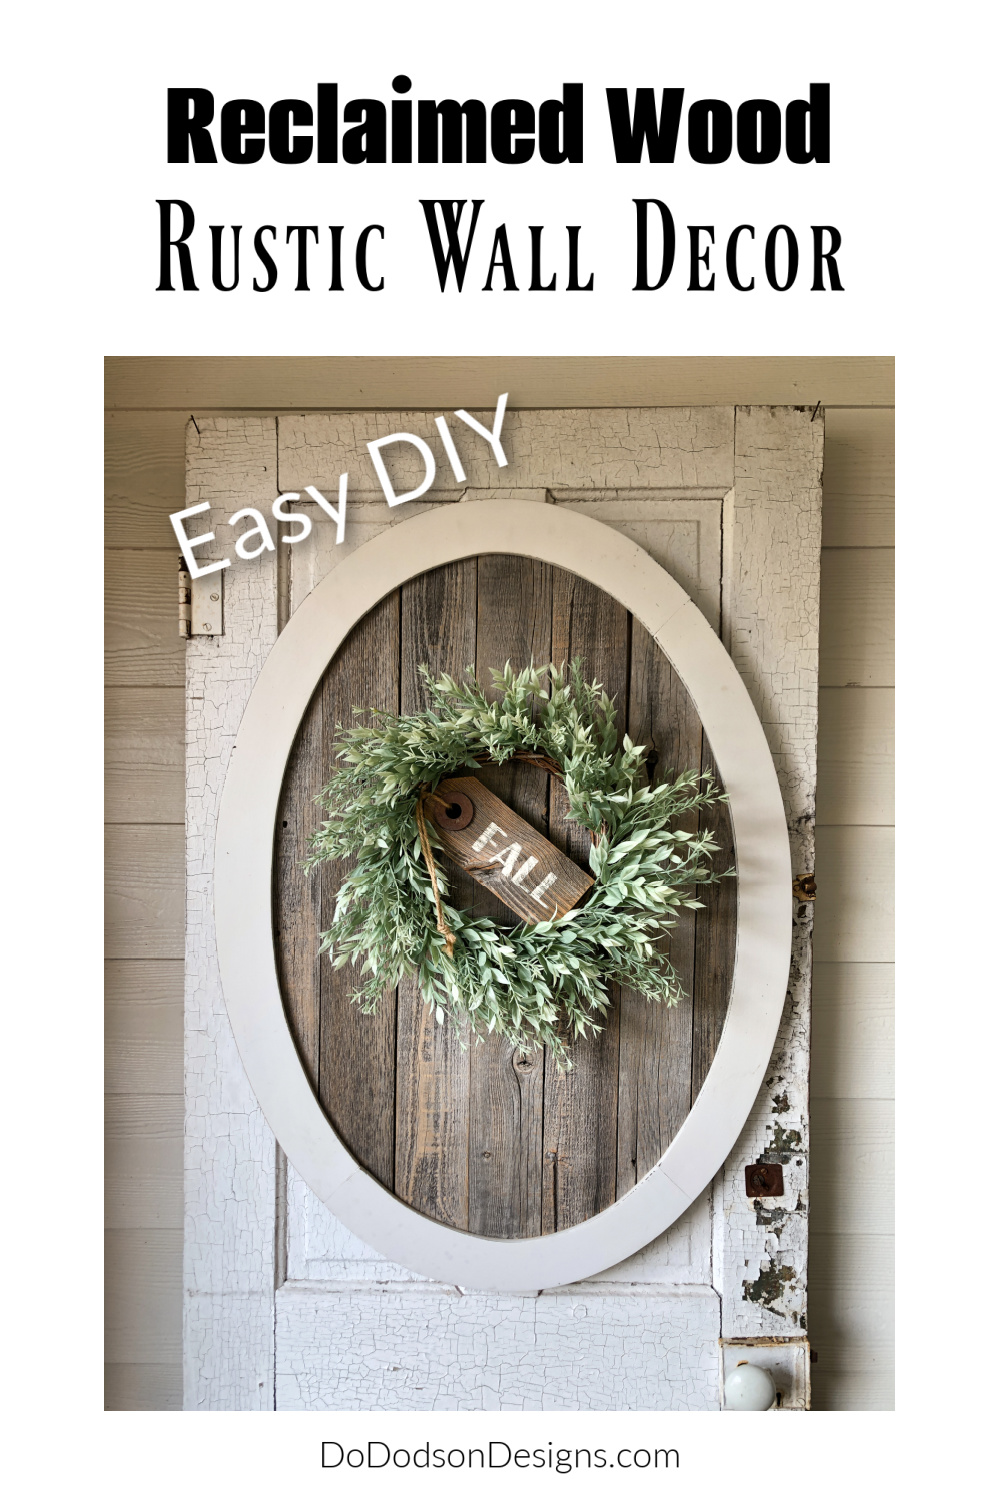
I’m always looking to create home decor on a budget, and when I have left-overs from furniture projects, it becomes a challenge to use up all the scraps I have lying around. Today I’m sharing with you how to create a reclaimed wood wreath frame that you can use to display home decor on your wall.
This post contains a few affiliate links to help you find the products I use. You are not charged extra to use any of the links, but any income I make will be used for more fun projects! To see my full disclaimer, click here.
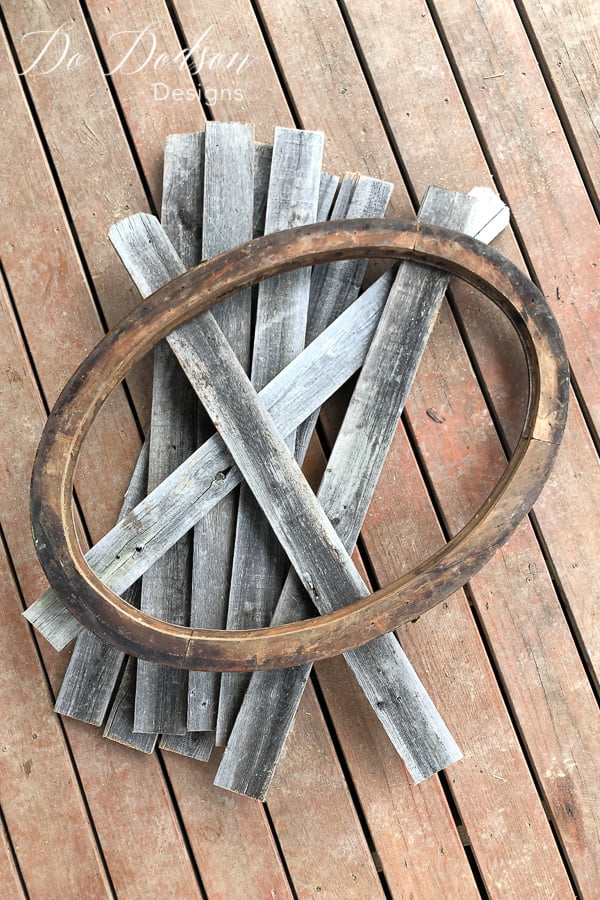
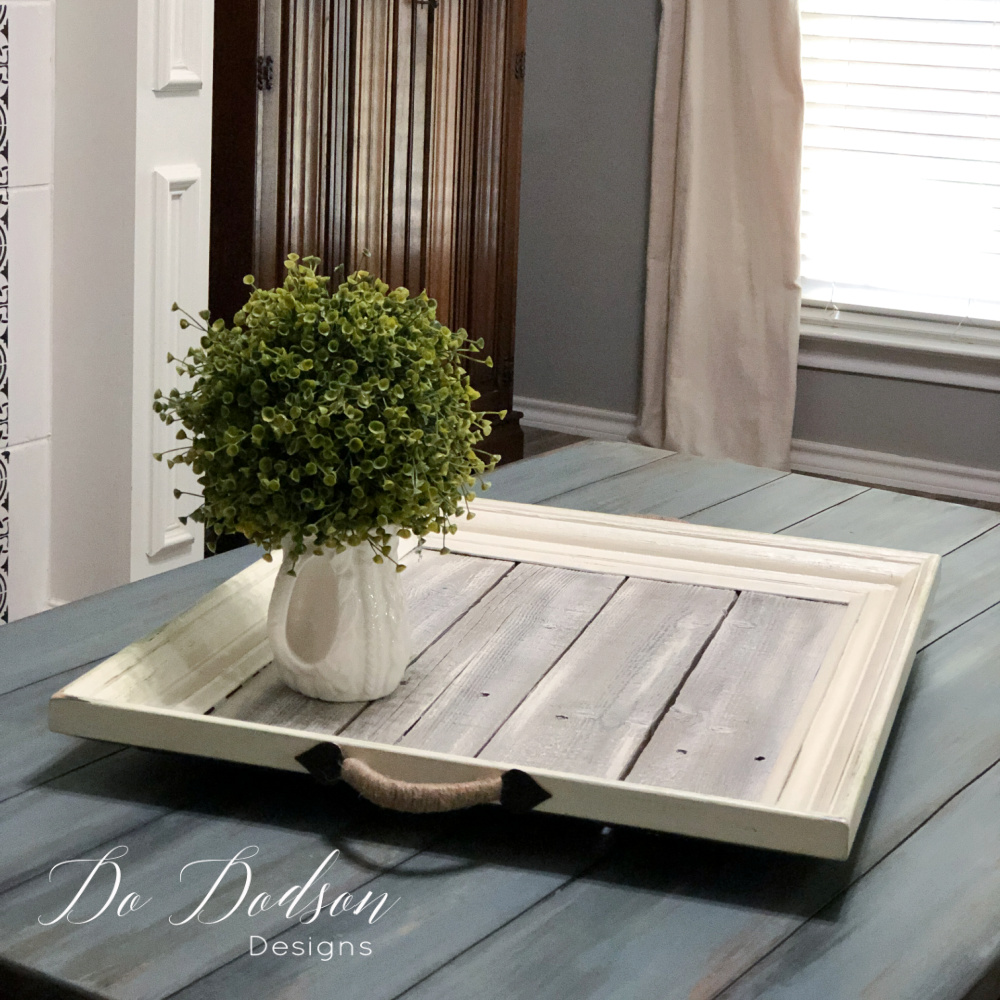
Reclaimed Wood Rustic Wreath Frame – Before
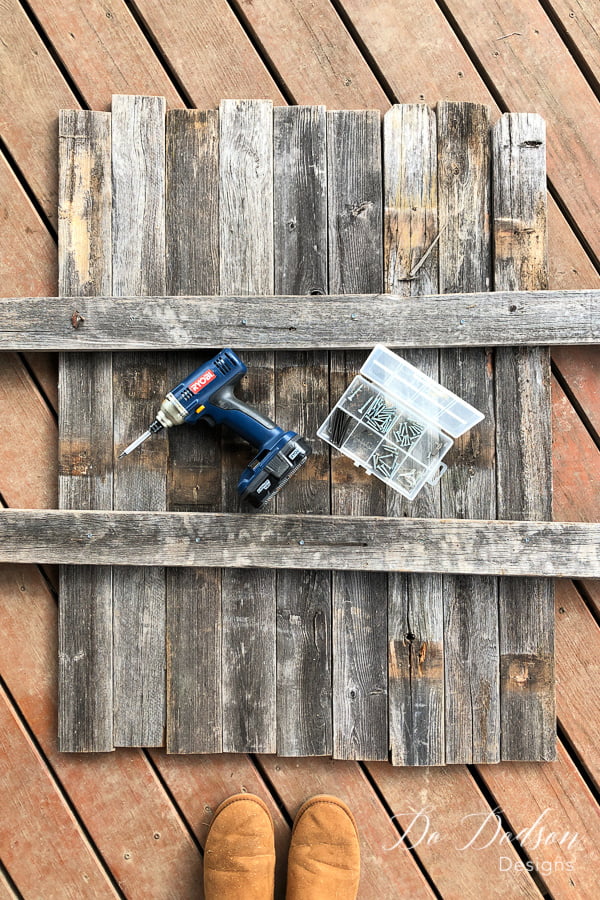
Gather Your Supplies
- Large Wood Frame
- Pallet / Reclaimed Wood
- Screws
- Drill
- Chop Saw
- Pencil
- 1/8 inch Plywood
- Jigsaw
- Staple Gun with staples
- Screw Eyes
- Fluff Chalk Mineral Paint (Dixie Belle)
- Paint Brush (Dixie Belle)
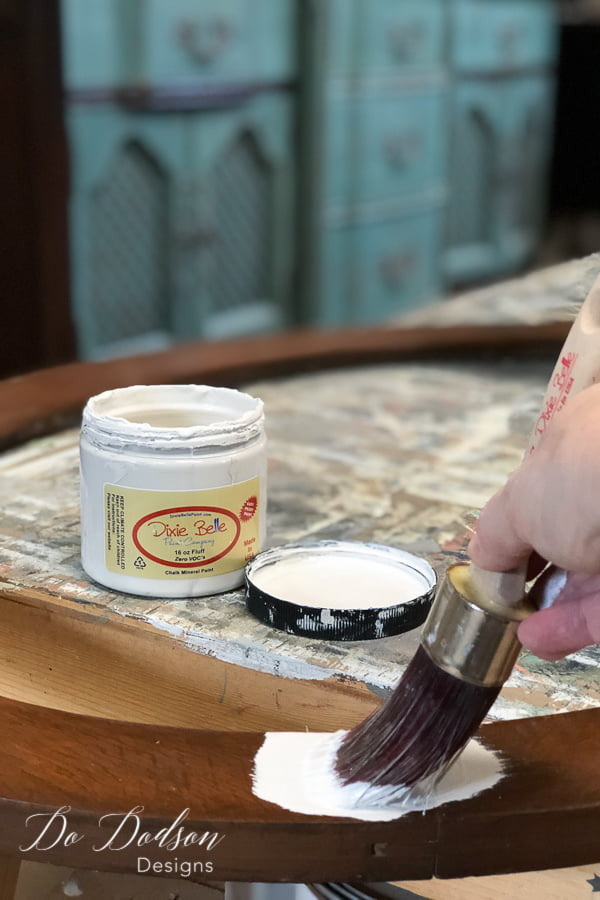
Paint 2 coats of your favorite color on your frame, or you can leave it wood. I like the painted look.
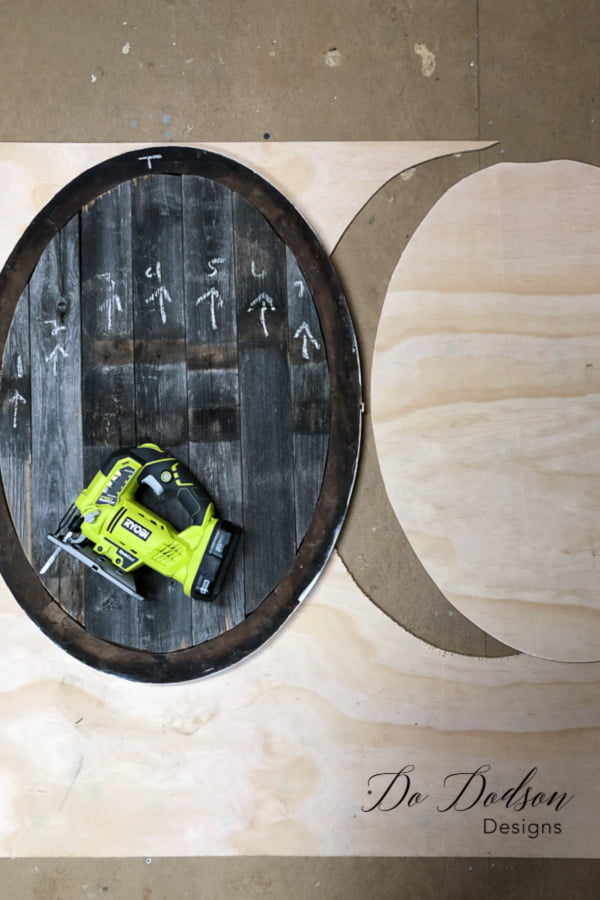
Cutting The Reclaimed Wood To Fit Inside The Frame
By laying the wood flat and securing them with two other pieces of wood, I created a pallet. Doing this keeps the boards in alignment and secure. I found this was much easier than placing them inside the frame one at a time, especially because of the curves. The next step is the cutout!
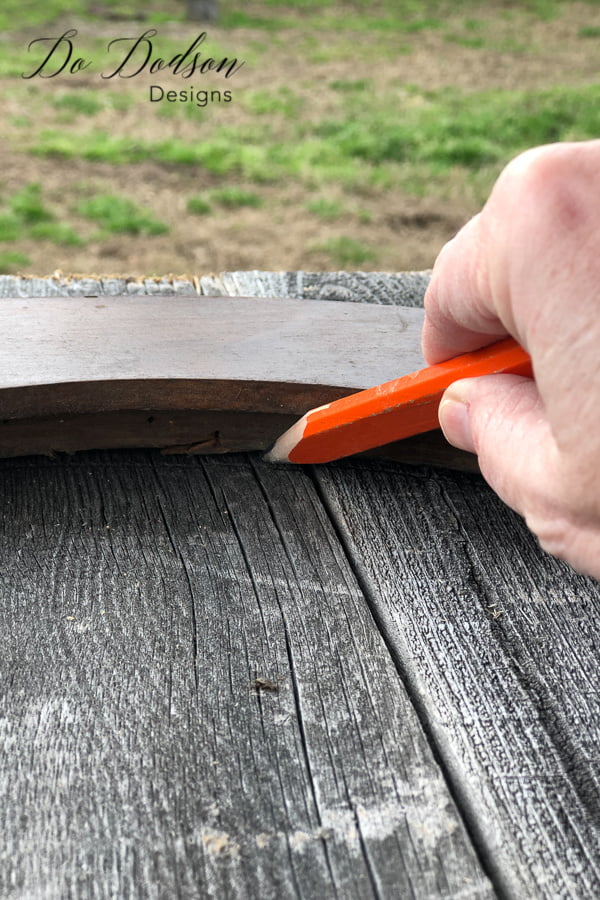
Creating A Template
The plan was to create a wood backing inside the frame to create a sign or, in this case, a place to hang my decorative wreaths. Here, the trick is to get the perfect cuts of the reclaimed wood inside the frame where the glass/mirror had set. By laying the frame on top of the boards, I was able to mark the inset area with a pencil from the underside of the frame. This method will also work on a square frame.
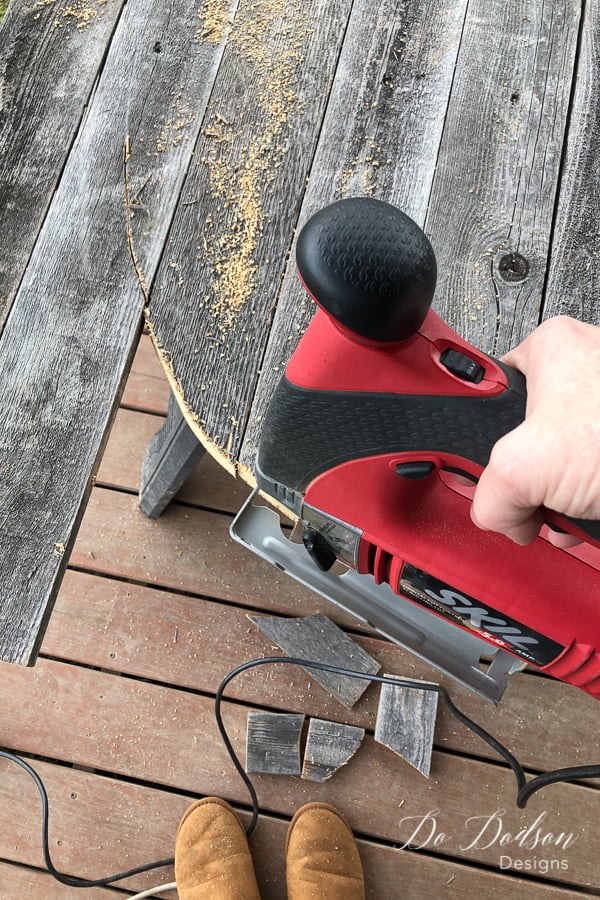
Cutting The Reclaimed Wood
Once you have marked the template for the reclaimed wood, use a Jigsaw to cut the pattern out and cut just a bit smaller than your template. Most frames have about a 1/8 inch inset, but that can vary depending on the size. This method works best with large frames. You want the boards to be as snug in the frame as you can get them. I had a few boards. I used an electric sander to smooth the edges for the perfect fit.
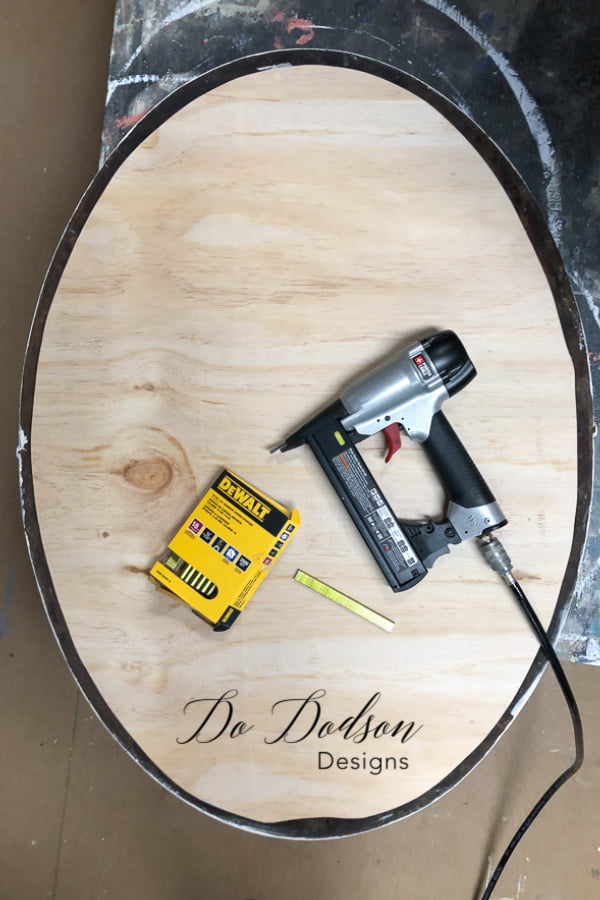
Cutting A Backer Board For Wreath Frame
The frame will need a backer board to secure the reclaimed wood inside the wreath frame once it is in place. A thin piece of plywood works well for this, but you can also use old paneling or beadboard, etc. Any thin piece of wood will work. Cut out a template using the frame for best results. Again, I cut it slightly smaller than the template I created because I didn’t want it to overhang and show from the sides I hung it on the wall.
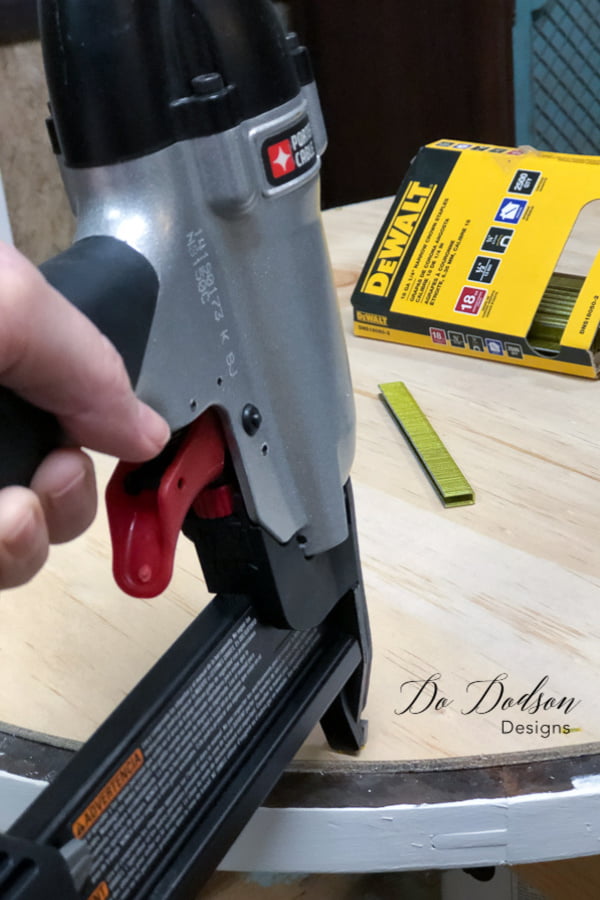
Attaching The Back Board
You can attach the backer board with screws, and nails, or in my case, I used my Pneumatic Staple Gun. It made for a quick and easy project. The reclaimed wood will be secure for a long time. Maybe forever!
Adding A Wall Hanger
I created the hanger with 2 eye rings and heavy-duty wire because of the weight. It’s not super heavy, but it does need more than a standard picture hanger. Using this method will allow you to adjust it on the wall easily.


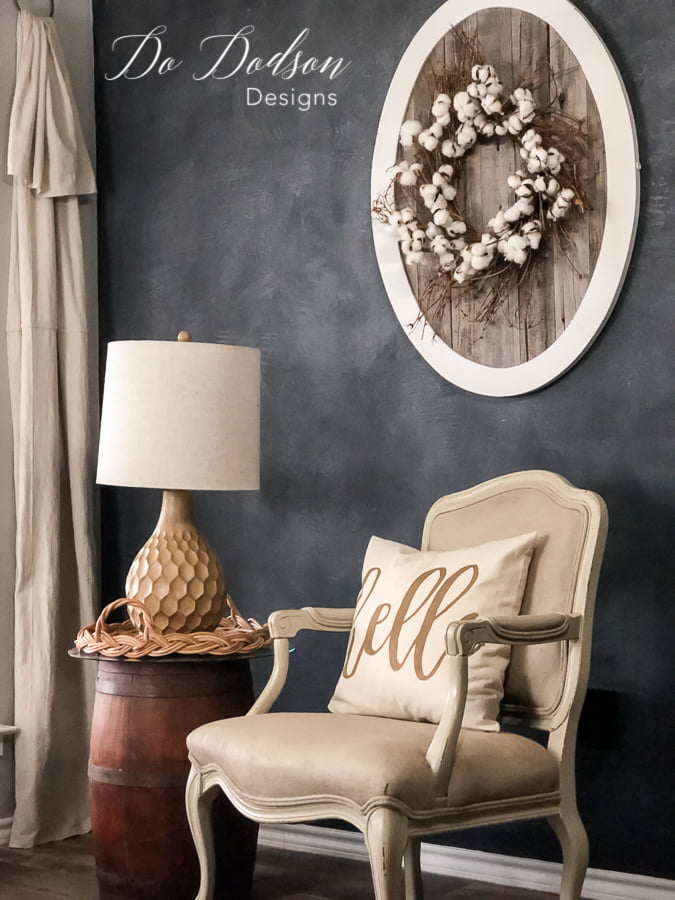
What a great way to repurpose and create beautiful reclaimed wall decor. I love wreath frames because you can change out the wreaths whenever you want a new look.
Hey, thanks for joining me today, and I hope you enjoyed this DIY home decor project. As always, I’d love to hear from you and what you think about using reclaimed wood. Drop me a comment below or just say hi so I know that you were here.
Until the next project… xo, Do


LOVE IT and so easy to reproduce. Thanks again, Do, for an amazing, fun project!
You’re welcome! xo 🙂
I love this frame. I dont have any reclaimed wood. I’m sure if I drove around I could find some. This is so cool. Thank you Do.
So glad you enjoyed it! Yes, reclaimed lumber is everywhere if you know where to look. xo 🙂 Do
I really don’t care for wreaths but this one I would hang on my wall! This is just beautiful. I learn so much from you. Thank you
Hi Barbara,
Thanks for joining me today. I’m not a big wreath fan either, especially if they have bows. But I do love the simple ones that can be used as wall decor. I’m so glad you’re enjoying my addiction. LOL 🙂 Do
What a cool idea! Thanks for sharing.
Thanks, Carol. I’m glad you enjoyed it. 🙂
Stunning
Thank you!
Love your reclaimed wood frame But to be honest you need a lot of expensive tools to do this project.
Hi Joann,
Well, I’ve been creating for a long time and in the beginning, I used the old fashioned tools that were my Dads. It wasn’t until much later that I started to buy the “good stuff” a little at a time. An old fashioned handsaw, screwdriver, hammer, and nails go a long way. Thanks for the feedback. Blessings to you. 🙂
I just came across this post pinned on Pinterest and I love this idea! You have such a imaginative and creative talent, Do
Hi Leslie, Creativity is my escape from reality. It’s where I get to let my mind roam free and have fun, especially with wood. Thanks so much for joining me. Have a fantastic weekend. 🙂 xo