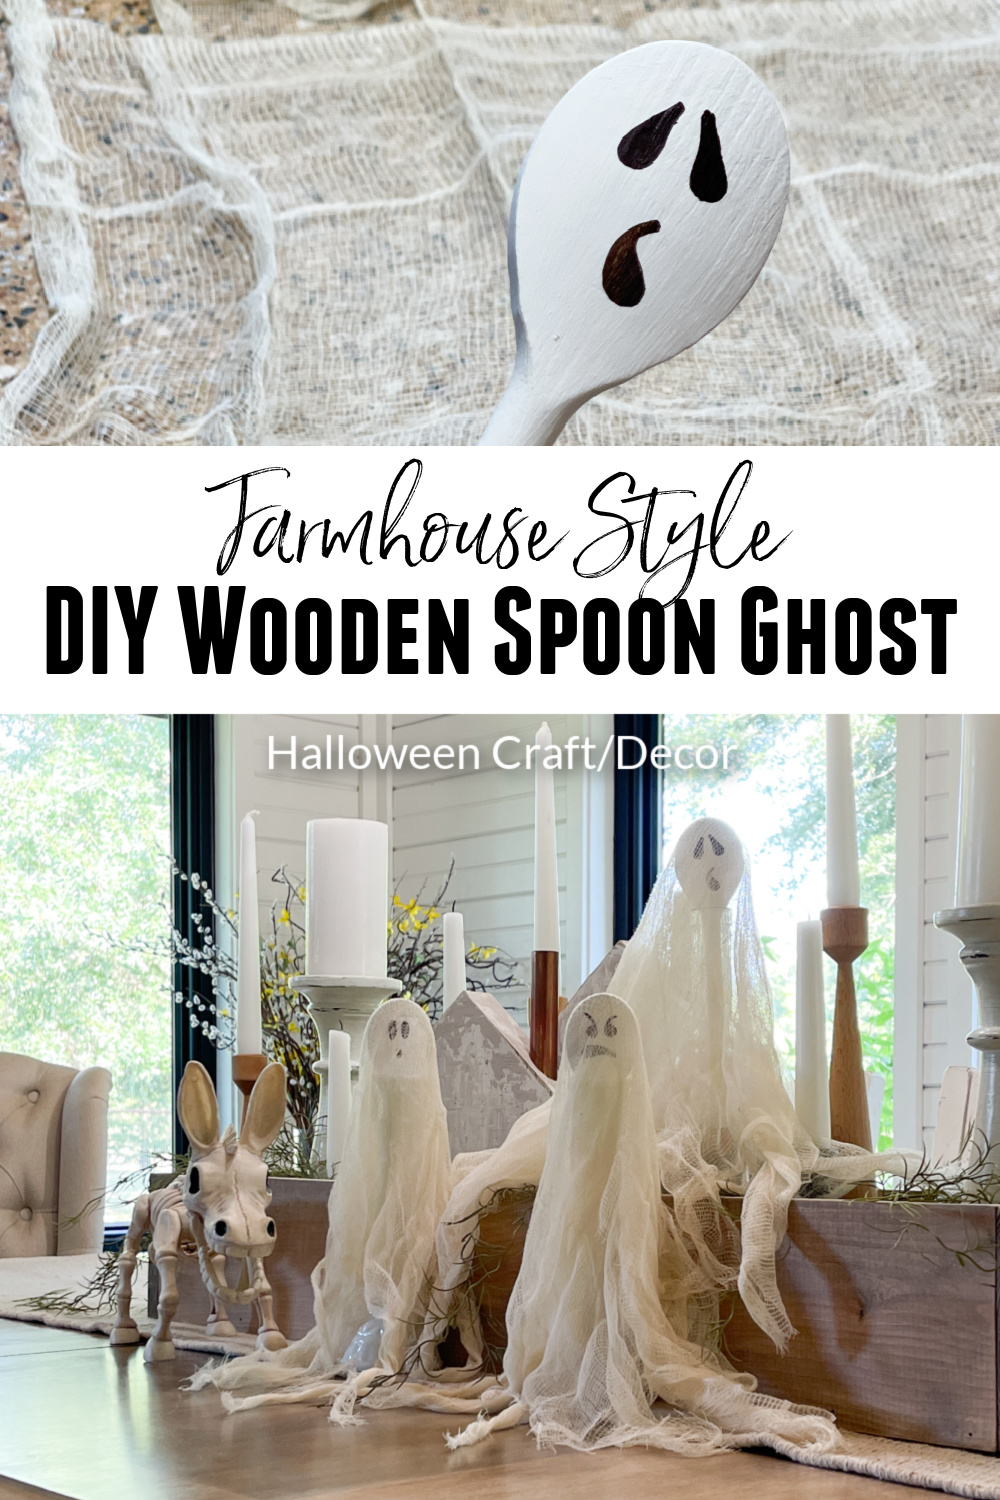
Hey triple-D friends! Are you ready to transform your ordinary wooden spoons into hauntingly cute ghosts just in time for Halloween? If you love creating your own spooktacular decor, then this DIY wooden spoon ghost craft is for you. Get ready to cast a spell of Halloween kitchen charm with these hauntingly cute wooden spoon ghosts! The kids will love them too.
Thanks to Dixie Belle Paint Co for sponsoring this post. While I was compensated to write this post, all opinions are my own.
* As an Amazon Associate, I earn from qualifying purchases and through other companies as well. You will not be charged extra when you purchase through these affiliate links, but any income I make helps me create more amazing DIY projects to share with you! To see my full disclaimer, click here!

SUPPLY LIST:
Gather the materials listed below to bring your spooky but oh-so-cute DIY wooden spoon ghosts to life. Wooden spoons can be found at your local craft store or even in your own kitchen.
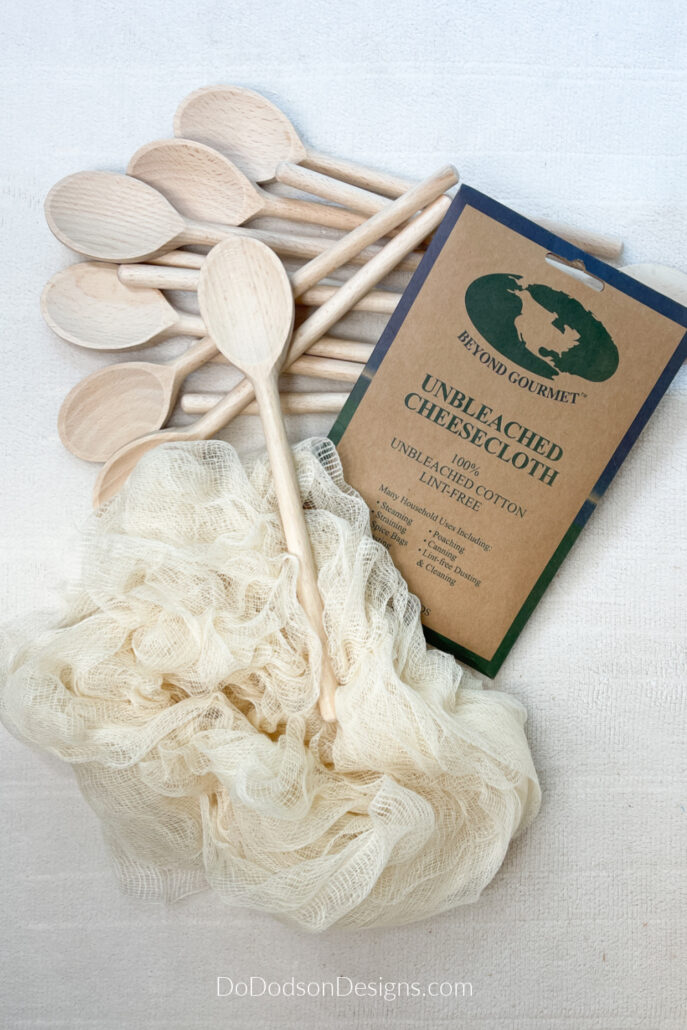
- kitchen wooden spoons
- unbleached cheesecloth
- glue gun
- hot glue sticks
- googly eyes
- Chalk Mineral Paint – Cotton Dixie Belle Paint Co
- paintbrush or Foam N Dandy sponge Dixie Belle Paint Co
- black sharpie marker
- Crazy Bonez DONKEY SKELETON decor
Cheesecloth Ghost – Halloween Fun
First and foremost, I found this idea on Pinterest. CLICK HERE to see my inspiration. I don’t know why I haven’t made more easy DIY Halloween decorations. I guess I’m stuck on DIY pumpkin decor. Fall is my favorite time of the year, so why not make a fun simple craft for this Halloween season? I have a feeling this will be a jump-start for more projects to come. So, stay tuned. Or subscribe to my weekly emails so you don’t miss a thing I have planned for you.
You’ll need a set of wooden spoons for this easy ghost craft. Look for spoons with smooth surfaces and sturdy handles, as they will make the ideal base for your ghostly creations. You can opt for traditional wooden spoons or get creative with different shapes and sizes to add variety to your DIY wooden spoon ghost.
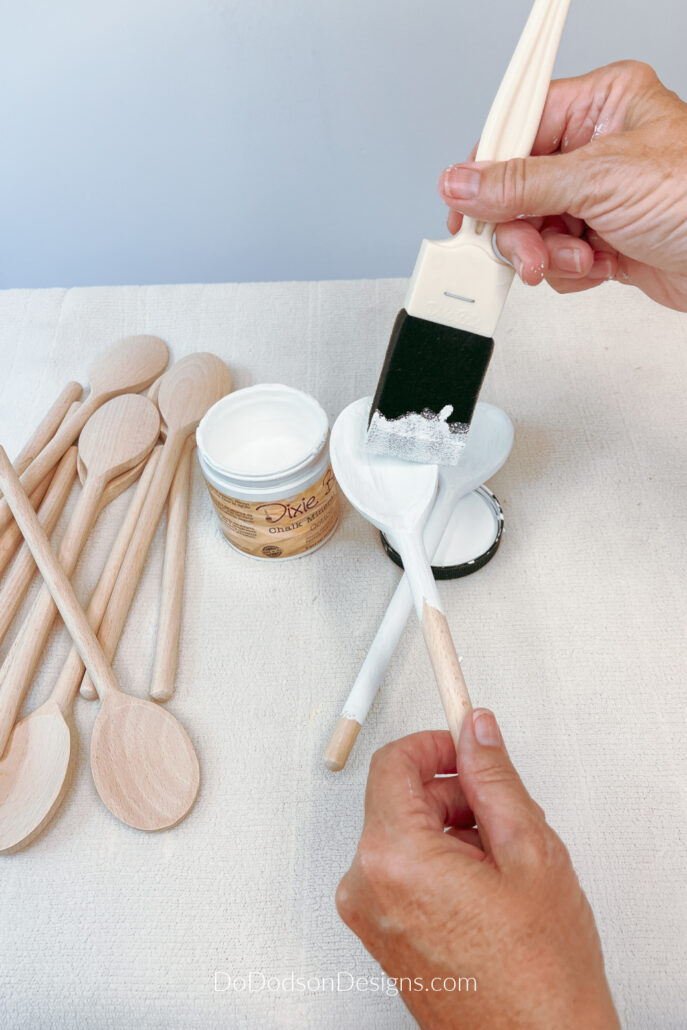
I used white paint to transform my wooden spoons into ghostly beings. Painting them white gives your spooky friends that ghostly pale appearance. I use chalk paint because it adheres well to wood surfaces and works well for this kind of small craft project.
No ghost is complete without a set of scary eyes, but I’ve decided to use googly eyes for some of my fun DIY ghosts. I think my grand kiddos will love them. You can also use black felt cutouts or a black marker to create a more serious look.
So, let’s move on to the step-by-step instructions and bring this classic Halloween craft to life!
Step-by-Step Instructions
Don’t forget your trusty hot glue gun and glue sticks. You’re going to need this tool to help you affix the googly eyes, cheesecloth, and any other decorations you may want to add to your DIY wooden spoon ghost.
STEP 1: Prepare The Wooden Spoons
Gather the wooden spoons you will be using for this project. Make sure they are clean and dry. All the spoons I used were one size, but I think having them in various sizes would be super cute too. You can always shop in your own kitchen and mix and match them.
STEP 2: Paint Your Wooden Spoons
Using a paintbrush or sponge brush, apply a 1-2 coats of white chalk paint to the entire surface of each wooden spoon. I didn’t paint the tip of the wood handle as that part won’t be seen. Allow the paint to dry completely before moving on to the next step.
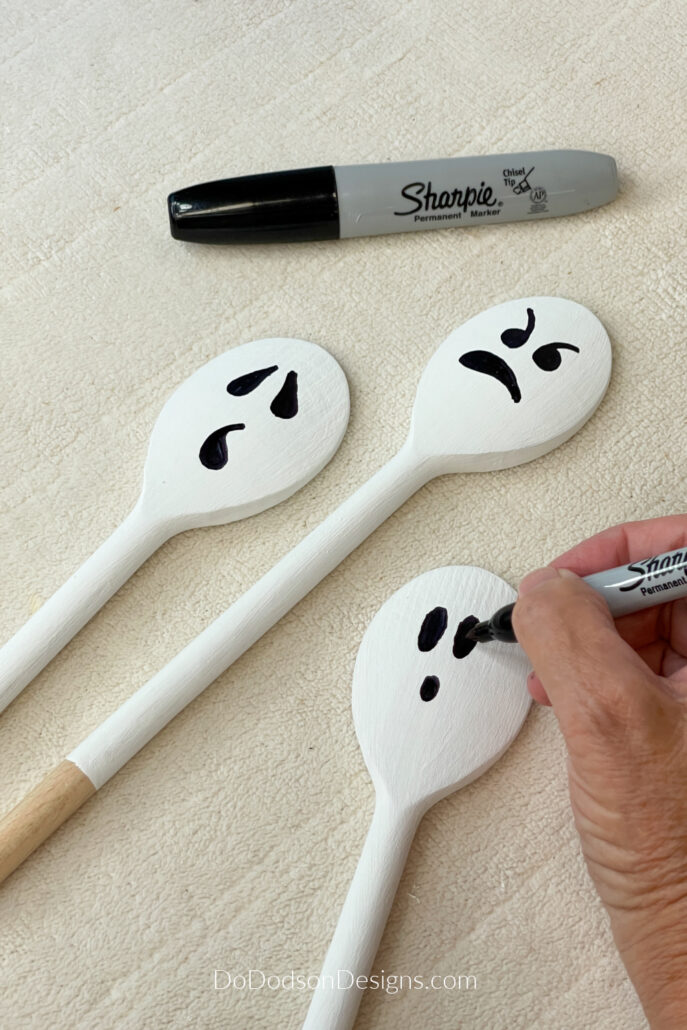
STEP 3: Add Eyes And A Mouth
Using your hot glue gun, attach the googly eyes near the top of each spoon to create the ghost’s eyes. Then, create a cute or spooky expression by drawing a mouth with a black marker. Maybe you don’t want a mouth on your cute little ghost. Use your imagination and make them your own.
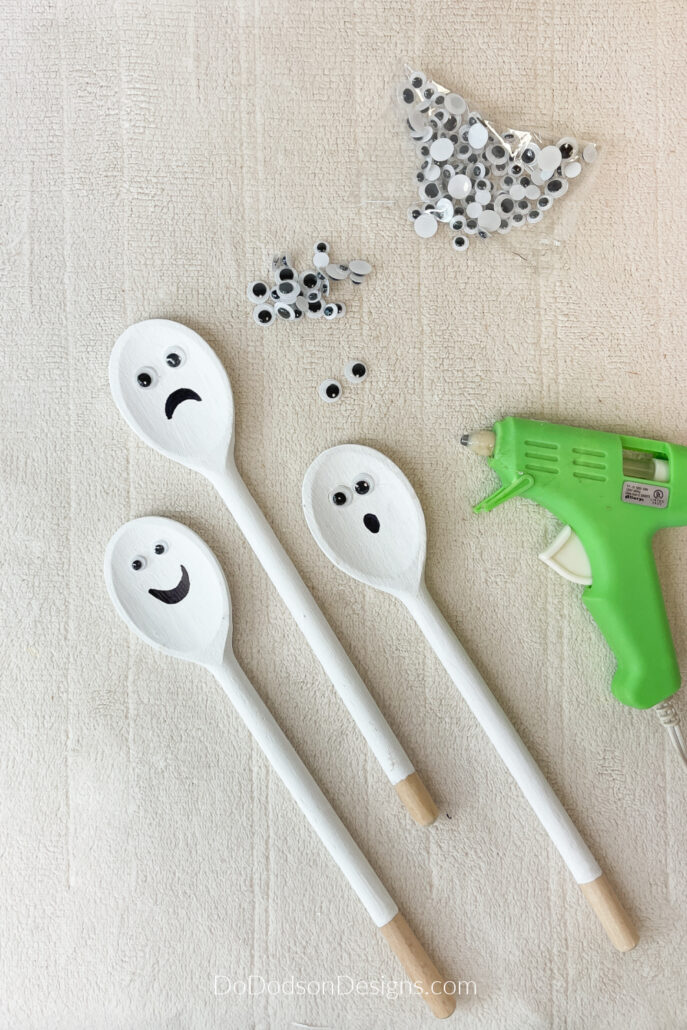
But I also wanted some with spooky eyes, so I made funny faces on one side and kind of spooky ones on the other. That should cover everyone. Which one do you prefer?
Just so you know. I’m a Grandma that will scare her Grandkids. LOL, they love it. I’ll never grow up.
STEP 4: The Final Touch – Cheesecloth For A Ghostly Appearance
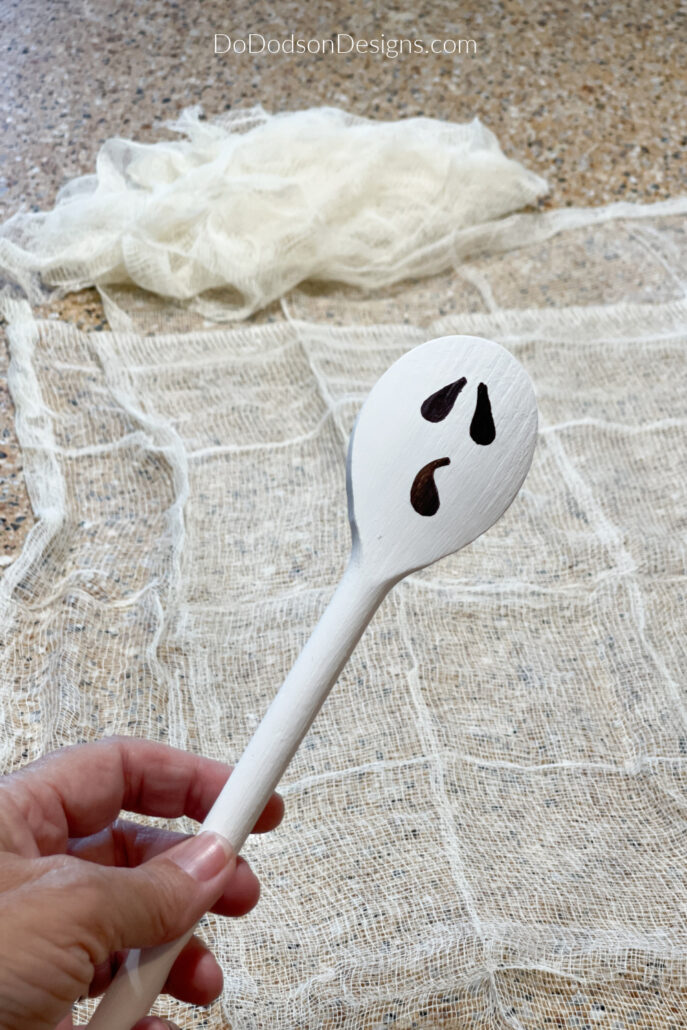
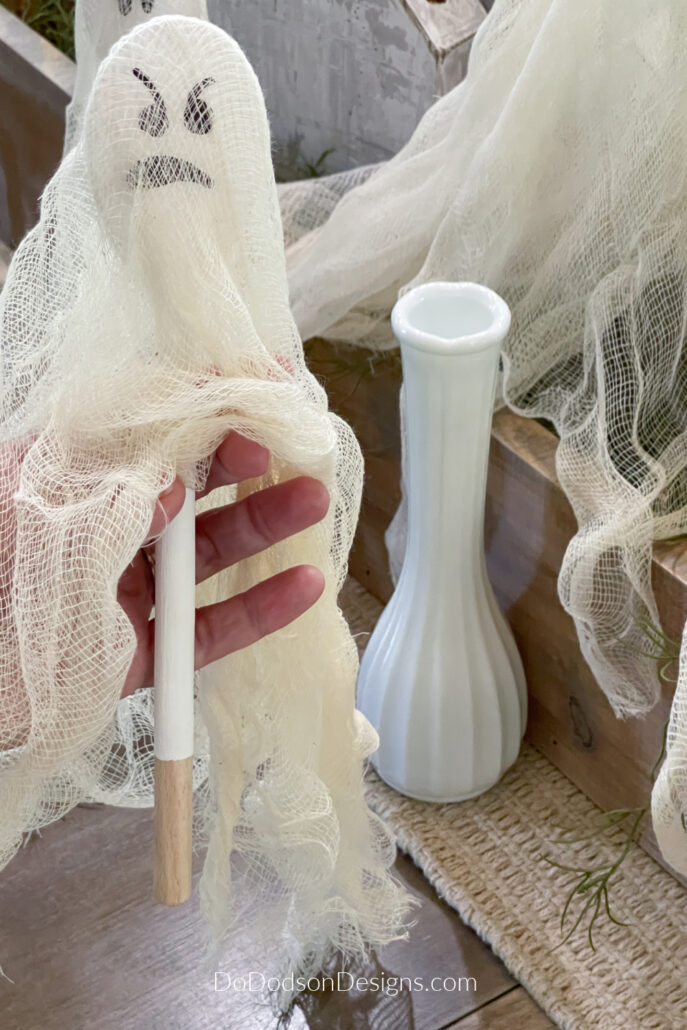
Cut a square of cheesecloth to drape over the wooden spoons, ensuring the square is large enough to flow over the spoon. Add a drop of hot glue at the top of the spoon to hold the cheesecloth in place.
Cut a second square and drape it over the first for extra spookiness. I personally like using two sheets of cheesecloth per spoon ghost. I used unbleached cheesecloth because I think it compliments my farmhouse decor.
With your wooden spoons now transformed into ghostly decorations, you’re ready to move on to the next step by adding personalized touches to make them even more unique and special. Here are a few of my suggestions.
Adding Personalized Touches
One way to add a personalized touch is by painting your DIY wooden spoon ghost in a color that speaks to you. While traditional ghosts are white, there’s no reason why you can’t experiment with different colors to match your Halloween decor or reflect your personality. Consider using shades of gray, black, or even vibrant colors like purple, orange, or green to give your ghosts a truly one-of-a-kind look.
If you’re feeling particularly creative, you might consider giving your cute little ghosts unique personalities. Maybe one ghost is the leader of the pack, while another is the shy one hiding in the corner. You could even create a whole ghost family with mom, dad, and little ghost children. Oh, the stories that you could tell the Grands!
How To Display Your DIY Wooden Spoon Ghost
Displaying these fun little ghosts is super easy and can be incorporated into your decor. Since they already have a handle, try sticking them in a tall jar or vase, letting the cheesecloth flow over the container to make them appear as if they were floating.
The wooden spoon handle acts like a giant pick, and sticking them in any area is quick and easy. Where would you put them in your home?
The Boo-tiful Ghostly Results
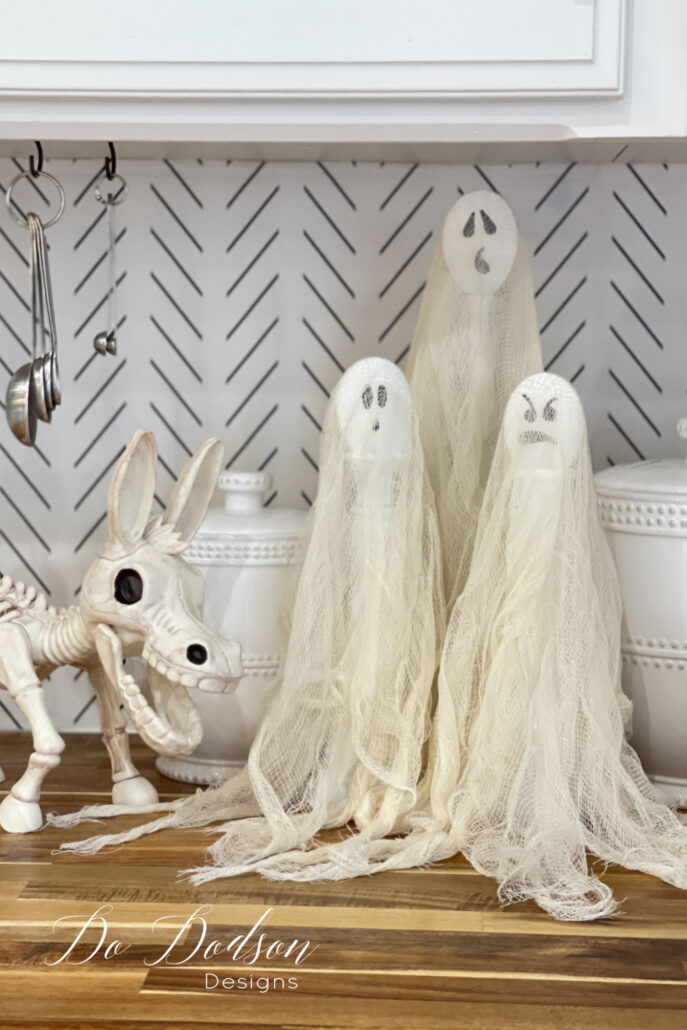
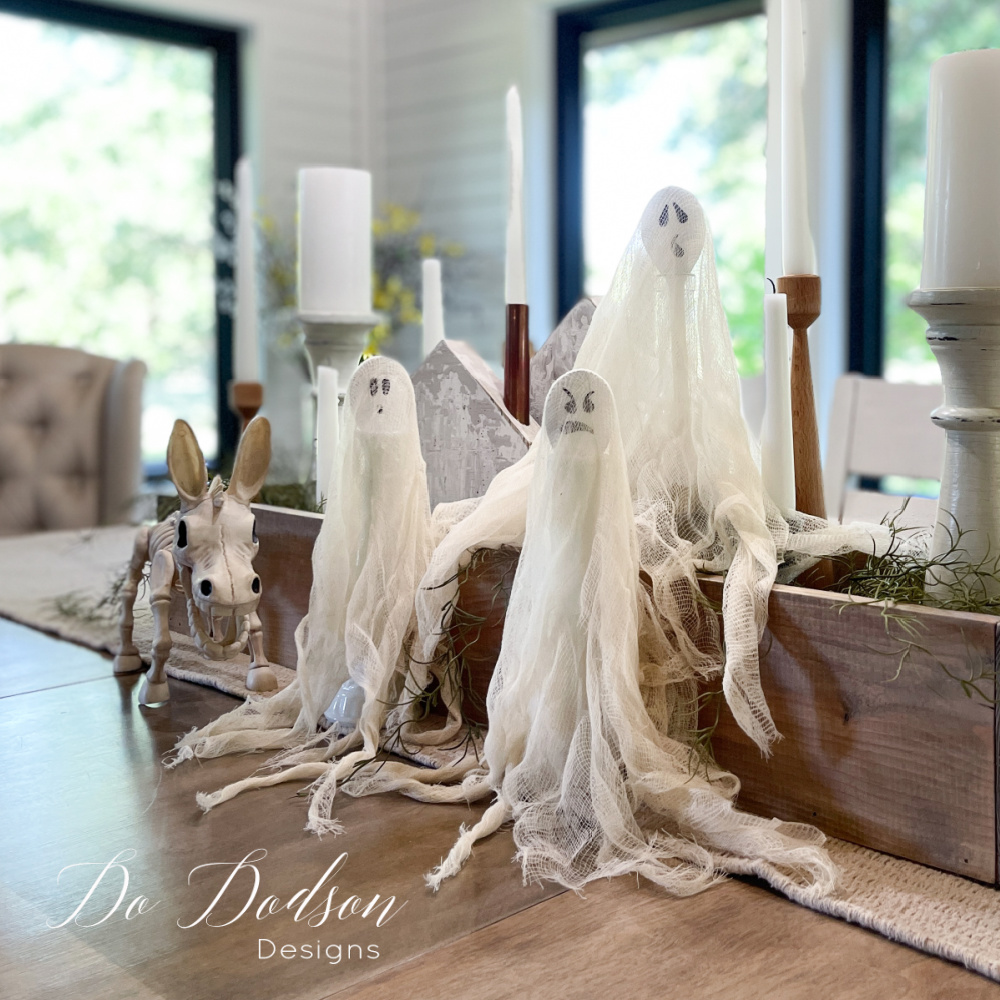
I’m having so much fun decorating with them. I see no reason not to add them to my farmhouse kitchen for a cute counter display. They look right at home with my mini mule/donkey skeleton. They are kitchen spoons, you know? LOL
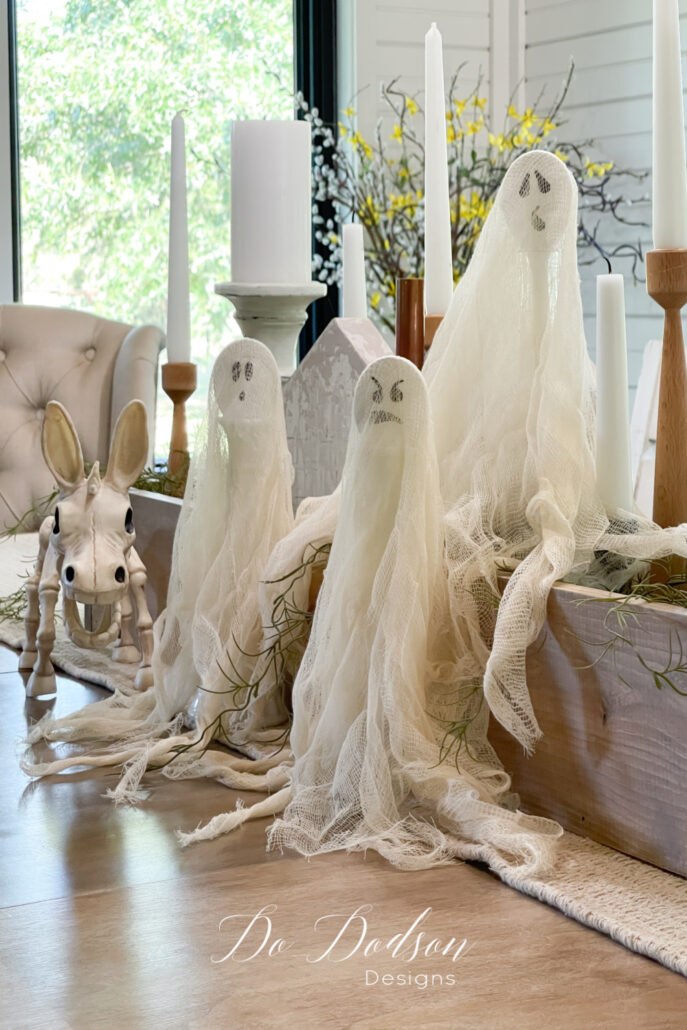
Easy DIY Halloween Table Decorations
I have a feeling these won’t be the last batch of DIY wooden spoon ghosts I make for Halloween. Aren’t they sweet? I’m a bit obsessed with the look, and don’t they look amazing on my farmhouse table too? They’re perfect with my existing DIY wood box centerpiece.
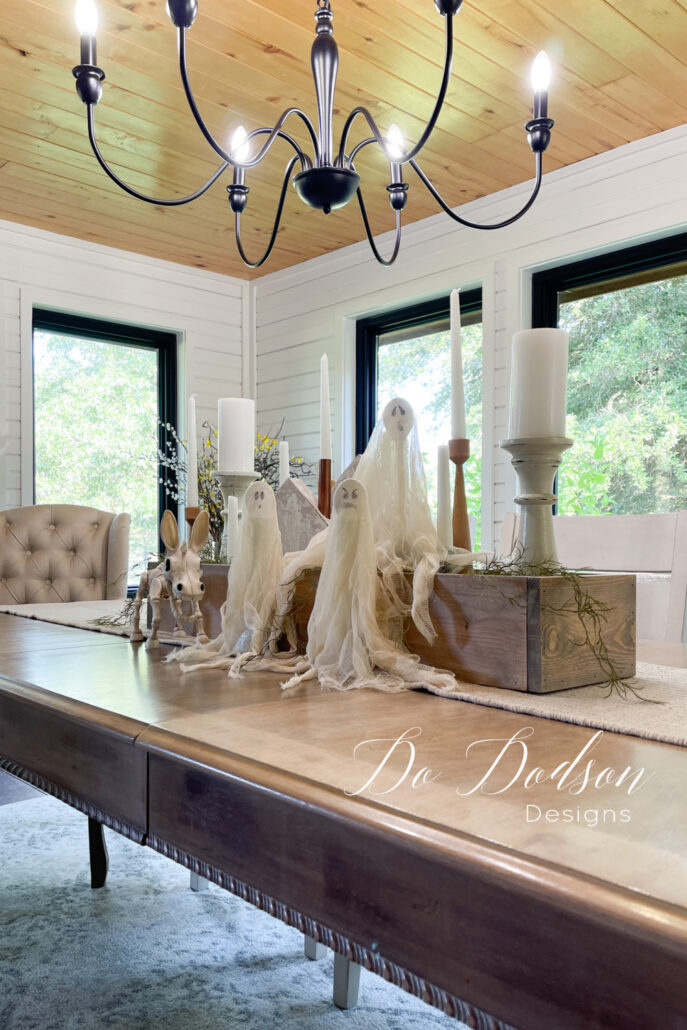
Need a kid-friendly craft idea? This is a FUN Halloween ghost craft that can be done with kids of all ages.
Or you could always call your ghoul friends for a night of giggles, goblins, and ghosts. Doesn’t that sound like fun? Who doesn’t want cute Halloween decor?
Hey, thanks for joining me today, and I hope this inspires you to grab some wooden spoons and have fun creating memories and making the cutest DIY Halloween decor ever. Now go make your home boo-tiful! Don’t forget to let me know what you think about this DIY Do-able project and to let me know that you stop by. I always love hearing from you.
Until the next project… xo, Do

Do!!!
Don’t let Jack and Diane see that!!!!😱
Leslie
Ha ha ha those two eat too much to ever look like that.
These are the cutest ghosts I have ever seen.
Hi Cindy! Thank you. They are pretty dang cute. 🙂 😘
So cute Do!!! Glad you are being good up yourself and going easy after surgery. Praying you’re blessed with a speedy recovery
Hi Diane! It’s always good to hear from you and thanks for reading. Yes, recovery is slow but I’m working at my own pace. Have a wonderful week. 🙂 xo
Super cute idea Do! XOXO
Hey friend! Thanks! I’m trying to get a head start on my Halloween decorating. Slow decorating for me. At least for a while. 🤣 Have a great week. 🙂 xo
Oh my goodness, Do! These are adorable and so easy for littles to make too.
Hi Tammy! Yes! They are a fun kid friendly craft too. I hope you’re doing well. Thanks for stopping by. 🙂 xo
Seriously the cutest scariest ghosts I’ve ever seen! Take care while you heal! Pinned 🥰
Cute and scary! A fun combination for Halloween. 👻 I’m doing good and excited to get back to bigger DIY projects. I have several in line. Have a great week, my friend. 🙂 xo