
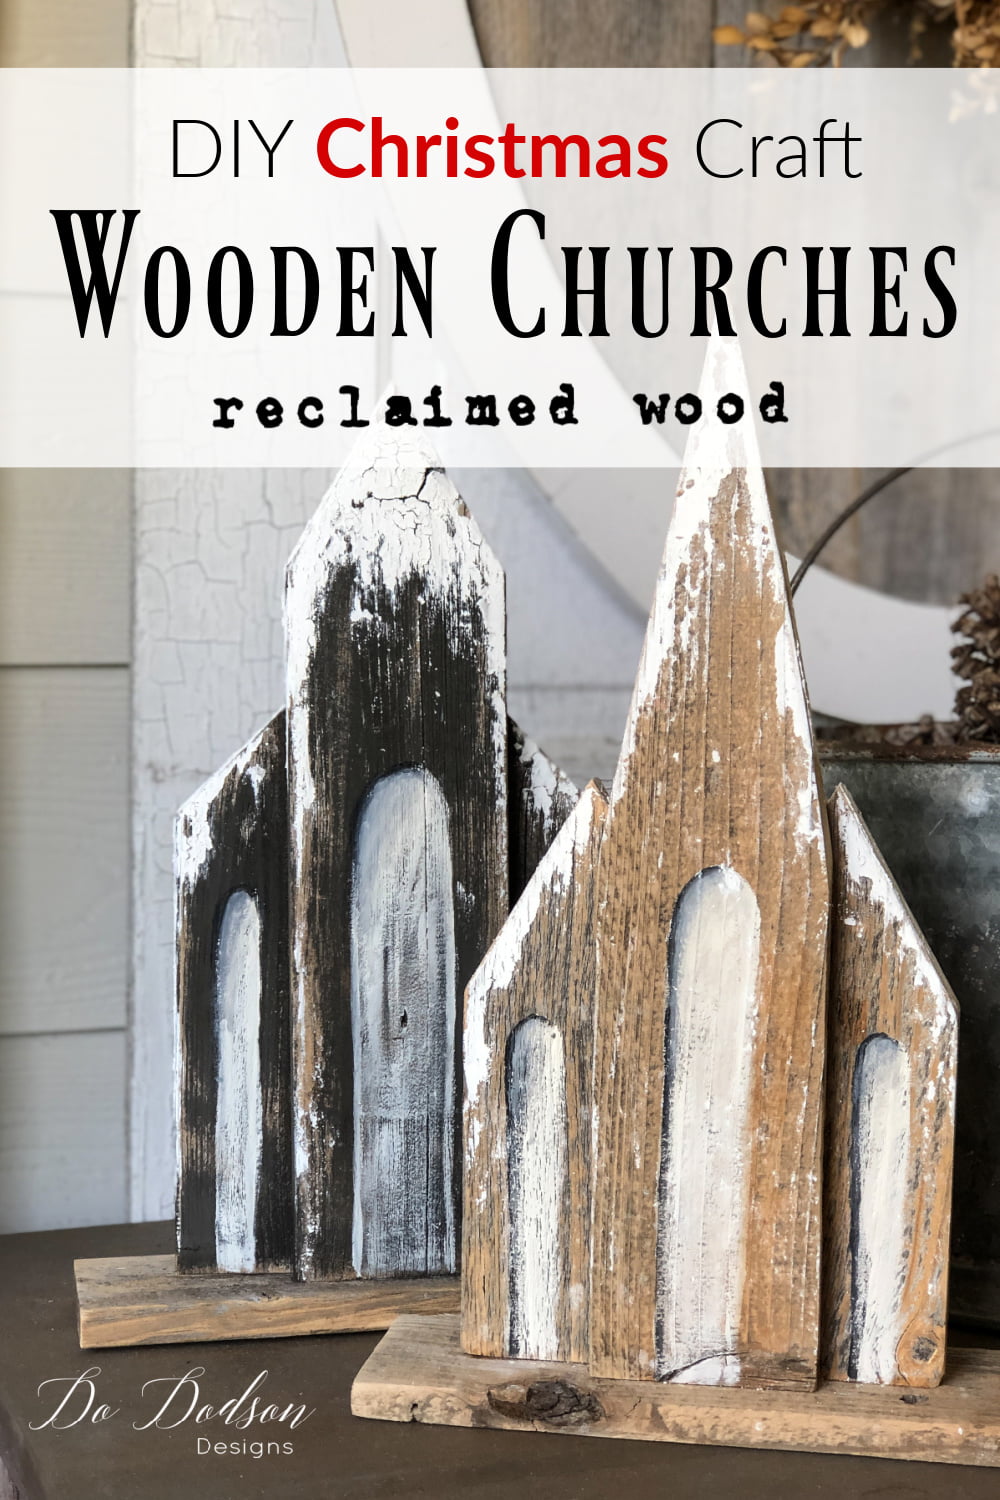
Hello sweet friend! Do I have a Christmas craft project for you? Today I want to show you how to use reclaimed wood to create beautiful rustic wooden churches. With a few simple angled cuts and some glue, you’ll have a project that you can be proud of. And I’ll show you how to add the crowing touches with some cool texture for a dreamy snow-kissed look.
This post contains a few affiliate links to help you find the products I use. You are not charged extra to use any of the links, but any income I make will be used for more amazing DIY projects to share with you! To see my full disclaimer, click here!
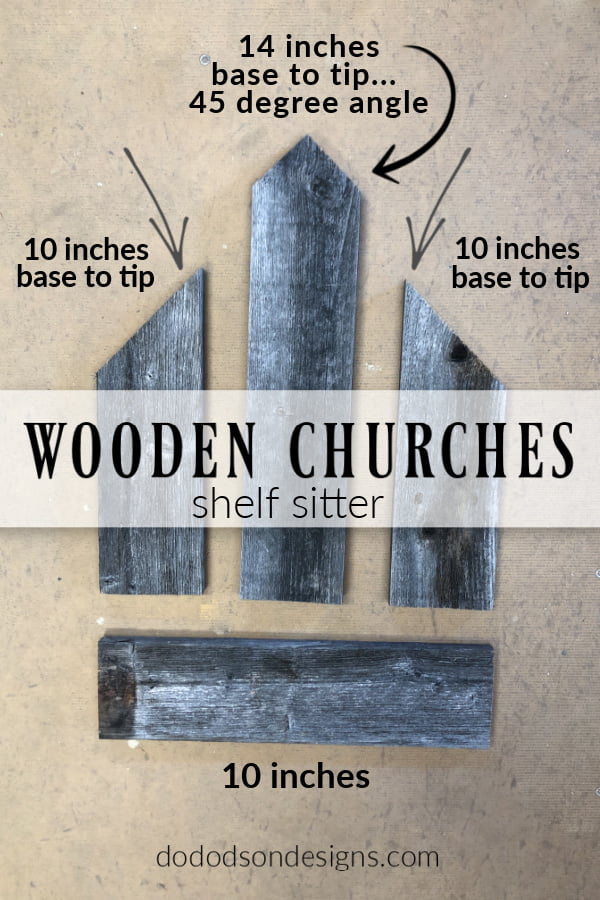
Wooden Churches – 4 Simple Cuts
These wooden churches are such fun to make, and I believe that almost anyone that can cut a board can do this. Below are the cuts you will need to create these cute little shelf sitters. I used weathered fence pickets for this project, but you can use what you have. That’s why I always save these scraps! You can adjust the Steeple centerboard to whatever angle you want.

Product List For This Project
- reclaimed lumber or fence pickets
- Chop Saw
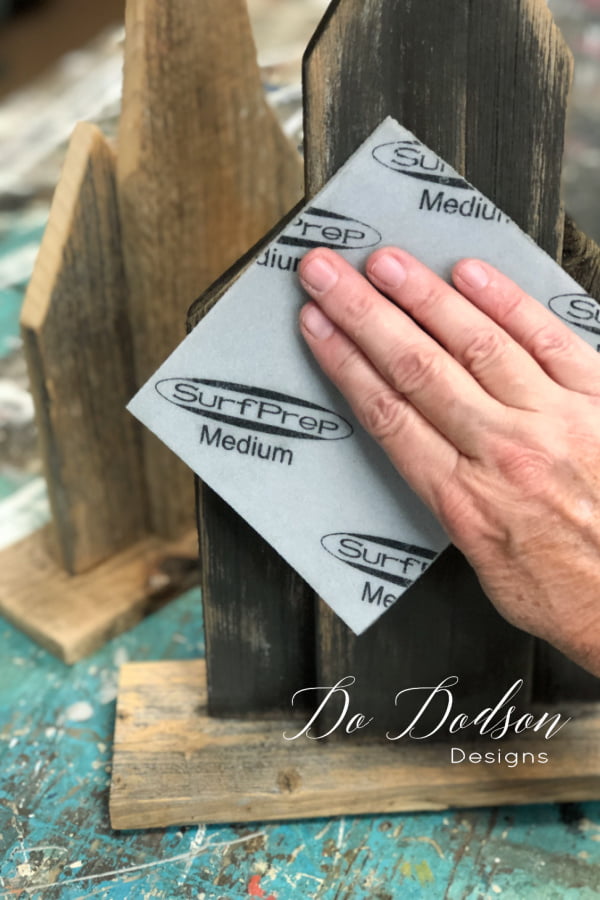
- SurfPrep Sander or Sanding Pads
- Pin Nailer or nails
- Wood Glue
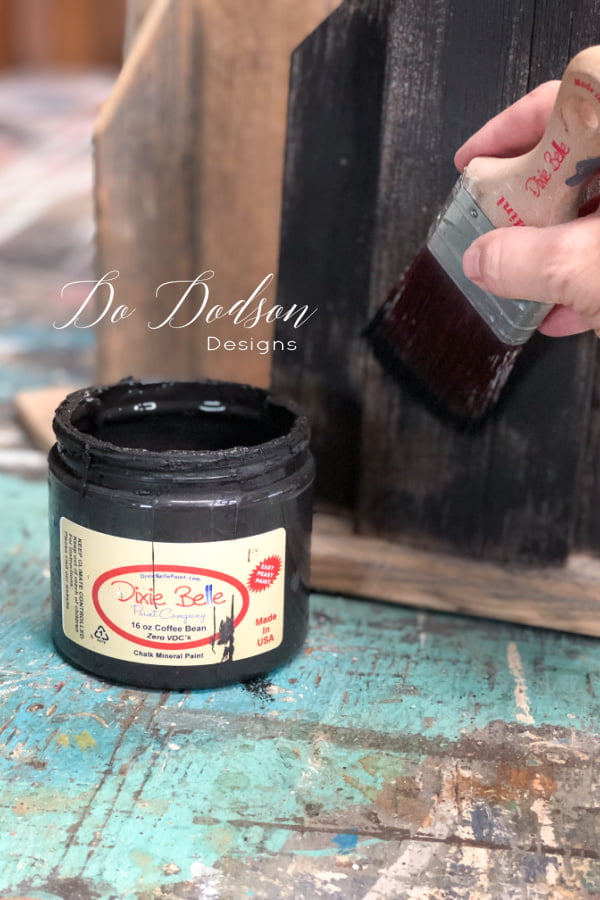
- Coffee Bean (chalk mineral paint)
- Butter Cream (chalk mineral paint)
- Paintbrush
- Artist Brushes (for painting design on the wooden churches) and pallet knife (for texture application)
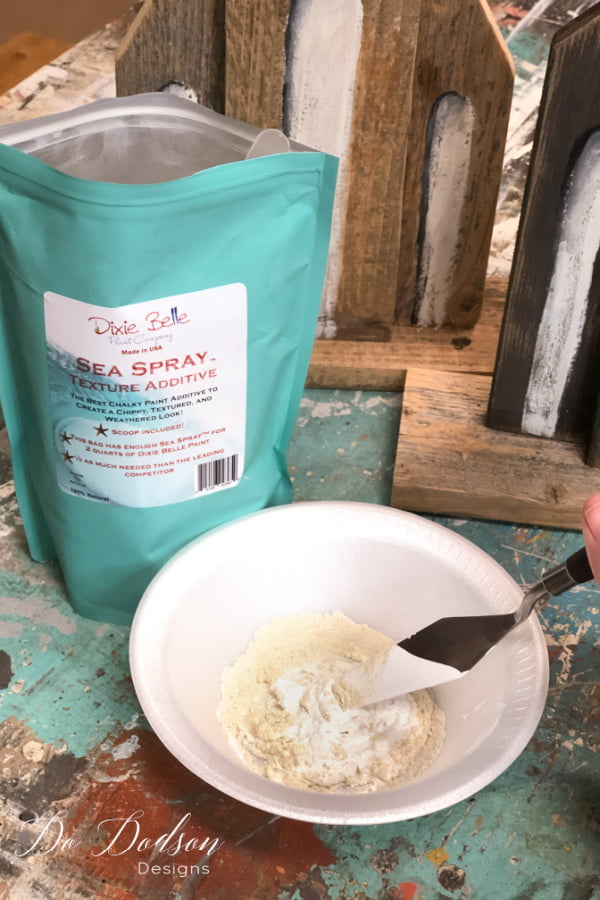
- Sea Spray Texture Additive (for chalk mineral paint)
- Gator Hide (topcoat sealer)
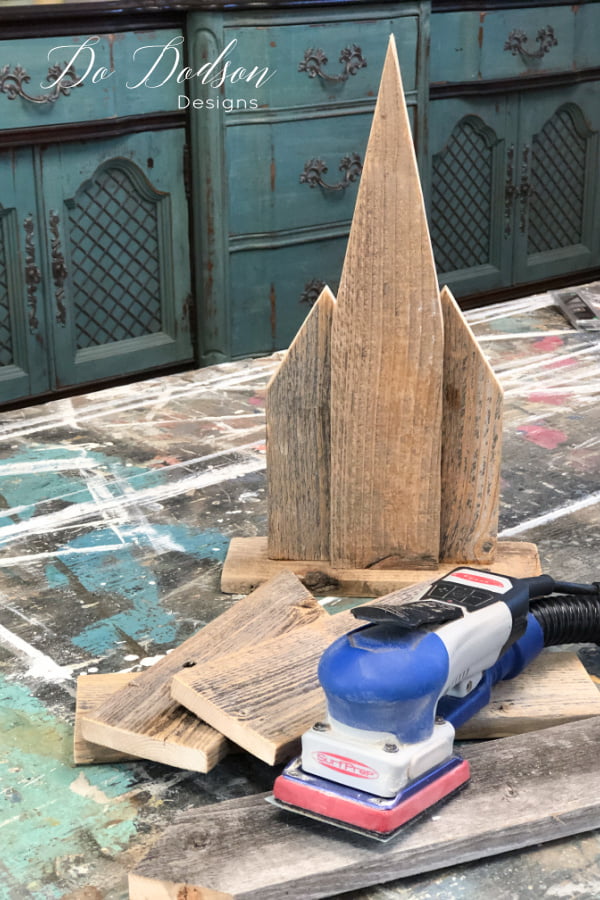
Sanding and Assembling The Wooden Churches
Once you have your wood cut to the appropriate length and you’re happy with the angles, you’ll need to give them a good sanding before (especially if you’re using weathered lumber like these fence pickets) doing a “dry fit” of your wooden churches. A dry fit is where you put the boards together to make sure everything lines up before they are secured together.
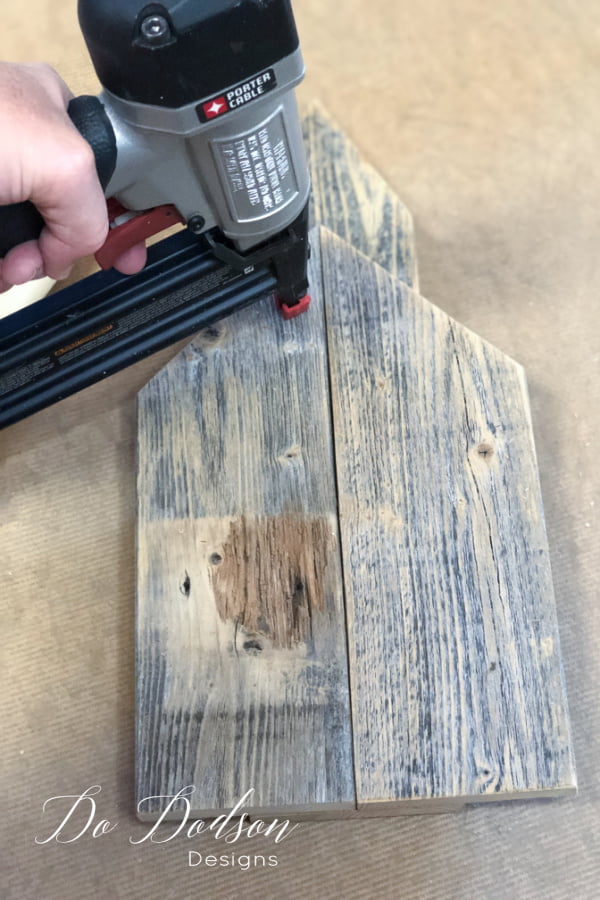
Lay the boards on a flat surface and use wood glue to secure them together. This will be the front side, or you can also use the backside as the front. Both look cute! The wood glue is really all you need, but I was in a hurry and didn’t want to wait for the glue to dry, so I pin-nailed the wood together after applying glue.

Securing The Wooden Base To The Churches
Next, apply a small bead of wood glue to the bottom of the wooden church and secure it in the center of the baseboard. Again, you can also add a few pin nails if you are impatient like me. 🙂

Aren’t They CUTE??? Time To Paint… Or NOT!
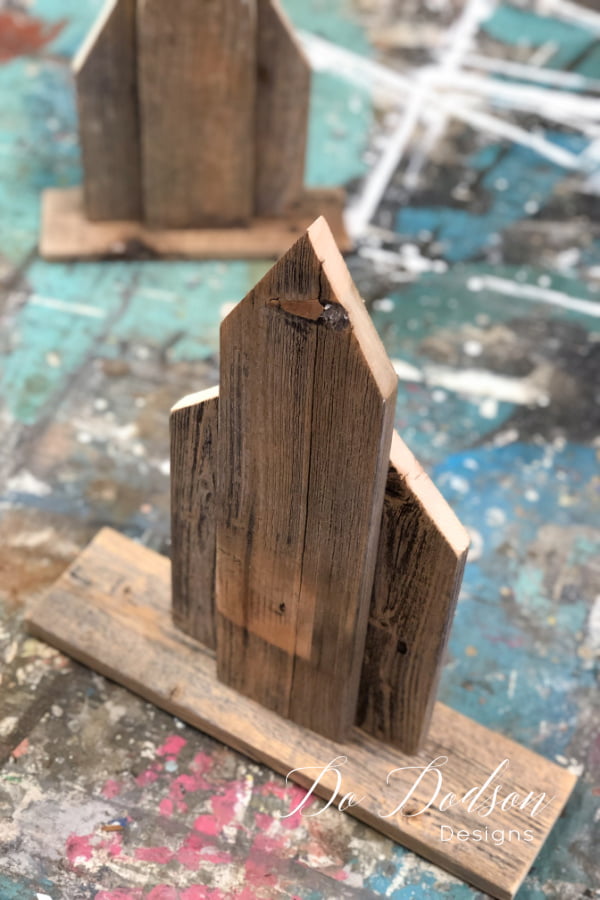
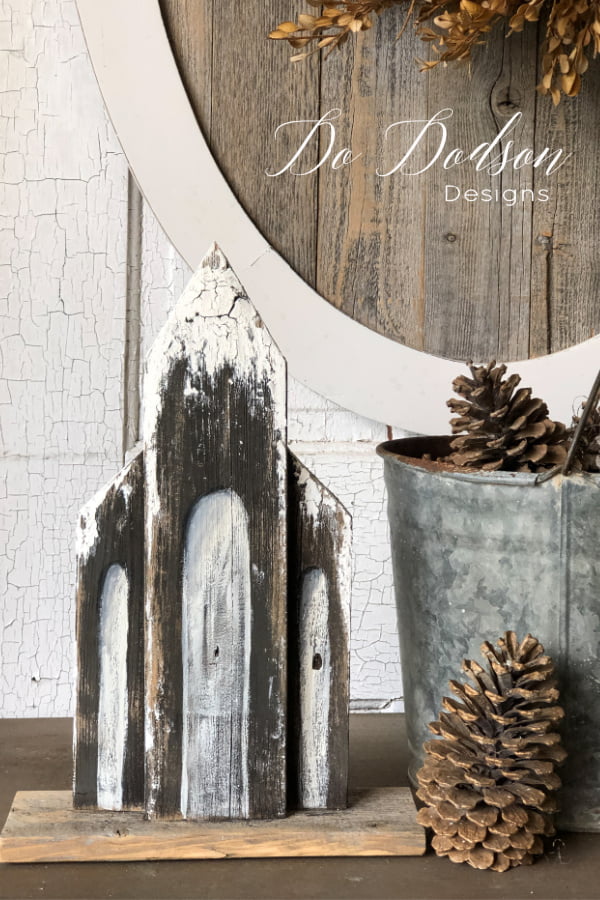
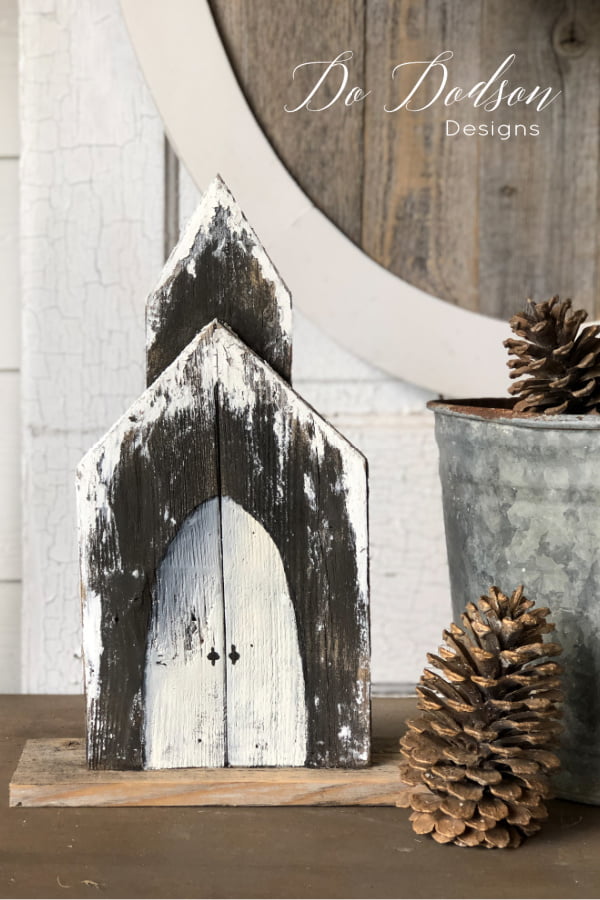
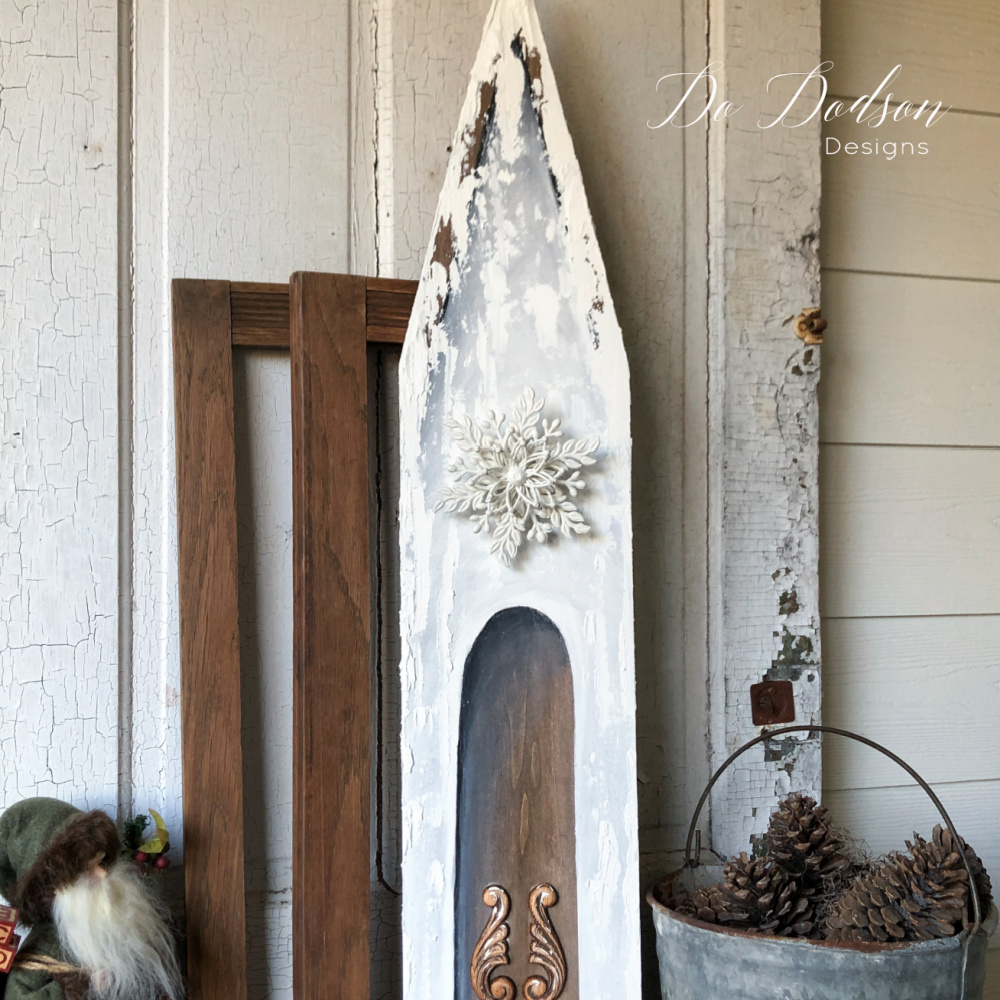
I made two wooden churches, but one (centerboard) had a greater angle for a higher steeple. That one had to be cut with my circular saw instead of my chop saw. I decided that I only wanted to paint one of the churches. I used chalk mineral paint for this church and dry-brushed it over the wood, not giving it full coverage. I wanted to leave just enough wood showing to give it that rustic look.
After the paint had dried, I used a sanding pad to sand back the edges and add some distressing.
Adding A Snow Kissed Look To The Wood Churches
Here is the fun part! Who am I kidding? It’s all fun. Using a texture additive in the Butter Cream chalk mineral paint (I didn’t measure. It’s not that important.) I just added a little to the paint until I get the consistency I wanted. I recommend using a disposable bowl. Use a palette knife to scrape the thick texture paint over the church, focusing mostly on the peaks to give it that snow-kissed look. I choose not to seal the paint, but if you’re displaying them outdoors, I recommend a Gator Hide topcoat sealer.
* The church doors were also painted with chalk mineral paint.
Rustic Wooden Churches- Winter Home Decor
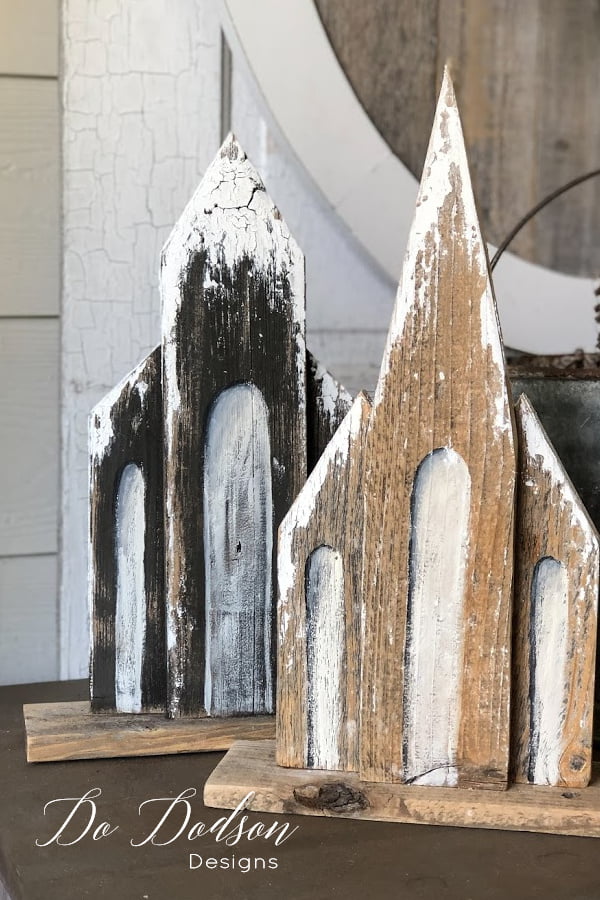
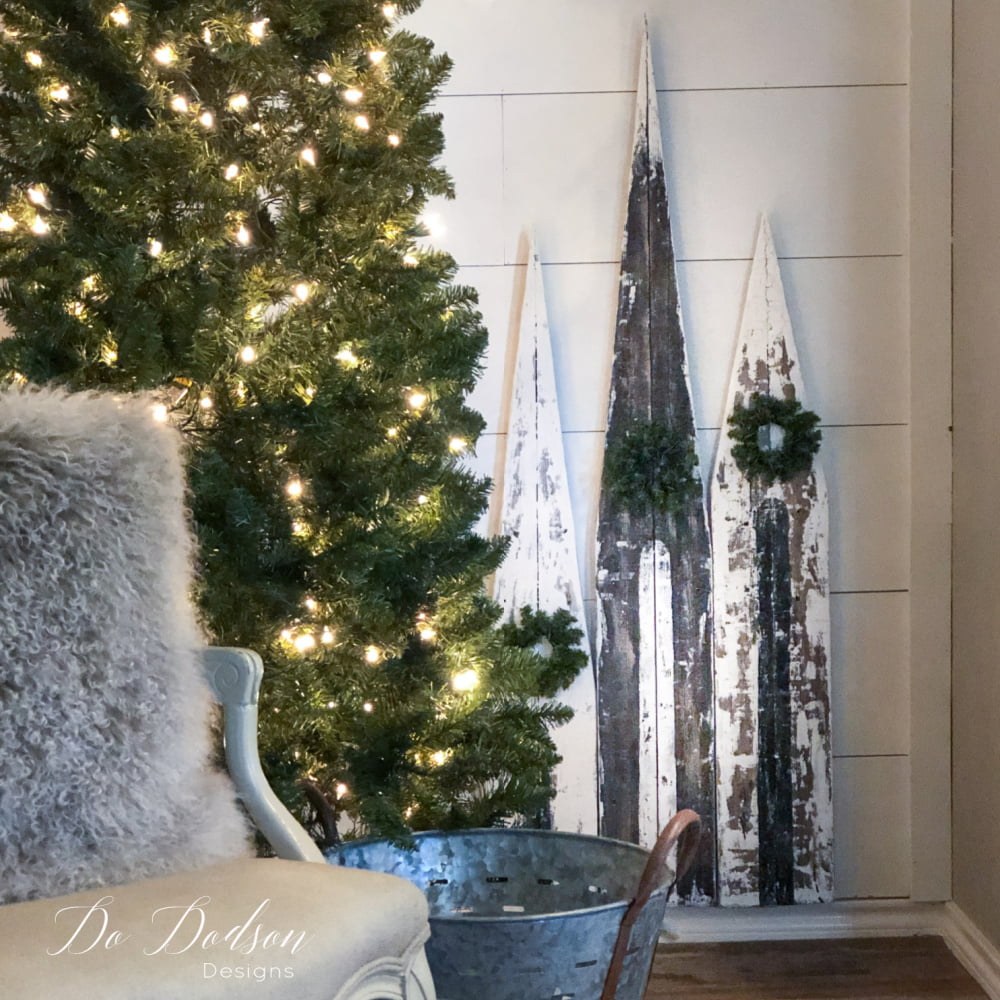
And just like that, you have beautiful wooden churches. Not just for Christmas but all through the winter. Paint or no paint, I think they both are FABULOUS! You could even leave off the snow kisses, and they would be perfect all year round.
Did you enjoy this project? I have more for the holidays too. Check out the related post below for more DIY decor ideas.
Until the next project… xo, Do

I love these Do! You have the cutest craft projects. Now I really have to go harvest some old boards.
Thanks, Amanda! I like it easy and cute. 🙂
I love it. Thank you ms Donna
You’re welcome, Eleni! I’m always happy to share those fun, easy projects. They make me happy. 🙂
You are the most craftiest person ever! I love these! I’m so glad I joined your blog! I look forward to all your future craft endevors!
Hi Karen! These kinds of projects are my favorite. So glad you enjoyed this. 🙂 xo
Your really got it girl!!!
Thanks, Sue! 🙂 So glad you enjoyed them. xo
Hi Do, They are beautiful!! What did you use to cut out the door indents?
Love them to bits..
Hi Lyndsay, It’s paint! I used the black and blended it with the white to give it the appearance of depth. I guess I did good. 🙌 You can totally do it. 🙂
I’ll be making these, as soon as I can find some weathered fence wood! So cute, and a quick easy project! 💖
I know you’ll love them as much as I do. Enjoy! 🙂 xo
This is fabulous and right up my ally!!! The doors and windows actually look carved out,
Wow just wow!
Thank goodness for paint and shadowing. 🙂
Sooo beautiful Donna! I have this project! Im done first with the wood work, and time to paint! Thank you for your inspiration 🙌🏼
Fabulous! I’m so happy you’re enjoying this project. It really is fun and easy. Send me a pic when you’re done. [email protected] 🙂
This is the first time I’ve ever actually seen you create a project and omg I am in love! I just got the email for the stenciled board and ended up finding this as well. I really thought you just painted furniture and that was it but wow you never cease to amaze me Donna…your projects are wonderful! I can’t wait to explore more to see what else you have in store for me…lol!
Happy Thanksgiving to all!
Thank you, Shirley! While I enjoy painting furniture, I also LOVE creating budget-friendly crafts and home decor. I’ll be sending you more. Happy Thanksgiving to you and your loved ones. 🙂 xo
I thought the doors & windows were carved out as well! Thanks for your inspiration!
You’re welcome, Carol! Merry Christmas. 🙂
Oh wow!! I just found your site and I want to hang out with you so bad!! That smile and your great ideas. Thanks so much and I am sure you will hear from me soon 😀
Hi Diana! I’m so glad you found me. Looking forward to sharing more with you. xo 🙂
OOOhhhh I am so excited and happy to have found your site! LOVE these churches and going to try and make some, they are adorable! The hubs and I made one today, out of scrap wood we had. Having trouble finding the fence boards you used, but hoping to find some soon. You are such a fun and happy person, love listening to you. Will send you a photo of our “first” of many I hope. Thank you and have a wonderful day….
Hey Judy!
I’m so happy you found me. Those churches are my FAV! Please subscribe to my weekly newsletter if you would like to be notified of a new project. In the meantime, you can browse all my blogs to find more creative ideas for your home. I can’t wait to see your churches! 🙂 xo
What is the width of the boards?
Hi Sharon,
Fence pickets come in different sizes. These were a little over 3 inches. I don’t think it matters the size. Have fun creating these little churches. 🙂
Wow you are great!!!! I thought the doors were cut out too!! Great job. Thanks for sharing
I’m so glad you enjoyed my little church. 🙂
love the little churches. do you just paint the back side too to look like 1 door, and the 3 doors are on the other side? just free handed paint I am guessing.
thanks for the cuteness.
blessings
Barb
Hi Barb! Yes, all the doors are hand-painted. You’re welcome, and thanks for stopping by. 🙂 xo
Just made 8 churches and 16 wooden starts from wood harvested from grandpa’s house before they tore the house down. The churches were so easy. Can’t wait to give them character with paint.
You just made my day, Karen! I have a lot of wood, doors, and old windows I saved before my Grandparent’ home was torn down. I can’t think of anything better than to create beauty from the memories. Have a blessed day. 🙂 xo
Donna these are great! n Pinned!
Hey Cindy! Thank you so much for the pin. I appreciate it so much. Have a wonderful weekend. 🙂 xo
Are the doors cut out for the church or just painted on
Hi Diane.
The doors are painted on using a shadowing technique. But I have seem others use popsicle sticks that look great too. 🙂 xo