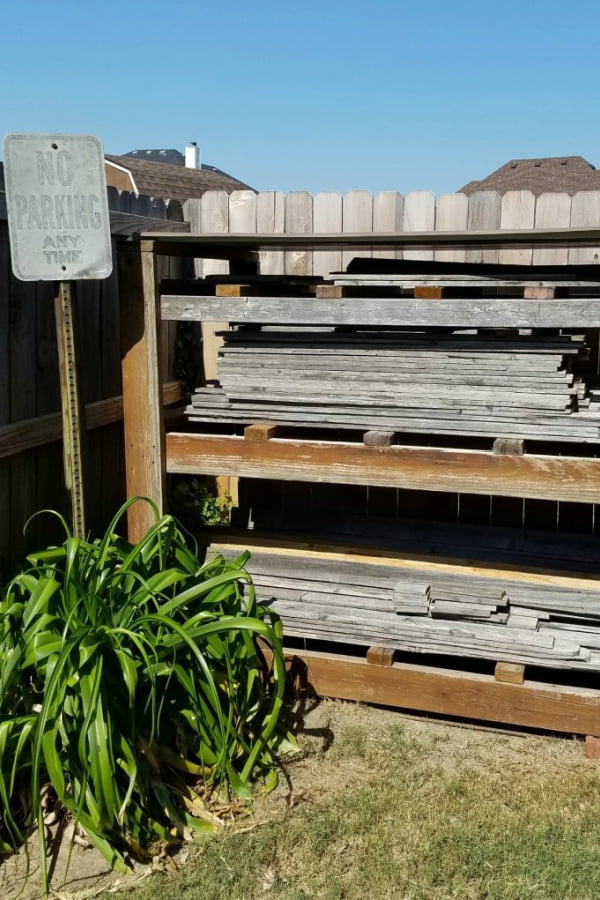
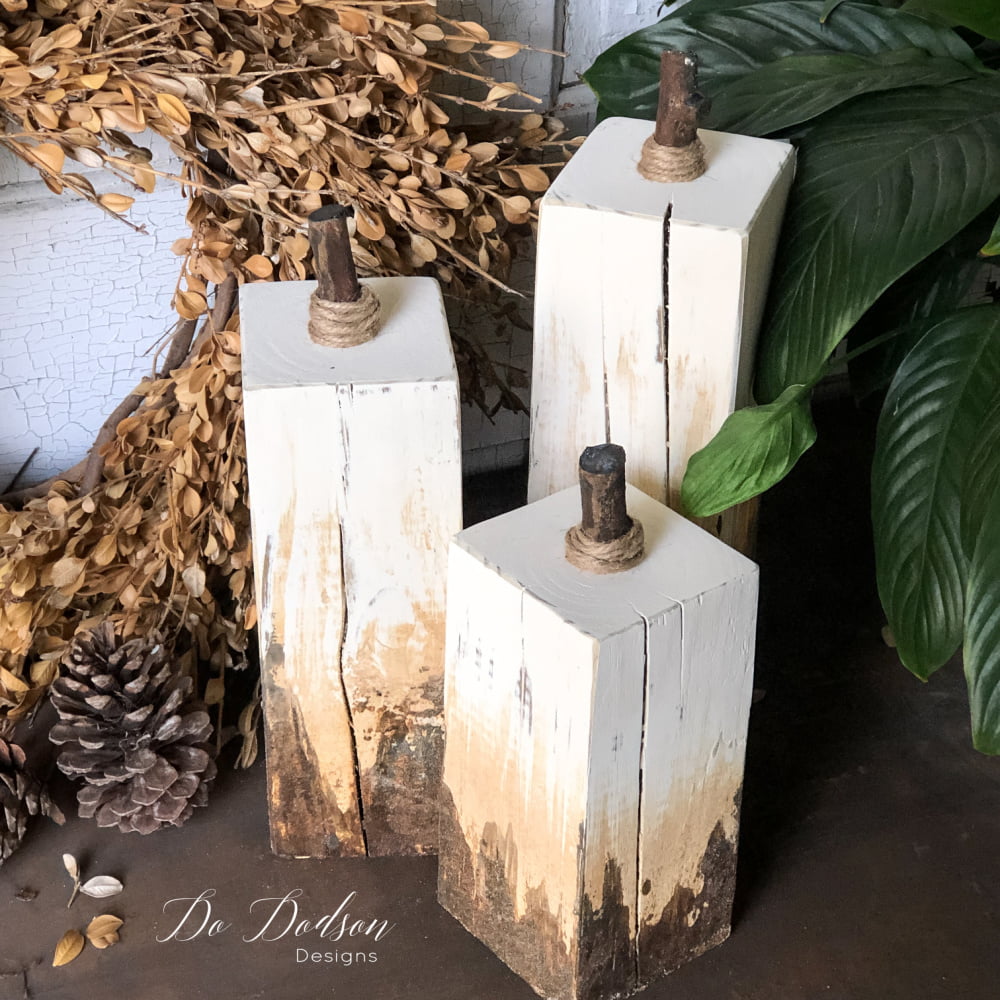
I just knew, when Mr. Honey Do and I began removing our old fence one year ago, that I would make great use of every single board. And… this Fall, they will make the best wooden pumpkins for my front porch! Mr. Honey Do wasn’t exactly ecstatic about the idea of the nail pulling. But I was determined to pull nails out of every single board. About halfway through the nail pulling, he was right there beside me with a hammer in hand. We’re a good team!
This post contains a few affiliate links to help you find the products I use. You are not charged extra to use any of the links, and any income I make will go toward more fun projects! To see my full disclaimer, click here!
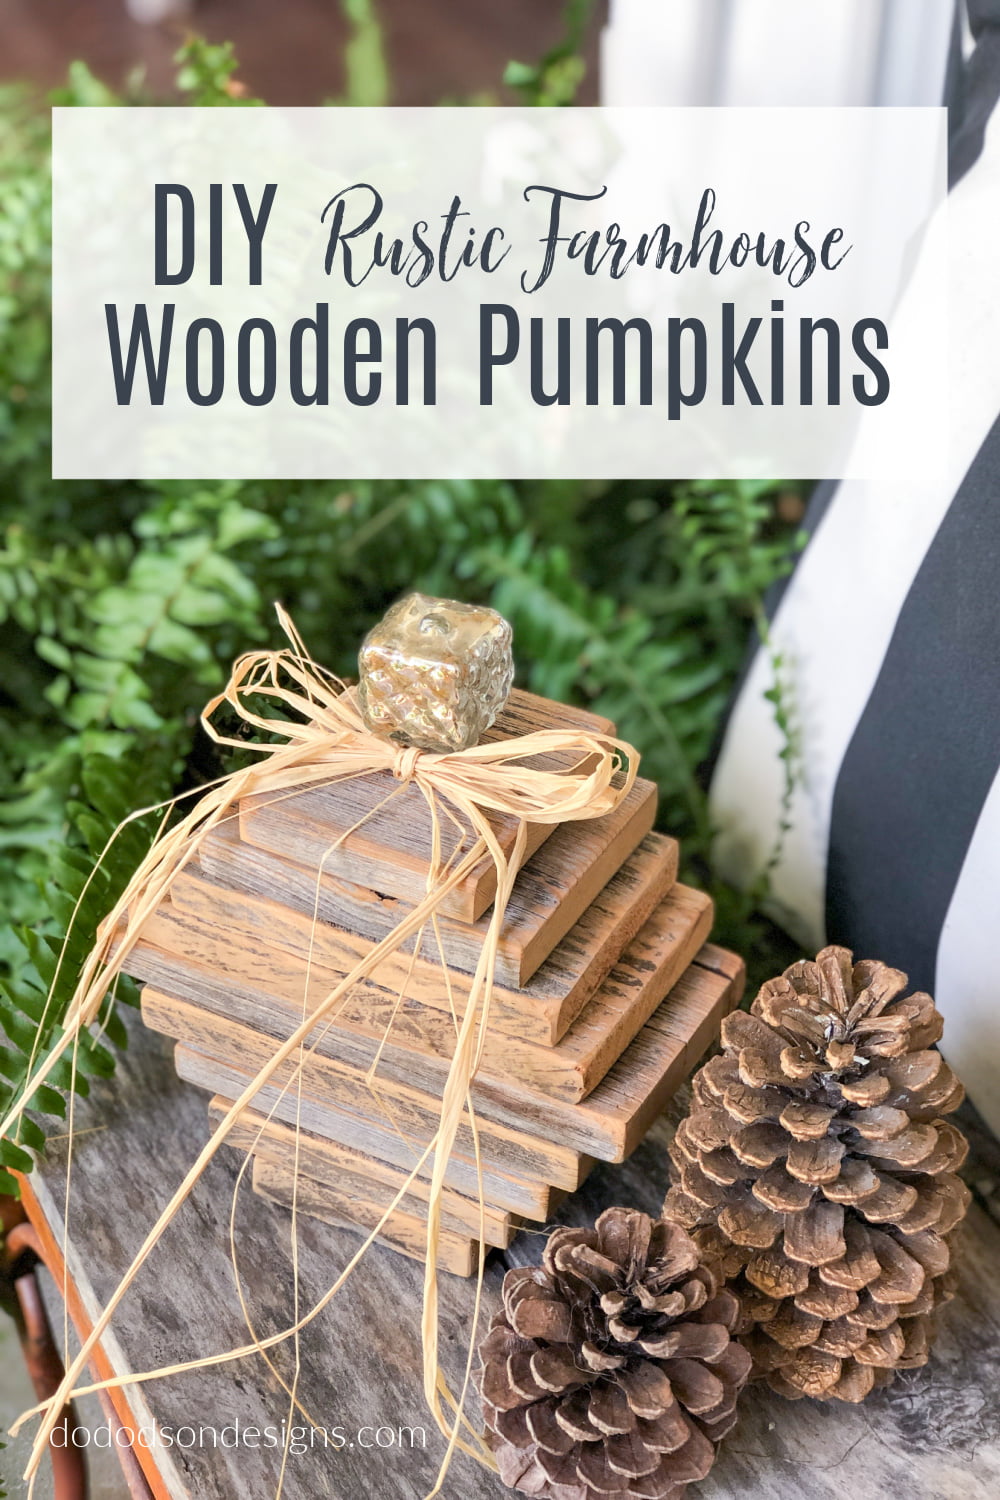
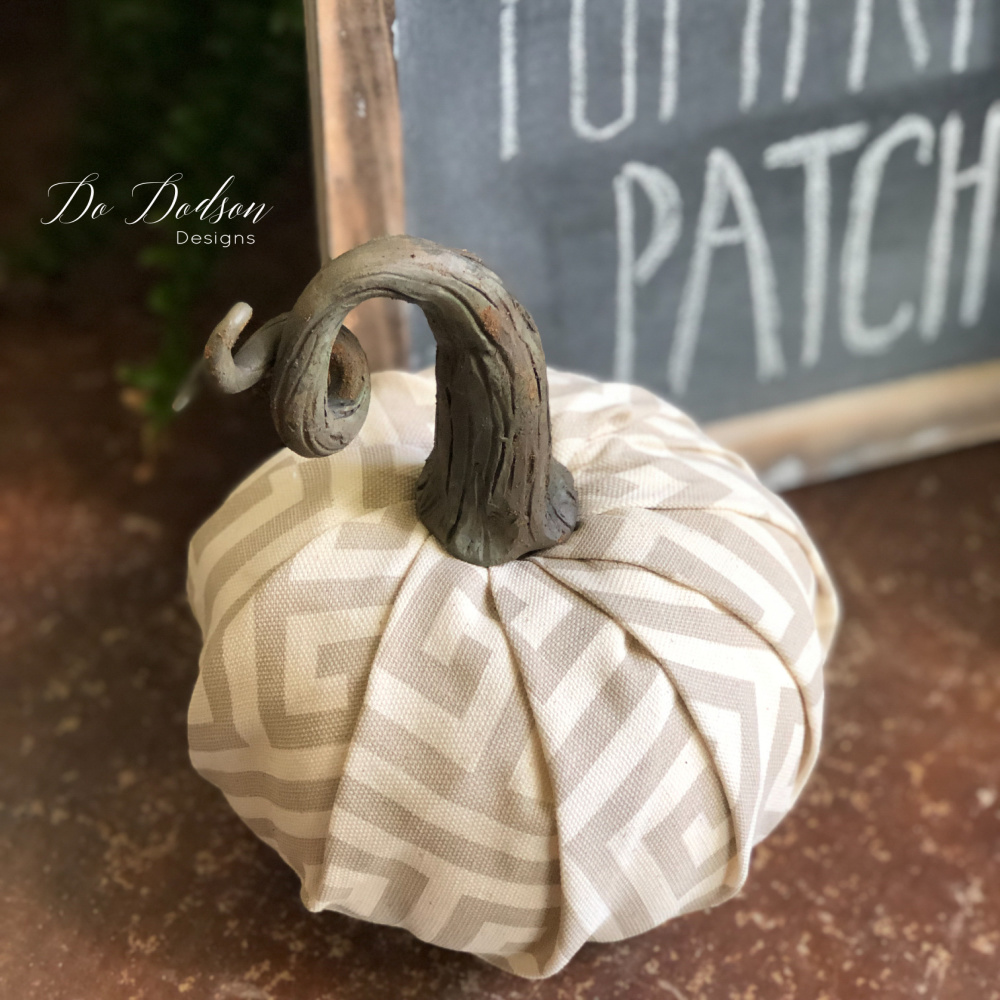
Weathered Fence Pickets Make CUTE Wooden Pumpkins
Welcome to my stash! The wood is weathered and ready to go. I can’t wait to show you. Oh, don’t miss the VIDEO on the whole process. You can scroll down from here to find it.
SUPPLY LIST:
- Fence Pickets (weathered is the yummiest)
- Chop Saw
- Wood Glue
- Drill
- Sander or hand sanding
- CUTE Knobs or Hobby Lobby knobs
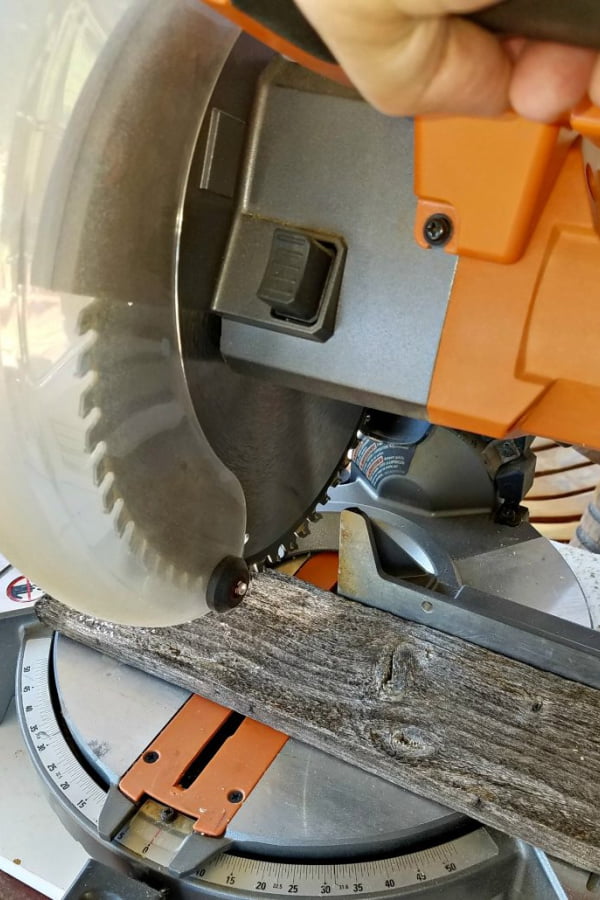
Measure Twice, Cut Once
Measure twice, cut once… I can hear my brother say this every time I pull out my saw. Of course, I had to learn the hard way. Yeah, I’ve messed up my share of cuts, but I’m pretty good at it now. This really does work.
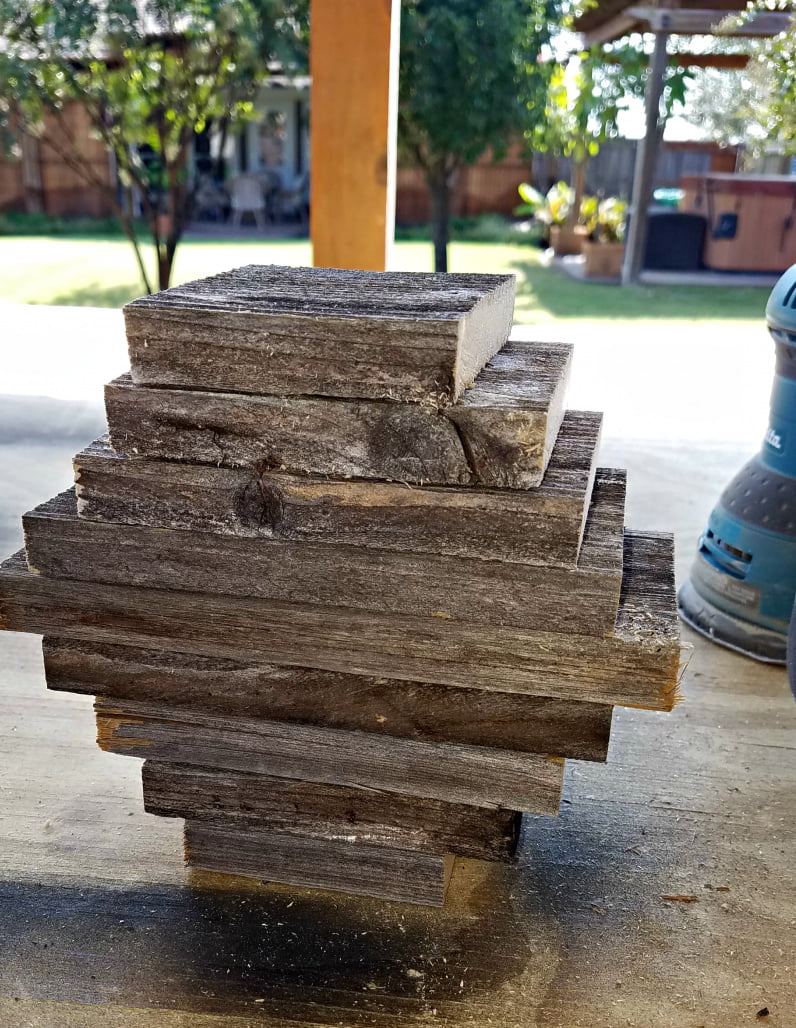
The fence picket sizes you’ll need for this wooden pumpkin project are as follows.
- One 7″ piece
- Two 6″ pieces
- Two 5″ pieces
- Two 4″ pieces
- Two 3″ pieces
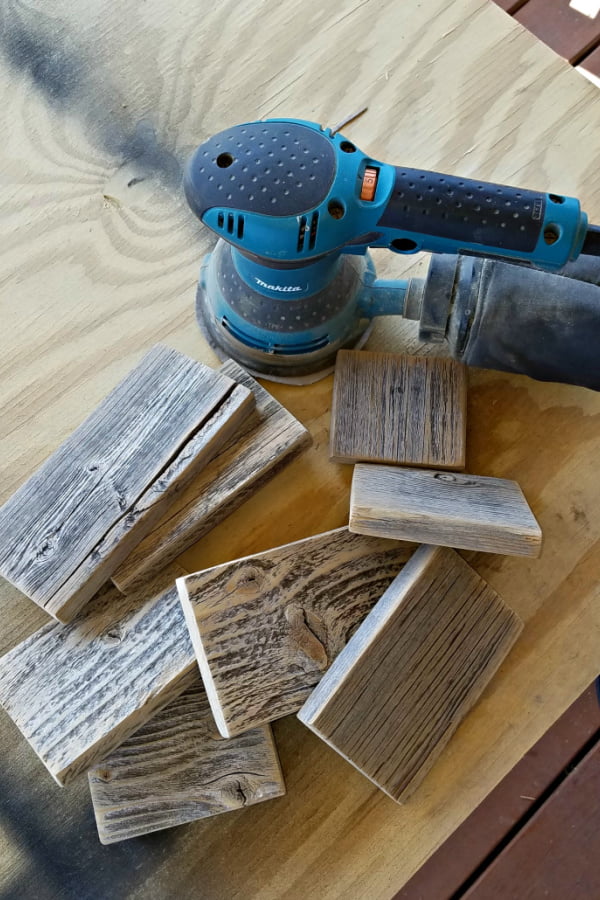
Sanding Your Boards
Once you have the wooden pumpkin pieces cut to the appropriate lengths, give them a good sanding with 220-grit sandpaper first. This will remove a bit of the weathered gray (and splinters), but what’s leftover is amazing! Bits of warm wood and weathered gray goodness. It’s the perfect look for my farmhouse porch. I used my electric sander, but you can do it by hand if you prefer.
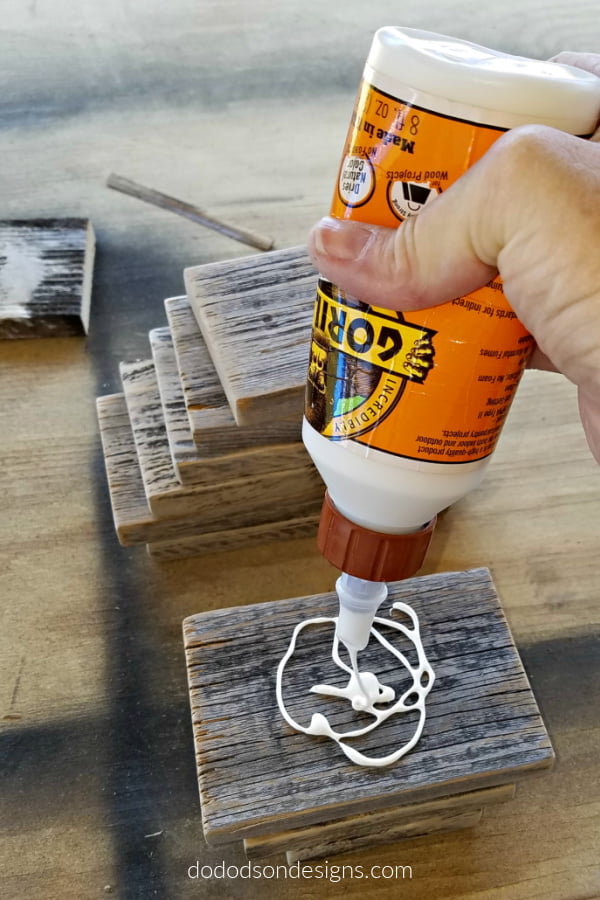
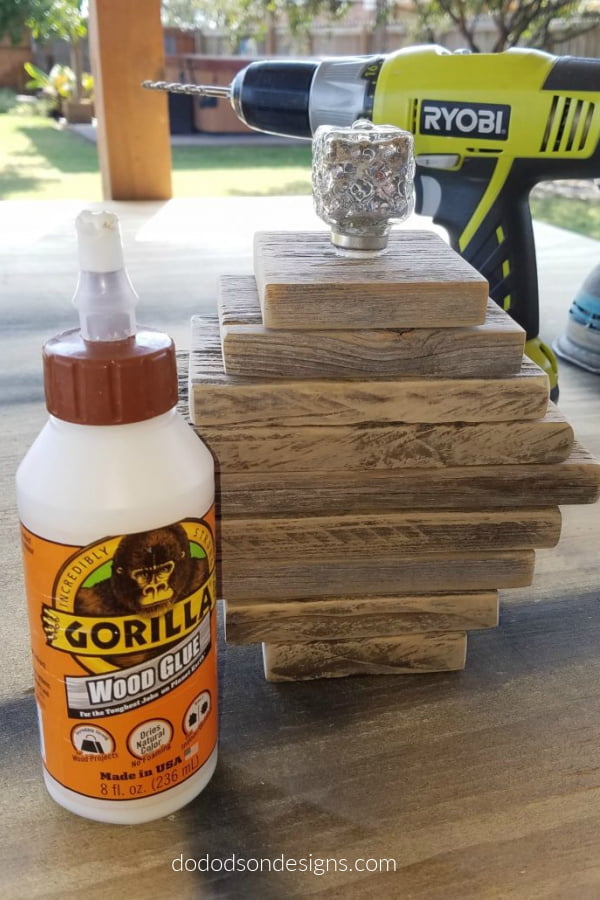
Gluing The Wooden Pumpkins Together
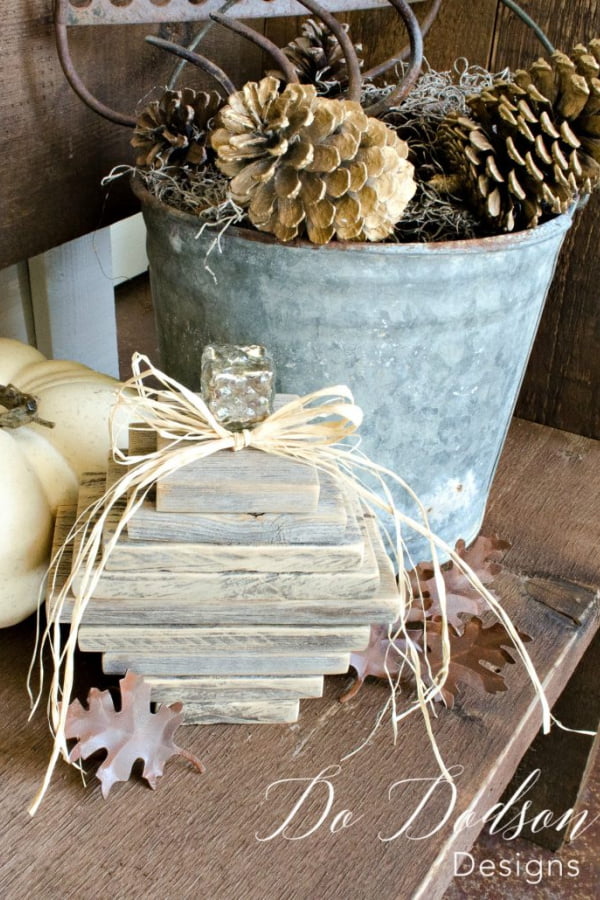
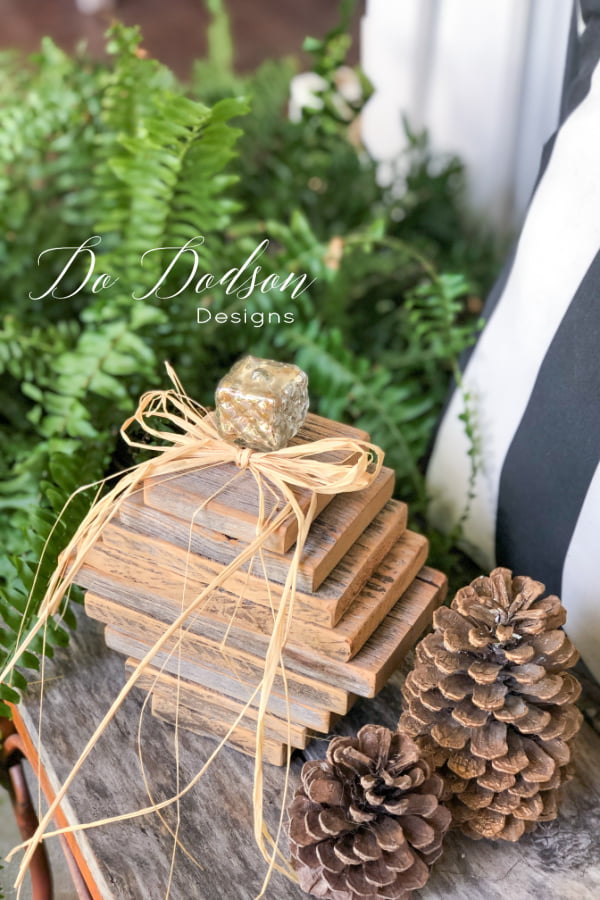
I assembled the pieces from small to large from the bottom up and then in reverse order to create the shape of a pumpkin. Really cool, huh? I added Gorilla Wood Glue between each board and allowed them to dry thoroughly.
Next, I used my Ryobi drill and bit set to make a hole in the top of the wood pumpkin. I have the perfect idea to add a little bling to the stem of these amazing wooden pumpkins, too!
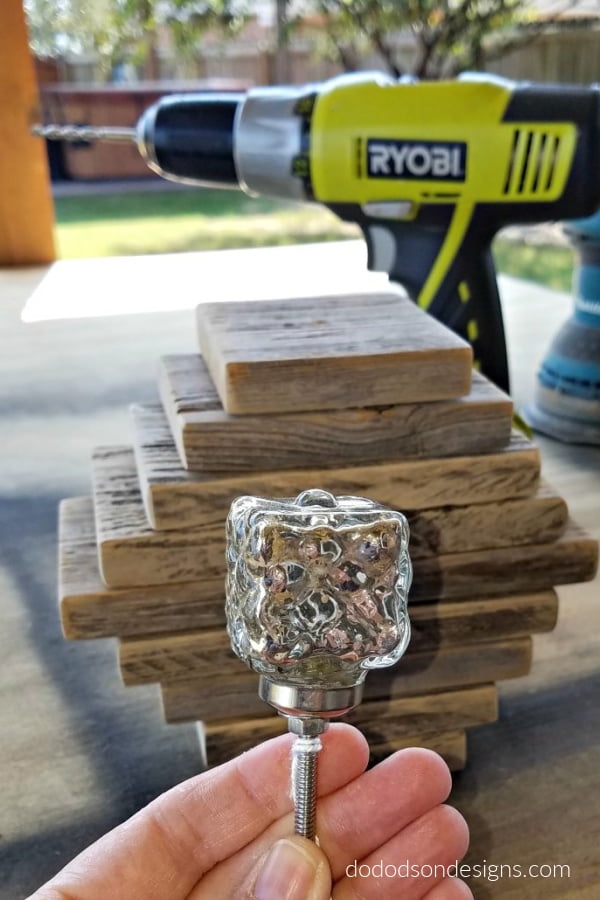
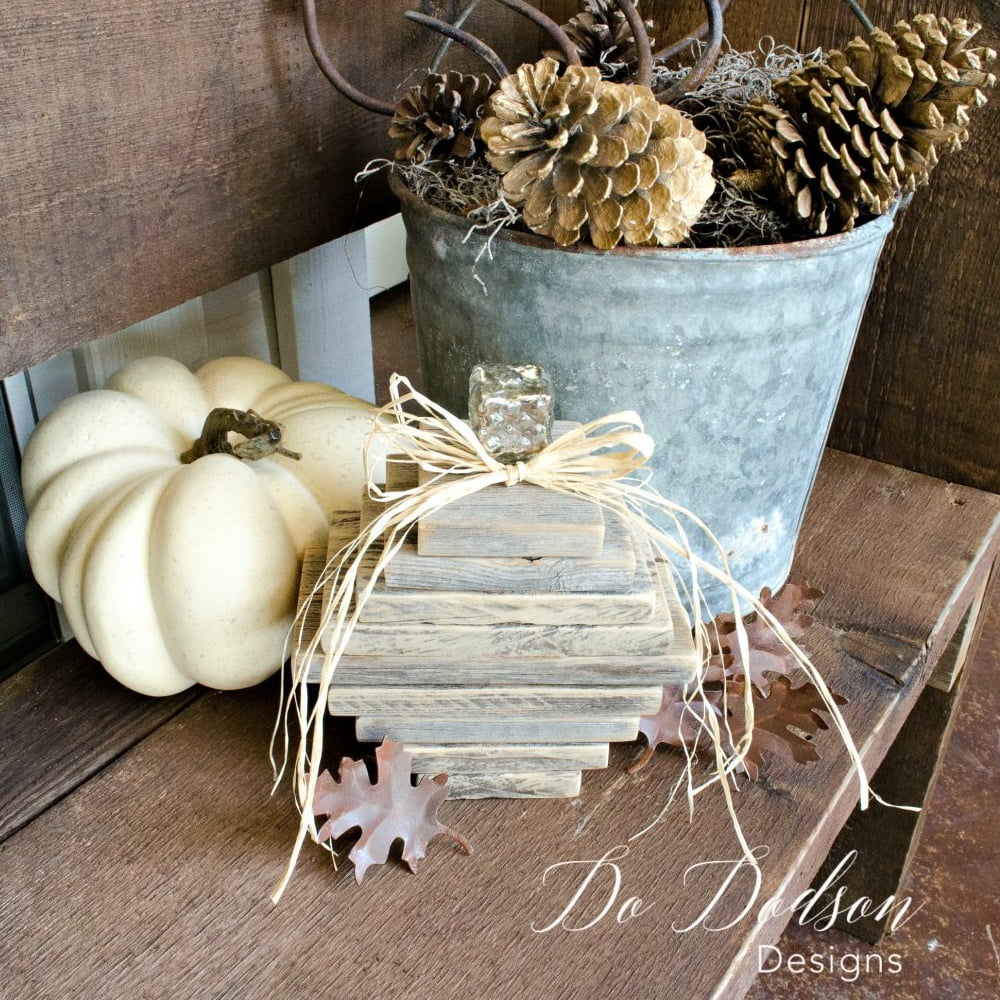
HOBBY LOBBY KNOBS! I used wood glue to secure the Hobby Lobby knob (always half-price sale) to the tops of the pumpkins—the perfect amount of bling for the project.
That’s what I’m talking about… DIY wooden pumpkins! These will be perfect on my front porch display. Are these not the cutest ever? These were so simple and easy to make. I added a simple raffia bow around the base of the knob for some extra cuteness.
Watch the Full VIDEO TUTORIAL Here!
I hope you enjoyed my DIY Farmhouse Wooden Pumpkins today. Are you ready for Fall? Please share your DIY Fall pumpkin decor ideas in the comment section below. I love hearing from you. And don’t forget to check out more of my DIY decor ideas for Fall below.
♥ Until the next project… xo, Do


Such a great idea. I love it. Hugs to you
Thank ya, lady! Wishing you all the best with your blogger’s inspiring bloggers retreat! 🙂 xo
Love your rustic pumpkin made with old fence pieces. Have you ever made a Christmas tree using this same concept? Your ideas are amazing!
Hi Sandra,
Actually, I’ve made a lot of Christmas tree decor out of fence pickets and scrap lumber. Not this exact concept but I’ll sure give it a try. I just added it to my list.
I’m working another fence picket project today so I’ll be sharing it Saturday morning. Stay tuned! 🙂 xo
Oh, you can search for “Christmas Craft here on my website to find them all.
I love a project that can be repurposed every year! These are charming and sweet Do. Thanks for sharing and enjoy your weekend my friend. XOXO
Thank you, my friend.
I enjoy reusing them. Every year I find a different spot to display them so they feel new to me. Have a good rest of your week. 🙂 xo