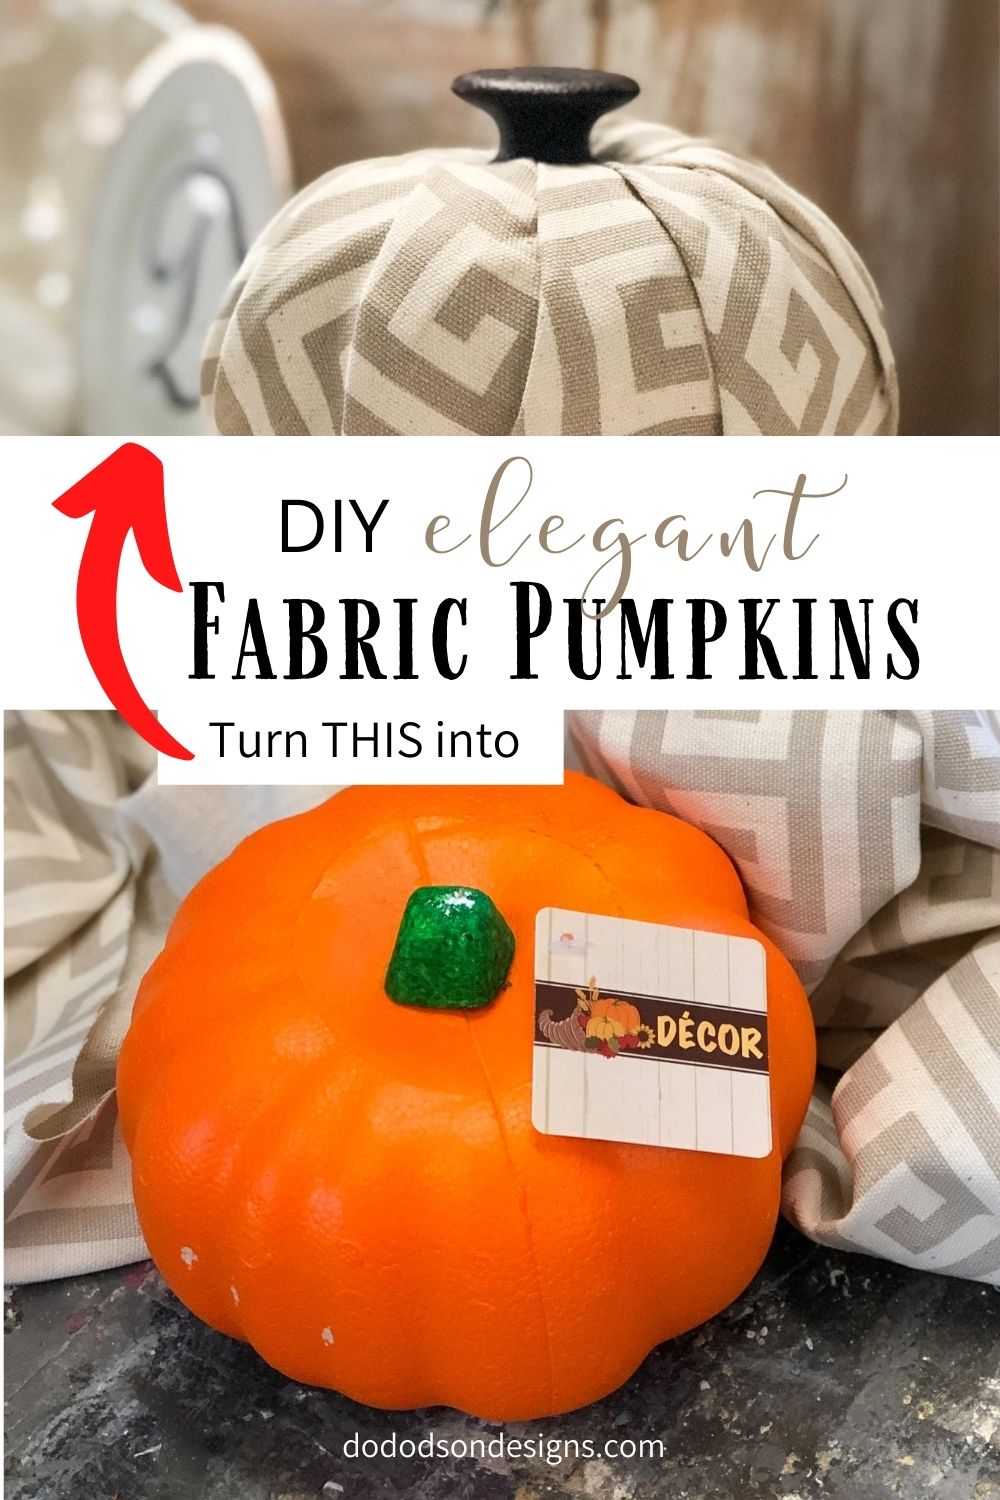
Hello, my Fall-loving friends! If you need a quick Fall decor idea, these dollar tree fabric pumpkins will surely fit the bill—a $1 Dolla bill to be exact. Today I’ll show you a step-by-step tutorial on creating these budget-friendly gems for your home this Fall. They also make a DIY workshop or gift idea.
This post contains a few affiliate links to help you find the products I use. You are not charged extra to use any of the links, but any income I make will be used for more fun DIY projects that I can share with you! To see my full disclaimer, click here.
DIY No-Sew Fabric Pumpkins
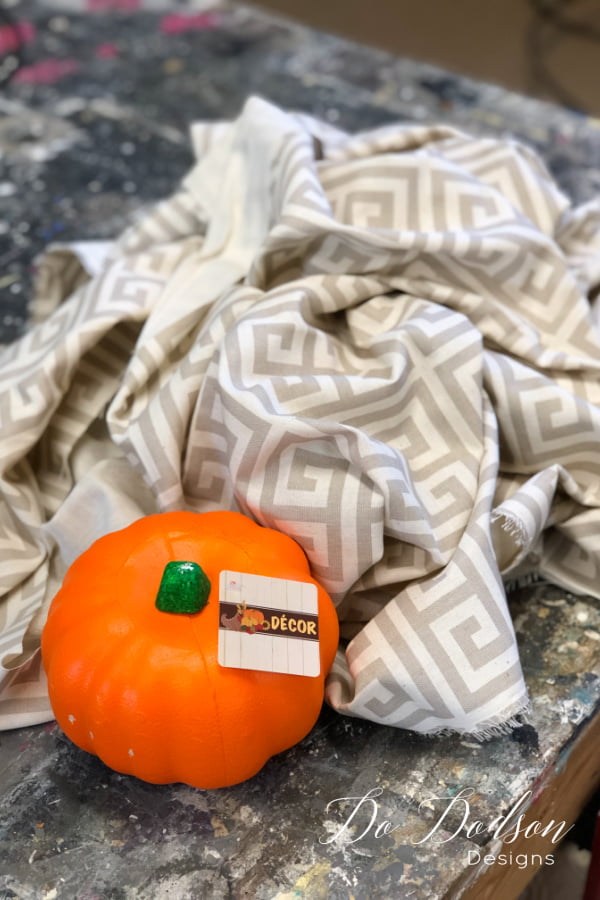

Supply List: What you’ll need to create fabric pumpkins.
5 Simple Steps
STEP 1… Cut a hole in the top of the Dollar Tree ORANGE pumpkin. The size of the hole is determined by the weight of the fabric you choose for your pumpkin. I’m using upholstery fabric for my pumpkins, so I had to adjust the size. Start with a small hole and increase the size if you need to. You can always make it bigger. The next step will explain more.

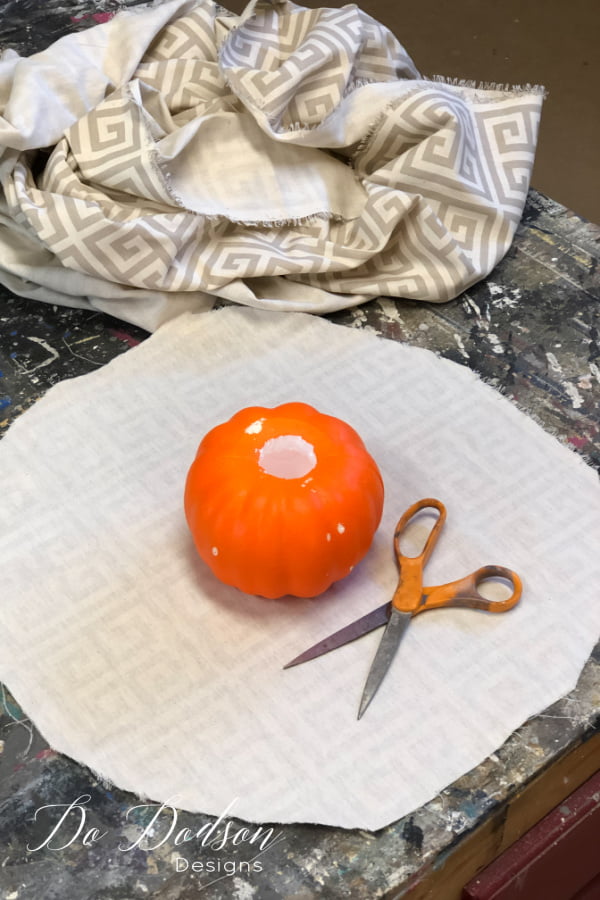
STEP 2… This is how you’ll determine the hole size for your fabric pumpkin. Take approximately a 19×19-inch piece of fabric and round the edges. You don’t need the excess fabric to cause the fabric to bunch up and not fit into the hole properly. If it doesn’t fit inside the hole, cut the hole a bit bigger until it fits snugly. I like to do a “test drive” of fitting the fabric inside the ORANGE pumpkin before the next step.
Get Rid Of The Orange
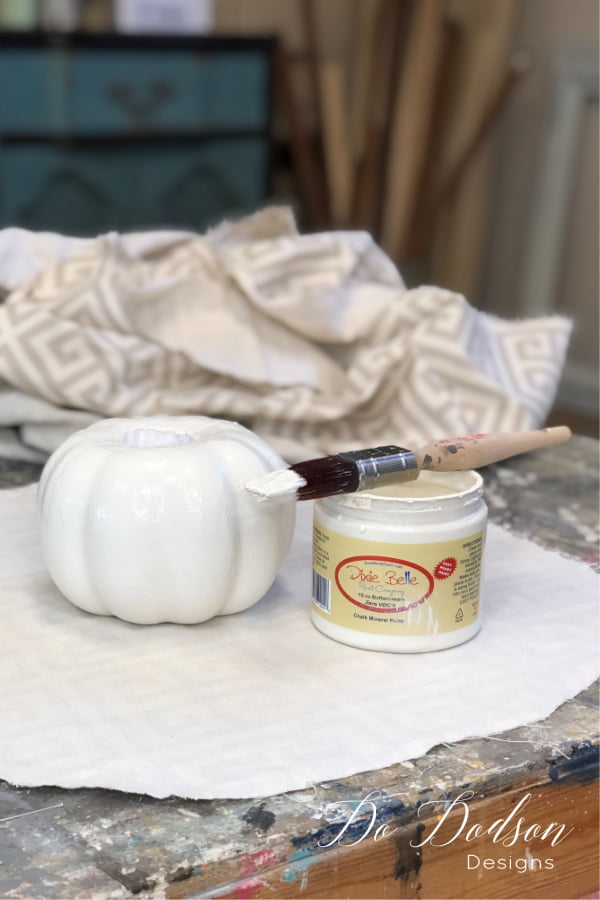
STEP 3… This step can be skipped if your fabric is dark enough that the ORANGE doesn’t show through your fabric. Good luck with that! Chalk Mineral Paint will cover that ORANGE in 1 coat. Apply one thick coat of chalk mineral paint in a similar color to the fabric you’re using. Are you catching my sarcasm about the ORANGE? No, I’m not a fan of the orange pumpkin. However, it is beautiful in a pumpkin patch. 🙂
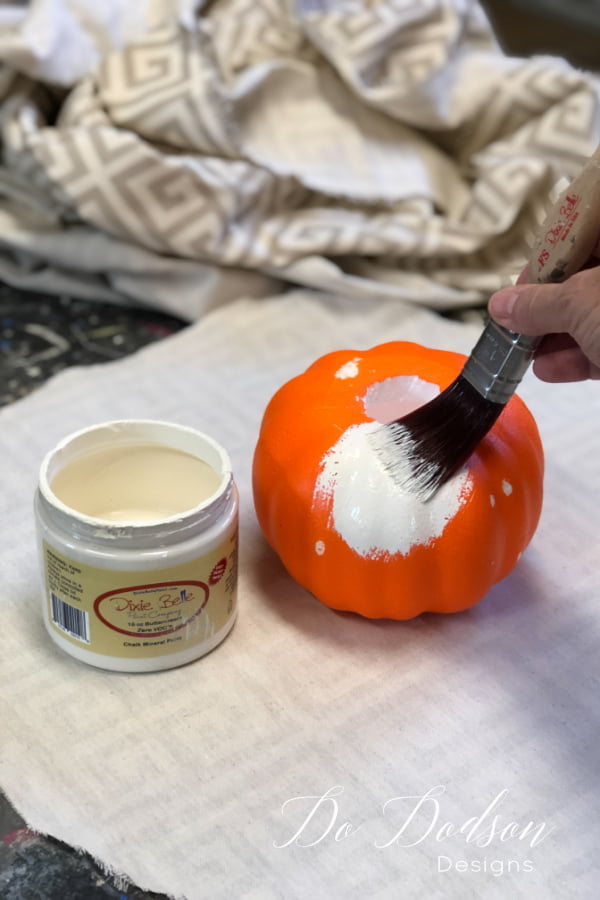
I even painted my pumpkin on top of the fabric. Yep, I sat it right down in the middle of the fabric while it was still wet. Now, you’ll want to allow the pumpkin to dry completely before wrapping the fabric around it, but the bottom being wet won’t matter. The paint dries quickly. Use a blow dryer or heat gun if you want to speed up the dry time.
Wrapping The Fabric Around The Pumpkin
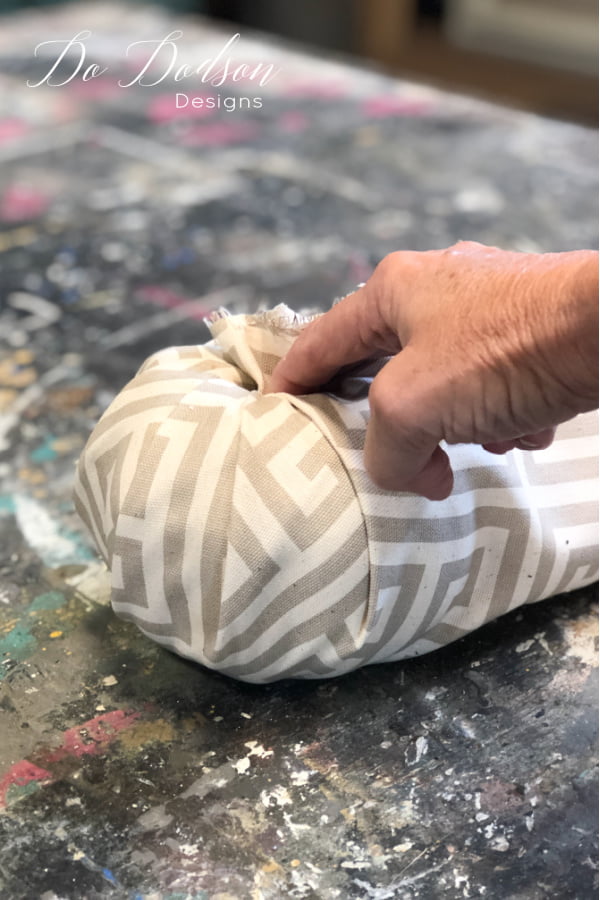
STEP 4… This part can be tricky, and you may have to practice a bit. With your pumpkin in the center of the fabric, pick up one corner and insert it into the top. Pick up the fabric again and repeat this pattern in the same direction. I worked counterclockwise, but it may work better clockwise if you’re a southpaw (left-handed). I folded the fabric (making pleats) as I went so that the fabric lays nicely. This gave it an elegant look.
Get Creative With Fabric Pumpkin Stems
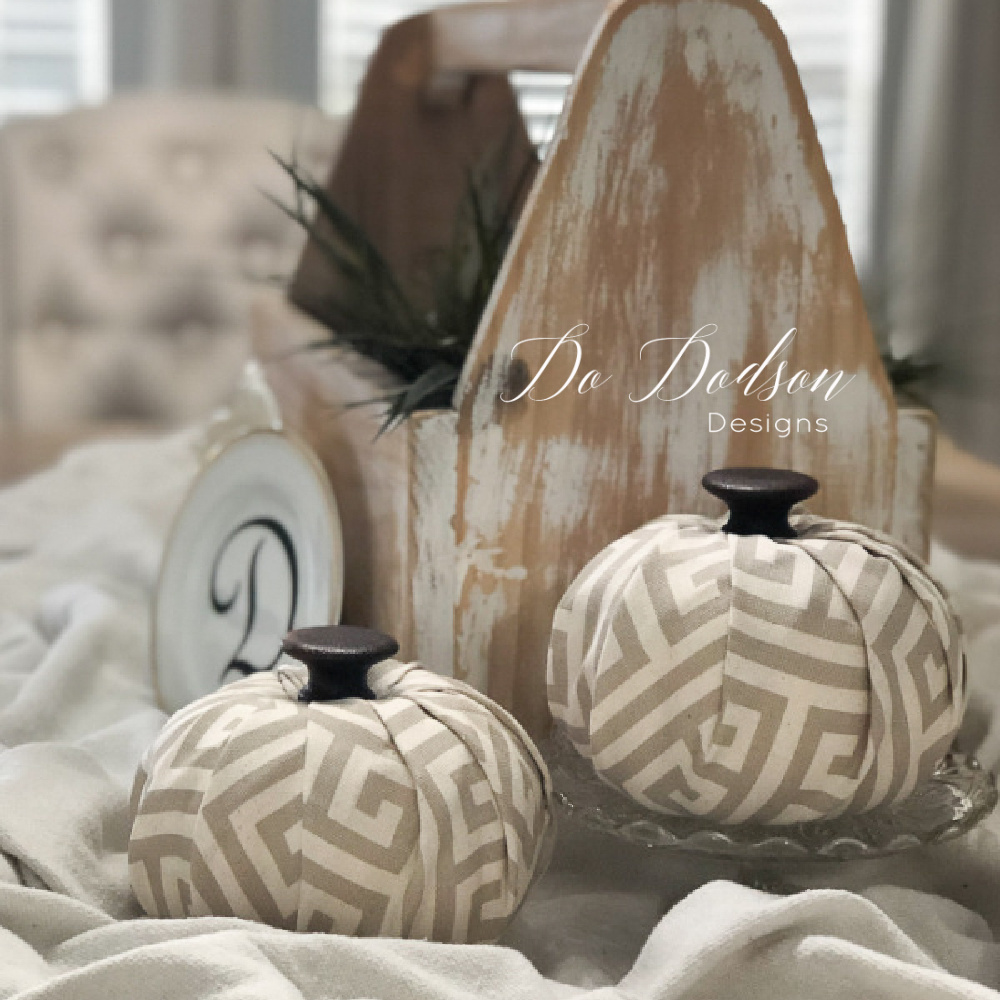
STEP 5… Here’s where the fun begins! Get creative with your fabric pumpkins. Many non-traditional items can be used for the stems. One of my favorites is old hardware. Since I paint furniture for a living, I have endless left-over pulls and knobs. Or be fancy pants and step it up with glass knobs. Oh, YEAH! Hobby Lobby is a great place to get those. I left the screw in the knobs to help give my stem stability. I wouldn’t say I like gluing them permanently on the fabric pumpkins because this allows me to change my designs with different hardware and fabric. We creatives get bored and LOVE change.

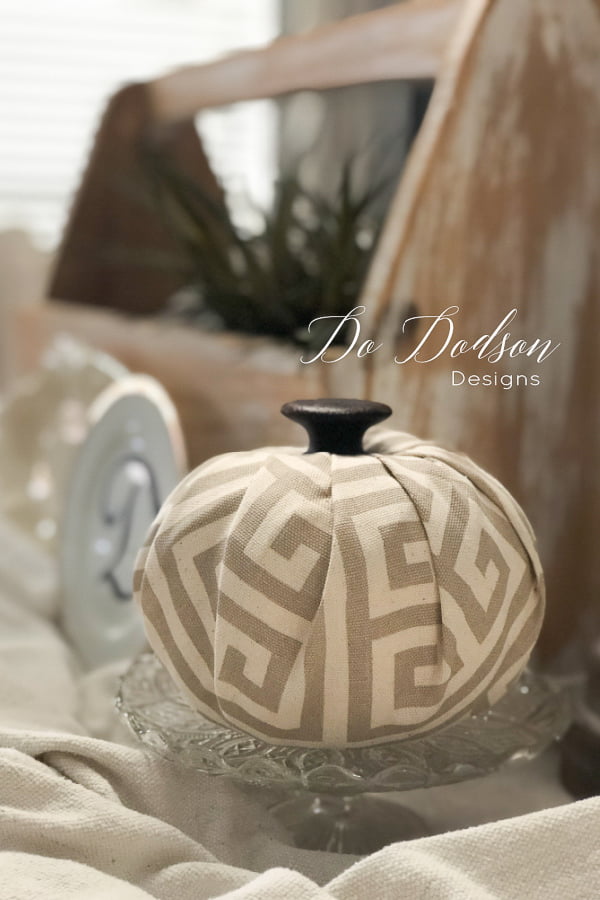
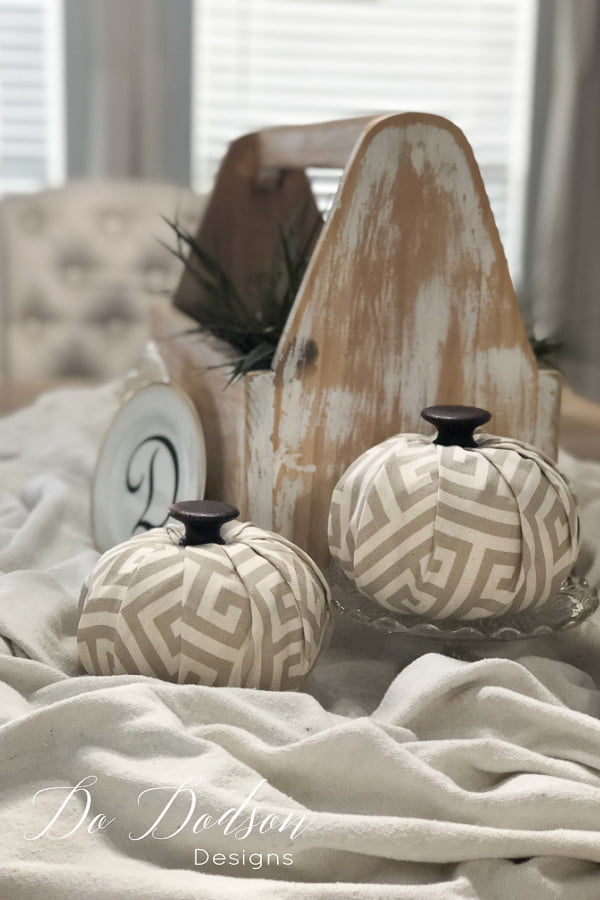
These turned out classy and elegant. I’ve never been a traditionalist with any of my Fall home decor. Creating fabric pumpkins opens up lots of color choices as well as patterns and even texture. Oh… texture! And as always, your comments and thoughts about this project are always welcome. Or just let me know you stopped by in the comment section below. I’d love to hear from you.
Until the next project… xo, Do

Great idea. I’ve also used knob for stems. And wooden spools, vintage or new from Hobby Lobby.
Wooden spools! I have my Grandmothers. Thanks so much for sharing. xo, Do
You could also use your stems you made from clay (in the video)…
You are so smart, Sherry! Way to think outside of the box. Thank you for sharing. I’ll have to give it a try that. 🙂 xo
Awesome ideas here Do..I absolutely love the Fall and all that goes with it! My favourite is Pumpkins so Thank You so much for all the nifty cute ideas.
You are an inspiration and an awesome Lady!
Thank you, Brenda! I appreciate your kindness. Sometimes reinventing the wheel works. Enjoy the pumpkin season while it lasts. 🙂 xo
Love using wine corks
YES! They make cute pumpkin stems. Thank you for stopping by. 🙂 xo
Having trouble trying to make pleats. End up with fabric bunched on bottom and end. What am I doing wrong!!!!???
Hi Joan! I’m not sure, but maybe the fabric you’re using is too thick?
These are super cute Do! Pinned!
Thank you so much! 🙂 xo
Too cute, Do! I have some of those pumpkins just waiting to be done! Thanks for your inspiration.
Hey, Leslie! I need to make a Dollar Store run today for more. I’m looking forward to seeing what you do with yours. Have a great week, my friend. 🙂 xo
Those Dollar Tree pumpkins are the best! Very pretty project.
Thanks, Carol! Nothing like a Dollar Tree pumpkin that’s for sure. Thanks for stopping by. 🙂 xo