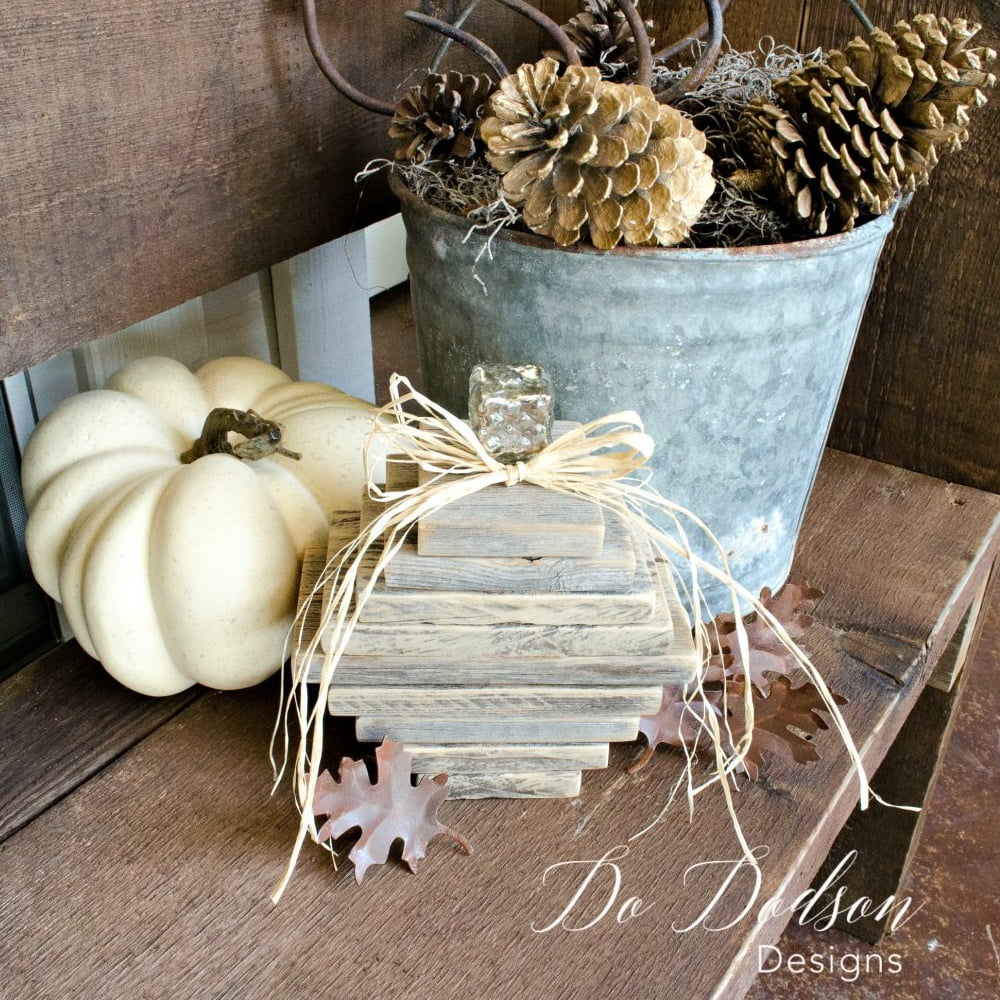
If you’re looking for fun and easy DIY Fall decor, you’re in the right place. Today I’m excited to share with you a project that started with my Grands… and ended with me alone with my paintbrush, of course. Kids! These 4X4 wood pumpkins are the perfect rustic complement to any front porch for Fall. I had a lot of fun creating whimsical designs and even put my own colors and paint techniques on them to compliment my own style. Anything goes!
This post contains a few affiliate links to help you find the products I use. You are not charged extra to use any of the links, but any income I make will be used for more fun DIY projects that I can share with you! To see my full disclaimer, click here.
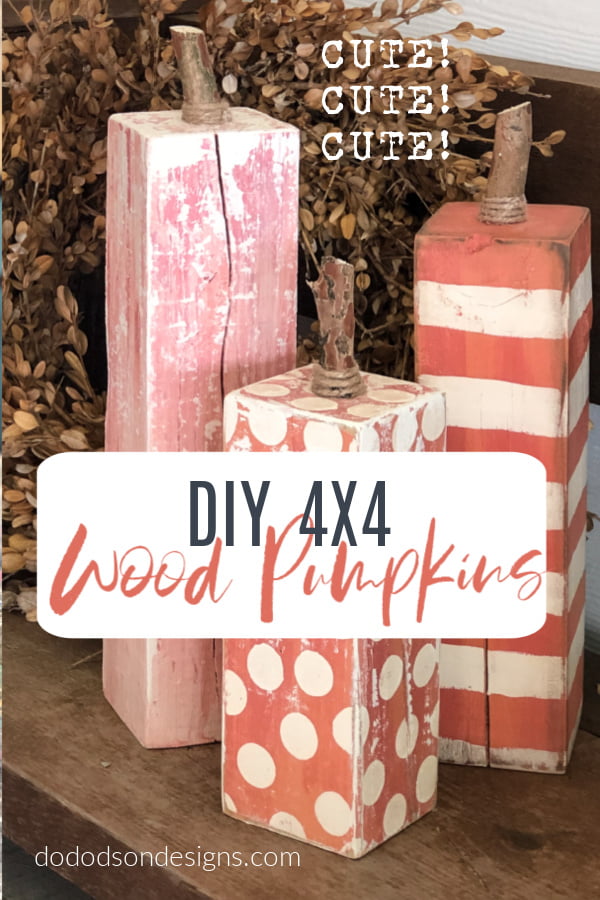
DIY 4X4 Wood Pumpkins… Fall Front Porch Decor
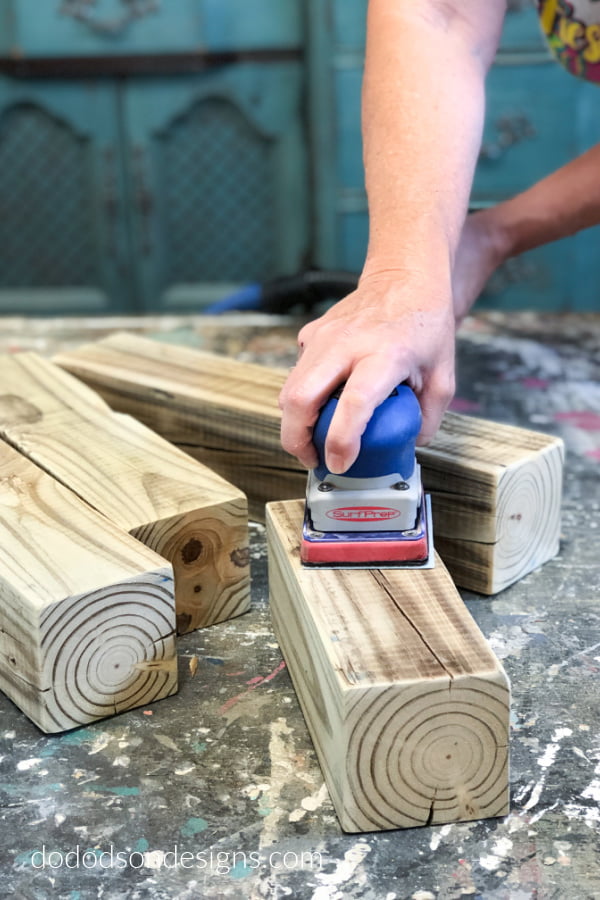
To start with, you’ll need 4X4 wood posts. These wood posts aren’t hard to find commonly used for building privacy fences. I’ve had more than one neighbor rebuild their fence over the last few years in my neighborhood. They were more than happy to have me haul them away. You don’t have to buy new, and it’s best if they have weathered and are dried out. To clean them up before you start your 4X4 wood pumpkins project, give them a quick sanding. Watch out for splinters!
* Warning… these pressure-treated posts are treated with chemicals to make them last longer outdoors. If you need to sand them off a bit, be sure, and use protective eyewear, mask, and gloves in a well-ventilated area.

Supply List: 4X4 Wood Pumpkins
- Random 4X4 wood blocks (staggered lengths)
- Barn Red, Daisy, Colonel Mustard, Butter Cream) or colors of your choice
- Best Dang Wax (brown) for shading the corners
- Paintbrushes
- Foam Dobber (for circles)
- Art Brushes (for striped
- design)
- Drill
- Paddle Bit or spade (to drill holes for the stems)
- Tite Bond Wood Glue
- Twine
- Hot-Glue Gun
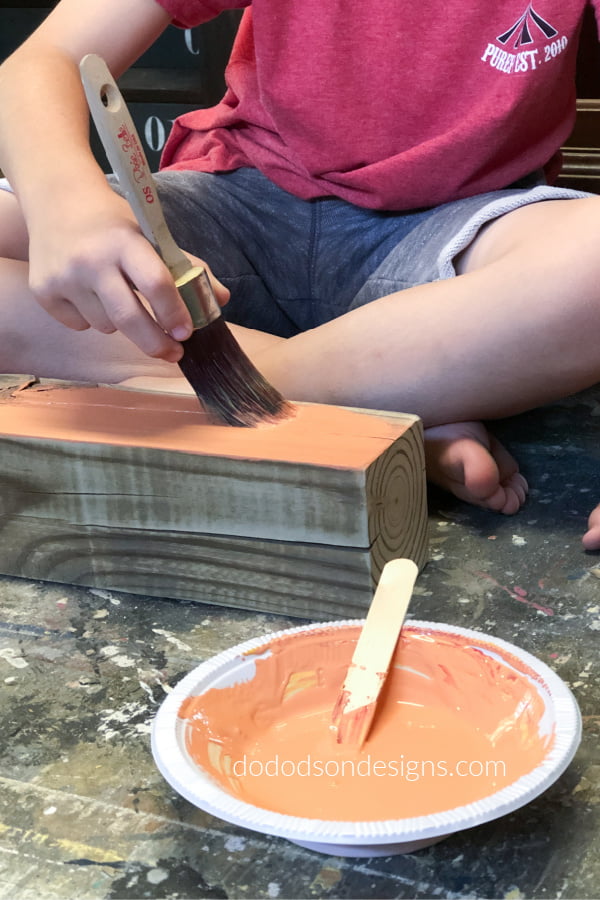
Chose Your Colors |Custom Mixing
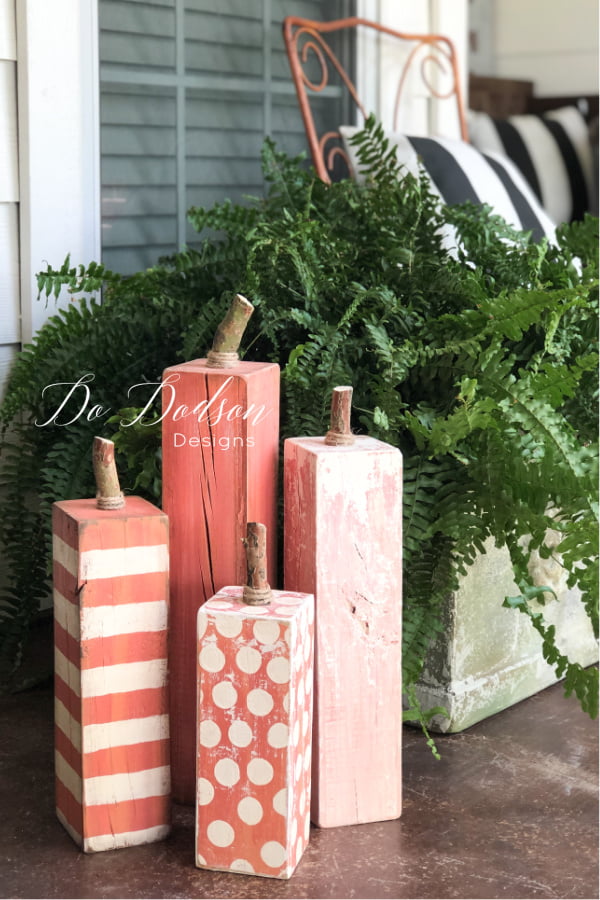
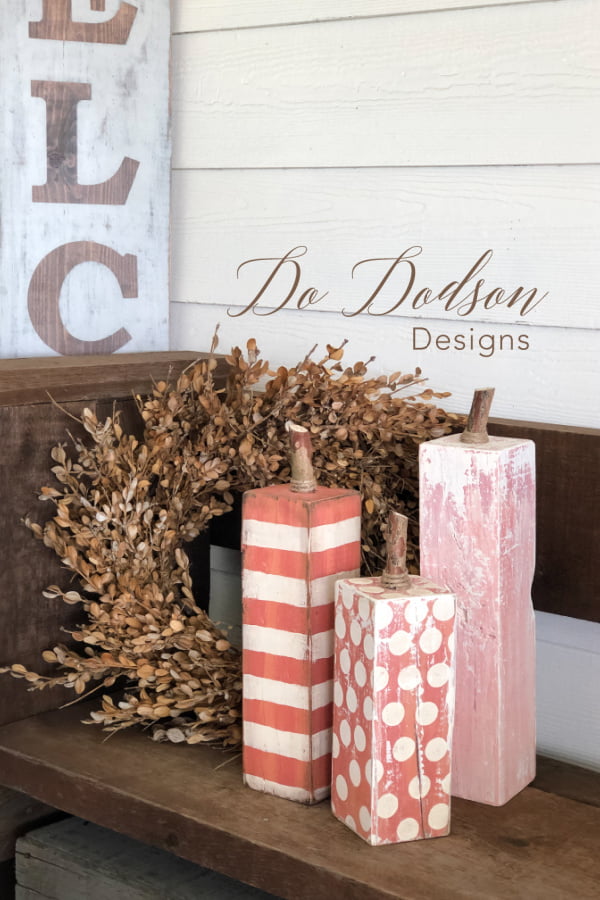
We decided that we didn’t want the traditional orange (you know I have to be different), so we mixed a few colors we had on hand. Barn Red, Daisy, and Colonel Mustard create a softer version of orange.
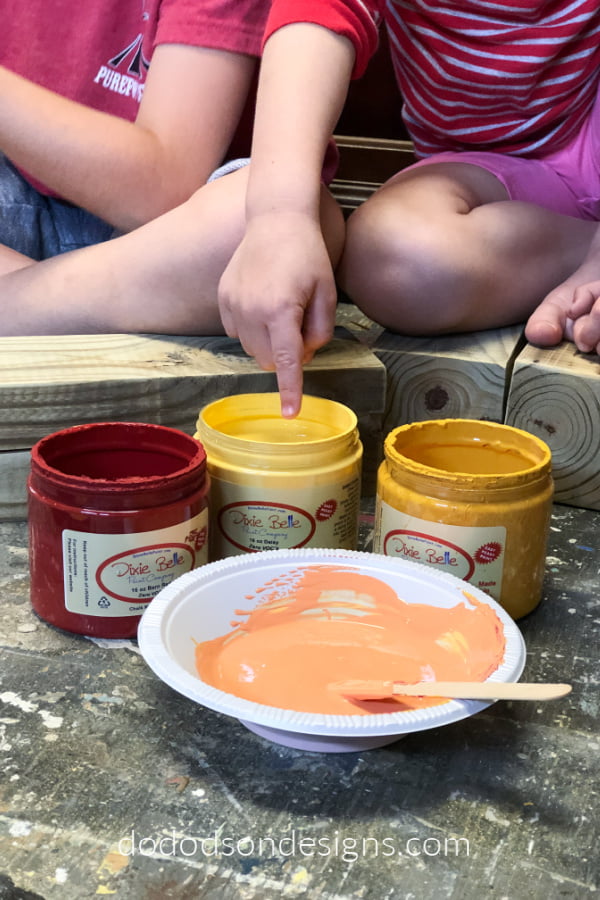
Feel free to experiment and come up with different colors. Layering similar colors on top of each other will give your 4X4 wood pumpkins depth and interest. Who wants boring pumpkins? I created a few shades by adding a bit more red paint.
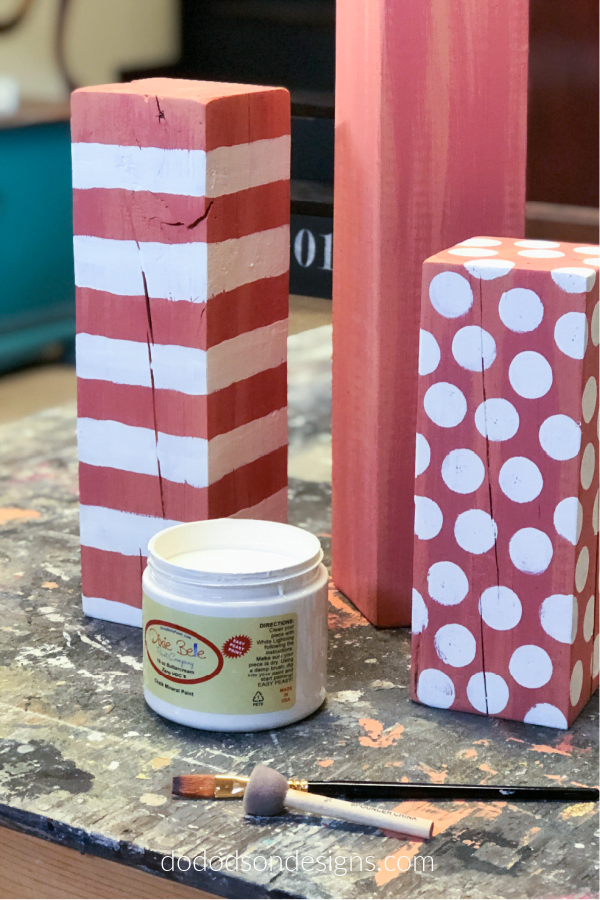
Adding A Whimsical Touch To 4X4 Wood Pumpkins
This is where the kids ditched me! To add a bit of whimsy to your 4X4 wood pumpkins, use a foam dobber the create random circles on one of the pumpkins. For the other one, try adding some classic stripes. Don’t worry about taping off for straight lines unless you’re a perfectionist. If you are, go with another design like a classic look of one color. It’s your pumpkins, so do what you like.
*Afterthought… I should have created a buffalo plaid on one of them. That would have been so CUTE!
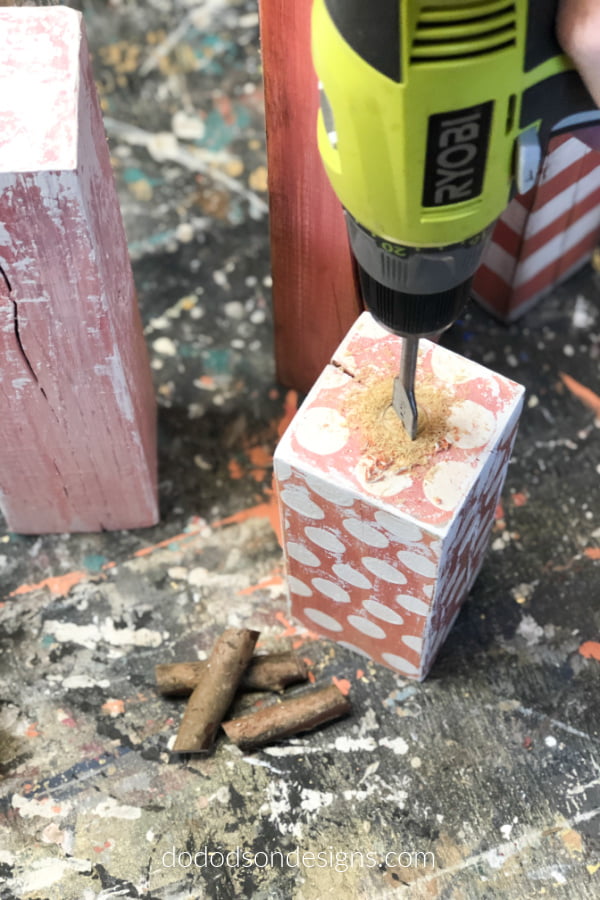
Drilling Holes For Stems
For this project, I drilled holes about 1-1/2 inches in the top of the 4X4 wood pumpkins with a paddle bit. The size of your stem determines the size of the bit. You’ll want it just a bit larger than the stem you chose to use. The stem does not have to fit perfectly. I have a solution for that too.
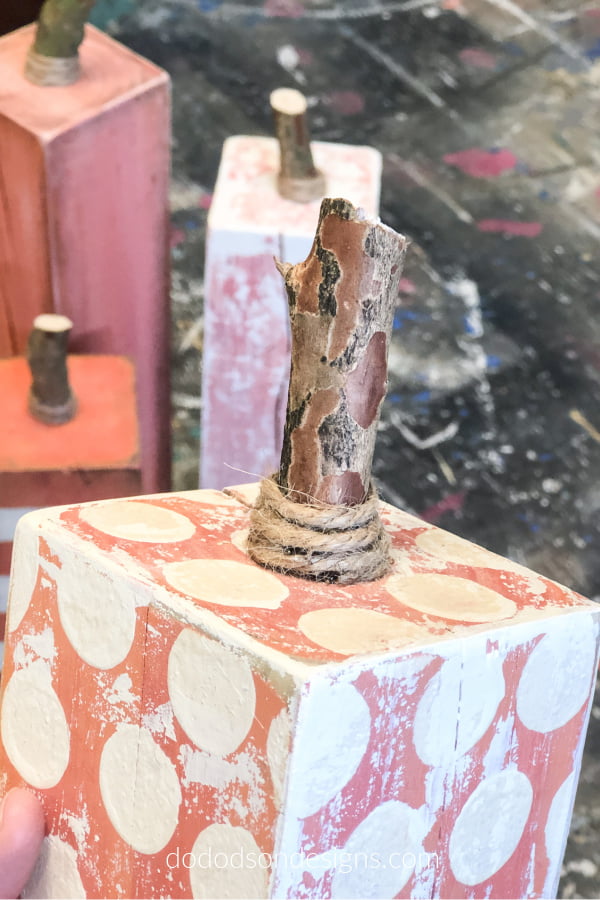
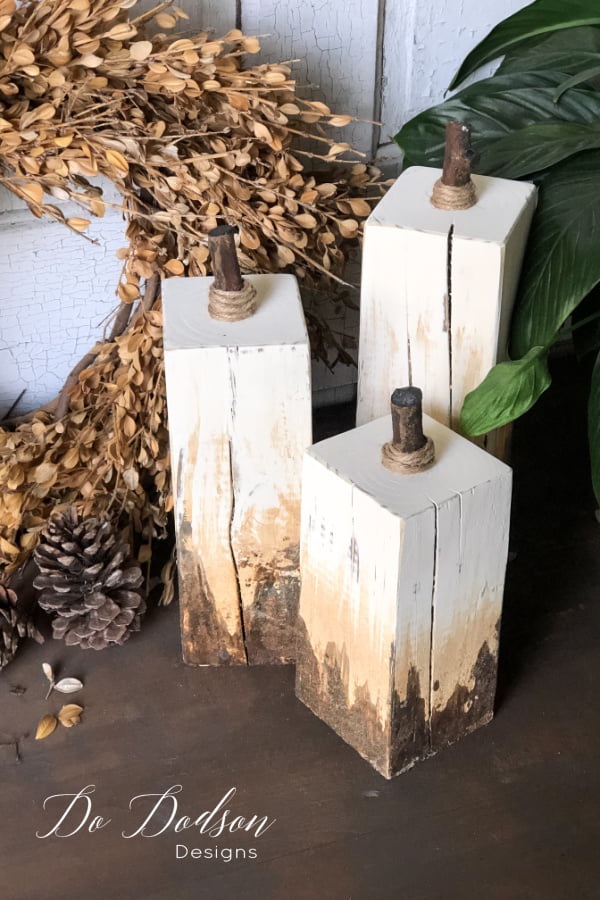
Attaching The Stems On 4X4 Wooden Pumpkins
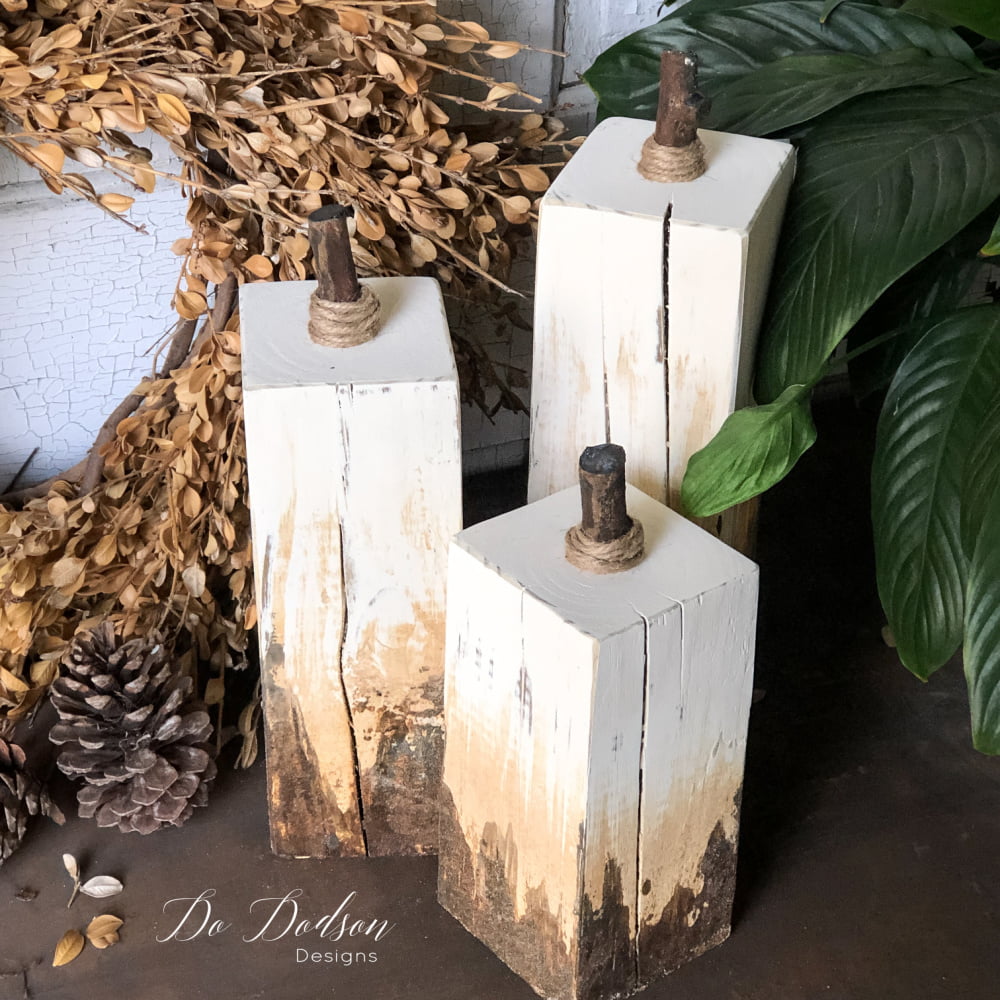
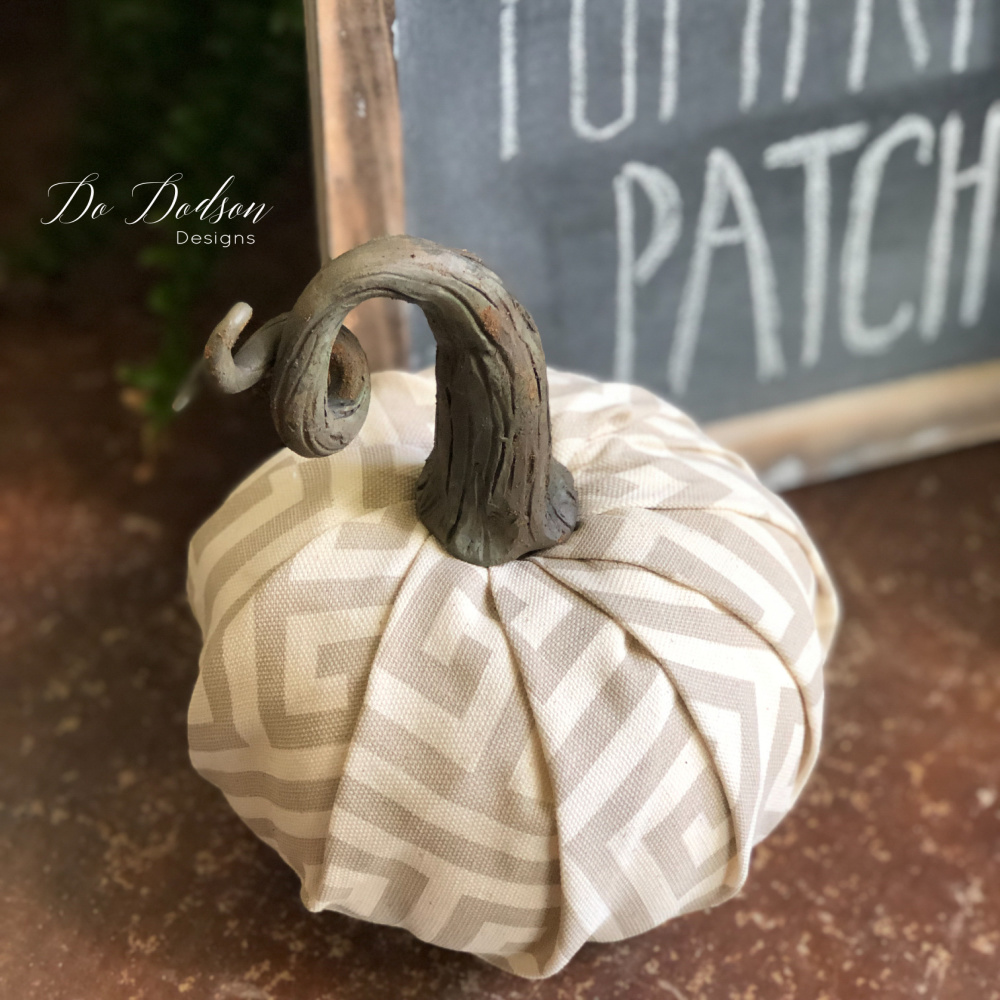
Time to add the stems. This is fun… I took my tree nipper and attacked my overgrown Crepe Myrtles. The limbs were a perfect size (I used the branches with a slight curve) for this project, and the bark was gorgeous. I cut mine in random lengths of approximately 4 inches and used wood glue inside the hole to secure them. Any tree branches will work. Use jute twine to conceal the hole to give it a more finished look and secured it with hot glue.
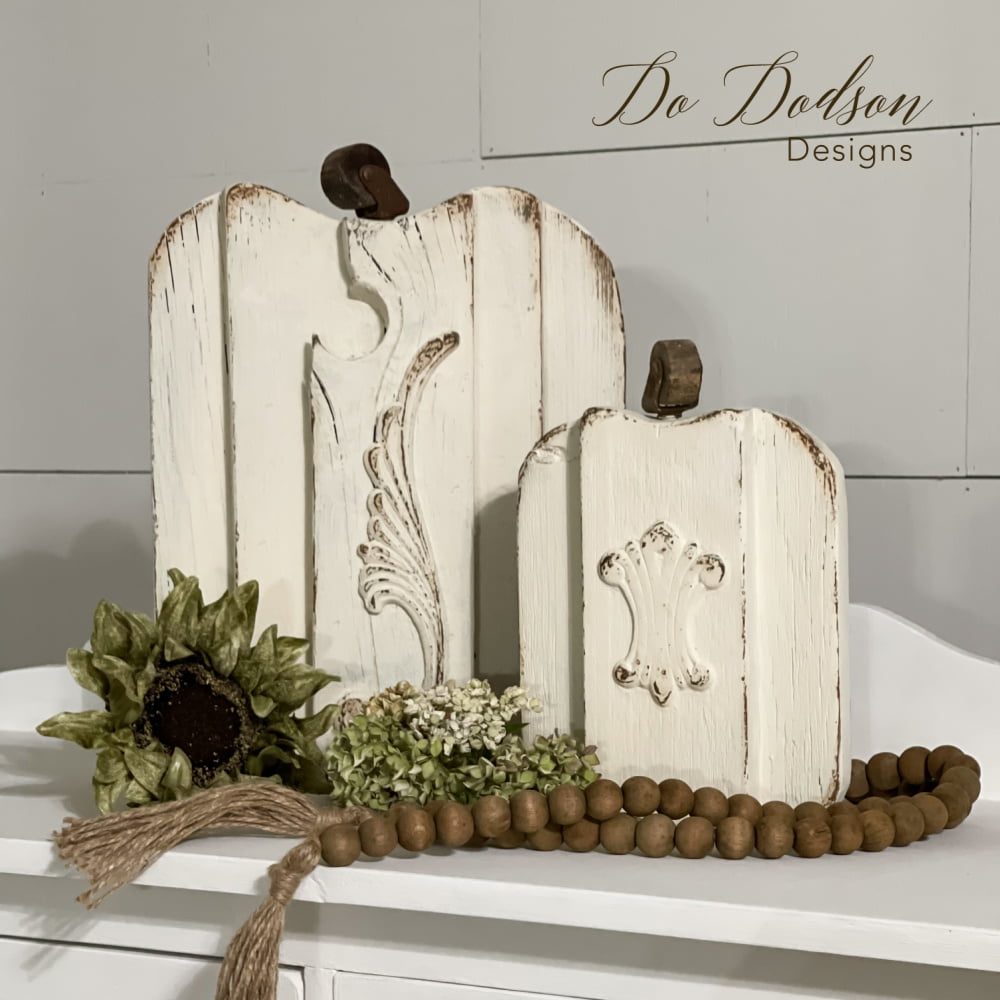
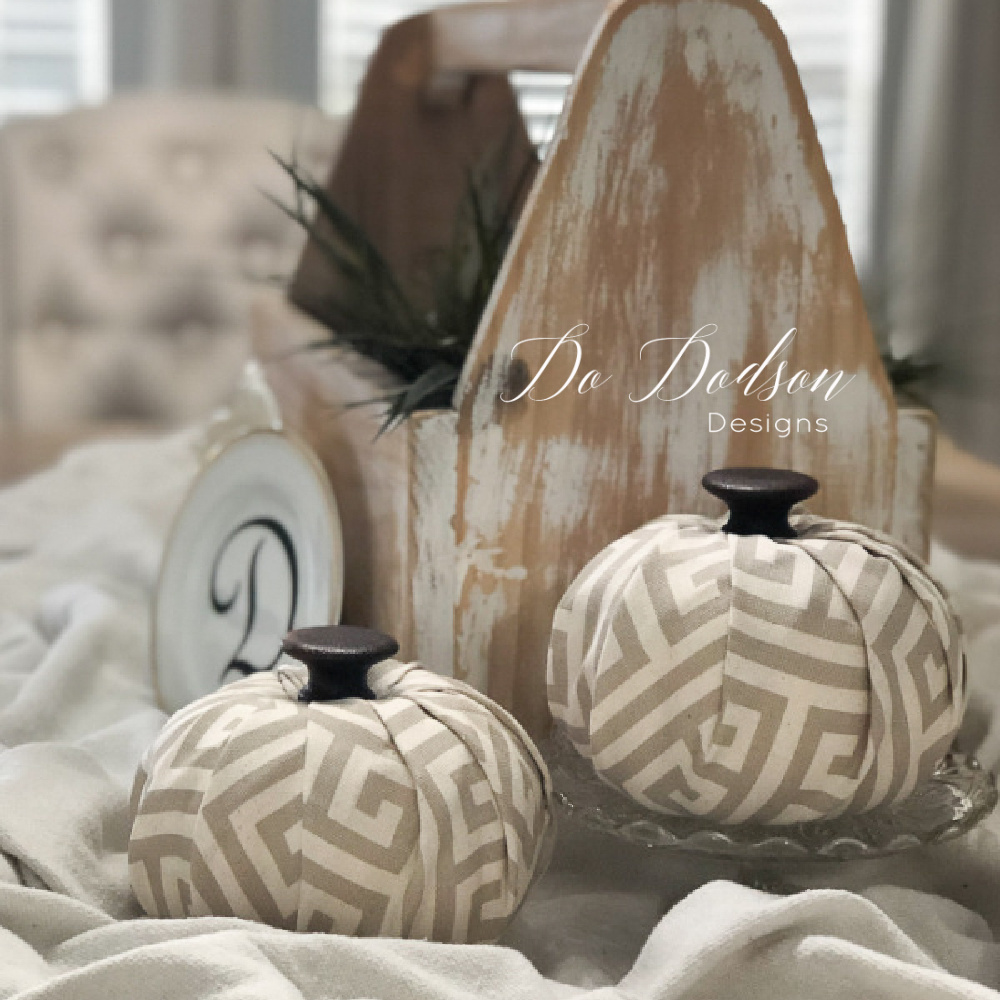
*You can use other items like old hardware, Hobby Lobby knobs, wine corks, etc., to bypass the need to drilling holes for the stems. Glue them on top. Get creative with the stems. After all, the stems are what makes these 4X4 wooden pumpkins.
Amazing Whimsical 4X4 Painted Wood Pumpkins
Rusty 4X4 Wood Pumpkin Patch
Try this fun look! I used Dixie Belle Patina paint and green spray for a rusty pumpkin patch.
Well, I’m pretty stinking happy how they turned out. Who said that you couldn’t have a little fun and whimsy in your elegant Fall home decor? I see nothing wrong with having fun and these 4X4 wood pumpkins fit the bill perfectly. The Grands gave me a thumbs up! Those little boogers.
What about you? Got any ideas on how to make these even better? Please feel free to share your thoughts and opinions in the comment section below. I always LOVE hearing from you.
Until the next project… xo, Do

It’s the perfect autumn craft to enjoy with children.
I agree with you, Catharine. It’s so important to keep those little minds focused. Blessings to you. xo
These are super cute and a good place to put ones creativoty!!
Thank you so much, Luan! They needed a creative outlet and so did I. 🙂
I thought these were so cute, I made them without kids (grands not visiting this year). And, I had materials, so it was a no brainer. I’d post a picture but haven’t figured that out.
Fantastic, Sabrina! I’d love to see them. Email me at [email protected] 🙂
I visualize some of the “pumpkins” in a soft green. Maybe mix some orange and green ones in the same “arrangement”. Now off to find some 4 x 4’s!
That sounds dreamy, Sherry! Have fun creating and thanks for stopping by. 🙂 xo
Do, these are darling little pumpkins. Love this idea!
Thanks, Tammy! I think of you often and wonder what you’re working on. Today, I start searching for Fall ideas. I hope you have a great week. 🙂 xo
They are so cute..thanks for sharing 😊
Hi Sari! Thanks! We all need cute Fall decor. Have a great week! 🙂 xo
You have the best ideas Do! These pumpkins are so fun!
Thank you, Cindy!
Do, I love everything you do!!!
Can you explain in more detail how you did the rusty wooden pumpkins please.
Thank you,
Ronda
Thanks, Rhonda! The rusty look is created with a specific paint and an activator spay. The paint has metal particles in it that are activated by the spray. It’s super fun to create. Look under the supplies list in this post for links where you can purchase the products. I’m sorry, I don’t have a video tutorial on this process. I hope this helps. 🙂
Thank you