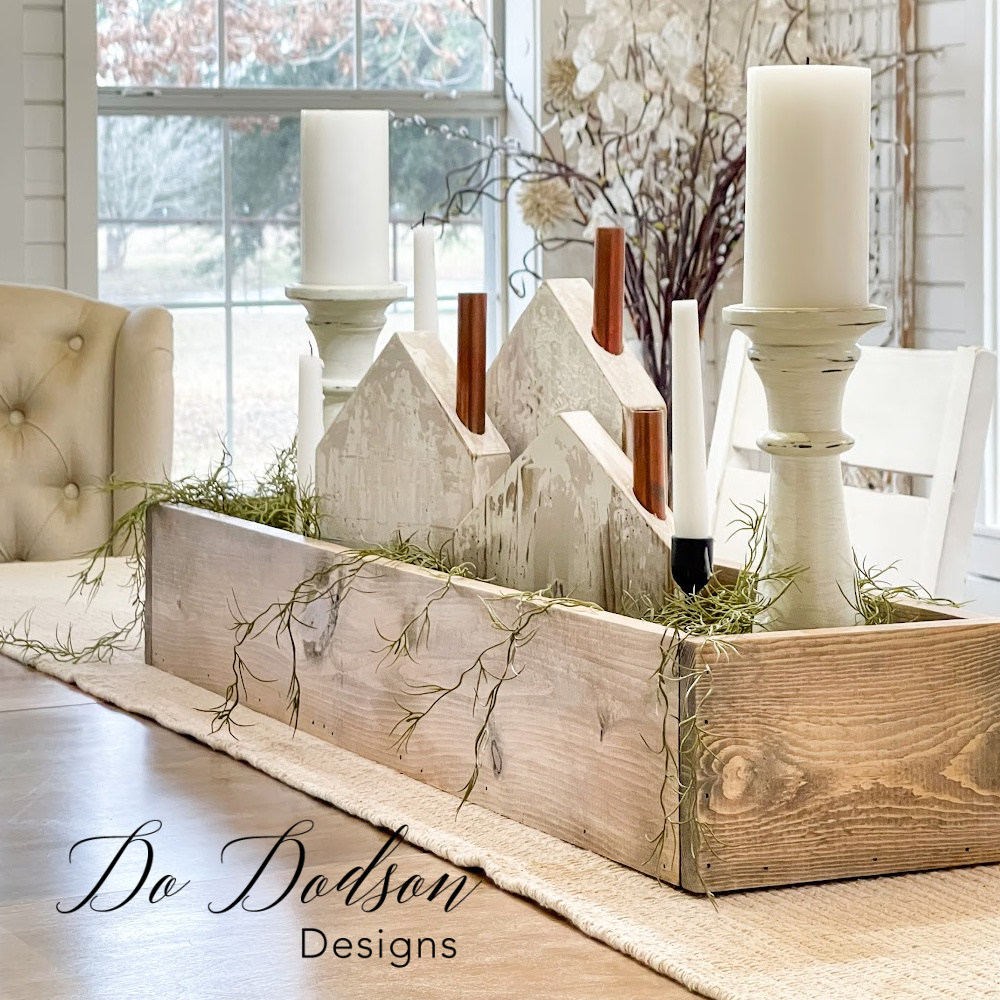
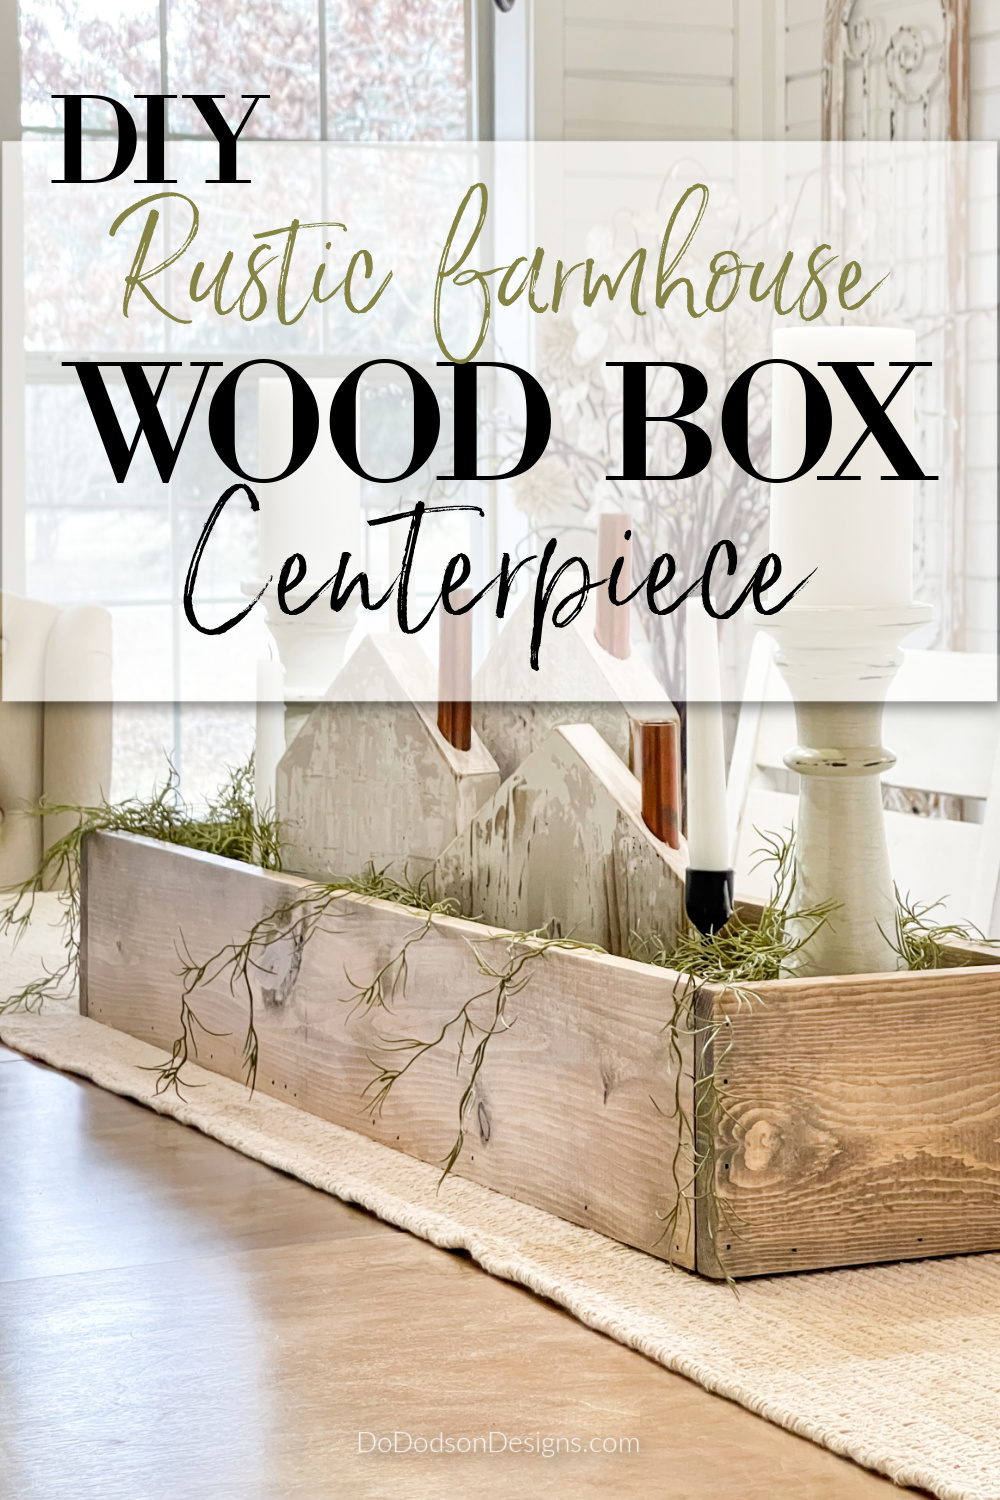
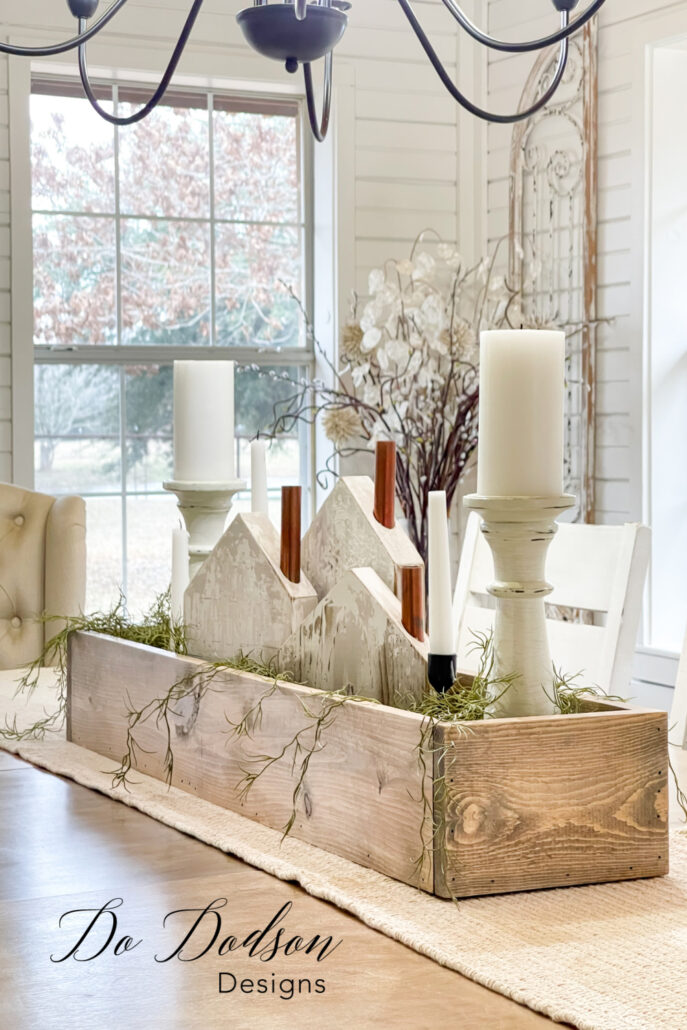
Hey triple-D friends! This DIY wood box centerpiece is a charming and simple way to create a beautiful rustic farmhouse table setting for your next meal or gathering with scrap wood and have a lot of fun making it.
Thanks to Dixie Belle Paint Co for sponsoring this post. While I was compensated to write this post, all opinions are my own.
* As an Amazon Associate, I earn from qualifying purchases and through other companies as well. You will not be charged extra when you purchase through these affiliate links, but any income I make helps me create more amazing DIY projects to share with you! To see my full disclaimer, click here!
Save That Scrap Wood
Why do I save those leftover scraps of wood from other projects? Because I know they will come in handy one day, and today was one of those days.
My hubby wasn’t on board when I started saving my wood pieces. We don’t use that word in our house! You know, the H (hoarder) word. First, you must have a place to store all that wood. Let me tell you; I kept ALL of it at first. After a few years had passed, I realized that the long pieces would be best to save and to trash the rest. With a few exceptions, of course.
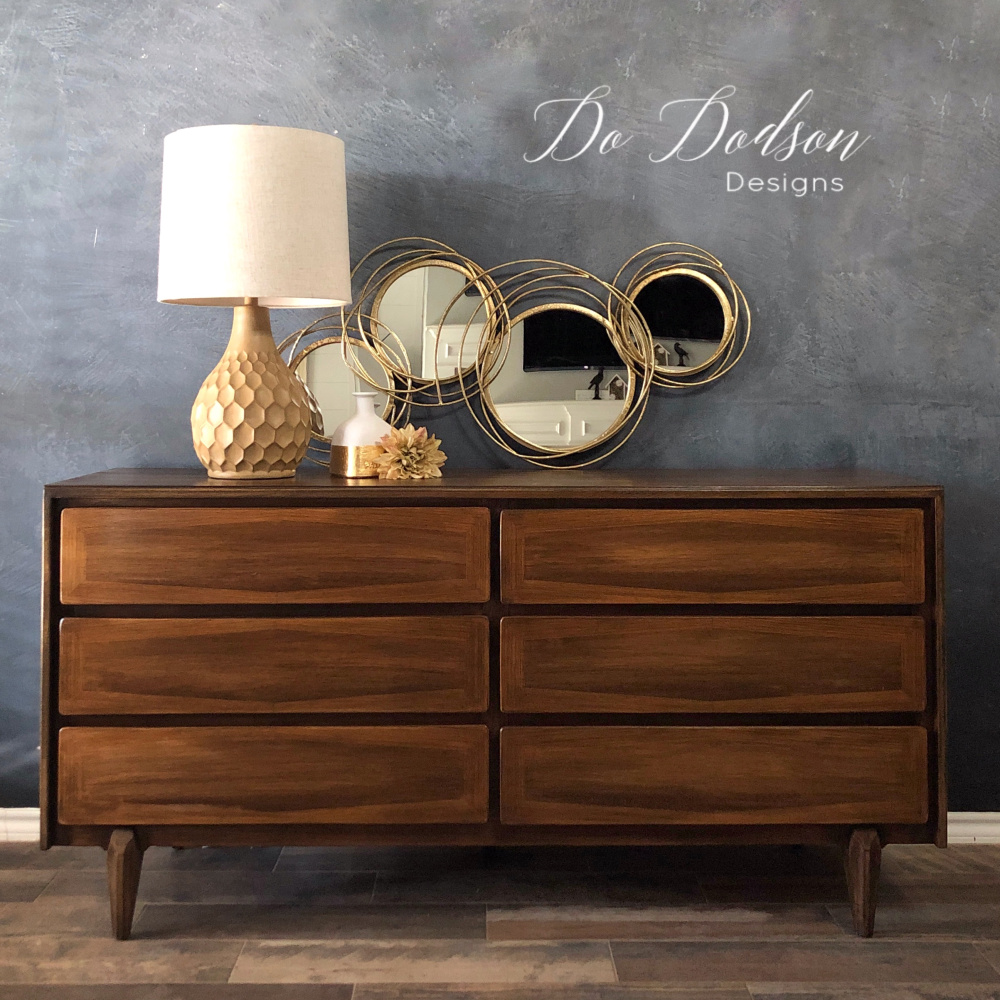
I’ve made a lot of DIY wood decor, crafts, etc., over the years, and I have no plans to stop. It gives me such happiness to create my home decor in the style I want. CLICK HERE to see some of my most popular DIY wood crafts you can sell for a profit.

SUPPLY LIST:
Here is what you’ll need to recreate this DIY home decor project.
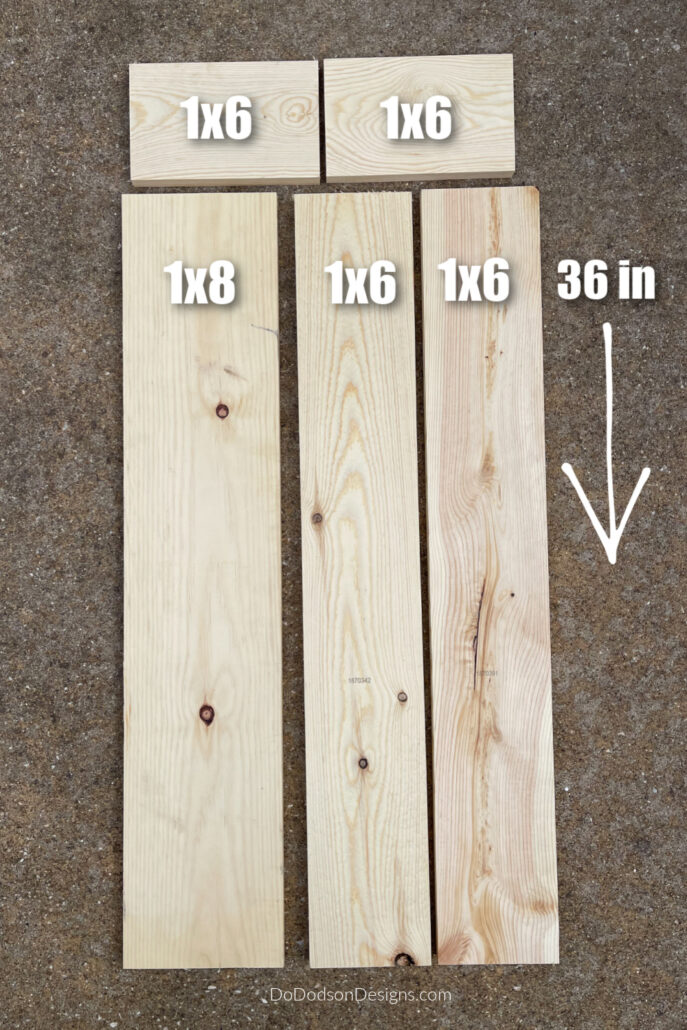
- scraps of wood (I used 1×6 and 1×8) oak, pine
- ruler or tape measure
- pencil
- circular saw, miter saw, or hand saw
- electric sander or sandpaper (the smooth the rough cut edges)
- wood glue
- hammer and finish nails or brad nailer (you can also use wood screws)
- Golden Ash No Pain Gel Stain
- Picklin’ White No Pain Gel Satin
- low lint cheesecloth
Easy Decorative Wood Box For Beginners
STEP 1: Cut the boards to the length you want.
Take some time to decide what will look best on your table. Do you want long sides or short sides? The good thing about making your own wooden box is that you can customize it to the size you want. I’m making mine 36 inches long and about 10 inches wide. Our table is large.
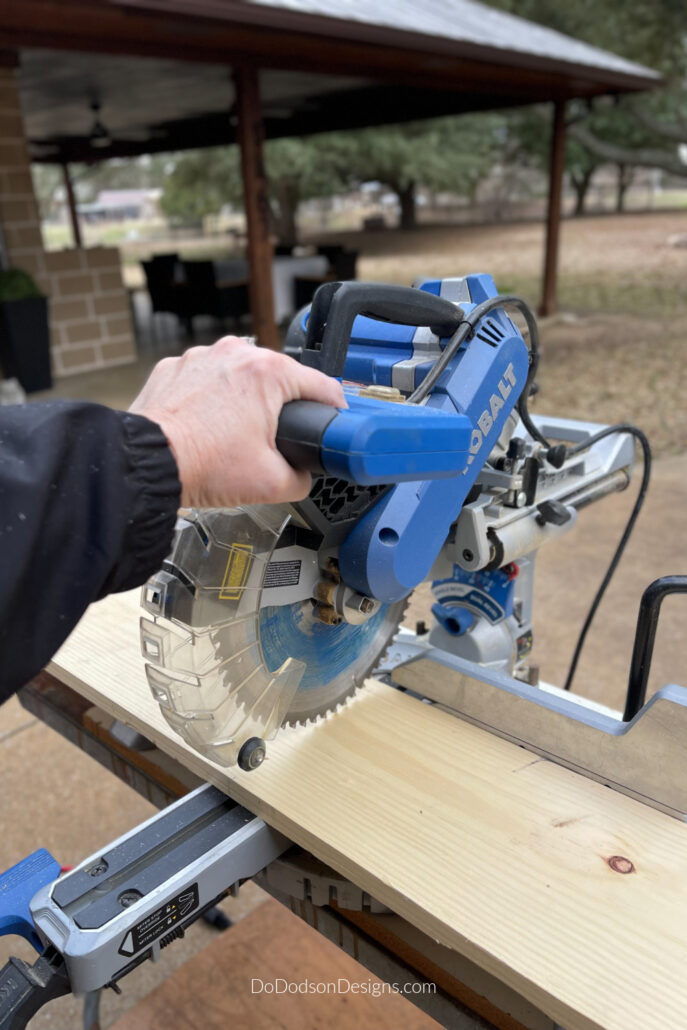
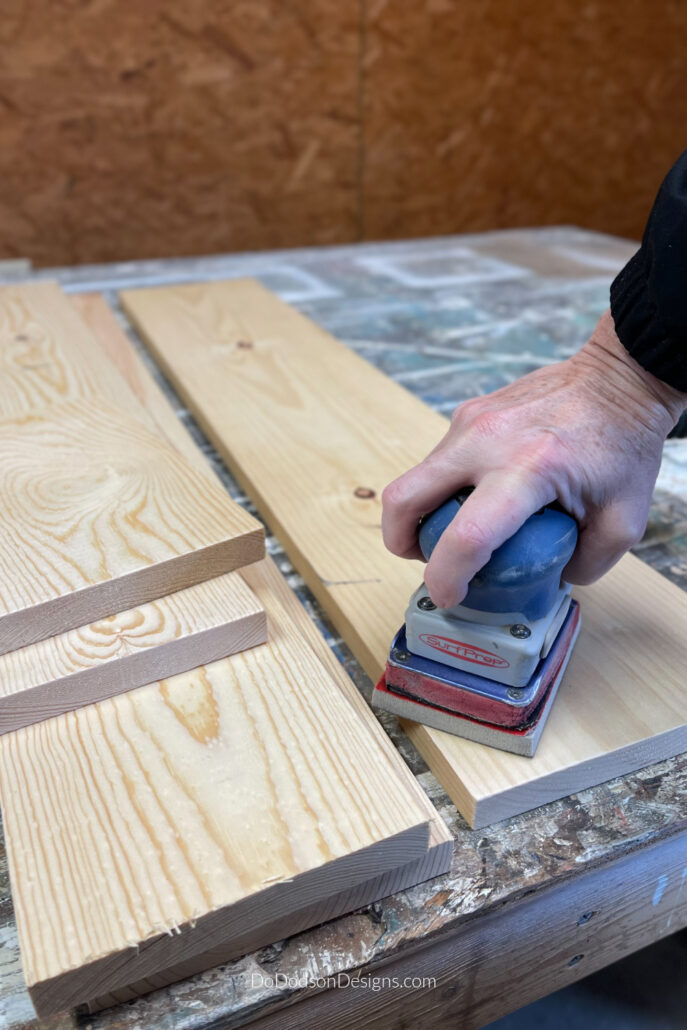
STEP 2: Once your boards are cut to the length for your project, you’ll need to smooth the rough-cut edges of the wood. You can do this by simply using an electric sander with 220 grit abrasive, sanding block, or paper. I use my electric sander because it’s quick and easy. It’s how I roll.
Assembling The Wood Box
Before assembling the centerpiece box, I like to do a dry fit first to ensure that all the cuts are exact. Now is the time to make adjustments. I usually cut my boards a bit on the long side for this reason. You can always cut a little off, but you can’t add to the board once it has been cut. A good carpenter will always tell you to measure twice and cut once.
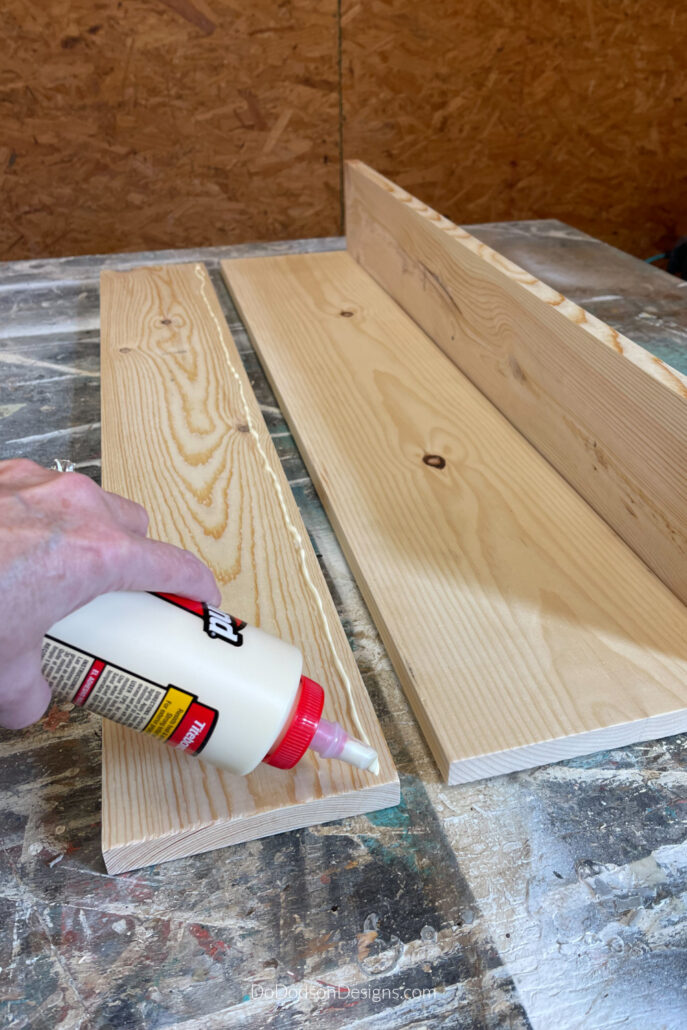
STEP 3: Lay the bottom board on a flat work surface. Add wood glue to the connecting side pieces. Do one board at a time unless you have an extra pair of hands.
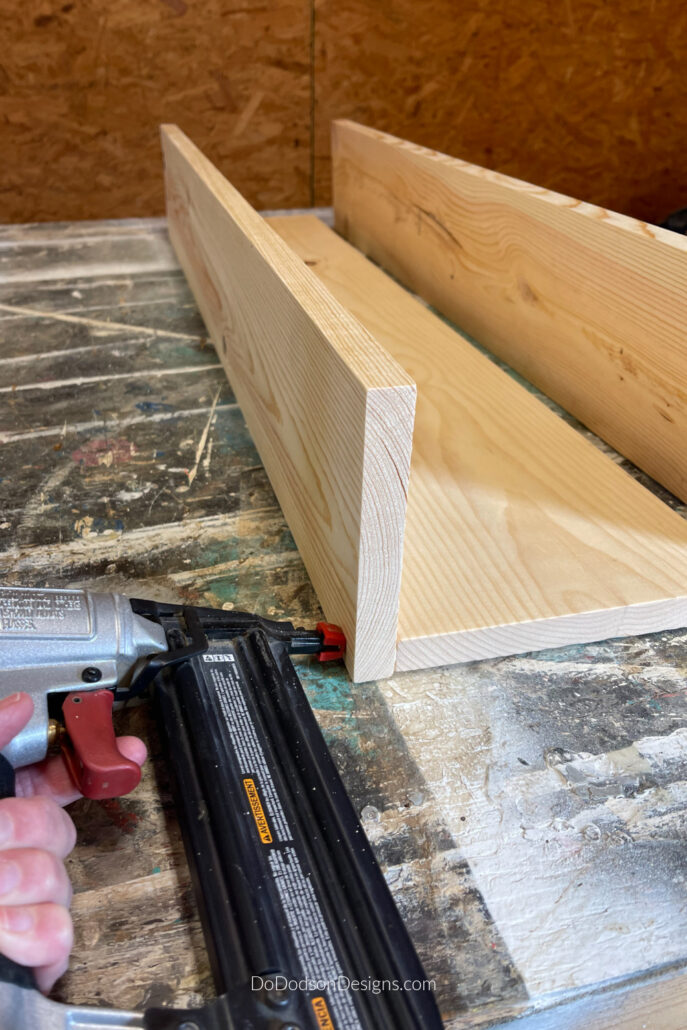
STEP 4: Secure the bottom of the box to the sides with a hammer and finish nails. Use a nail set to counter-sink the nails if you drive them with a hammer.
If you want to get your fancy tools out, you can use a Kreg pocket hole jig to secure the boards from the inside. This will give you a clean look on the outside of the wooden box.
For this project, I chose to use my brad nailer. It’s fast and easy, and I don’t have to use clamps to secure the wood pieces together before nailing.
I like the rustic look, so I don’t mind seeing the tiny nail holes in the wood. I think it gives more character to the box. If you want a clean look, you can always use wood putty to fill the nail holes before finishing the wood.
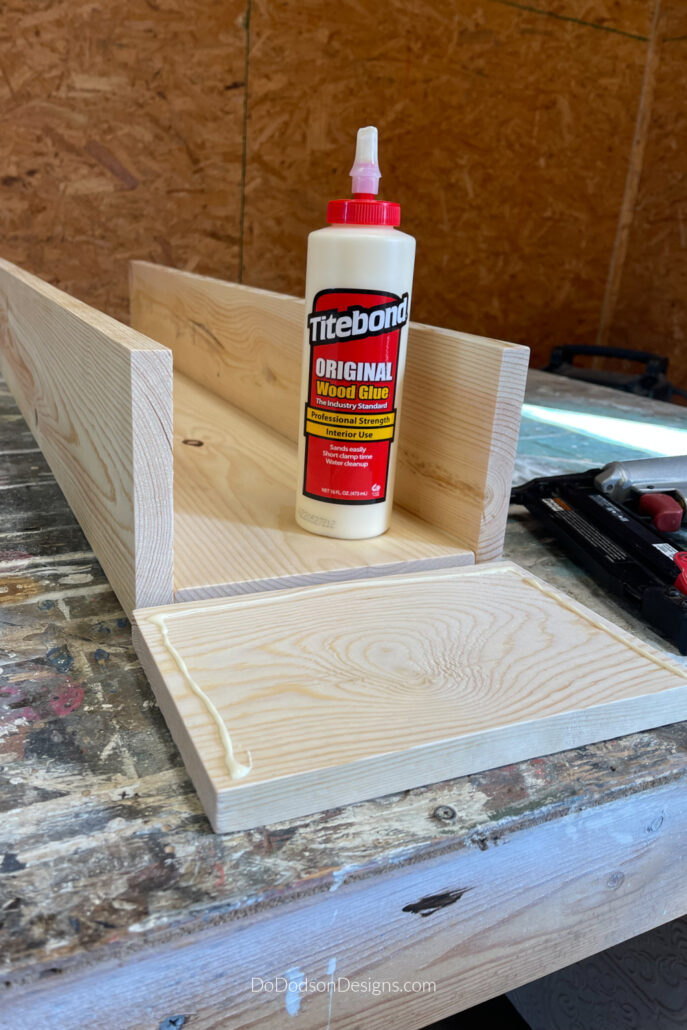
Repeat the same steps to secure the end pieces to complete the wood box.
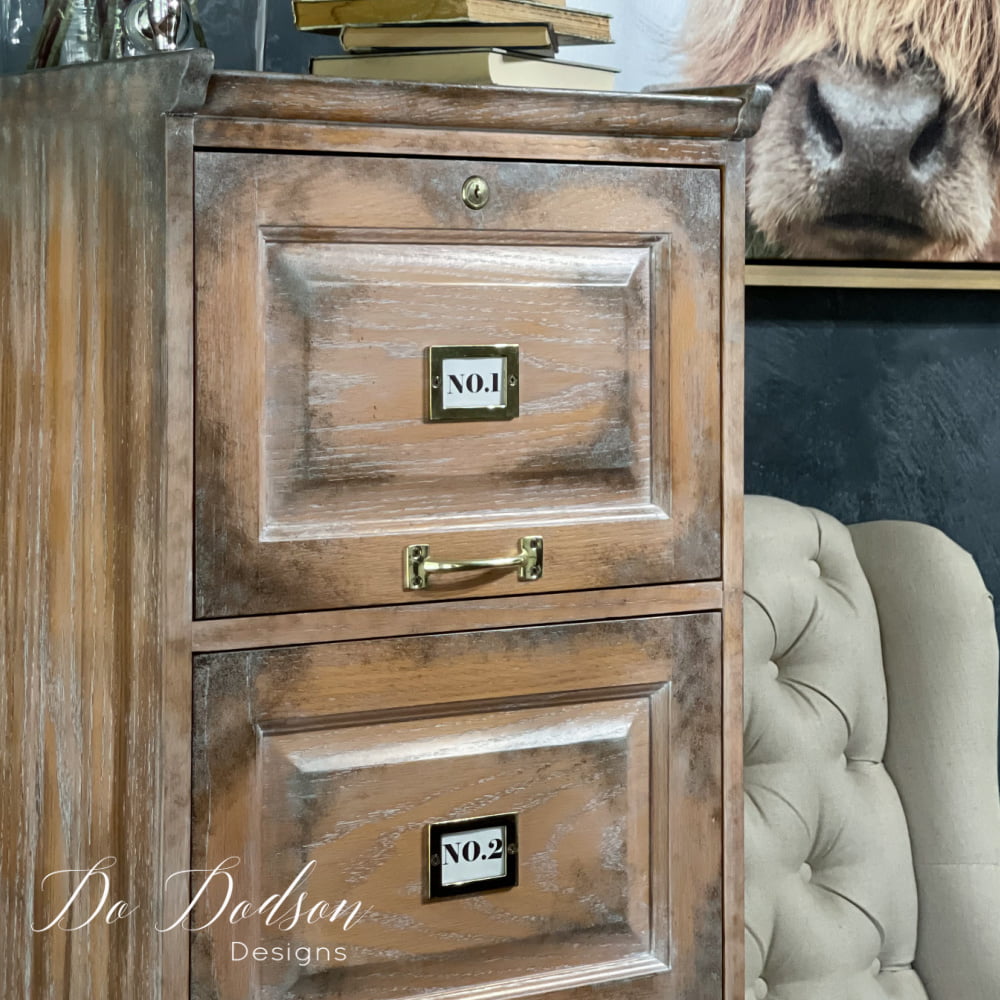
How To Use Gel Stain
Now comes the fun part. You can choose to paint or stain the wood to whatever color or style you like. I decided to use an oil-based gel stain over my wood box for a rustic weathered farmhouse look. Here’s how I did it.
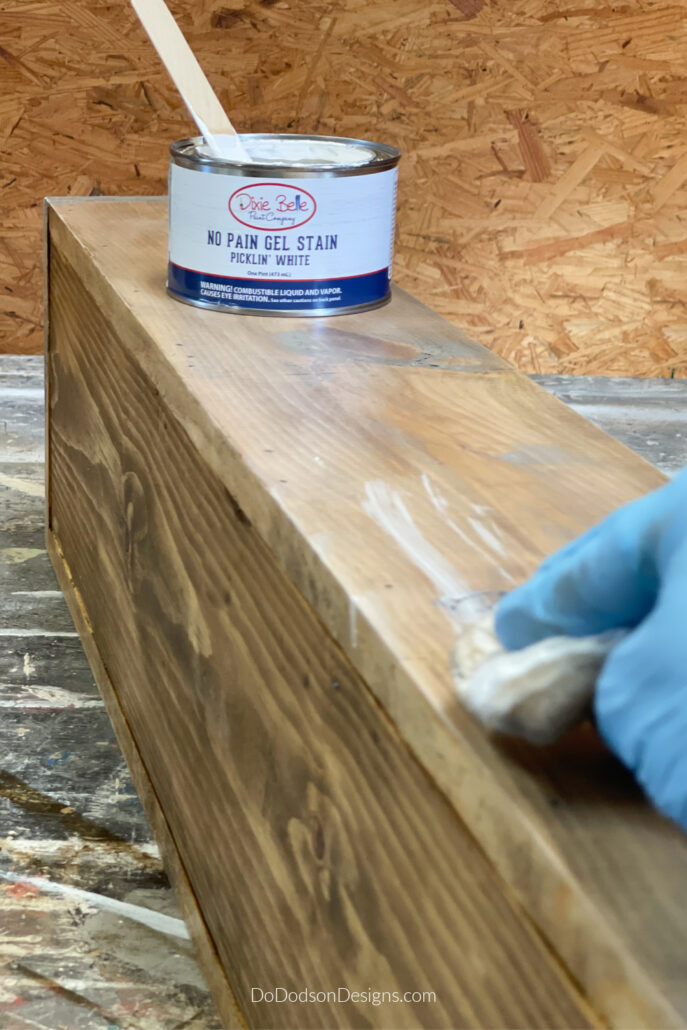
STEP 5: Mix the gel stain well before application.
Apply Golden Ash gel stain with a low-lint cheesecloth over all the wood, and don’t forget the inside of the box as well. Rub the gel stain into the wood and wipe away any remaining stain left behind with a clean piece of cheesecloth. This is important. You want the wood finish color to be consistent and not blotchy.

STEP 6: Immediately after the first application of gel stain (while it’s still a bit wet), apply the second color of Picklin’ White Gel Stain with a clean piece of cheesecloth. You will not give the wood box full coverage with the white. Use a minimal amount of the picklin’ white and blend the white into the golden ash going with the wood grain in a streaking motion. Back and forth.
The picklin’ white mixed with the golden ash will result in a beautiful weathered look on the wood. This works exceptionally well if you’re using new lumber and want to age it a bit.
You can use other applicators like a soft cotton cloth, paintbrush, or even a sponge to apply the gel stain, but I like how the cheesecloth allows me to be a bit artistic. This is what works best for me.
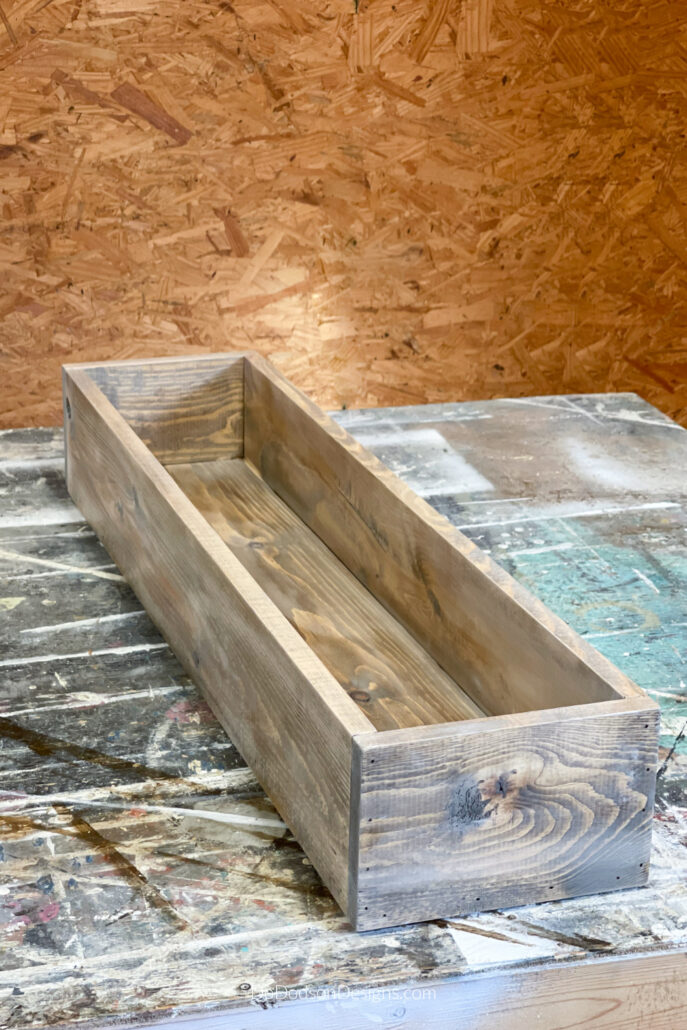
The Results
Isn’t this a beautiful look?
Allow it to dry for a minimum of 24 hours. There is no need to seal the wood on home decor projects. I love how using a dark stain gel stain brings out the character of the wood grain.
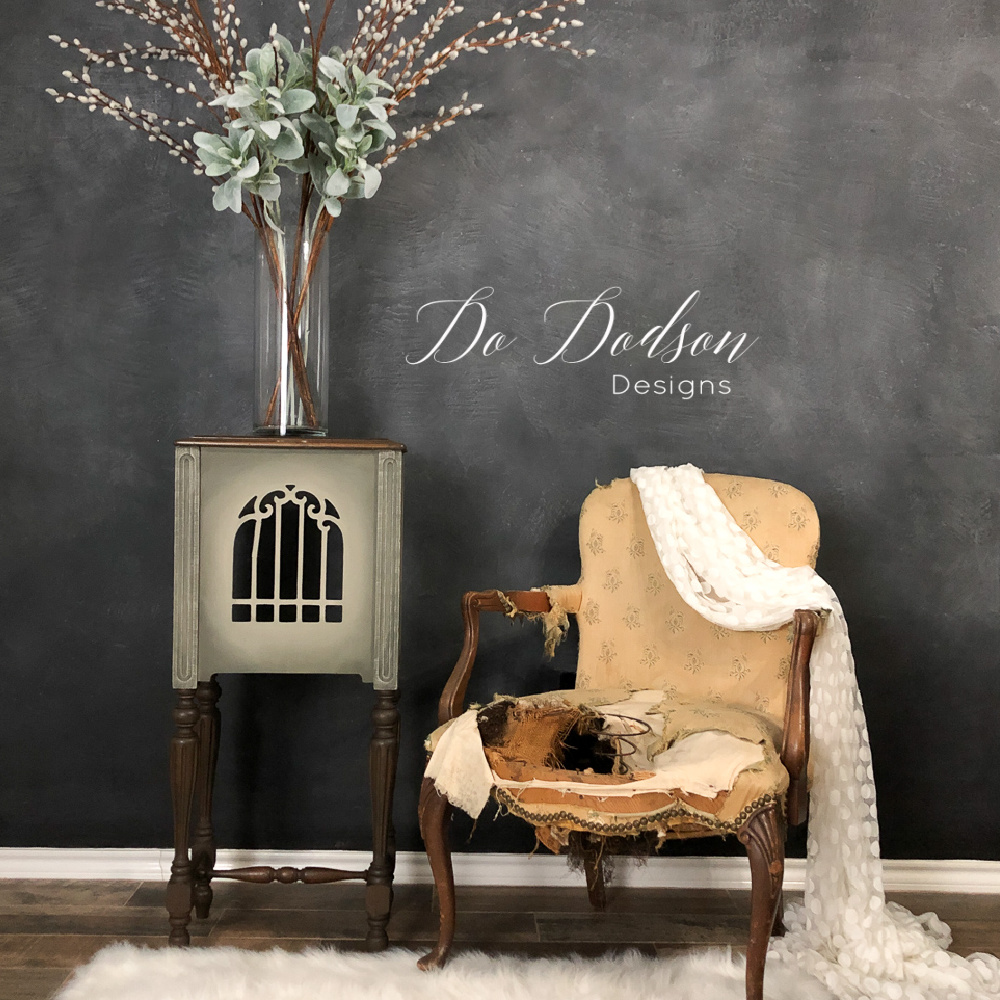
On a side note, you can add chalk paint after the stain is completely dried for a unique finish. I may go back and do this later on, to change it up a bit.
CLICK HERE to see how I gave an old door a chippy paint finish with this technique.
More DIY Wood Box Ideas
These beginner-friendly DIY wood boxes can be used for so many things. Here are a few ideas that come to mind.
Add a wood top with a couple of hinges to make a storage box. Who doesn’t need more storage? Oh, and a storage bin. I need to add that to my list.
A wooden gift box that can be reused over and over again. I love this idea! The gift that keeps giving. It can be saved for a keepsake box.
Wood crates can be made with wood scraps as well.
And what I really want this Spring is a wood planter box. Maybe two boxes!
My DIY Wood Box Centerpiece
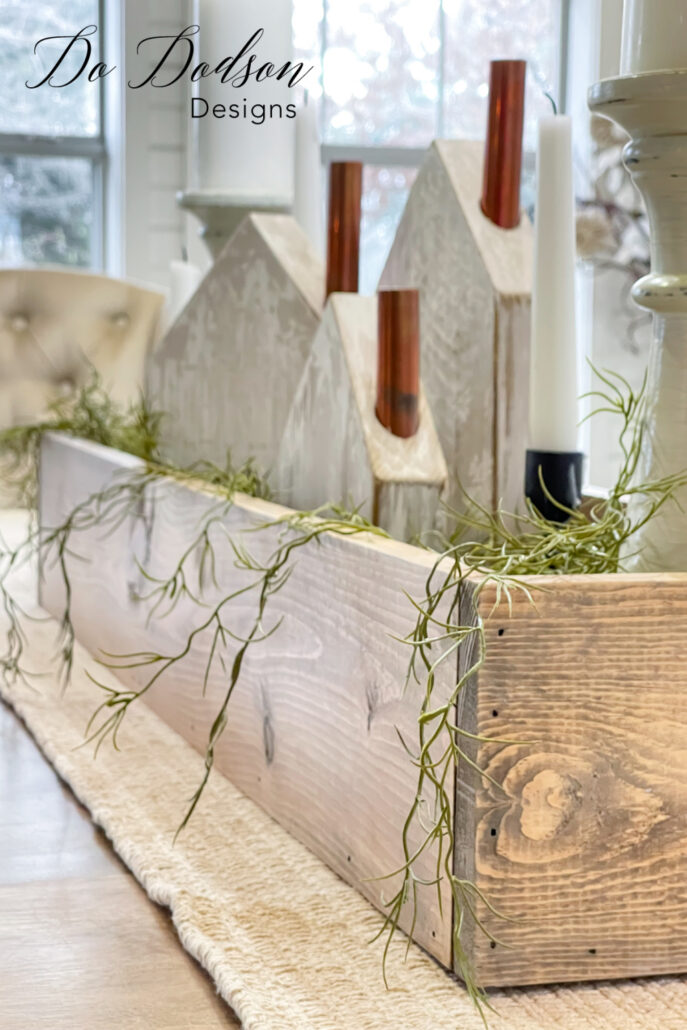
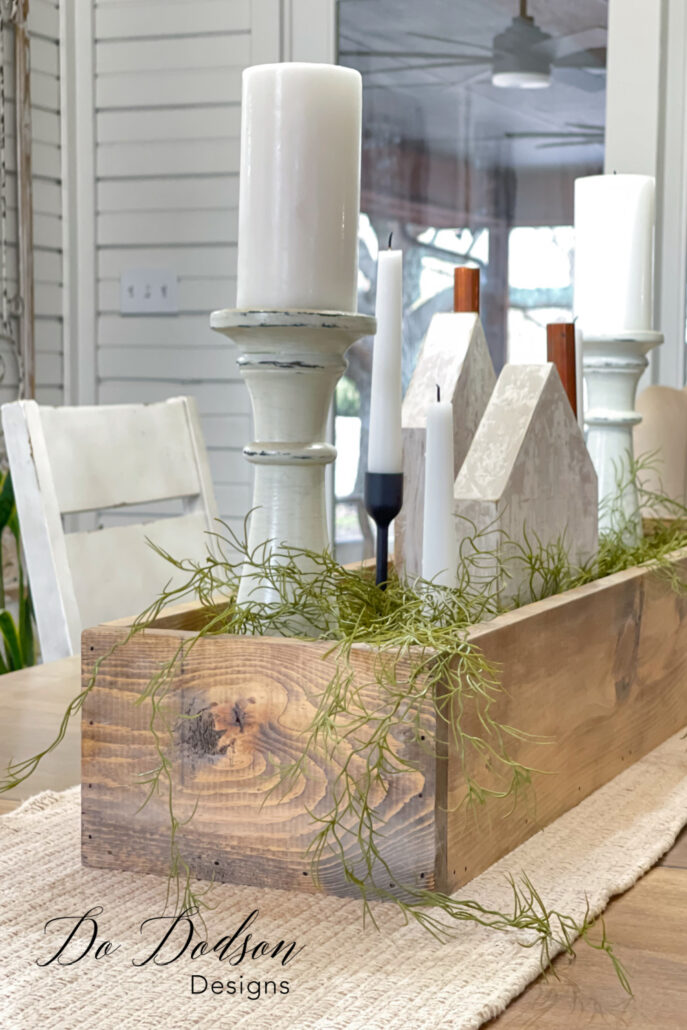
As always, thanks for joining me today for this DIY wood box centerpiece project. I love working with wood scraps, and when the results look this great, there’s no reason not to repurpose and make some beautiful home decor items out of it.
Let me know your thoughts in the comment section below, or say hello so I’ll know you stopped by. SAVE THOSE SCRAPS, and keep on creating!
Until the next project… xo, Do
Loving this easy DIY box Do! You make the best home decor pieces from wood scraps! by friend! The two-toned stain is amazing! Pinned 🥰
Hey Cindy! Thank you so much. I hope all is well with you and your family. Have a fantastic week, my friend. 🙂 xo
I love this piece! My hubby is my handyman. I come up with it, he builds it and I make it pretty.
He only saves the good scraps too
Hi Cindy! Thank you. I feel sorry for those women who don’t have a handyman. It’s like a tool in your pocket. #teamworkmakesthedreamwork
Have a fantastic week. 🙂 xo
Love the finished look! Amazing what you can do with scraps! XOXO
Hi Denise! You know it’s my JAM! Have an amazing week. 🙂 xo
Do, I just finished making this wooden table box. I couldn’t be happier. I made mine 24 inches long and used the American Honey with Chalk paint dry brushing. The No Pain Gel Stain was so wonderful to use. I am 70 years old and used alot of brands of stains over the years. But this one, let me tell you girlfriend was so unlike the ones before. The color was amazing, no streaks or uneven places, and on pine without sealing it first….. well, that’s just plum incredible. I am off now to make your amazing drop cloth rabbits and carrots. Thank you for a fun project. God Bless you.
Hi Vanessa! I’m so happy to hear that you enjoyed this project. Having amazing products is always a bonus. The gel stain is my fave! Thank you so much for sharing your results with me. The bunnies are super fun! Have a wonderful week and happy creating. xo 😘
Enjoyed reading your post. I never discard scrap pieces of lumber. Look forward to trying your staining technique.
Great John! I find the wood scraps come come in very handy with so many wood projects. Thanks for reading and I hope you come back soon. I have a lot to share.