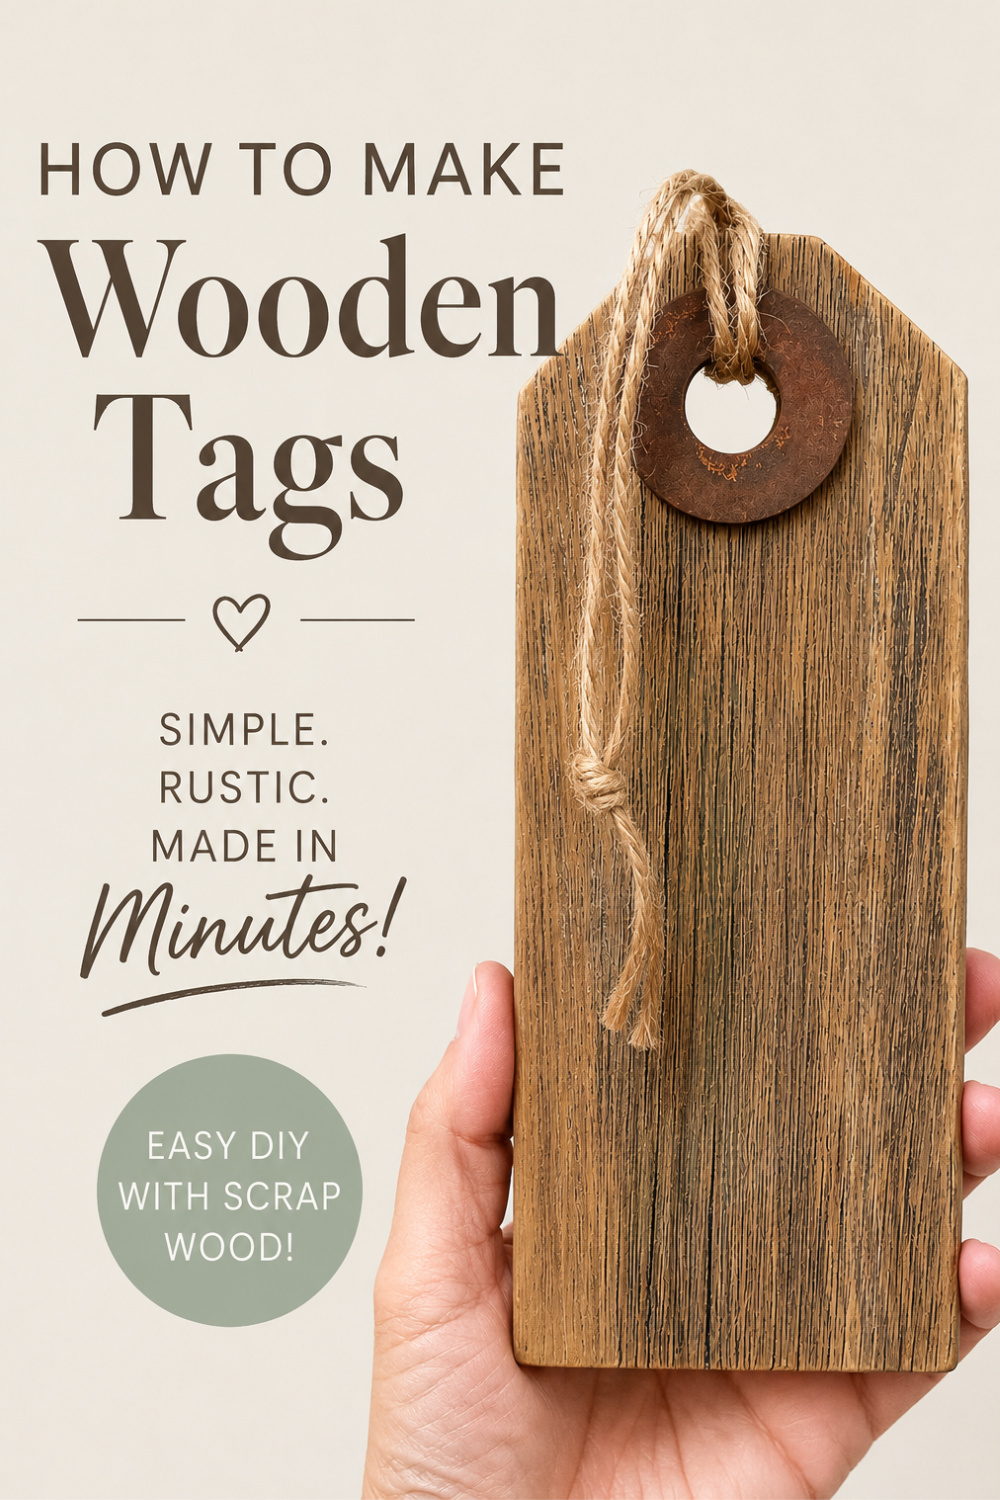
While shopping at a home decor store one day, I came across some cool wooden tags. It was one of those “I can make those” moments. Usually, I say that but don’t follow through and return later to purchase, only to find they’re all sold out. Not this time!
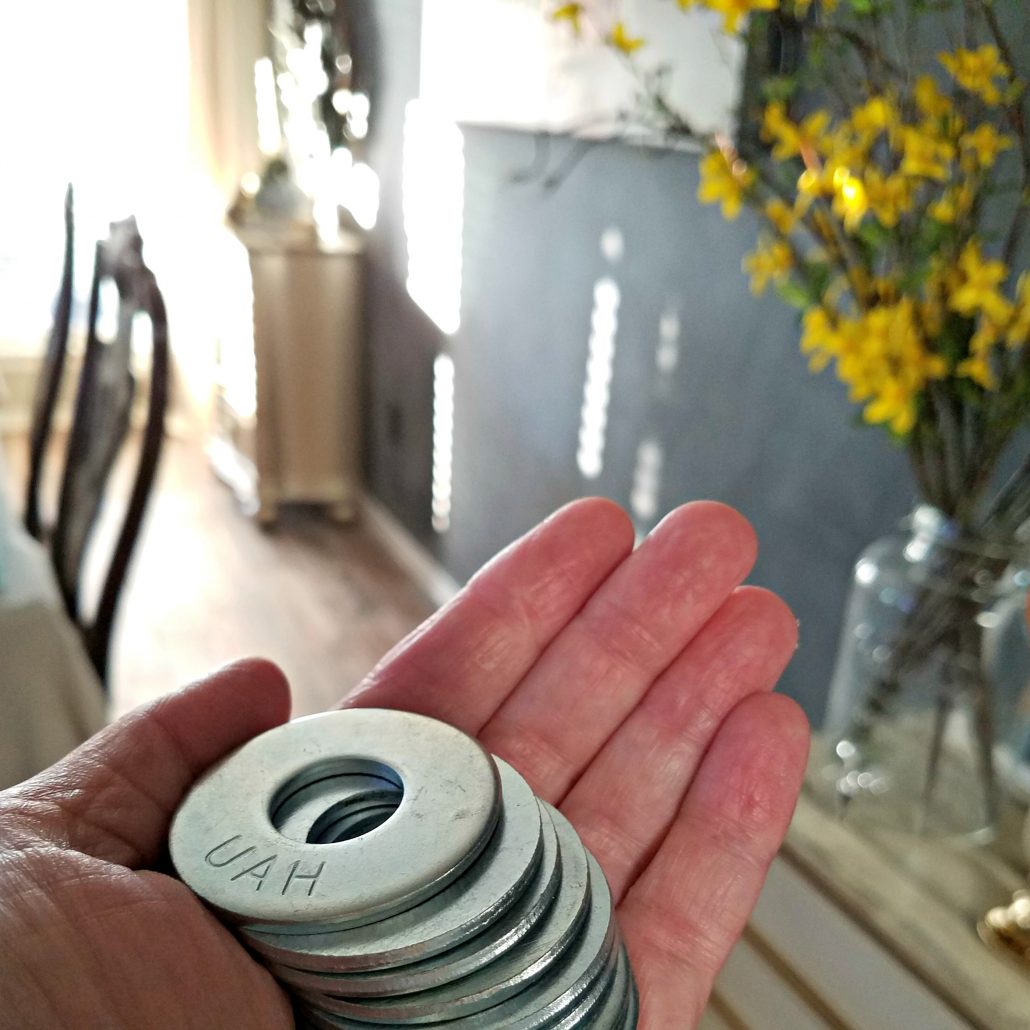
Well, it’s not the usual gift a woman gets every day, but my man knows what I like. Anything out of the ordinary that I can repurpose is a major score. When I asked him for washers, I thought he would be bringing me the small ones. Instead, I get these Macho Randy Savage-looking washers. Sa…weet! I know just what to do with these bad boys.
This post contains a few affiliate links to help you find the products I use. You are not charged extra to use any of the links, but any income I make will be used for more fun projects! To see my full disclaimer, click here.
These Wooden Tags Are So Easy!
First off, the washers were way too pretty for me. Let’s get some rust going on these bad boys.
STEP 1: Creating Rust On Metal Washers
Gather Your Supplies
- Red Solo Cup (or any plastic container)
- distilled white vinegar
- hydrogen peroxide
- table salt
- washers
- weathered board (fence pickets)
I read a tutorial a while back on how to do this, but I have never tried it. Let’s see if I can wing it since I don’t remember the recipe. I added my washers to the cup, then added equal parts vinegar and hydrogen peroxide. Just enough to cover the washers. (If you’re sensitive to smells, you might want to do this outdoors or in the garage) Then I just dumped in some salt. Sorry, I don’t measure when I cook either. That’s Grandma’s fault, but it always comes out perfect. Well, most of the time.
I let the washers sit in the solution overnight. The next morning, I took them out and laid them on a paper towel to dry. All nice and rusty! The rusty washers will look great on wooden tags.
Disclaimer * You really shouldn’t use your Fiestaware for projects. Ha!
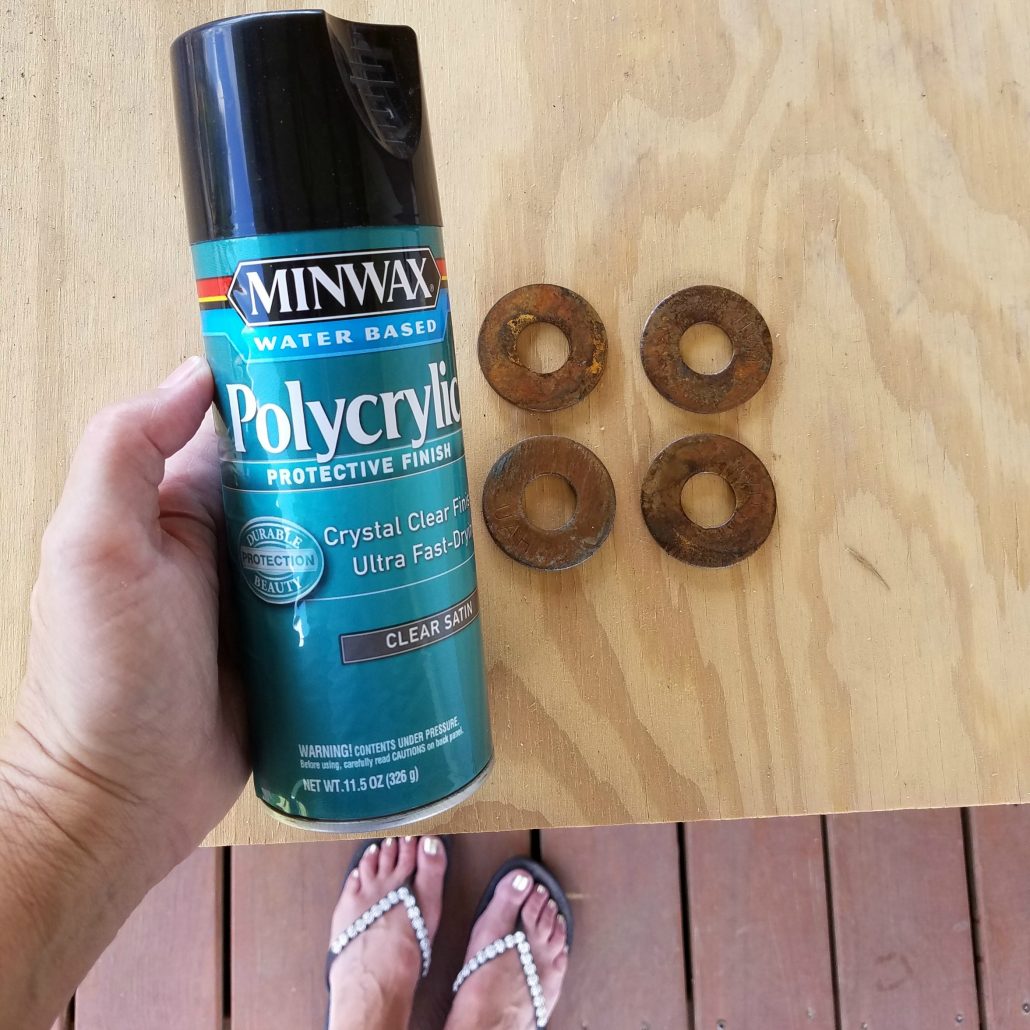
STEP 2: Sealing Your Rusty Goodness
After the metal washers had dried, I added a Minwax Polycrylic Coat Spray to preserve the rust. Without it, the rust will rub off. Don’t miss this step.

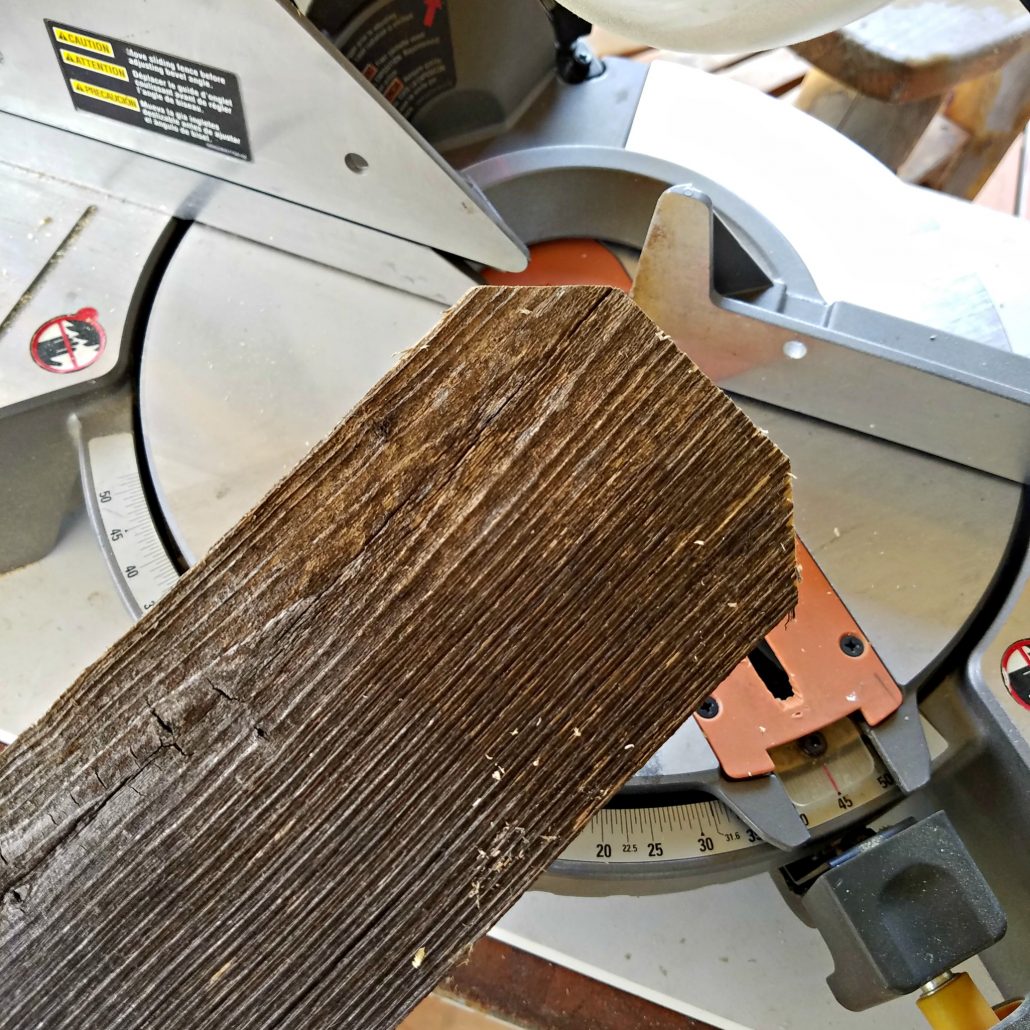
STEP 3: Cutting The Boards For The Wooden Tags
With my washers complete, it was time to cut some wood into the shape of a tag. These can be made in any size, depending on the size of the washers. I had some old, weathered fence leftovers that worked perfectly for this project. I cut a 45-degree angle that matched on both sides. The length of the board is a preference. The one I used here is 8 inches. The washer was 2 inches.
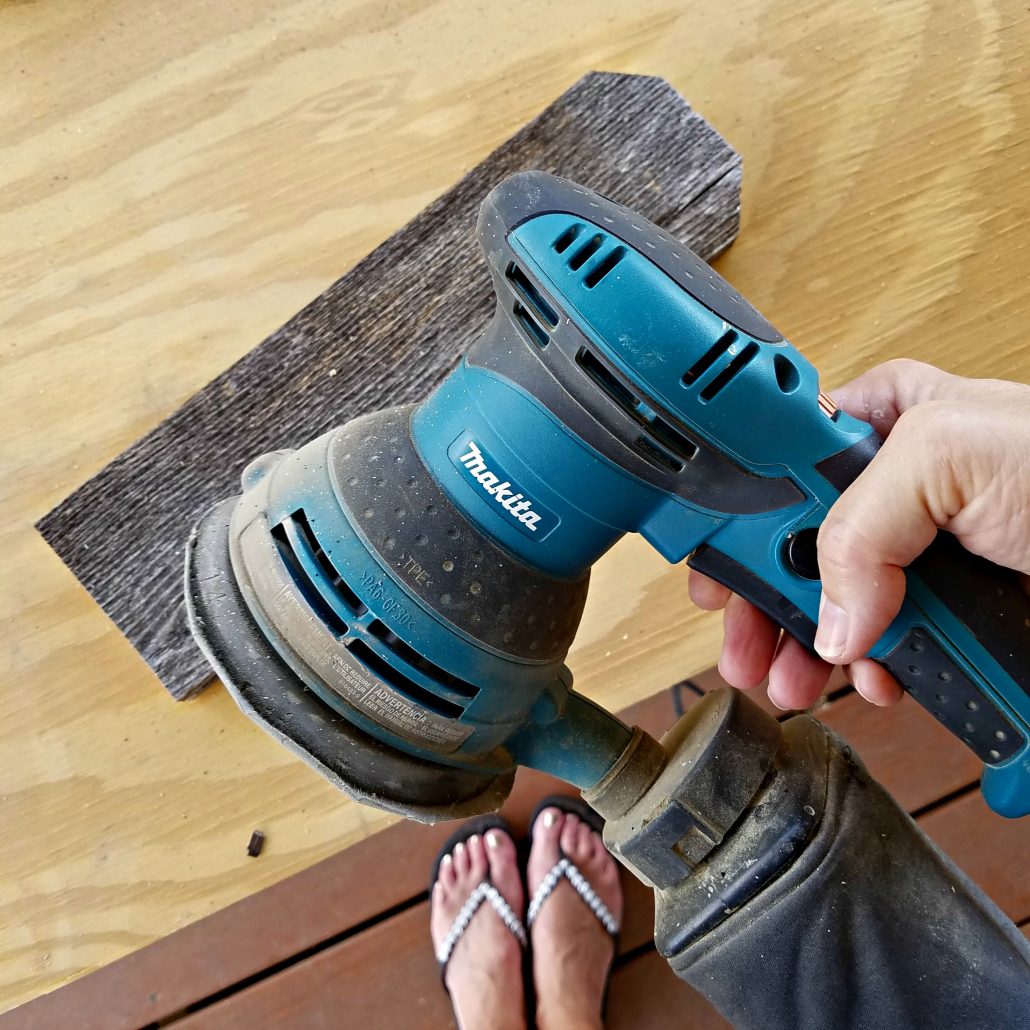
STEP 4: Sanding The Boards
Next, I sanded down the board to smooth out the rough edges. I used 120-grit sandpaper and my Makita Orbital Sander. It’s quick and easy, but you can sand by hand if you choose.
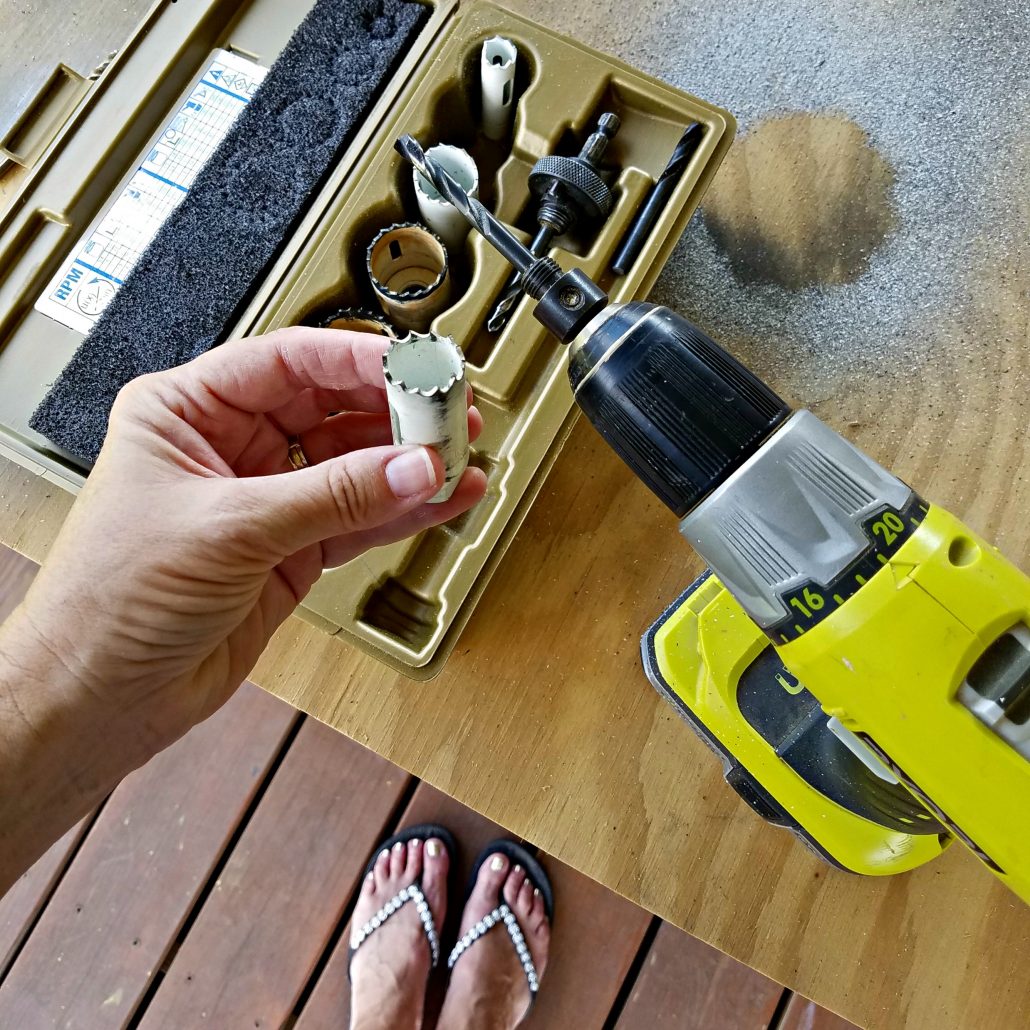
STEP 5: Drilling The Holes
I needed to drill a large hole in my board for the washer. Since the hole in the washer was so large, I opted to use my Hole Saw Kit. It comes in different sizes for larger holes. I use it often when doing wood projects. For this project, I used a 1-inch washer, which was a tad bit larger than the washer hole, but it didn’t matter. The hole will be covered by most of the washer.
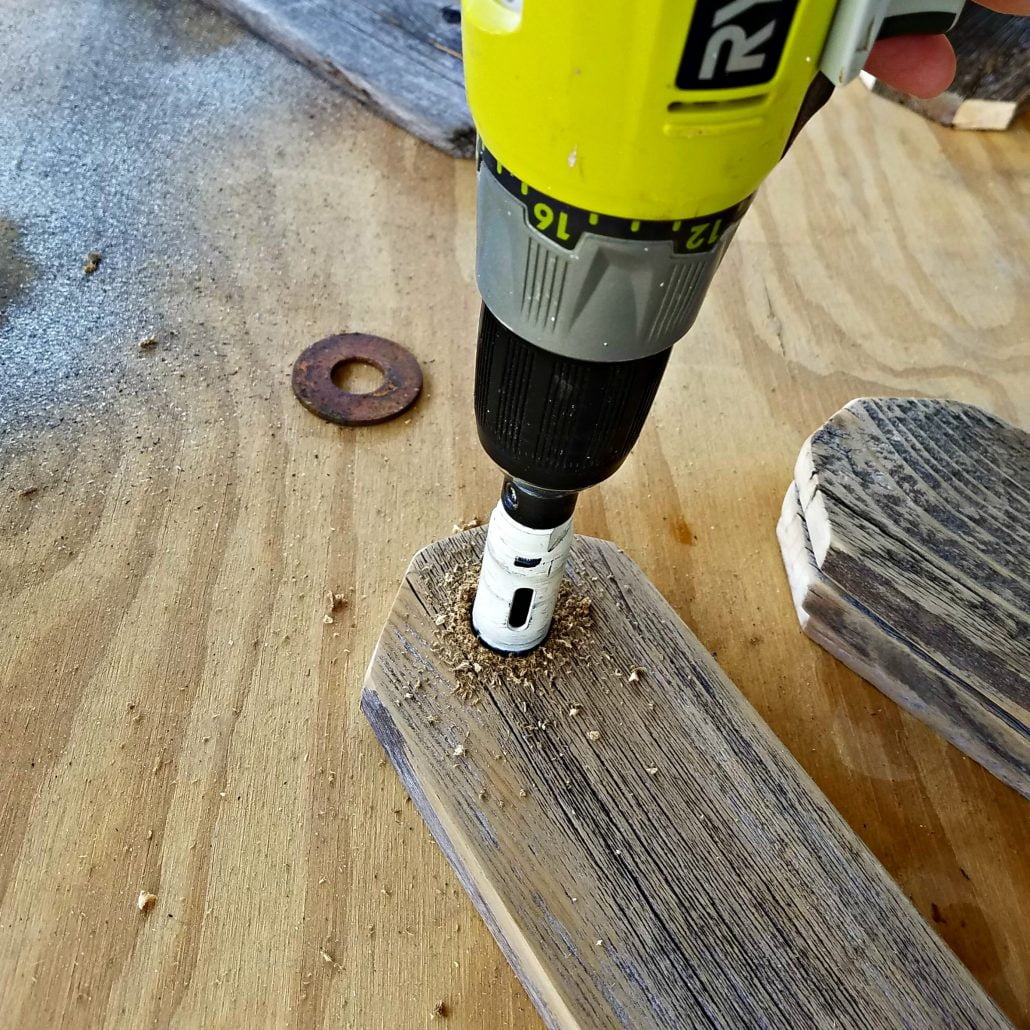
The Hole Saw comes with an attachment that fits on the end of your drill. The end of the drill bit is still exposed to ensure your hole placement. The drill bit will go into the wood first, and then the hole saw will follow. This was perfect for my wooden tags.
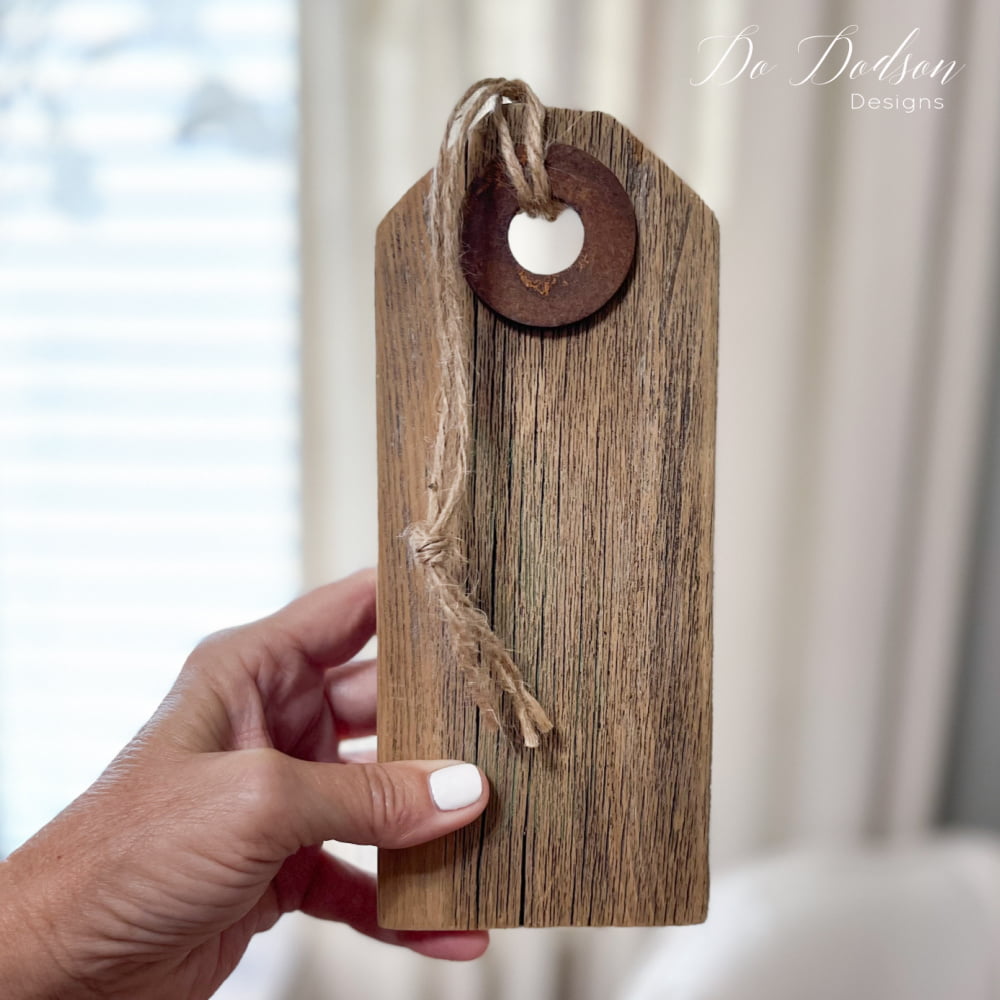
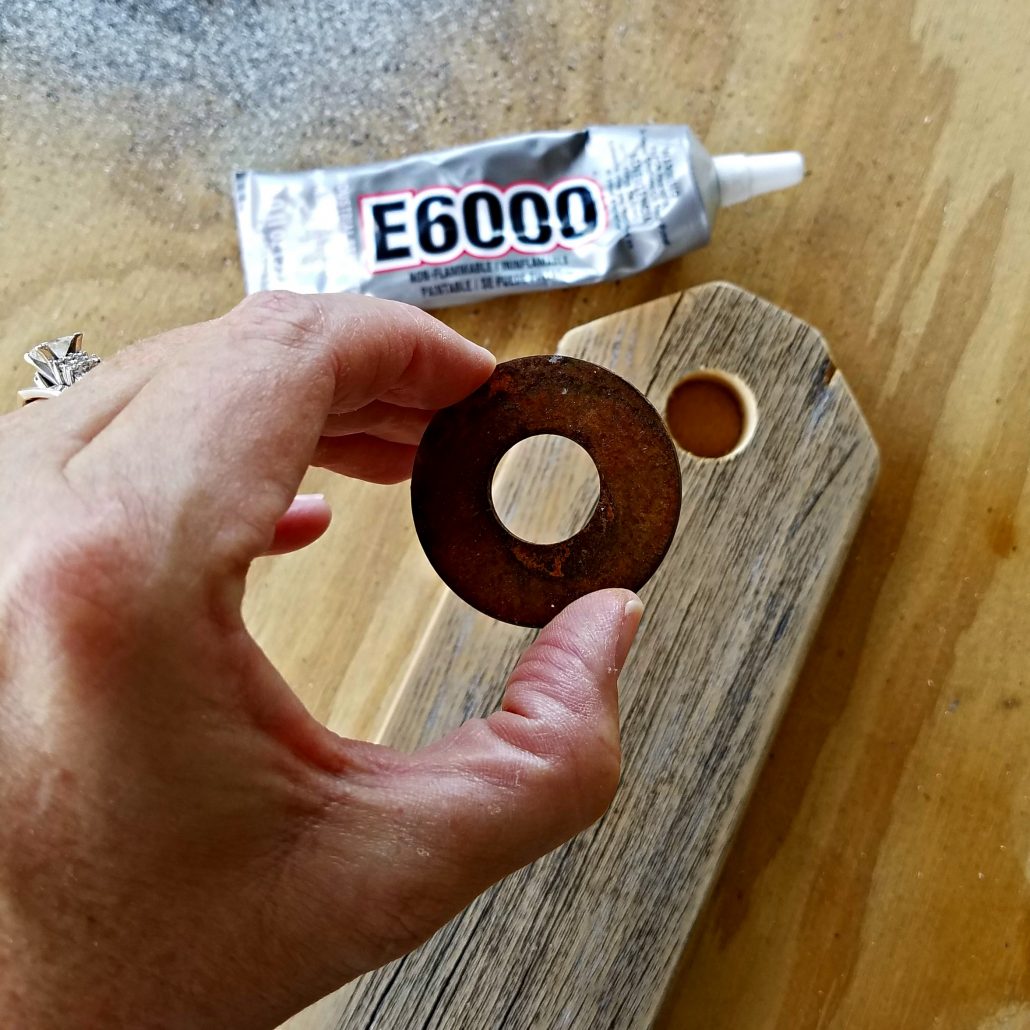
STEP 6: Glueing The Washer To The Wooden Tag
Glue your washer to the wooden tags with E6000. Add your own personalization, and that’s it, my friends. A unique way to tag a gift, or add a bit of cuteness to anything.
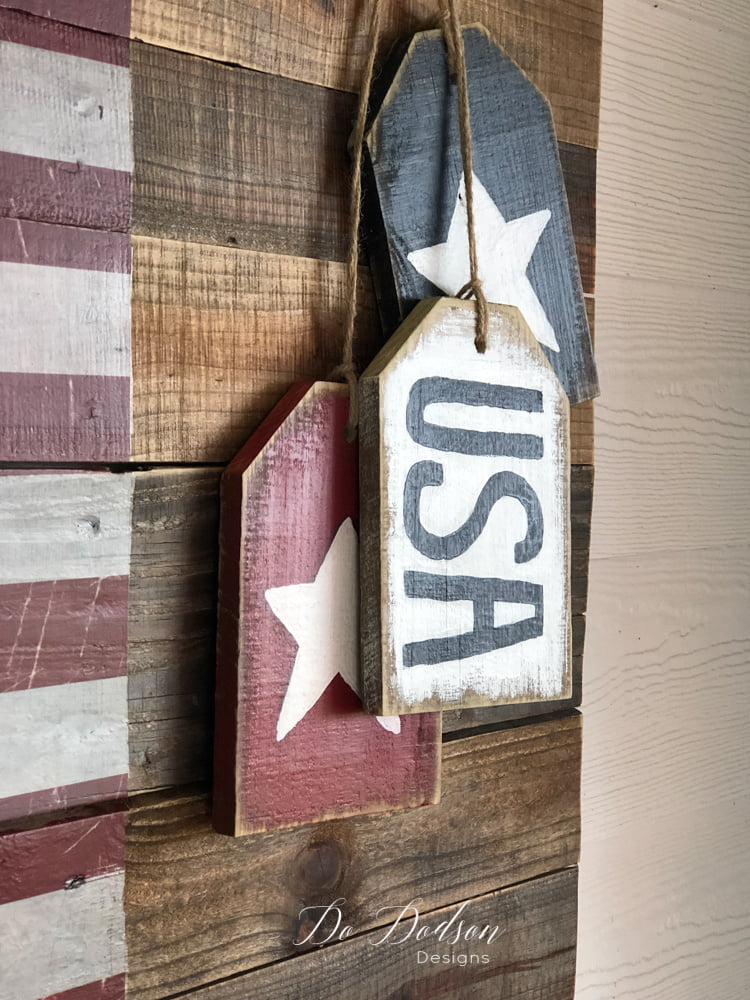
Patriotic Wooden Tags
These adorable wooden tags offer endless styling possibilities! Channel your inner artist and personalize them with your favorite patterns, vibrant colors, or intricate designs. Let your imagination run wild and transform these simple tags into unique, one-of-a-kind pieces that perfectly reflect your personal style and add a touch of handmade charm to any project or gift.
Wood Tag Signs
Get creative and personalize these wooden tags by using stencils or simply freehanding your favorite words, quotes, or messages to add a unique, heartfelt touch to your creations. Each tag can be a unique expression of your individuality and is perfect for any occasion or as a gift.
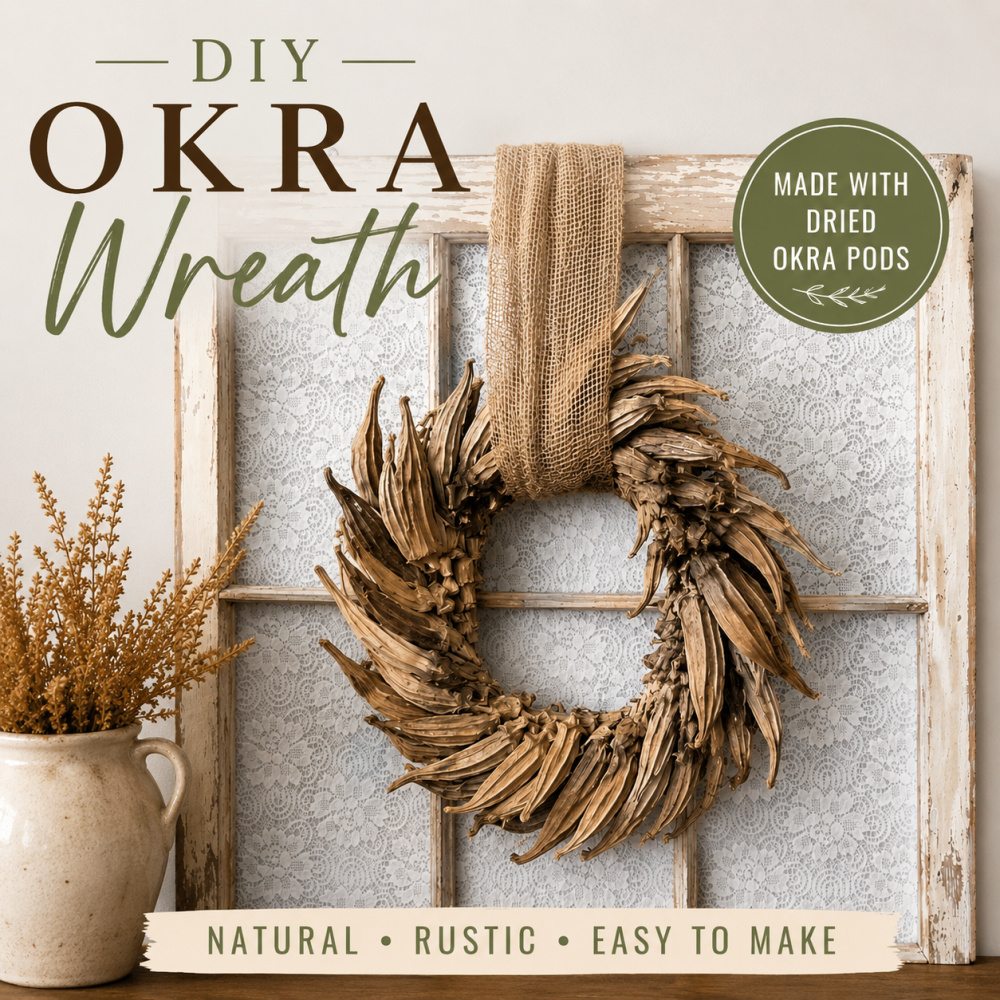
If you like this one, check out how I styled it on a DIY okra wreath!

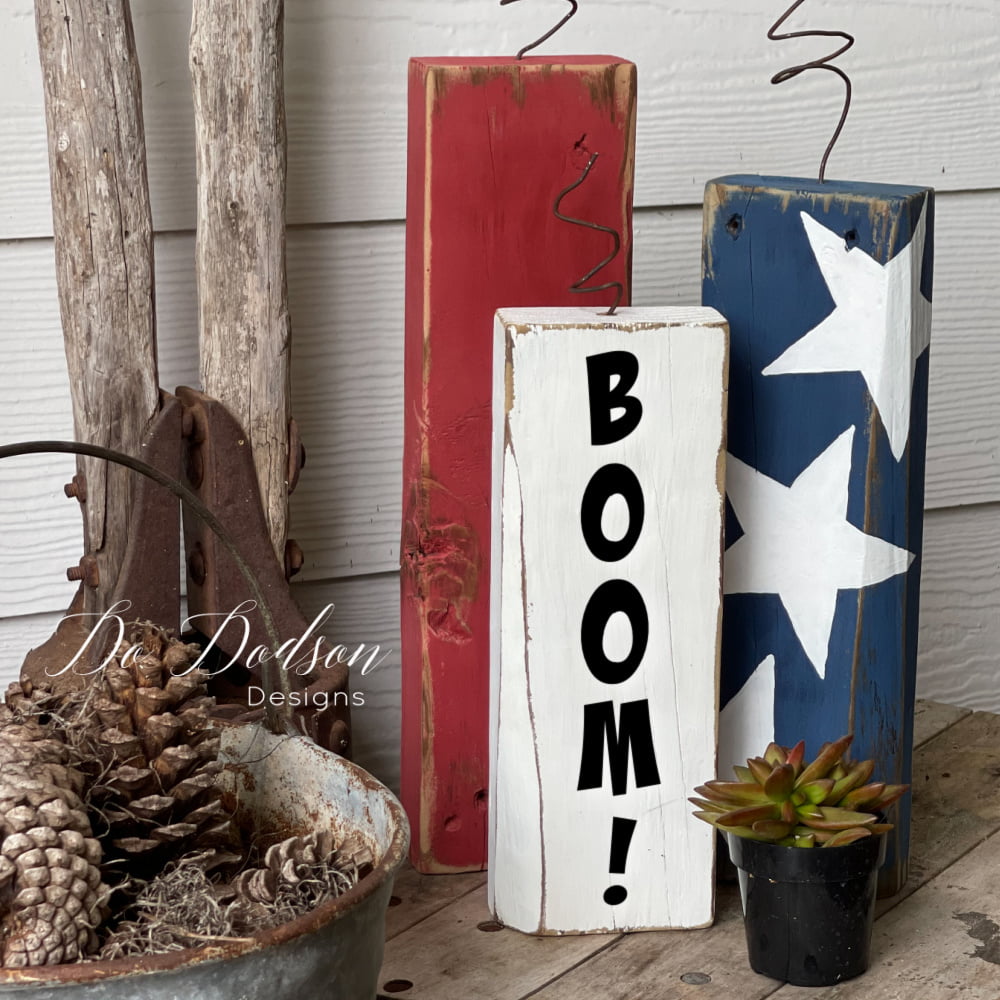
Farmhouse Style Decor
You can keep them exactly as they are; these wooden tags are certainly capable of making a bold statement all on their own, adding a rustic vibe to any space or project.

Thank you so much for taking the time to read my post about making these easy wooden tags! I truly put my heart into creating this project, and I would absolutely love to hear your thoughts and any ideas you might have for variations or other uses for these charming tags.
Do you have any favorite ways to personalize crafts, or perhaps you’ve tried a similar project before? Please leave a comment below and share your creativity with me; I’m eager to connect with fellow crafting enthusiasts and learn from your experiences! 🙂
Don’t forget to share and PIN 📌 this DIY wood craft to your favorite woodworking board.
Until the next project… xo, Do


