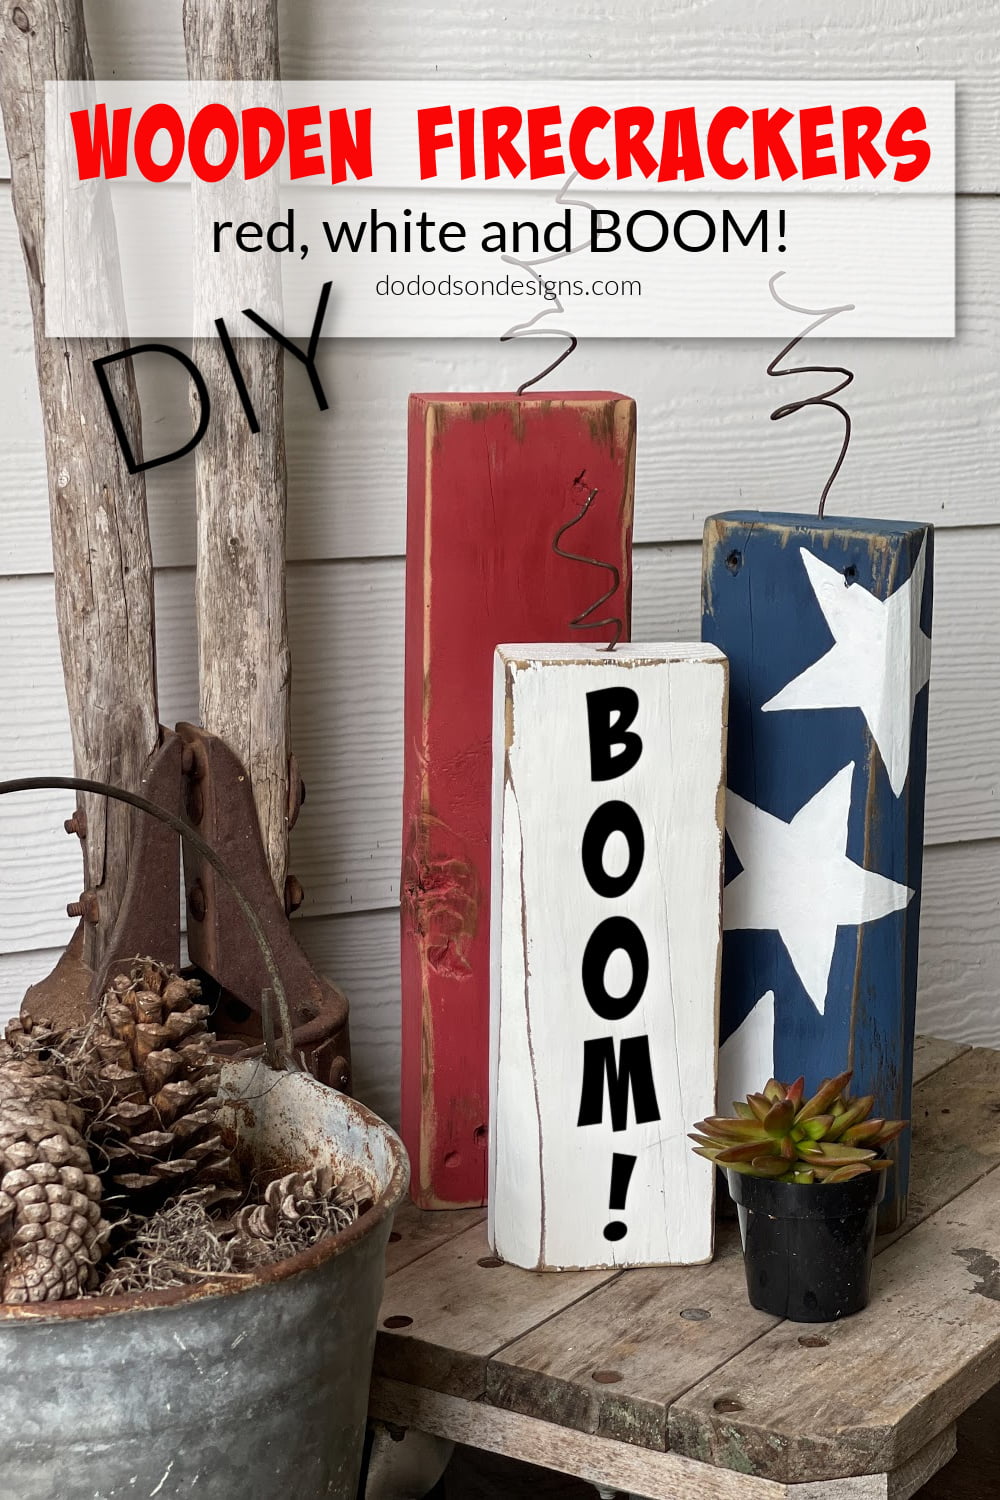
Hello creative friends! Let’s make some cute July 4th decor for the front porch… or anywhere you want to add some patriotic cuteness. Today. I’ll show you how to make these DIY wooden firecrackers that you can customize any way you like. As for me, I like to paint. Let’s DIY DO this!
* As an Amazon Associate, I earn from qualifying purchases and through other companies as well. You are not charged extra to use any of the links, but any income I make helps me create more amazing DIY projects to share with you! To see my full disclaimer, click here!
What You’ll Need To Make DIY Wooden Firecrackers
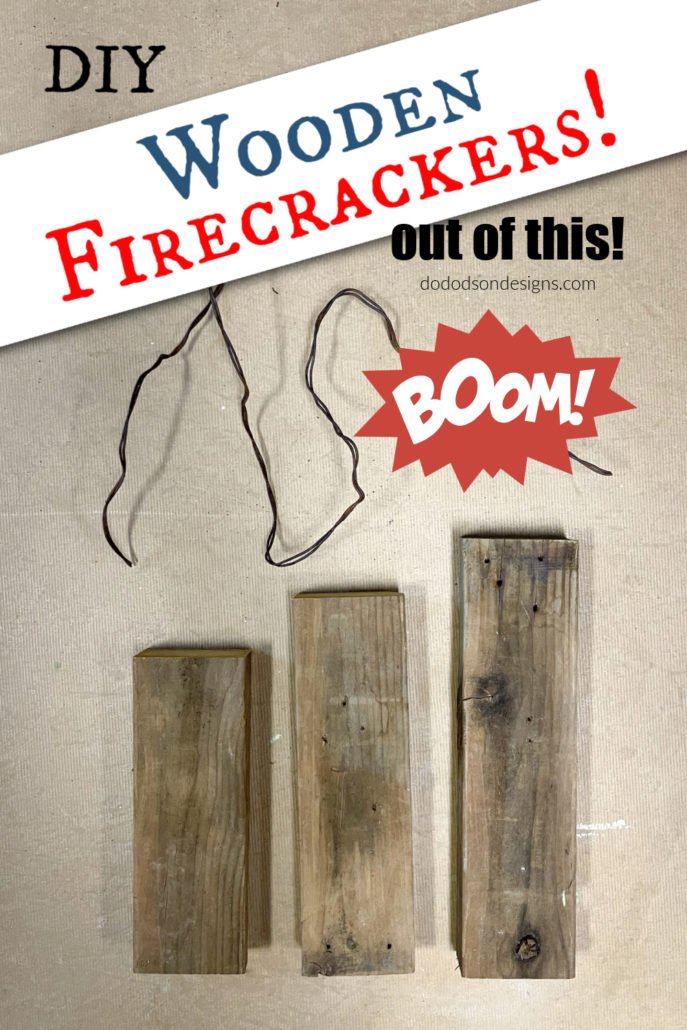
Once again, (I know you must be tired of hearing me say this) save those wood scraps! All I used for this cute DIY crafty project is some old 2X4s and some rusty wire. By now, you probably think my wood stash is running low. Neva!
Ha! That reminds me of Julia Childs when she says, “save the liver.” Don’t you just love her?? 🤣

SUPPLY LIST:
- scrap wood ( 2X4s or 4X4s will work) 10-12-14 inch
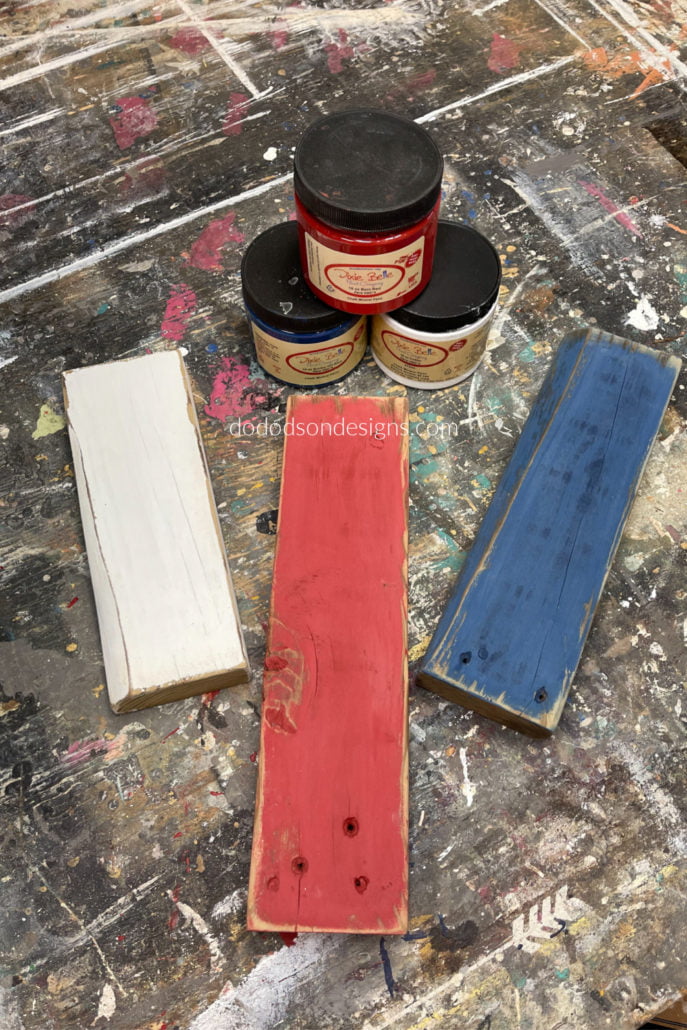
- chalk mineral paint (cotton, barn red, bunker hill blue)
- paintbrush
- artist brushes
- sanding block or wood sander (optional… for distressing the wood) Use my discount code DOIT10 to get an additional 10% off your order.
- drill and wood bits
- wire cutters
- rusty wire (if you want it rustic)
- stencils (or make your own)
DIY Wooden Firecrackers
Step 1
Cut your boards to the length you like. I staggered the lengths of my boards… 10, 12, and 14 inches.
I have to admit this, but I didn’t even clean the boards before painting. They’re for my front porch, so I figured no one would know… well, maybe except you. Friends don’t judge. Right? 😄
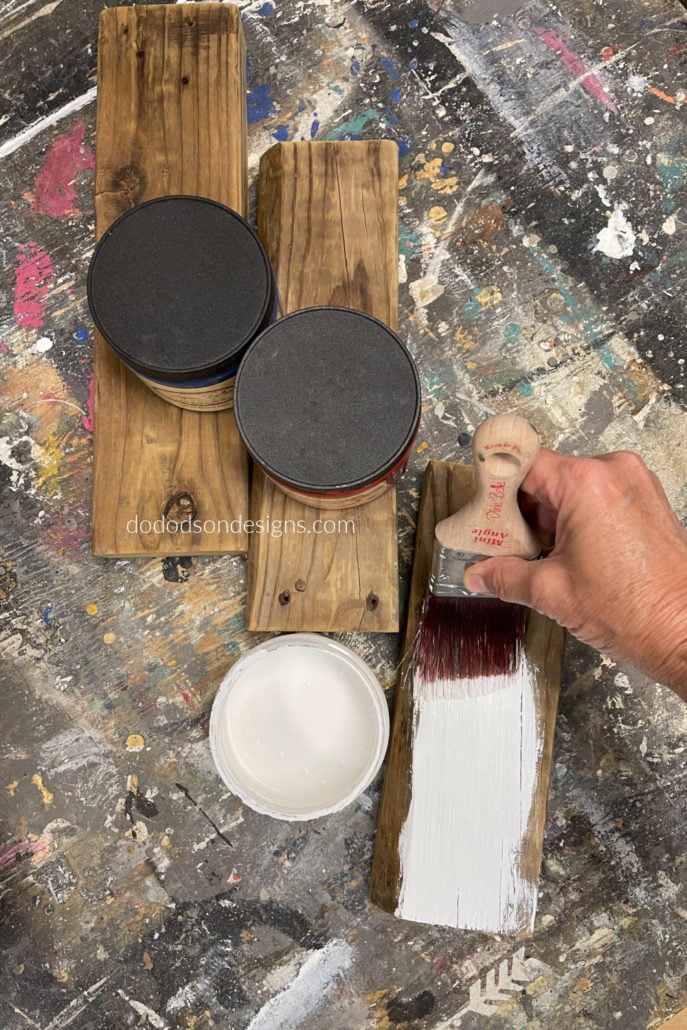
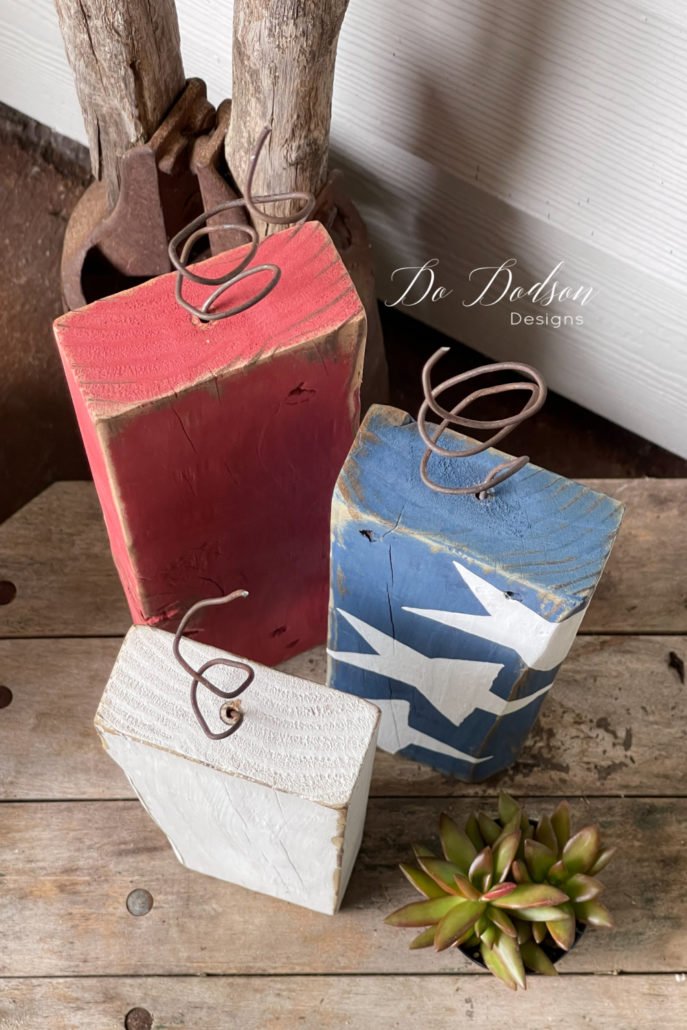
Here’s is what they look like after painting and a little distressing because I wanted my wooden firecrackers to have a rustic feel.
How To Make A Star Stencil For Wooden Firecrackers
Step 2
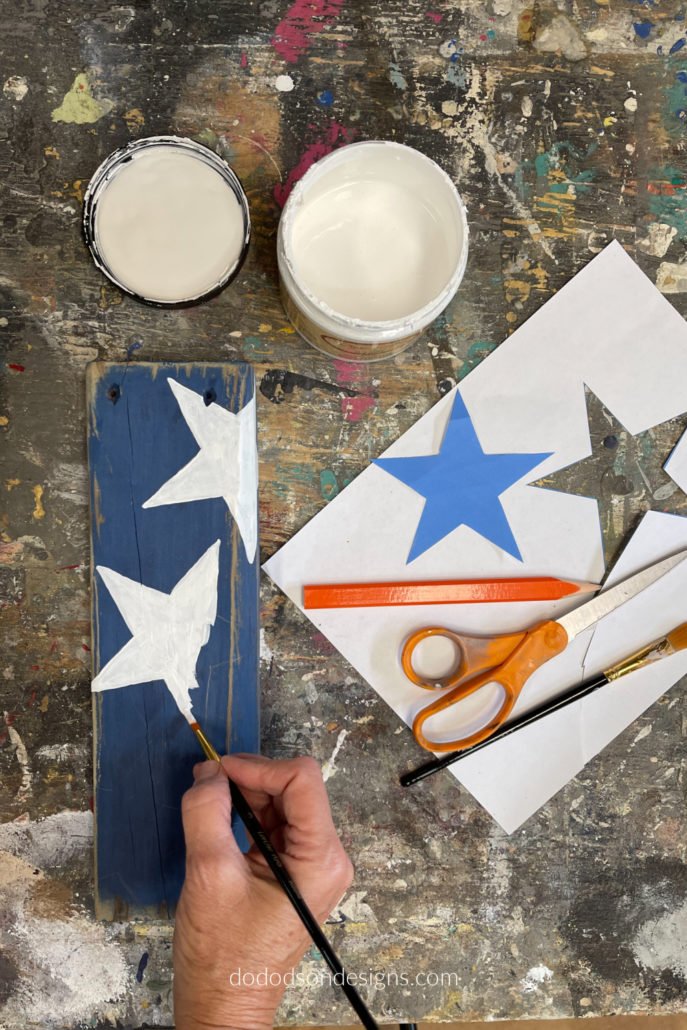
Why buy when you can DIY your own stencil? This is a super-easy way to create those simple stencils with minimal effort.
If you have a computer, create a word document and insert a star shape. Print it off on paper and cut it out with a pair of scissors. Lay the cut out of the star over your wooden firecrackers and trace around it with a pencil. I like using paper to make these simple stencils because it wraps around the sides easily.
Then with an artist brush, fill in the star with the paint color of your choice.
How To Make A Rustic Fuse For Wooden Firecrackers
Step 3
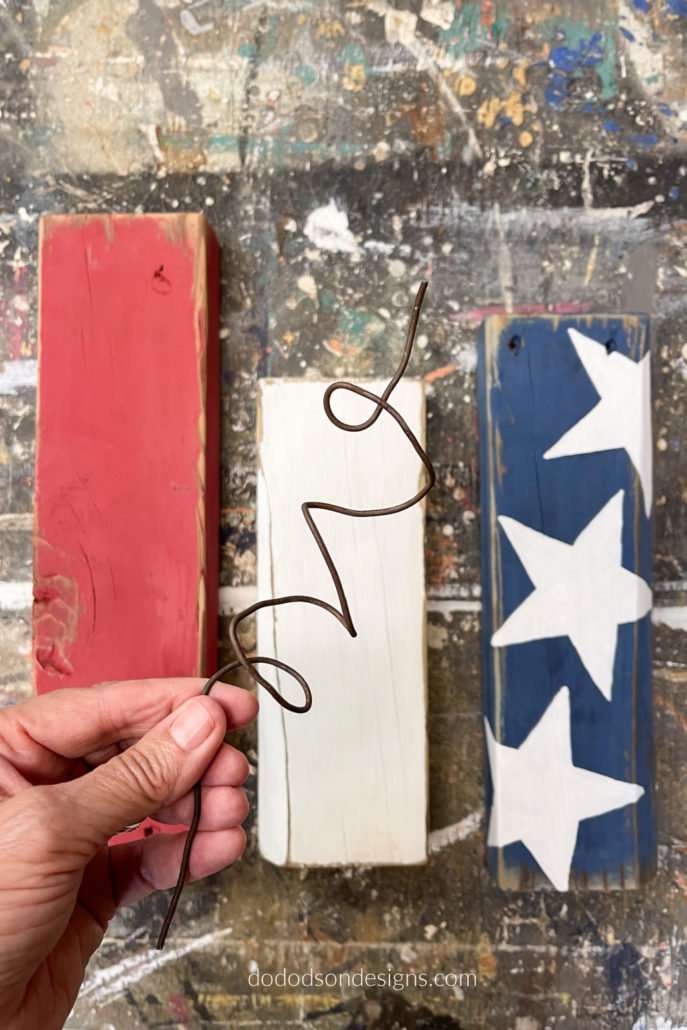
This was fun! Time to get your bendy, bendy on! I used some rusty wire (I knew there was a reason I saved it) and bent it in the shape of a loose coil.
* Try bending the wire around a round object (a broom handle) if you want a more uniform curl on your fuse. The length is up to you.
It’s your wooden firecrackers, and if you want a short fuse… all I can say is you might be sending a subliminal message to your neighbors. HA! HA!
Step 4
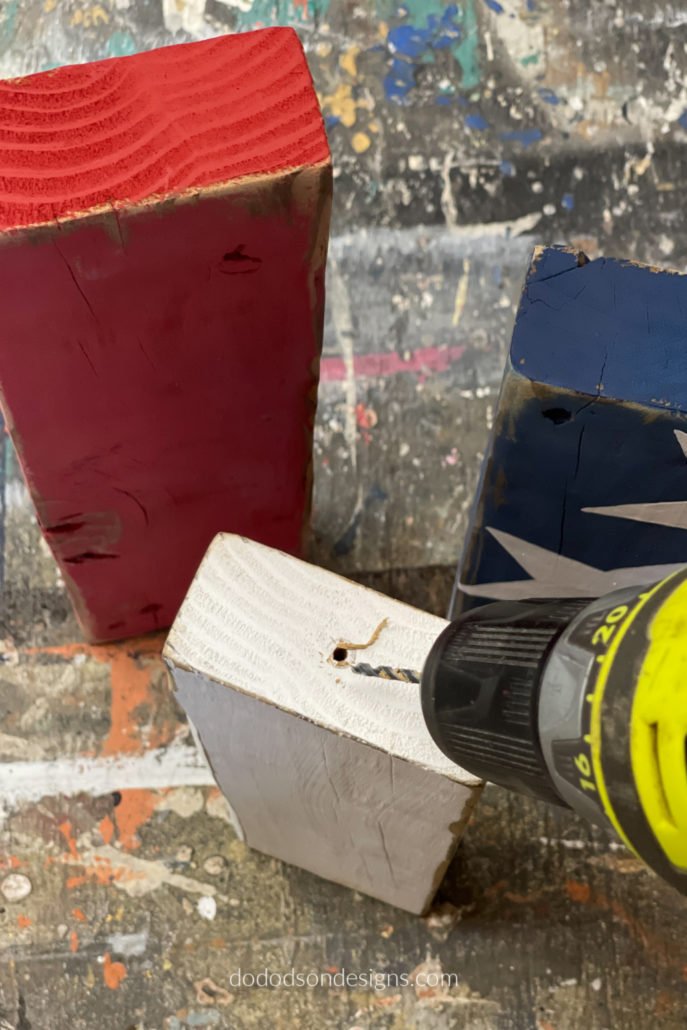
With a wood bit, drill a hole in the top of your wooden firecracker and place one end of the wire fuse inside. You can add wood glue if you like, but I didn’t. It depends on the size of the hole you drill. Mine was a pretty tight fit.
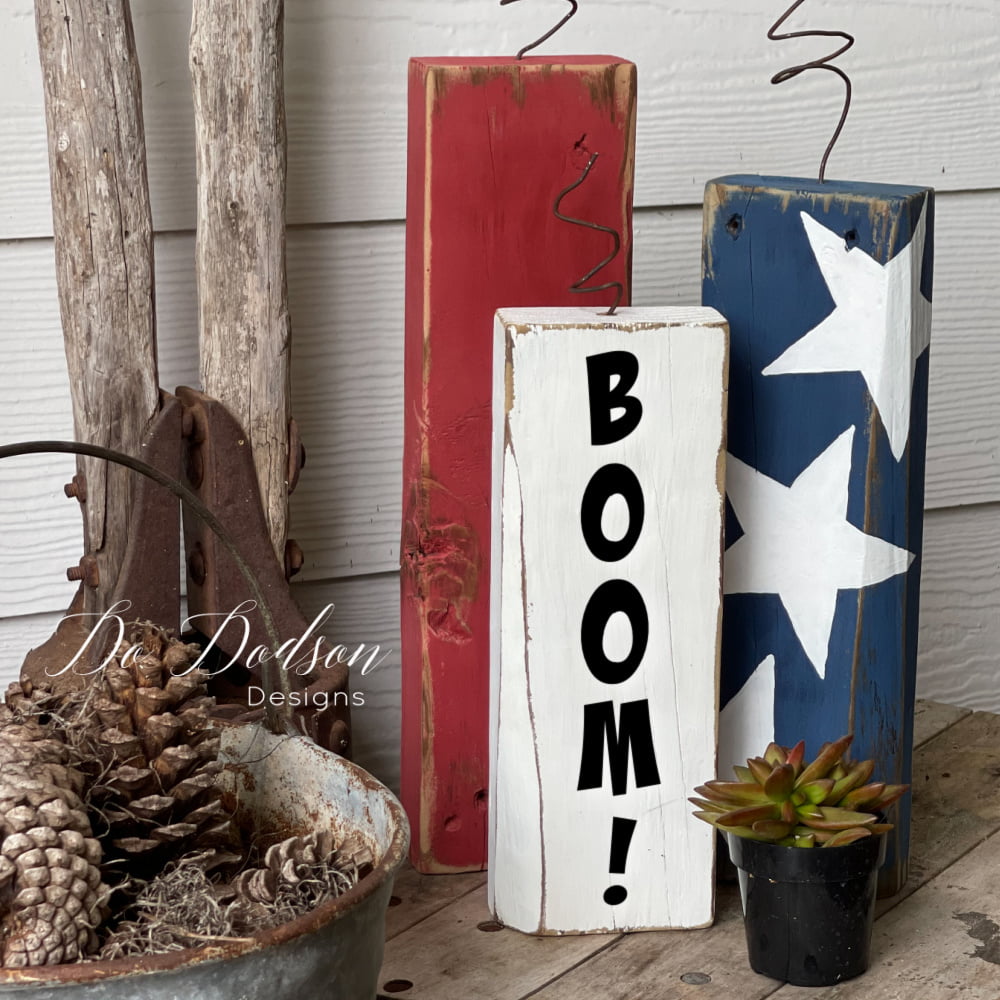
Easy Patriotic Porch Decor In 1 hour!
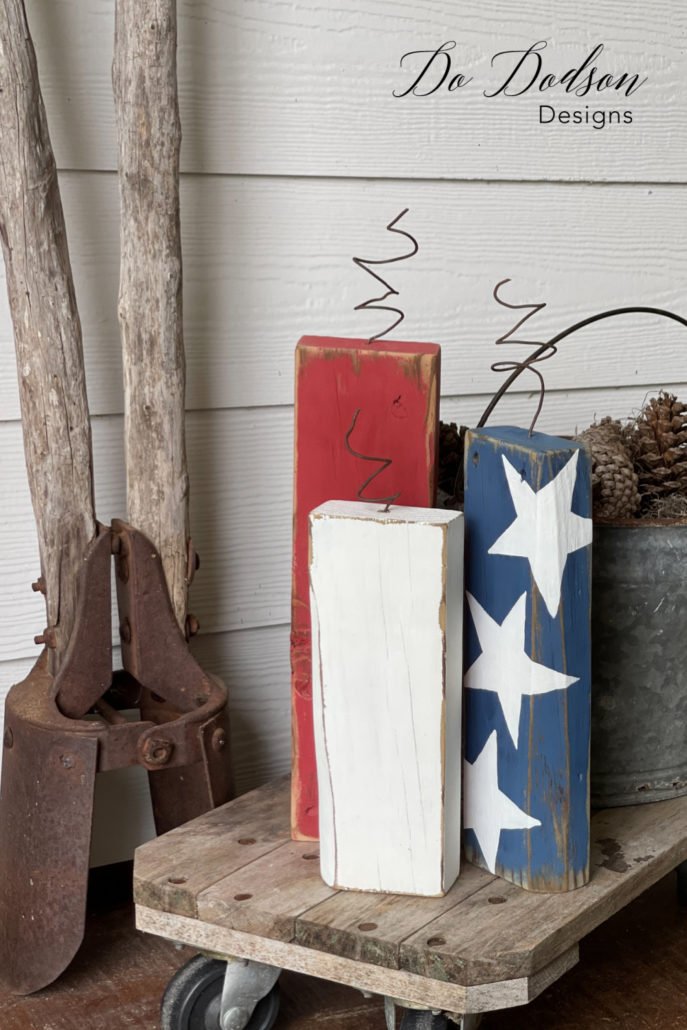
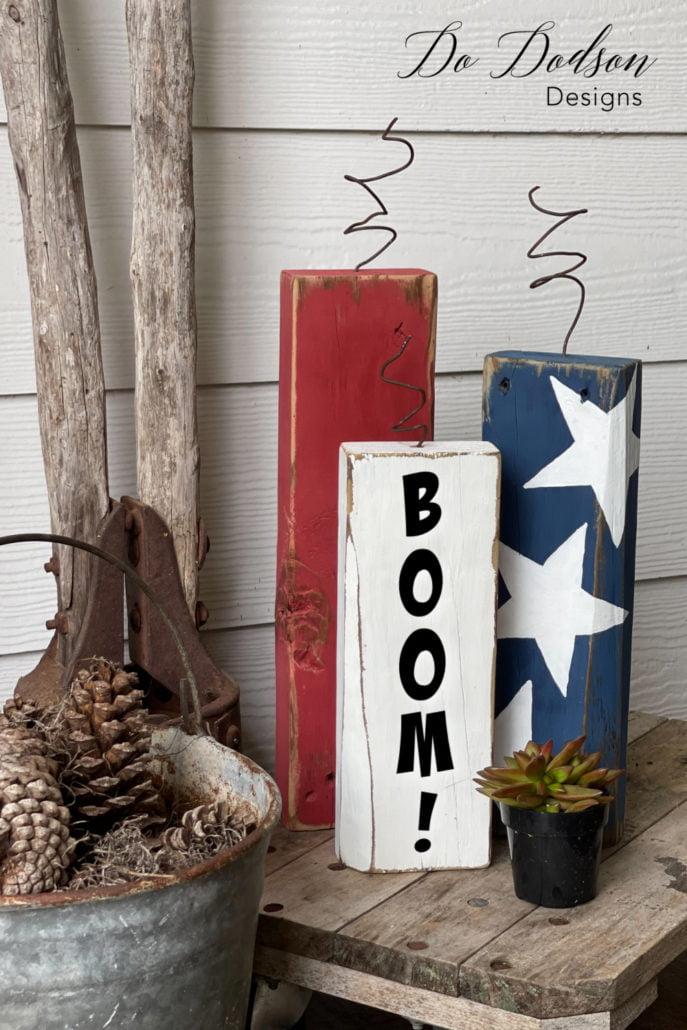
CUTE! My front porch looks patriotic now with my red, white, and boom! I can’t think of a better way to spend an hour than making these adorable wooden firecrackers.
Thanks for joining me today, and I hope this inspires you in your search for crafty DIY decor. And as always, I LOVE hearing from you, especially when you share your creative ideas or just say hi 👋 in the comment section below. It seriously makes my day.
Until the next project… xo, Do

I love this idea, Do! How cute are they!
Thank you, my friend! Just messing around with wood. You know I love doing that. 🙂
What a great project, it turned out so good!!! Love everything about it, super fun!!
Thank you, Melba! It was fun. 🙂
Love this!!! I’m going to have to do this!!!
It’s so quick and easy. I think you’ll enjoy making them. 🙂 xo
Omgoodness Do, you have done it again! I love using scraps of wood and you have come up with a great idea! Pinned!🥰
Thanks, Cindy. Easy DIY with little effort. That’s how I roll. Thanks for reading and sharing. 🙂 xo
This idea is so cute! As a Canadian I will be altering this just a bit and adding a Maple leaf. We celebrate Canada Day on July 1st. Since we are right across the river from Detroit MI we combine our celebrations together and have a joint fireworks display over the river! Great Fun!!!
Great idea, Candace! Yes, you most definitely can make changes for your holiday. I’ll be in Vancouver on July 4th. Funny how that worked out. Thanks for reading, and good luck with your project. 🙂 xo
Absolutely love ur ideas Do!! Quick, easy, and perfect for the occasion!! I appreciate u sharing your ideas with us!!! ❤️🤍💙
Hey Donna! I’m so glad you’re enjoying my easy to DO projects. It gives me great pleasure to know that sharing helps others to be creative. 🙂 xo
Super cute idea Do! And I’m with Candace – red/white/maple leaf for 🇨🇦 day and I’m all set! Enjoy the rest of your week and your long weekend! XOXO
I LOVE that anyone from anywhere can use these and personalize them. Such a fun project. Happy July 1st to you neighbor. 🙂 xo
So cute! I did a version of these years ago and all the little kids just loved them! The 4th was always a huge celebration for us and there were always around 15-20 kids. Not many of them really liked the actual fireworks. Well they did but they were scared of them because their idiot fathers did what they wanted with those fireworks and the kids were scared most of the time. Heck, I was scared! There were at least 2 bad episodes that I can recall. Anyway, these type of crafts are perfect for the 4th with a lot of other red, white and blue to help celebrate. Be careful everyone and have a very safe 4th of July!!🎊
Thank you so much, Shirley! You have a fun and safe 4th as well. xo 🙂
Love these! Have saved the instructions for when I have time to craft but I think I might be making these soon!
Hi Kathy! It’s such a fun way to add some interest to your fourth of July decor. Have fun creating. 🙂 xo
Thanks for sharing this idea! I am so excited to be making these soon. Can you please share how you applied the “Boom!” wording?
Hi Rhonda! Thanks for reading. It was a custom stencil. I have a friend that makes them but you can buy the letters on line and even at your local craft store. 🙂