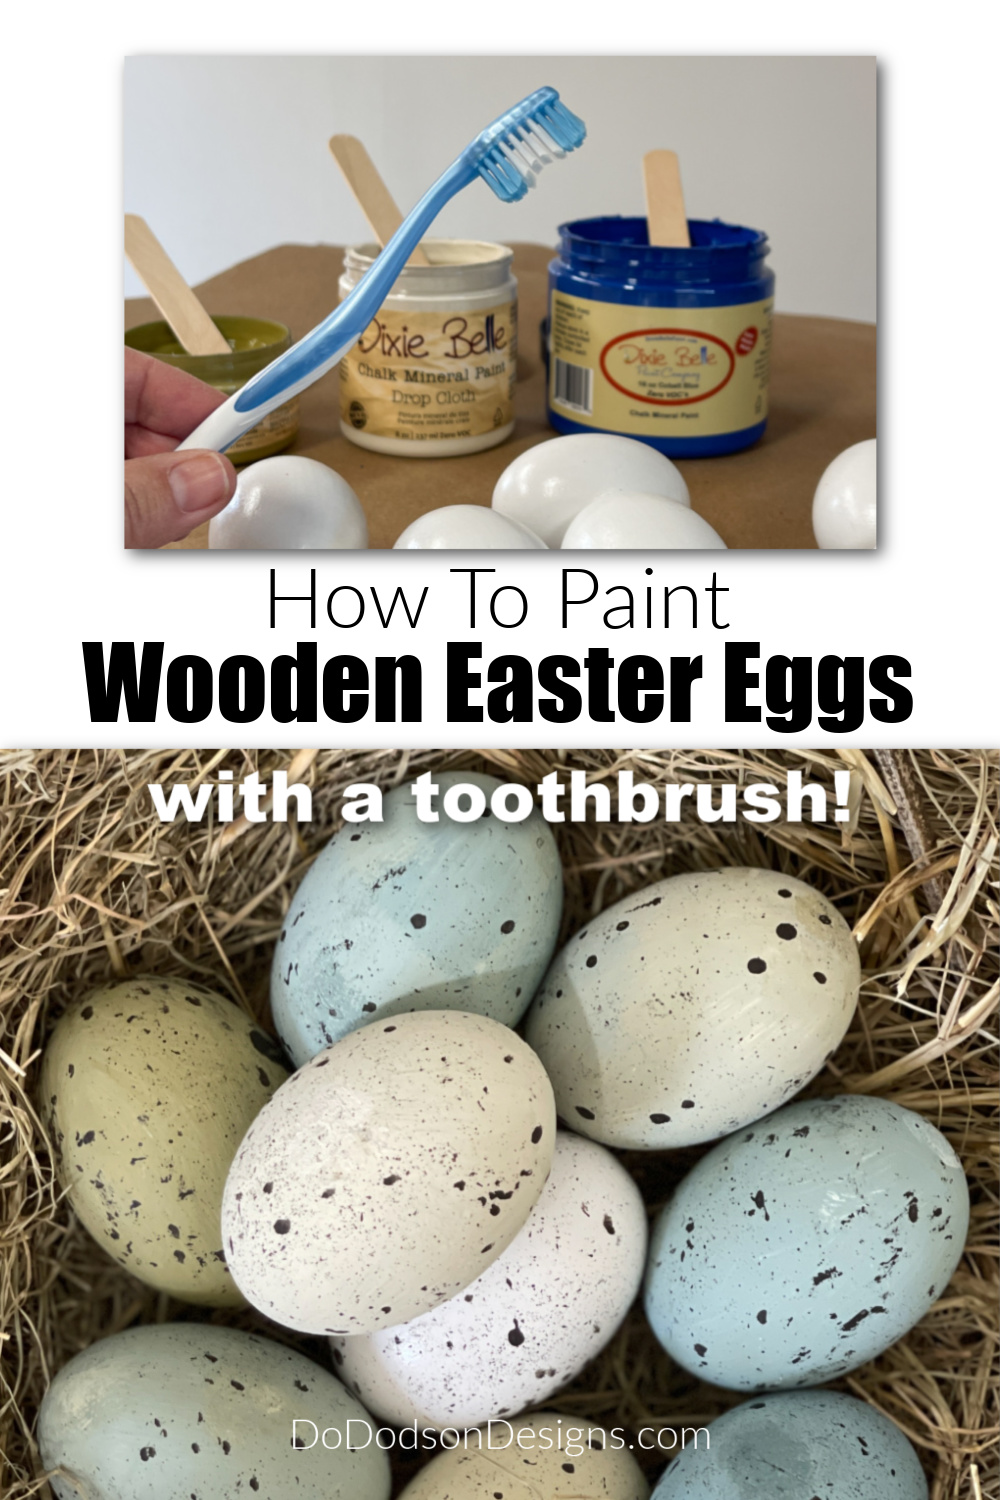
Hey triple-D Friends! Easter is almost here, and it’s time to add some Easter charm inside our home using some decorative wooden eggs mixed in with my Easter decor! I like to get creative and sprinkle these fancy wood eggs throughout our home. Believe it or not, you can use a simple toothbrush to create beautiful speckled Easter eggs that will impress all your guests. In today’s post, I’ll take you through the process step-by-step so that you can create your own gorgeous decorative egg display. Get ready to learn how to paint wooden Easter eggs using this fun technique. It will surely elevate your egg display game this year. Are you egg-cited? Let’s get started!
Thanks to Dixie Belle Paint Co for sponsoring this post. While I was compensated to write this post, all opinions are my own.
* As an Amazon Associate, I earn from qualifying purchases and through other companies as well. You will not be charged extra when you purchase through these affiliate links, but any income I make helps me create more amazing DIY projects to share with you! To see my full disclaimer, click here!
Gather Your Supplies
Before you begin painting your wooden Easter eggs, you’ll need to gather your supplies. Luckily, you won’t need anything too fancy or expensive. Here’s what you’ll need:

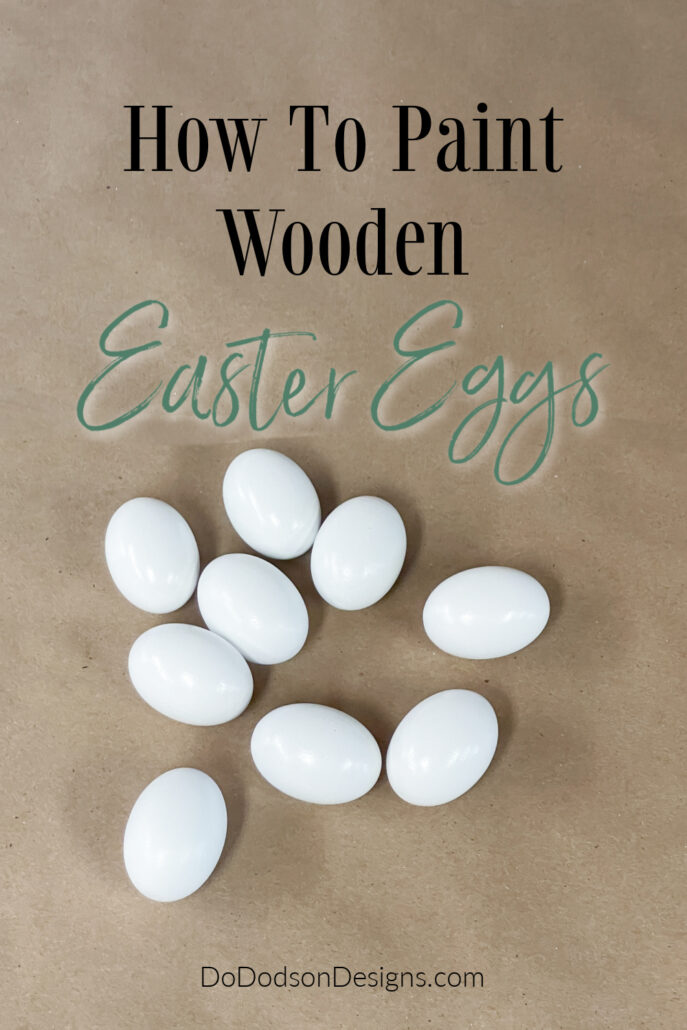
SUPPLY LIST: How To Paint Wooden Easter Eggs
- Wooden eggs – These white wooden eggs are perfect for painting.
- Small Paintbrush – You can also use artist brushes.
- Toothbrush – Choose a toothbrush with firm bristles for the best results.
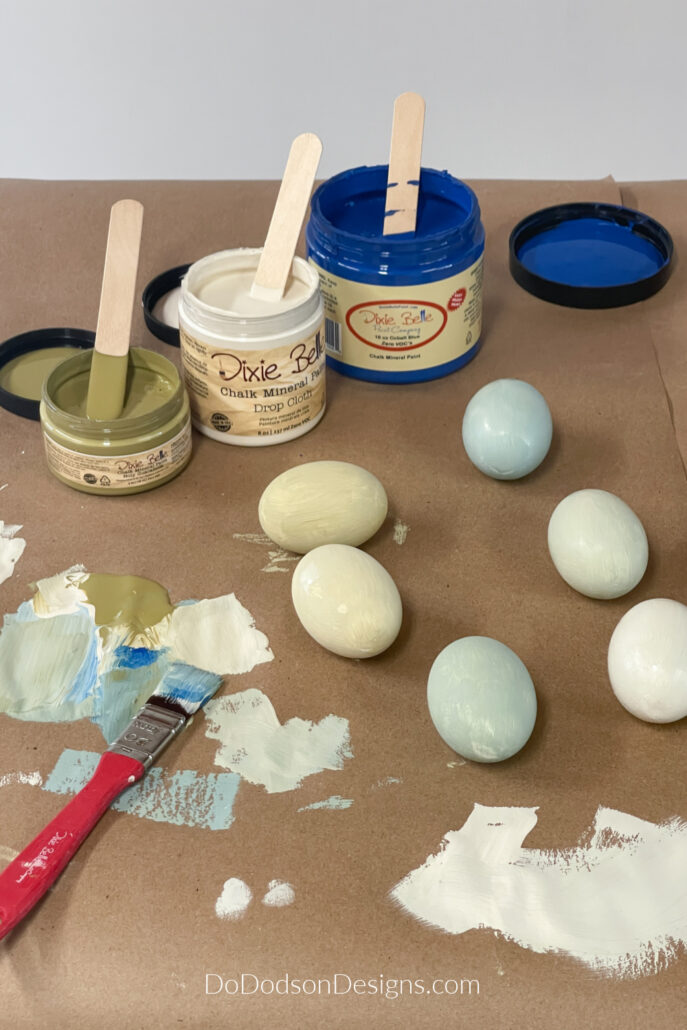
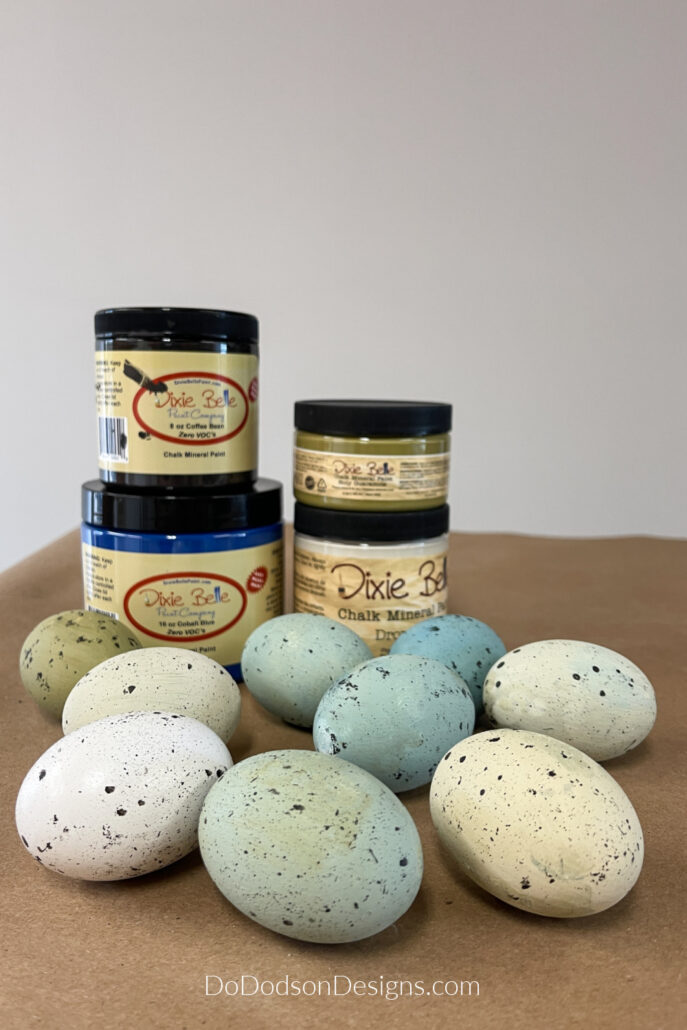
- Paint – Dixie Belle’s Chalk Mineral Paint DROP CLOTH COBALT BLUE HOLY GUACAMOLE (or acrylic paint)
- A small dish, palette, or paper – Use this to blend the paint colors together while painting your eggs.
- Newspaper or drop cloth – Protect your work surface from any paint spills or splatters.
Now that you have your supplies ready, it’s time to move on to preparing your work area before painting your wooden Easter eggs.
Prepare Your Work Area Before Painting
Now that you have gathered all the materials needed for painting your Easter eggs, it’s important to prepare your work area to ensure that you’ll have a smooth and mess-free crafting experience. Here are a few things you can do to set up your workspace before painting:
First off, make sure that you have a flat and stable surface to work on. A table or a countertop works fine, but be sure to cover it with a layer of newspaper or a drop cloth. This will protect your surface from any paint spills or splatters, keeping your work area clean and tidy.
Next, ensure that you have adequate lighting in your workspace. Natural light is great, but if that’s not possible, you can use a lamp to brighten up your work area. This helps you to see the colors and details of your painted Easter eggs more clearly.
Lastly, make sure that you have enough ventilation in your workspace. Open a window or turn on a fan to ensure that you’re breathing in fresh air while painting your eggs. This helps to minimize the fumes from the paint and ensures your safety.
With your work area all set up and ready to go; you’re now ready to paint your wooden eggs!
What Paint Do I Use On Wooden Eggs?
I personally love chalk-based paints. Dixie Belle is my preferred chalk mineral paint for furniture and crafts, and it comes in 4-ounce containers for ease of crafting, but you can also use other crafts paint, such as acrylics.
How To Paint Wooden Eggs
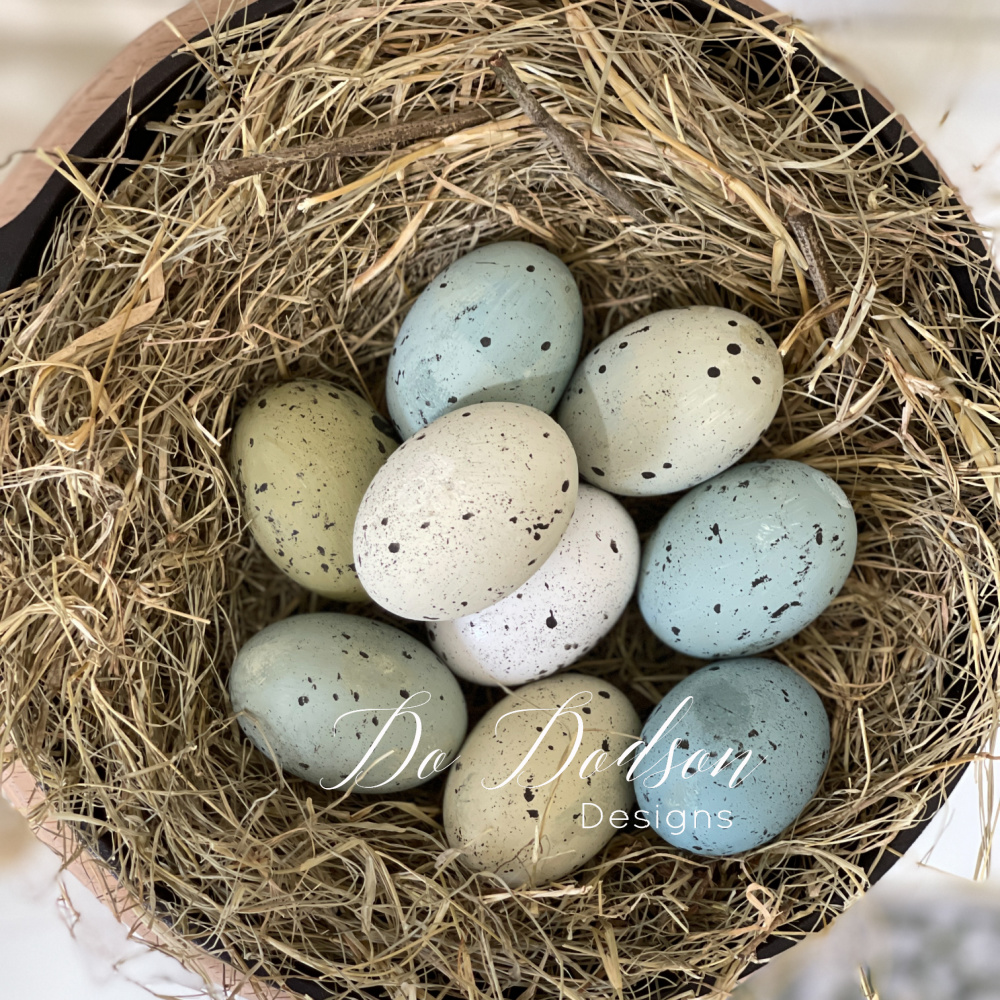
If you’re looking for a more sustainable option than traditional Easter eggs, painting wooden eggs are a great choice. They can be reused year after year and provide a blank canvas for endless decorating possibilities. You could even repaint them the next year to change up your designs. This year I’m going with the speckled eggs. It’s so Springy!
Before you begin painting, make sure to sand the wooden eggs lightly to remove any rough spots or splinters if you have bare wood eggs. I chose to purchase the wood eggs that had already been painted white. That way, I could skip a step. I’m a lazy crafter.
I used three colors to get the look I wanted on the eggs. Cobalt Blue, Holy Guacamole, and Drop Cloth.
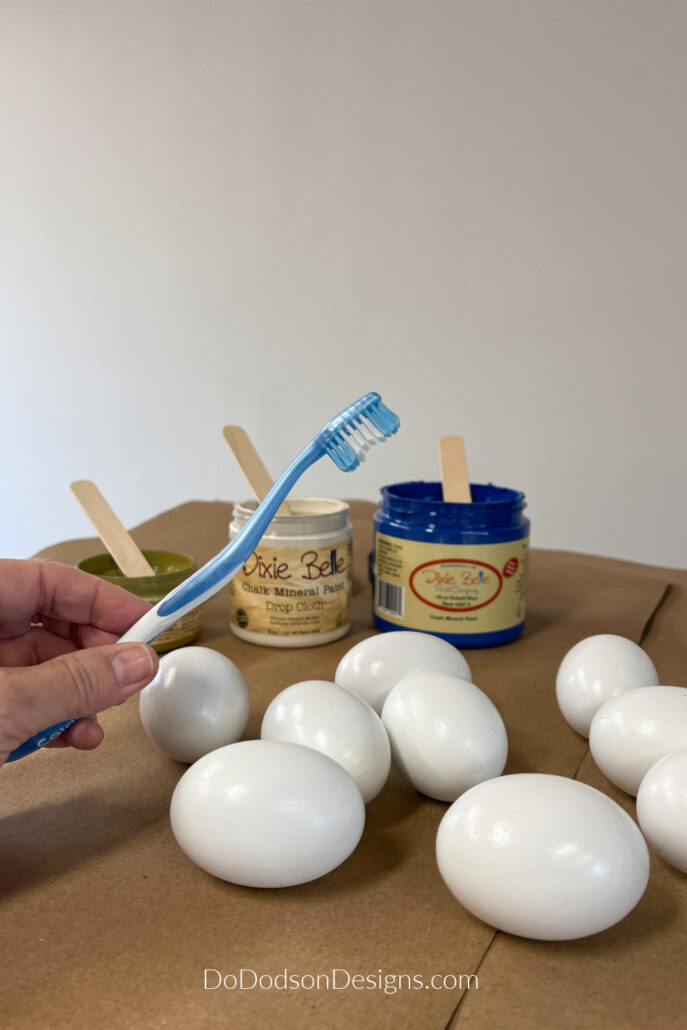
Oh, and don’t forget the toothbrush! I’ll show you how to use it the make speckles on the eggs in the final step.
Blending Paint Colors
Blending together the three colors I chose in small amounts, I came up with what I think are the perfect Spring colors for my eggs. And if I have to say so myself, they look pretty realistic to what I used to collect from my Grandpa’s hen house.
While my egg-gathering days may be over, my granddaughter LOVES her chickens! It makes me happy to see her interested in God’s little creatures.
I painted two coats for full coverage using Dixie Belle’s largest artist brush. Yes, it is a bit tricky to paint an egg, if you’re wondering. I did the best I could, holding the egg at the ends between my fingers. I did go back in and touch up the ends after the main part of the egg had dried.
With your wooden eggs painted and dried, you can now move on to mastering the perfect speckles for a truly unique and personalized design.

Mastering The Perfect Speckles
To take your painted Easter eggs to the next level, consider adding speckles for a playful touch. The key to mastering the perfect speckles on your painted wooden eggs is to use a FIRM toothbrush. Trust me. It needs to be firm for the best results. My first attempt was with a soft bristle toothbrush. Not good!
Dip the firm bristles into a contrasting color of paint (I used Coffee Bean) and flick them over the eggs using your thumb to create tiny paint splatters. Remember to start with a light hand and add more as needed for the desired effect.
See that white wall behind me? It has speckles, too, now. LOL
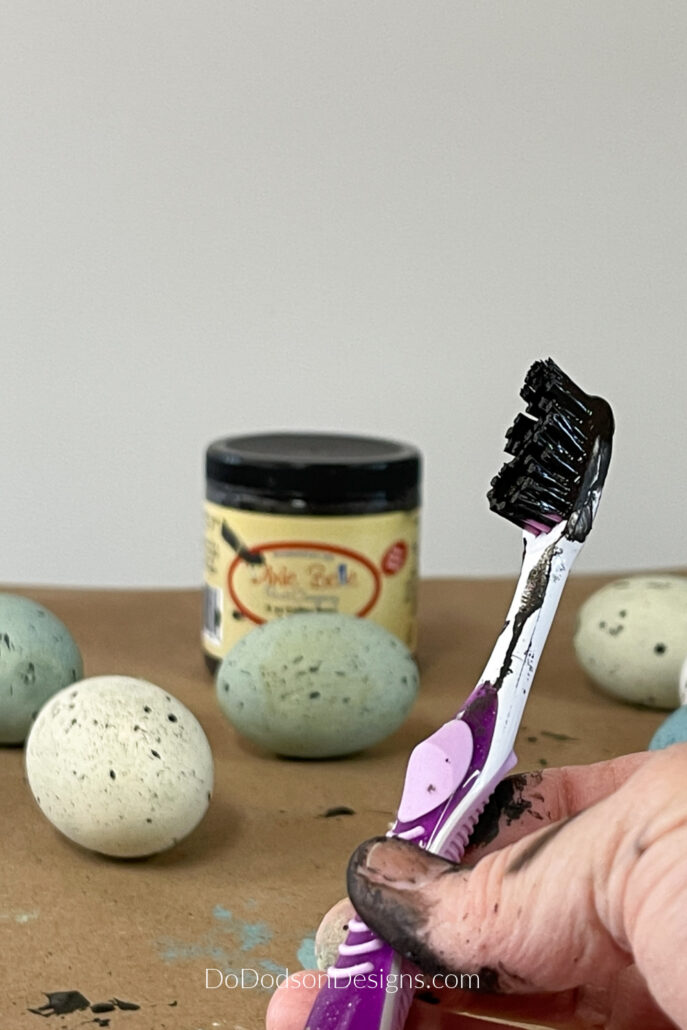
Do a test run on a piece of paper to practice your speckling technique before you dive in, like I did. I had to repaint an egg or two.
And now I’ll have to repaint my wall. Sounds like a new project. 🙂
Let Your Wooden Eggs Dry
Once you’re satisfied with your speckles, it’s time to let your eggs dry. This step is crucial to avoid smudging or smearing your designs. Find a safe spot for your eggs to dry, away from curious hands or pets. With a little patience, you’ll soon have beautiful and unique Easter eggs that are sure to impress.
Display Your Beautiful Speckled Easter Eggs
You’ve created your beautiful speckled Easter eggs; it’s time to display them! Showcase your unique designs in a variety of ways. Arrange them in a bowl or basket as a centerpiece for your Easter table.
Another fun idea is to create an Easter egg hunt with your speckled eggs. Hide them in your garden or throughout your home, and let your children or Grands search for them. Seeing the joy on their faces as they discover each egg will make all your hard work worth it. The BEST THING about wooden eggs, they don’t break. But don’t tell the kids.
You could also give your speckled eggs as gifts to friends and family. Put them in a small basket or gift bag with some Easter grass and a few candies for a thoughtful and unique present.
No matter how you choose to display or share your speckled wooden Easter eggs, they are sure to be a hit. So go ahead and show off your creativity and impress your loved ones with your beautiful and one-of-a-kind Easter eggs!
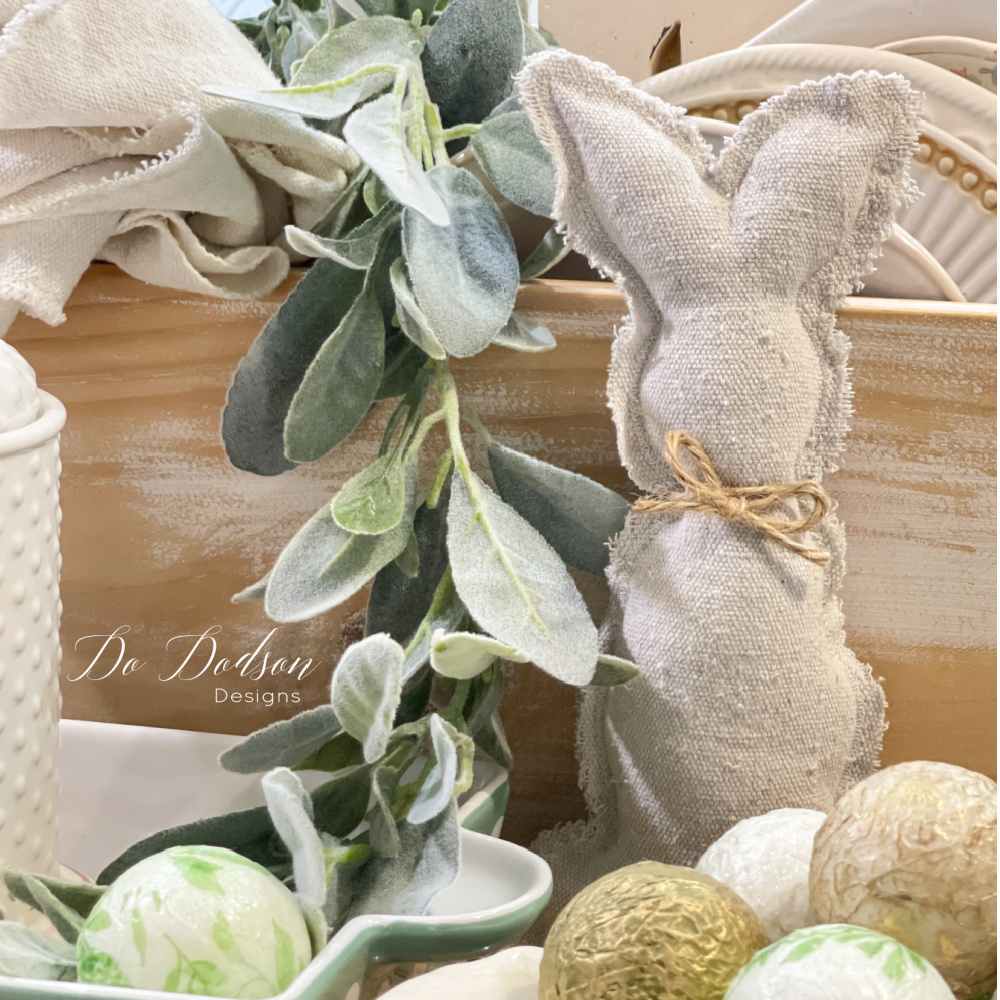
If you missed last week’s post, I created super cute wood block bunnies that would be sweet in your Easter displays as well. CLICK HERE to learn more.
The End Result Of My Painted Wooden Easter Eggs
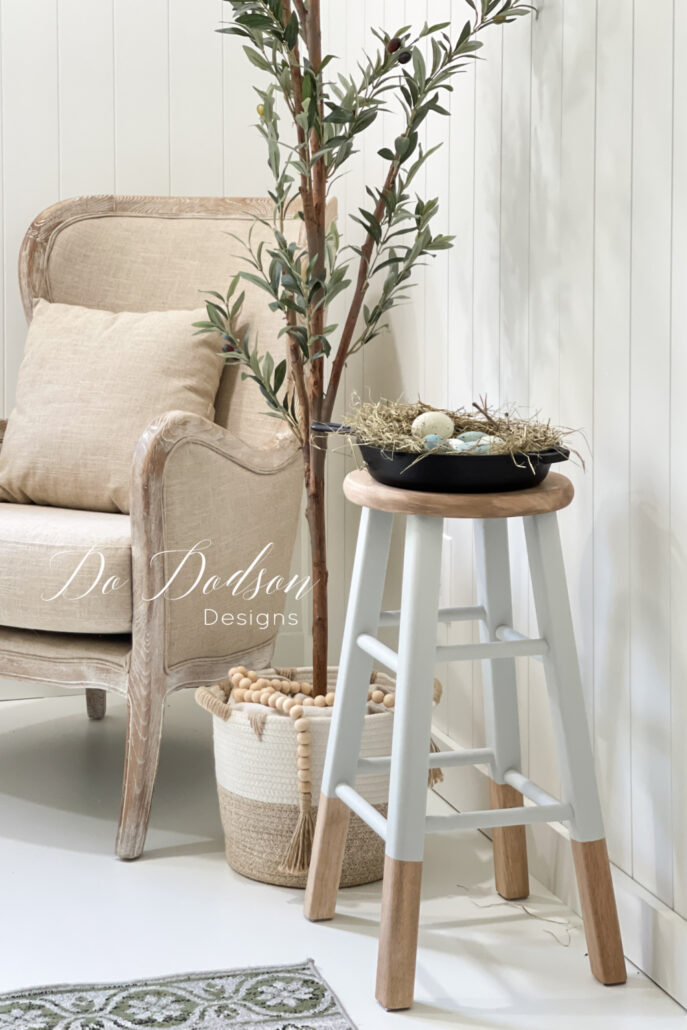
I grabbed a large iron skillet and added some hay to make a nest. Nothing fancy. Just a simple farmhouse statement that I love.
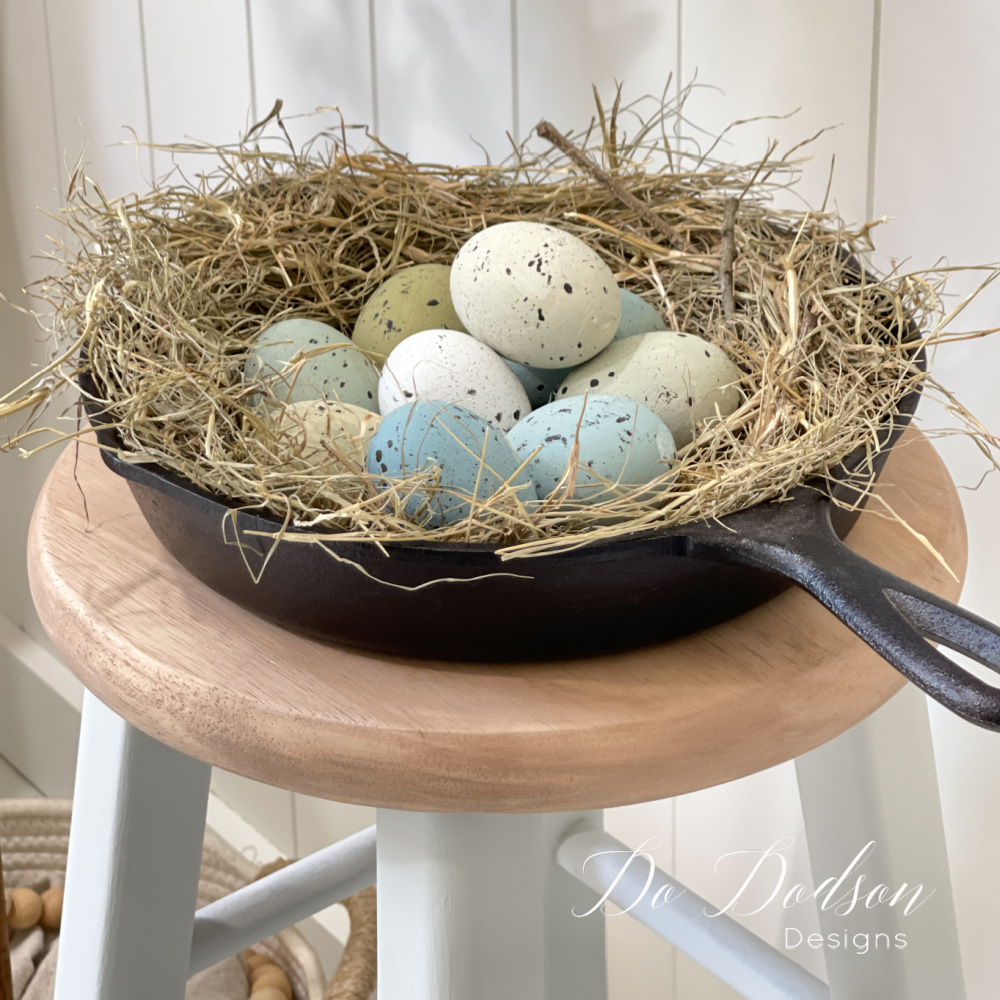

And here’s a sneak peek at my newly constructed home office, where my painted wooden Easter eggs will stay until I get tired of looking at them. Maybe never. I had to borrow some of Jack and Diane’s hay to make the nest. You should have seen the look on those sweet faces when I walked away with their dinner. LOL, I promised them extra treats for sharing.
I’ll be sharing more on my office construction soon, so check back often or be sure to sign up to receive my weekly newsletters, so you’ll never miss an upcoming project.
In conclusion, if you’re looking to add a unique and creative touch to your Easter egg decorating this year, grab some chalk paint and a toothbrush. With a little bit of preparation and patience, you can create stunning speckled eggs that will impress all of your guests. It just might impress you too!
This toothbrush painting technique is not only fun and easy but also a great way to spend quality time creating with your loved ones. This would also be a fun girls’ craft night.
So what are you waiting for? Get started on your egg decorating adventure, and let your creative freak flag fly! Get creative!
Thanks for joining me here today. If you like this idea, please share it with your crafty friends, and don’t forget to PIN it on your favorite crafting PINTEREST board. Happy Easter, y’all!
Until the next project… xo, Do

Oh the warm glow of nostalgia is pouring over me!
I had an entire bedroom suite (back in the days when all the furniture needed to match-remember?) that my mother “antiqued” for me in avocado green! My older sister’s set was antiqued white (I was so jealous of hers). Mom gathered pieces from various garage sales and want ads in the paper (now I’m really dating myself) and then set to work making the bed, the dresser, the nightstand, the desk and chair, the dressing and stool, and the bookcase all match. And they were beautiful!!!
Your speckled eggs are great and I love the skillet styling!!!
Hi Diane.
It took me back a bit too. My Mom and I always shopped at garage sales. I remember the first antique she bought for me. I held on to it for 35 years. I was sad to see it go, but it went to someone that loved it as much as I did. 🙂 xo
How cute! Such a fun craft. Love the staging 😊
Thank you, my friend! The new office is almost completed. 🙂 xo
These are adorable Do! XOXO
Thanks, Denise. Easter is such a beautiful time of the year, and decorating for the kiddos is fun. And me, of course. 🙂 xo
Hi Donna- I love how these eggs turned out! The best speckling technique I have seen yet. Good luck repainting your wall.😬
Hi Anna! Thanks for reading. The wall! It’s on my list. Does DIY ever end? 🙂 xo
Eggcellant ! Love the cast iron pan too
LOL, good one. I’m pleased that you enjoyed this fun DIY project. Have a wonderful week and thanks for reading. xo 🙂
Super sweet and I ALWAYS love your staging and styling – gorgeous! Pinned and enjoy your weekend my friend! XOXO
Thanks, my friend. Staging is probably my favorite part of sharing my DIYs. Enjoy your week and I hope you get some sunshine. 🌞 xo 🙂