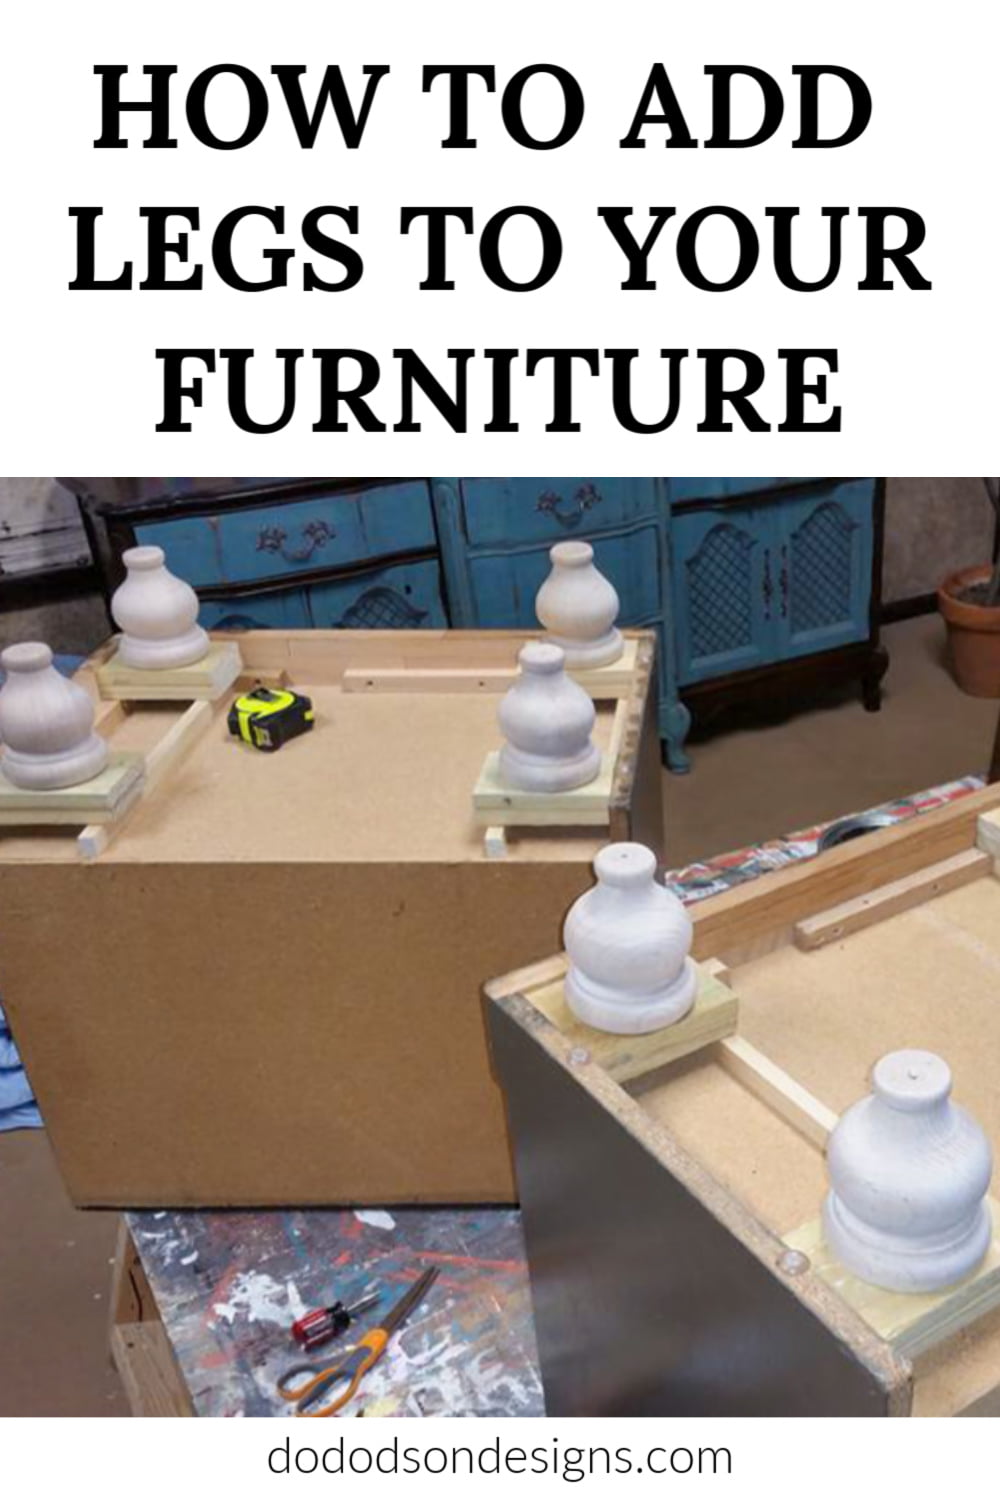
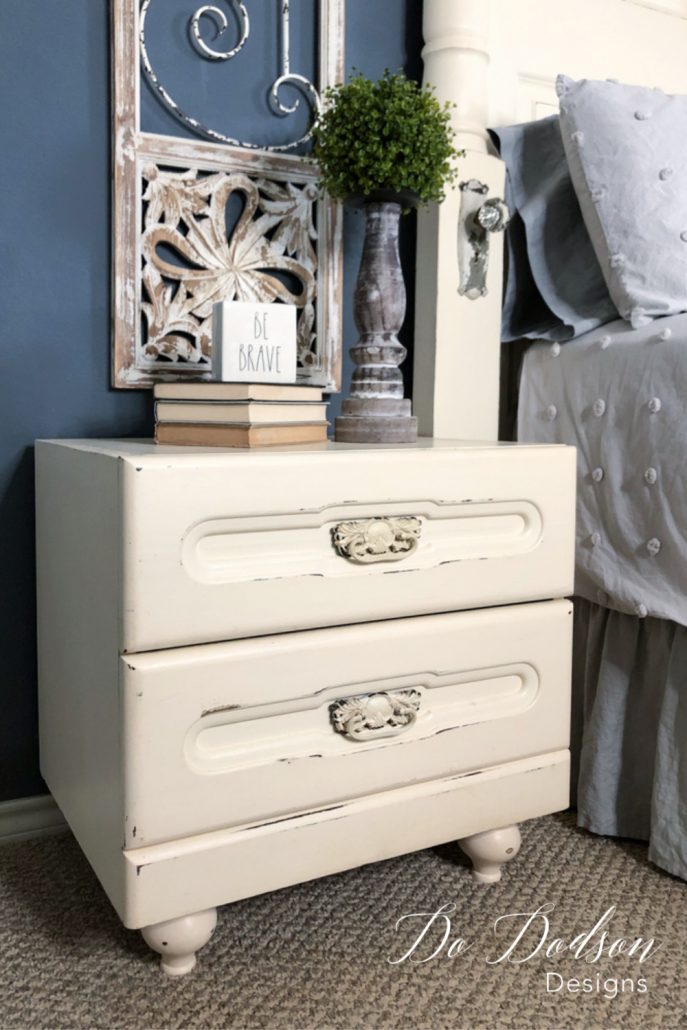
They’re just so boxy! You know those nightstands with no legs… seriously lacking height! Let me show you how to add legs to furniture that I call shorties. Short furniture got no reason to live! Hahaha! Remember that tune from the 70s? 😀
This post contains a few affiliate links to help you find the products I use. You are not charged extra to use any of the links, but any income I make will be used for more fun projects! To see my full disclaimer, click here.
How To Add Legs To Shorty Furniture
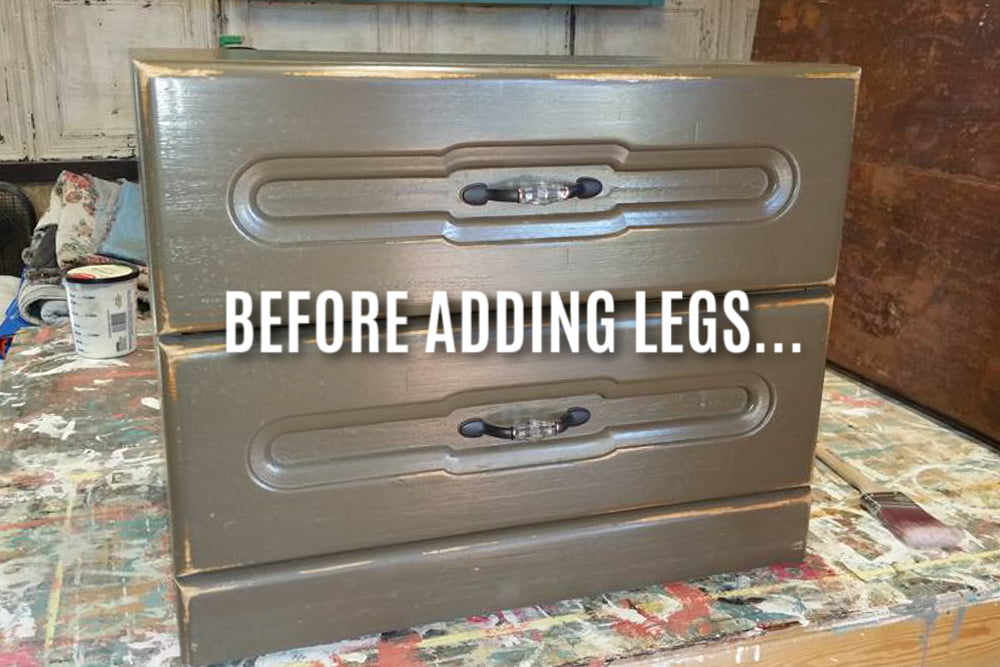
First off, this shorty nightstand was married into the family 15 years ago. He said, “you marry me; you marry my furniture.” YIKES! It took me a few years to convince him that I could freshen up the look a bit. So, 1o years later, I gave it legs and a new paint job. It’s not the prettiest makeover, but it sure is better than it was.
What You Will Need To Add Legs To Furniture
Supply List:
- Shorty Furniture
- Wood Legs (set of 4)
- Tee Nuts
- Drill
- Bolt Hanger
- Spade Drill Bit
- Wood Glue
- Nail Gun
- Scrap Wood
The Nightstand Makeover
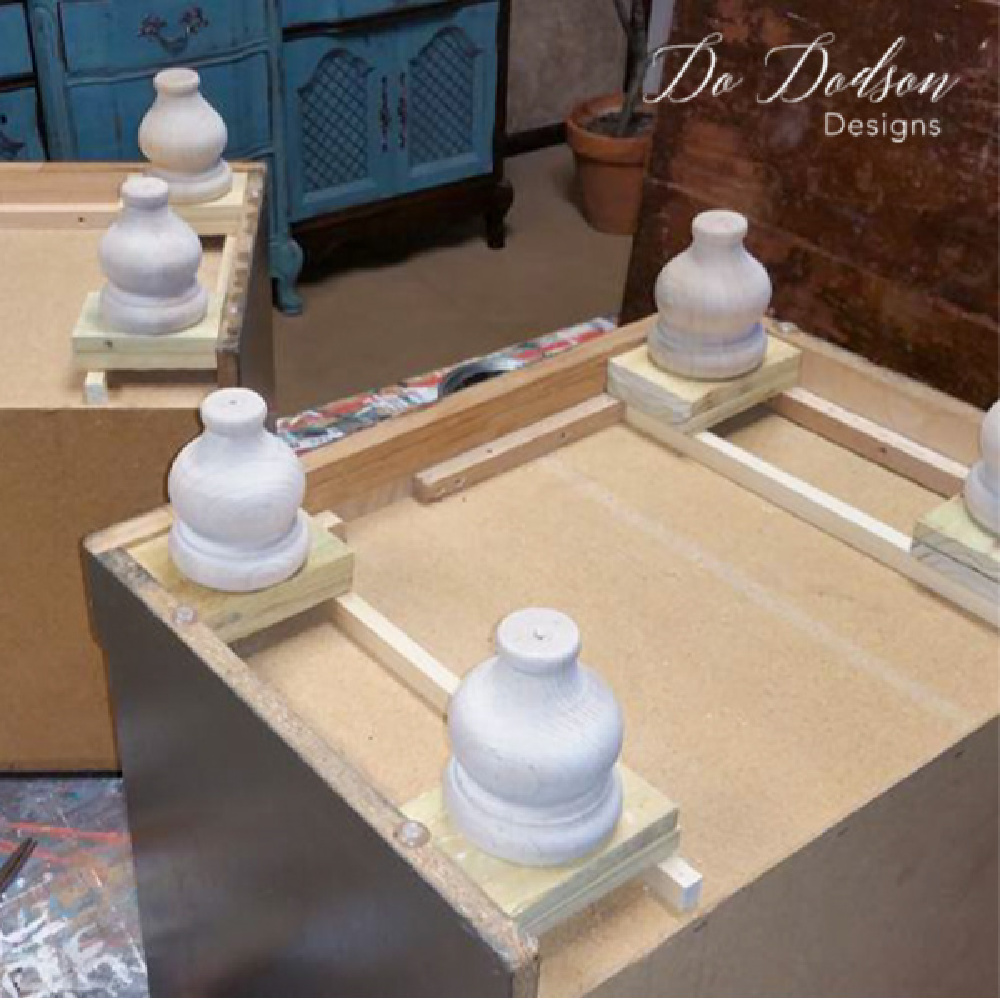
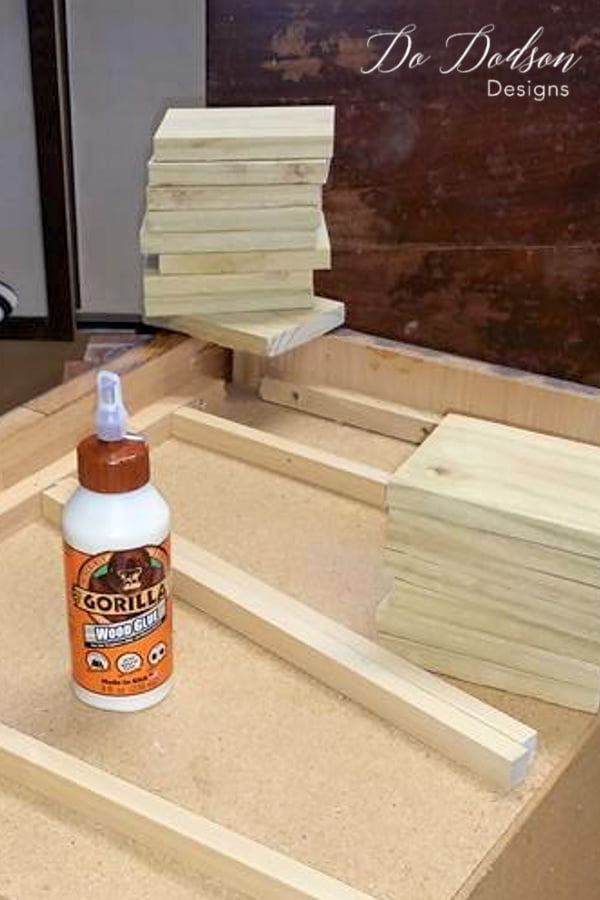
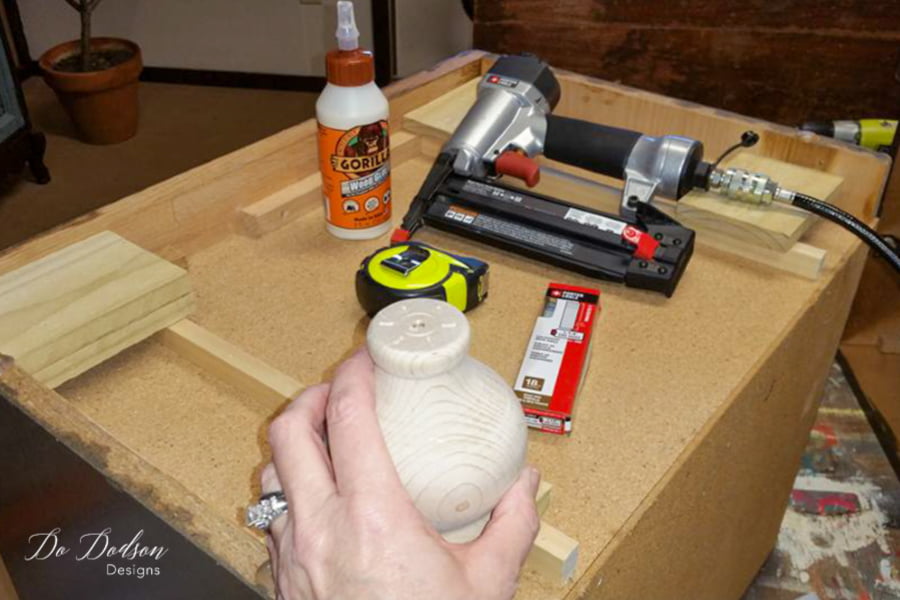
Building The Base For The Legs
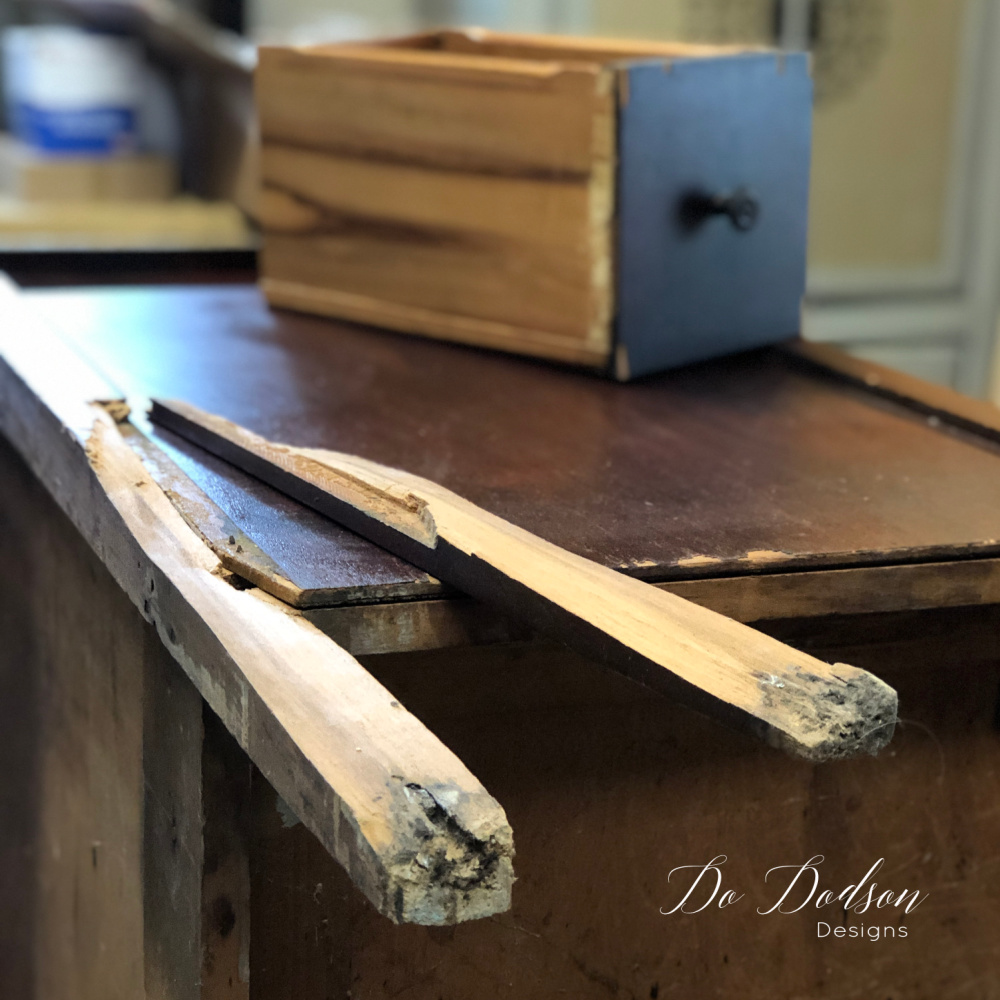
To add legs to furniture like these particleboard beauties (ha!), you’ll need to build up the base with a few pieces of solid wood. Leftover 1x4s work well. Cut what you need. The underside of the nightstand already had wood strips to support the bottom, so I added a few more strips of wood to raise the height so it would be more flush with the bottom. If you’re stacking 2 wood pieces together to get your height, use wood glue and secure them in place with nails or screws. * Using boards, the full length of the dresser or nightstands is preferred for additional strength when adding legs to furniture.
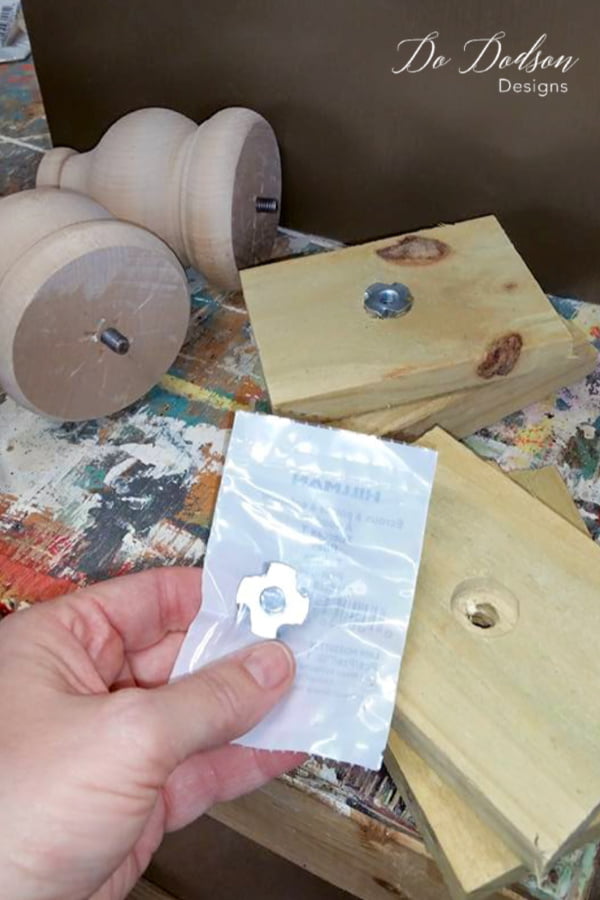
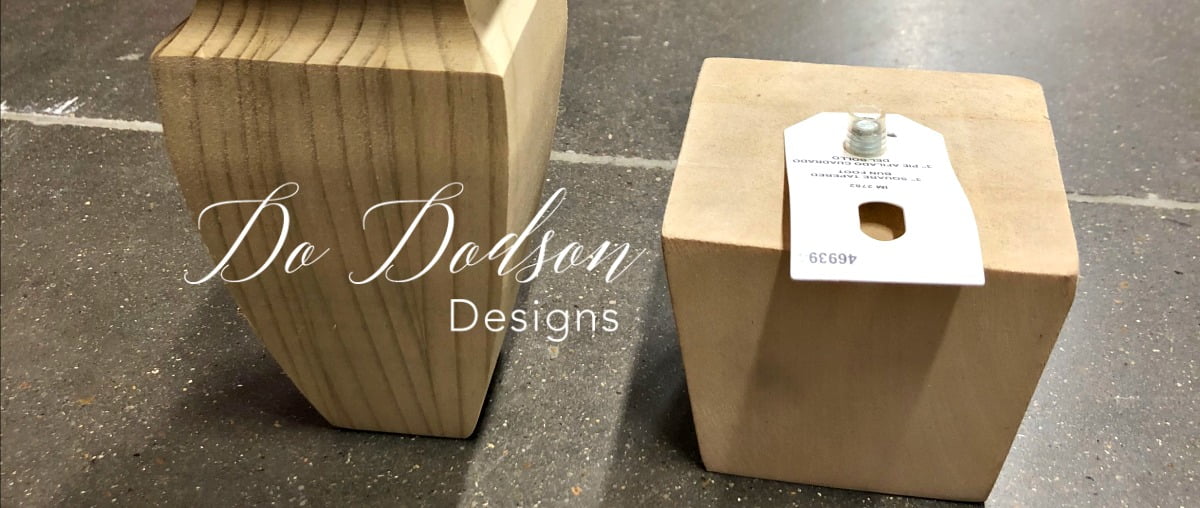
Securing Hardware To The Legs
For this style of wood leg, you will need to secure the bolt hangers inside the legs. These wood legs did not come with screws, but some do. Basically, the bolt hangers are big ole screws. One end is for wood, and the other is a bolt with threads that will screw into the tee nut.
Next, you will need to prepare the wood legs for the tee nuts. These are crazy strong anchors that will hold just about anything. Because this piece was made from particleboard and super heavy, I chose this method of attaching the wood legs. Pre-drill the holes and countersink for the tee nuts if you want the legs to be flush. Use a hammer to secure the tee nuts into the holes where the legs will screw in.
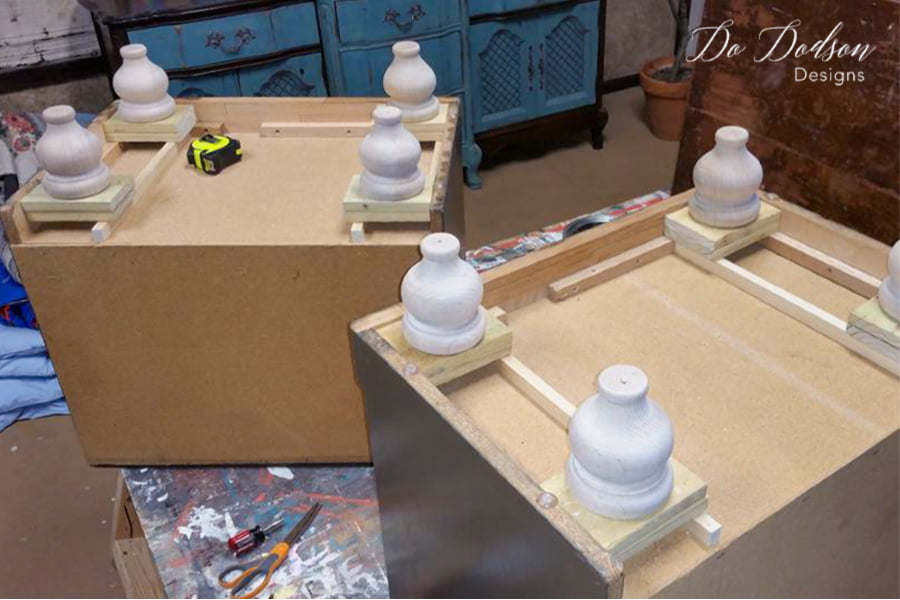
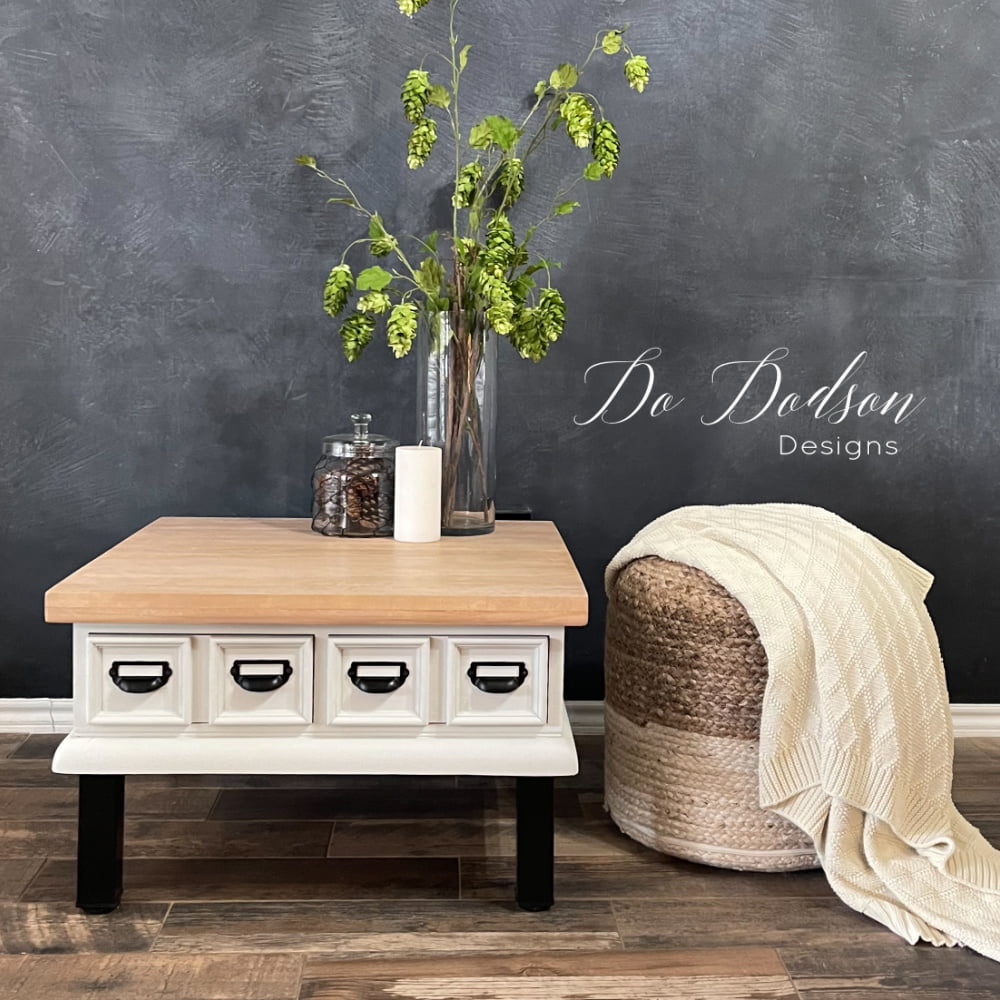
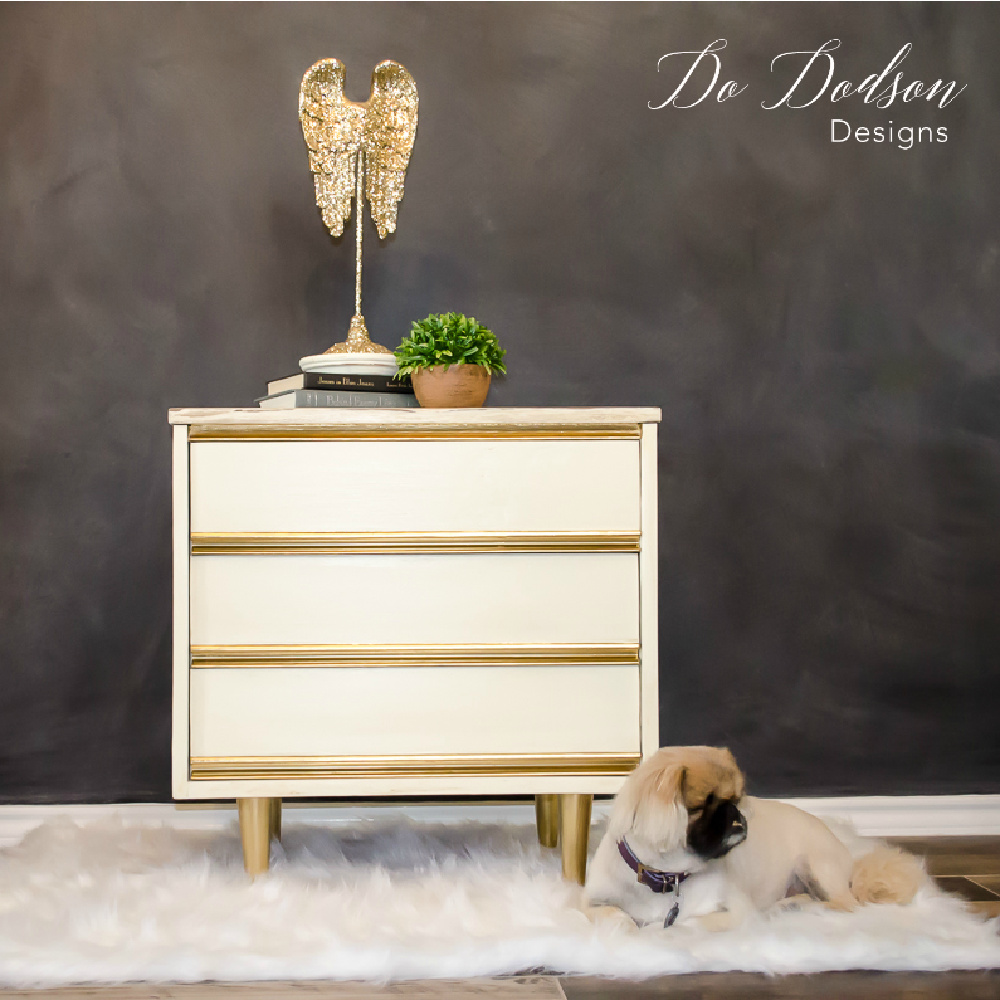
Instant Legs On Furniture!
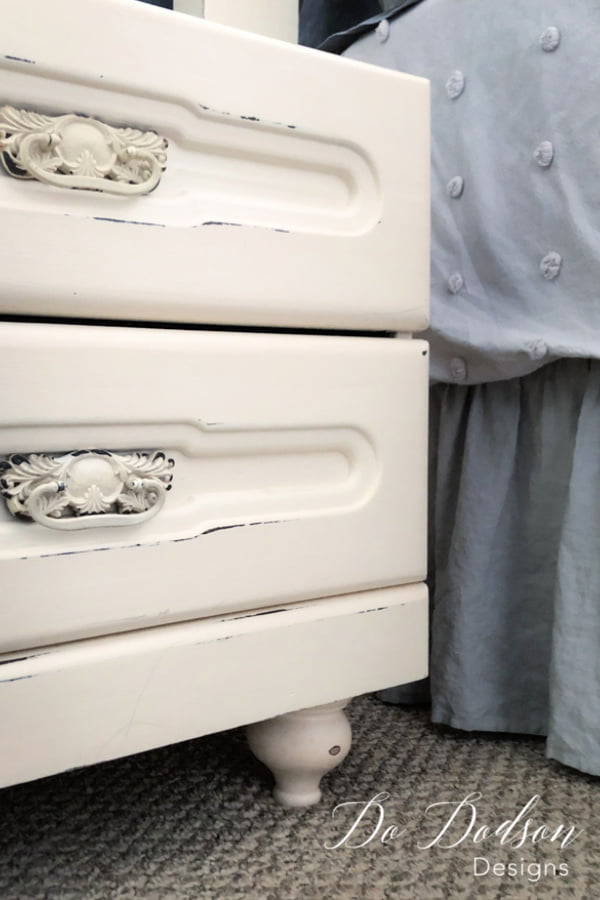
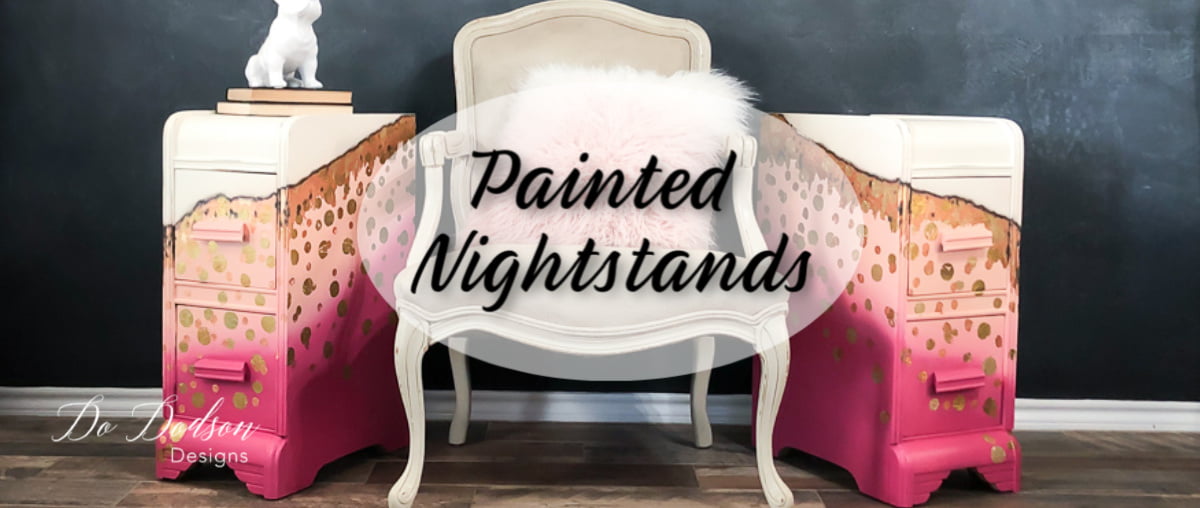
A New Paint Color For The Nightstands
After you add legs to wood furniture, you need to paint them… and maybe the furniture too. I did! The nightstands were painted 2 coats of Butter Cream chalk mineral paint with a mild distressing of the paint to give it that aged worn look. One of my favorites! And it now matches my bed! Want to see how the whole room looks? CLICK HERE to see how we updated our bedroom.
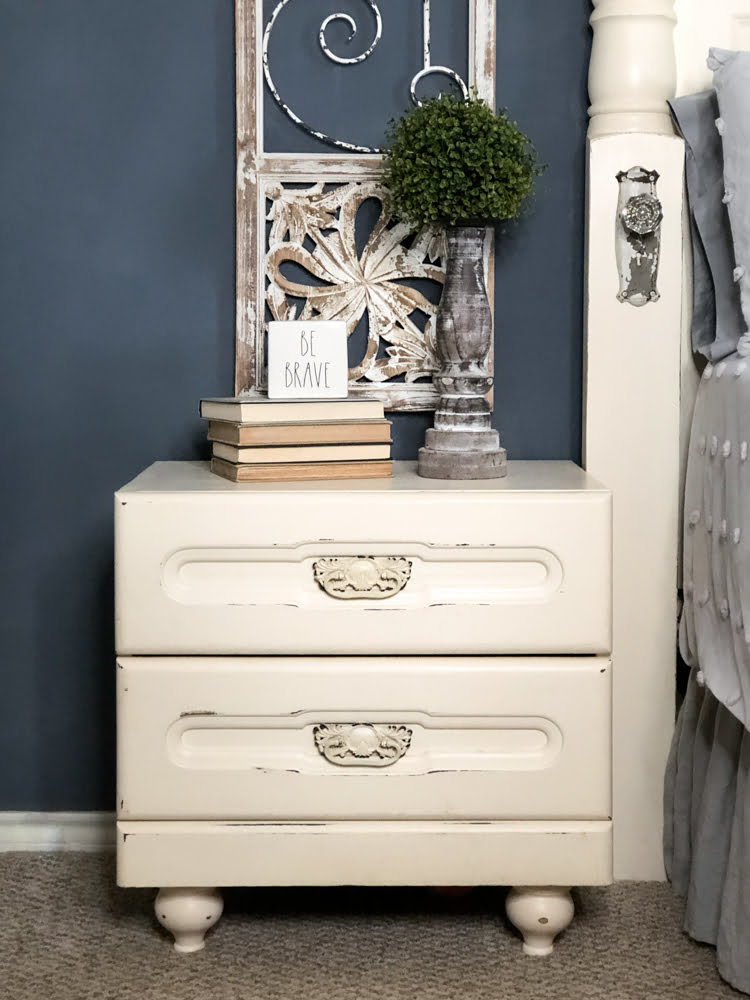
I was amazed at how much I loved them after adding the wood legs. My plan (don’t tell hubby) was to keep them a few years and then gently move them out for a more “my style” piece. It’s been three years, and I’m okay for now. And if you’re curious about my bed… it’s amazing! CLICK HERE to see more. We built it together after we married, so I guess I’m okay with HIS furniture after all.
So what do you think? Would you add legs to your furniture if need be? I’d love to hear what you think in the comment section below, or if you want to say hi… I’ll be happy to hear from you.
Until the next project… xo, Do
Hi Do! Happy New Year. I noticed here lately that your favorite color is Buttercream. That is one color that i have not used yet but it looks so pretty on your furniture. Is that the same color as your headboard? That headboard is enormous and stunning! I have a hope chest almost identical to yours. My mom had it for years and now its mine and i’m filling it up for my grandaughter. I guess that is Buttercream also?
Thank you for sharing and teaching. People like me would be lost without people like you. 🙂
Thank you, Cheryl! It is Butter Cream! It’s my go-to vintage color. I’m doing the same thing for my Granddaughters. 🙂
The wood strips holding the new leg. Where they glued on the underside of the unit or did you nail them on.
I also love the buttercream color.
Hi Bev, I do both for strength. I don’t think I would trust using only nails or glue. These tables are very heavy and I used them in my bedroom. I have had no issues with durability. 🙂
Good morning. I am wondering if you have details on your bed headboard? I have a very old bed head board which is smaller than my king size bed. I noticed your night stands were next to your bed that looks like you extended a smaller head board? Also added door knobs.
Thank you,
Mike
Hi Mikel, I don’t have a tutorial on the headboard, but it’s made with three doors connected. We purchased columns and cut them in half to frame up the side and built a shelf on top. The doorknobs were bought at a flea market. Here is the bedroom makeover with better photos of the headboard. I hope this helps. https://dododsondesigns.com/amazing-color-bedroom-makeover/