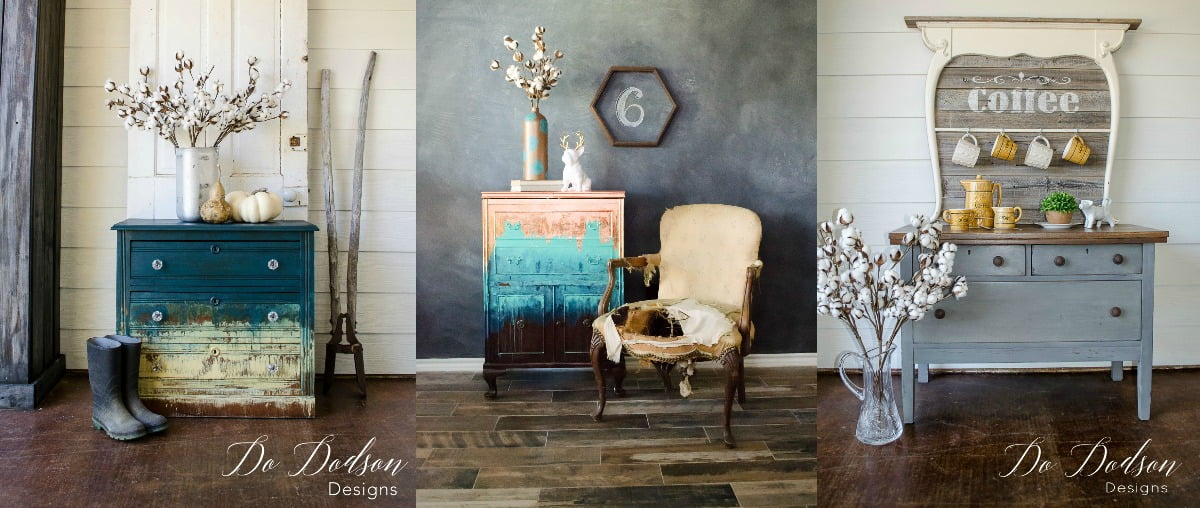
I have a love affair with painted furniture, and I’m always on the lookout for an unusual piece I can re-create.
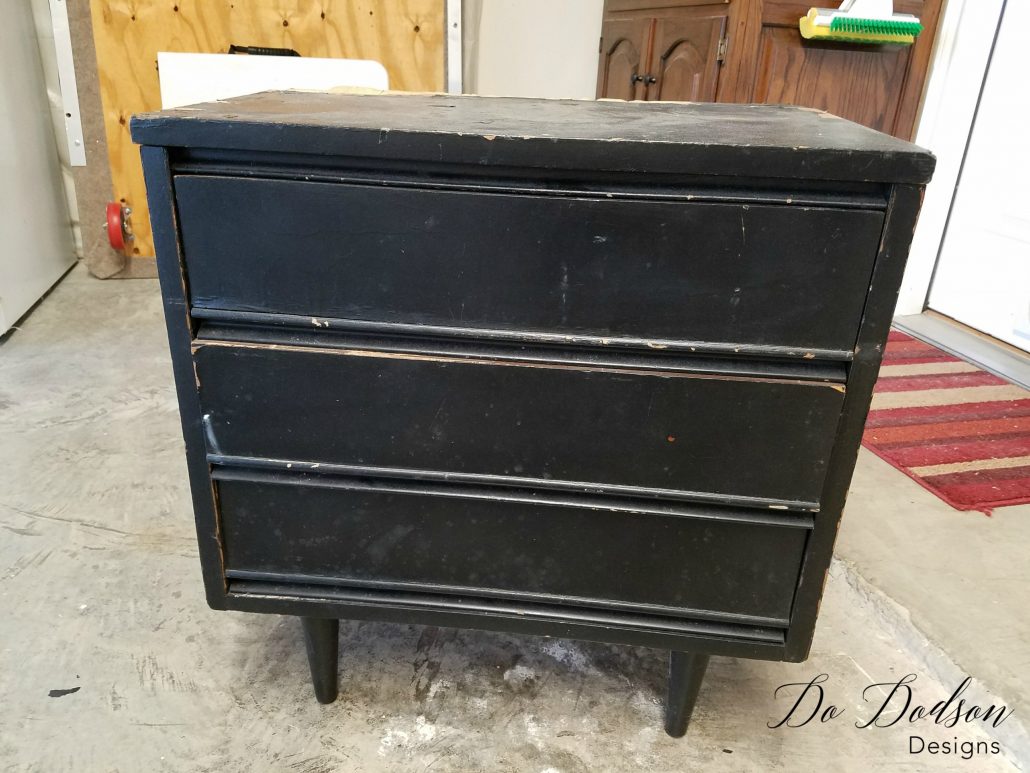
Can you believe I only paid $5 for this? SCORE! But there was a reason it had that price tag. SEVERE veneer damage on every inch! It’s days like this I wonder how I get myself into these predicaments. You know the ones where you want to run and hide because you know what lies ahead. Why do I do this? Because this sweet nightstand needed some help, and I couldn’t walk away from the potential of what could be. It had great lines, and I was digging the whole mid-century modern style. I was ready for this nightstand flip!
*This post contains a few affiliate links to help you find the products I use. You are not charged extra to use any of the links, but any income I make will be used for more fun projects! To see my full disclaimer, click here!
Painted Furniture Makeover Nightstand – Before
Of course, like most old pieces I salvage, it obviously needed a lot of cleaning and repairs. But it had potential, and the price was right!
Veneer Removal
Before I could start on my nightstand makeover idea for this piece, the task at hand was to remove all the damaged veneer.
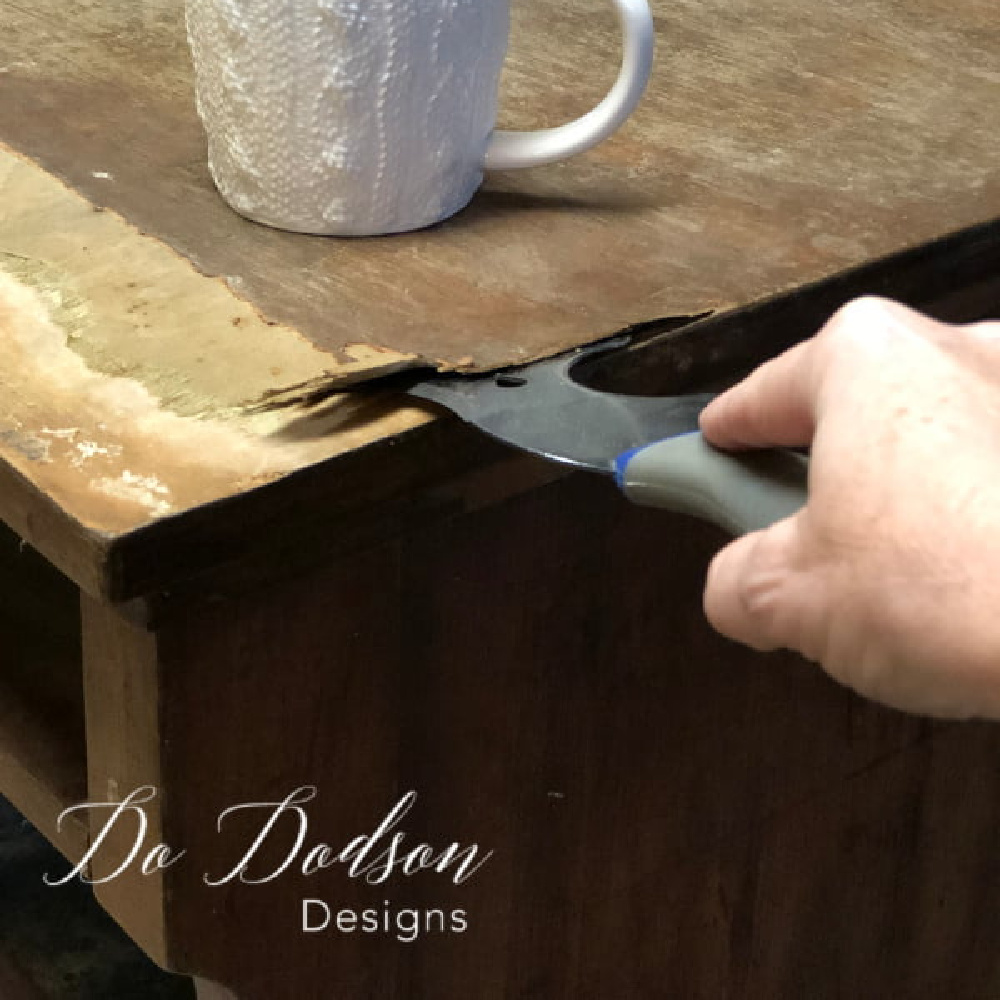
The wet towel trick usually works great, so I saturated a towel, applied it to all the surfaces, and let it sit overnight to weaken the glue. The next morning, I removed most of the veneer with a simple paint scraper and gentle prying.
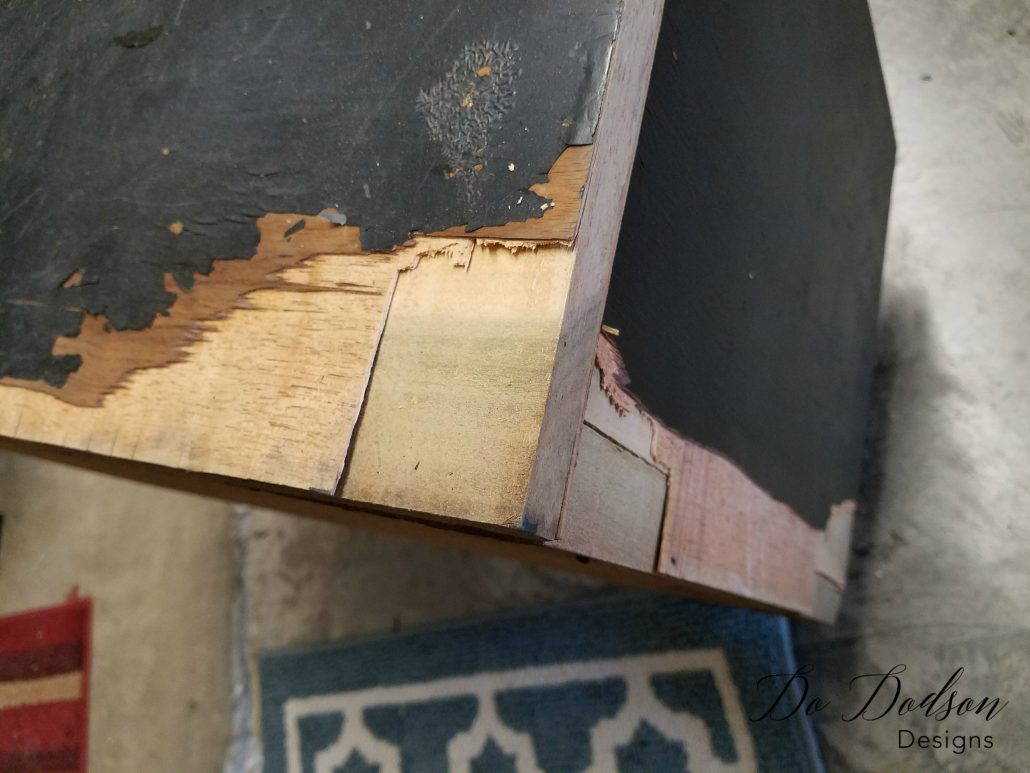
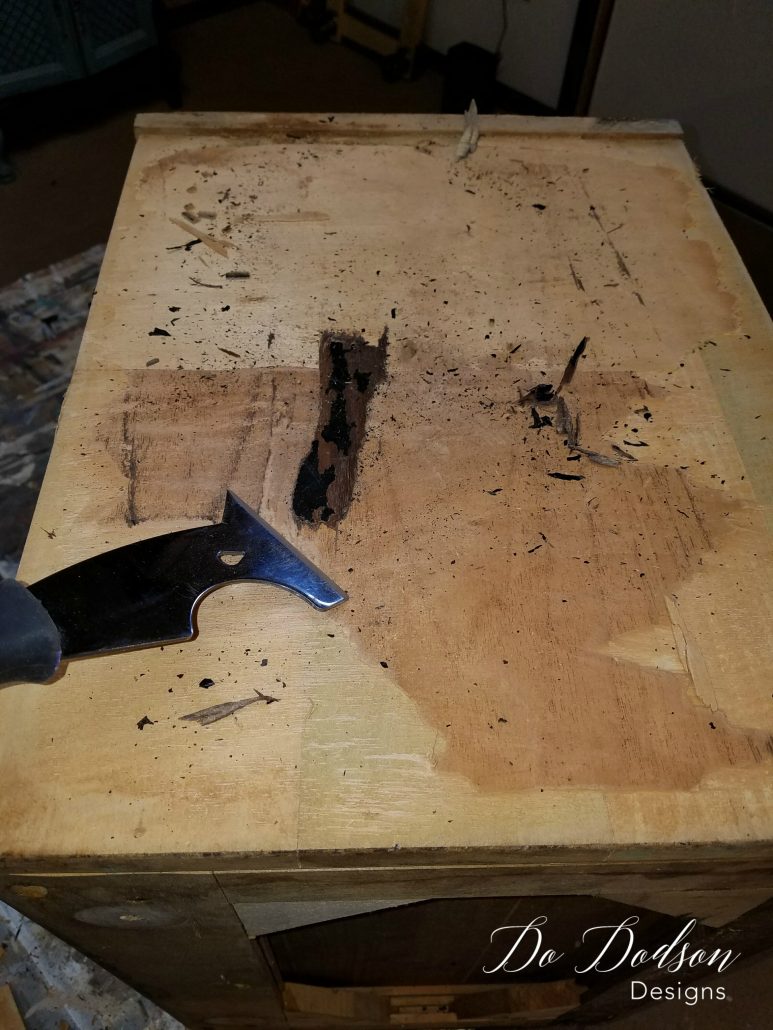
Some of the glue was being very stubborn about letting go of the veneer. I had to pull out my heat gun and even tried the steam iron on top of the wet towel trick, and it still would not budge. That’s some awesome glue they used back in the day! CLICK HERE to learn more about How To Remove Veneer.
Having to revert to brutal force in one area, the old paint scraper-and-hammer trick worked well, but not without a price. In a few areas I got aggressive on, the wood was slightly damaged, with a few gouges in it and in my HAND!
Because I planned to paint this piece, I just filled the gouges with plastic wood filler and sanded it smooth. My hand got a Band-Aid.
Sanding The Wood Smooth
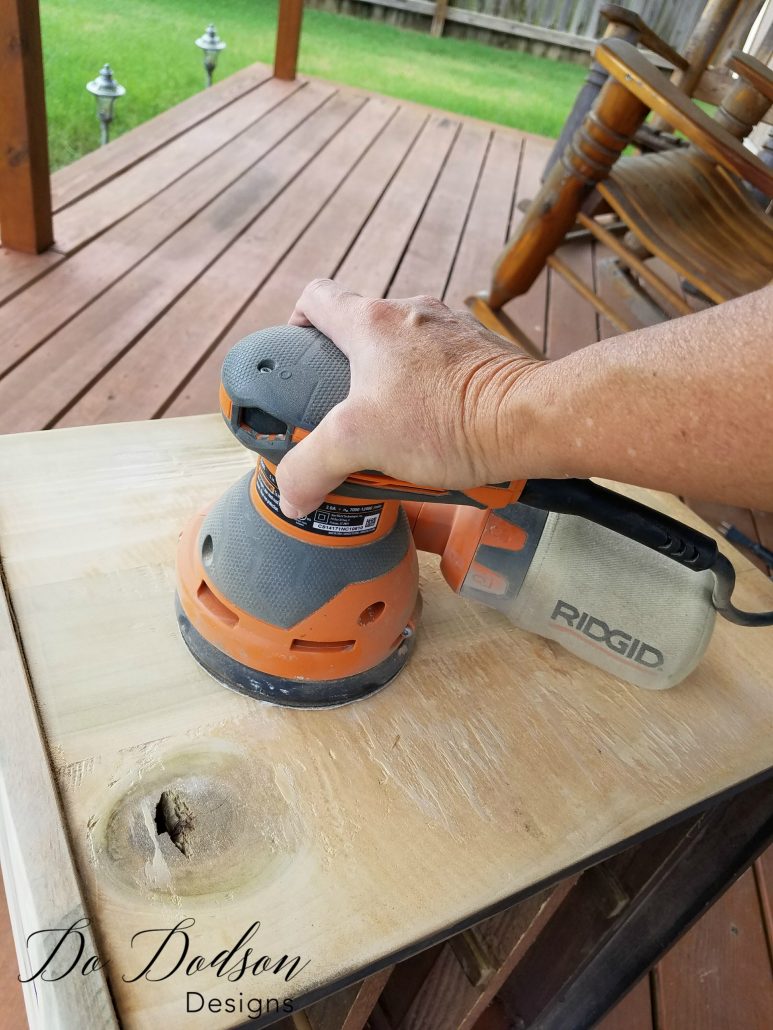
To get the best surface to paint, first I used 150-grit paper to knock down the leftover glue and the roughest spots, then finished with 220-grit paper.
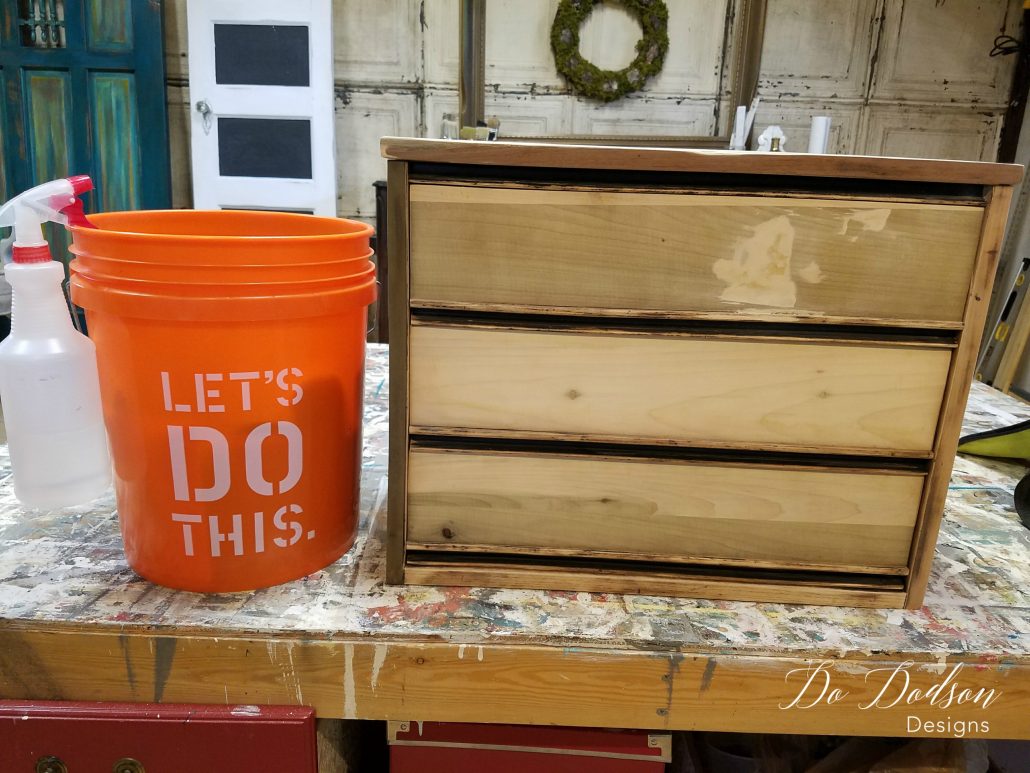
After sanding with my orbital sander, I was ready for the next step of this painted nightstand makeover. I was shocked at how beautiful the wood was beneath all that veneer and wondered why anyone would want to cover that up. There has definitely been a change in times and style.
The Nightstand Top Gets A New Look
Because the top had so much damage from the veneer removal, I opted for a more rustic look. This technique is a good option for those wood-damaged tops.
Did you know you can create a faux-plank top on a solid piece of wood? YES! It’s so stinking easy too. Here’s how I did it!
I used my circular saw and set the blade depth to 1/8 inch. Draw lines with a pencil to create the look of wood planks across the top of the wood table. Use the circular saw to cut grooves into the wood to give it the appearance of wood planks.
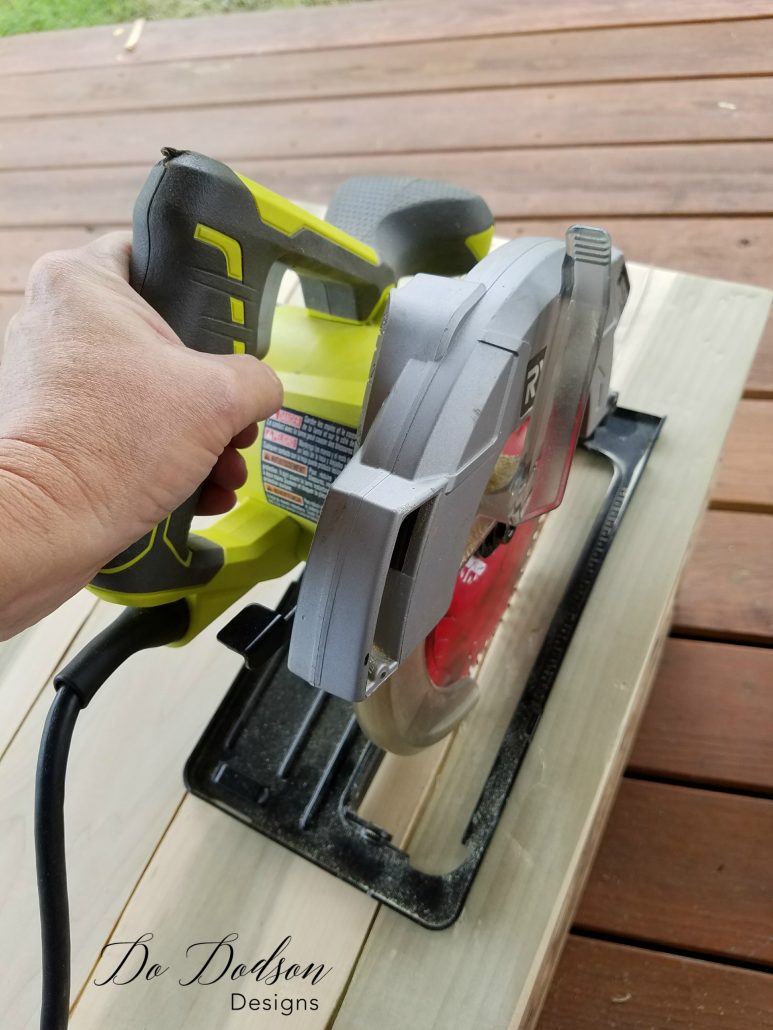
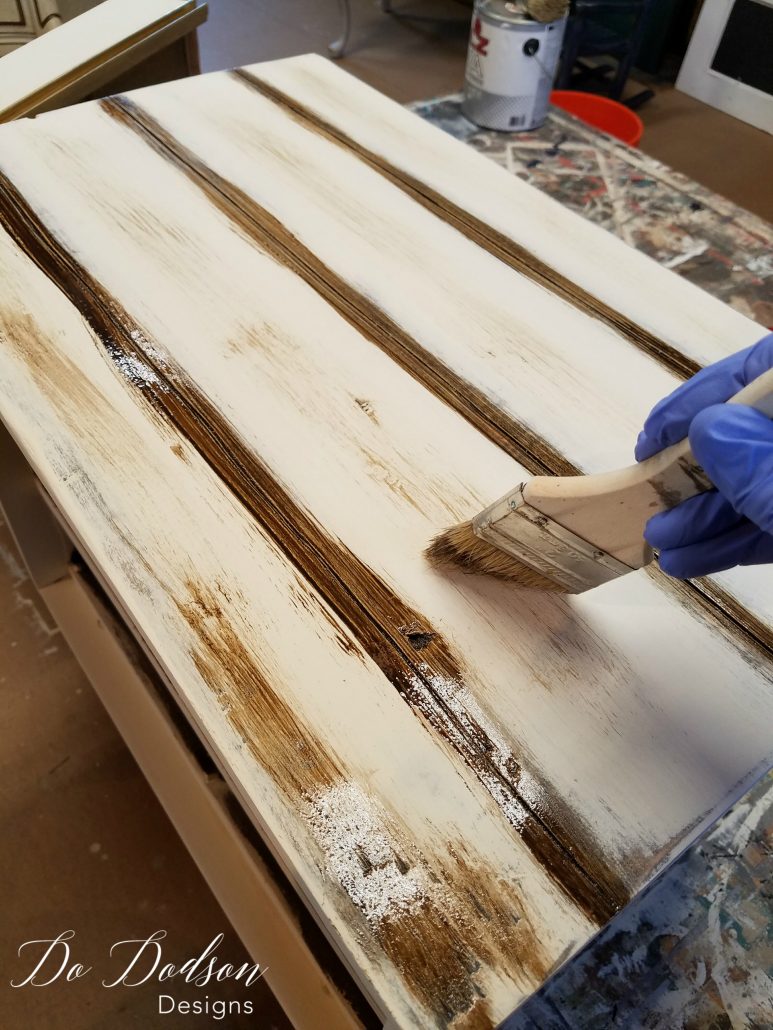
Afterward, I painted the wooden surface with cream-colored, chalk-based paint.
Then I applied Rustoleum Decorative Glaze in the grooves and a little randomly across the top to create a wood-looking surface. I quickly wiped away any remaining on the surface, blended it down with cheesecloth, and it was beautiful! It had that aged barn wood look. Rustic farmhouse style on a MCM nightstand? Why not?!
Add Some Gold Glam!
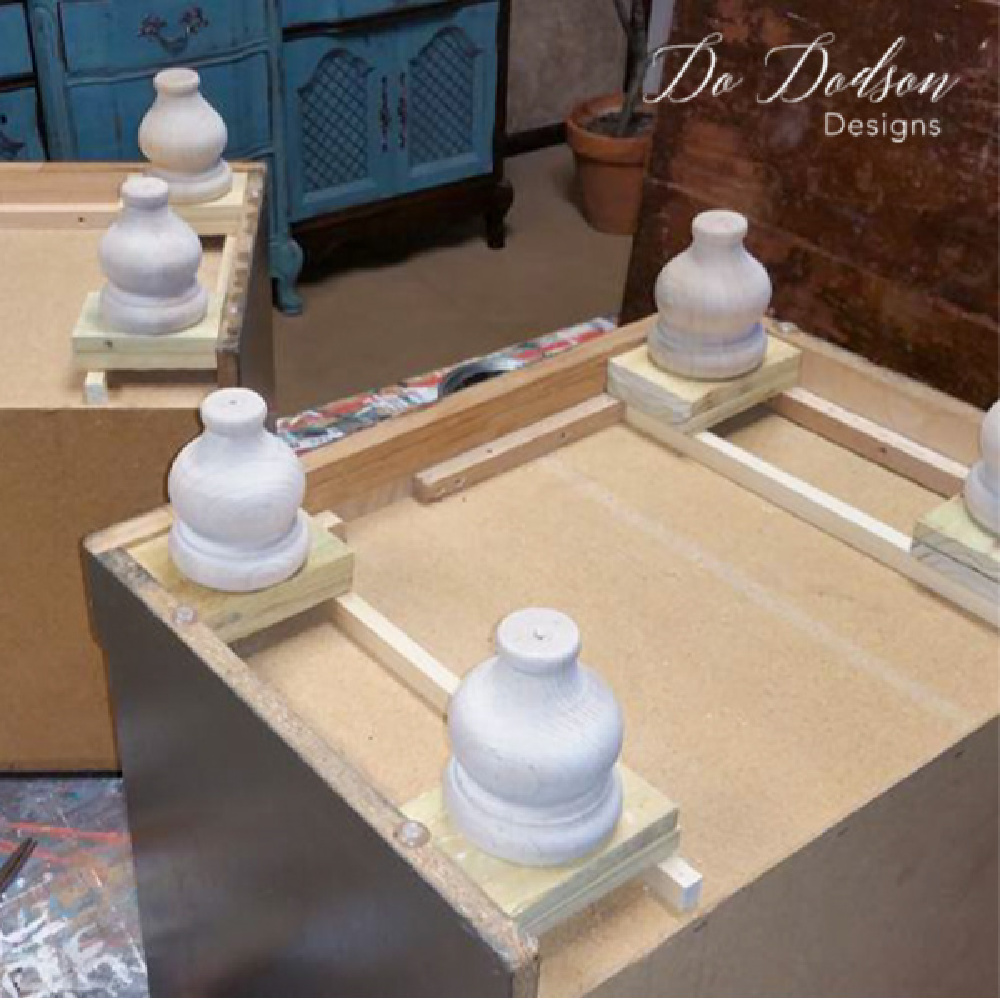
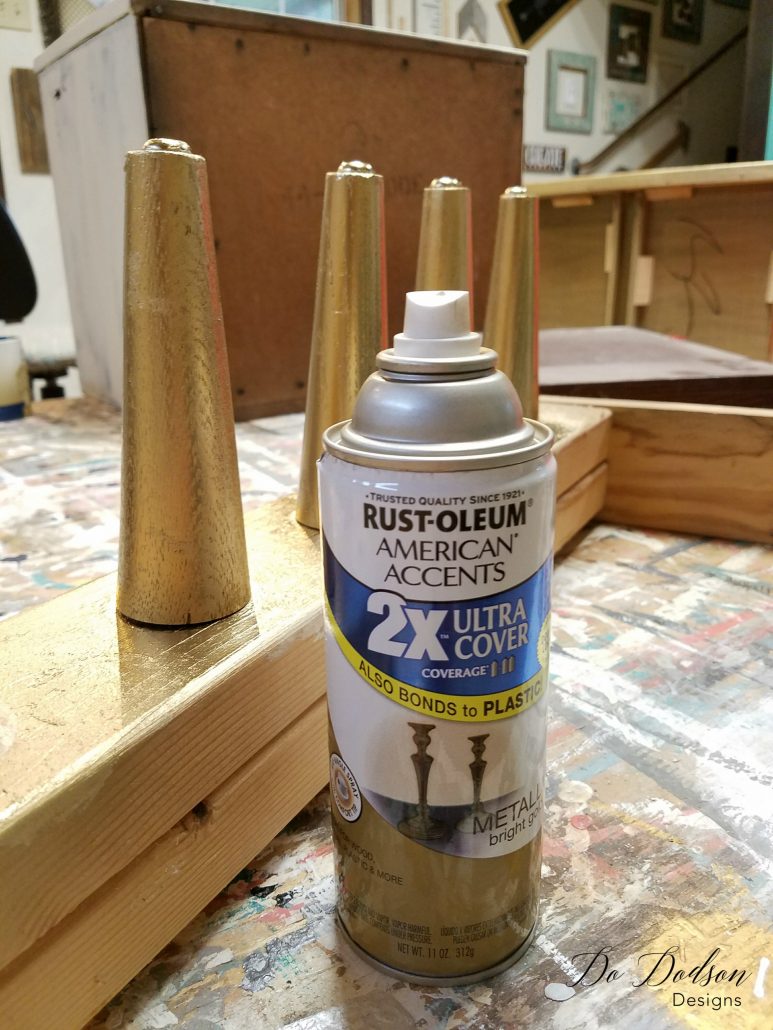
I LOVE those mid-century modern legs. I can only picture them painted GOLD. So, that’s what I did. I used Rustoleum Metallic Gold spray paint to step this old gal up a notch. I like to call this, in the painted-furniture-makeover world, the gift of Jimmy Choo heels! Yes, ma’am!
Because I painted the legs gold, I’ll go with the theme; I painted drawer pulls gold to tie it all together. The clean lines will look nice with the gold legs. Very classy!
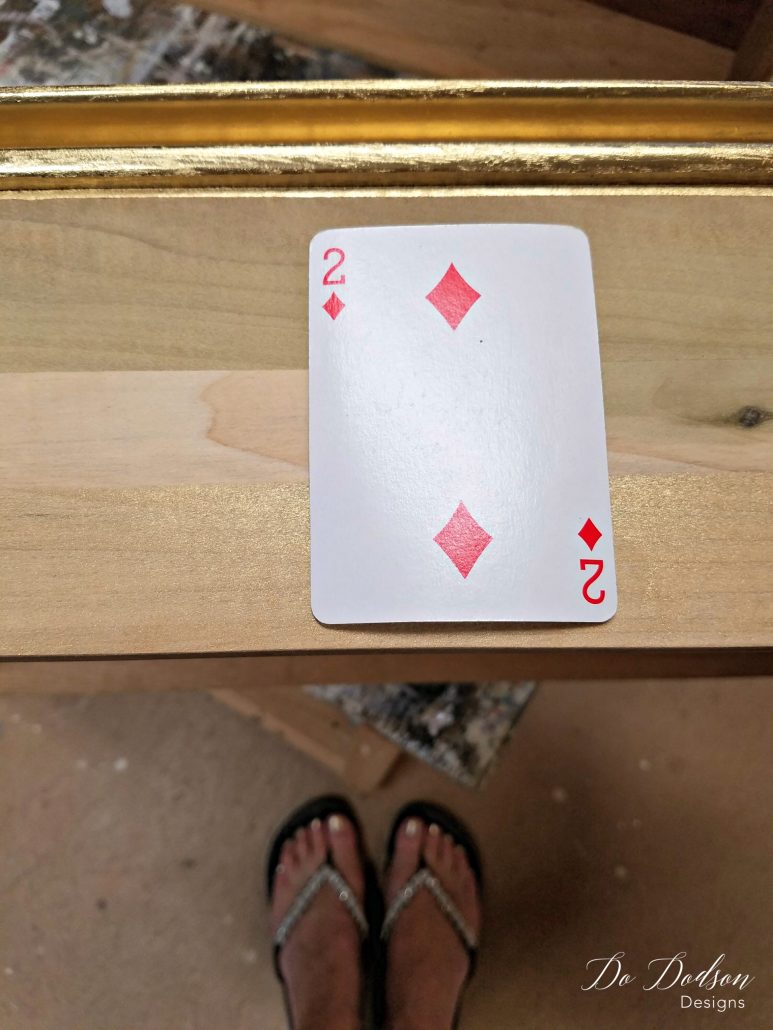
Oh, and while I was cleaning the drawers, I found a single card in one of them. Usually, I find things like bobby pins, tacks, and 15-year-old ABC (already been chewed) bubble gum. Hmmm, this was a sign. A Diamond In The Rough. I like it. Why not? New makeover, new name. It’s a whole new beginning for this painted nightstand makeover.
Painted Furniture Makeover, Nightstand Reveal – AFTER
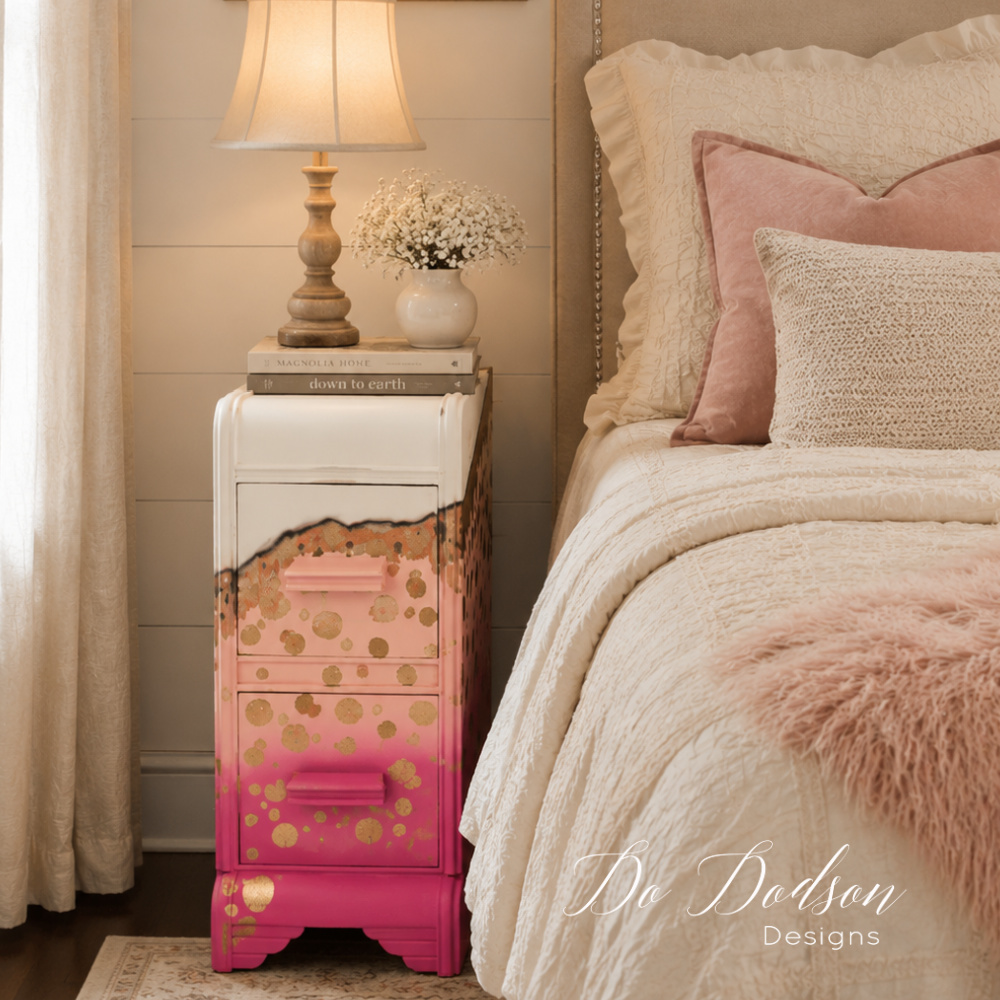
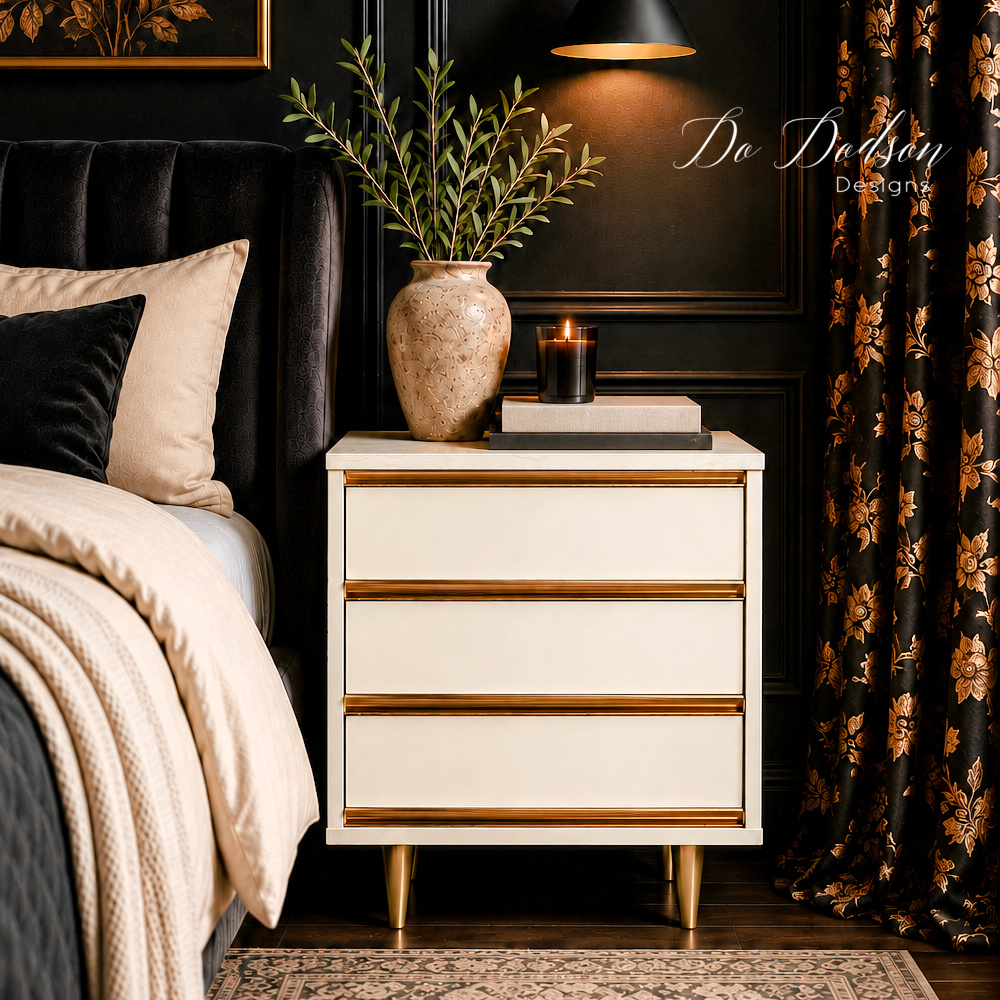
Who would have thought that a $5 thrift find could ever be the star of this bedroom? THIS is why I do what I do. I’ll never get tired of the transformation of tired, run-down old pieces that are destined for the dump.
* Photos have been edited and updated by AI in 2026.
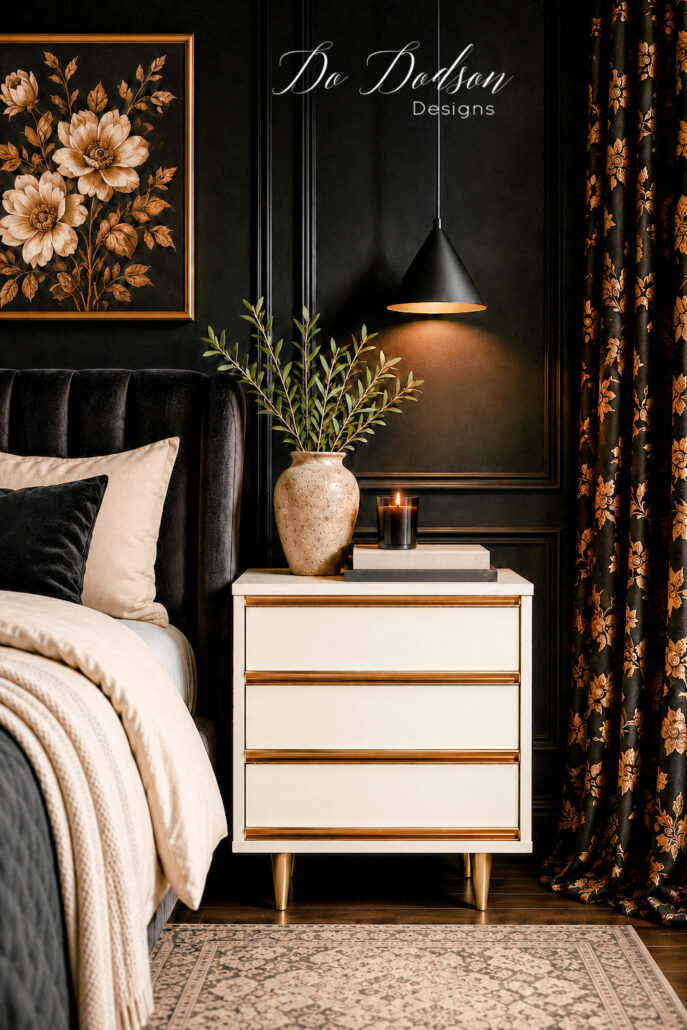
And the rustic faux plank wood top with a weathered finish is one you don’t have to fuss over. Long gone are the worries about it getting scratched and damaged. If it does, it will blend in nicely.

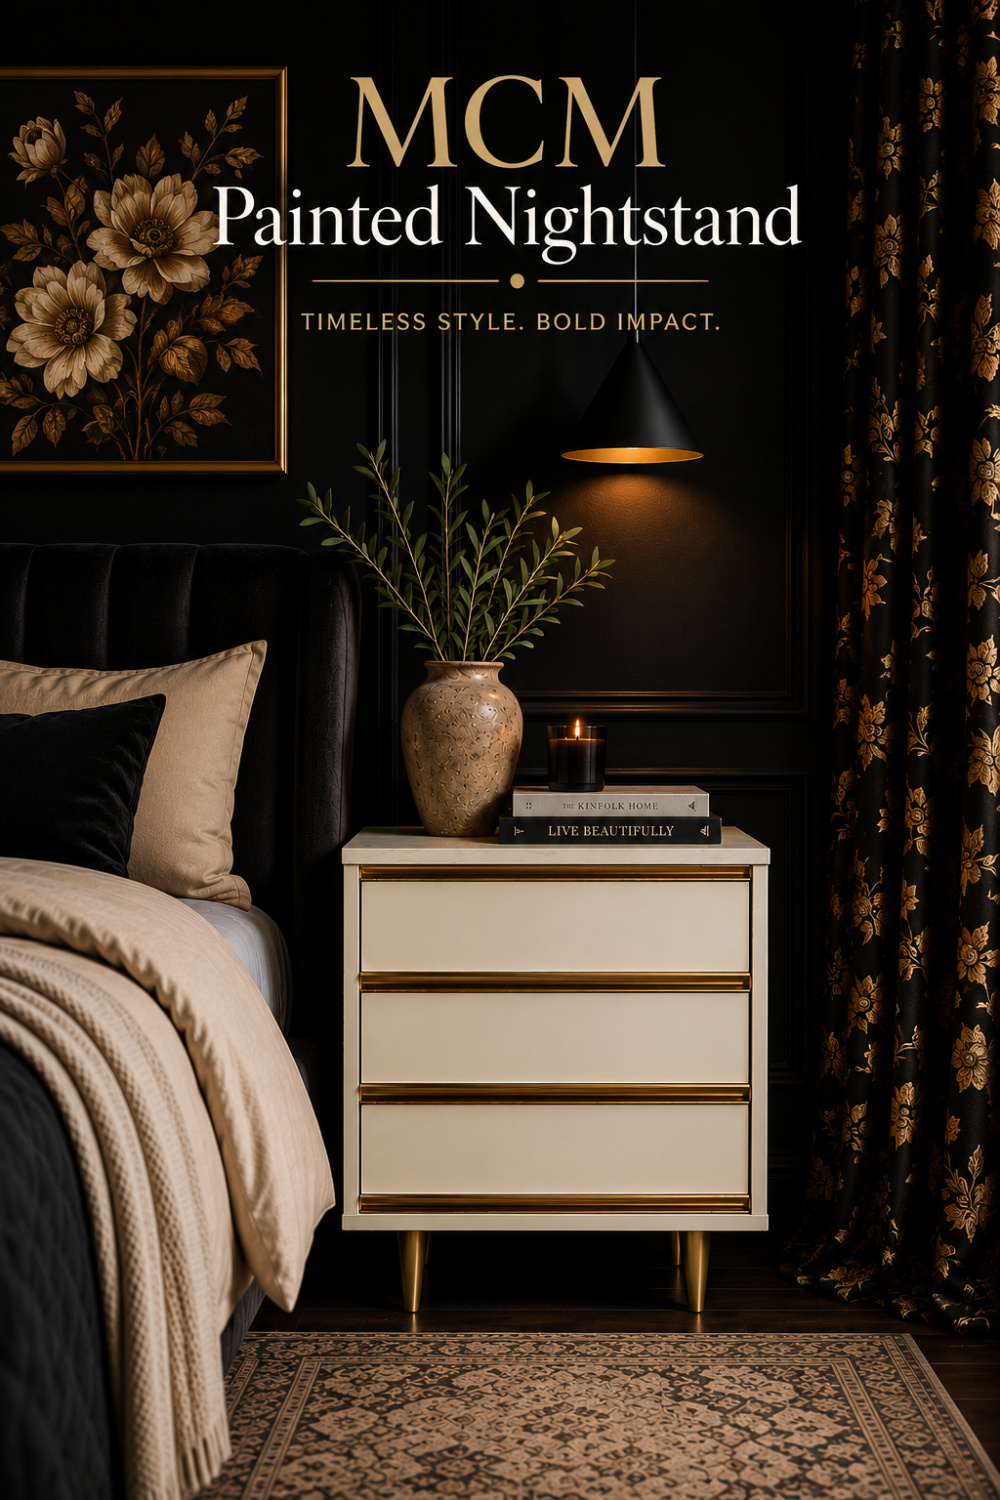
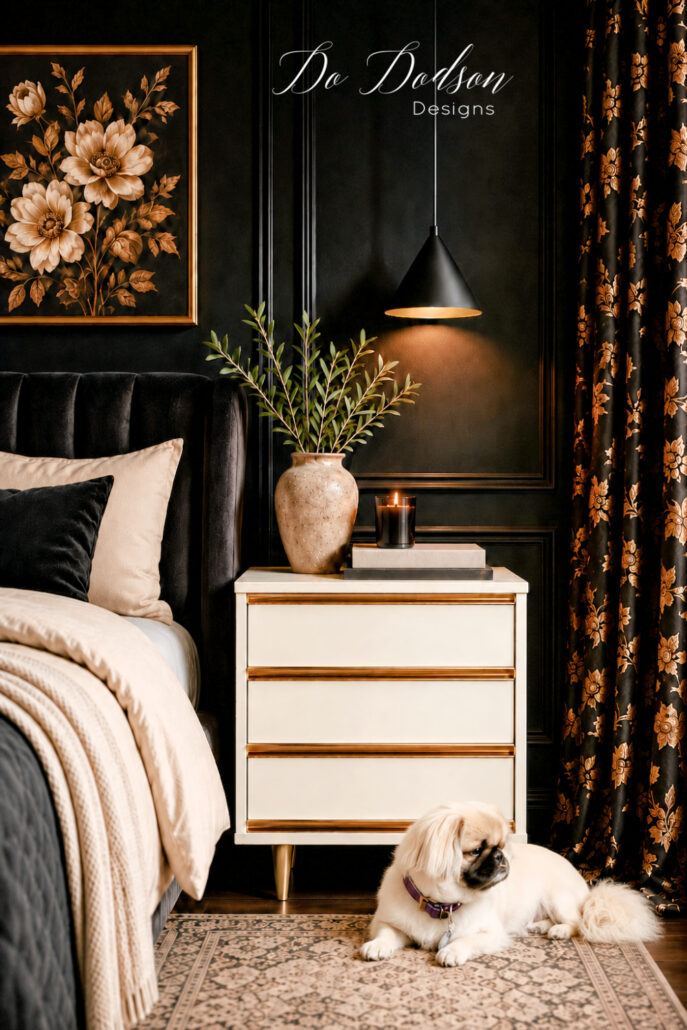
This DIY-painted mid-century modern nightstand with gold trim is styled in a dramatic black bedroom, proving you can mix and match styles. There are NO RULES in decorating, in my honest opinion.
My sweet little Zoe agrees.
Thanks so much for stopping by! I hope this project inspires you to give an old piece of furniture a brand-new life. If you have a question, a tip to share, or just want to say hello, I’d love to hear from you in the comments below. And if you found this makeover helpful, please share it with a friend and pin it for later—it really helps support my little corner of the internet. Happy painting! 💕
Until the next project… xo, Do