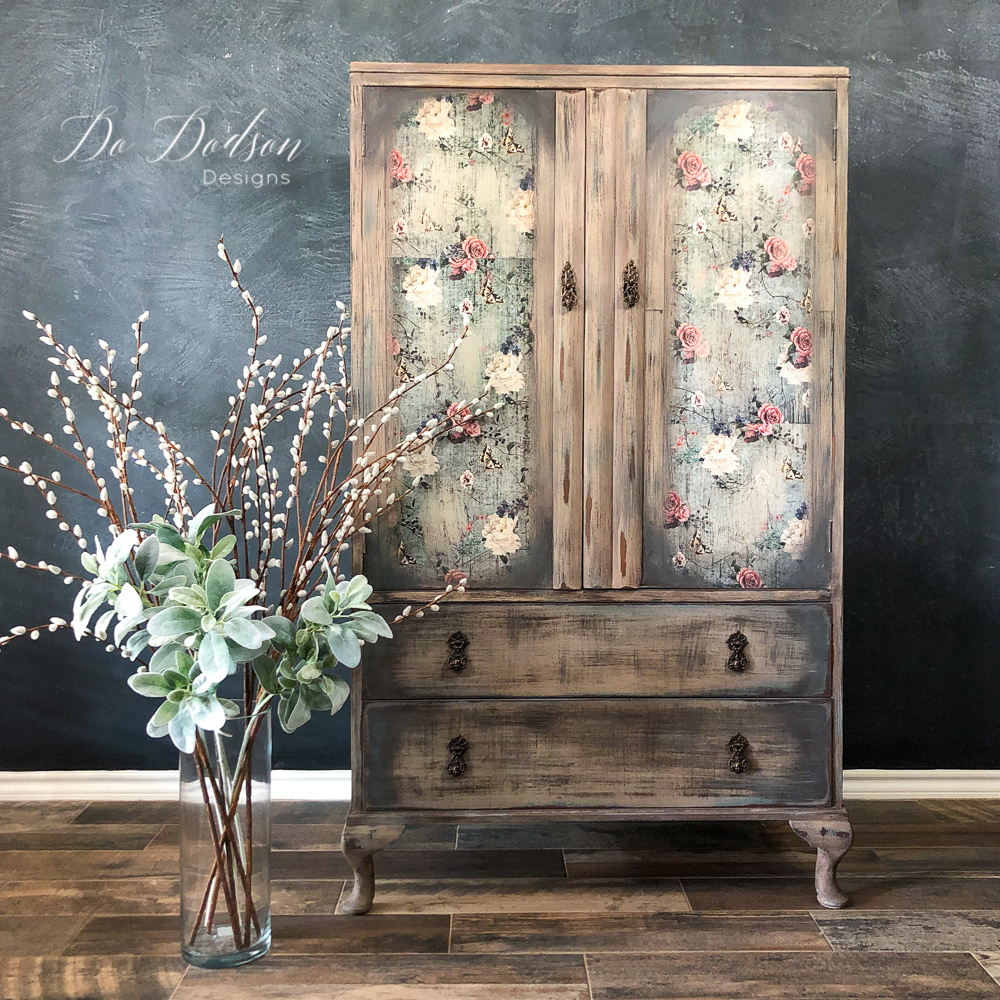
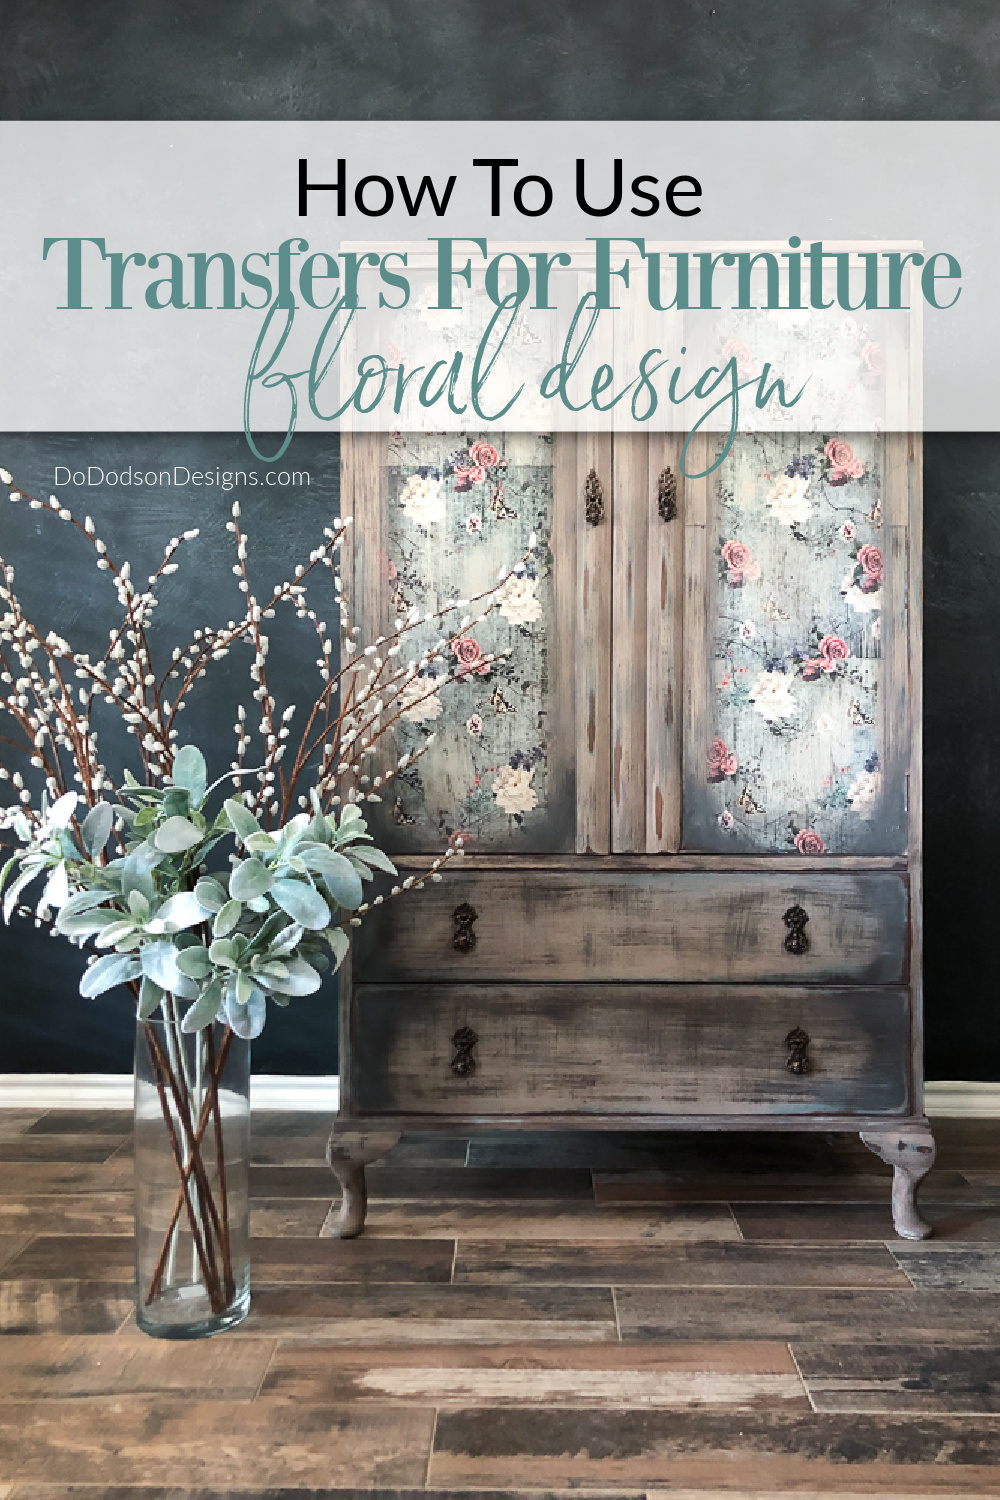
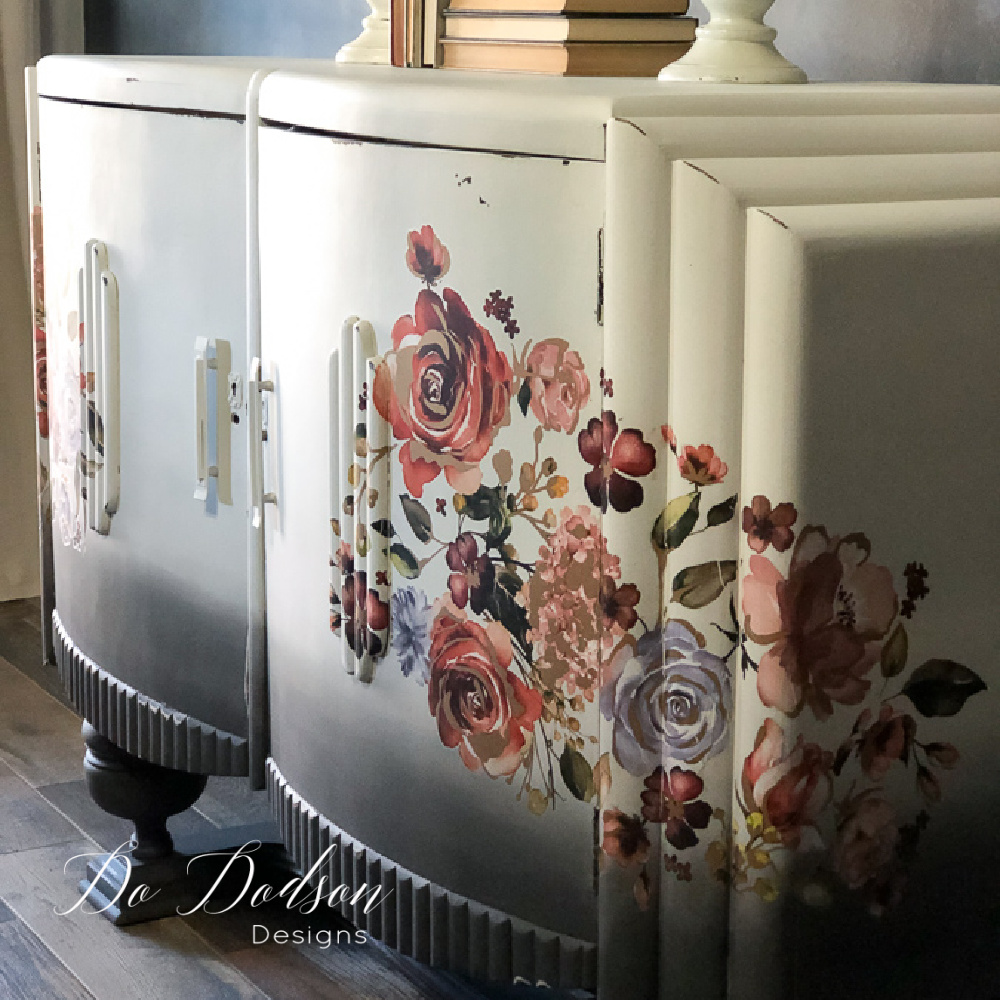
Now and then, I’ll do a furniture makeover that surprises me. Floral transfers for furniture are becoming more and more popular, so I’m embracing the trend. I have to say that this floral frenzy has seriously swayed my design style, and it was a challenge to come up with a finish that would complement this design, but I think I nailed it. You be the judge.
This post contains a few affiliate links to help you find the products I use. You are not charged extra to use any of the links, but any income I make will be used for more fun projects! To see my full disclaimer, click here.
Floral Transfers For Furniture – Before and After
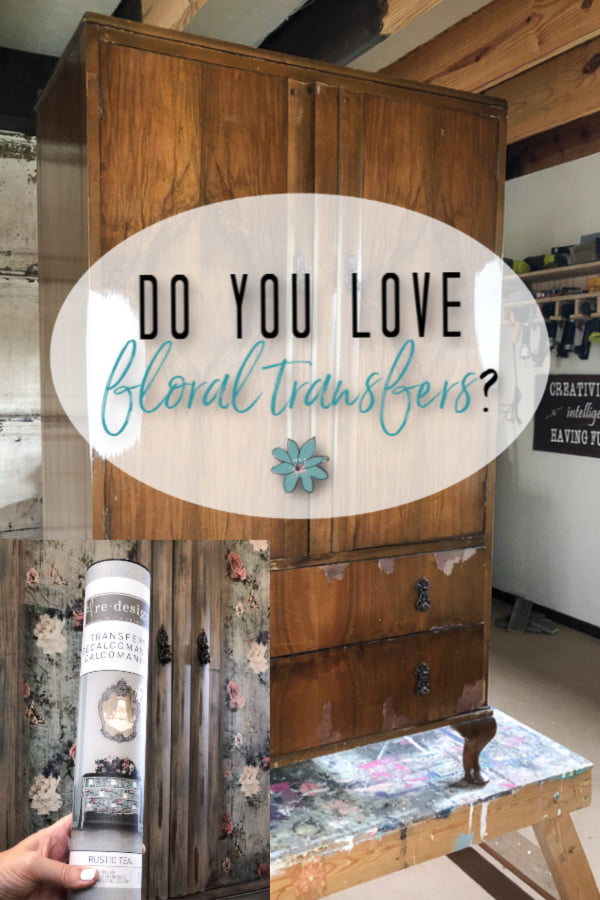
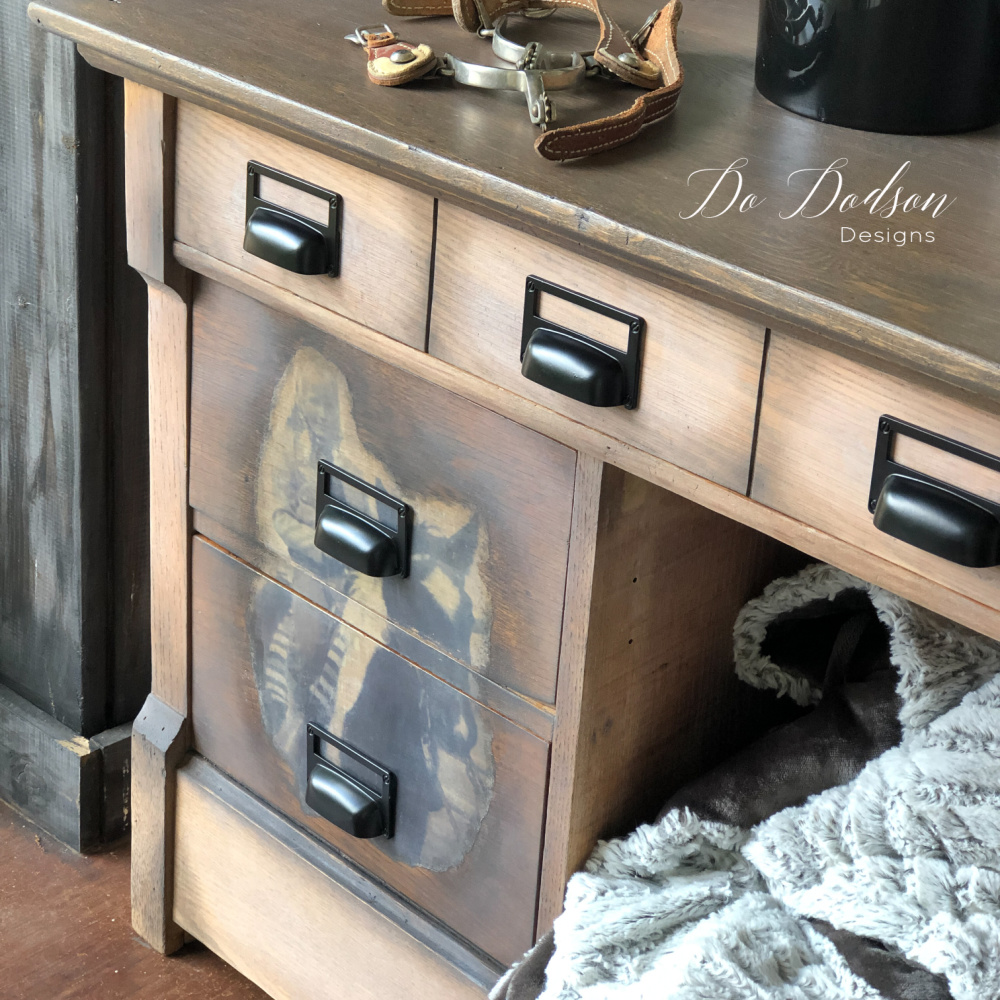
For this makeover, I started the usual way I do it with all of my makeovers by cleaning and prepping it for paint. Do you see the veneer damage on the bottom drawers? That has to go! So, while I was removing it, I created a short video of removing it without all those messy, smelly chemicals. Just for you!

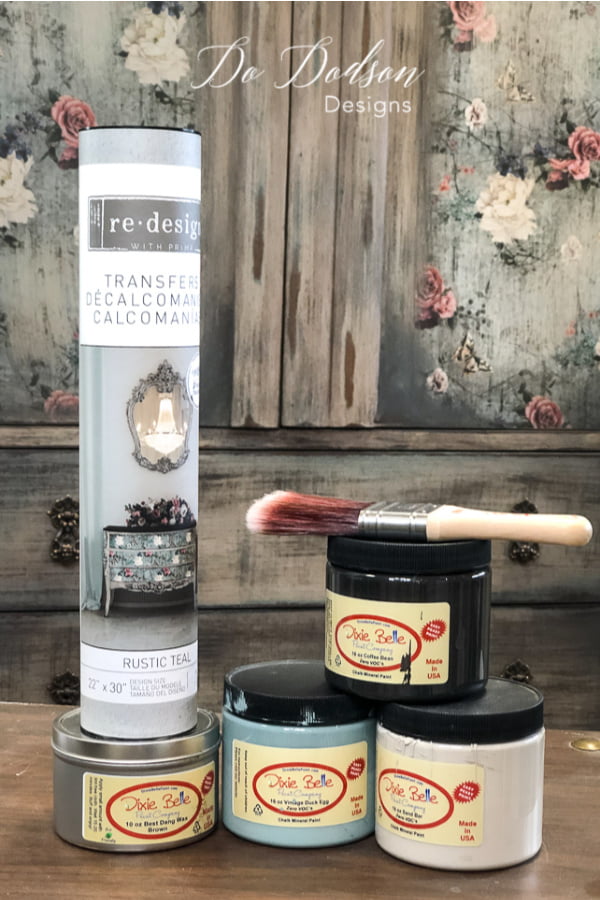
PRODUCT LIST:
- Antique Armoire
- Heat Gun
- Paint Scraper
- Rustic Teal Decor Transfer
- White Lightning (wood cleaner)
- BOSS (Clear Stain and Odor Blocker)
- Vintage Duck Egg (chalk mineral paint)
- Sand Bar (chalk mineral paint)
- Coffee Bean (chalk mineral paint)
- Brown Wax (Dixie Belle)
- Paintbrush (Dixie Belle)
- Wax Brush
- 220 Grit Sandpaper
- Orbital Sander
- Top Coat (Dixie Belle)
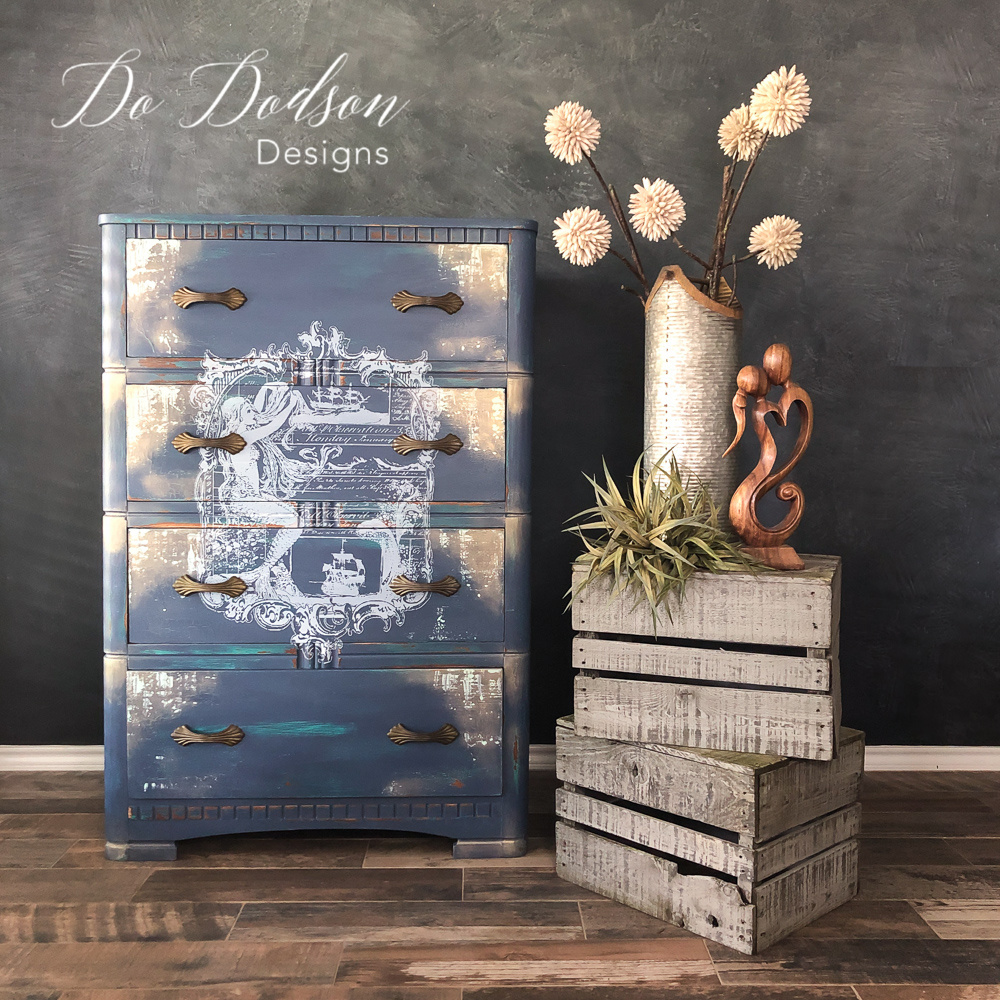
Layering Paint
You will need two main colors of paint for this finish: Vintage Duck Egg and Sand Bar. Allow the first color to dry completely before applying it to the second color. The next step is to use a rotary sander to distress the paint back to reveal some of the base color and the underlying wood. Distressing.
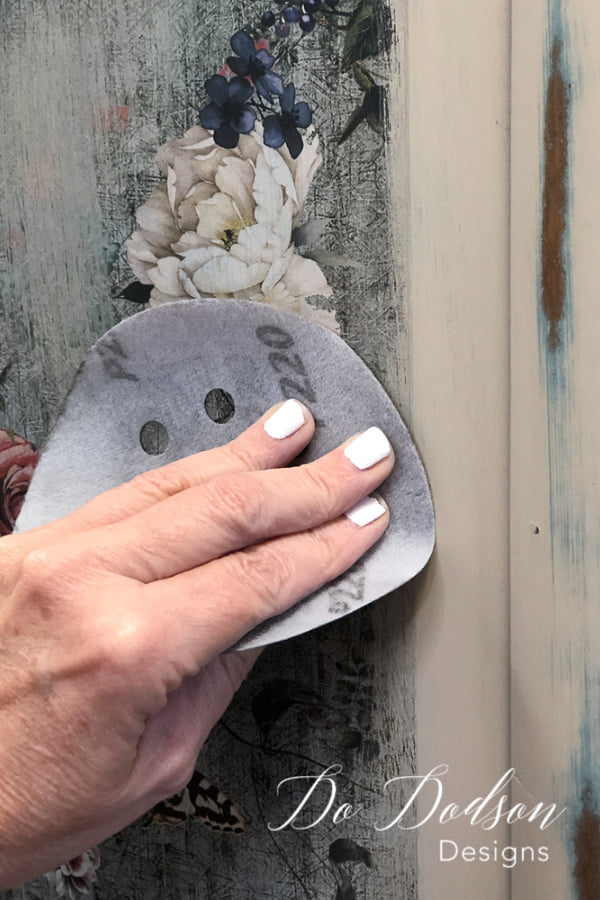
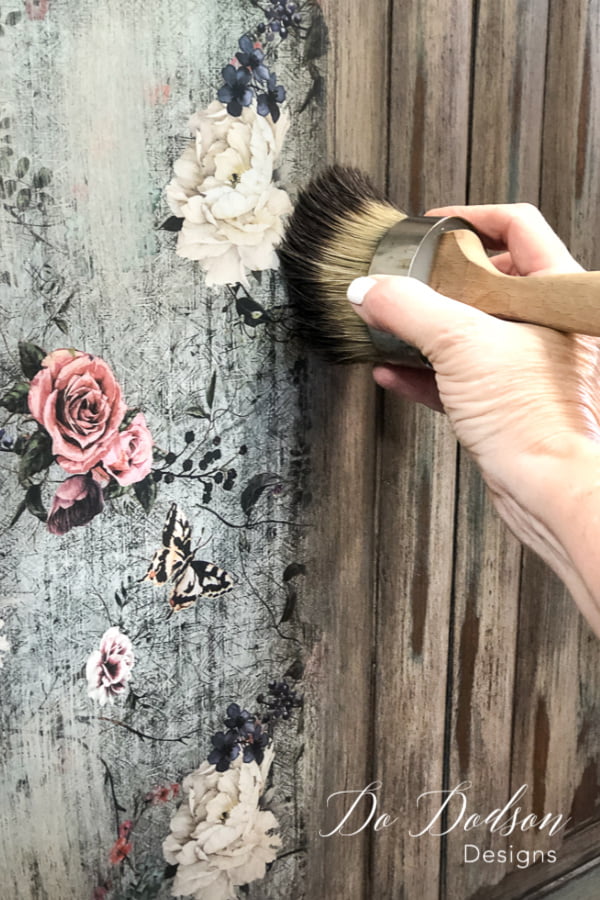
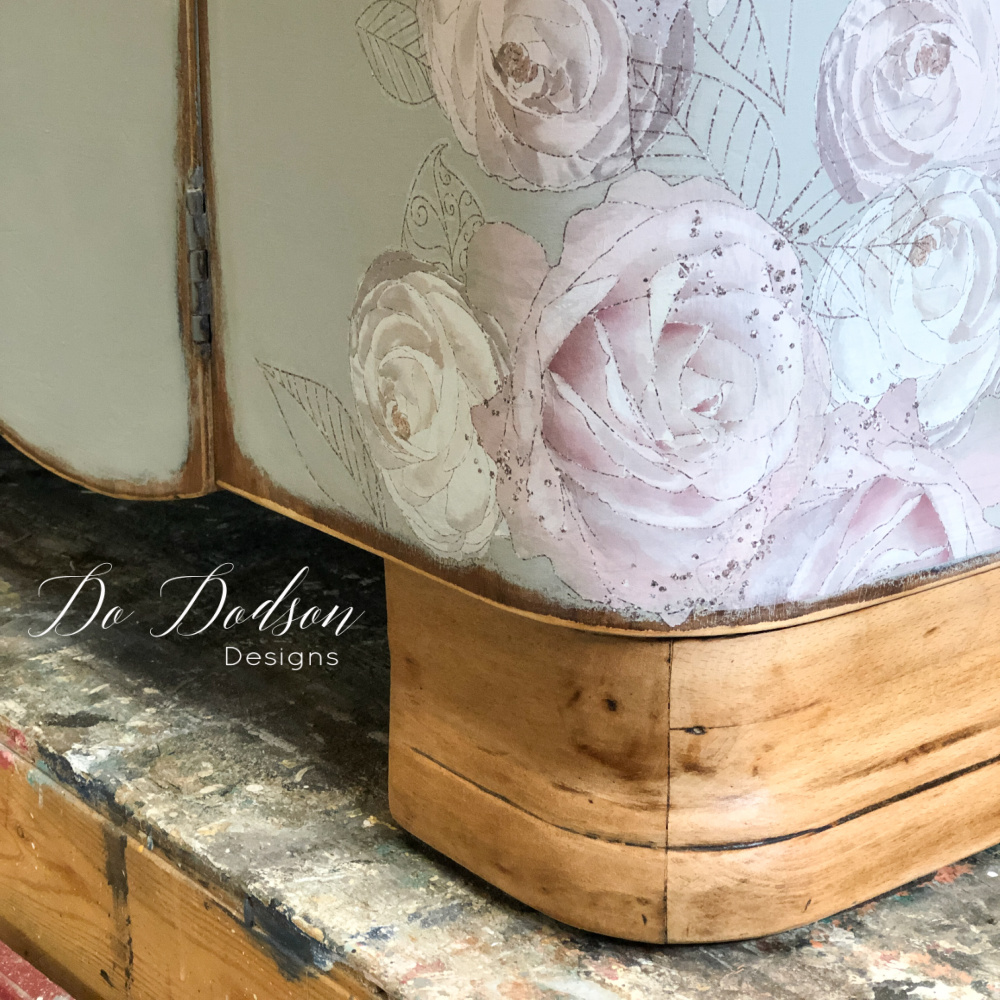
Distressing The Floral Transfers For Furniture
Once you have applied the floral transfer to your project, use 220-grit sandpaper to distress the edges or other areas depending on the look you want. I just used the sanding disc from my rotary sander—no need to buy products you don’t need.
I recreated the background for the floral transfer design on the wood by using a dry brush method with Vintage Duck Egg and Coffee Bean chalk mineral paint.
Dark wax was added over the painted areas and slightly overlapped the floral transfer to create a cohesive look. Because the floral transfer would need to be sealed, I waited two days for the wax to dry completely. Dixie Belle wax is a water-based product, allowing me to add Dixie Belle clear top coat over the floral transfer and
the waxed furniture. Adding a topcoat over wax isn’t recommended with other products. Be sure that if you try this finish, you don’t use other brands because most waxes are not water-based and can’t be painted over.

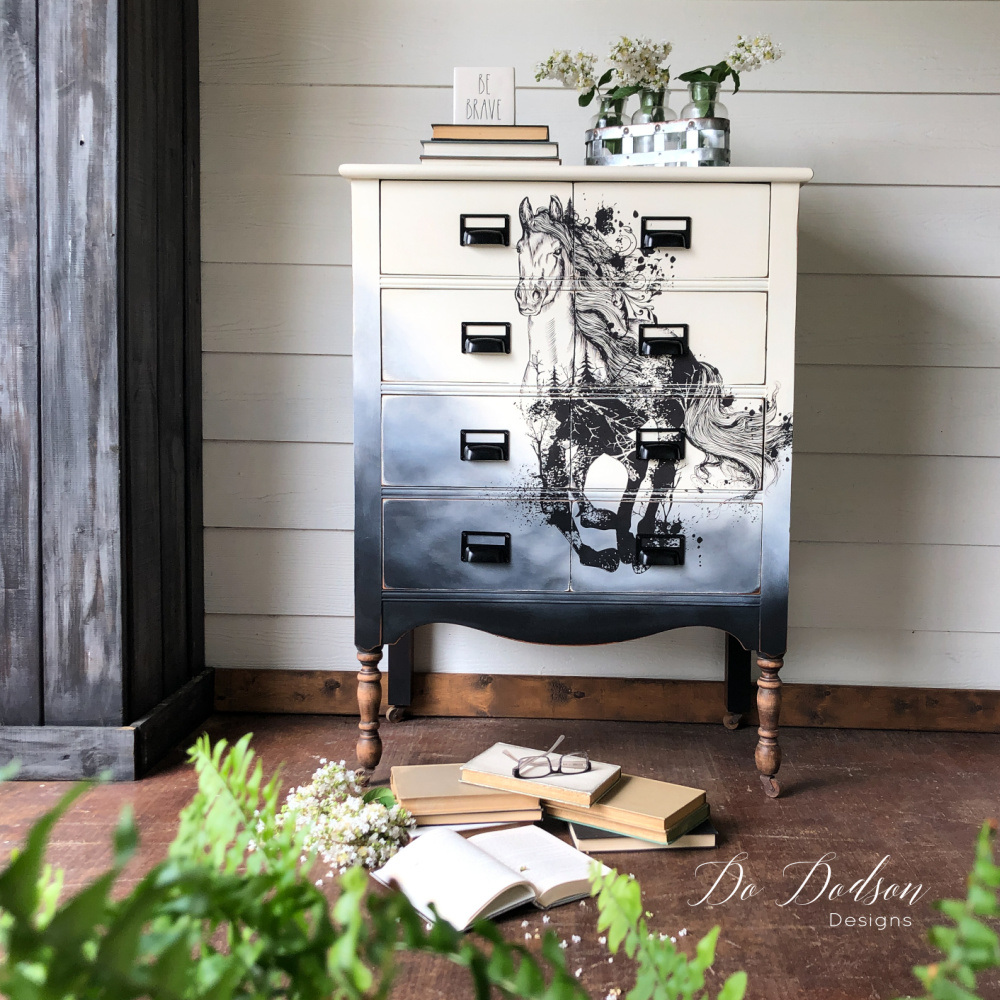
Transfers For Furniture | Shabby Chic Design
Using transfers for painted furniture makeovers is a quick and easy way to add a lovely design element without a lot of work.
Thanks for joining me today, and I hope this inspires you to try adding one of these beautiful designs to your next painted furniture project.
Until the next project… xo,
Absolutely stunning my friend! I’m so in ❤️❤️❤️ with this piece! Enjoy your long weekend. XO
Thanks, Denise! It was a great weekend of digging in the dirt. Garden therapy. xo
Do, you don’t know this but you are gave me courage to start painting. I have always wanted to paint and I am now in a place in my life that I can spend time doing what I want. I have built up my inventory but I am still working on building up my courage. I know it sounds silly but I really don’t know why I don’t just go for it. I would like to get with you some day and talk about this. This is an awesome piece of art. I am in awe at some of these transformations you create.
Awwwww sweetheart, I’m so happy for you! Painting is therapy and then there’s the business. The two can intertwine but you will need help in figuring it all out. Thank you for sharing this with me. This means more to me that you know. I take my business very seriously and being able to impact someone’s life is my purpose. When you are ready, email me at [email protected].
xo, Do
How beautiful!! Just gorgeous! Love the colours! ???
Thank you so much, Rhonda! xo
So beautiful..Did you dry brush the coffee bean over the sandbar?
Hi Stephanie, I did! Then I also dry brushed the vintage duck egg too. Allow it to dry and add brown wax. It’s a great look. So glad you like it.
Happy painting! xo
I love it, I was not so sure about getting that particular transfer but you definitely pulled it off!
Hey girl! To be totally honest, I wasn’t either. Funny how things work out. It was a good lesson to trust the process. xo Do
I’m from Dubai and really love what you do it’s pure art. Thank you for inspire us all the best
Thank you, Sumaya! I’m so glad you enjoy my work. Blessings to you. 🙂
Do! I’m like Cheryl above, stocking up with products and one of these days as the weather gets nicer I’ll head out to the garage and start sanding. I enjoy watching your videos thank you. One question what is dry brushing ?
Hi Jean! Thank you so much. Dry brushing is a technique that is done with minimal paint on the tip of your paintbrush. It sounds like I need to do a video tutorial on that finish. That’s a great idea. 🙂
This is absolutely gorgeous. You are my inspiration.
I have several new transfers and will start using them as soon as my finger heals.
I love, love this piece. Thanks.
Thank you, Lori! Prayers that your finger will heal completely so you can get back to doing the things you enjoy. 🙂
So beautiful!
Thank you, Jeri! 🙂
Looks absuluut stunning, as you painted the wall and your curtain all in ton-sur-ton!!!
I am still waiting if we move hause or not.
Therefore I am not starting a new project.
Thank you so much, Veronica! 🙂
Hi Do! I have a confession. When I was a member in your group I watched you create this beauty and the next day I went out and bought this transfer. That was probably over 3 years ago. I still have this transfer!!!! I just haven’t found the perfect piece for it yet. I did use a little on a jewelry box and it sold pretty quickly. I’m going to use this and send you a picture because you are such an inspiration to me. You have been for many years .
Awe, thank you, Cheryl! I’ve had so many emails about this transfer. I really wished they would bring it back. 🙂
This is the first time I’ve been on your site. I love the armoire! Beautiful.
Hi Lizzy! This is where all my content lives. I’m so glad you’re here. 🙂 xo