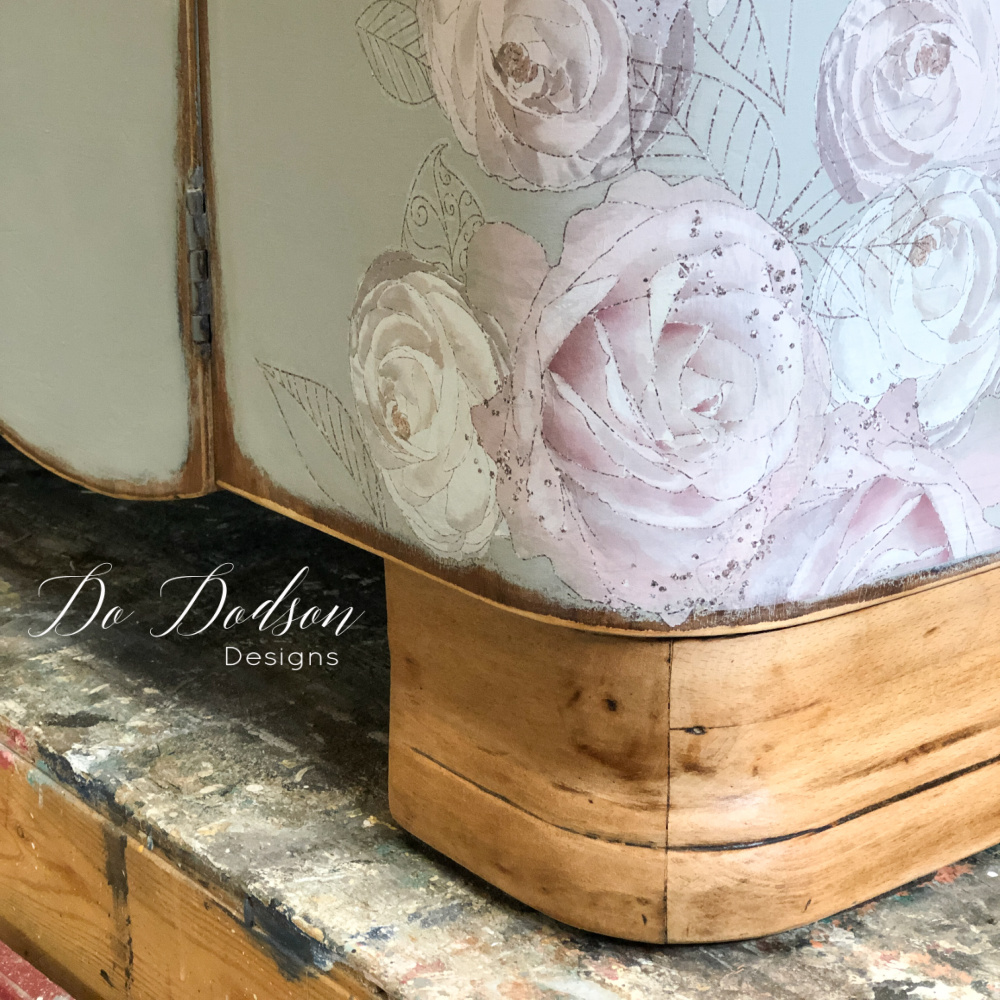
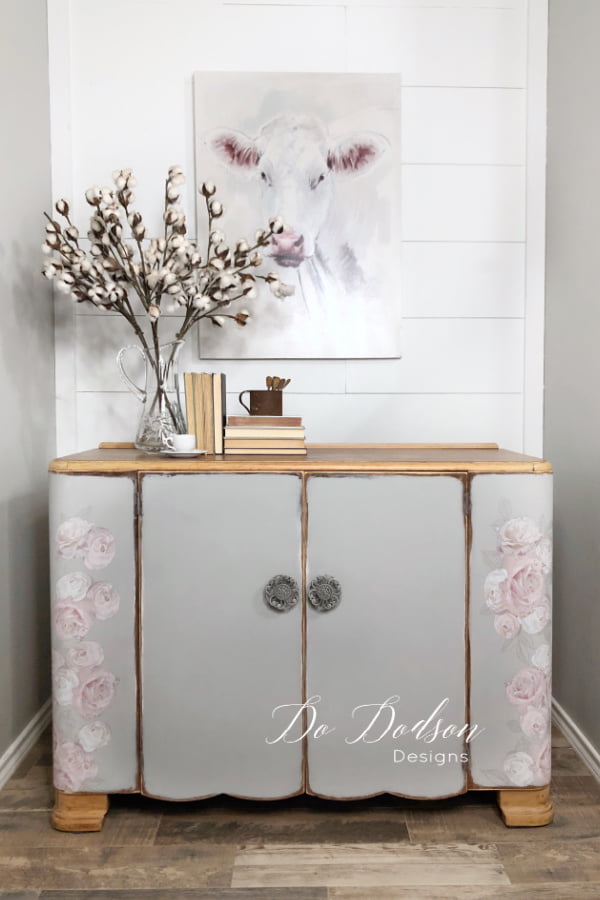
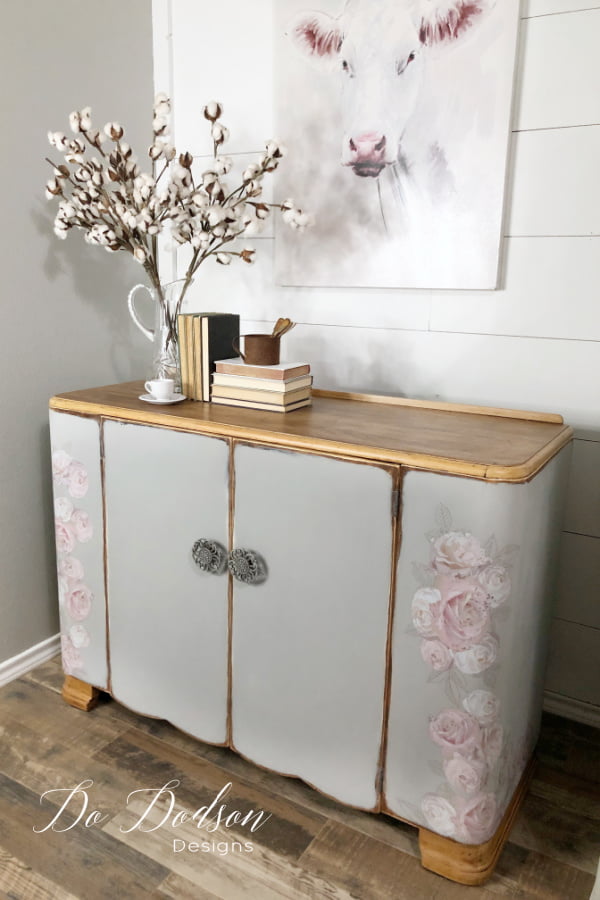
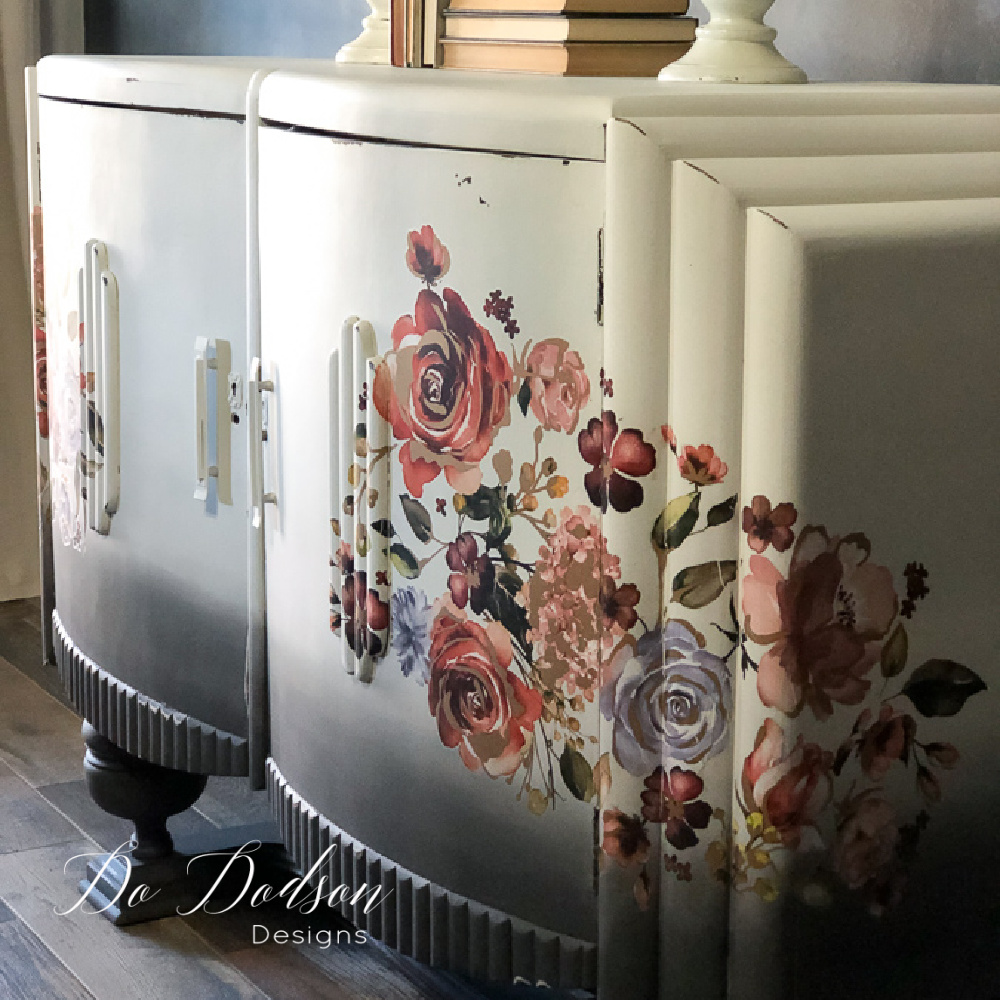
CURVACEOUS in all the right places! That’s why I am giving my vintage buffet table a second makeover. I fell in love with the style of this piece several years ago. Like with most pieces of furniture in my home, if it stays more than a few years, it will get a makeover… or two. This time I’ll be using a furniture transfer with a beautiful vintage floral pattern that will wrap around the curvy parts and show them off. Yes, I know what you’re thinking… “what is Do up to now?” I’ll show you!
This post contains a few affiliate links to help you find the products I use. You are not charged extra to use any of the links, but any income I make will be used for more fun projects! To see my full disclaimer, click here!
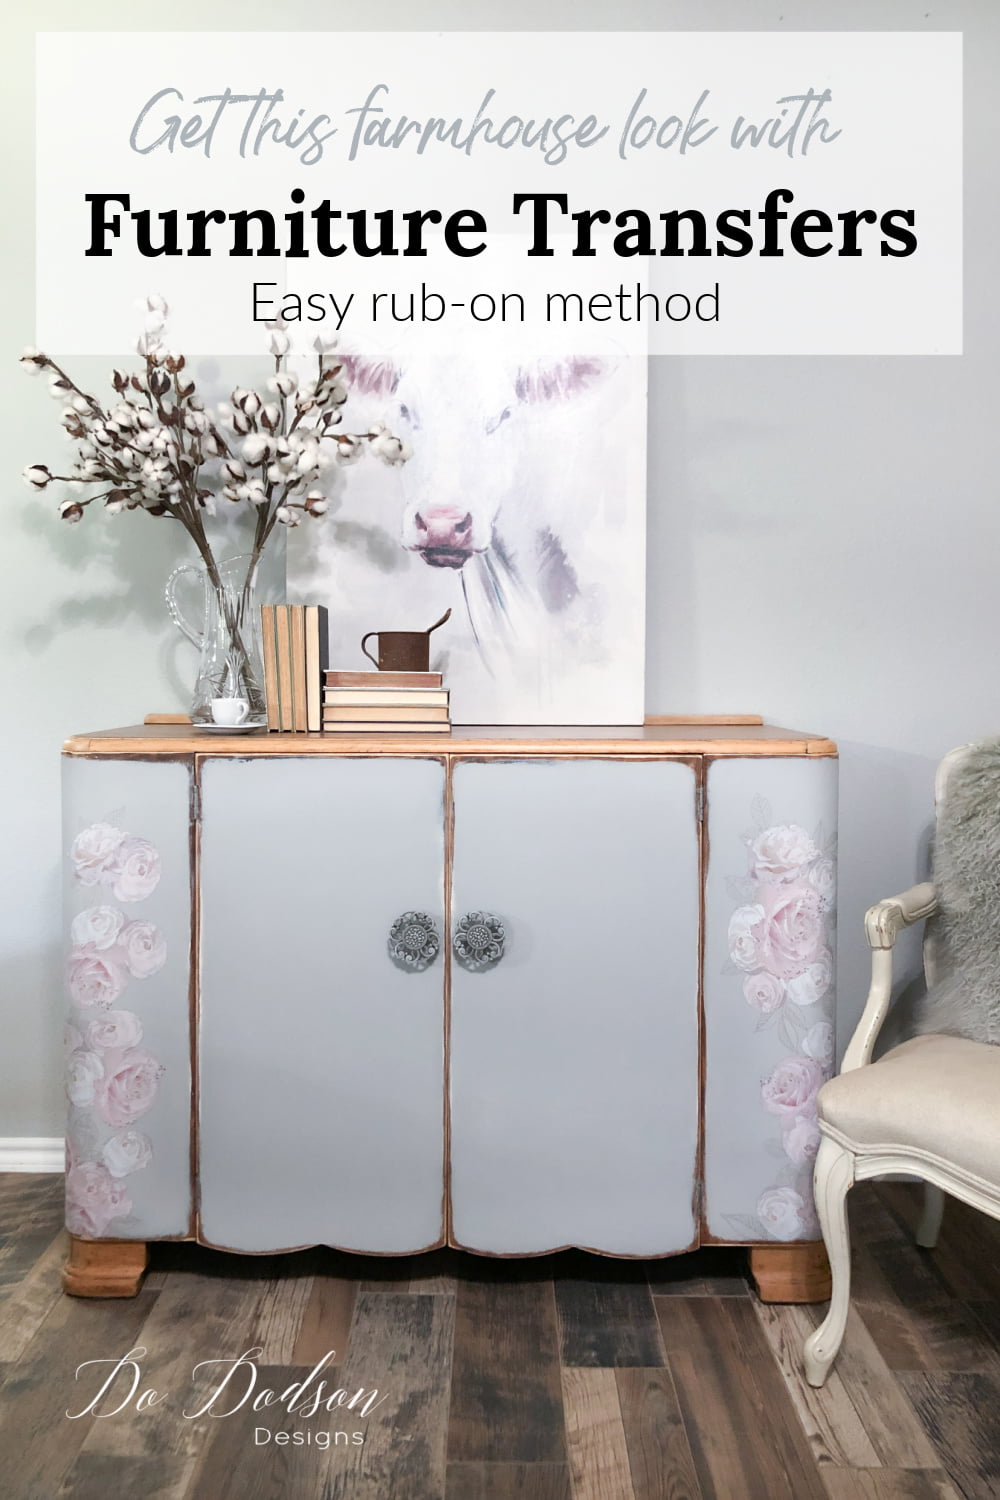
Vintage Furniture Transfers | Easy Rub-On Method
Supply List:
- Driftwood (chalk mineral paint)
- Butter Cream (chalk mineral paint)
- Paintbrush
- Scissors
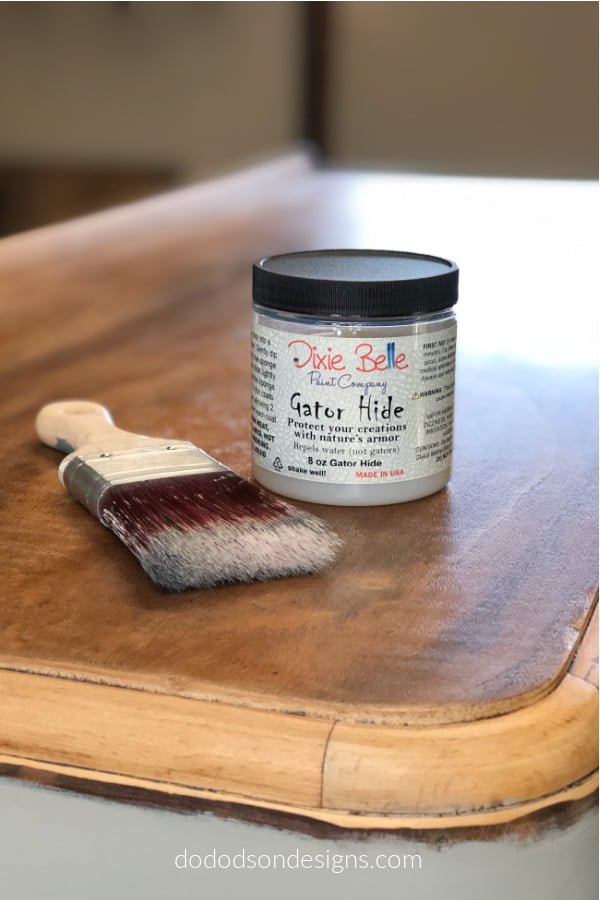
- Gator Hide (waterproof topcoat)
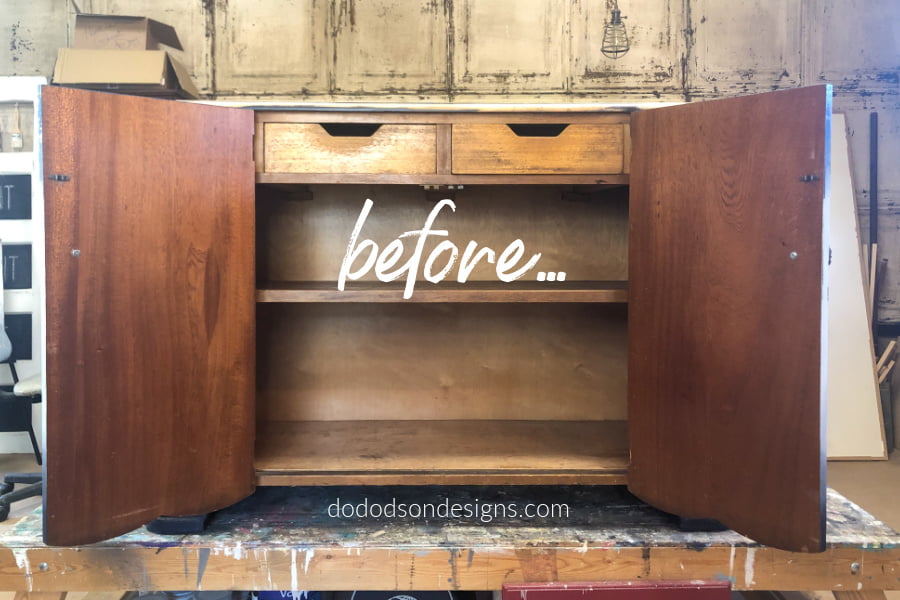
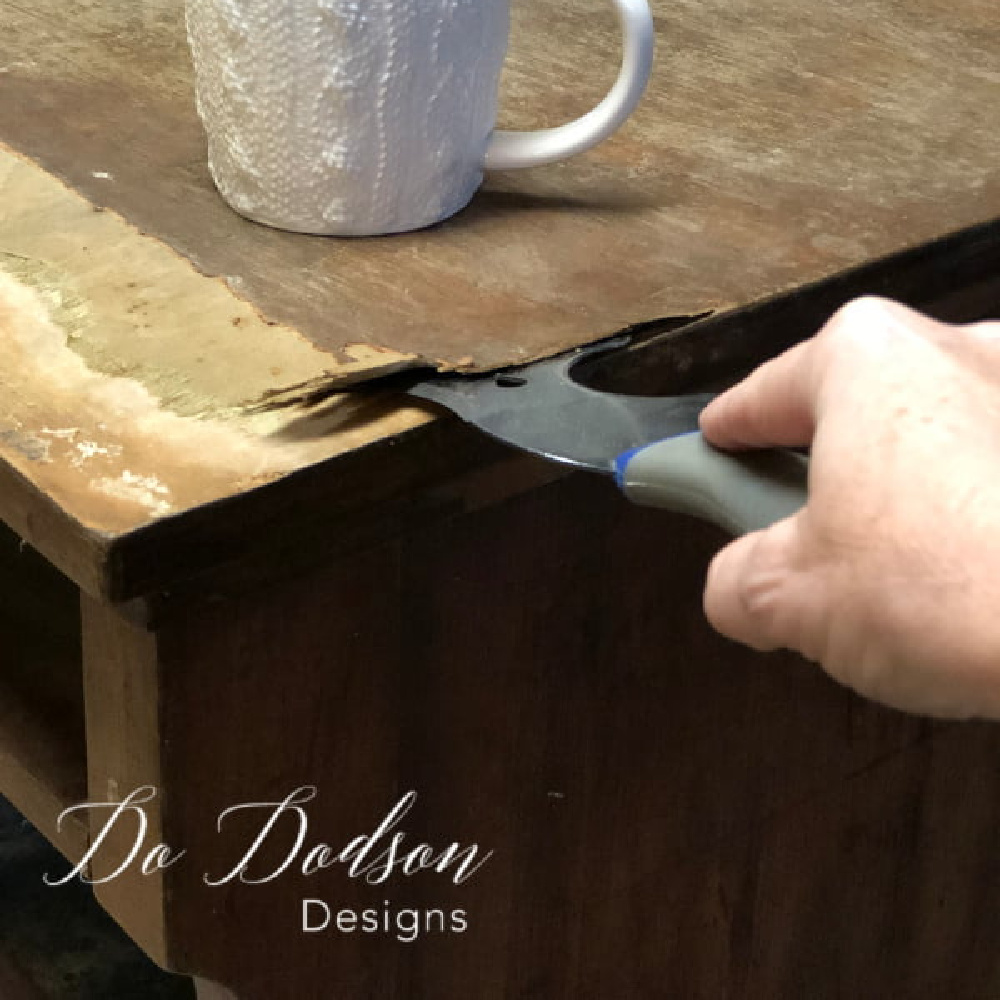
Part 1 – Sanding Off The Old Paint Finish
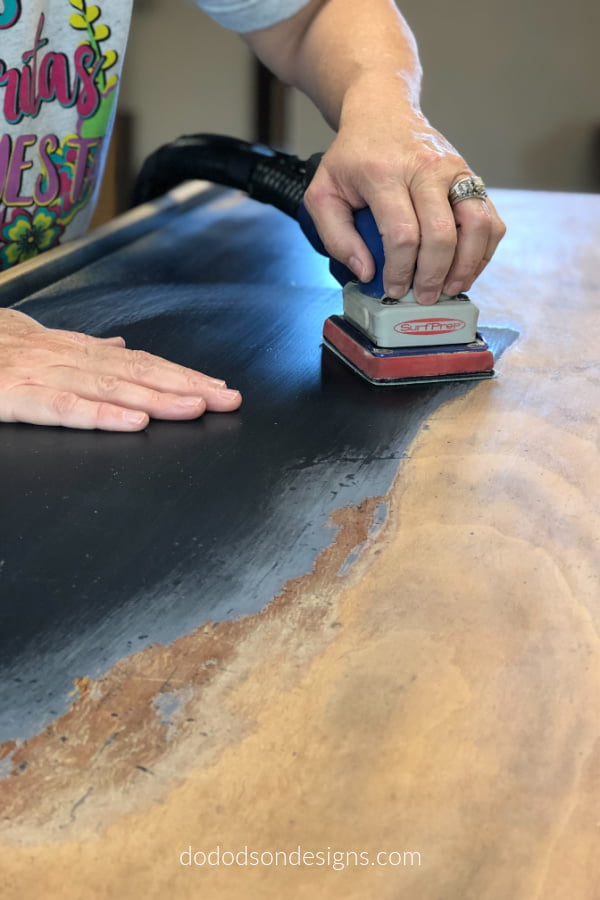
As I said before, this buffet had already been painted with Dixie Belle paint. If you would like to see the before… CLICK HERE to see the paint I had to rip off. My Surfprep Sanding System made this “should have taken me days” project into a few hours. I used P 80 grit abrasive film with my sander ripped right through the chalk mineral paint, old varnish, and down to the bare wood. I followed up and smoothed the raw wood a bit with a medium abrasive foam pad. The pad is equivalent to about 180- 220 grit sandpaper. Just enough to smooth the wood grain but not completely close it. I’ll show you how to seal the raw wood later on in this project.
Painting and Prepping For Furniture Transfers
I was somewhat sad to paint over the beautiful stencil but, it’s paint. Right? Furniture transfers are a fun and easy way to add something special to your painted furniture without having to be an artist. But before you can apply them, you’ll need a smooth surface for the best results. After painting with chalk mineral paint and it has dried overnight, use a superfine sandpaper/buffing pad to lightly go over the painted areas where you plan on adding the transfers. Be sure to remove any dust left over from sanding with a tack cloth. Chalky-type paints give a smooth finish, but the paint can build up if applied too thick and leave an uneven finish. And, of course, there is the occasional grittiness with chalky type paints. Rub your hand over your painted finish first, and you’ll know exactly what I’m talking about.
Part 2 – Furniture Transfers
SUPPLY LIST:
* These furniture transfers can also be applied to wood, glass, or any smooth surface.
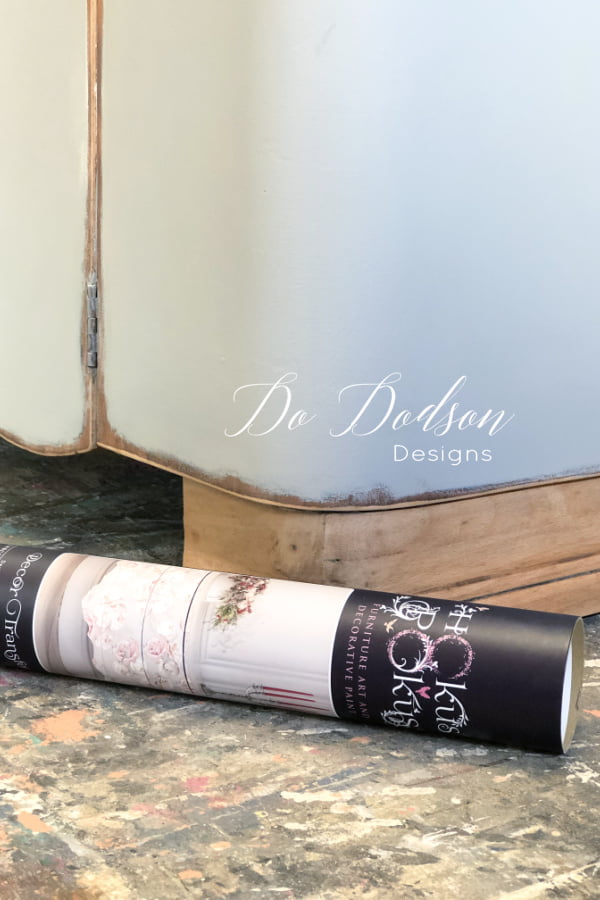
The Hokus Pokus furniture transfer comes in a neat and tidy tube. Inside the tube is also a protective backing behind the transfer that isn’t attached to the actual transfer. I call it a protective white sheet. It’s simply there to protect the adhesive on the transfer and keeps them clean before use. The design itself is on a clear plastic sheet. It also comes with a wooden stick to release the transfer by rubbing.
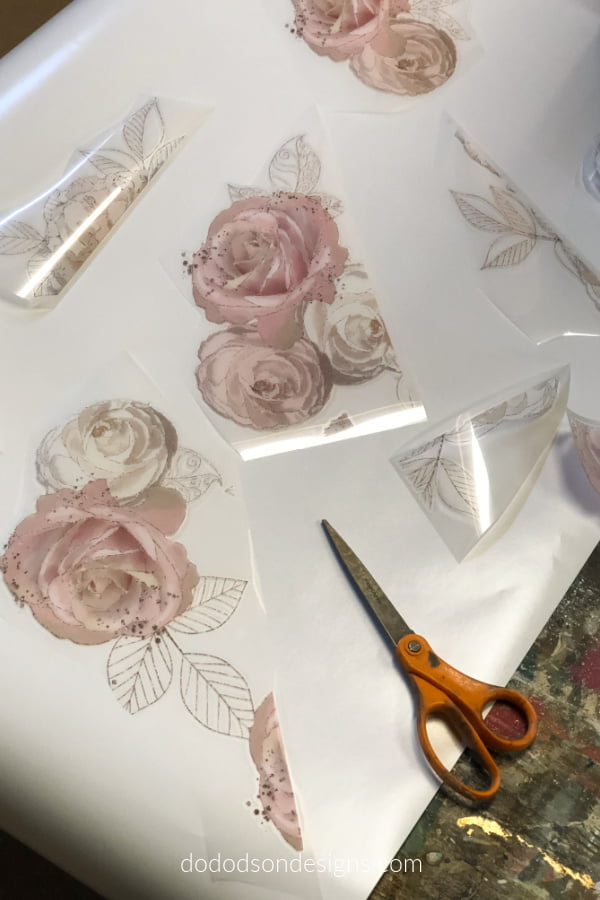
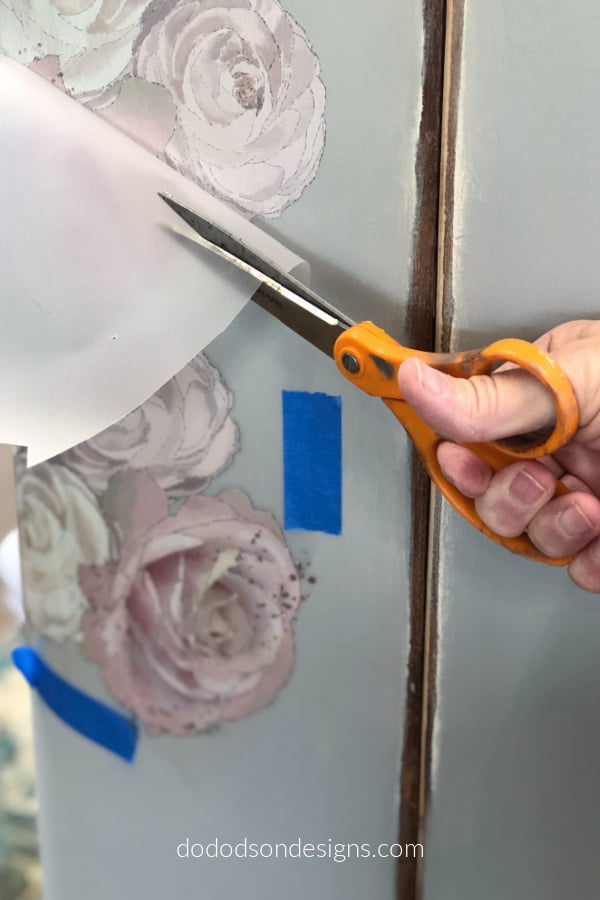
For easy application, lay the protective sheet on a flat surface and use scissors to cut out the designs you want to use. Of course, you can use the whole transfer. The good thing about these furniture transfers is you can save what you don’t use for another project. Place the adhesive side down on the protective sheet and re-roll. Place any unused portion in the tube for safekeeping. The adhesive will not lose its stickiness if stored properly and kept clean and away from dust.
Easy Rub-On Method Furniture Transfers
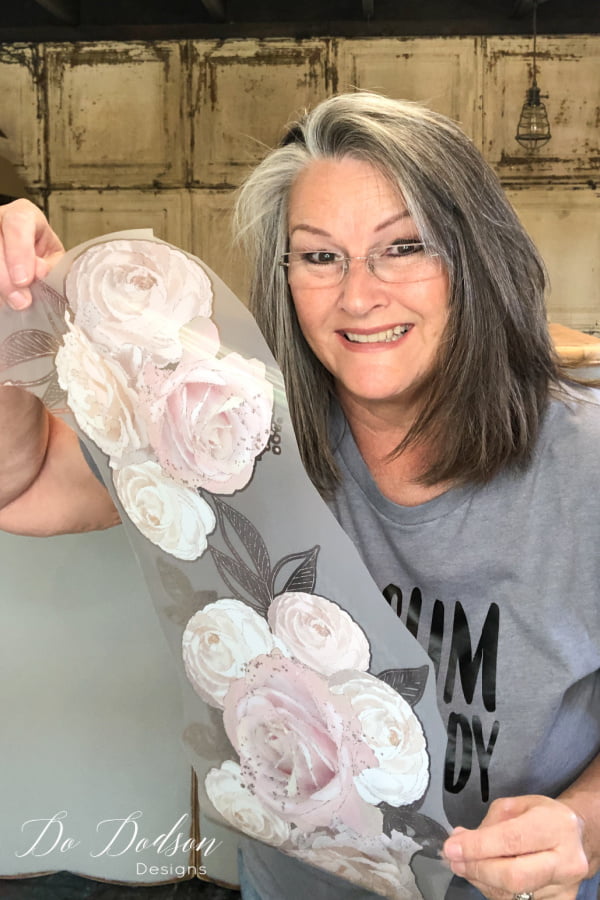
Carefully place the furniture transfer sticky side down on your clean, smooth surface. When applying a long strip, use a few pieces of painter’s tape to hold it in place…especially if you’re placing them on a curved area of the furniture like this buffet. Start from the top and work your way down. I only use the tape if it’s a large transfer. Usually, the adhesive is enough to hold it without it. Now get to rubbing!
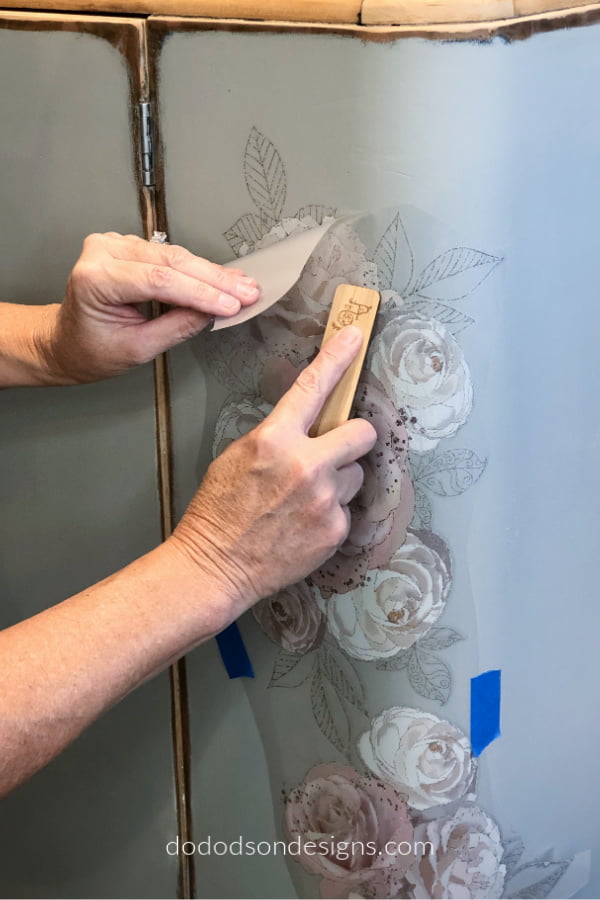
Rub, Rub, Rub, And Rub Some More!
Rub, rub, rub, and rub some more. I start with the edges first and then work my way down or across, carefully pulling back on the plastic sheet. If you pull back the plastic and some of the furniture transfer doesn’t release, rub it back in place and try again. Try layering your designs for a unique look. Remember… an artist never uses the product as is. We write our own stories. 🙂 Am I right?
These furniture transfers do not have to be sealed, but you can use a water-based topcoat if you wish. I have had no issues with them lifting without it.
To Keep That Raw Wood Look
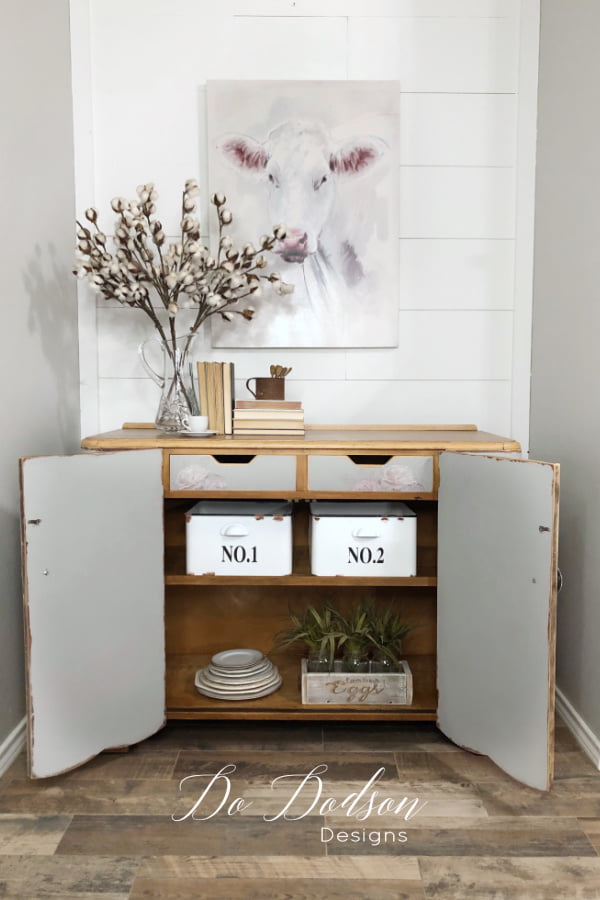
As for the raw wood that was exposed, I sealed it with Gator Hide. A clear, non-yellowing clear coat that is waterproof. You most certainly can refinish the wood if you wish, but for me, this works—farmhouse with a shabby chic vibe at its finest.
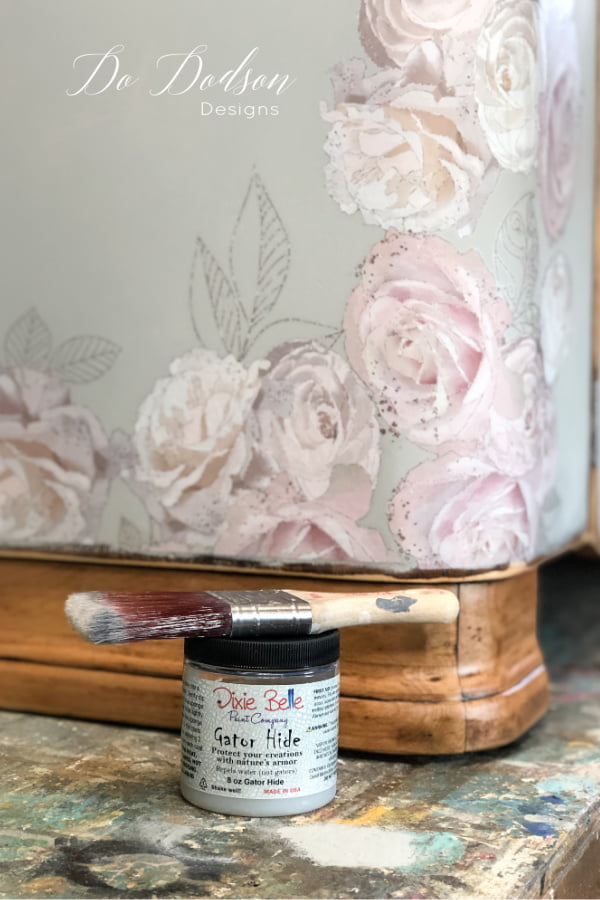
You most certainly can refinish the wood if you wish, but for me, this works. I love the whole farmhouse vibe this curvy buffet server has now.
Are you ready to try a furniture transfer on your painted furniture now? It most certainly is a game-changer in the furniture painting world, and with so many options and styles, you’re sure to find one that matches your personal style. I did! Thanks for joining me today, and I hope you come back often for more of “I wonder what Do is up to know.” Oh, and don’t forget to pin this to your favorite Painted Furniture board for inspiration later.
Until the next project… xo, Do
Hi Donna, the before was great but now it´s even better. I love the way you did the painting, how you kept the bare wood on top and the transfer you add. The buffet looks much more light and modern now!
What a good job you did here!
Thanks, Val! It needed an update for sure and I’m very pleased with the results. I love vintage but adding a touch of modern can be tricky. Thanks for stopping by. 🙂 Do
Hi Do Dodson! Another beautiful transformation. You know I bought buttercream because I always see this in your recipes. I have used it yet though. I will let you know when I do. Has anyone ever told you that you have prettiest hair? So healthy and thick.
Thank you for sharing you art and giving me inspiration.
You are so sweet, Cheryl. Yes, I have a lot of hair… and grays, LOL Butter Cream is one of my favorite neutrals. It’s a vintage color that reminds me of my Grandmother’s home. Please, I would love to know what you think of that color and see what you use it on. Have a fantastic weekend. See you Monday. 🙂 xo
This piece is so beautiful. It makes me want to go through my transfers and see where I can use some on pieces of furniture. Thanks for sharing. I love this piece; you are very creative.
Thank you so much, Lori! I have been saving leftover pieces of transfers too. Maybe I should do a collage of transfers on something. Hmmmmmm 🤔
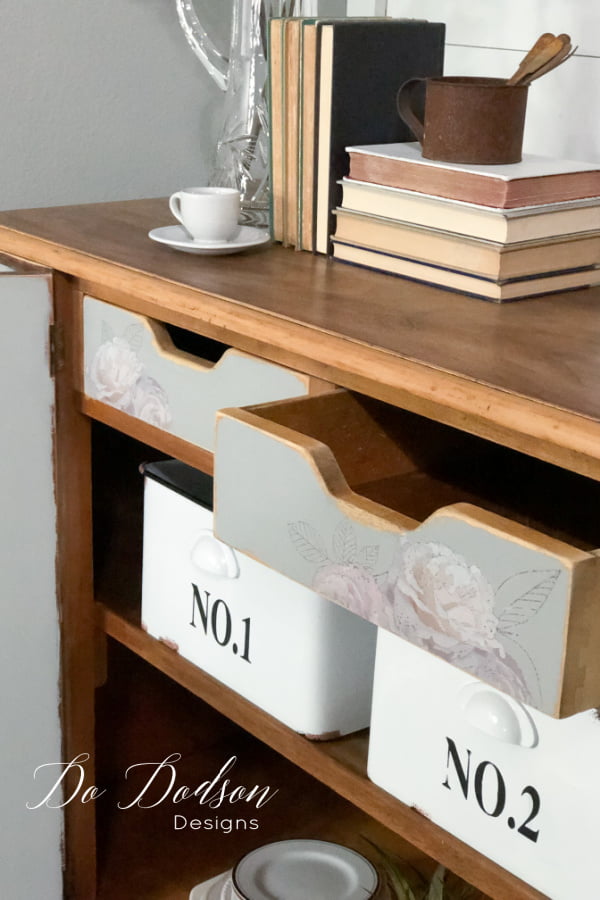
This is beautiful! It was nice before but now it’s gorgeous. I love the color with the soft pink transfer. Oh, and the inside is great. I like how the drawers carry the flowers inside.
Thank you, Jerri! Have a beautiful and happy Labor Day. xo 🙂 Do
I don’t normally like transfers because they can be old fashioned, to me. But, this time, they make an old fashioned piece look fresh again. Will pin this.
Thanks, Sabrina! I agree with you. It’s a delicate balance to modernize with a vintage vibe. Thanks for pinning. 🙂 Happy Labor Day!
Your take 2 is phenomenal Do! 💙💙💙
Thanks, my friend! Have a beautiful day. 🙂 xo
If I lived near you I would ask to purchase! This piece would be perfect in my dining room!😃
Living in Ga doesn’t allow me to make that offer😢, but you made a ordinary piece come alive to tell a story! It is stunning! Enjoy seeing all of work & reading your blog😃
Hi, Kim! That’s a huge compliment. I appreciate that. You can paint this. It’s not hard at all. And it’s only paint. Try it! 🙂
You really are an inspiration. Right now I am in the middle of a move across country, but once I get settled, I cannot wait until I can start painting. Meanwhile I am saving every tip I can. I love the things you recreate. My creative brain is overflowing.
That’s so exciting, Debi! Create a Pinterest board and save them there. A new home and endless possibilities. 🙂 xo