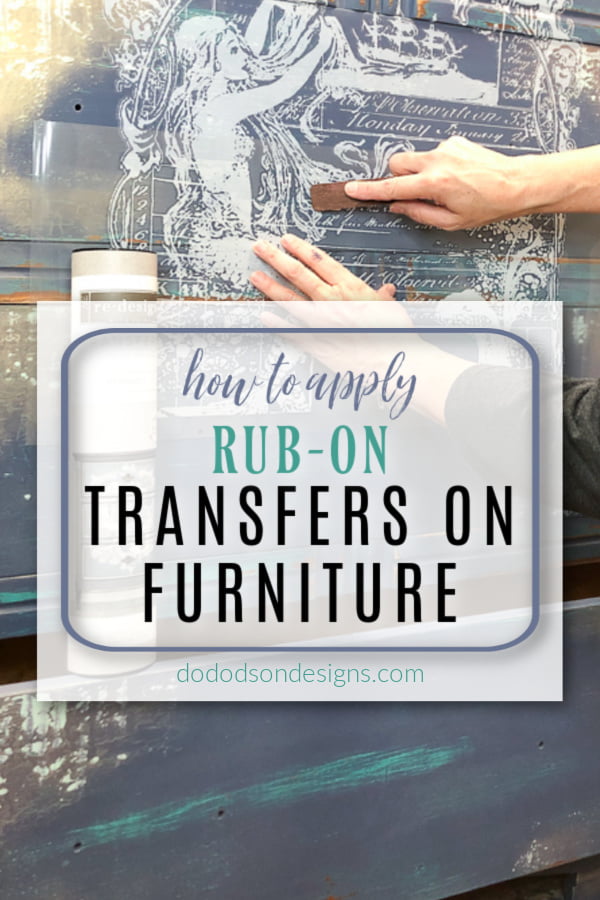
I’ve been painting furniture for a long time, and paint was all I needed until I learned about adding rub-on transfers on furniture. It’s a game-changer with painted furniture and is super easy to apply. Here’s how I did it.
This post contains a few affiliate links to help you find the products I use. You are not charged extra to use any of the links, but any income I make will be used for more fun projects! To see my full disclaimer, click here.
How To Apply Rub-On Transfers On Furniture – Before
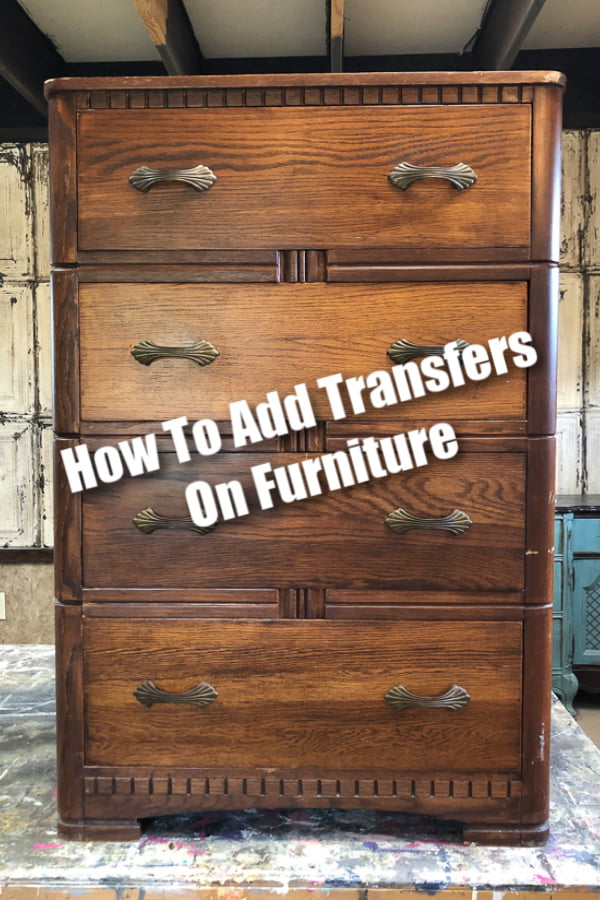

SUPPLY LIST:
- White Lightning (cleaner for furniture)
- Paintbrush
- Chip Brush (for applying crackle)
- Mermaid Tail (chalk mineral paint) Dixie Belle
- Yankee Blue (chalk mineral paint) Dixie Belle
- Crackle
- Chalk Paste (Aquamarine)
- Putty Knife
- Gilding Wax (Zinc)
- Stencil Brush
- Mermaid Decor Transfer
- Top Coat (Dixie Belle satin)
My Inspiration For This Project
Inspiration can come from the strangest places, but I always keep my eyes open. When I found this chest, I immediately fell in love with these pulls. The patina was perfect, and it reminded me of the beach and those tiny little shells that I enjoyed picking up the last time I visited the beach, and have the perfect decor transfer for this one! It’s all beachy!
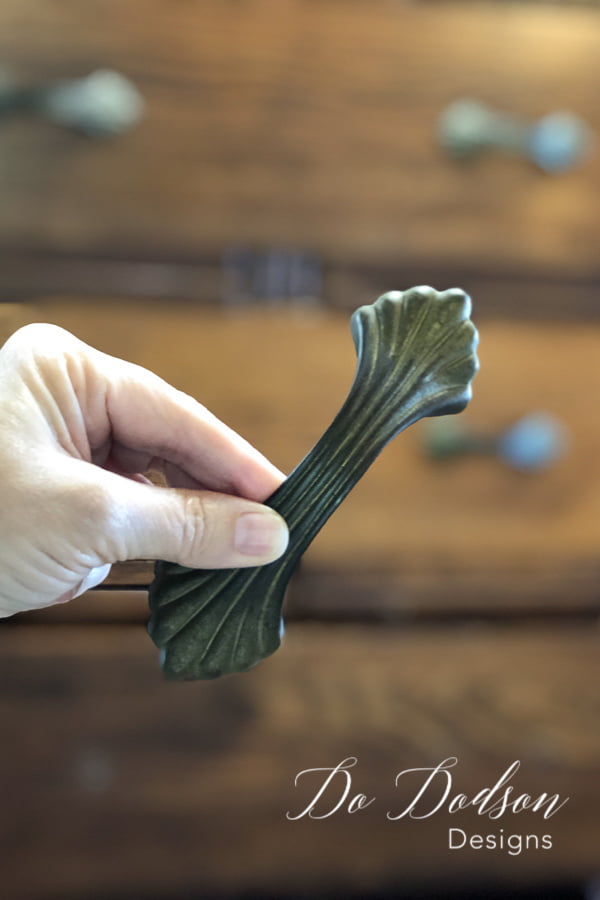
Before Putting Transfers On Furniture
Let’s get started! Before the application of the transfers on furniture, you will need to paint your furniture first. Since I had my vision set on the whole beachy theme, I went with a beautiful color of chalk mineral paint called Mermaid Tail. A gorgeous blue/green ocean color.
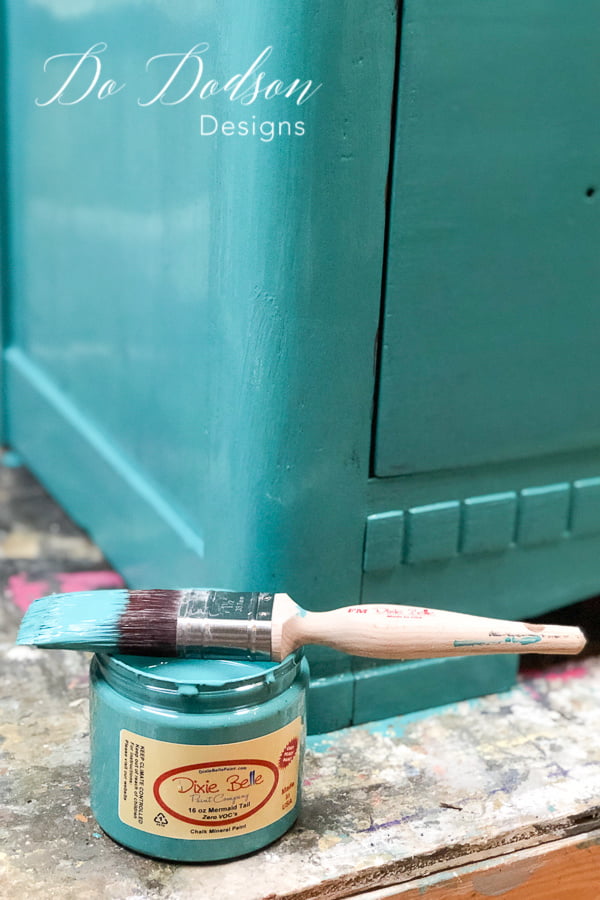
I applied the crackle with a chip brush in random spots after the paint had completely dried. This will give a crackled texture to the piece once I apply the second paint color over it.
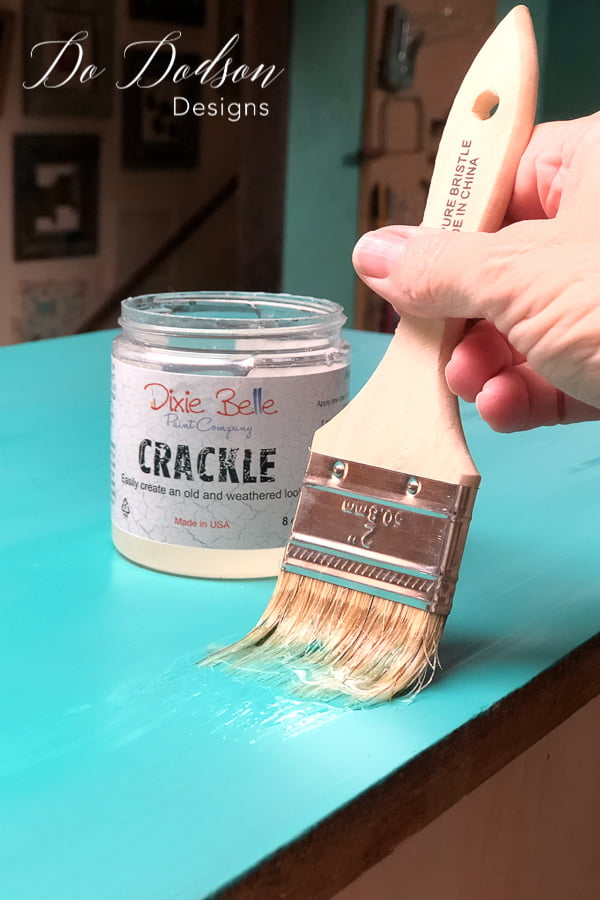
Next, apply whatever paint color you love over the crackle that you want to peek through. I used Yankee Blue. Don’t overwork your paint with this step. Apply it and walk away. You won’t see the cracks until it has fully dried. Depending on the amount of crackle you apply, the more cracks you will get. I added a little extra because I also wanted the texture of the old weathered look. So fun!
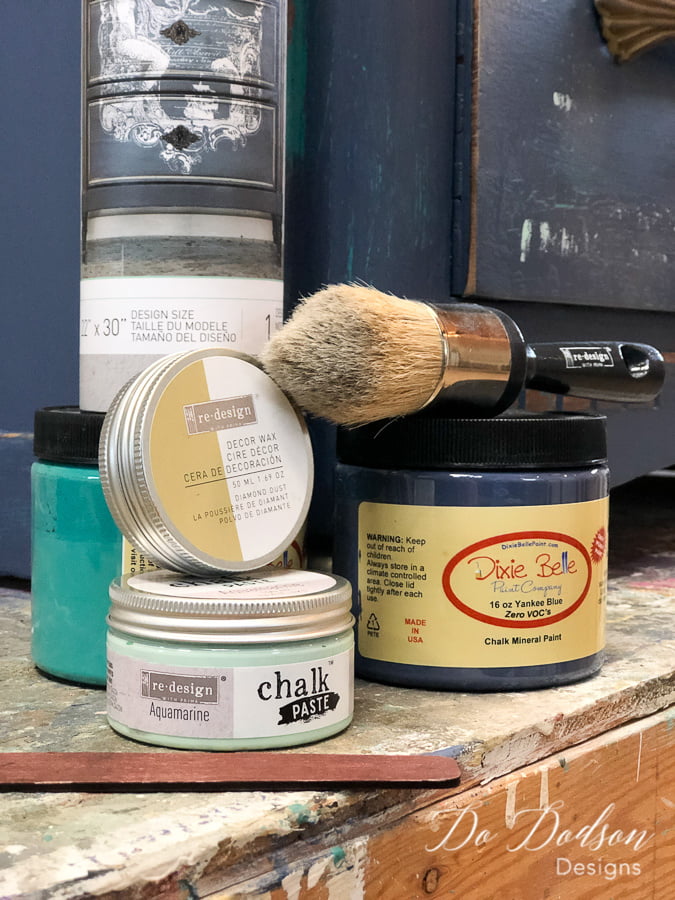
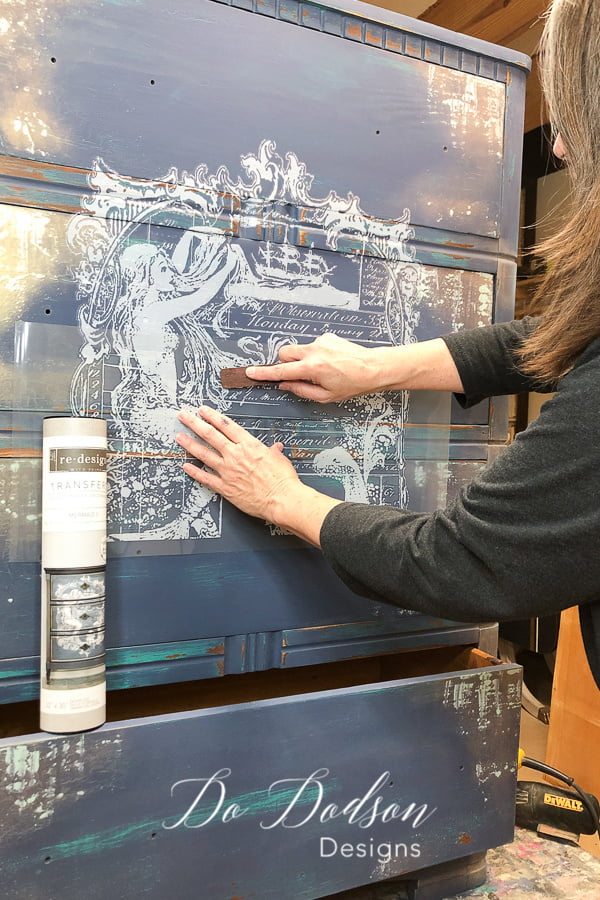
How To Apply Rub-On Transfers On Furniture
Decor transfers on furniture should always be applied over a smooth surface. The transfer comes with a little wooden stick that you use to rub over the transfer to make it come in contact with the paint. If your surface is a bit rough, you may want to sand over it to smooth it out first. Getting good contact with the surface is important with the transfers. If you’re using a transfer on a painted surface, add the transfer before adding the topcoat. Once your transfer is on, then you can add a top coat to seal it. I used Dixie Belle’s satin topcoat for this project. It also comes in a flat.
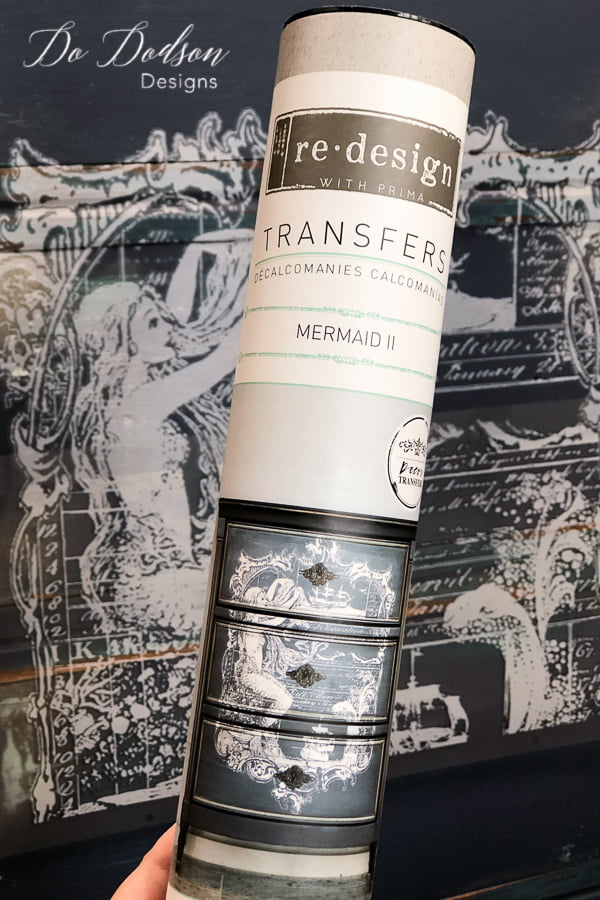
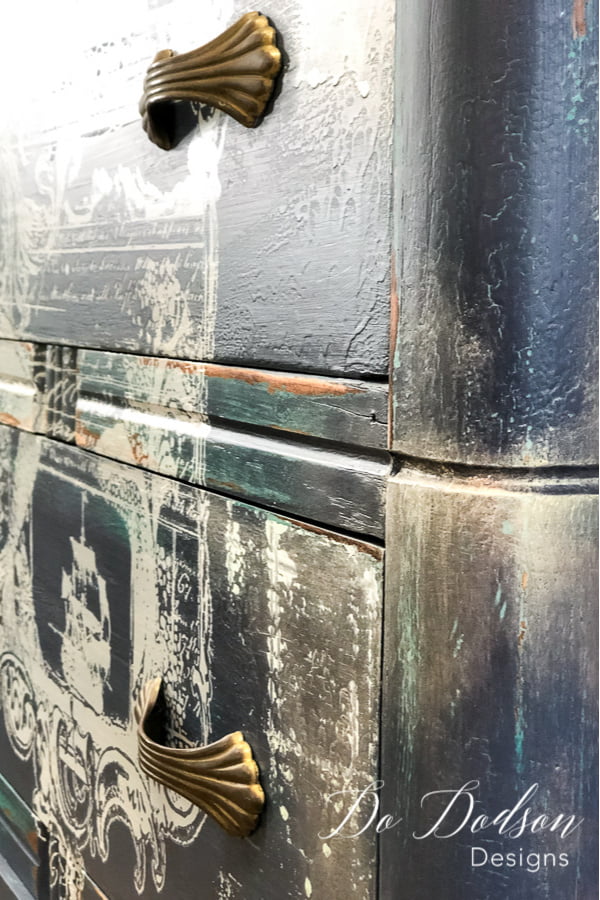
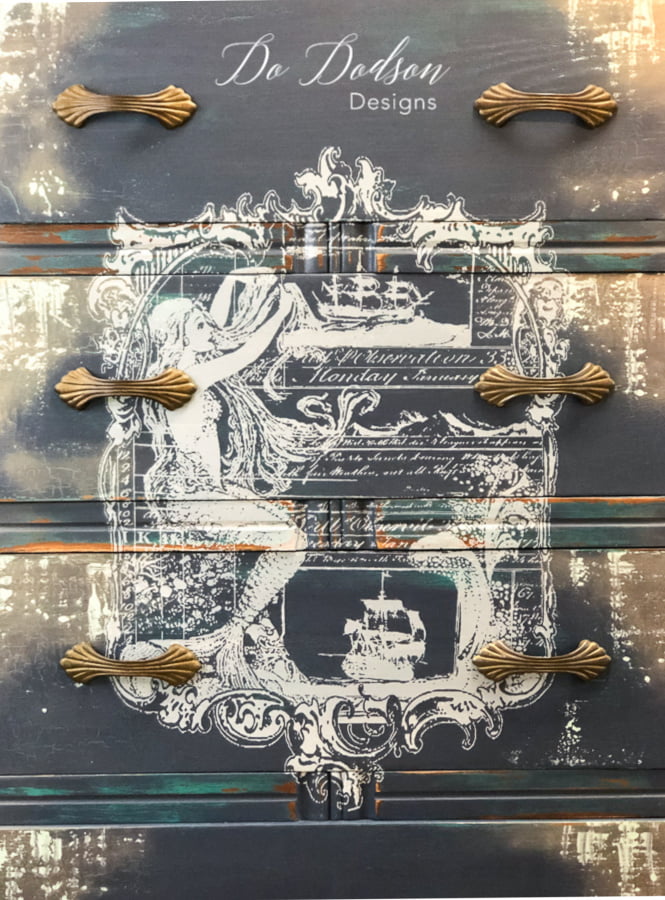
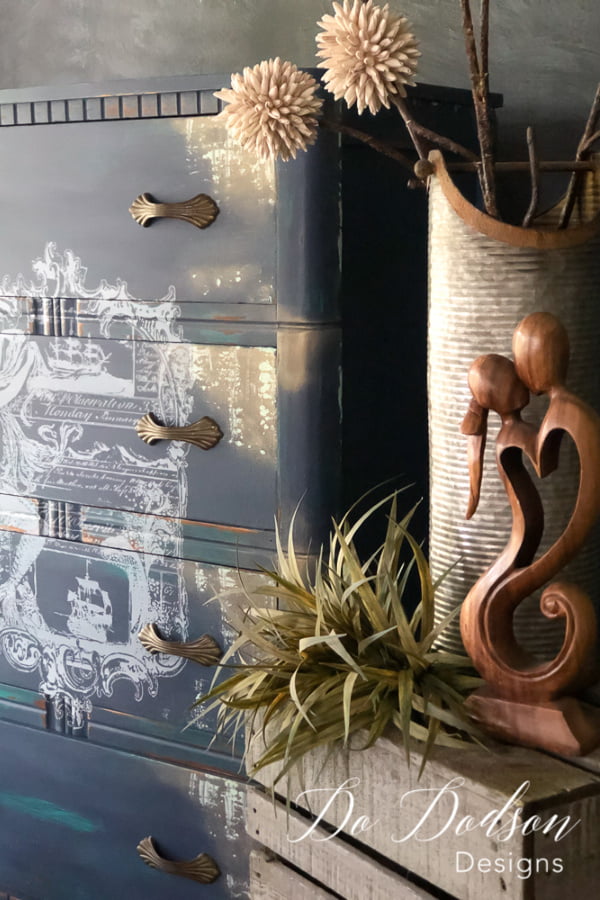
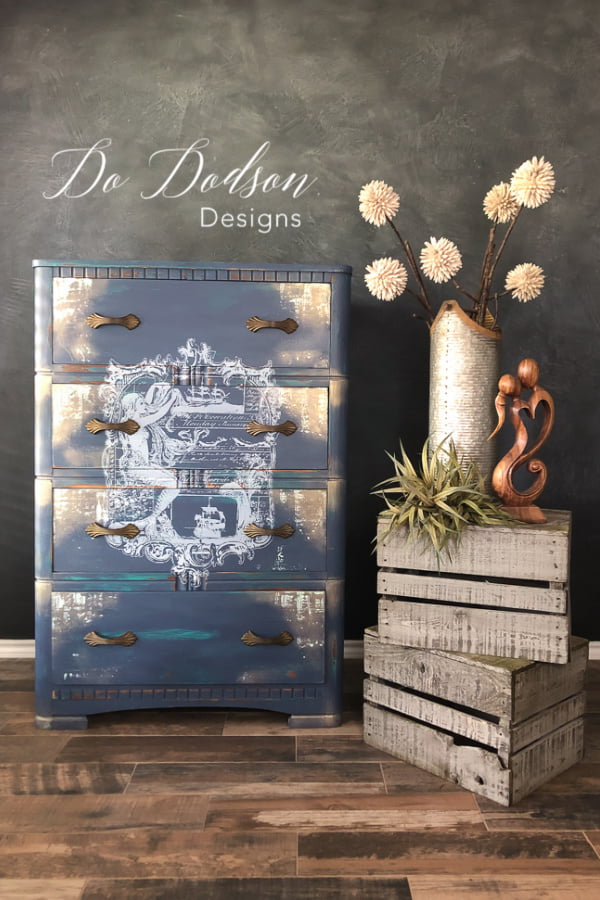
This little mermaid transfer is a hit! I love the beachy vibe, and the diamond wax added great highlights in just the right spots. It kind of twinkles like the stars over the ocean. Thanks for joining me today.
Until the next project… xo, Do


Love this Mermaid Beachy makeover Do! The way you tied in the transfer with the gold accents – so gorgeous! Have a super day my friend. XO
Thanks, Denise! It’s fun to step outside of the box. I secretly want to live on the beach with a margarita and a good book. You should come with me. xo
Do you totally out did yourself. I love this Amazing Look. You were spot on with the hardware. Stunning ????
Thanks, Lynn! Are you ready for the big reveal? hee hee 🙂
I am new to this world of redesigning furniture so far with Dixie Belle and the amazing talented people I am learning a who new way of re imagining creating beautiful pieces of furniture they were once lost.
Thanks for sharing, Margaret! I agree! Happy painting. 🙂 xo
Love your dresser. Where do you normally buy your transfers at ?
Thanks, Jodi!
I recently started using these new transfers from Hokus Pokus. Here is where I get mine. affiliate http://hokus-pokus-us.myshopify.com?aff=11
Have fun creating. 🙂 Do