Hey there, my creative friend! Do I have a surprise for you? Did you know that you can make your own furniture transfers??? I was shocked when I figured out that all I needed to do was pull out my iPhone and take a pic. Well, there’s a little more to it than that, but not much. Today I’ll show you how to create your own photo transfer and apply it to wood furniture. You can use the same process on painted furniture as well.
This post contains a few affiliate links to help you find the products I use. You are not charged extra to use any of the links, but any income I make will be used for more fun projects! To see my full disclaimer, click here.
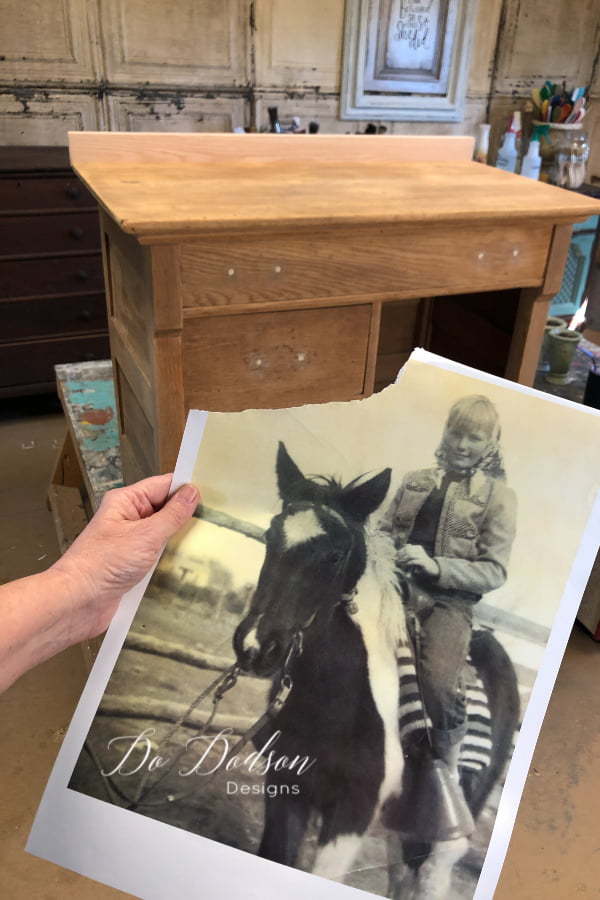
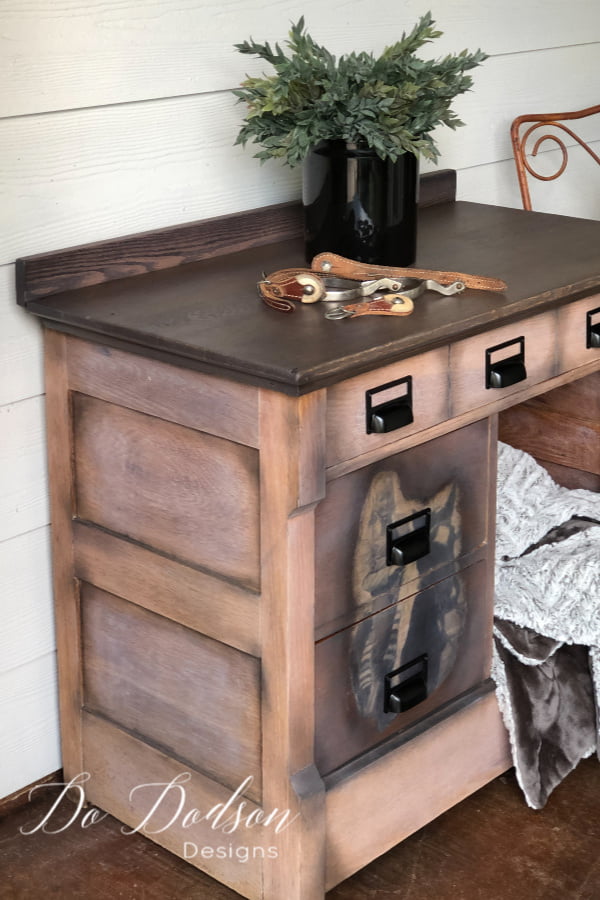
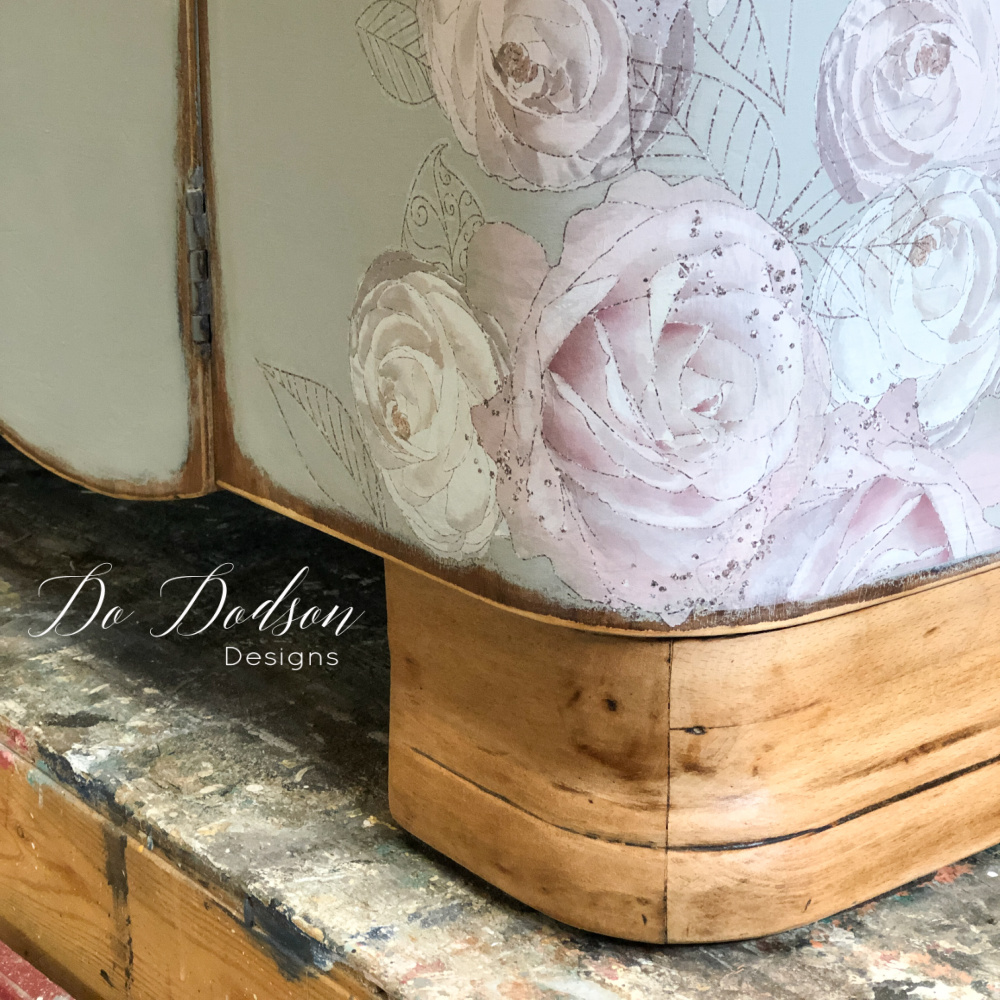
How To Add A Photo Transfer To Wood Furniture – Before
First, let me brag about this $5 score for a minute. For some reason, #OHTALLULAH really took to it. I think she’s trying to tell me NOT to paint it. HA! I already knew that. This antique washstand is solid oak, and I have saved my fair share of them over the years, but this time… it’s personal and for a special reason.


Skill Level: Beginner
Transferring a photo is a fun craft technique, but there’s no reason I can think of why it can’t be used on wood furniture, and it’s surprisingly easy.
Product List:
- SurfPrep Sander (for stripping wood furniture) Use coupon code DOIT10 to save 10%
- Laser-printed image of a photo on regular paper (inkjet printer copies will not work)
- Dixie Belle Satin Clear Coat or Transfer Medium
- Paintbrush
- Fine Mist Sprayer
- French Tip Brush (for wax application in corners)
- Black and White Wax
- Large Wax Brush
- Dixie Dirt (charcoal)
- Hardware Pulls Card Catalog Hardware
Dresser Top
- No Pain Gel Stain (Espresso and Pickling White)
- Staining Pad
- Gator Hide
Choosing A Photo/Image For Your Project
Transfers are popular right now with furniture makeovers… but can I complain a little about the price? Some of them can range from $40-$50 without shipping. I don’t know about you, but I would rather spend that $$ cha-ching on thrift furniture. So, I started researching and found this idea. My DIY photo transfer cost me $1 at my local print shop. Kinkos, Office Depot, Office Max, etc., will be able to do this for you.
When you have your image printed, 1) make sure it’s laser printed on regular paper. This is super important because the inkjet prints will not do well. 2) If your image has words, you will need to flip (reverse) the image. If not, your words will be backward. NO Bueno! 3) Make sure that your image will fit the area you’re applying it to.
*The image does not have to be a photo of someone. Think outside of the box. Try taking a close-up pic of something you love. I have a few flowers in my garden that would work nicely.
Application Of Photo Transfer
For a rustic edge on the photo transfer, try tearing around the image before applying it. Of course, you can transfer the whole image if you want to… be sure to trim it to fit before applying the transfer (clear coat) medium. I use Dixie Belle’s Clear Coat as my transfer medium for this project. Be sure to apply it pretty thick, as seen in the above photo.
Once the image has been applied to your furniture, work from the inside out of the photo transfer to push bubbles to the outer edges. Remember, the transfer medium that was applied also works like glue. Bubbles left under the transfer will affect the image and adhesion. Work slowly and take your time. Once it’s smooth, allow the image to dry completely. I recommend 24 hours to be safe.
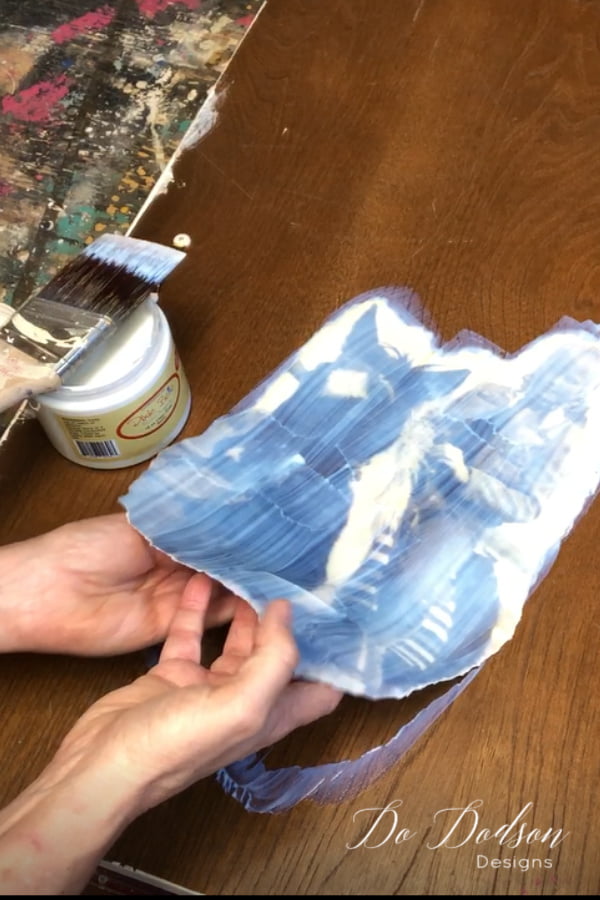
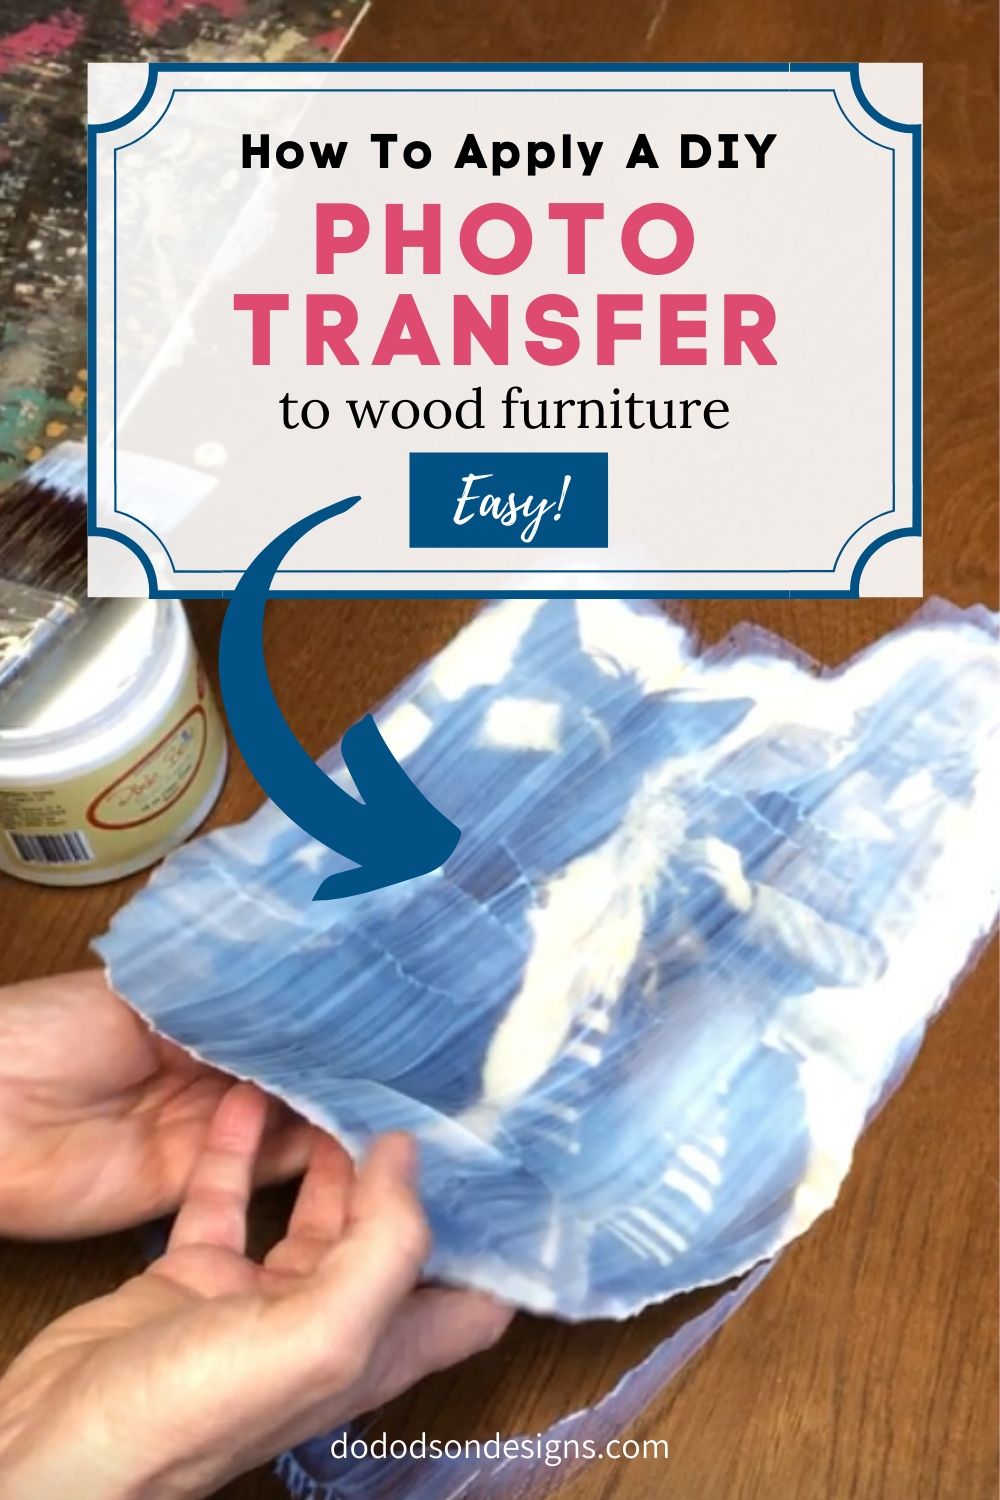
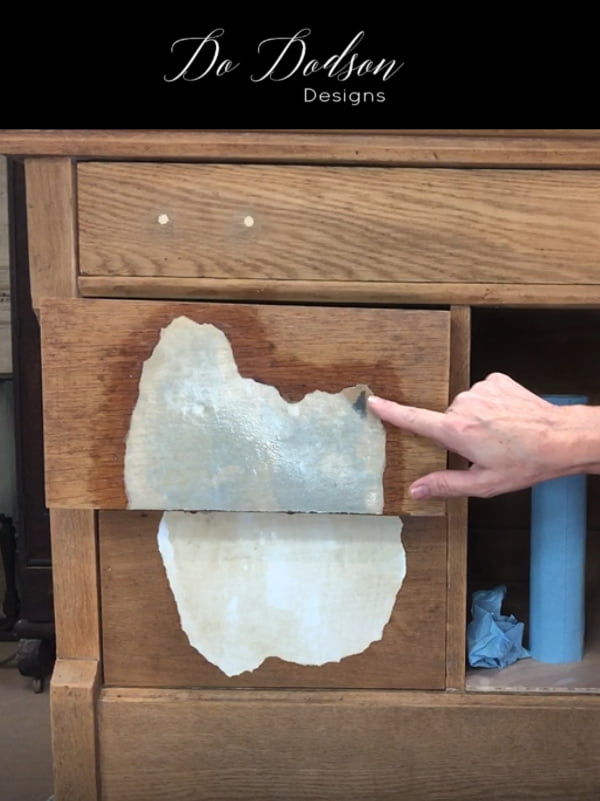
Removing The Paper Backing
Once the image had dried completely (24 hours), I misted the image with water and gently rubbed the paper to reveal the image underneath. This is a delicate process, and I recommend using your fingertips. I have read that you can use a damp cloth. Maybe so, but I felt I had more control to rub away the paper with my fingers.
*It’s best if the photo transfer is applied on a flat surface rather than upright like the photo. This was done so that you could see the process.
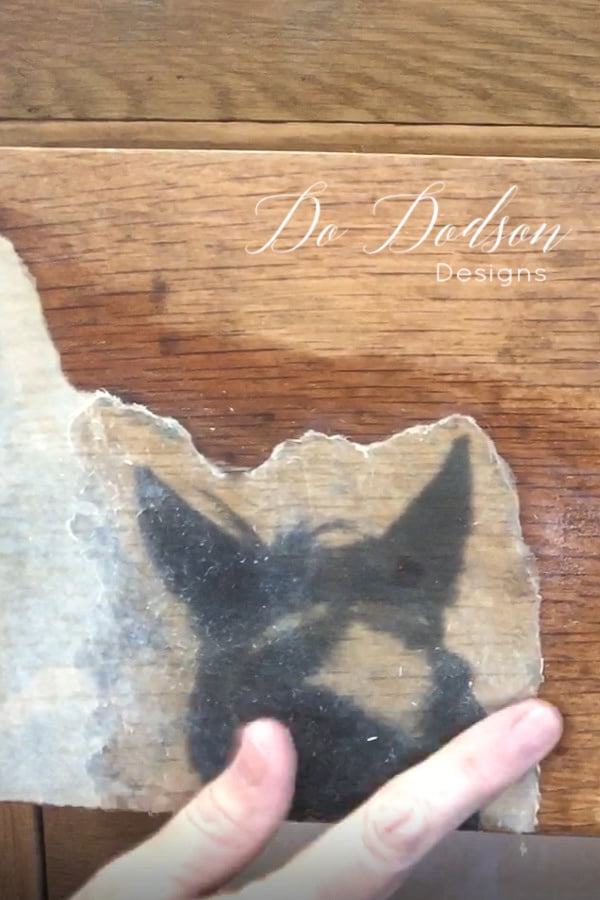
You will need to remove the paper backing in layers. I noticed some white paper fuzzies left behind afterward, so I went back and misted it again with water and rubbed gently to remove any leftover paper. That did the trick! Be careful not to overuse the water. Too much will damage the paper image and cause tears.
Now the hard part. Please wait for it to dry… AGAIN! Once it’s dried, use the Dixie Belle Gator Hide to seal your image. The Gator Hide can also be used over natural wood as a sealer. It’s my fave!
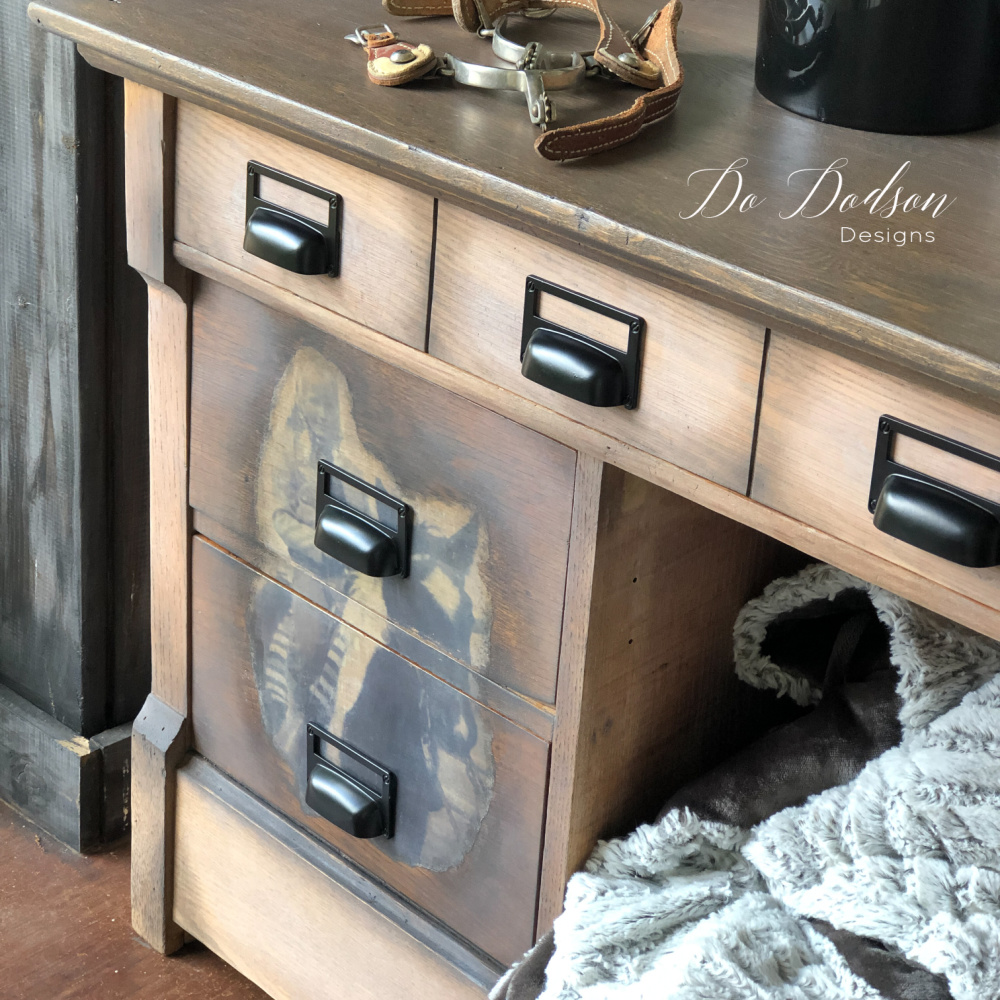
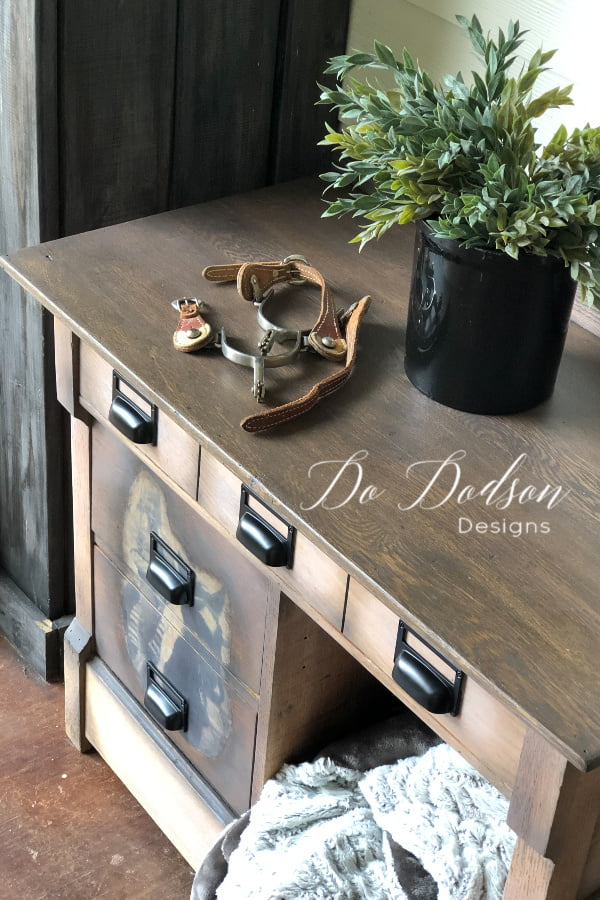
Accenting Your Photo Transfer
Once the topcoat is dried, try adding wax accents over the transfer. For this project, I used white and black wax. It’s a great way to add depth and a ton of character to your wood project pieces and photo transfers.
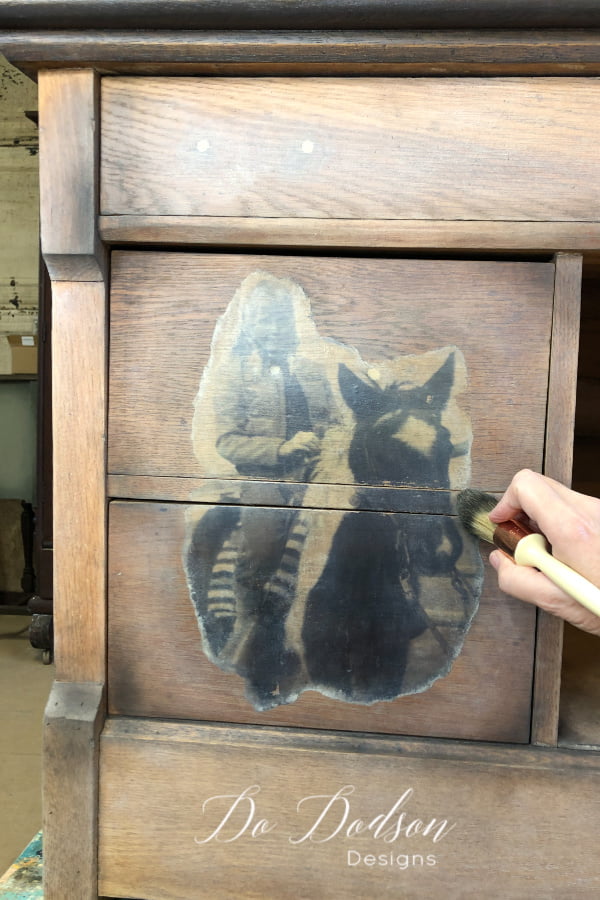
Photo Transfer | In Loving Memory Of…
Just in case you’re wondering… the beautiful lady in the photo is my sweet Mother in law. As time would have it, it came and went way too quickly. Lena Ruth went to be with our heavenly Father last month. During the planning of her memorial, I came across this photo and knew right away what I wanted to do with it. We shared many things in common—horses, home design, travel, dessert, her son… but NOT painted furniture. *insert belly laughs* I’ll never forget the day she walked into our home (probably shocked by all the painted pieces I had done) and said, “I don’t like that.” I grew to love this woman with a big opinion because we also shared that. HA! This “no paint” makeover is for you, Lena Ruth. I only wished I had done it sooner.

What do you think? Do I have your creative wheels turning yet? Endless possibilities… think of colors… paint… painted furniture with transfers of your images. Let me know what you think in the comment section below. I love hearing from you. Oh, and don’t forget to pin this to your furniture makeover Pinterest board. Take care, and happy painting!
Until the next project… xo, Do
Donna!!!!
Omg!!! Thank you soooo much for this demonstration!! I have been looking into transfers and they are sooo expensive.. Like you I spend enough time and money on one piece that I wonder sometimes. But now this opens up a whole new world of options I had only dreamed of before! Thank you again!!
April
Hi April!
I’m so happy you enjoyed this. Finding ways to create on a budget is a challenge but I was super happy how it turned out. Keep me posted on how it works out for you.
xo, Do
If you’re putting a transfer like this on a piece painted with chalk paint then will it need to be waxed or sealed first so all of the water doesn’t reactivate the paint.
Hi Andrea, I think it depends on the brand of chalk paint you use. You would definitely need to allow it to dry and cure before applying the image transfer. I would not use wax as it repels water and the topcoat is water-based. Great question! Let me know how it works out. 🙂
Hey, Do!
Questions:
– If you painted the furniture, will the color come through on your image, ie the person’s face will be green-tinted (or whatever color you used)?
– Do I have to reverse the image or will the print shop do that? If I have to do it, how is that done?
Sorry about your mother-in-law. It’s so hard to lose someone you love!
Angie
Hi Angie,
Yes! It surely will so if you’re concerned, use light-colored paint or depending on the color in the transfer. For example… if your transfer is very colorful, chose a color that would match. For black and white photos, I would definitely use a lighter color. Let me know how it works out. 🙂
This is awesome!!!! You are awesome!!! Thank you!!!
Muah! Thank you, sweet lady. 🙂 xo
To start with its a great piece of furniture. You just did a beautiful job of reviving it. The transfers are so expensive as you said and I love the way you used the stain weathered look. To me sometimes too many transfers take away from the hard work and use of the paint. It’s just perfect so thank you for sharing your talents and use of products.
Thank you, Pat! Happy to share with you and others. I’m not a huge fan of the transfers but in the right setting, they’re very pretty. I appreciate your words. xo, Do
This piece is awesome, The thought and love that went onto it is beautiful.
Thank you, Penny! It was a unique project, and I think my hubby was thrilled. 🙂 Happy New Year!
Wow! What a beautiful gift for your husband. It’s beautiful. Congratulations on your new animals. So fun. Hugs to you, my friend.
Thank you, Renae. It’s always good to hear from you. I’m just an ole farm girl living the dream. 🙂 xo Happy New Year!
How on earth did you discover this method using your own photos – it opens up so many possibilities. You mention using Dixie Belle’s clear coat – I’m in the UK so what exactly is this?
Hi Audrey,
I learned this technique from a friend. The top coat is used to seal chalky painted surfaces. It’s a water-based product and works well for this and decoupaging. I like it better than Mod Podge. It has a longer work time and doesn’t dry as fast. It is available in the UK, and there’s a link in the product section of this post to help you find it. I’m so glad you found this post helpful. Happy New Year! 🙂 xo
Do, this is a beautiful project. I love how you created your own transfer on the furniture. It’s a lovely photo of your mother-in-law. What a special piece this is now.
Thank you, Tammy. The quality of the photo wasn’t great, and I couldn’t enlarge it as much as I wanted, but as long as my hubby loves it, that’s all that matters. She was a real sweetheart of a mother-in-law. We miss her so much. 🙂 Happy New Year!
The transfer piece is very interesting but I am most excited about your cute little mules! I can’t wait to see more of them in your posts.
Thank you, Kathy! I promise to share more of the minis. They’re doing very well. Have a happy New Year! 🙂 xo