I did it again! Somehow, the curbside junk always seems to be on the road when I’m traveling and I knew immediately it would be a great chalkboard table for my Grands. It was Father’s Day, and my #2 roadside finds of the day. SCORE chalkboard! Seriously, it always happens when Mr. Honey Do is in the car with me. He gives me THE LOOK! You know, the one like my garage is already full of your crap?
This post contains a few affiliate links to help you find the products I use. You are not charged extra to use any of the links, but any income I make will be used for more fun projects! To see my full disclaimer, click here!
DIY Chalkboard Table
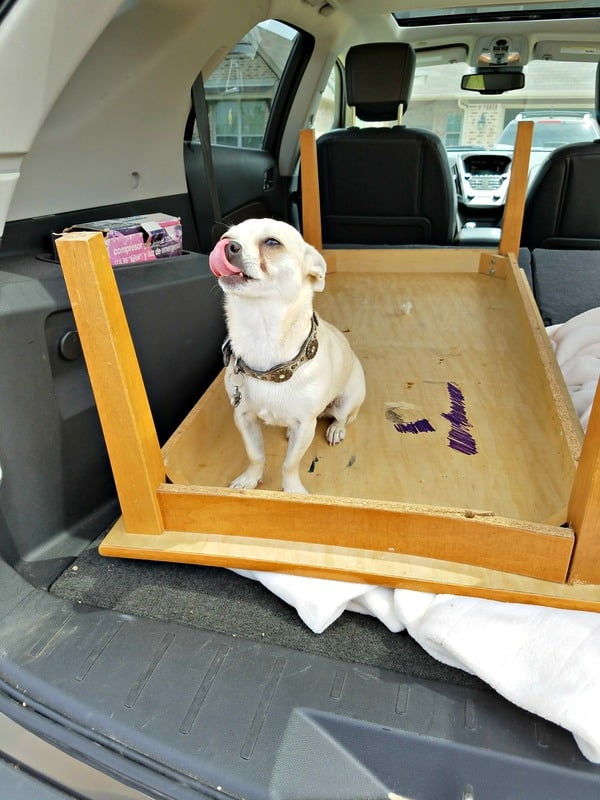
My chihuahua #OHTALLULAH was with me and seemed to love the idea of the door opening so she could sniff the grass. So with her assistance (she thinks she helps), I loaded it into the back of my car and headed home.
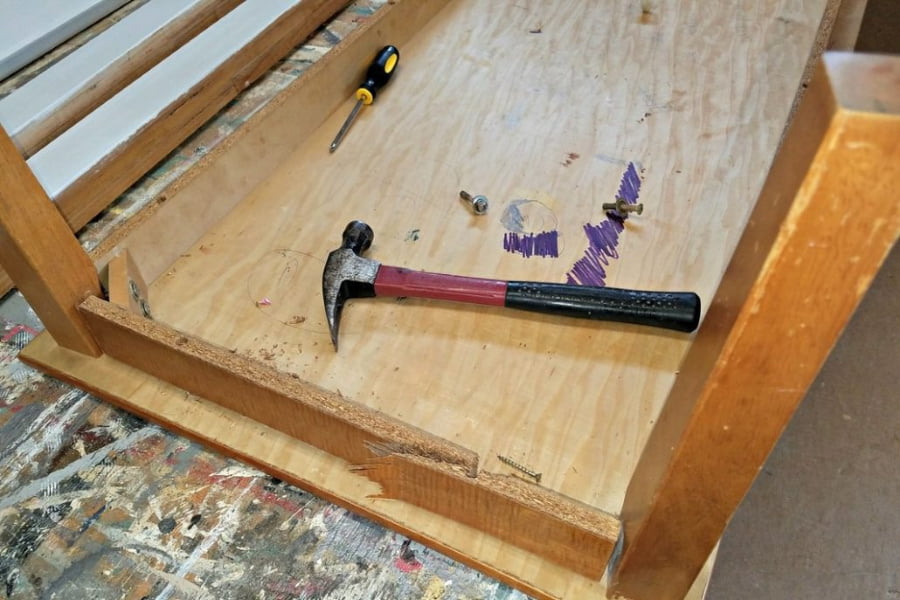
Repairing The Table
It was a very plain table and extremely short. With the Grandkids always wanting to be creative with Grandma, I thought this would make the perfect chalkboard table. I had seen these done on Pinterest, and I pinned the tutorial to my PROJECTS board a while back. Of course, it wasn’t in great condition; they never are! It had a broken side piece that held the leg into place. Pretty much an easy fix. So before we get to the finish of the chalkboard table, let’s get the repairs out of the way.
I found a scrap piece of board I had left over from another project. NEVER throw away your scraps!
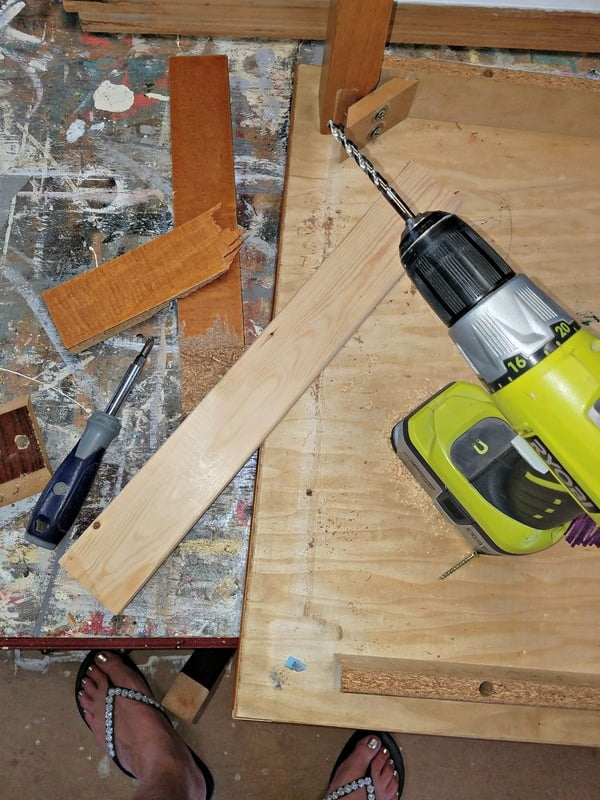
I removed the broken piece of particle board and staples, cleaned up the surface, drilled two holes for screws to secure it to the table with my Ryobi Lithium-Ion Drill, added wood glue to all the ends that connected with the table, reattached the screws that secured the leg back into place. Good as new! Here is a list of the products I used for the unique painted finish with decorative moldings.


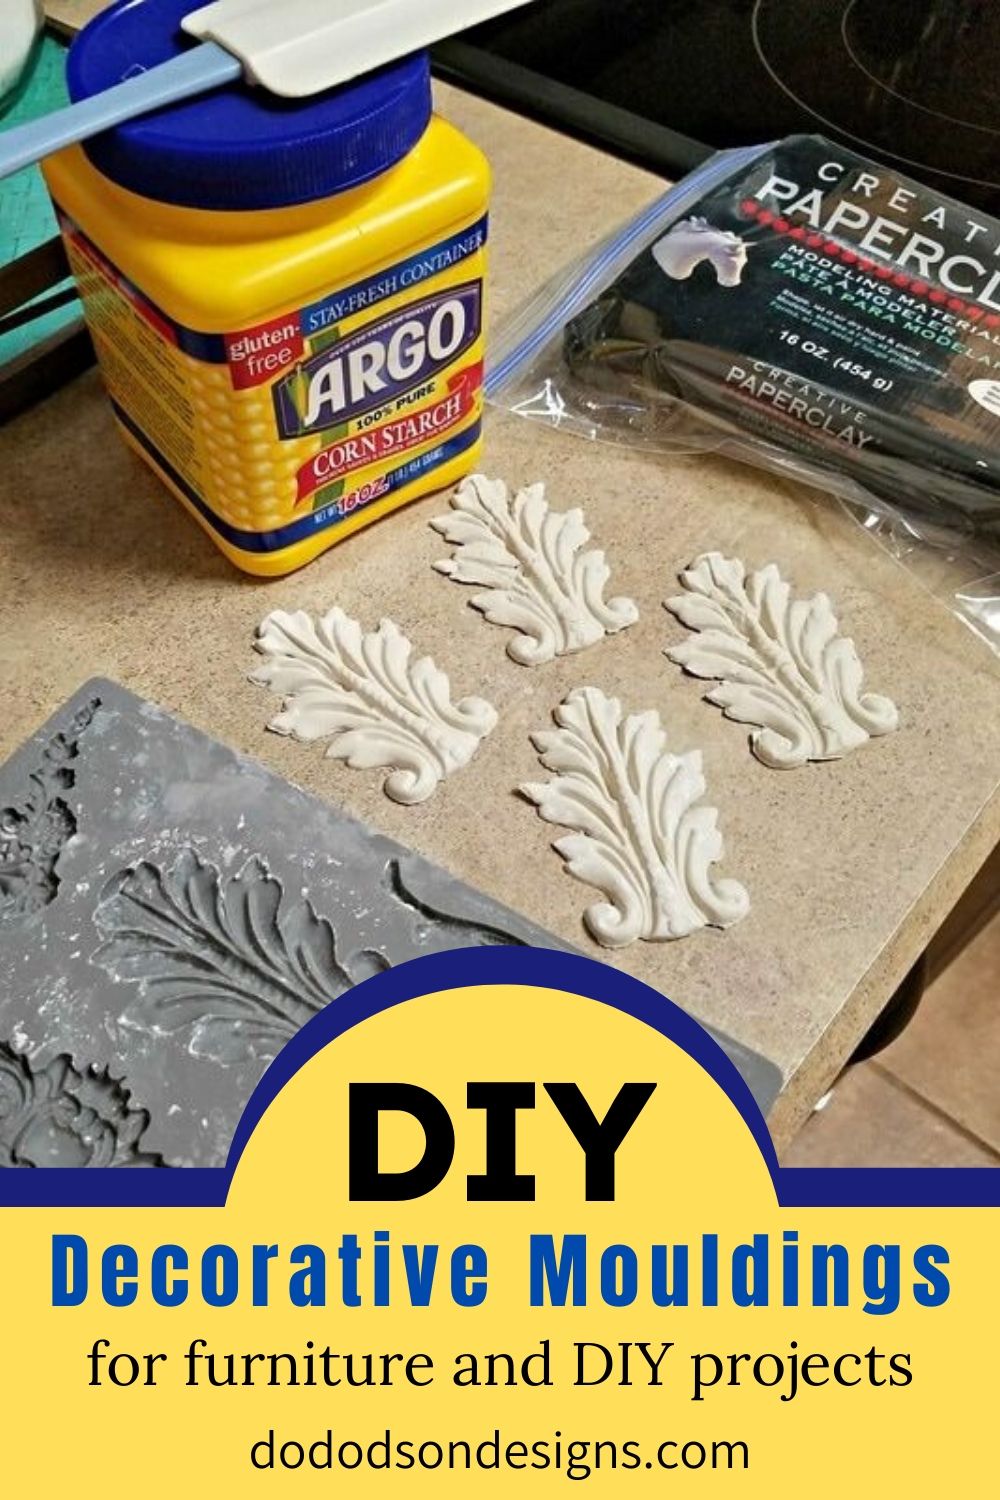
Adding A Decorative Feature On The Chalkboard Table
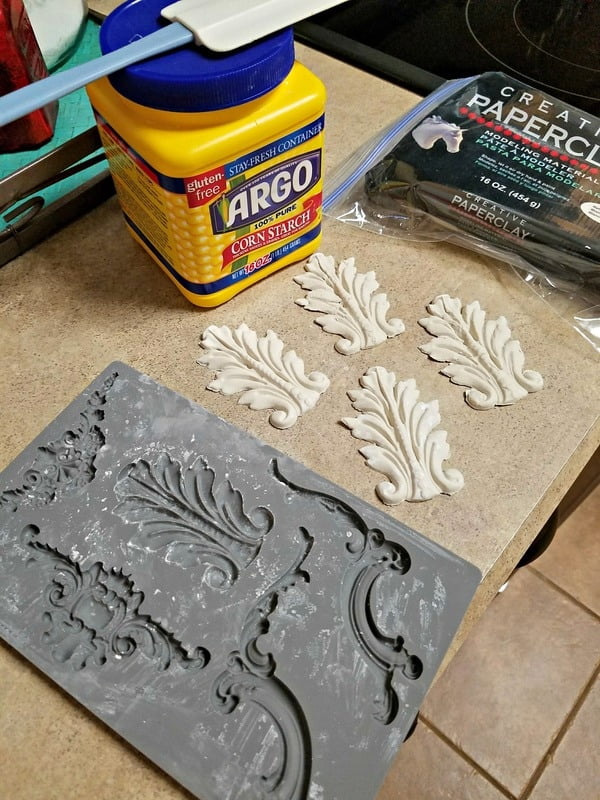
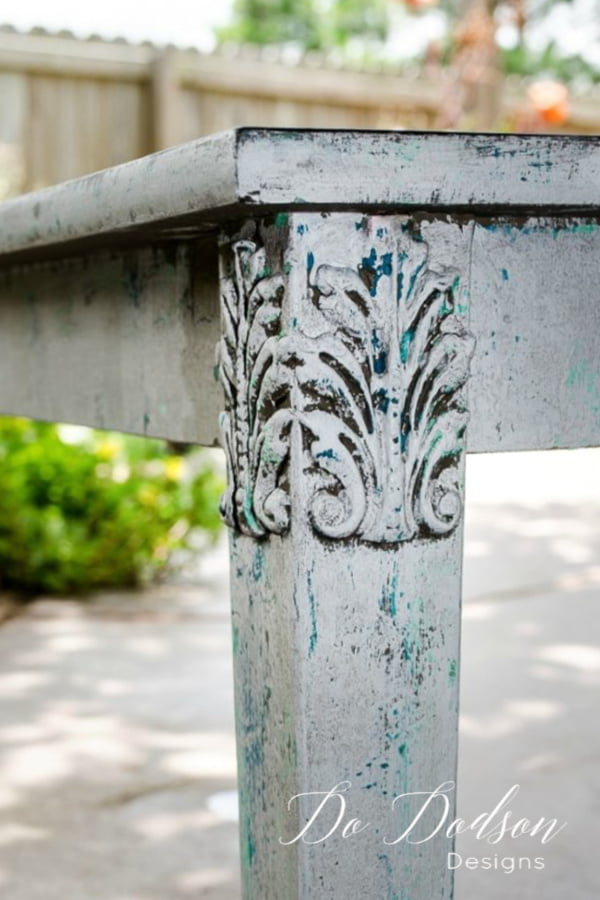
I love the chalkboard table idea, but it was just too plain for my style. So, once again, back to Pinterest for more inspiration. THESE ARE AMAZING! I found these Vintage art Decor Moulds by Prima Marketing. It’s a DIY product to embellish home decor and DIY projects. It’s perfect for furniture as well. I used a product called Paper Clay to form the appliques. Before smashing the clay with my fingers into the mold, I dusted it with corn starch… because that’s what I had on hand. It worked. I used a spatula to remove the extra across the top to form a smooth surface. Seriously, it was like I was a child again, squishing the clay between my fingers.
Application Of The Art Deco Molds
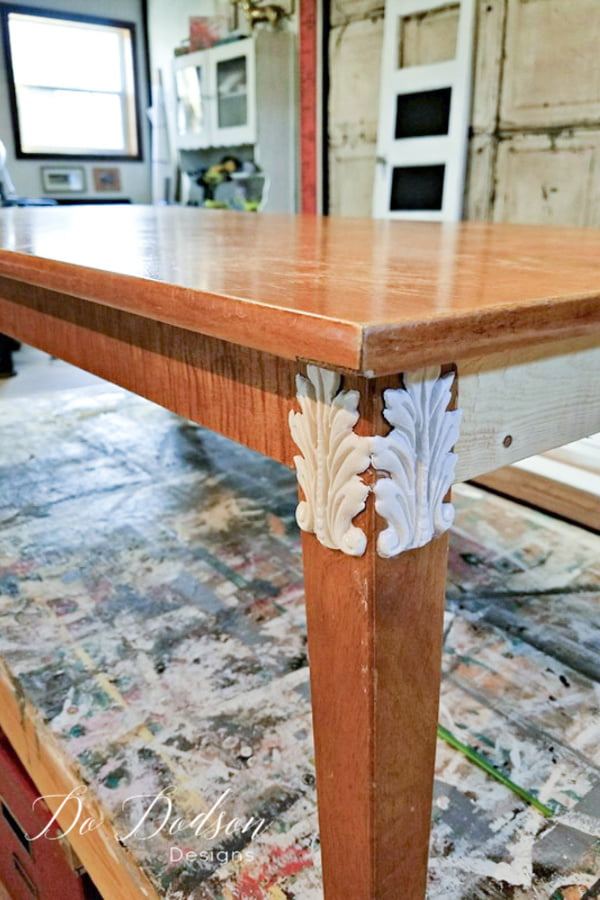
The application was easy. I added little wood glue on the back of the mold and applied it directly to the wood legs while still wet. This allowed me to form the mold on the legs, so they laid flat. If these had been round legs on this table, it would have been easy to curve them in the direction of the wood. So fun!
WATCH THIS to learn how to create these Decorative Moldings
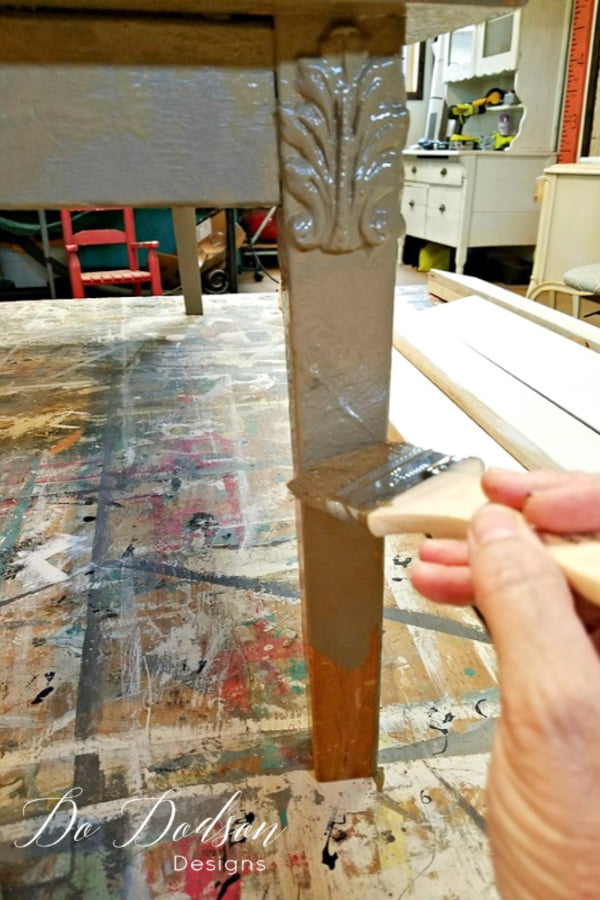
For this table, I wanted a rustic, vintage look with a french whimsy. The first color of chalk mineral paint was applied with a stippling technique. Stippling is a rough application with the edge of the bristles only. Not smooth at all. I wanted a lot of texture for this project. After the paint had dried, I added wood glue in random spots with an art brush. Not too much. Just in spots. To speed up the drying process, I used my heat gun in the areas where I applied the glue. Once the glue is dried will create a crackle effect once the second coat of paint is applied. Character and instant age!
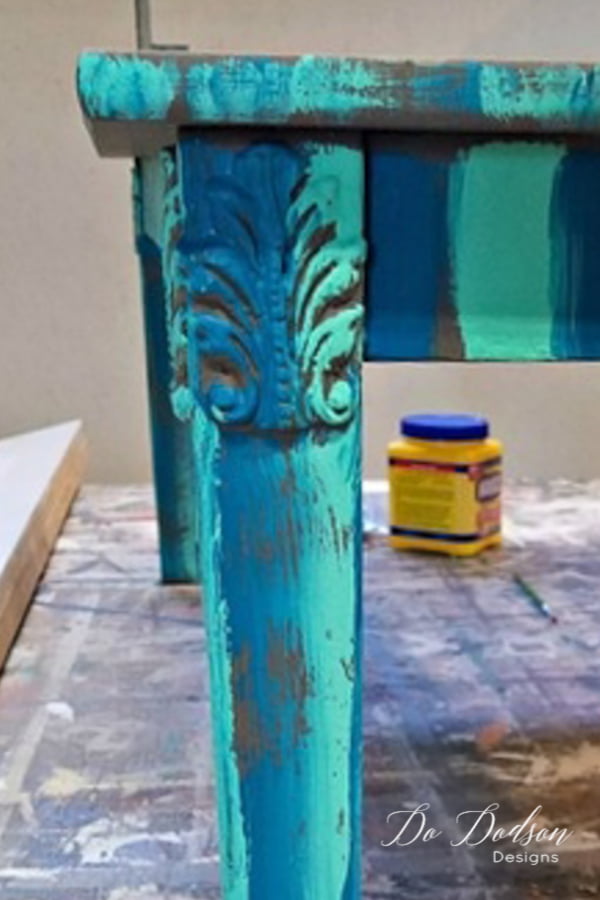
I used two other BOLD colors of Mint Julip and Mermaid Tail and painted bold stripes all around the table. I have to admit it was pretty wild looking, but I wanted a peek-a-boo effect to show through the last coat of paint. More or less, I just lightly brushed across the surface with a hit and miss leaving the base color showing.
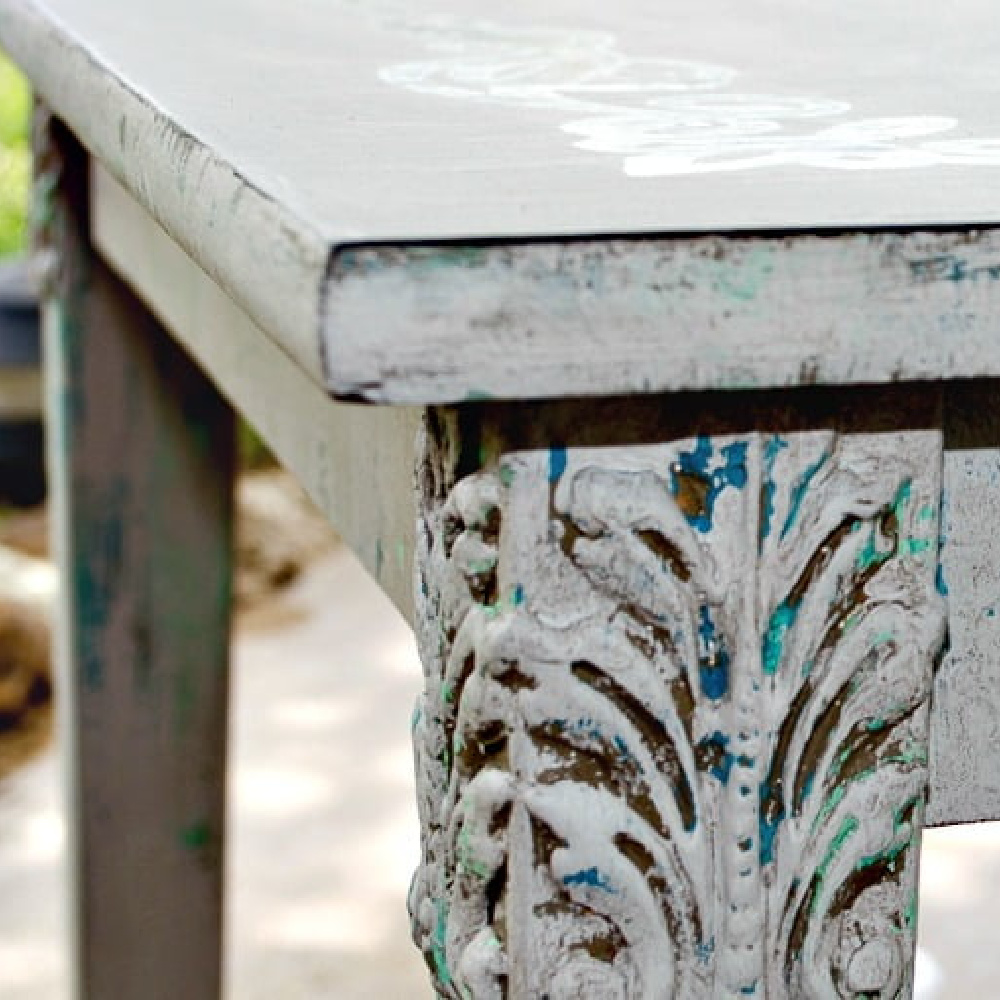
A final coat of Mason Dixon Gray was painted over the bold stripes. The table took a 360 with the way it was looking, and I was excited about the way it was looking at this point. I allowed the paint and art deco molds to dry overnight. Next, I added a black aging wax all over the painted surfaces and buffed it with a clean cotton cloth.
Curbside Junk Transformed Into A Kid-Friendly Chalkboard Table
AMAZING! The wax made a huge difference and brought out all the imperfections in the paint.
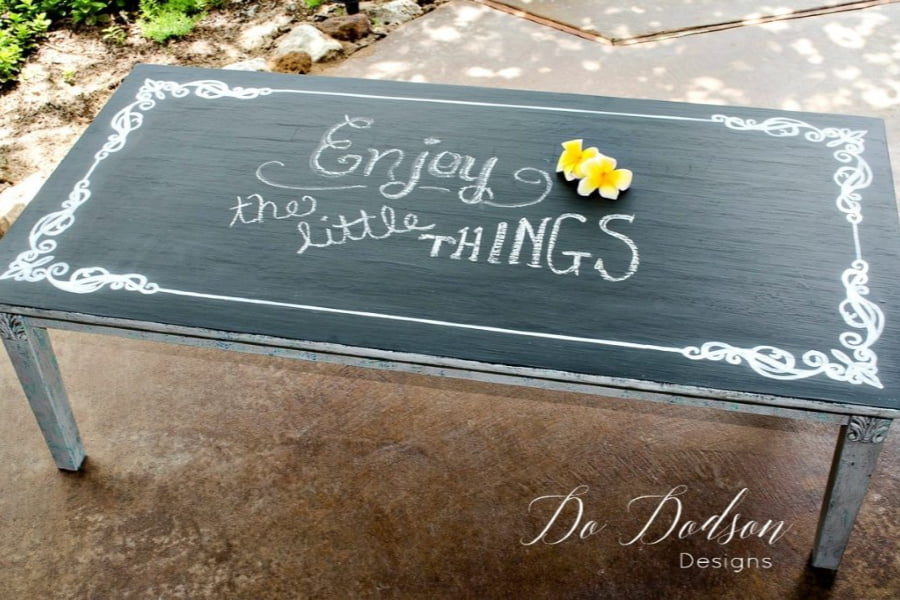
The tabletop… two coats of Rustoleum Chalkboard Paint were applied with a good brush to the tabletop. You’ll want a smooth finish for the chalkboard tabletop, so break out the best brush for this. Blami Chalk Markers were used to outline a stencil I created with my Silhouette Cameo 3. The chalk markers are semi-permanent and can be removed with a damp cloth or with a magic eraser. I knew my Grandkids would want to make their designs, so this was a great option.
Until the next project… xo, Do


This is so cute, Do! I love what you did to the table. I have a Silhouette I struggle with every time I use it, haha, but I love it!
Thanks, Wendy! This was one of my first makeovers. Gosh, it’s been so long ago.
This is the perfect example of “Drab to Fab”! I absolutely love the embellishments you used.
Perfection!
Tammy
I love this! I have a small table and chairs for my grandkids but it’s just white and boy oh boy have they dirtied it up. I’m going to try this, they will love it. What did you seal it with?
Hi Kristine!
They will eat it up! As for the top, it’s chalkboard paint and it shouldn’t be sealed. You can seal chalk paint on the bottom with wax or a topcoat. But if you use Dixie Belle chalk mineral paint, there’s no need for that step. It seals itself. Here is where I get mine. affiliate link https://dixiebellepaint.com?aff=80
Chalkboard paint and chalk mineral paint are not the same.
Have fun! xo, Do