

I’ve always wanted to have a chalkboard wall in my home, and I thought I’d share my experience with you here. Not only does it serve as a beautiful chalkboard paint wall, but it has also been extremely functional. I use it every day! Ever since I was a little girl in elementary school, I’ve always wanted to be the one chosen to erase the chalkboard. The teachers always felt that it was a punishment for some strange reason, but it was FUN to us kids! This is why sometimes being the good girl doesn’t pay off.
This post contains a few affiliate links to help you find the products I use. You are not charged extra to use any of the links, but any income I make will go toward more fun projects! To see my full disclaimer, click here!
Product List:
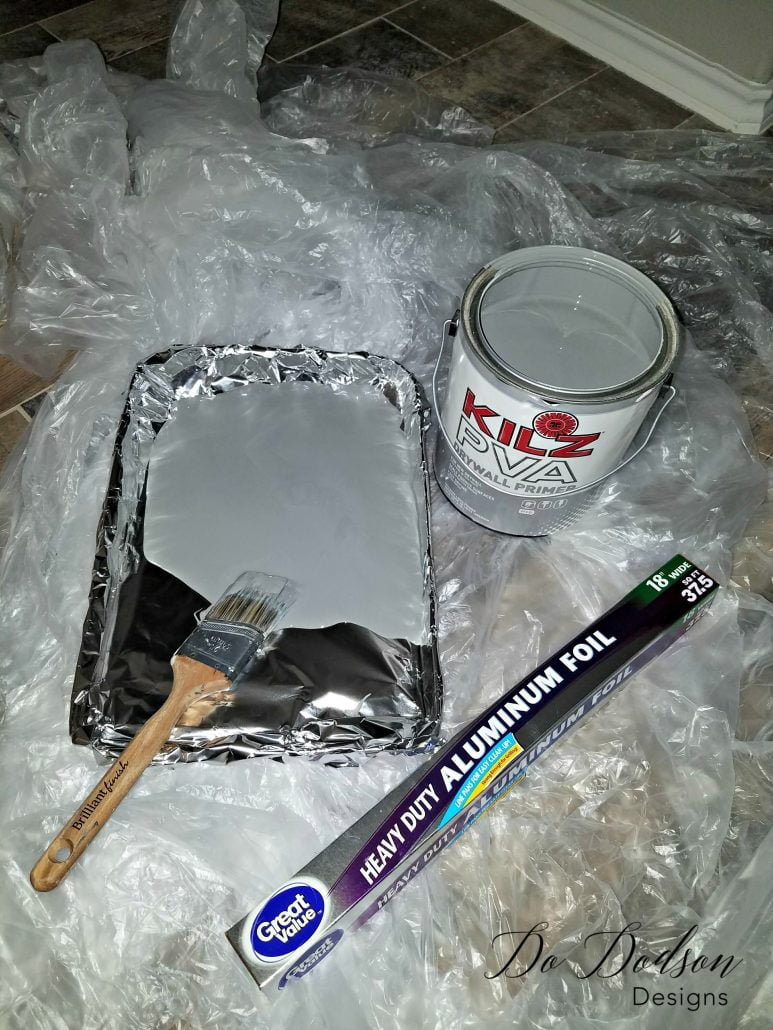
Here are the products I used to create a chalkboard paint wall in my home.
- drop cloth
- Kilz General Purpose Primer Sealer
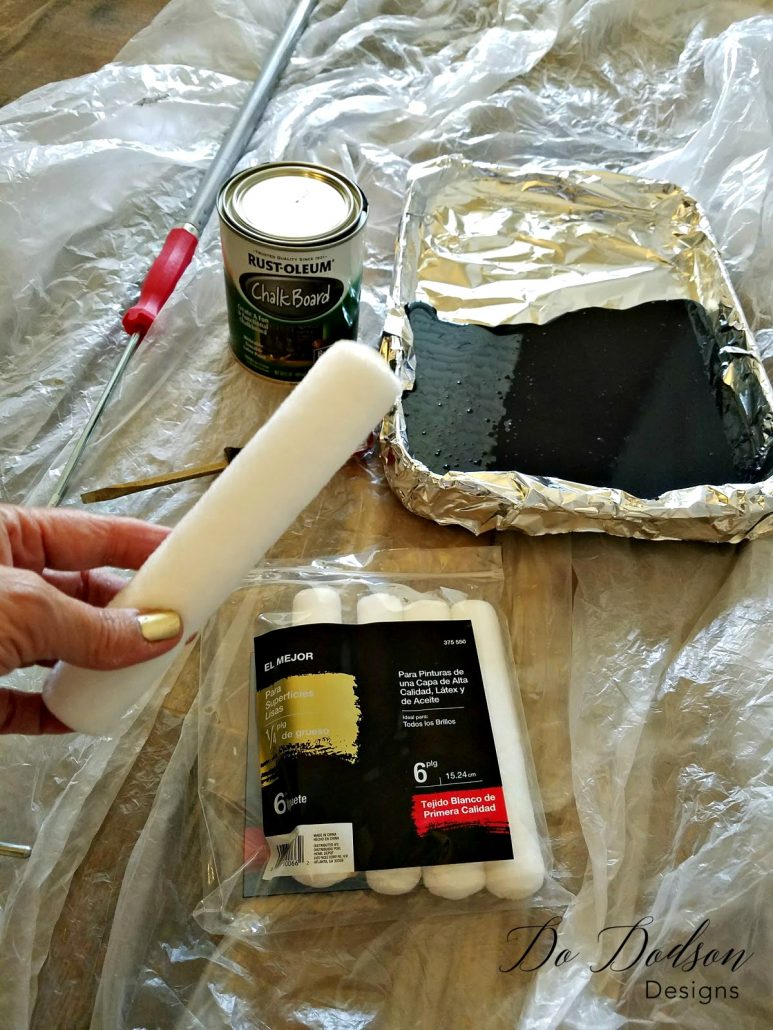
- Rust-Oleum Chalk Paint
- Dustless Chalk
- Dry Eraser
- Joint Compound
- Sanding Blocks
- Paint Brush
- Taping Knife
- Joint Compound Tray
- 6-inch Paint Foam Roller (to apply chalkboard paint)
How To Make A Chalkboard Wall
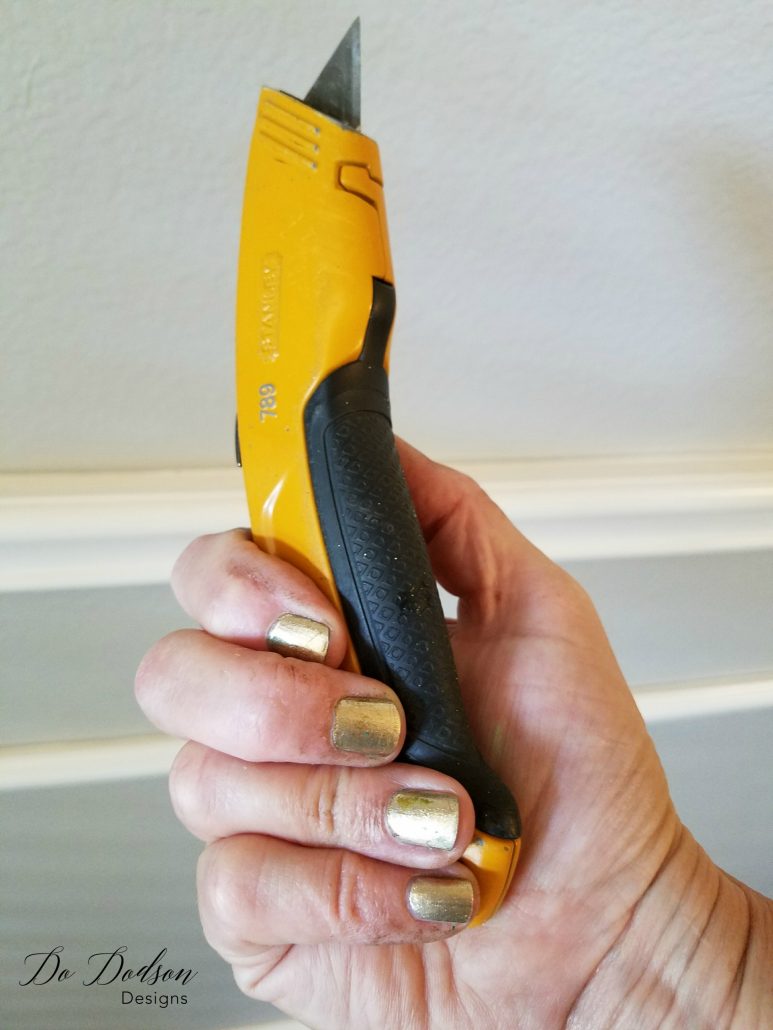
Because my dining room had the chair rail all across the back wall, it had to go. I used an Exacto knife to score along the chalk line and remove it from the wall. If you’re not familiar with this next step, get some help, and be careful. These things are sharp!
Scoring the caulk made it easy to pry the trim away from the wall with a scraper and a hammer as a wedge. I was careful not to damage the wall, knowing it would lead to more work and repairs.
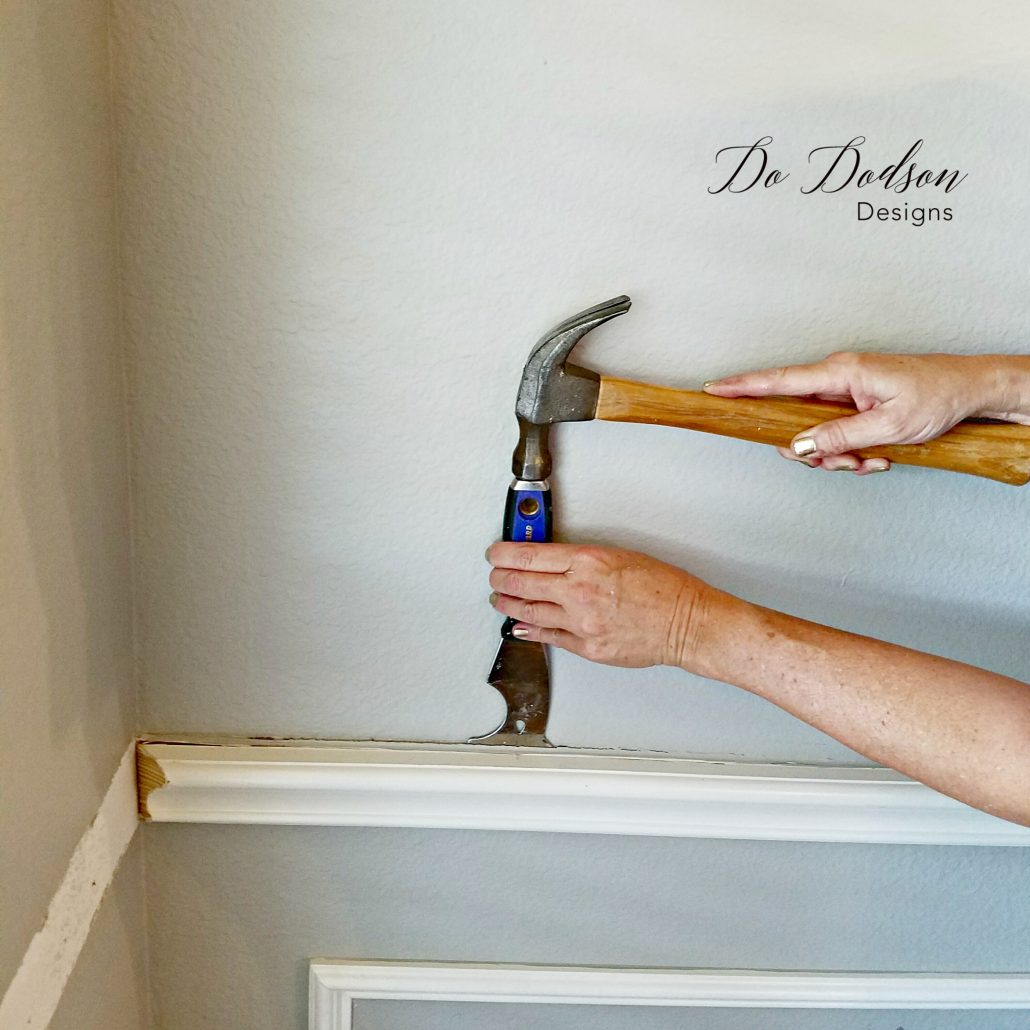
This actually took me about 30 minutes once I got going. Not too shabby for a girl.
How To Create A Smooth Blackboard Wall
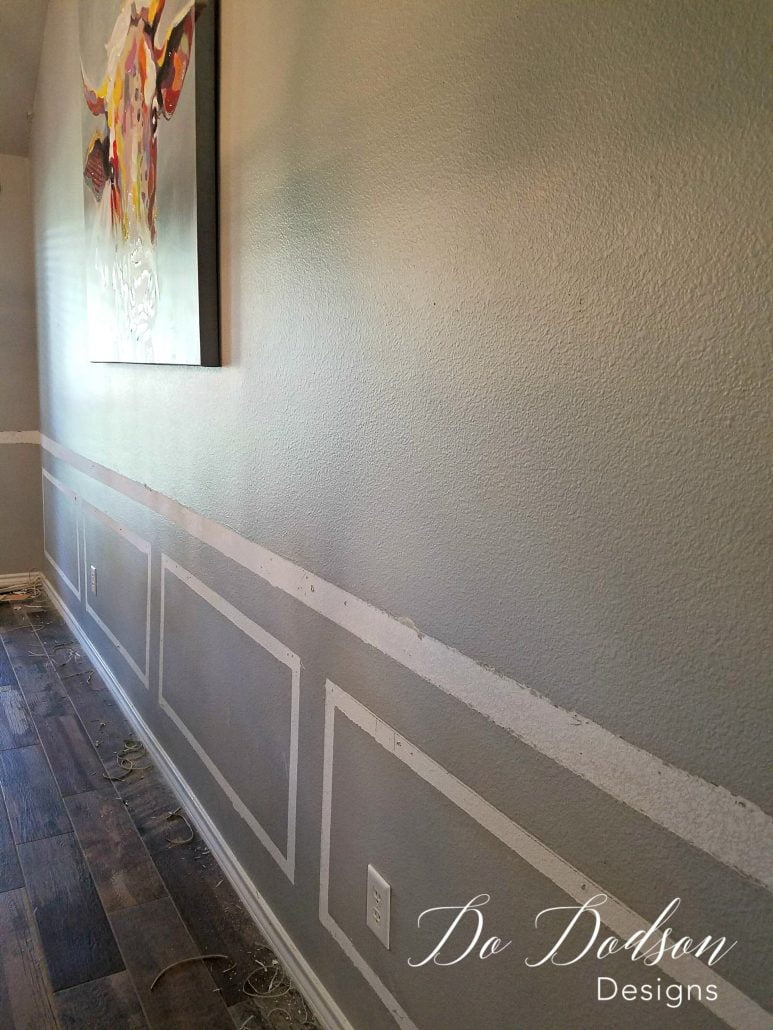
I used a pre-mixed, all-purpose joint compound from Home Depot to smooth over my textured wall. Trust me, don’t skip this step! Your wall needs to be super smooth to write on.
I purchased a taping knife and tray to apply it, which was extremely helpful, especially on a large wall and while on a ladder.

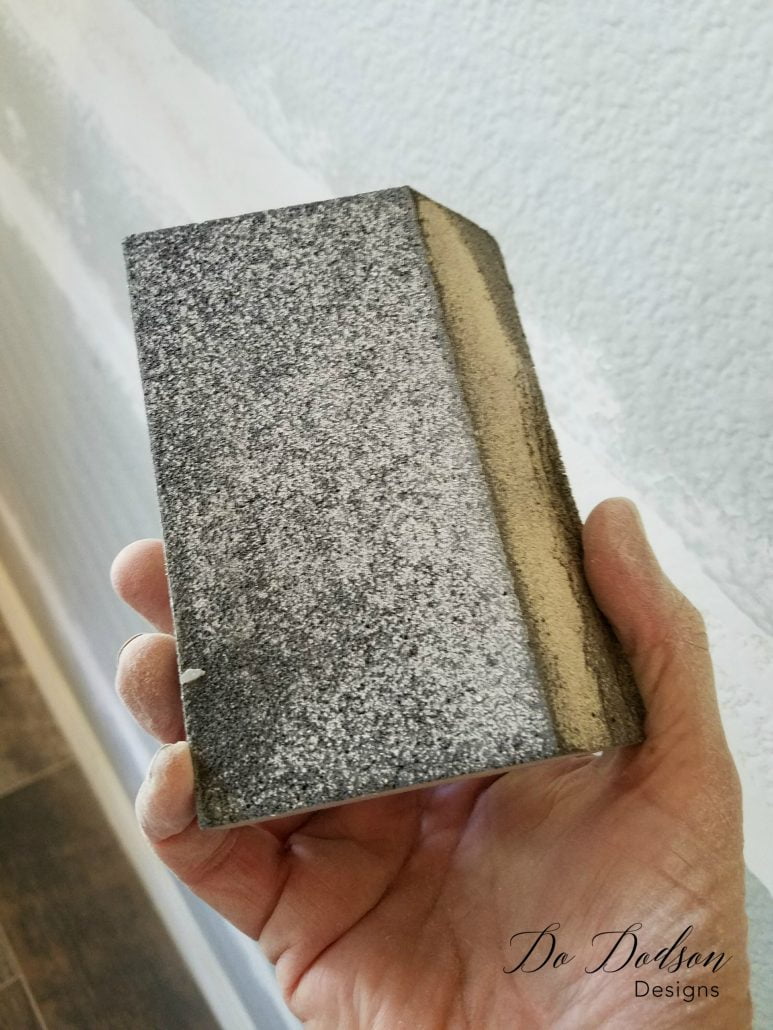
After I skim-coated the WHOLE wall (10 ft ceilings), I allowed it to dry overnight. The next morning was the most difficult step for me. It was climbing a ladder and sanding down every square inch of that wall, from the baseboards to the ceiling. Okay, learn from my mistakes. NEVER sand joint compound in your home without some barrier from the dust. It looked like the abominable snowman had powdered the whole room with the North Pole. I’m still cleaning.
Priming The Wall
Once I stopped up my vacuum with dust, it was time to apply the drywall primer. Ha! It would be best to prime the wall before applying the chalkboard paint. I researched this quite extensively because I’m all about a shortcut if I can. After careful consideration and speaking with Lowe’s nice paint man, I purchased Kilz General Purpose Primer Sealer. I wanted this wall to be super durable, as my Grandkids will be using it as well. They get a little excited about chalking and can be a bit aggressive.
Painting The Wall
Time for the REAL paint. The wall was fairly large, so I purchased three 1-quart cans of the Rust-Oleum Chalk Paint. Using a 6-inch 1/4-inch nap roller, I rolled the entire surface, and I cut around the trim and ceiling with a brush. I applied a second coat the same day it had fully dried. Always follow the directions on the can for dry times.
You’ll need to wait a full week before the next step. It was so hard for me! The chalkboard paint needs to be fully cured and hardened before you can use your chalkboard wall. After waiting 1 week, the surface will be ready for the next step, called priming with chalk.
Priming Your Chalkboard Paint Wall Before Use
Priming with chalk is a MUST before using your chalkboard wall to prevent what they call “ghosting.” Ghosting (an outline) will appear on the board if the board is not primed with the chalk. If you use the board before this step, it will leave permanent ghosting of what you applied.
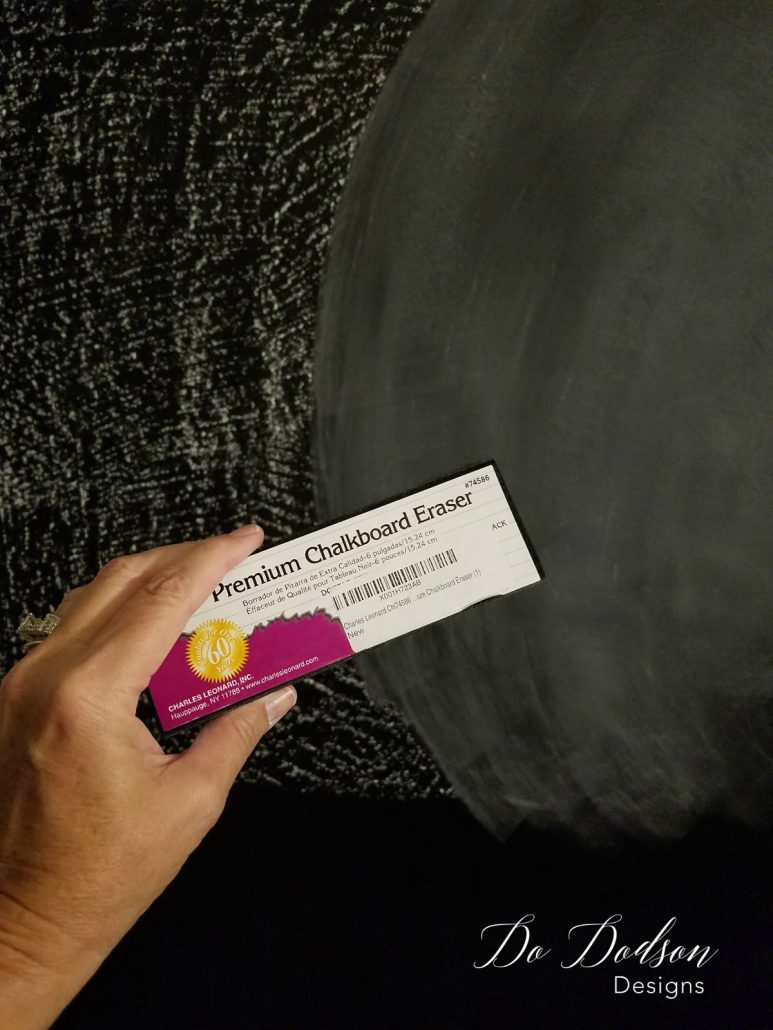
You will need GOOD chalk. Not the sidewalk chalk you get at your friendly Walmart Store. That’s great for concrete with the kiddos, but you want perfection on your wall. The recommendations from all the tutorials I have read say to use soft chalk. I found this Dustless Chalk on Amazon. To prime the wall with chalk, I laid the chalk stick flat against the wall and rubbed it over the whole surface. Using a Dry Eraser, I gently erased all the chalk and blended it into the chalkboard for a beautiful chalky finish. I like small sticks that are easy to hold.
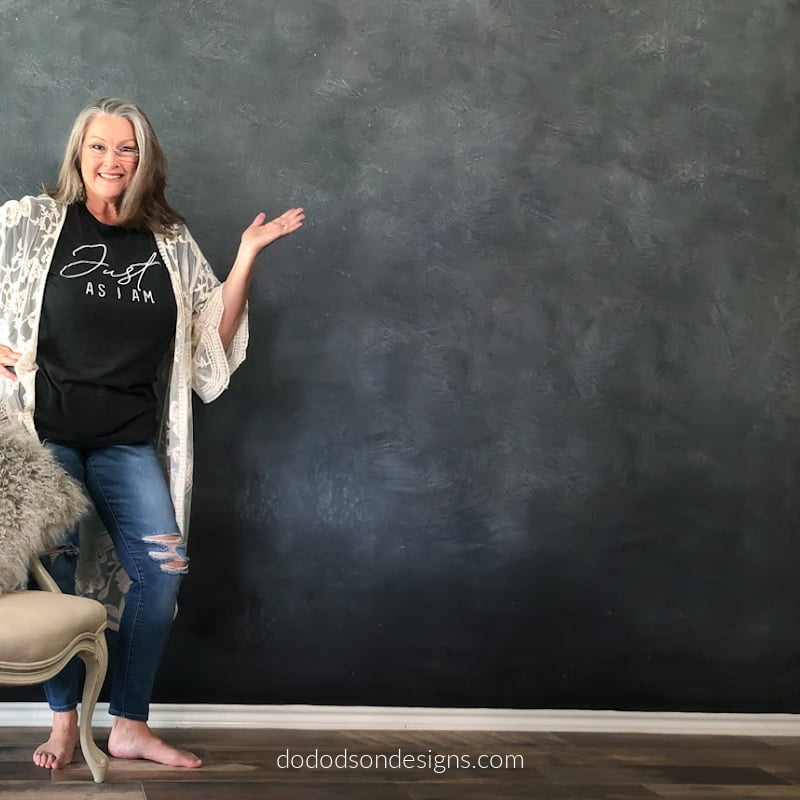
My Chalkboard Paint Wall!
I love using a dry eraser to gently blend the chalk dust, which creates a beautiful, soft aesthetic on my chalkboard paint wall. The results of my blackboard wall are stunning! I get lots of compliments on this creative and functional space!

Chalk Mural
During the Christmas season, I absolutely adore transforming my chalkboard-painted wall into a creative chalk mural by crafting themed designs. The ease of changing the decorations makes it a fun and engaging activity for the whole family, and it really adds a special touch to our holiday celebrations.
My daughter-in-law is our family’s creative artist. She did an amazing job with this blackboard wall design.
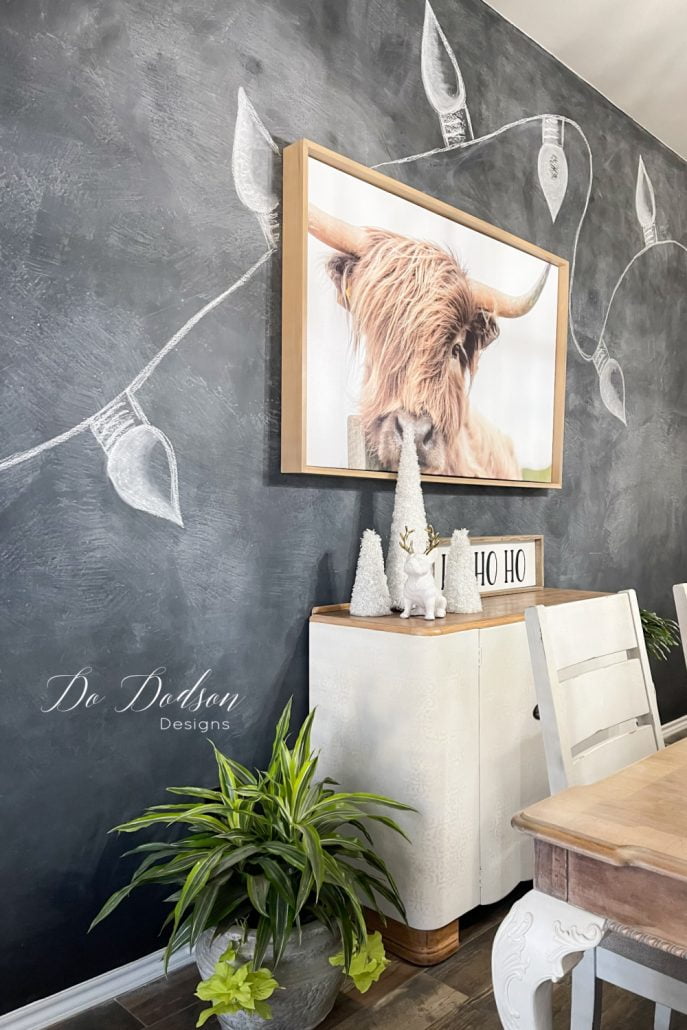
I think it turned out even better than I expected. I’m in love with my chalkboard paint wall!
Every day, I use my wall, be it memos, notes, motivational quotes, or a quick game of tic-tac-toe with the grandkids. Not to mention that HONEY DO list! Plus, it doubles as my staging wall for all of my furniture makeovers.
Thanks for hanging out with me, and I hope this gives you some chalkboard wall ideas for your home or office.
Let me know your thoughts on this idea in the comments below.
Until the next project… xo, Do
