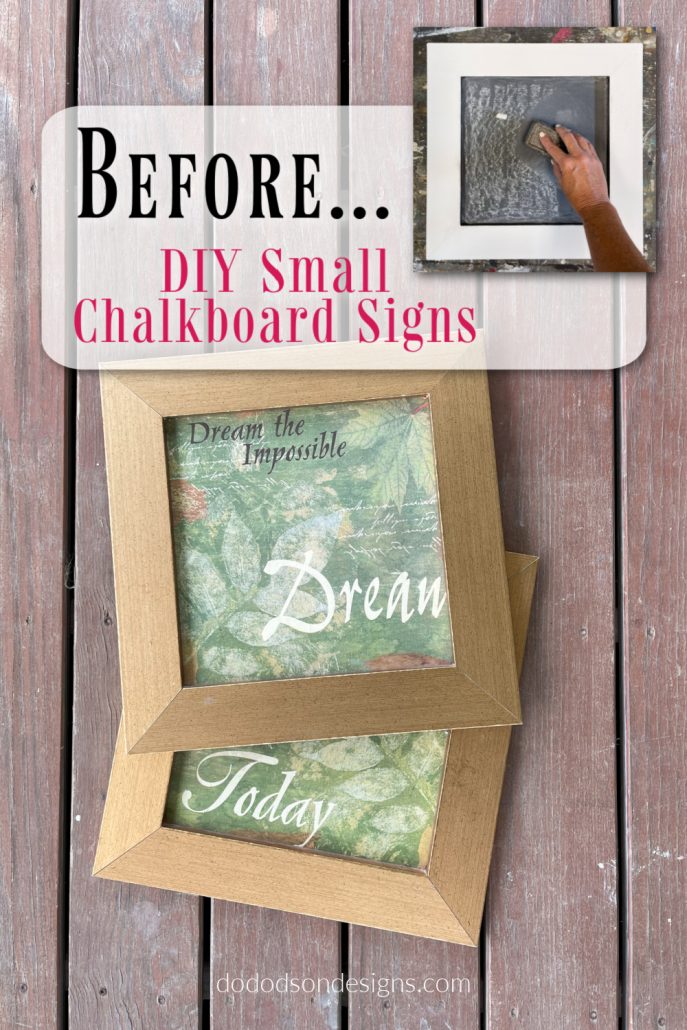
Hey, my creative friend! I’m so glad you’re here. Today I’m sharing how I made these cute DIY small chalkboard signs out of Thrift Store art. So stinking cute! And budget-friendly as always. That’s my kind of project!
* As an Amazon Associate, I earn from qualifying purchases and through other companies as well. You are not charged extra to use any of the links, but any income I make helps me create more amazing DIY projects to share with you! To see my full disclaimer, click here!
How To Make DIY Small Chalkboard Signs Out Of Thrift Store Art

SUPPLY LIST:
- Repurposed Thrift Store art with frame
- Dixie Belle Chalk Mineral Paint ( Caviar and Cotton) Makes great chalkboard paint!
- Mini Angle Paintbrush
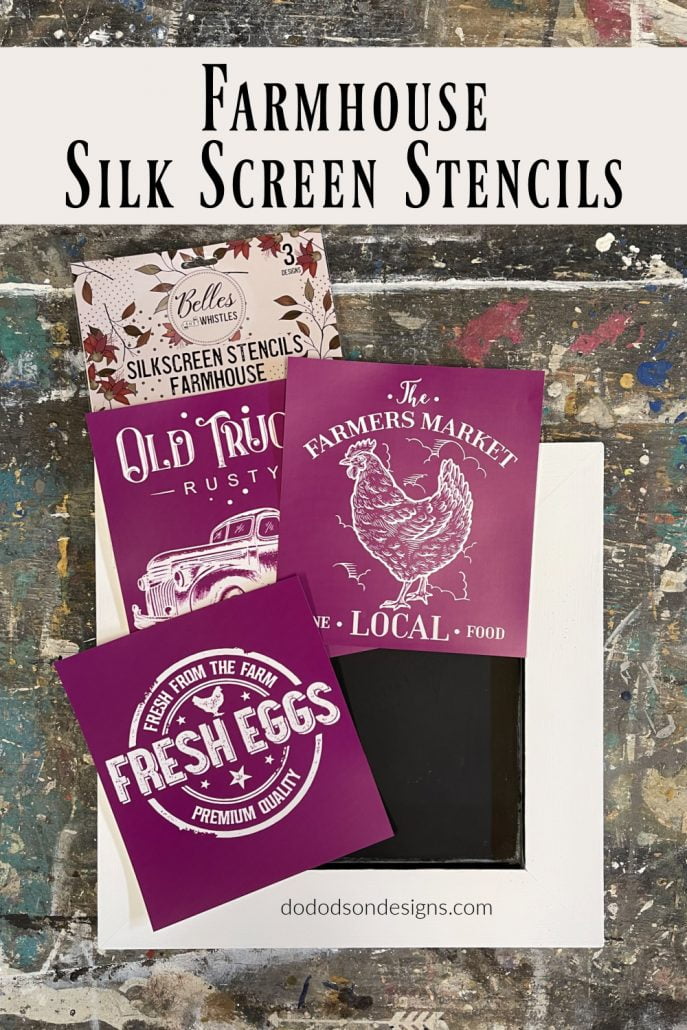
- Belles and Whistle Silk Screen Stencils (Farmhouse) 3 different designs
- Sanding Pad (fine grit) Get an additional 10% off when you use my discount CODE DOIT10
- chalk sticks and eraser
Using Chalk Paint For A DIY Chalkboard
STEP 1
You’ll need to do some prep work before painting, of course. Clean your artwork and the frame first to remove grease, dirt, and thrift store gunk. Paint will not adhere to gunk! I promise you that. I just used a little mild soap and water with a soft cloth.
STEP 2
Did you know that Dixie Belle Chalk Mineral Paint can be used as chalkboard paint? Yep, I tested it, and it works beautifully on these small DIY projects.
Apply the first coat of paint to the inside of the frame. This is where the chalkboard will be.
I painted the frame white, but you can paint it any color you like to match your home’s decor. I like the traditional black and white, and it works well with my farmhouse style.
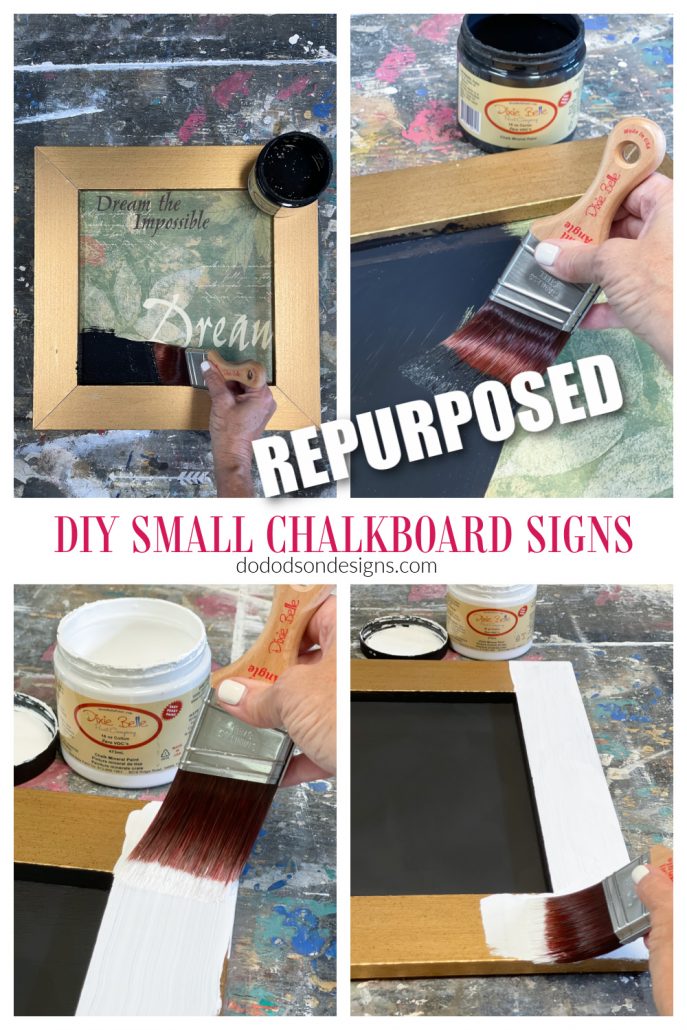
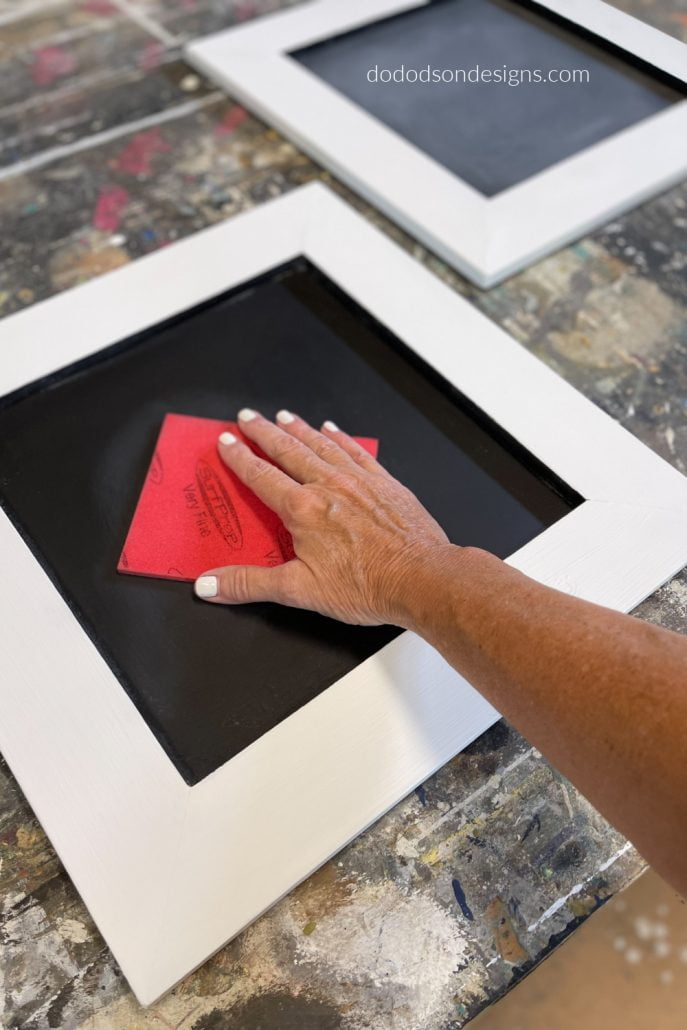
Next, allow the paint to dry completely (an hour or so) and then lightly sand with a super fine sanding pad or paper. Then apply the second and third coats the same as the first, finishing with the sanding pad.
This will create a super smooth finish for your chalkboard signs and making lettering or writing on your board so much easier.
How To Prime A Chalkboard Sign Before Use
STEP 3
Before using your new to me DIY chalkboard, you must do this one thing first. It’s called priming, and if (that’s a big fat IF) you don’t do this… well, let’s say you will have a forever sign and not an erasable chalkboard sign.
Here is what will happen… writing on the chalkboard before priming with chalk will leave a “ghosting,” meaning that when you try to erase it. It won’t erase. It will be permanent.
Chalkboard paint and chalk mineral paint are both porous and will need to be primed before use. This will allow the chalk to sit on the paint’s surface so that when you do your chalk lettering on the board, it will erase easily. Both paints have a matte finish and work well for these small DIY projects.
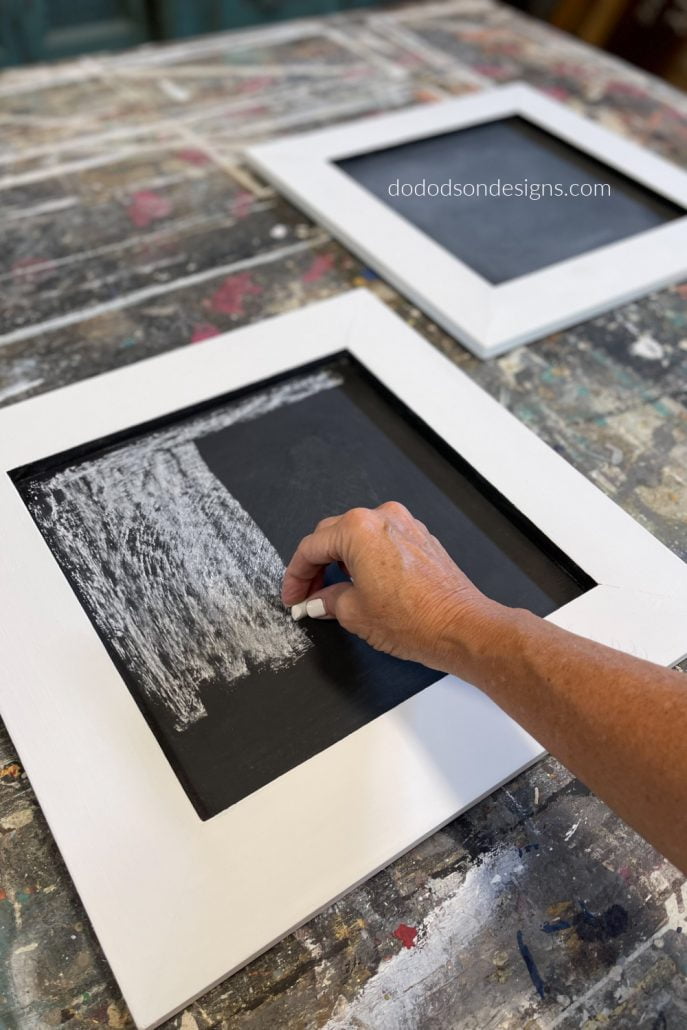
After the chalk mineral paint has dried (I like to wait at least 24 hours), use a chalk stick and lay it flat on the board, and rub the chalk over the board, making sure it’s completely covered with the chalk.
One of my readers wrote to me about about priming her chalkboards.
“The rubbed-on chalk actually prepares the surface to be used again and again so that when it is written on, it is readable, but more importantly, the writing is temporary, meaning it’s not permanent. When you have ghosting, you know the surface was NOT properly prepared or “sealed.” Ghosting on a chalkboard is considered permanent, not temporary. Another way to look at it is: chalking the board in preparation for finished usage can be compared to using a liquid brushed on a sealant of some kind to prevent bleed-through on a wood piece. Only quicker, much easier, and more fun….not to mention clean up is a breeze!”
Thank you, Cheryl K.
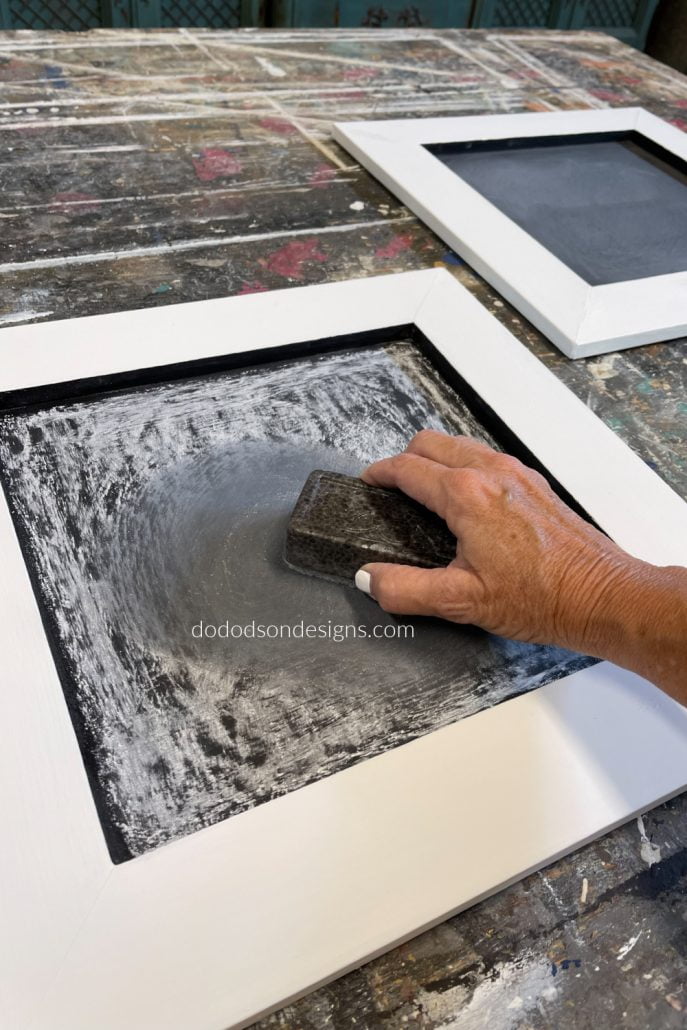
STEP 4
Next, with the eraser, rub the chalk into the board. Repeat this step several times to ensure that it is covered 100% with the chalk.
Try Hand Lettering
After the chalk has been rubbed in the chalkboard, it is ready to use. Try hand lettering your favorite quotes. You can change it out daily. Menu boards for the kitchen are always cute, and it’s handy to have a chalkboard nearby when you need to make a quick to-do list.
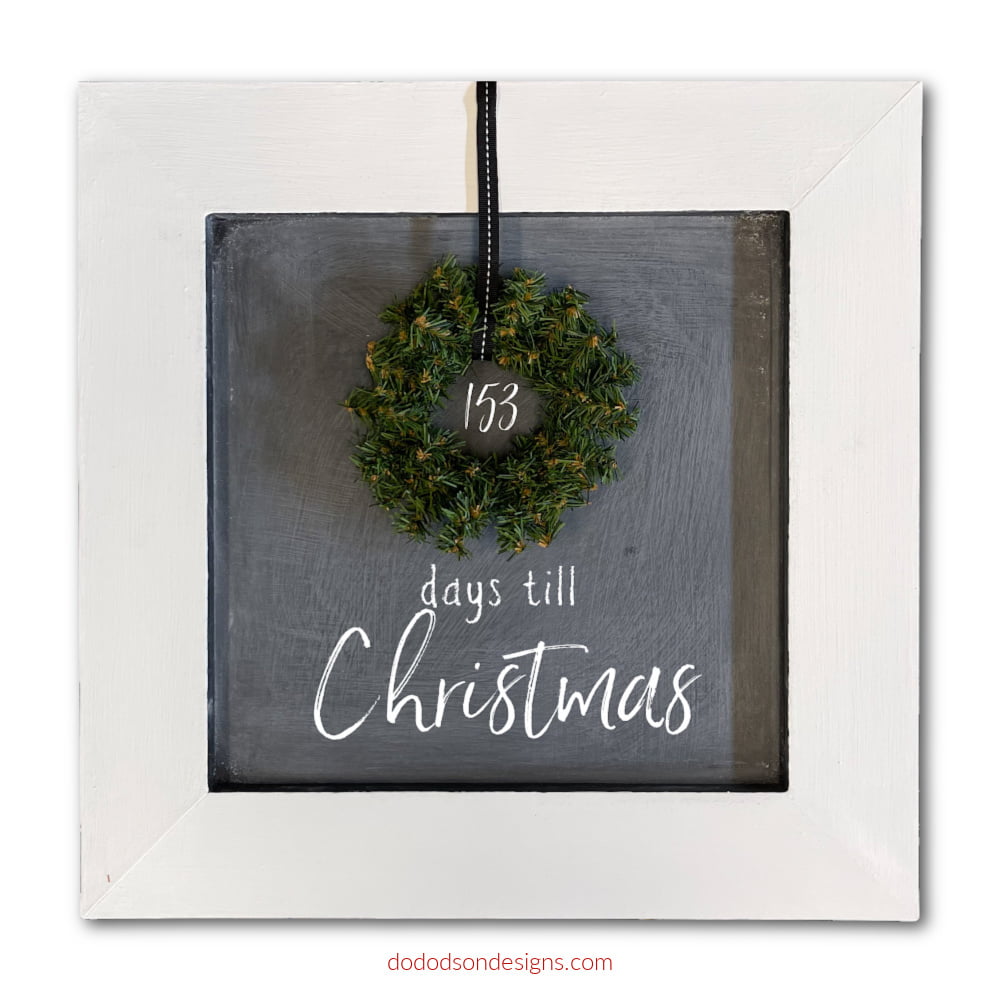
Reusable signs for Birthdays and holidays are quick and easy! Isn’t this one cute? Yep, Christmas will be here before we know it. Just saying… 🙂
How To Add A Farmhouse Silk Screen Stencil To A Chalkboard
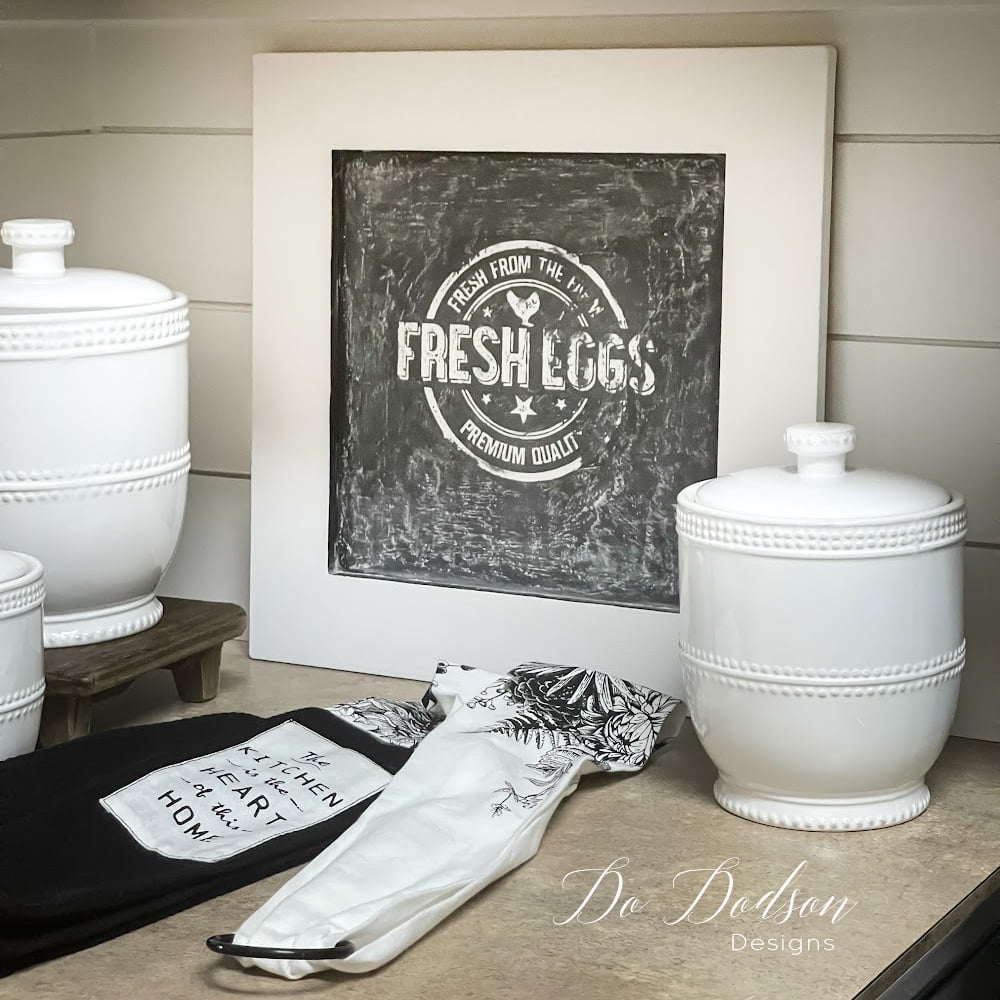
Or perhaps you want a more permanent sign. This is what I did with the other one. I used a farmhouse silk screen stencil to create a small chalkboard sign for my kitchen. Here’s how to apply them using the same chalk mineral paint.
If you’re adding a stencil to your chalkboard, do this before priming it with chalk. Remember, this will be permanent, so pick and choose wisely according to your style. But you could always repaint it if you wanted. Paint is never permanent… at least it isn’t with me.
These silkscreen stencils are super easy to use and reusable up to 10 times, depending on the surface you’re using them on.
1. Remove the stencil from the white backer sheet.
2. Position the stencil on your project.
3. Apply a thin layer of chalk mineral paint with the enclosed plastic spatula and remove excess. Remove the silkscreen and wash with mild soap and water immediately after use.
4. Allow the stencil to dry with the sticky side up on a paper towel. Replace it on the white backer sheet once it is dried so that you can reuse it for your next project.
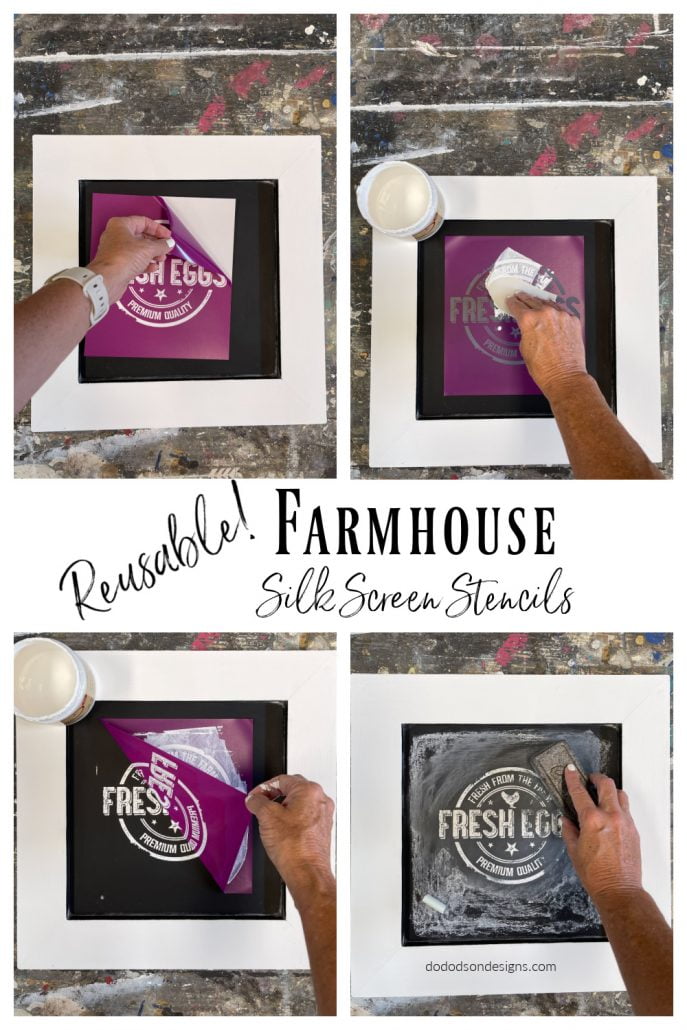
Once the stencil pattern had dried, I rubbed chalk all over the board and rubbed it in to give it that chalkboard look. You can ever lightly sand with a fine-grit paper to distress the stencil a bit if you want. That’s what I did to mine.
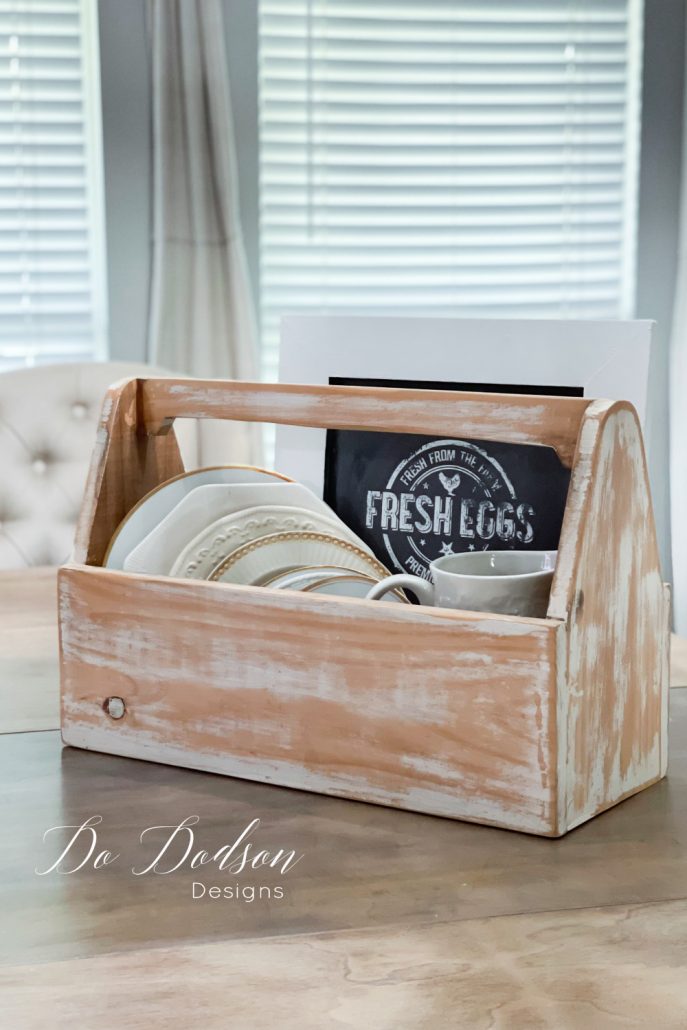
DIY Small Chalkboard Ideas
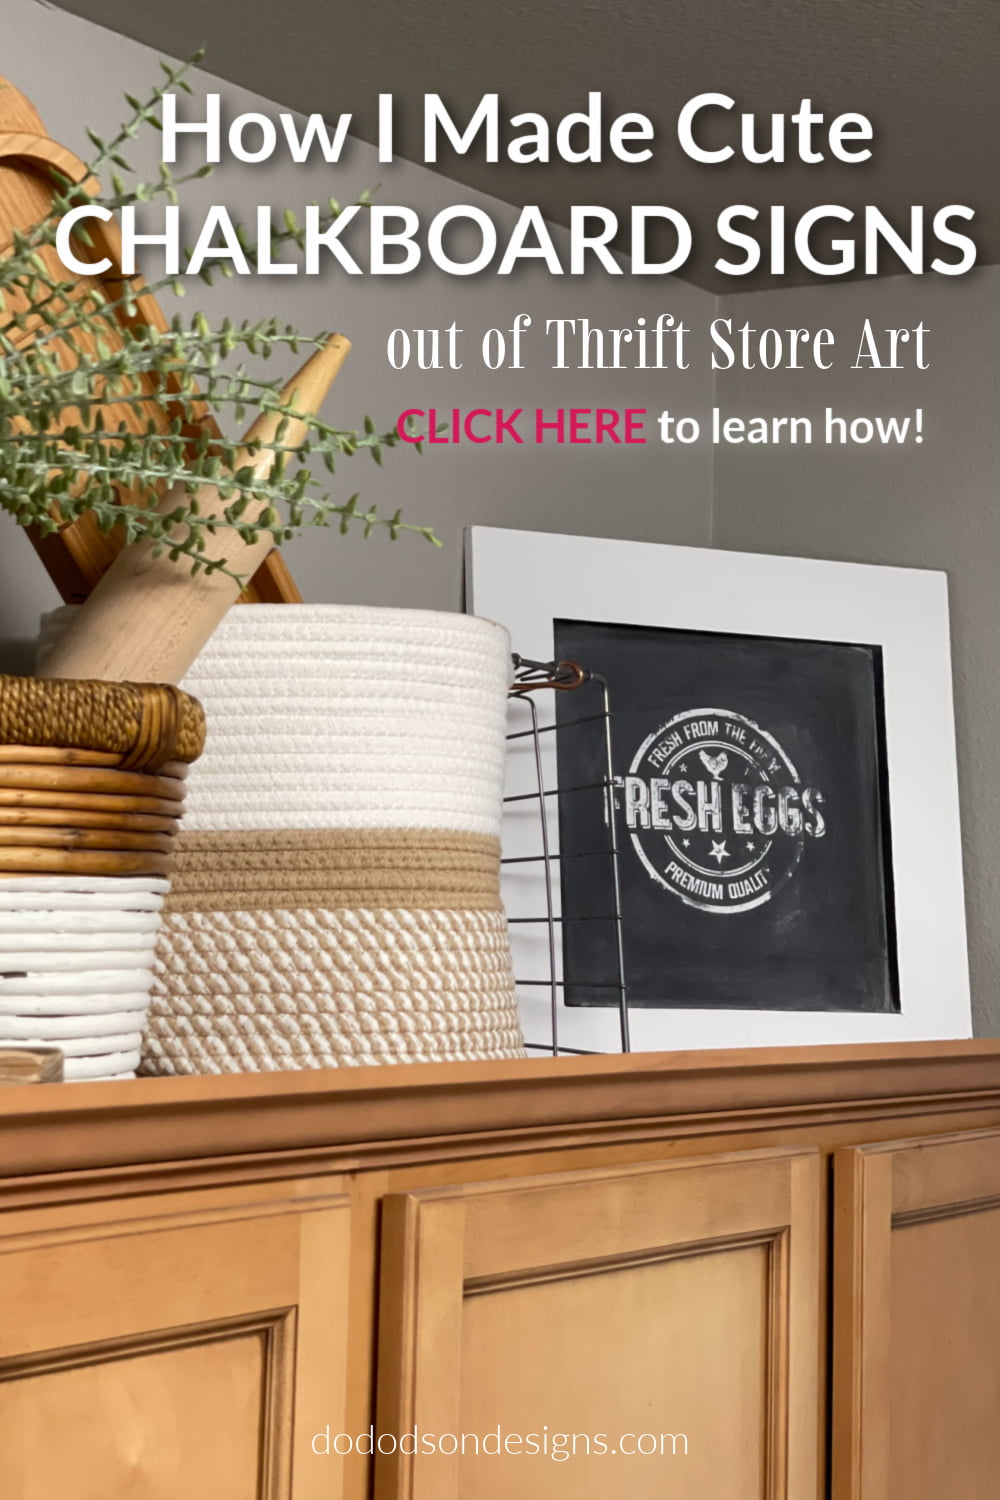
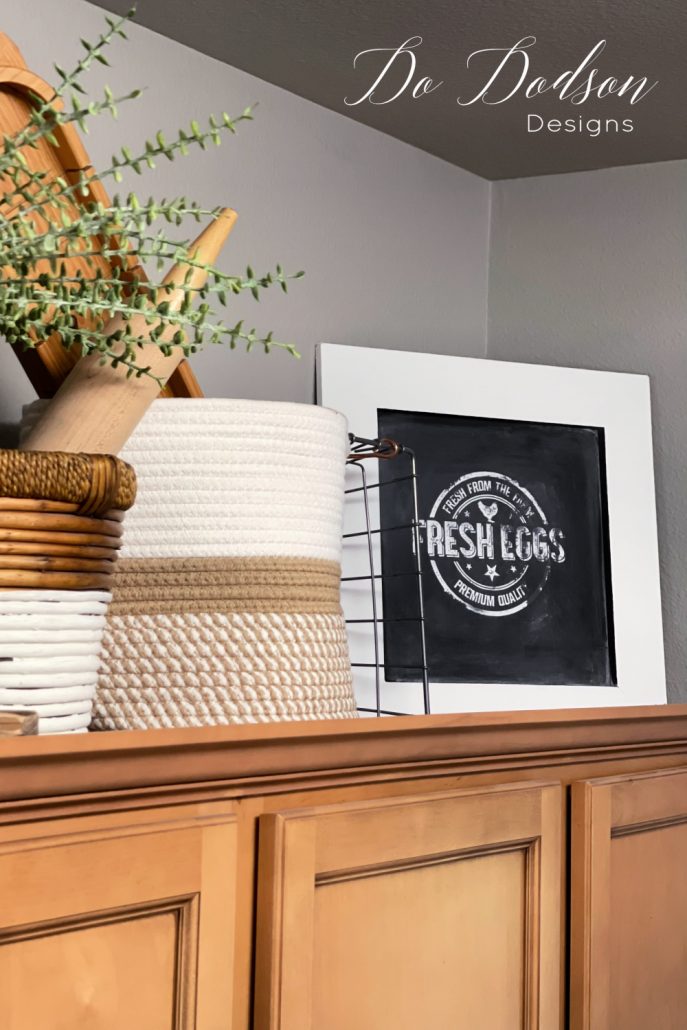
These DIY small chalkboard signs are perfect as home decor. I was so happy with this little sign that I added it all over my kitchen and dining room before deciding where it would permanently land.
I decided this one was the cutest above my kitchen cabinets. Nestled perfectly in the corner with my rope baskets, rolling pins, and some greenery.
And since my Granddaughter asked for one too, we made one from an old frame and some thin sheets of plywood for the backing. She practiced writing her letters for hours. 🙂


These cute DIY small chalkboard signs were so much fun and not to mention quick and easy to make. It was a bonus to learn that I could use the chalk mineral paint I had on hand to make them, and for sure, I’ll be making more.
I personally think we should hit all the thrift stores and salvage all the ugly artwork. Are you with me on this?
Thanks for joining me today, and as always, I would love to hear from you. Please drop me a hey there below and let me know what you think about this project. Also, don’t forget to pin and share this post with your creative friends. Spread that thrift store love!
Until the next project… xo, Do


Excellent idea and precious little girl.
She’s a hot mess, but I’ll keep her. 🙂 Thanks for joining me here. Have a blessed week. xo
Just recently found your blog and I am enjoying it so much. I am a DIYer too. Keep it up.
I’m so glad you found me, Shelley! Nice to meet you. I share projects weekly here. Everything DIY, some big, some small. Nothing we can’t do together! xo 🙂
Thank you for this project info. So cute! When you mentioned sealing the chalkboard, what do you use? I just want to make sure I understand this. You seal the paint with what before seasoning it with chalk?
Thank you
Hi Jerri!
I should have made that more clear. My apologies. I use the actual chalk and rub it over the chalk paint once it’s dry to seal it. I guess it doesn’t really seal it but adds a layer of chalk that soaks in to prevent the ghosting of letters. Ghosting meaning that the letters would still be visible after writing on the board. Does that help? 🙂
I had no idea Dixie Belle could be used as chalkboard paint! Once again, you have taught me a new thing! Pinning!
Awesome, Cindy! I love learning new ways to create too. 🙂
Hi Donna!! I love making chalkboards with Dixie Belle but I wonder if I’m doing them wrong. I am actually painting the glass on the frame and I’m using Easy Peasy spray wax before I season it. I didn’t know that seasoning actually seals it. Even on glass? Thank you for all your wonderful diy’s. I have learned so much from you these past years.
Hi Cheryl, you can use the easy peasy wax to seal it. That’s if you’re using a chalk paste and want to remove it with water and re-use it with another stencil but not with chalk paint. They are two different things. I guess the word “sealing” should be priming. The chalk rubbed over that freshly painted surface primes the board and prevents ghosting when you’re writing on the board. I’ve had this happen to me, and when it does, you have to repaint your board. The chalk lettering becomes permanent and can’t be erased. It soaks into the chalk paint. I hope I’m making sense. LOL
Just a comment on “sealing” the chalkboard paint. I also jumped to permanently seal the surface when I read your post, but immediately knew what you meant. The rubbed on chalk actually prepares the surface to be used again and again so that when it is written on it is readable, but more importantly the writing is temporary, meaning it’s not permanent. When you have ghosting, you know the surface was NOT properly prepared or “sealed”. Ghosting on a chalkboard is considered permanent not temporary. Another way to look at it is: chalking the board in preparation for finished usage can be compared to using a liquid brushed on sealant of some kind to prevent bleed through on a wood piece. Only quicker, much easier, and more fun….not to mention clean up is a breeze!
Thank you so much, Sharon. I do need to reword that. I always say I’m a doer, and sometimes putting the process into words is a challenge for me. I appreciate that so much. 🙂 xo