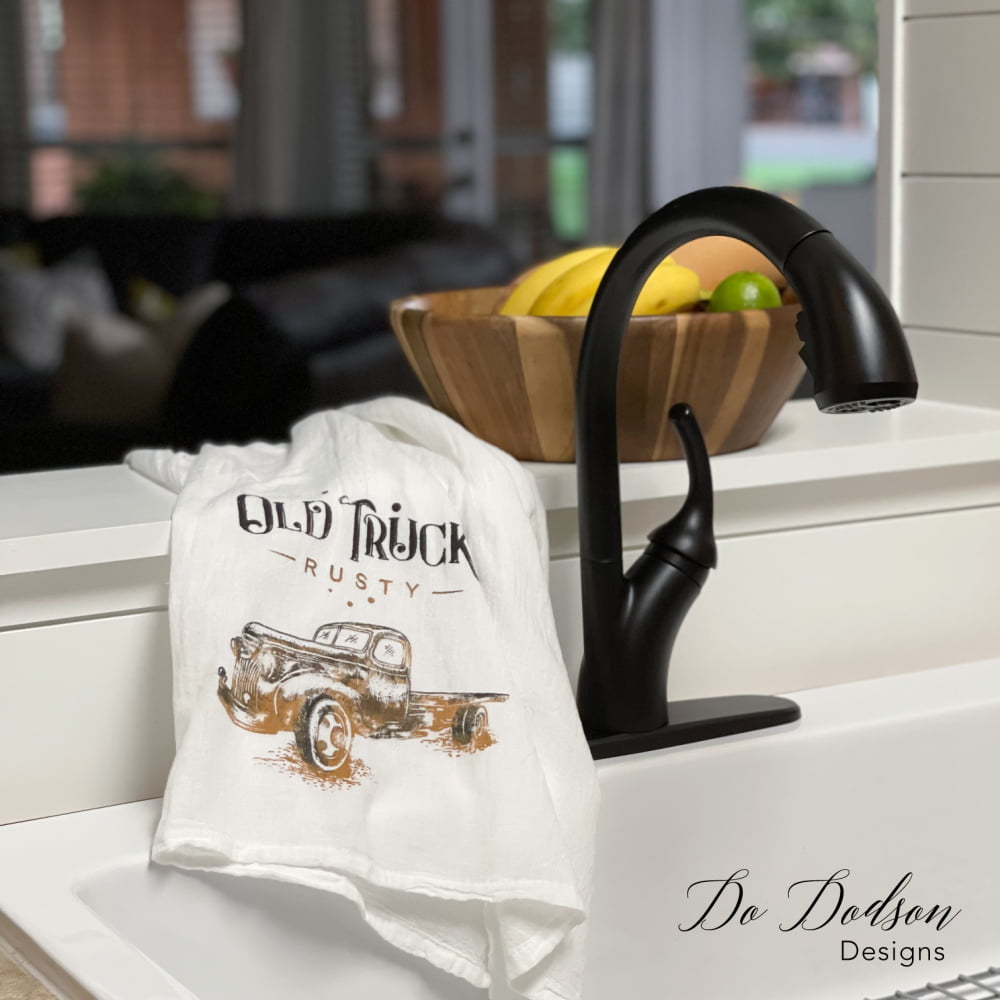
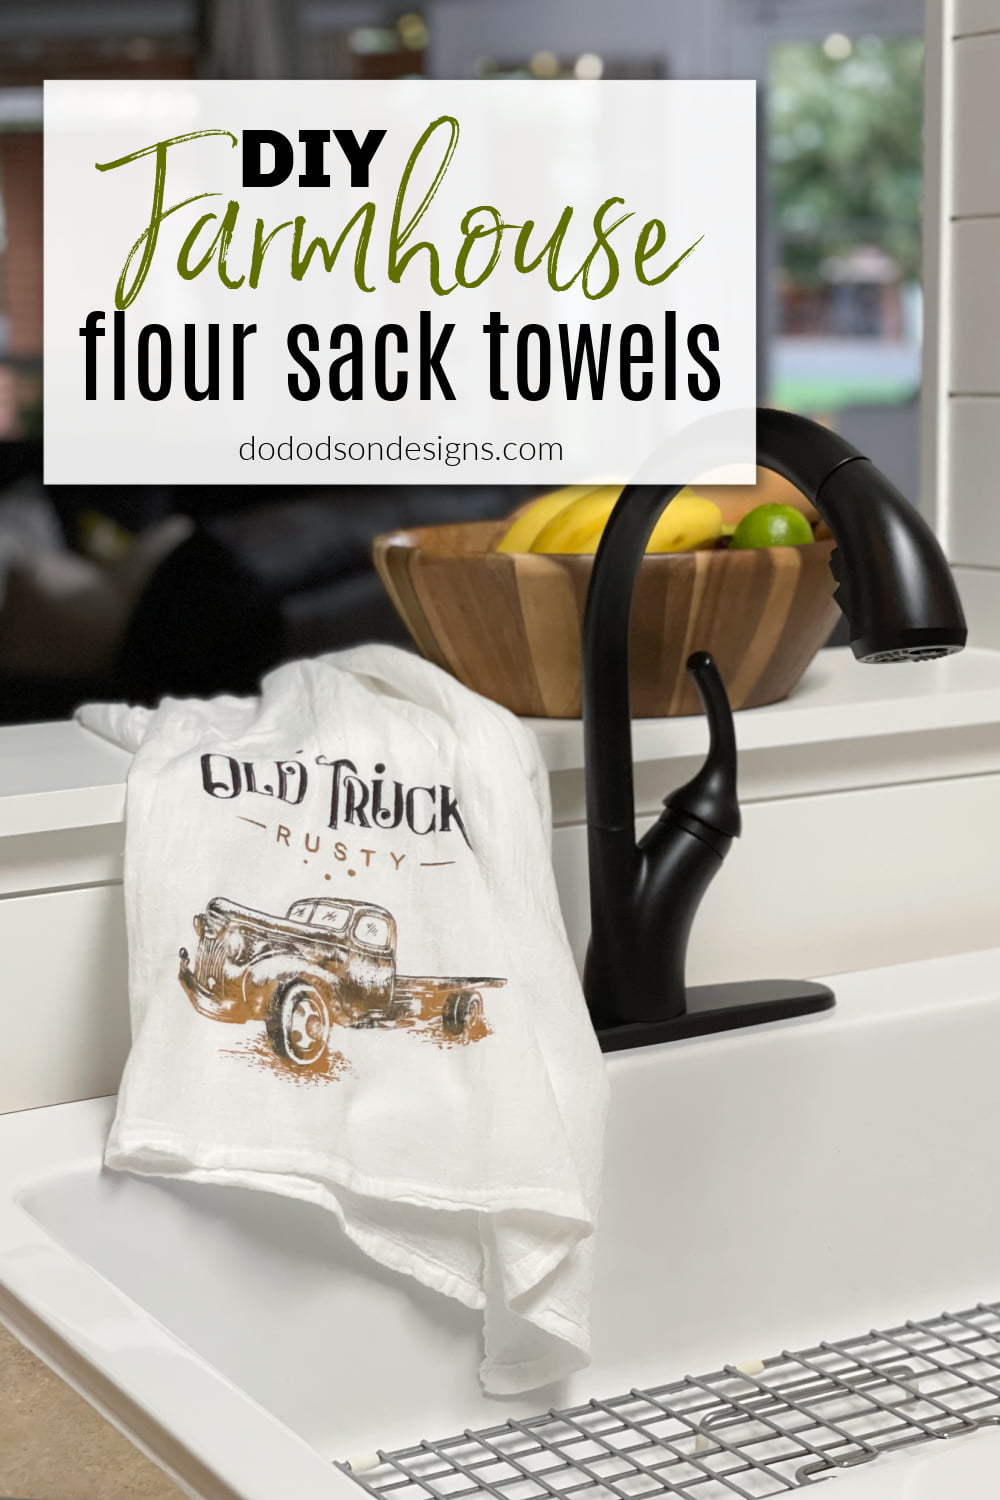
I fondly remember the feel of those old-fashioned DIY flour sack towels when I was drying the dishes at Grandma’s house after our Sunday afternoon meals. She had a lot of flour sacks and used them for a lot of different things. I still love and use them today, but I like to give mine a personal touch that matches my farmhouse-style kitchen.
And something a little different today because I’m joining some other creative friends in a blog hop. Be sure to keep your eyes open at the end of this blog for the details. You don’t want to miss this!
* As an Amazon Associate, I earn from qualifying purchases and through other companies as well. You are not charged extra to use any of the links, but any income I make helps me create more amazing DIY projects to share with you! To see my full disclaimer, click here!
Where To Purchase Flour Sack Towels
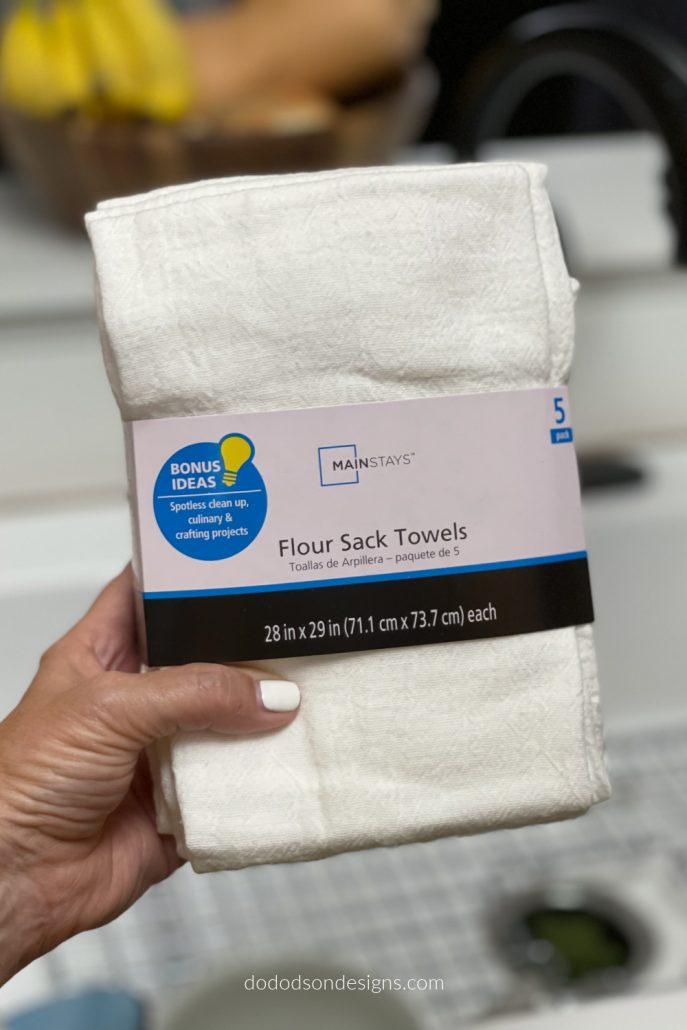
Grandma made her kitchen towels from actual flour sacks. Thus the name flour sack towels. But now, you can purchase them at local stores like Walmart or even online. Depending on how many you are buying, the cost of one is about $1 each.
Anytime I need a quick house gift idea, I grab a towel; in literally minutes, I have a cute gift. Who couldn’t use another kitchen towel? I can create several charming DIY stenciled designs on them with the help of my silkscreen stencils and be out the door with a gift in hand, and no one will ever know I just whipped it up the hour before. Well, except you and me. 😉

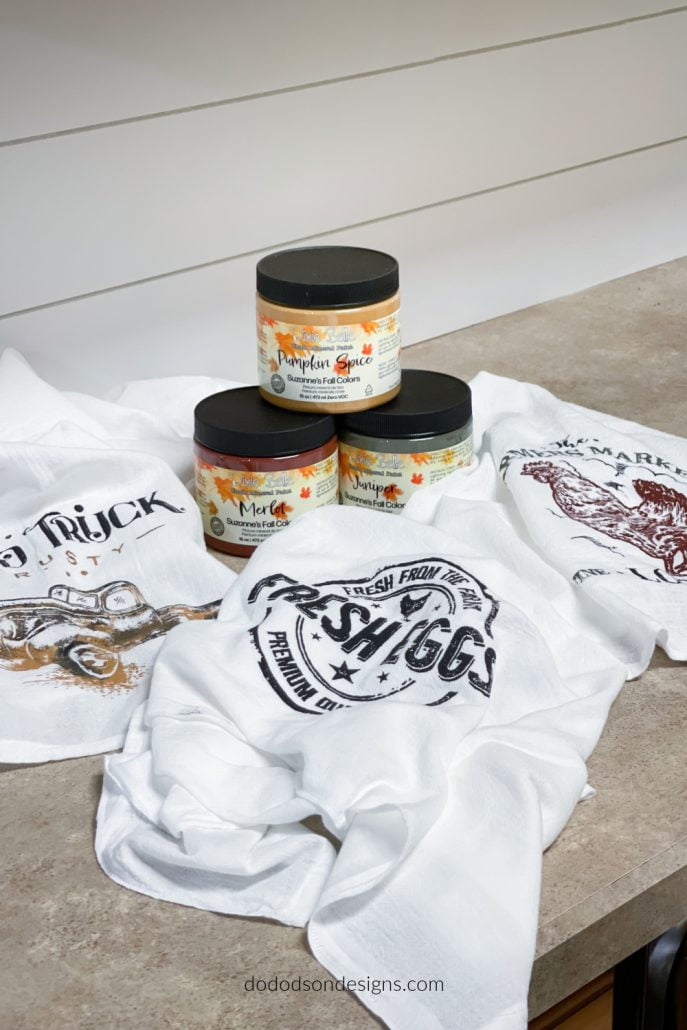
SUPPLY LIST:
- flour sacks
- scissors
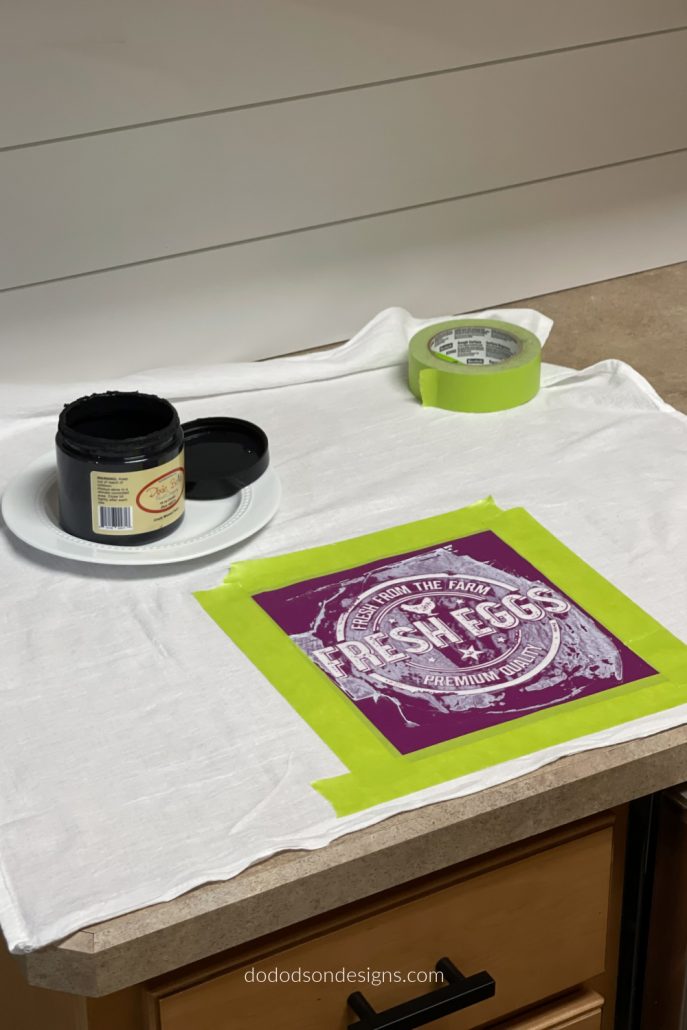
- painter’s tape
- Farmhouse Silk Screen Stencil
- thing-a-ma-jig
- Juniper (green) chalk mineral paint
- Pumpkin Spice (orange) chalk mineral paint
- Merlot (red) chalk mineral paint
Farmhouse Color Inspiration Kitchen Towels
For this DIY project, you’ll want a flat surface to work on. I used my kitchen countertop but be mindful that the paint will soak through the flour sacks in some areas. It depends on how much paint is applied, and you’ll want to use a minimal amount to prevent bleeding under the stencil. I’ll take about that later on.

STEP 1
Wash and iron the flour sack towels before stenciling for best results.
STEP 2 Sticky Side Down
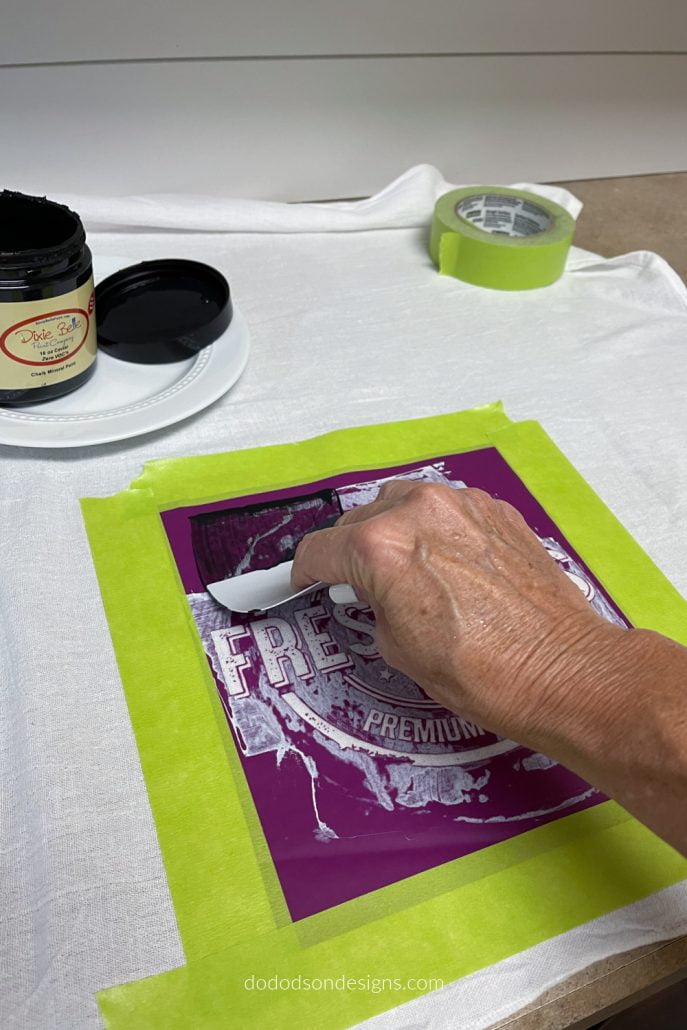
Remove the silk screen stencil backing (save for later) and place the sticky side down on the flour sack towel. I like to use painter’s tape to add a border around the stencil to protect the fabric from runaway paint. Yeah, it’s a thing. I’m notoriously sloppy at times, and Dixie Belle Chalk Mineral Paint is hard to remove from fabric once it’s dried. CLICK HERE to learn how I remove dried paint from clothing.
STEP 3 Easy On The Paint
Choose your favorite Dixie Belle chalk mineral paint color and add a small amount of paint on the thing-a-ma-jig or the squeegee hand applicator that comes in the silkscreen package and gently drag across the stencil. Remove any excess paint from the stencil.
This type of stenciling takes minimal paint, and if you apply it too thick, the color will bleed under the stencil, and you won’t be happy. Treat it just like you would any other stencil project. Less is more.
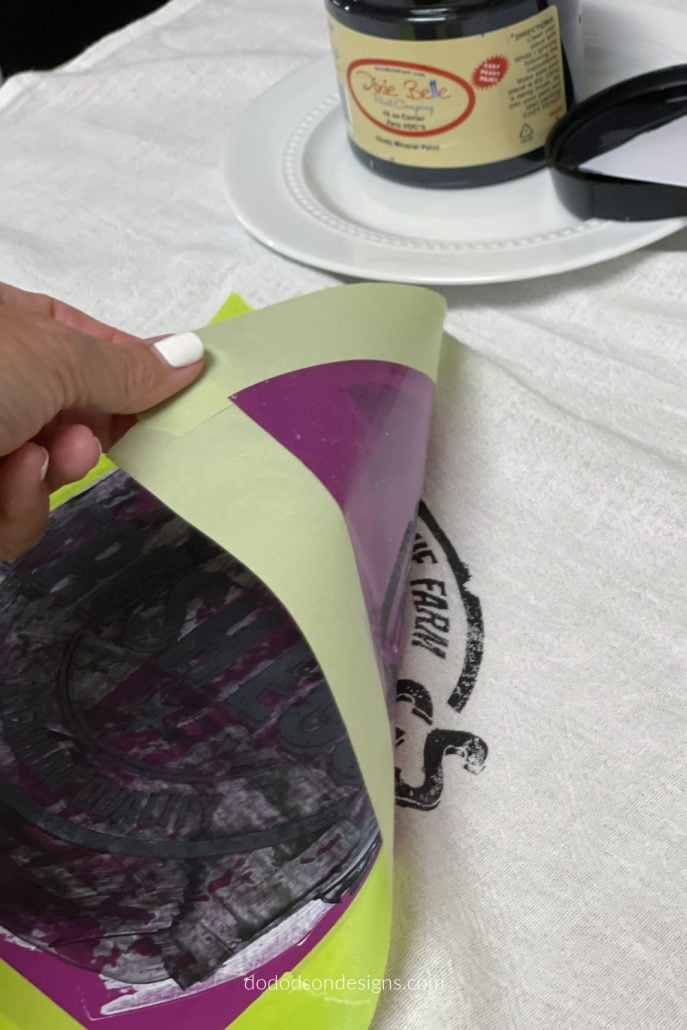
STEP 4 Removing The Stencil From The Flour Sack Towel
Immediately remove the stencil from the flour sack towel, careful not to drag it across your beautiful white towel. Yeah, I messed the first one up. It’s going to happen. Better me than you!
STEP 5
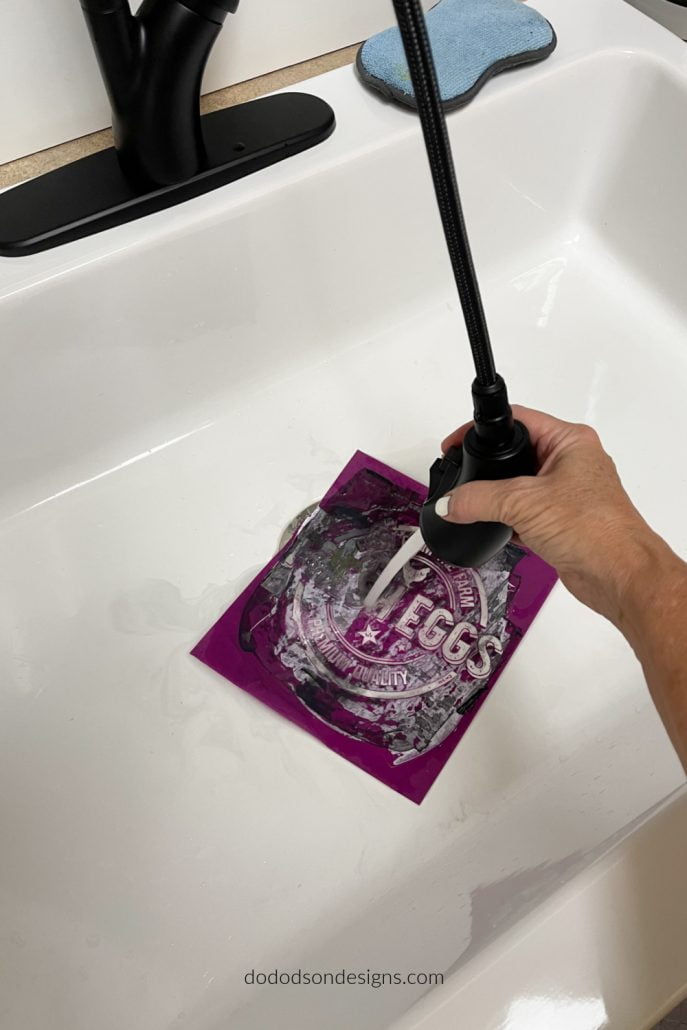
Immediately rinse the silkscreen stencil with water. You can use mild soap and water if you like. Lay the stencil on a flat surface to dry and replace the backing for storage to use another time. Each stencil is reusable up to 10 times.
That’s a lot of flour sack towels!
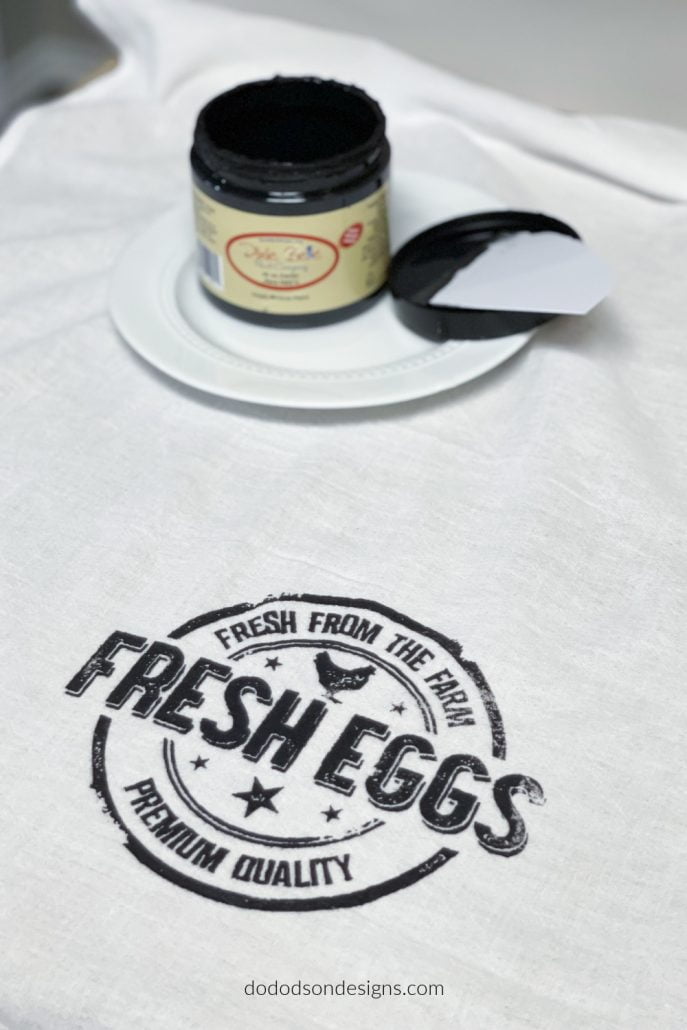
I used these beautiful colors for my DIY flour sack towels and blended the paint over the stencil. It was super easy! You can layer the paint but be super-mindful not to apply too much.
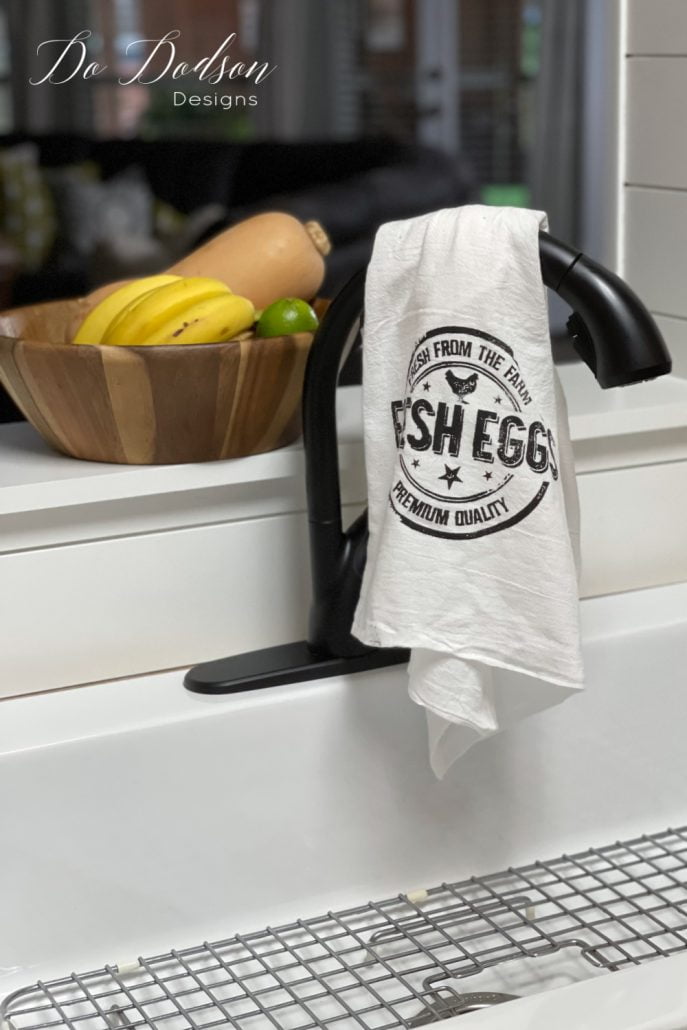
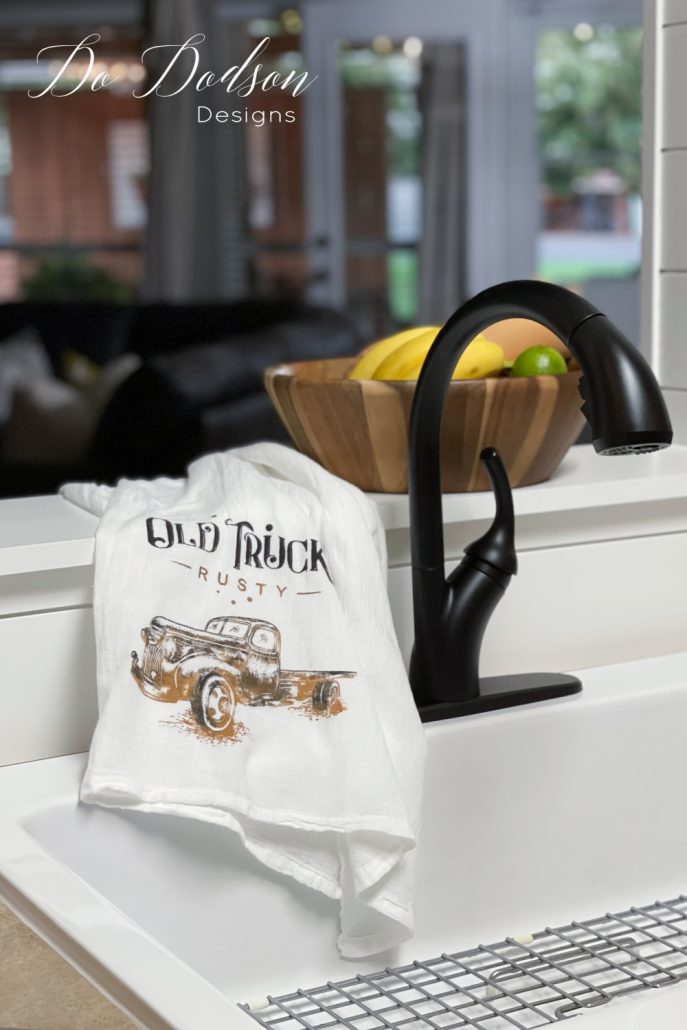
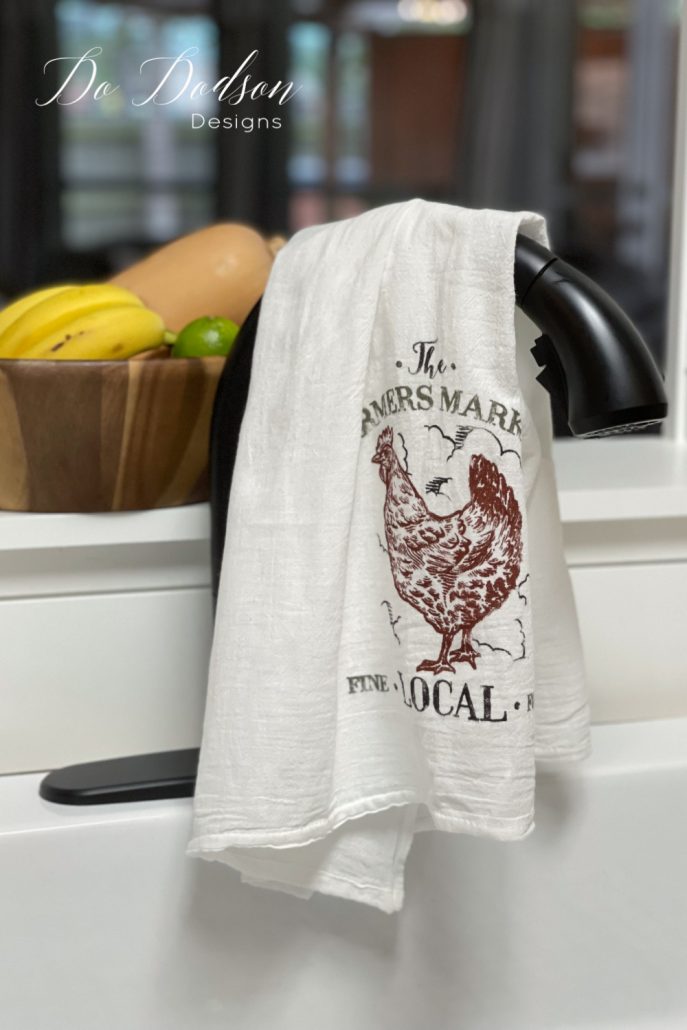
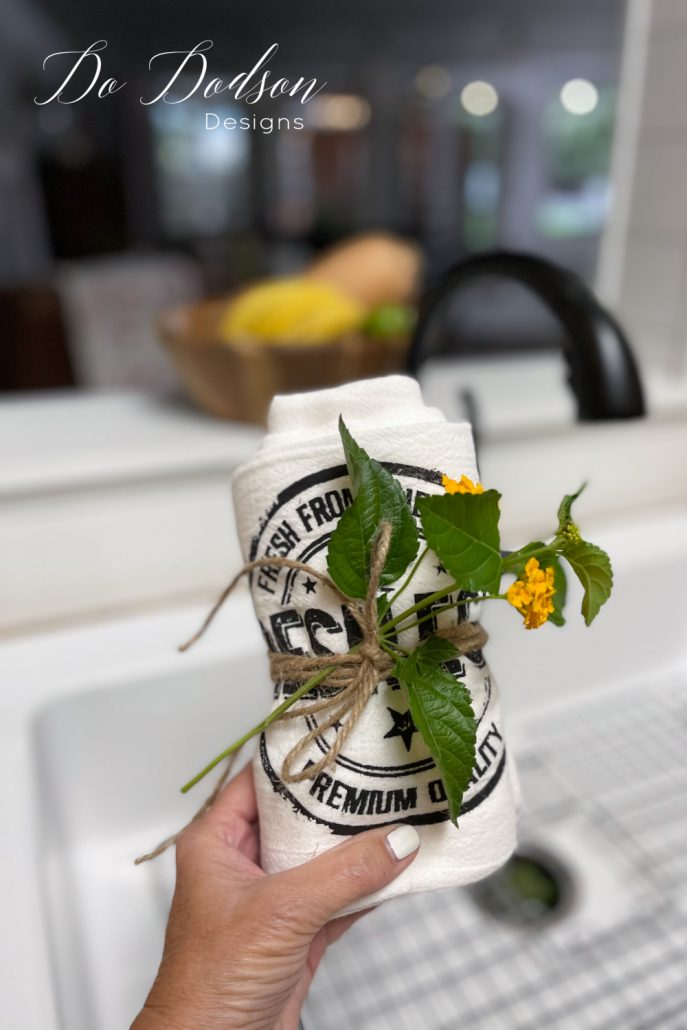
As I mentioned above, these make great last-minute gifts. Tie a piece of twine around them and run next door and clip a few flowers off of your neighbor’s overgrown garden. 😉
And for your spirit-loving friends, try wrapping the towels around a bottle of wine. Now, guess who gets reinvited to the next dinner party? 😎
Thanks for joining me today. Like this project, or you have an idea to add to this DIY project. Let me hear from you in the comment section. And DON’T forget to check out the BLOG HOP below for more inspiration.
Until the next project… xo, Do
Blog Hop With My Friends
And if you’re hopping over from Cindy’s Blog at Reinvented Delaware, thanks for joining me.
If you’re headed to the next blog hop, head on over to Tammy’s blog – She has a FUN Halloween Decor Idea for the outdoors! CLICK HERE for Tammy’s post at the White Lilac Farmhouse.
Or you can CLICK the photos below to check them all out!


Oh Do, I just love this project so much. It is perfect to make for gifts for family and friends. I am definitely going to make some for Christmas gifts. I did not know you could buy plain flour sacks online. I am going to snag some of them too.
Thanks, Tammy! Wouldn’t this make a great girl’s craft night at home party?
Great job— I love these so much, Do! Gorgeous gift idea! Pinning this one so I don’t lose it!
Thank you, Leslie! I love making purposeful gifts. I use mine all the time. 🙂
Omgoodness, these towels are the cutest!! This will most definitely be on my list of gifts for friends and family this Christmas 🙂 Thanks for the idea! Pinned 🙂
Thanks, Cindy! I have plans to make some with my Mother. I think we will enjoy making them too. 🙂
I love these! What a great idea. Thanks for sharing, my friend. 😘
Thanks, Wendy! You are more than welcome. So glad you enjoyed the post. 🙂
I adore these towels! Such a great idea Happy Saturday, my friend.
Thanks, Renea! Happy Saturday to you as well. It’s beautiful weather here. 🙂
Love the towels. Does the Dixie Belle paint need to be heat set or anything to make it permanent. And if not how does it hold up being washed?
Thank you!
Hi Sharon! I don’t heat set mine, and they hold up very well. The clothes that I wear when I paint are a great testament. LOL, I’ve ruined many new shirts.
I love this project and it would make a great gift.
Hi Paula! I thought so too. 🙂
This is such a great project! I was just looking for towels and didn’t see anything I liked. So pretty!
Thanks, Melba. I know the feeling. 🙂
Hi Do! Love the flour sack ideas! The Dixie Bell paint stenciled on them stays well with washing? Where did you get your stencils?
Thank you 😊 Jen
Thanks, Jen! Yes, the paint adheres well to the fabric. I have a lot of paint clothes because it sticks so well. LOL, The silk screen stencils are from Dixie Belle. There are links in this post. 🙂