

Hello creative friends! We’ve all had that one time where we wanted a certain look or design, and we couldn’t find the fabric we wanted. It happens to me all the time. Instead of settling for the second-best, why not create your own designs? Learning how to stencil on fabric is easier than you may think, and you have total control over the fabric, design, and color. Let’s get started!
Estimated reading time: 7 minutes
This post contains a few affiliate links to help you find the products I use. You are not charged extra to use any of the links, but any income I make will be used for more amazing DIY projects to share with you! To see my full disclaimer, click here!
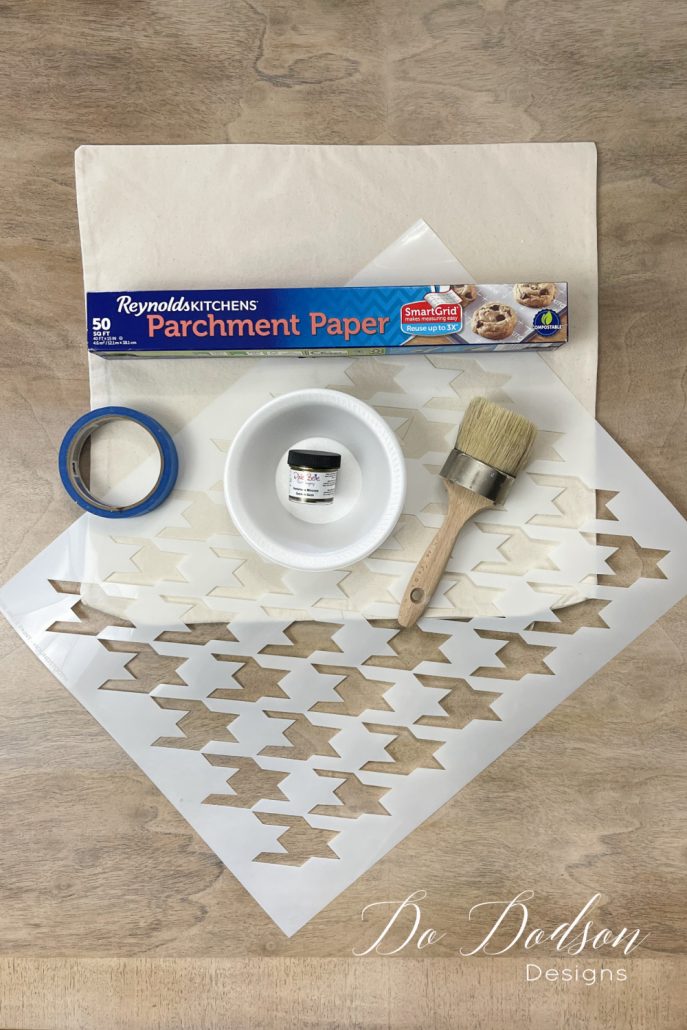
Gather Your Supplies
- Cotton Fabric or Cotton Fabric Pillow Covers
- Hounds Tooth Stencil or stencil of your choice
- Repositionable Adhesive Spray (recommended)
- Gemstone Mousse or (fabric medium – paint)
- Paper towels, disposable bowl or plate
- Stencil Brushes or Large Wax Brush (depending on the size of the stencil)
- Painter’s Tape
- Apron or painting clothes (recommended)

What Type Of Fabric?
Well, you can use any fabric you like. But some of the best results are on natural fiber, like cotton. That’s my preference.
If you have never stenciled fabric before, start with a tighter weave. The fabric is more stable and easier to work with. With a loose weave, the paint could fall through the fibers and show on the backside. No, that’s a bad thing if you’re planning on stenciling a pillow cover or using a backing on your fabric. Curtains would be a good example of this just so that you’re aware.
Do I Need To Pre-wash The Fabric Or Not?
Not all will agree with my opinion, but I suggest that you pre-wash your fabric. Here’s why.
- Fabric shrinks, especially cotton, but it depends on the fabric you choose.
- Fabric can shrink unevenly, and that can distort your design.
- It removes the manufacturer’s chemicals and protective agents.
If you decide to pre-wash, it’s necessary to iron the fabric afterward. This helps the fibers to lay down and makes the fabric easier to work with. You’ll need a smooth surface for the best results.
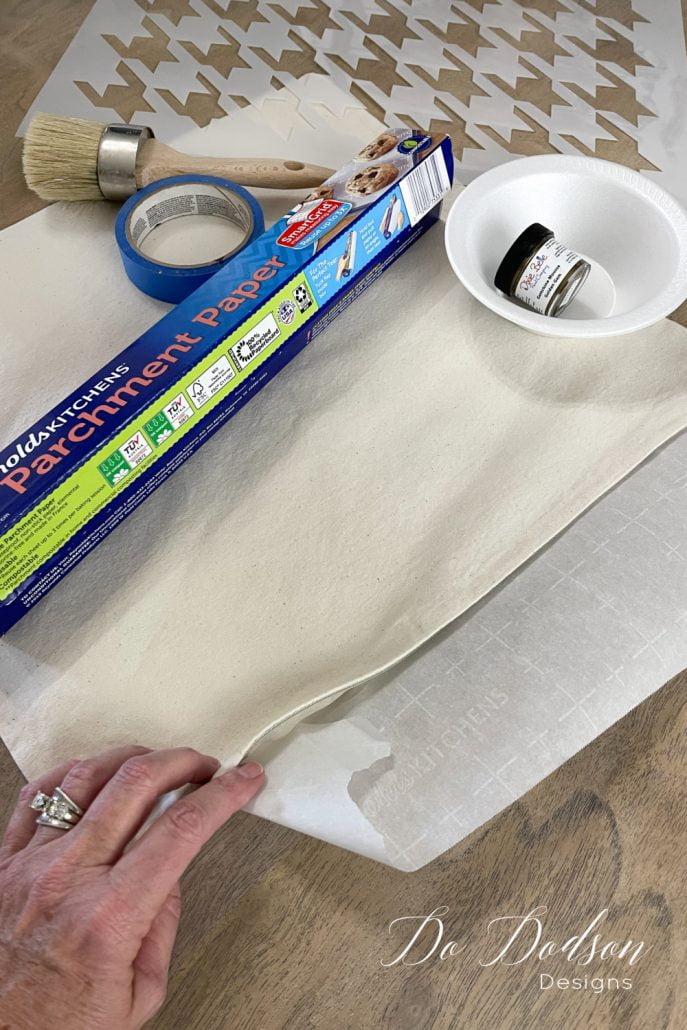
How To Prevent Bleed-Through On Fabric
For this project, I’m using a cotton pillow cover. To prevent bleed-through to the other side of the fabric when stenciling, try using a parchment paper barrier. Slide a piece inside the pillow cover, and you won’t be sorry.
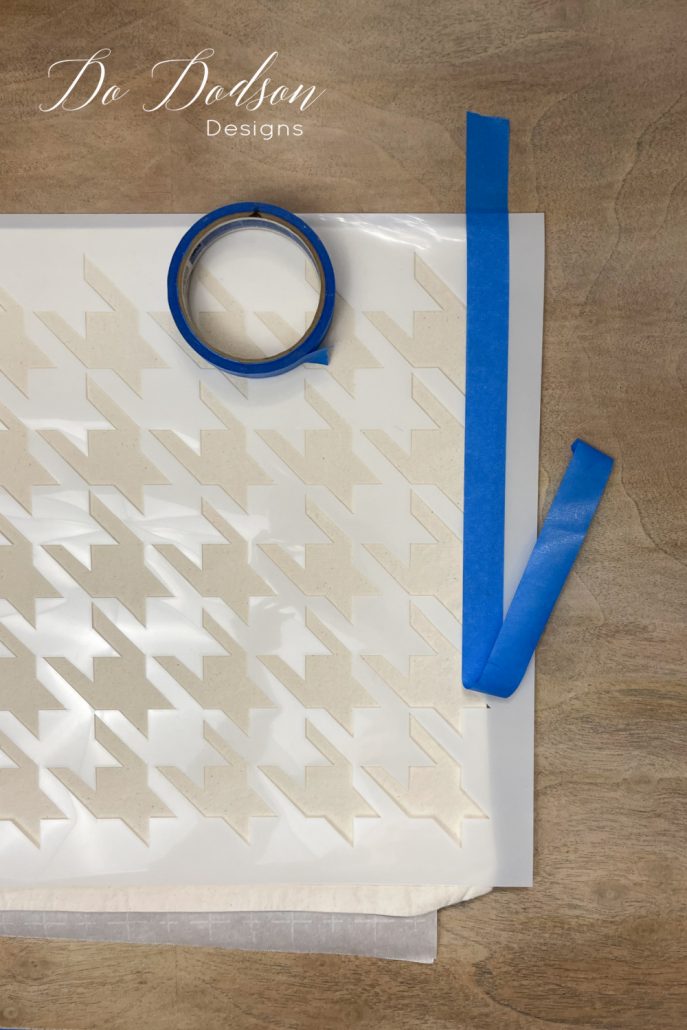
Step 1: Stabilizing The Fabric And Stencil
Cover your surface first. Secure your fabric and design down with painter’s tape. My design was a bit larger than I wanted, so I used painter’s tape to kill the edges. This is a great way to customize your stencils. Also, be mindful to line up the fabric grain so that your design is properly aligned.
Step 2: Repositional Adhesive Spray… Recommended
Using a prepositional adhesive spray on the back of your stencil can be very helpful if you want that crisp, clean look with your stencil design. Fabric can shift and move, so it’s recommended. But I did not opt to use it with this project. 😏 I ran out. Unlike stenciling on hard surfaces, you can’t fix an oops. Only try this to secure the stencil in place with your hand and paint with the other. NOT recommended, but you know me.
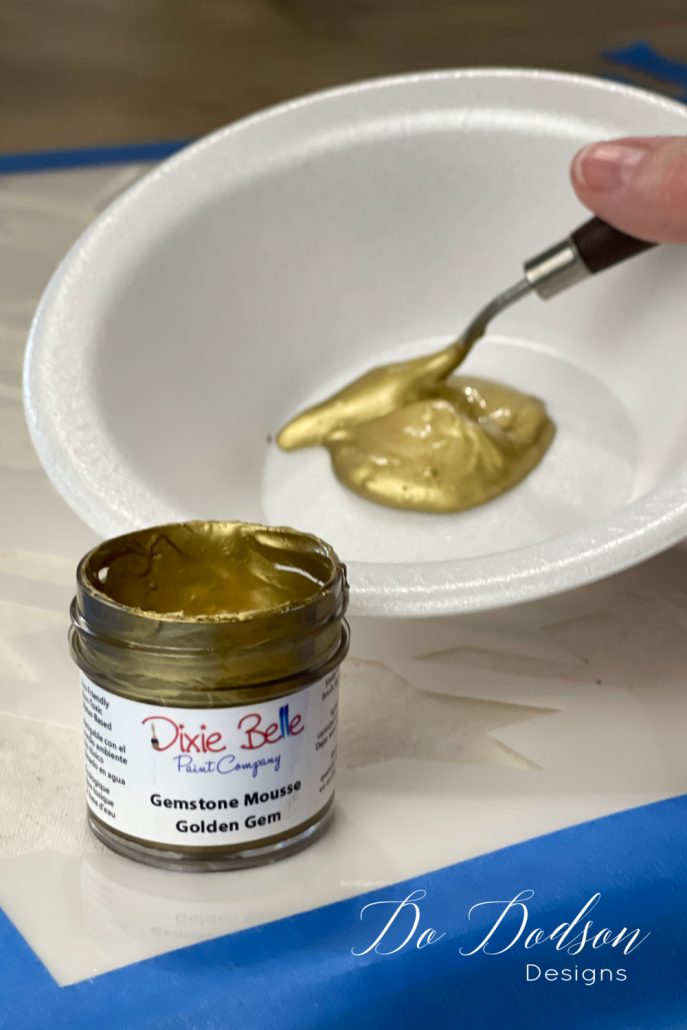
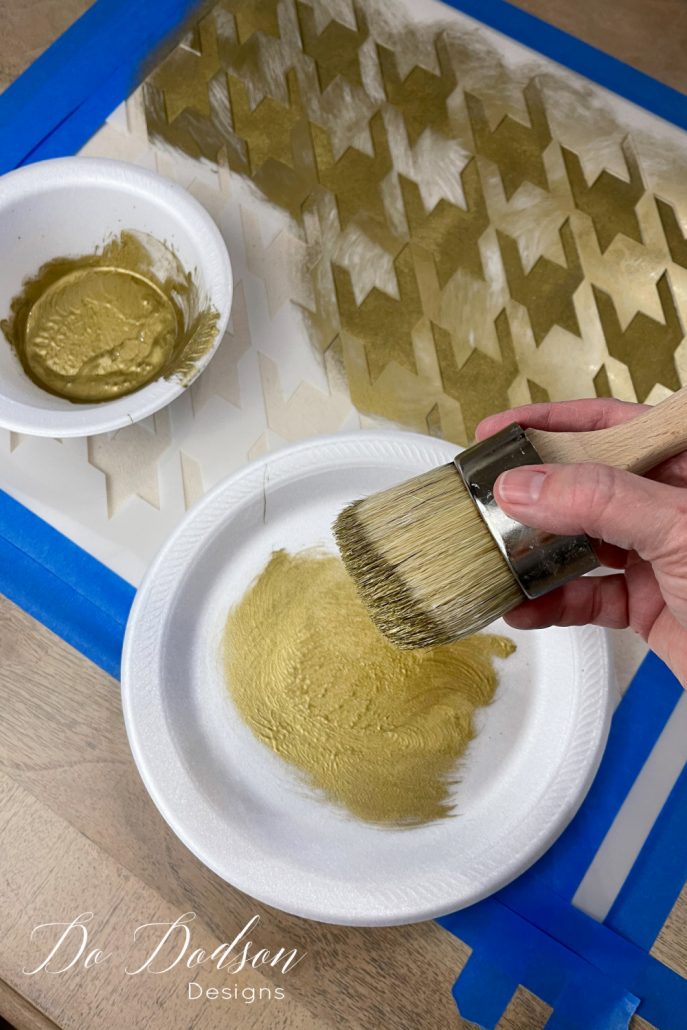
Step 3: Applying The Paint/Gemstone Mousse
Depending on the paint you’re using, you should always apply it in layers in a tapping motion (up and down), careful not to push the paint under the stencil. Applying too much paint will cause bleeding under the stencil. Small amounts in layers with a good stencil brush are the recipe for success.
I’m using a new product by Dixie Belle Paint Co. called Gemstone Mousse in Golden Gem for this Pillow project. It’s a bit thicker than paint, and it’s water-based, so I opted to thin it down a bit with water. To cover this large stencil on this 18X18 pillow cover, I used about 1 tsp of the mousse and a few drops of water to create the consistency I needed. Mix well before application.
I was rather surprised after adding the water that it did not affect the brilliance of the metallic mousse.
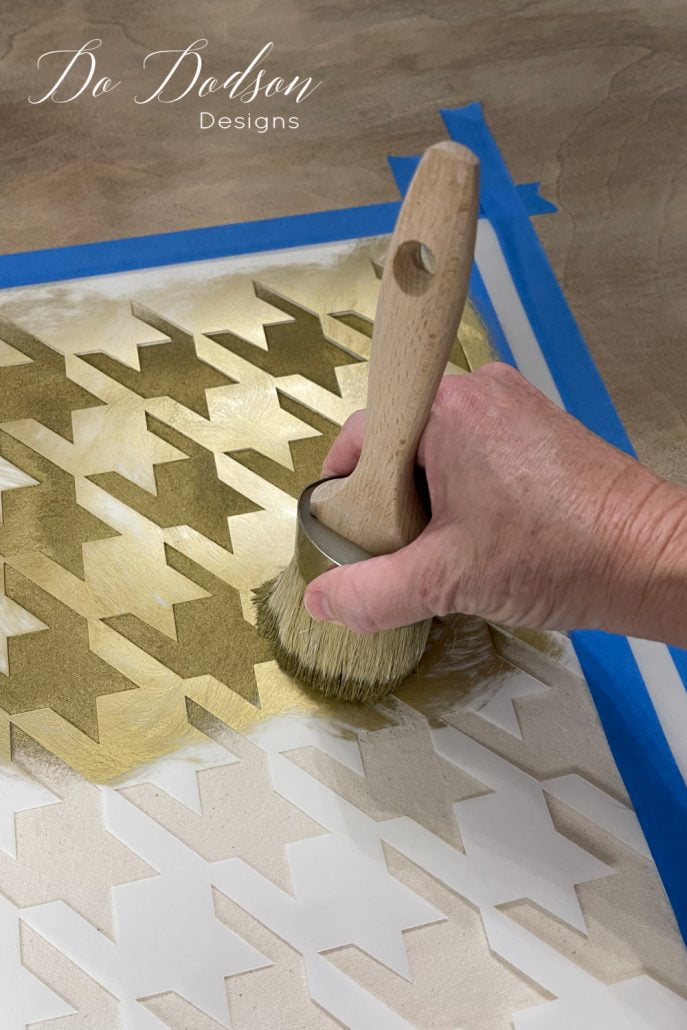
I prefer a circular motion with my stencil brush (flat bottomed wax brush) and not the traditional up and down to apply the Gemstone mousse to the fabric. I tried both ways. The reason is because of the consistency of the paint. It’s a moose and not paint… but it is paint. It’s a paint with a mousse texture, so it’s creamier than paint. Therefore less likely to bleed under the stencil. YAY!
I also noticed that it grabs really well to the fabric. This highly pigmented mousse will now be my go-to for stenciling on fabric.

Once the paint/Gemstone Mousse has fully cured (about 24 hours at room temperature), you should be good to go.
My Findings Using The Gemstone Mousse On Fabric
- great coverage
- the metallic isn’t as brilliant on fabric but it’s still is a nice color
- easy to apply consistency
- bonds well to fabric
- washes off of stencils and fingers easily
- bonds after 24 hours (did not rub off)
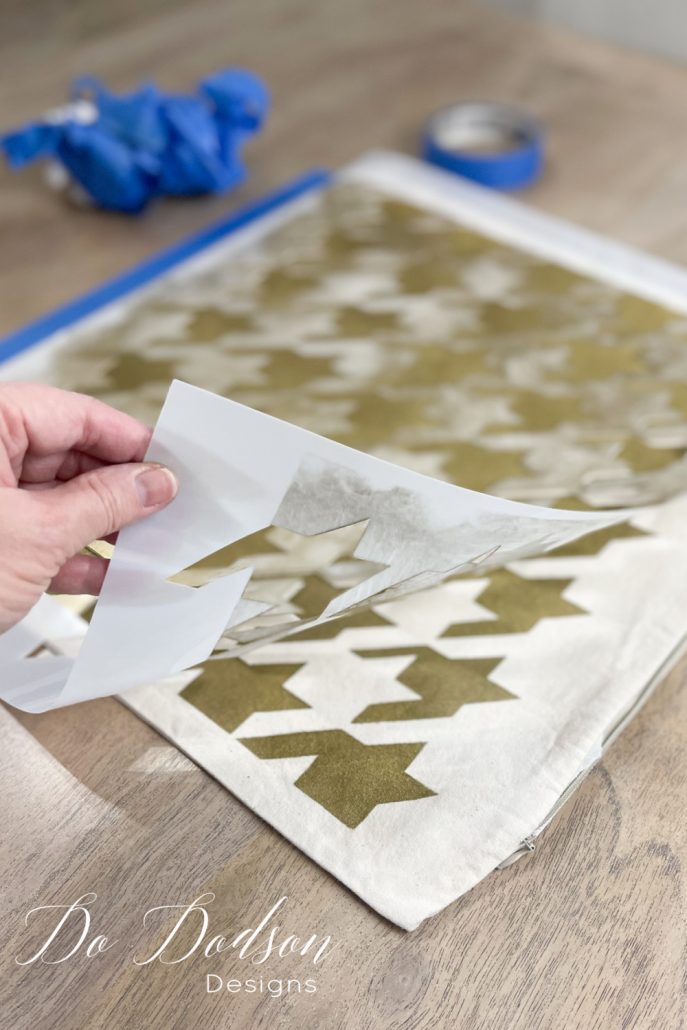
Remove the stencil immediately after applying your paint, and wash the stencil with warm soapy water. Rinse with water and allow to dry for your next project.
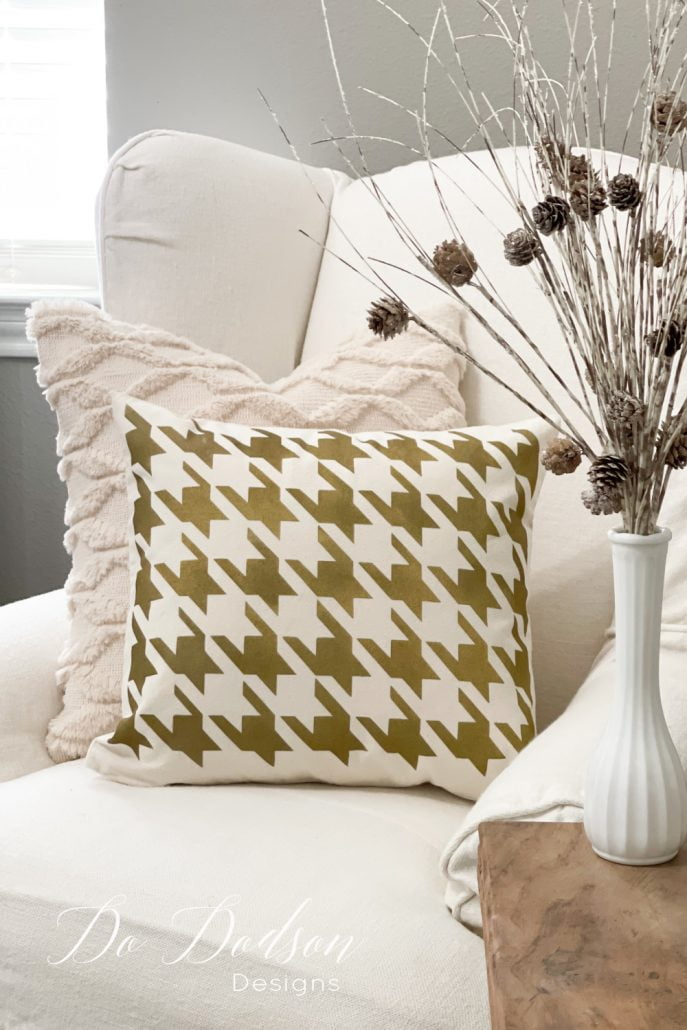
Here’s how my pillow cover turned out and in its new home… my office. Crisp, clean lines, and a design that I L-O-V-E, in a color that I love, on the fabric that I love.
Thanks for joining me today to learn more about how to stencil on fabric. So, the next time you can’t find the pattern you want on fabric, you’ll know exactly how to get what you want.
Until the next project… xo, Do
Oh, I like this. I am just learning to sew dropcloth canvas into pillow covers, which will make great backgrounds for stencils. I hand painted a complicated design on the first two (Day of the Dead Skulls) for my granddaughters, but I do love stencil patterns. The mousse paints will offer new stylish colors, too. What are some of your favorite stencil brands/patterns?
Hi Sabrina!
I don’t have any designs in particular that I love more than others. It’s all about what patterns work with what I am creating. But I do love cutting edge stencils. https://www.cuttingedgestencils.com/ They have larger patterns for big projects. You might also check out Dixie Paint Co. https://dixiebellepaint.com?aff=80 They have a new line coming out. Your Granddaughters are blessed to have a creative Grandmother. Enjoy! xo 🙂
Hey Do, I didn’t know fabric could be stenciled. Yours turned out perfect. I may or may not be able to talk myself into trying this. I have a million stencils so I need to at least try this. I have one of the new mousses but I haven’t used it yet. I just love your pillow.
Hello Barbara! Thanks! Test it first on a piece of scrap fabric. That’s what I did. That made me more comfortable applying it to my pillow. Let me know how it works out. 🙂
Brilliant and I love love love your after pic. Magazine worthy my friend! XOXO
Thank you, Denise! You’re always so encouraging. xo
Hi Do! Can I stencil on fabric with chaulk paint? I painted an antique settee and would love to stencil the drop cloth fabric for the seat to match. Any suggestions?
You absolutely can, Susan! You can even paint the fabric. Practice on a scrap before. 🙂 have fun!
Is there a way t seal the paint, so if you wash the tea towel (or whatever you’ve stenciled) it doesn’t fade?
Hi Carole, I don’t use a sealer. Chalk Mineral Paint sticks to fabric extremely well. As for fading, of course, it will fade with regular use. Most towels do.
Hi Donna,
Love the pillow, I most definitely will take all your advice step by step! This will be a 1st for me, but am excited.
Yay, Caroline!
This is a great project to get you started. Have fun creating your pillows. 🙂 xo