Using a stencil on wood furniture isn’t uncommon, but when you want a little extra, you can get a peek-a-boo design/pattern that is quite pleasing to the eye when you apply it to the drawer sides. I call it eye candy! Here’s how I do it.
* As an Amazon Associate, I earn from qualifying purchases and through other companies as well. You are not charged extra to use any of the links, but any income I make helps me create more amazing DIY projects to share with you! To see my full disclaimer, click here!
How To Stencil On Wood Furniture With Chalk Paint
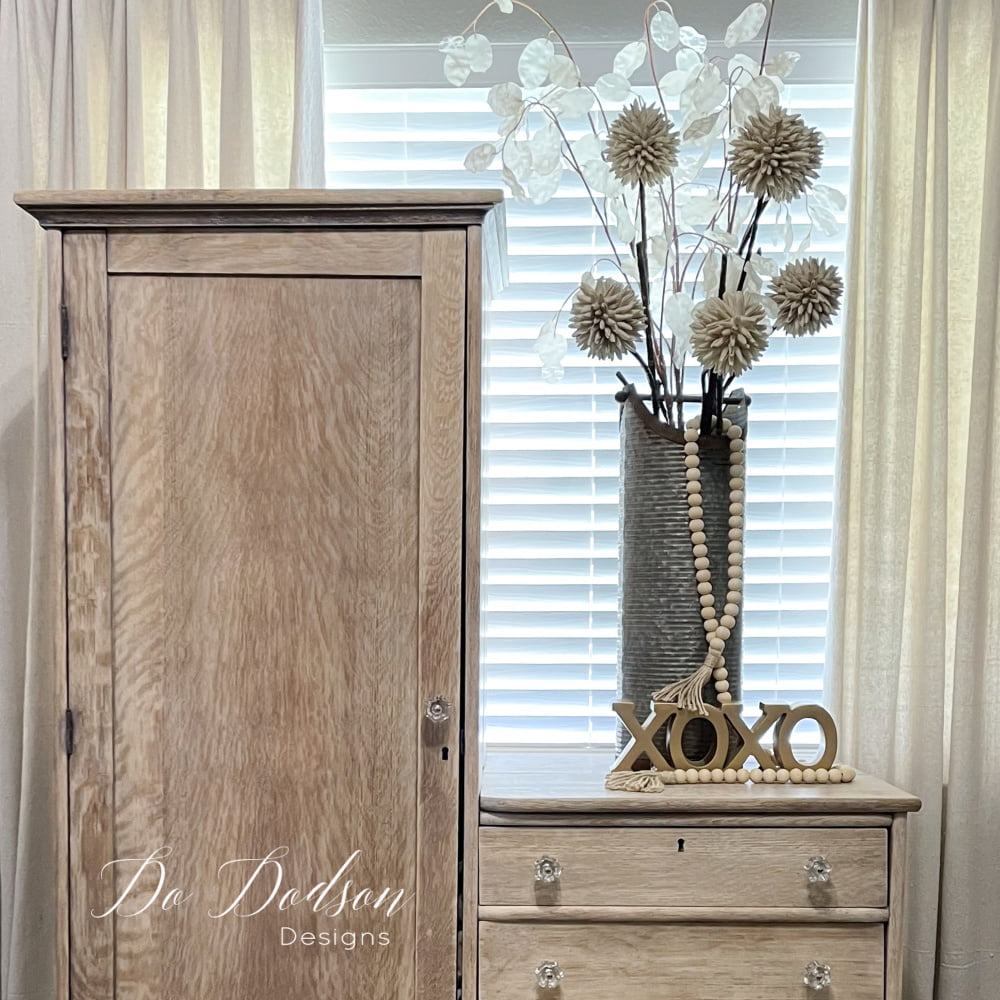
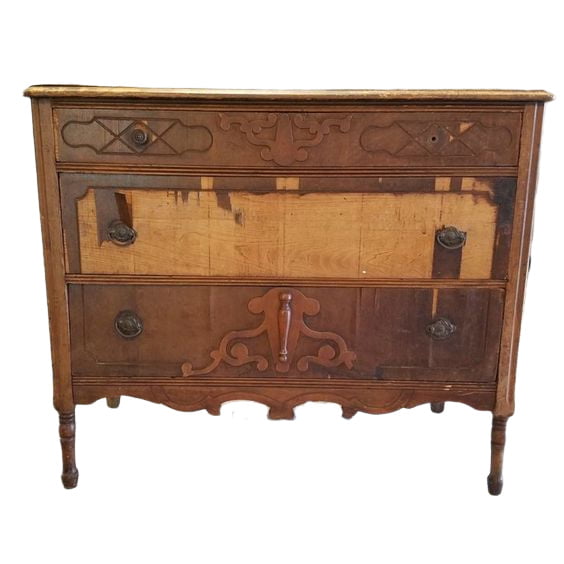
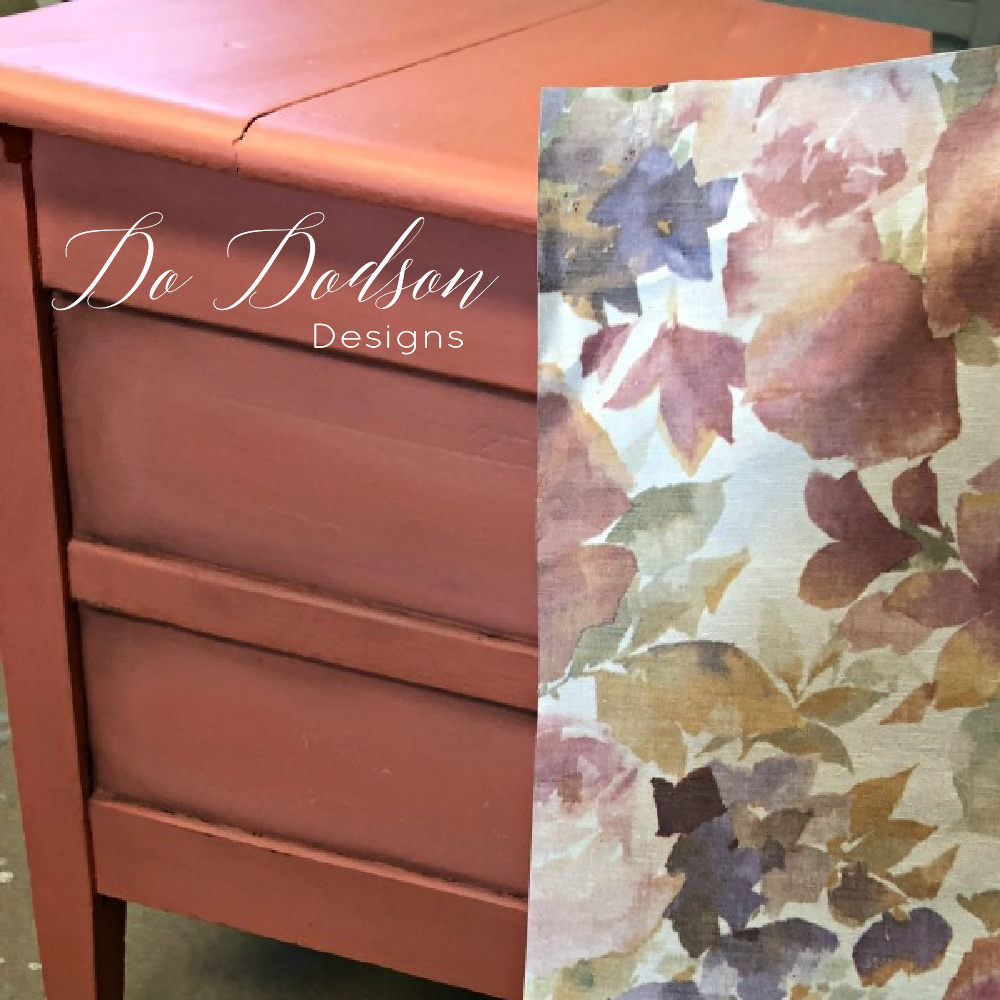
After recently beaching the wood this antique Chifforobe, I decided it needed a little something special, but I didn’t want to take away from the beauty of the wood. I’ve done this method before on other pieces, and I really like the look. It’s super easy, and since I already had chalk mineral paint on hand, I just used what I had, and it turned out great. Here’s how I did it.

SUPPLY LIST: Click on the products below to learn where you can purchase them.
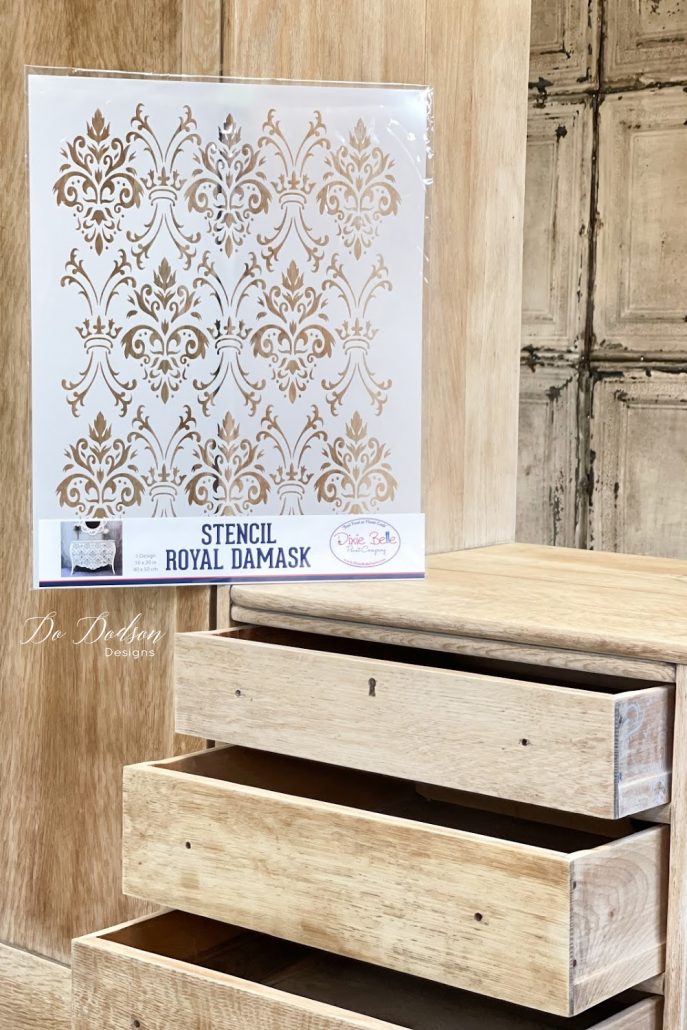
- Royal Damask Stencil
- Chalk Mineral Paint
- disposable foam plates
- foam roller
- painter’s tape
- 220 abrasive sanding pad (use my discount CODE DOIT10 to get an additional 10% discount when purchasing)
How To Stencil On Wood Furniture… Peek-A-Boo Drawers
STEP 1 Find a stencil with the pattern you love.
STEP 2 Add a small amount of paint to a styrofoam plate.
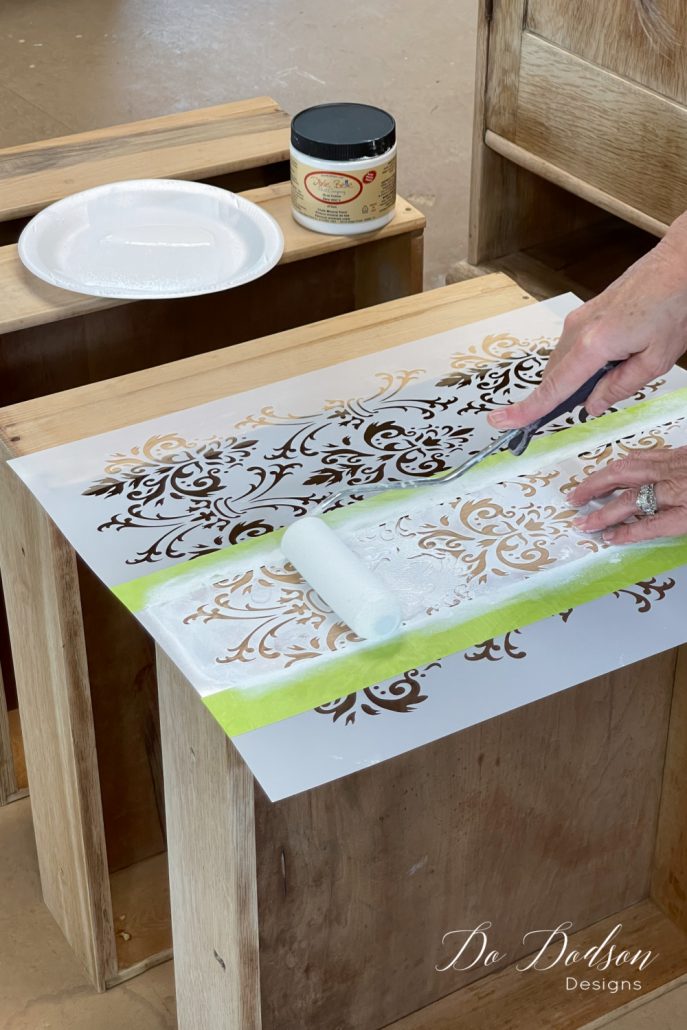
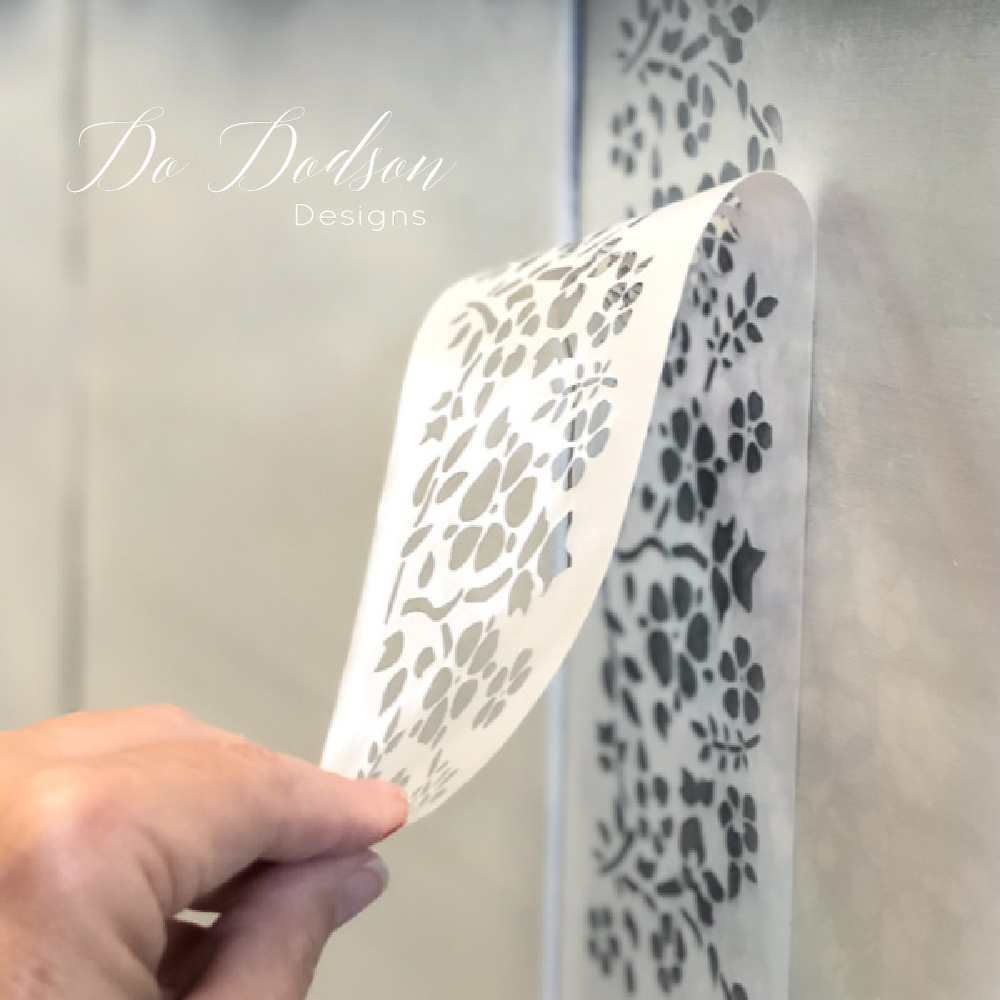
STEP 3 Lay the stencil over the area you want to apply it to. Using painter’s tape over the stencil allows you to get the size you want without damaging the stencil—no need to cut the stencil to fit. That’s just the way I DO it.
Use Minimal Paint When You Stencil On Wood Furniture
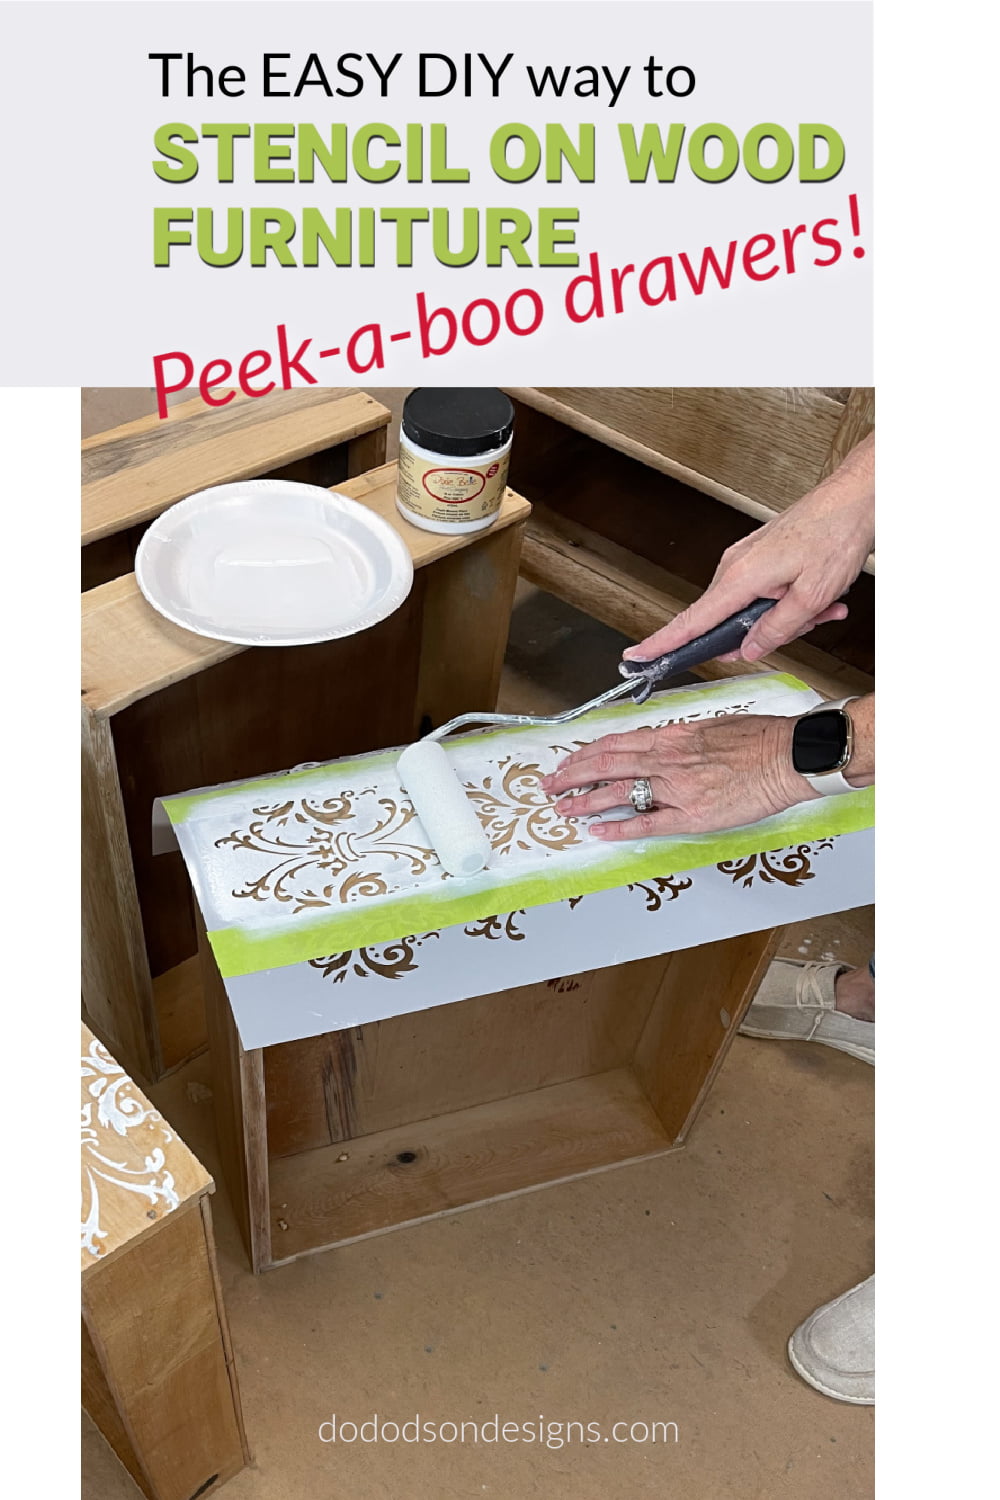
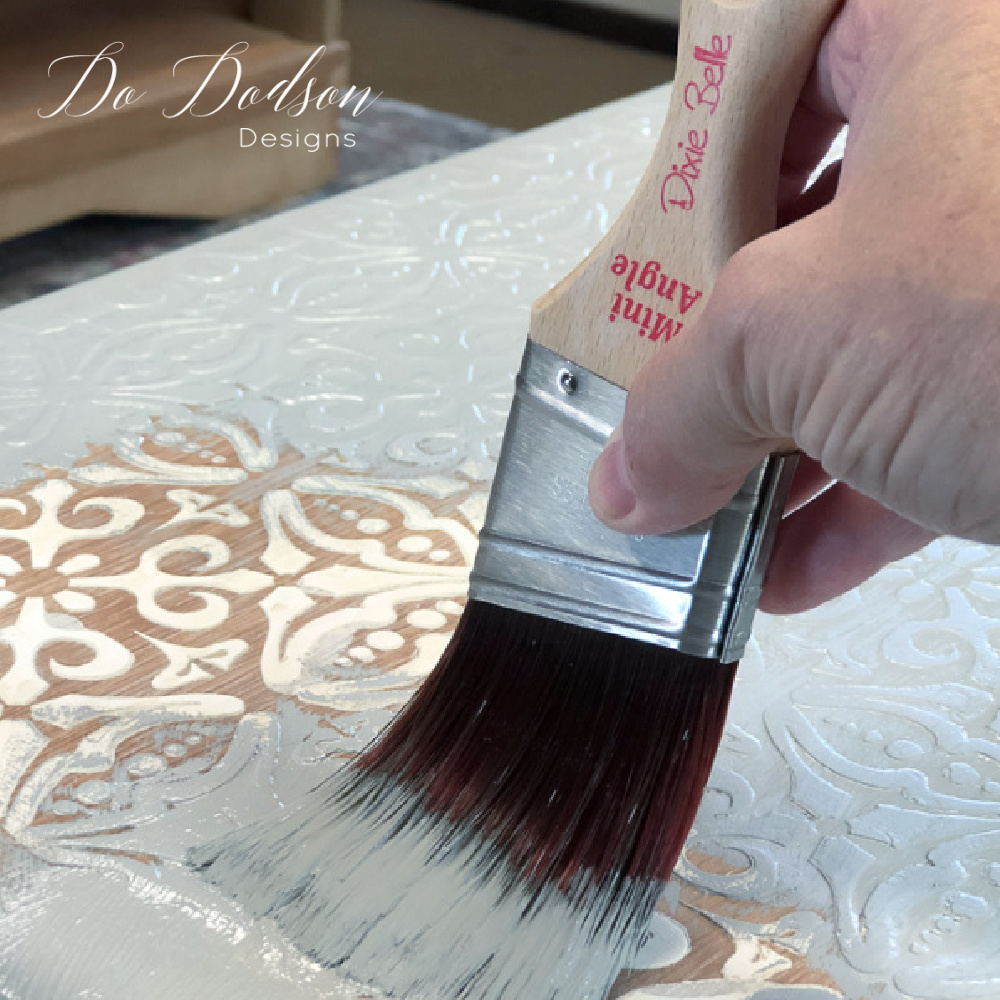
STEP 4 With a mini foam roller, apply the paint to the roller. I only use a light coat. Too much paint can cause the paint to bleed under the stencil. I can’t emphasize this enough. Less is more. If you need to apply a second coat for full coverage, it’s okay. Personally, I like a light stencil with the wood showing through the design.
Pro-Tip For Stenciling On Wood
After applying the paint to the roller, offload the paint on the roller to another surface before applying over the stencil to make sure you don’t have too much paint. This will minimize the bleeding and give you a crisp, clean look.
STEP 5 Remove the stencil immediately after applying the paint and allow it to dry. Repeat on the next drawer.
STEP 6 Use a 220 abrasive sanding pad to distress the stencil pattern after it was dry to give it a worn look. But this is optional. Since the drawers were a bit tighter than I would like, it worked out well. No worries if the drawers rub a bit. It just looks like the drawer sides were naturally worn from sliding them in and out. That’s just extra character in my book!

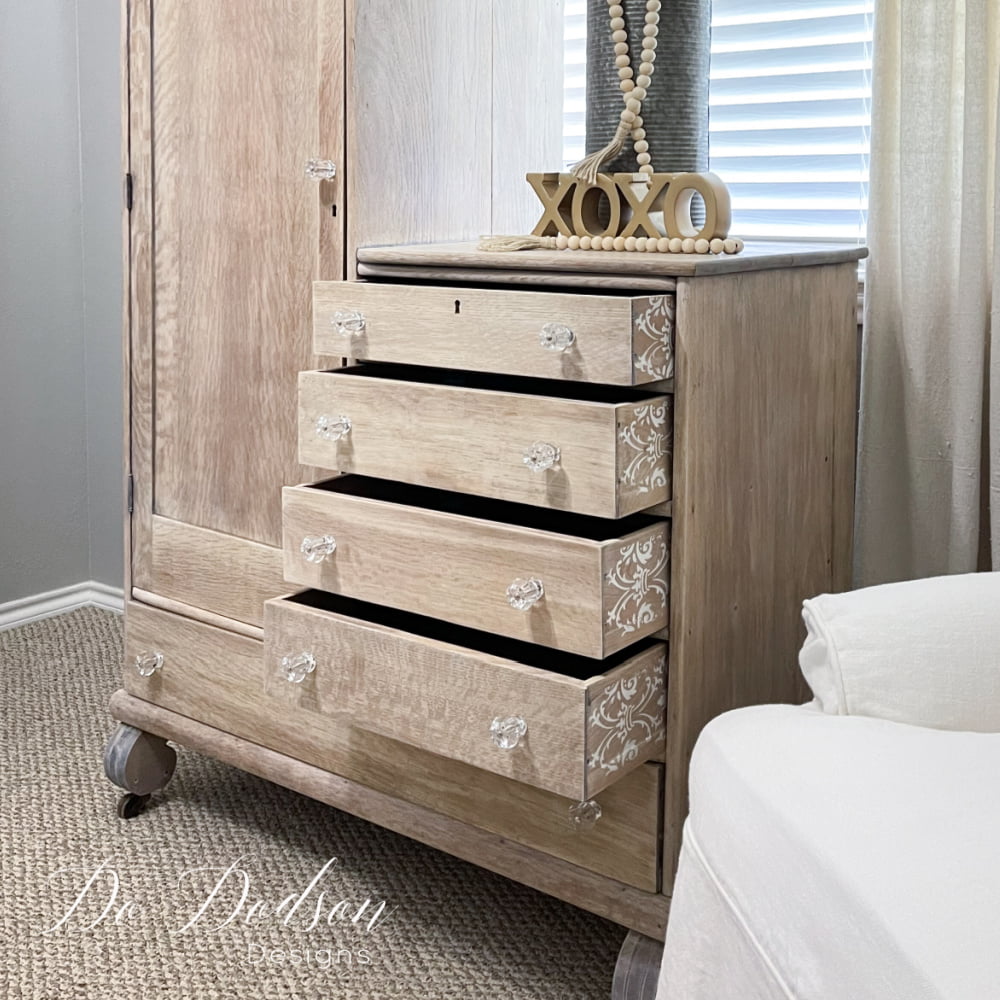
The Results Of Adding A Stencil On Wood Drawers

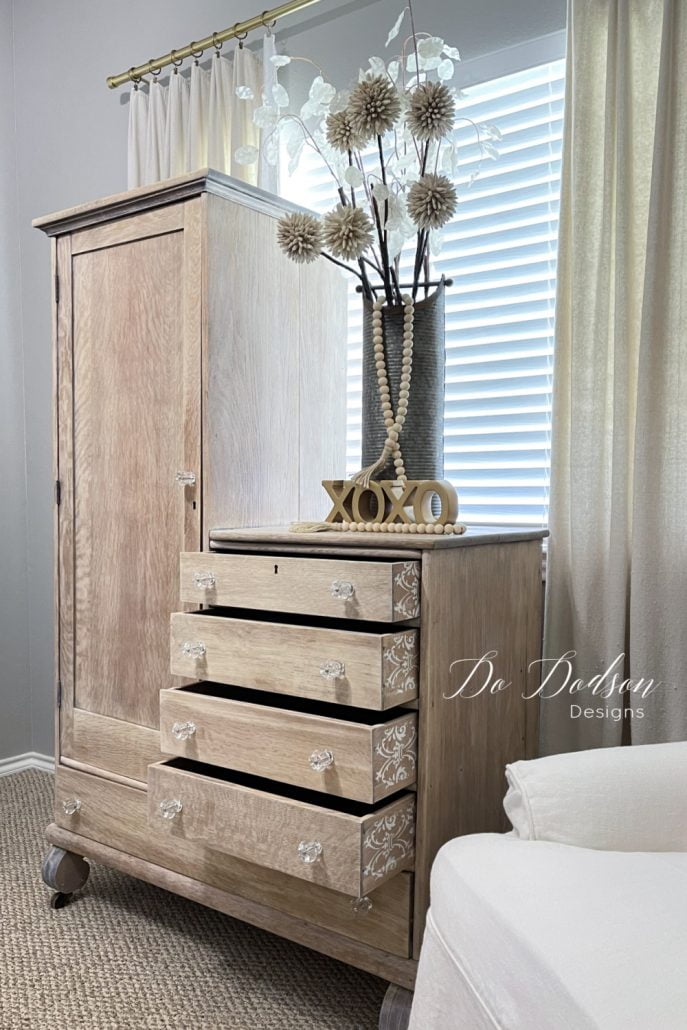
I like the look of a stencil on wood, and this one is a winner on my antique chifforobe. It’s subtle but adds a feminine touch. The peek-a-boo surprise makes me happy every time I pull out a drawer.
Thanks for joining me today, and I hope you enjoyed this fun DIY stencil project. Let me know what you think about it in the comment section below. I always love hearing from you.
Until the next project… xo, Do
This is gorgeous! Love the natural wood plus the surprise stencil on the side of the drawers! 🤩
Thank you, Cindy! I love surprises too. Thanks for joining me on the blog. 🙂 xo
What a fun addition to the chifforobe. Your work always inspires me. I have a bombay chest that I’m going to redo and doing a stencil on the drawer sides will be the perfect finishing touch.
Thank you for always putting a smile on my face and giving me such great inspiration!
You’re so kind, Catharine. I appreciate that. I haven’t done a Bombay piece yet, but I’m on the lookout. I know yours will be amazing too! 🙂 xo
How absolutely unique and beautiful Cindy! Now when I get my new dresser, I will be making sure the drawers will work for this. Just love it!
Thank you, Melba! It’s a great way to add a little extra to your furniture makeovers. 🙂 xo
Thanks for sharing your technique of bleaching and then how to enrich your piece with a lovely surprise! I appreciate you so much.
Thank you, Stacey. I’m so glad you enjoyed this makeover, and it’s always good to hear from you. Blessings 🙂 xo
Perfect Do! Stenciling the drawer sides made an otherwise plain Chifforobe into something with a really special and unpredictable surprise. I will remember this technique with some of my projects. It turned out really beautiful. Thanks!
Thanks, Less!
At first I wasn’t sure about the bleached wood finish. But I love the finished look. The stencil really sets it off. It’s gorgeous in the setting that you shared with us.
Thanks, Joanne! I’m pretty happy with it. Have a great day 🙂 xo
LOVE YOUR WORK!
Thank you so much, Carol. I hope you get the value you’re seeking from all my content. 🙂