Let’s just say I love a good challenge, but the challenge for me with this sideboard makeover was a double whammy. The old latex paint was peeling EVERYWHERE with veneer damage. It sounds like a great project for some raised stencils. Boy, can I pick’em or what?
This post contains a few affiliate links to help you find the products I use. You are not charged extra to use any of the links, but any income I make will be used for more fun projects! To see my full disclaimer, click here!
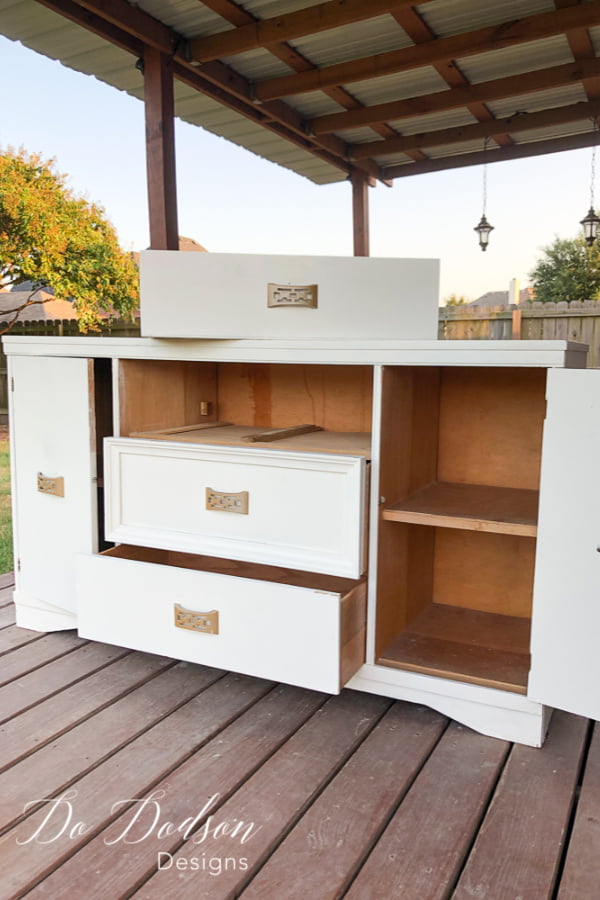
Prepping The Sideboard For The Raised Stencils
Well, I knew this would be a job stripping all of the latex paint off, but after 2 days, I was down to bare wood. It was in better shape than I anticipated. The end pieces had severe veneer damage, so it was super easy to remove. Learn more about veneer removal by CLICKING HERE. Everything else was pretty much intact. Thank goodness for my new SurfPrep Sanding System; I was able to salvage most of the venner and prep it for stain and the raised stencils. CLICK HERE to see how it looked after 2 days of stripping.

PRODUCT LIST:
Here are the products I used for this makeover. Click the products below to find where you can purchase them.
- Electric Sander
- BOSS (clear) stain blocker
- Morocco Stencil
- Mud (Dixie Belle) White
- Mud Spatula
- Rustoleum Weathered Gray Stain
- Cheese Cloth (lint-free)
- 220 Grit Sanding block
- Paintbrush (Dixie Belle Mini Angle)
- Driftwood (chalk mineral paint)
- Blue Painters Tape
- Iron Patina Paint
- Green Patina Spray
- Putty Knife
- Shop Towels (soft cotton cloth)
- Clear Wax
- Brown Wax
- Grunge Gray Wax
- Dixie Dirt (Black Charcoal)
- Gator Hide (water-repellant topcoat)
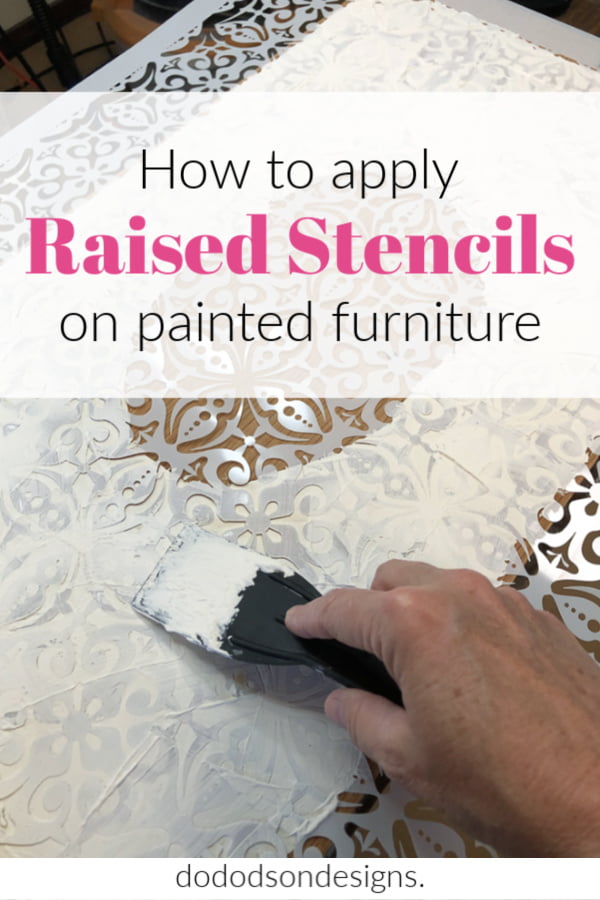
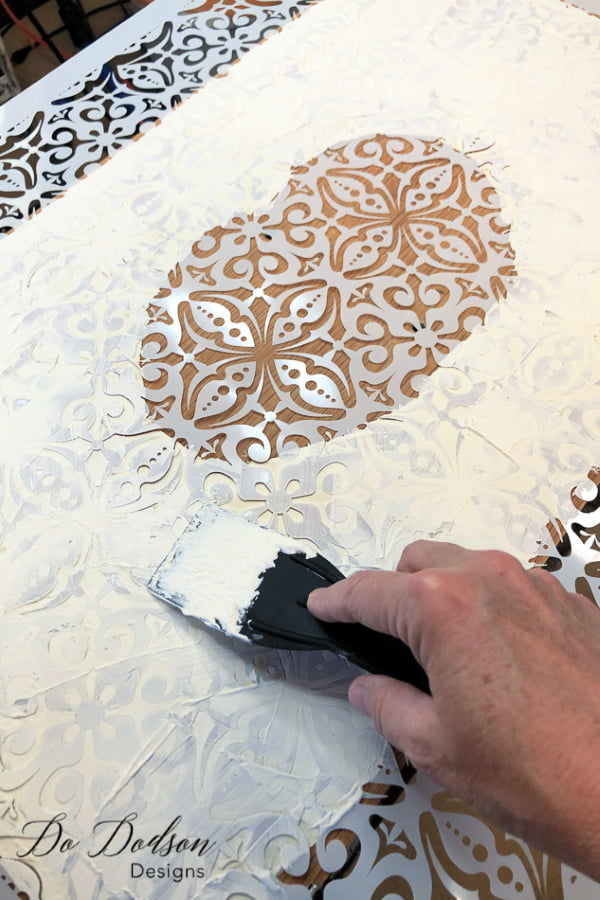
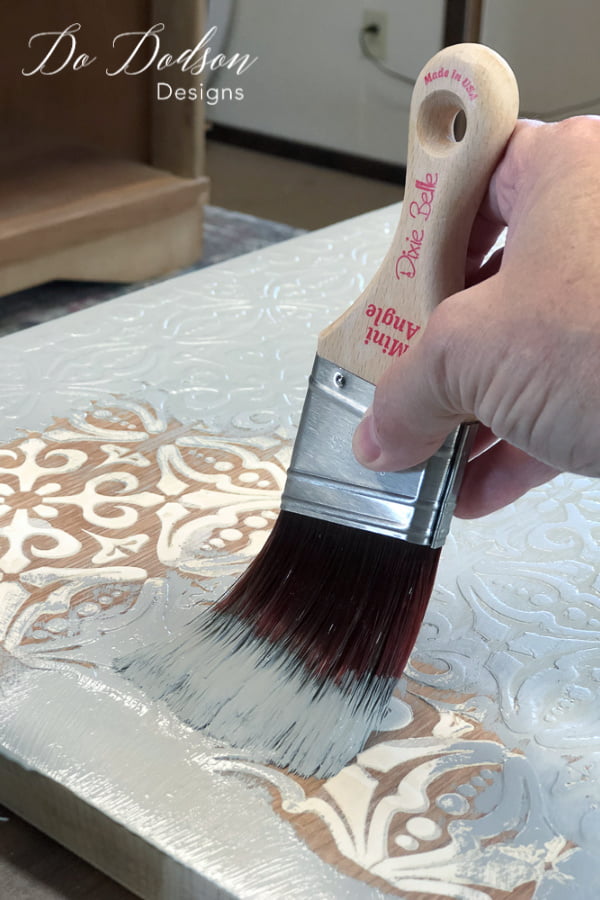
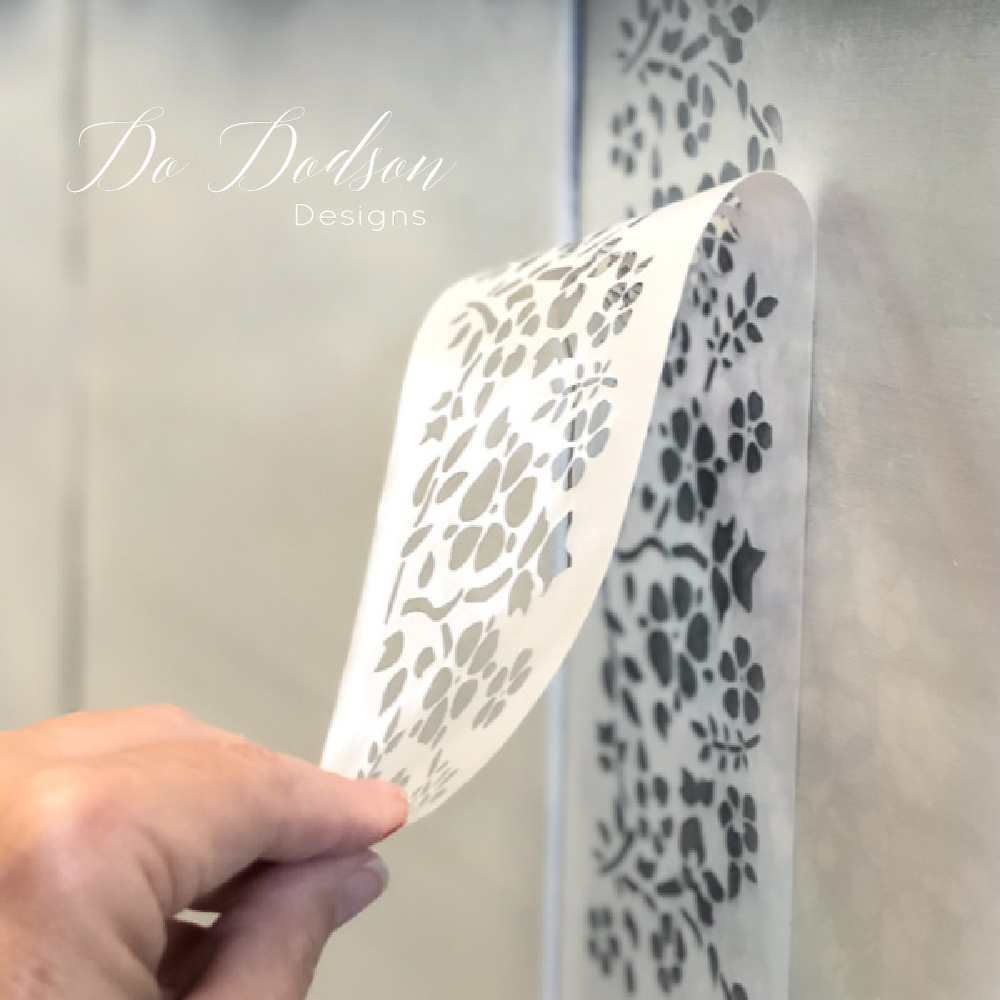
Applying Raised Stencils To Furniture
It’s like icing a cake! Seriously it’s that fun to apply the raised stencil on furniture. After establishing the stencil location that is being applied, secure it in place with paper tape. Use a Mud Spatula to smooth the MUD across the stencil until the area is fully covered with the product. Immediately remove the stencil and wash it with mild soap and water so it will be ready to use at the next location or for proper storage for your next raised stencil project.
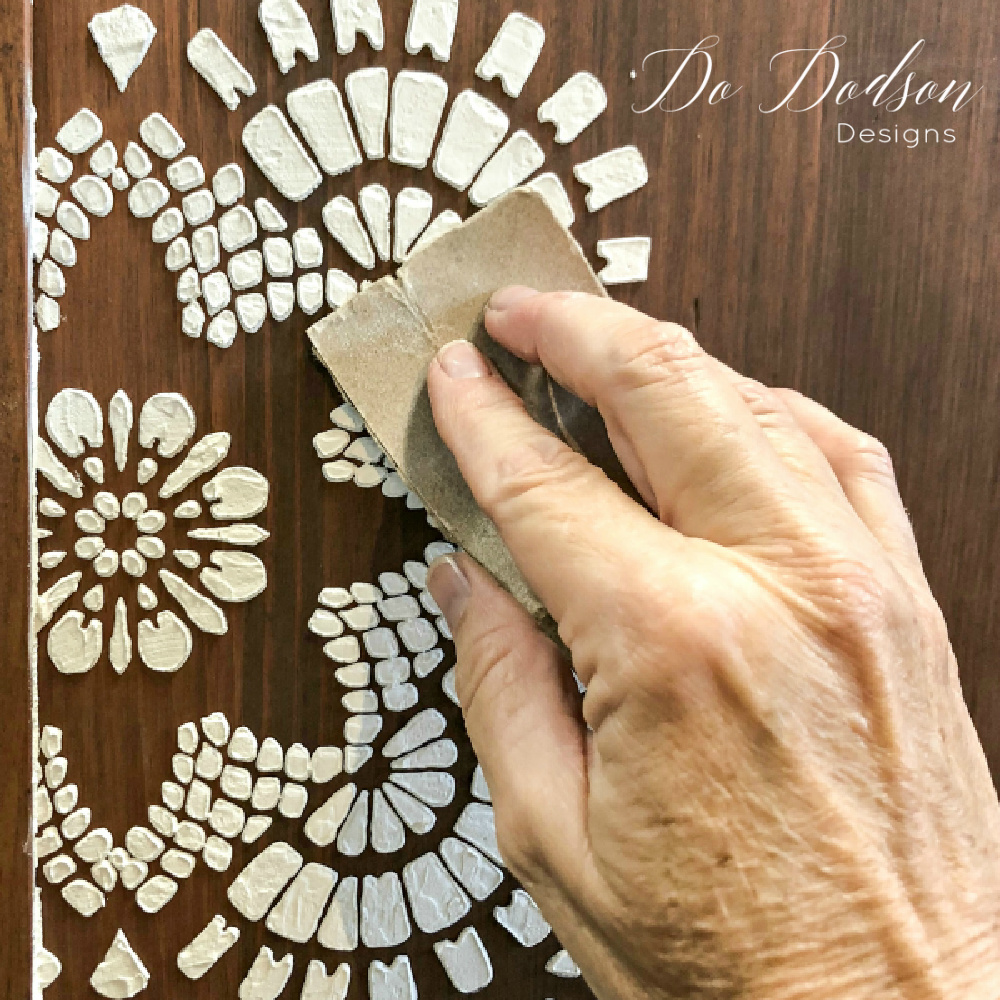
Adding Details To Raised Stencils On Furniture
Once the raised stencil is dried, take 220 grit sandpaper and gently sand back any rough areas. Be careful not to sand too much. You want the stencil to be raised and visible. Too much sanding can create an inconsistent look, and you want all the raised goodness for the next step. Details!
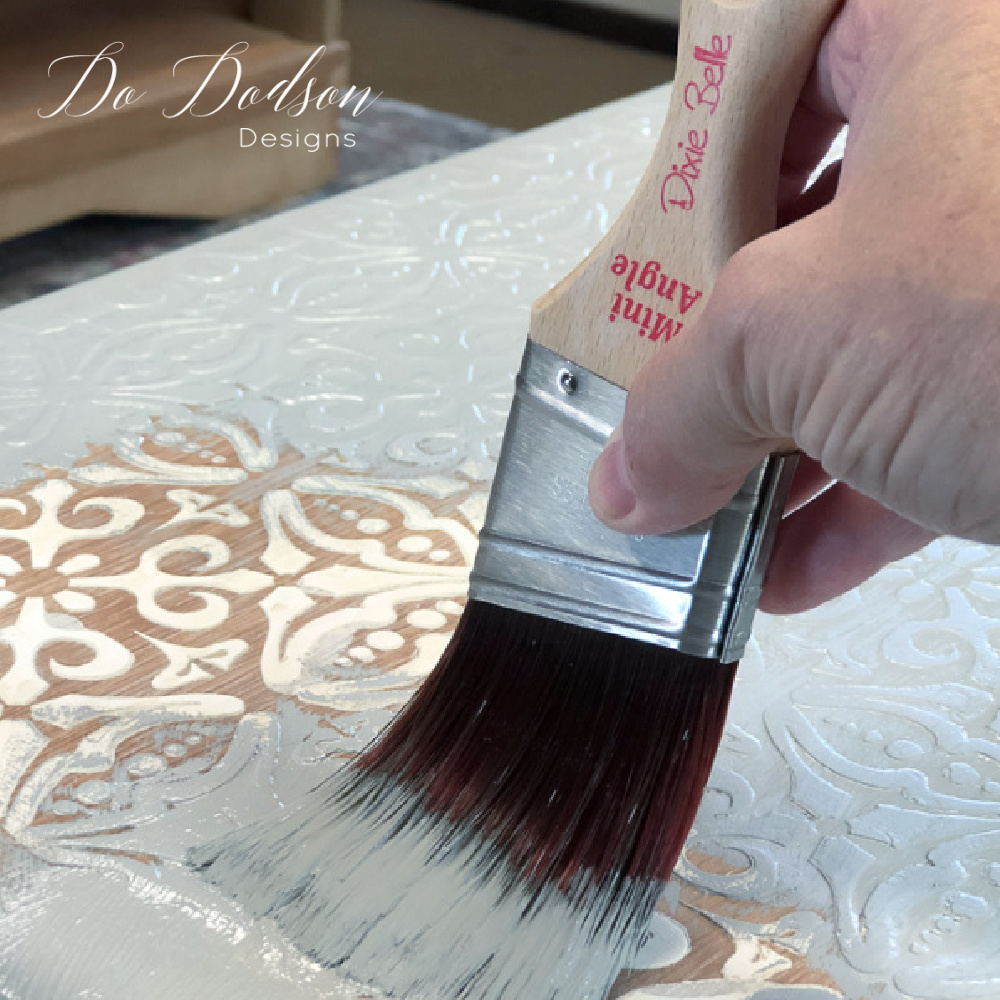
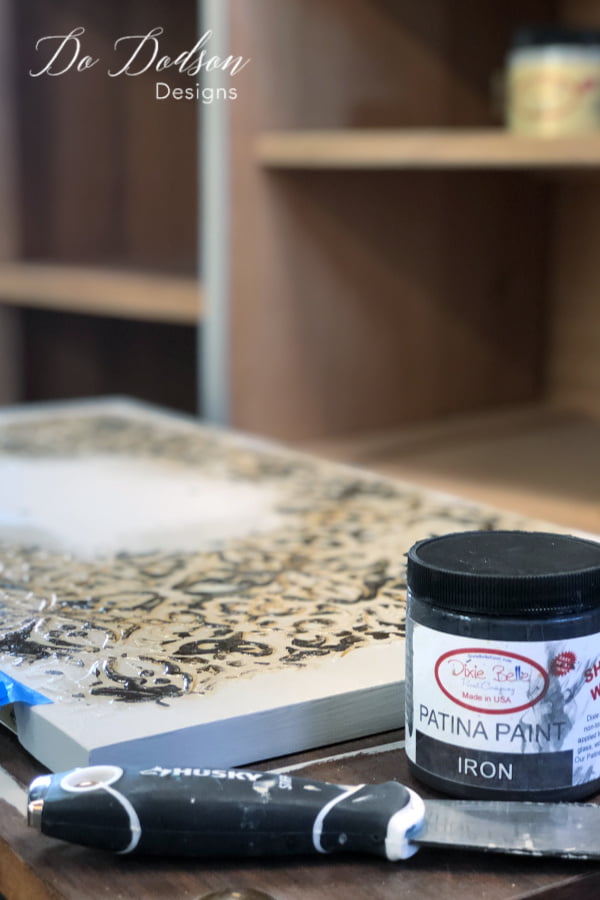
Adding The Details
Now, here is where it gets fun! To add detailing to the raised stencil, you can layer paint colors, patinas, and waxes with Dixie Dirt to create a unique look. For this look, apply the Iron Paint with a putty knife and scrape it across the raised stencil. While the Iron Paint is still wet, lightly spray over it with the Green Patina Spray. You can apply colored waxes and Dixie Dirt after the patina finish is dried. It will give the raised stencils even more of an aged look. Or you can paint over the design for a more subtle look. I like both.
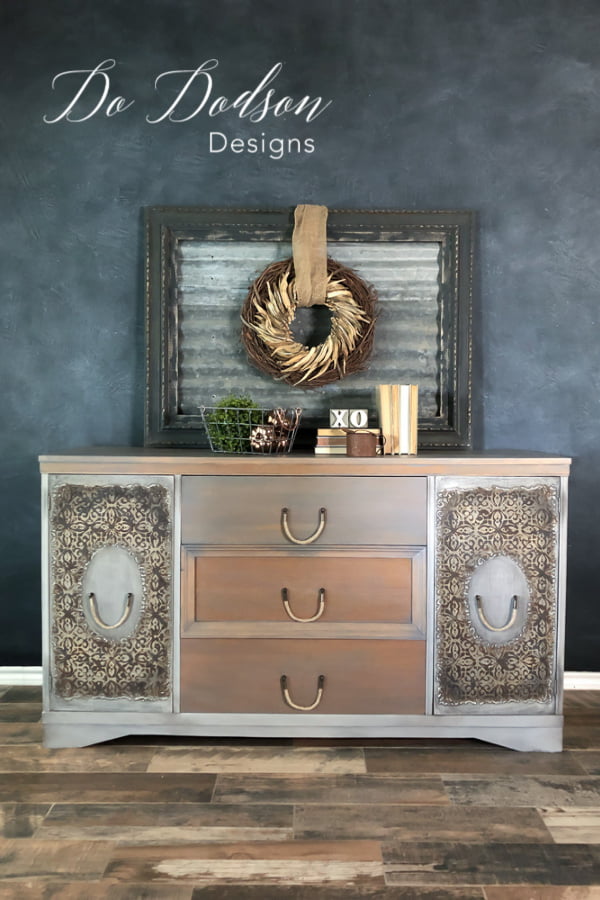
Raised Stenciling End Results

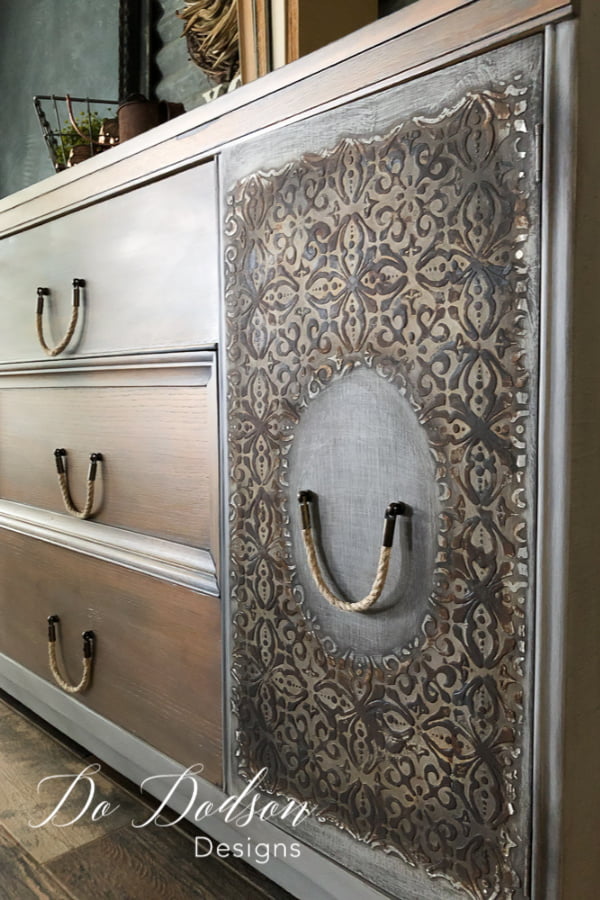

Did you see that Okra Wreath I used in the staging? Country gals are thrifty! Learn how I made it by CLICKING HERE! You know they say you can take the girl out of the country, but you can’t take the country out of the girl. This statement rings true for me as I find myself drawn back to my roots with this raised stencil makeover. Flea Market finds, and rusty-crusty goods were what I grew up knowing in a small town in East Texas. I come from a long line of junkers, thrifters, and what I call make-doers. I’d say this one is pretty spot-on for me.
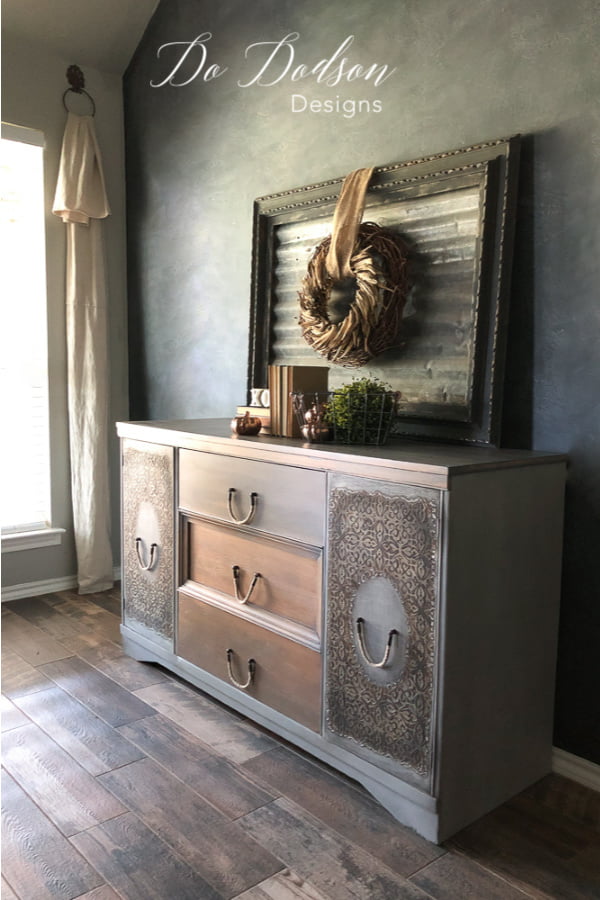
Even today, I find myself thrifting as a habit. Sure, I can afford to go to Hobby Lobby, but I would miss the challenge. The challenge of creating on a budget and creating a look that is all my own.
Hey, thanks for joining me today while I share my heart. I know I’m not alone, and I’d love to hear from you. Tell me all about the near and dear items you use in your home decor in the comment section below.
Until the next project… xo, Do
When apply the iron patina, do you put your stencil over your finished mud print?
Hi Lisa,
No, I applied the Iron Paint with a putty knife after it had dried. I did create a full tutorial on this finish if you’re interested. You can learn more about it here.
? https://dododsondesigns.com/the-art-of-painting-furniture-private-subscription-group/
Happy painting! xo
Girl you saved that one! Beautiful?
Thanks, Kim! xo
i have a latter back chair that needs to be painted. You are more than welcome to paint it for me or use it to teach in your videos. I will pay for it
This has become a beautiful artisan piece, looking very European. Thanks for sharing.
Thank you, Marion! Happy New Year!
What specific stencil did you use?
Hi Terri,
My apologies. That link appears to be broken on that post, but I went back and updated it. Thank you for bringing that to my attention. Here is my affiliate link to that stencil. https://dixiebellepaint.com/morocco-stencil/?aff=80
Thanks again, and happy painting. 🙂 xo