When Mom asked me to give this sweet little dresser a makeover, I jumped at the chance. My Grandmother had given it to her to use with the birth of her first child (my oldest brother). By the looks of it, it had been painted several times and WELL used! Inside the drawers was a vintage wallpaper that my Grandmother had put inside to line the drawers. Immediately I knew I needed to preserve that as well as the dresser. Adding decoupage on wood is pretty simple and this was the perfect combo with the color my Mom had chosen.
This post contains a few affiliate links to help you find the products I use. You are not charged extra to use any of the links, but any income I make will be used for more fun projects! To see my full disclaimer, click here.

Supplies List
Below is a complete supply list of the products I used for this makeover.
- Orbital Sander 220 grit paper
- White Lightning (cleaner)
- BOSS (stain blocker)
- Flamingo (chalk mineral paint)
- Cotton (chalk mineral paint)
- Black Wax
- Cling On paintbrushes
- Chip brush
- Wax Brush
- Gator Hide (sealer topcoat)
- Water Mist Sprayer (for blending paint)
- Mod Podge
- Pretty Paper
Before Adding Decoupage On Wood Furniture | Drawers
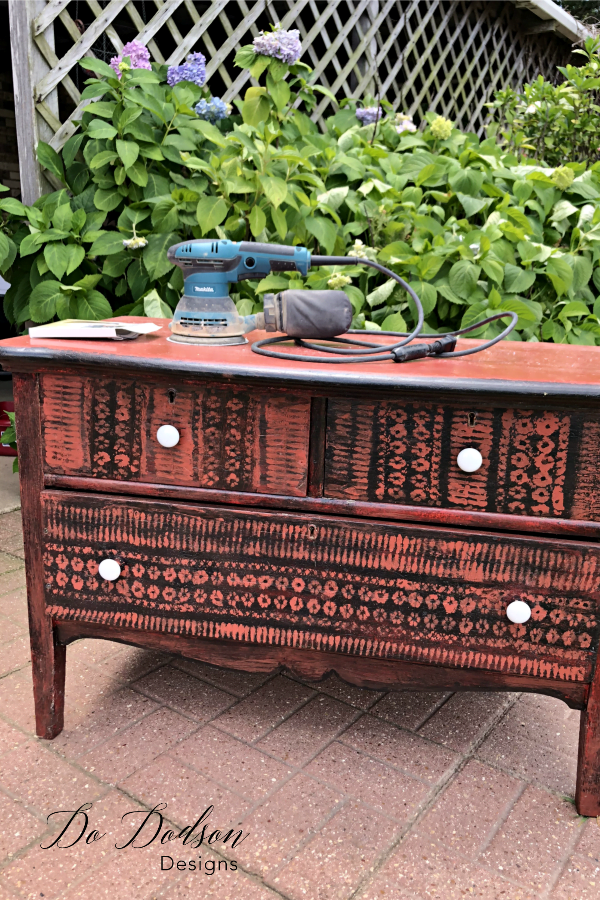
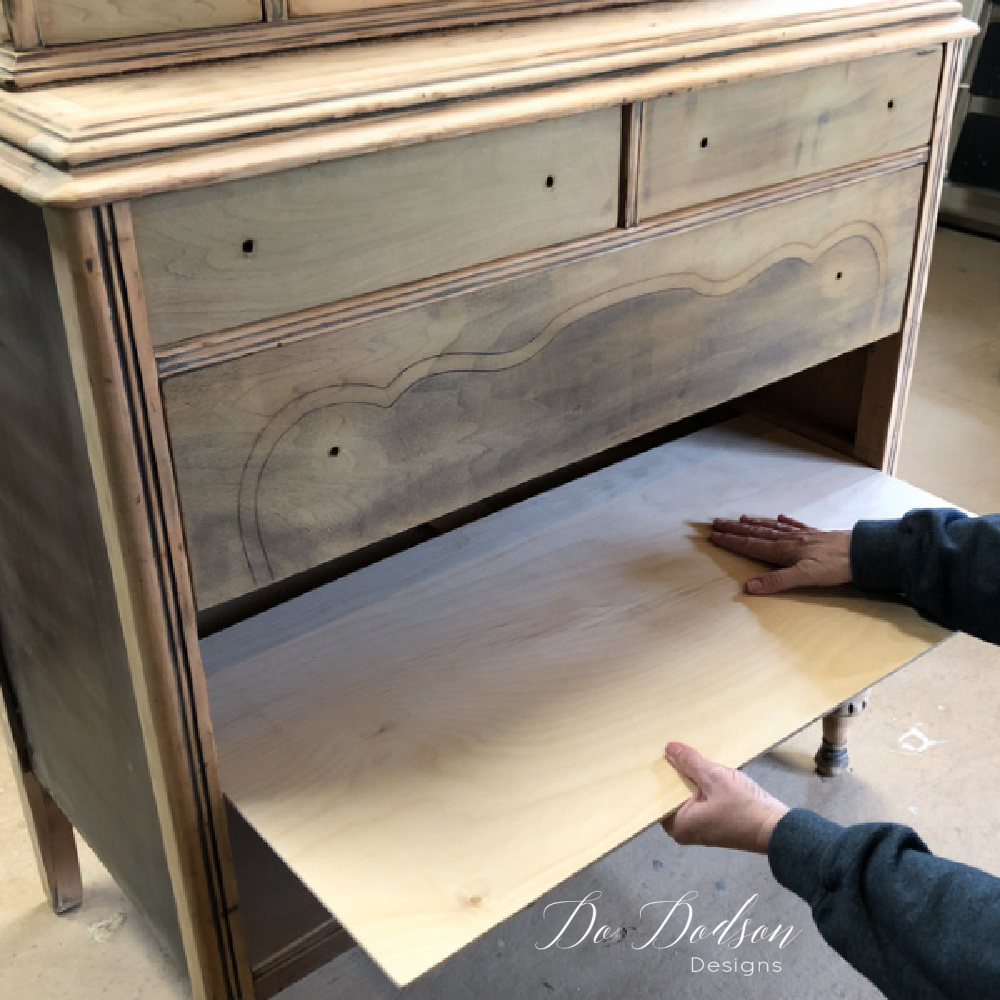
First things first… the little dresser had many layers of paint that needed to be smoothed out. I started by sanding the whole piece down with my orbital sander to remove some of the old paint that was chipping. I was happy to see the sides of the drawers were in good shape and would just need a simple sanding before I added the decoupage to them.
Painting The Little Dresser
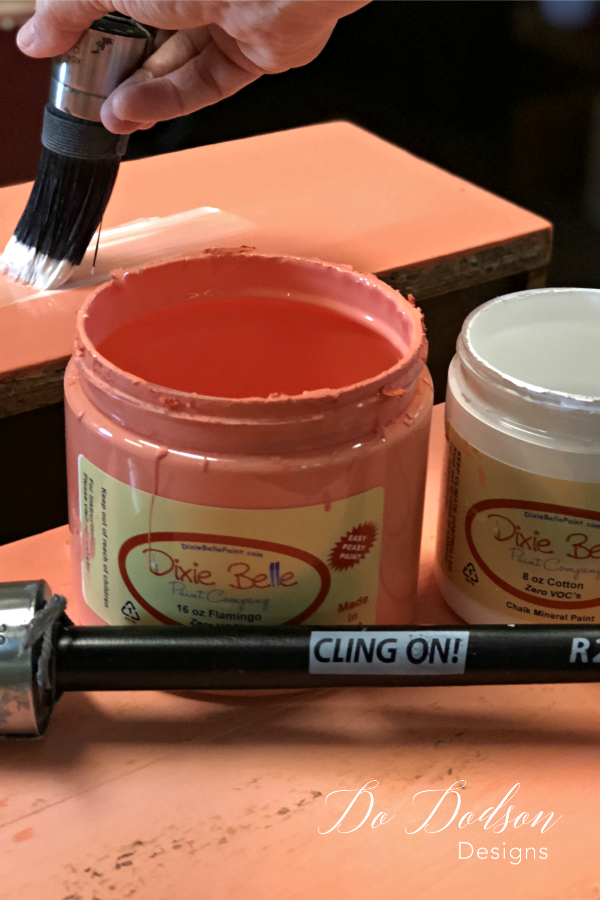
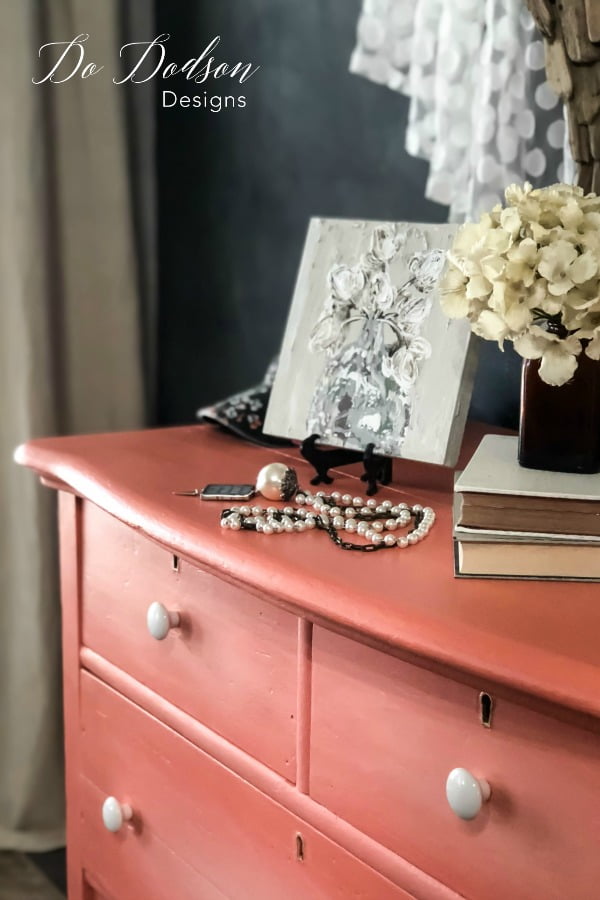
Mom loves pink, so we chose a color called Flamingo that had just the right amount of pink to update the color. After applying 2 coats of the Flamingo (while the paint was still wet), I used cotton (white) to blend with the Flamingo to highlight the fronts of the drawers. This blending technique is just the right amount of highlight to those flat door fronts.
Spray Mister Bottle For Blending Paint Color
I recently purchased a spray mister for blending my paint colors. WOW! Watch a huge difference this has made in blending paint. I’ll never go back to using the plain ole water spray bottles. You gotta have one! CLICK HERE to get it now!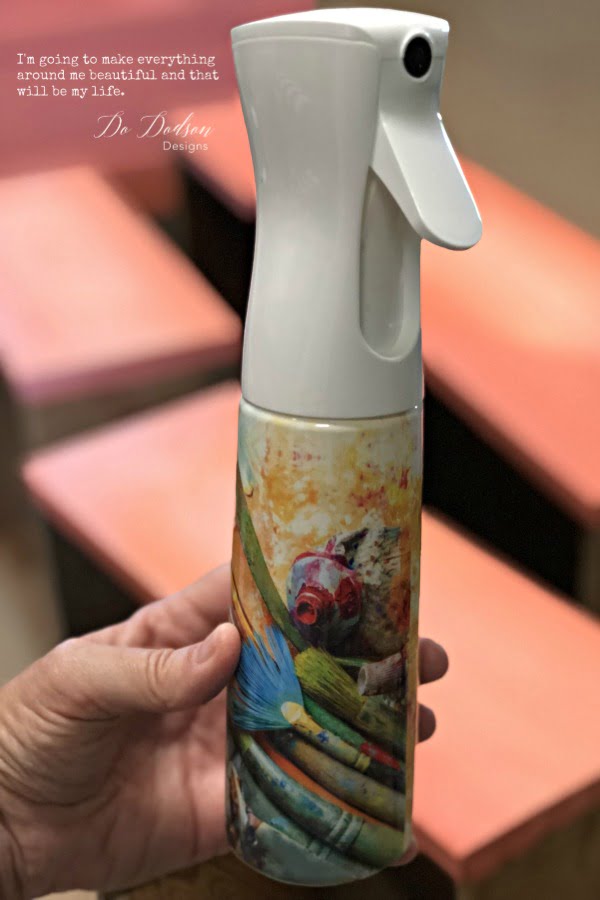
Want to learn more about blending your paint colors on furniture. CLICK HERE to watch a blending video tutorial to learn how to blend like a pro on your furniture too.
Shading with Wax

After the paint had dried overnight, I used a chip brush to shadow in the corners of the little dresser with brown wax to give it an added aged look. After adding it in the corners, I blended it with a large wax brush. Two coats of Gator-Hide topcoat was applied to the top of the dresser for extra protection.
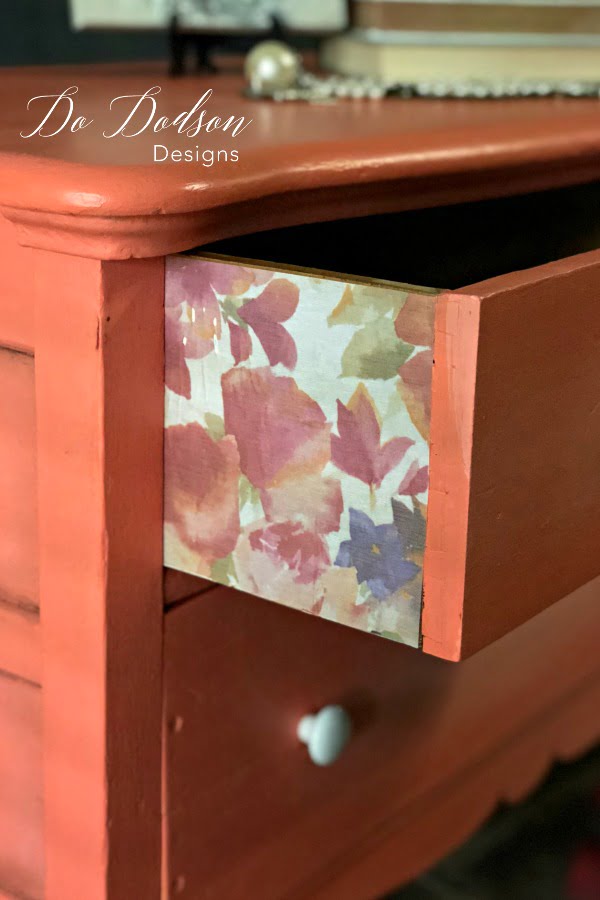
Before Adding Decoupage on the Wood Drawers
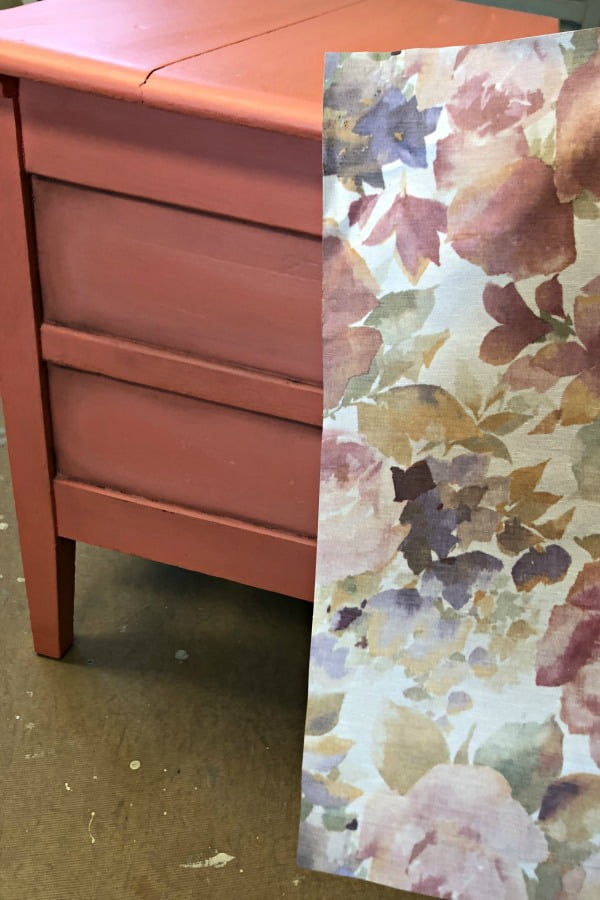
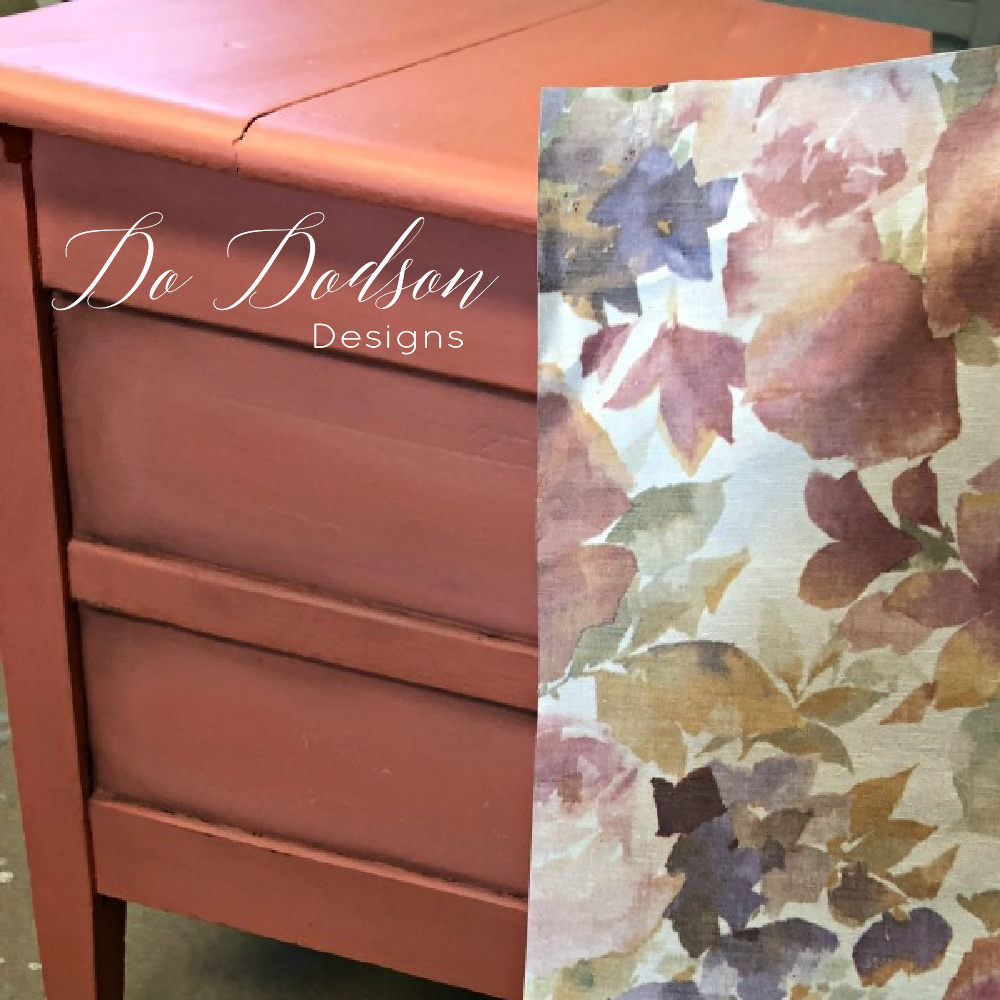
It’s like it was meant to be. The vintage wallpaper was a perfect match with the colors and I love the whole idea of the decoupage on the wood drawers. Mom said it was Grandma’s favorite paper. Back in the day, they would use all kinds of pretty papers to line the drawers with, because they were thrifty that way. Nothing was thrown away until it fell apart, and even then… if it was fabric, it went into a quilt. They were so thrifty.
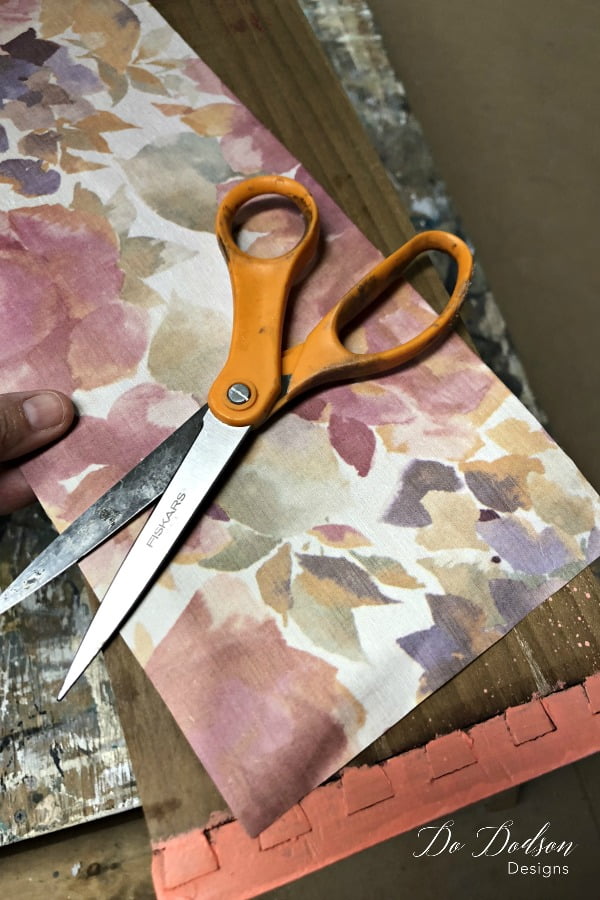
Start by pre-cutting the paper to fit the area you want to add to the paper.
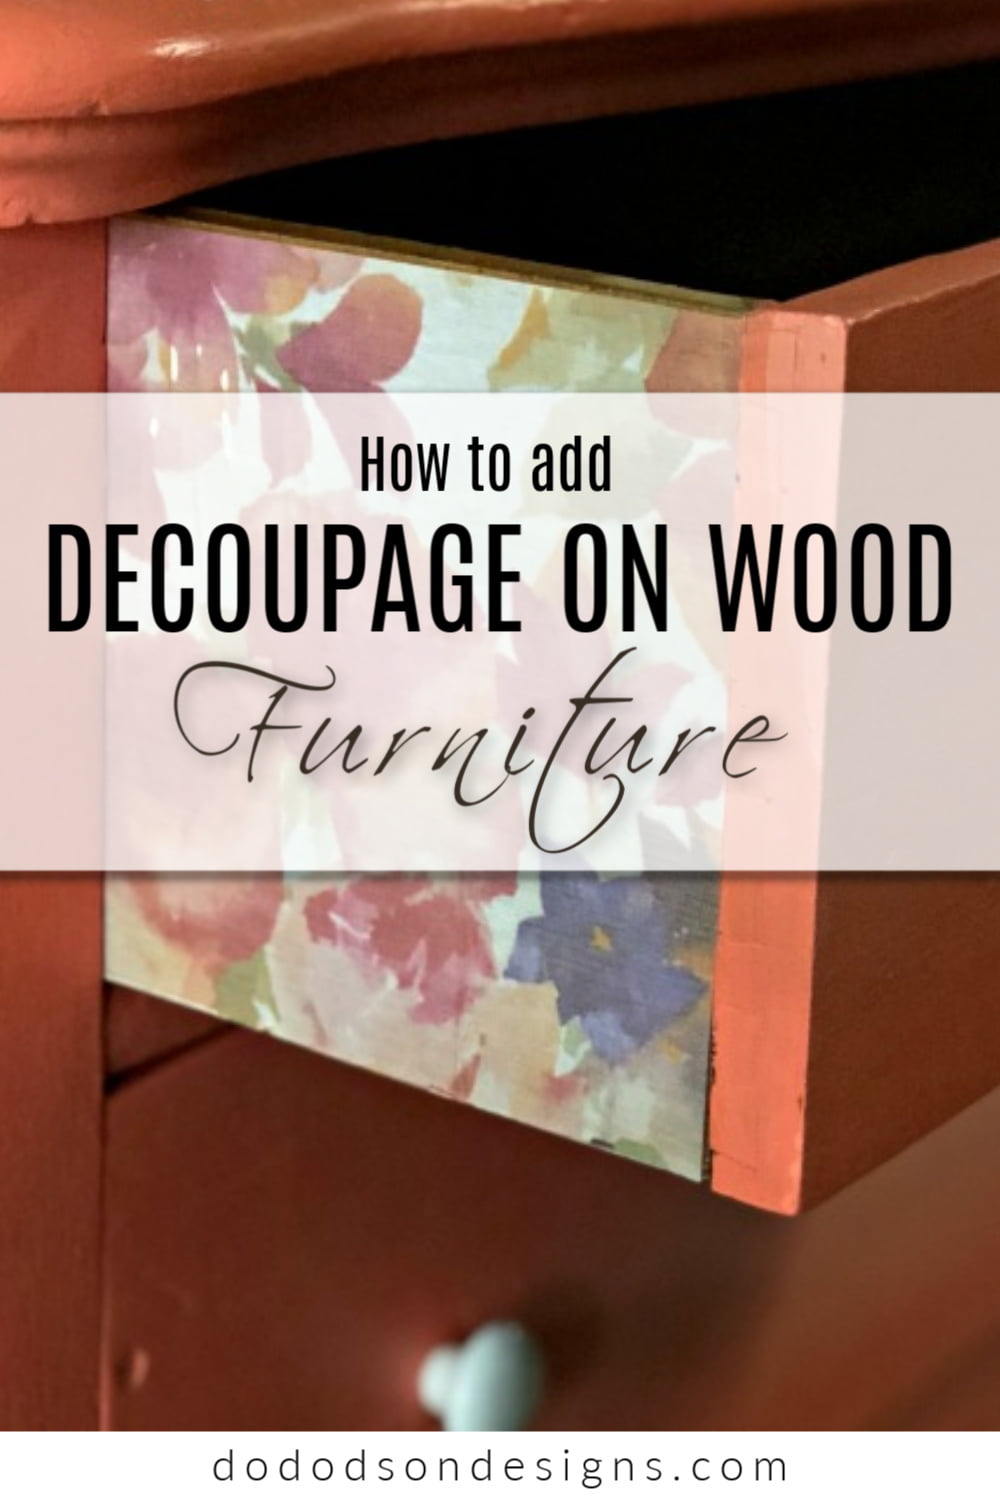
Adding Decoupage to Wood
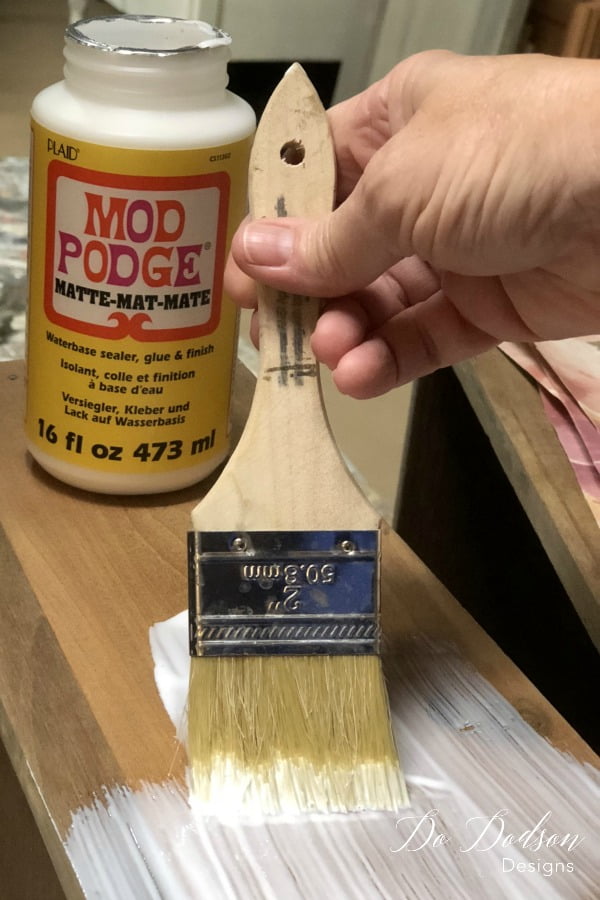
Next, add Mod Podge glue to the wood first with a chip brush and then lay the paper on top of the glue and smoothed it out with your hand. I’m pretty sure there are better tools to use, but I’m a use what you got kinda gal. You can use a squeegee, but you just need to make sure the paper contacts the glue with no air pockets. After drying, add 2 coats of the Mod Podge allowing each coat to dry in between. A light sanding between coats with a 220 grit sandpaper works nicely to smooth the roughness. There is no need to sand the last coat. Trim the edges of the paper with a razor blade after it’s dried to clean up the rough areas that are overhanging on the corners of the drawers.
A Beautiful Compliment | Decoupage On Wood Drawers
Thanks for joining me for this special makeover and I hope this has inspired you to try decoupage on wood… especially on the sides of those blank drawers. And a special thanks to my Mom for always allowing me to paint and decorate my room as a young girl, even when it was bad! I love you, Mom.
If you like vintage makeovers, here is another vintage dresser makeover to inspire you.
Until the next project… xo, Do
