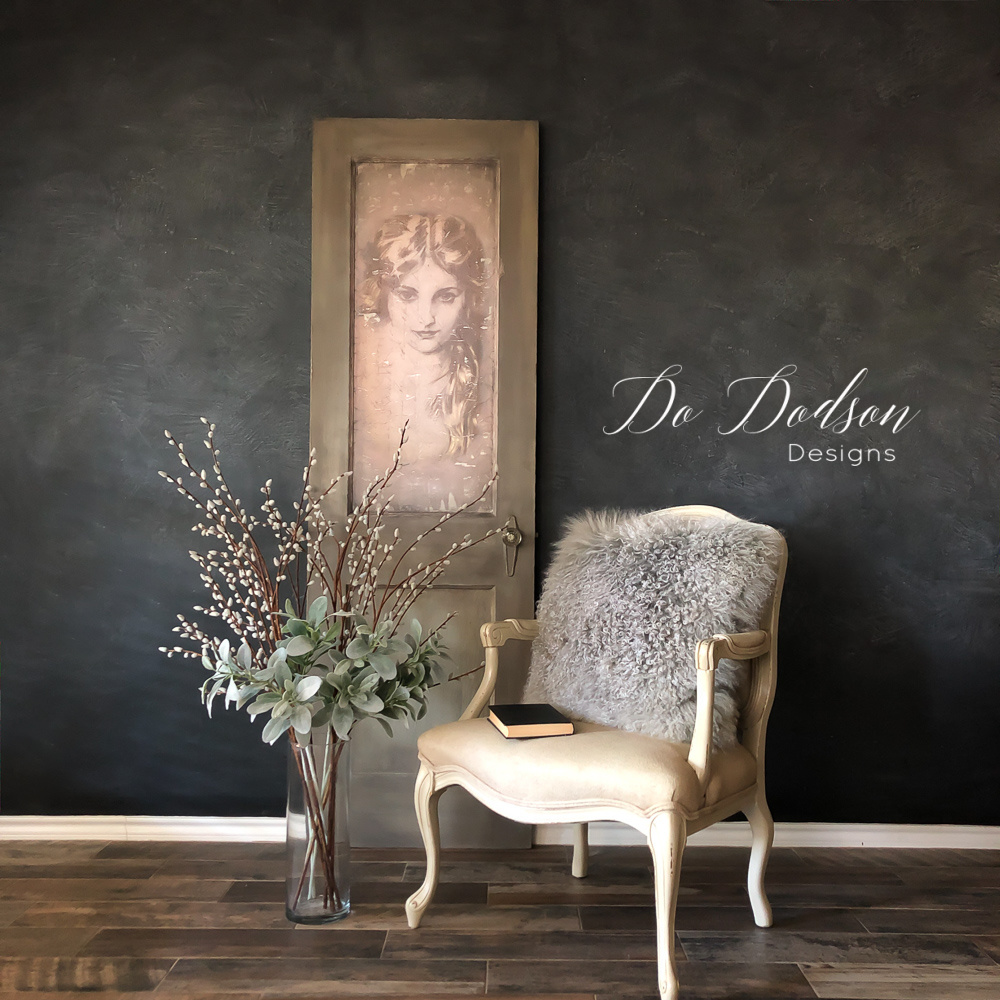

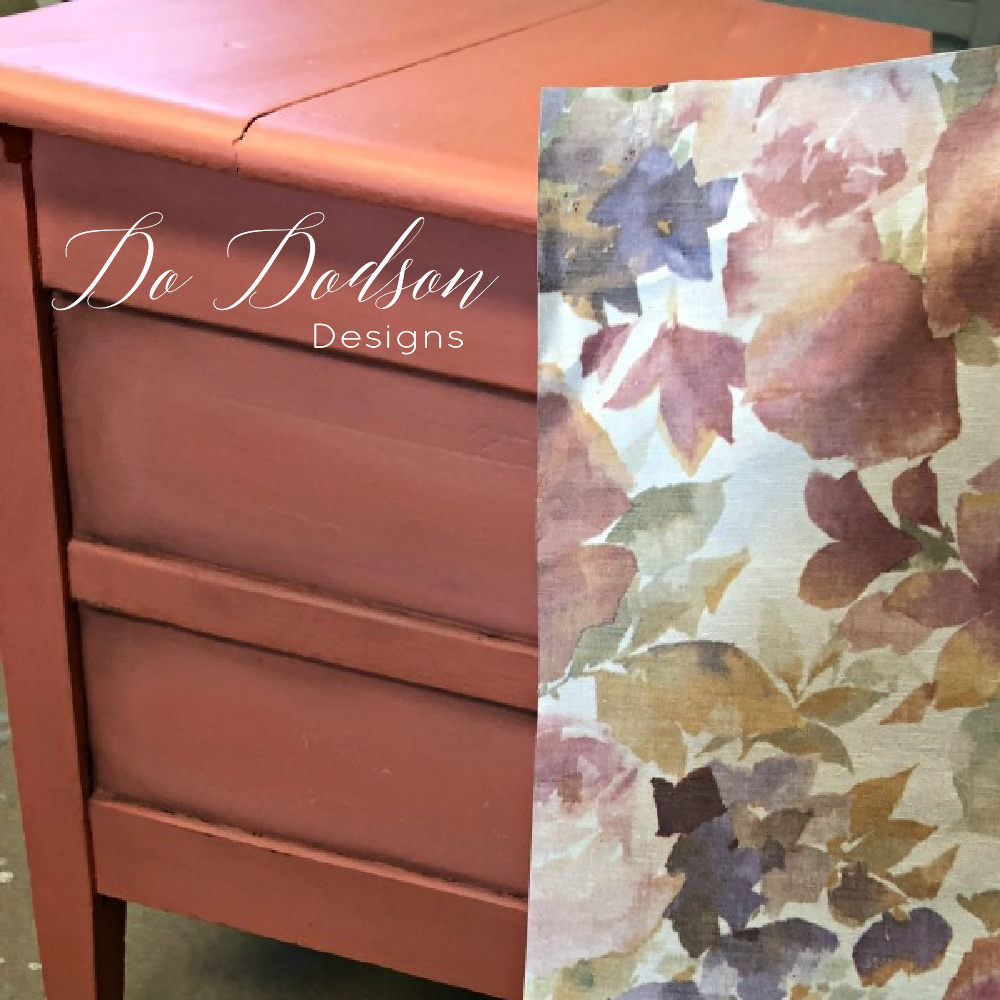
Vintage decoupage paper! Immediately, I knew that Grandma’s vintage door, which I had been hanging on to for so long, was finally getting its makeover. This project takes me right back to those golden days. It’s my first time using decoupage tissue paper. I’m sharing the good, bad, and happy accidents!
This post contains a few affiliate links to help you find the products I use. You are not charged extra to use any of the links, but any income I make will be used for more fun projects! To see my full disclaimer, click here.
Decoupage Tissue Paper
To be upfront with you before we begin… today’s project is NOT about perfection with decoupage paper. It’s about aged imperfections. It’s pretty much the way I view most of my makeovers. Trying to create perfection is usually a recipe for disappointment. Well, for me anyway. Embrace the imperfections and have fun creating because it’s about the journey.
Products Used For This Project
Click on the products below to find where to purchase them.
- Vintage door/furniture
- Driftwood (chalk mineral paint)
- Gravel Road (chalk mineral paint)
- Tea Rose (chalk mineral paint)
- Cotton (chalk mineral paint)
- Top Coat (satin sheen)
- Decoupage Tissue Paper 20 X 30 (tissue sheets)
- Paintbrush
- Wax Brush
- Grunge Gray Wax
- Black Wax
- Decor Wax (Diamond Dust
- putty knife
The Application Of Decoupage Tissue Paper
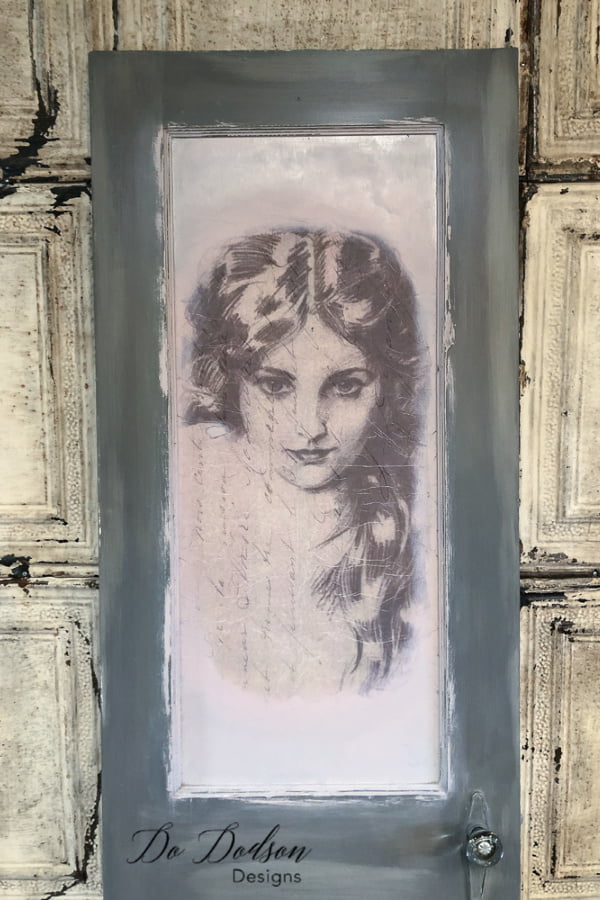
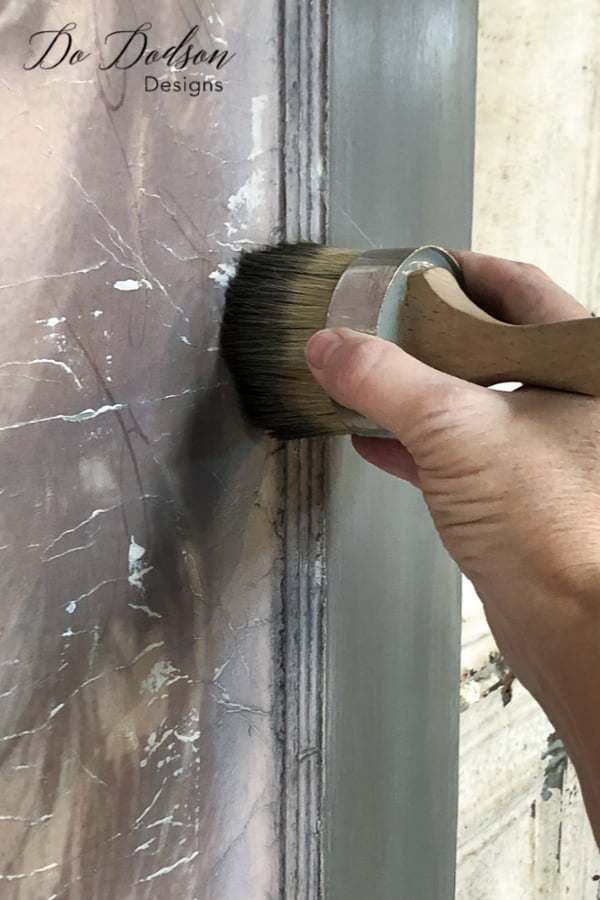
The door (you can also use wood furniture for this technique) was painted with a combination of Driftwood and Gravel Road chalk mineral paint. I love blending colors, and this combination looks like a great match with my chosen transfer.
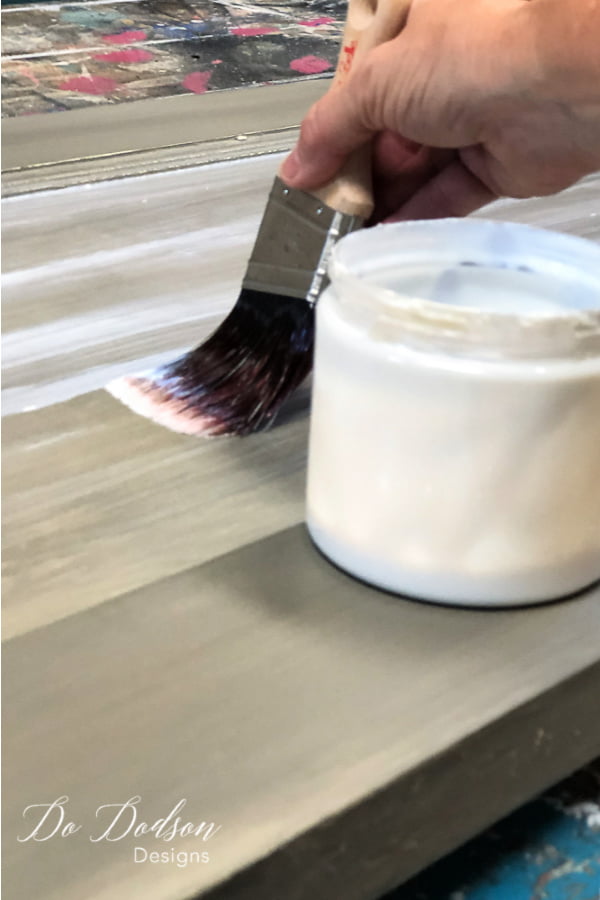
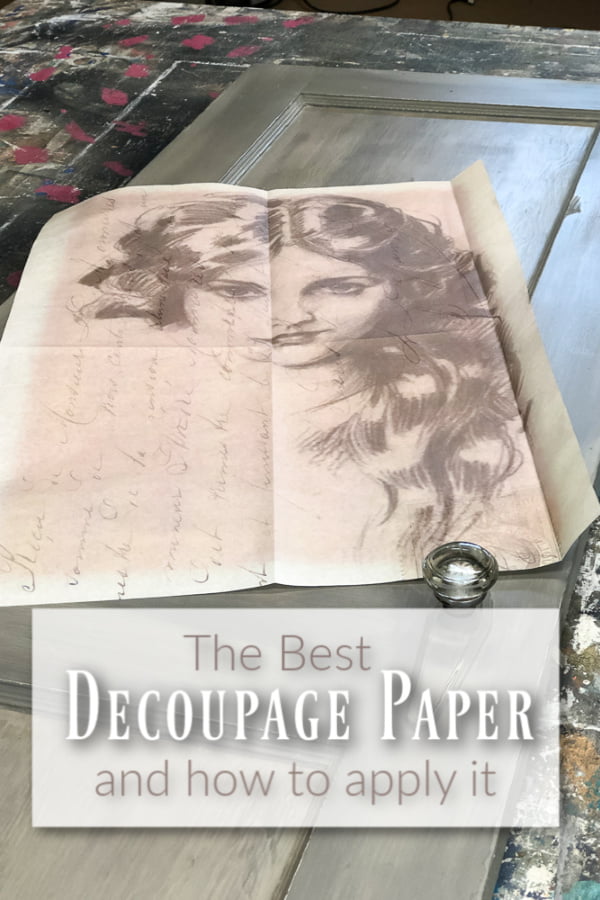
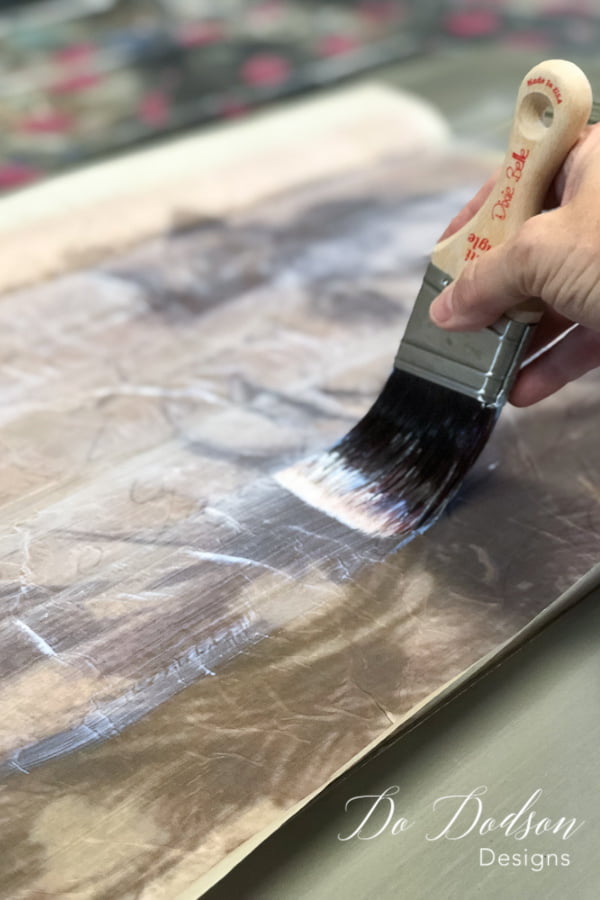
After the paint has dried, the first step is to apply the Top Coat (which works like Mod Podge but is so much easier to work with) directly on the painted door/furniture. Next, apply the tissue paper directly to the wet topcoat. Ensure that the topcoat is equally covered over the area you want the decoupage tissue paper to adhere to. If a spot (even a tiny spot is missed), the tissue paper will not stick.
This may take some practice when working with decoupage tissue paper because it’s so fragile. Once the tissue paper comes in contact with the topcoat, it’s kind of like toilet paper hitting the water. It is drawn into the water-based topcoat. So make sure placement is accurate on the first go.
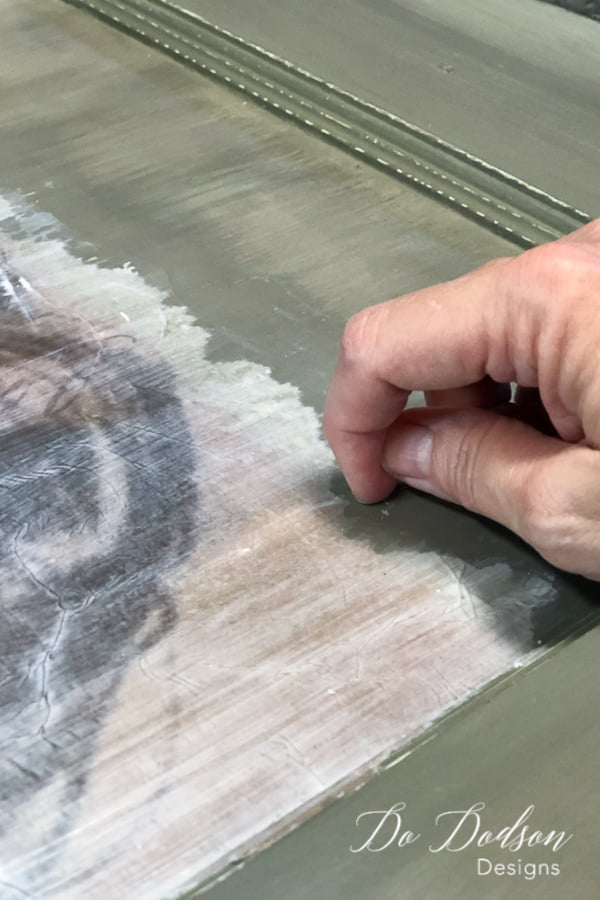
Because I was applying this to an inset of a door, I trimmed the edges with my fingernail while the tissue paper was still wet. I didn’t want a straight line for reasons you’ll see later on in the process. Yes, I know there’s probably a better way to do it… but hey, it’s my first get-go with tissue paper. I also created a video tutorial for the process on a drawer front on my next try. Here’s the tutorial that will explain more. CLICK HERE to see more!
What I Learned About Paint Color Choice
Allow the decoupage to dry overnight if you plan on blending paint around the edges of the decoupage tissue paper on your door/furniture. I blended the two with Tea Rose and Drift Wood chalk mineral paint.
Looking back, I learned that it would have been best if I had first painted the background with a similar color instead of over the darker paint color. Again, I learned a lot during my first try.
Adding A Distressed Chippy Look Over Decoupage Paper
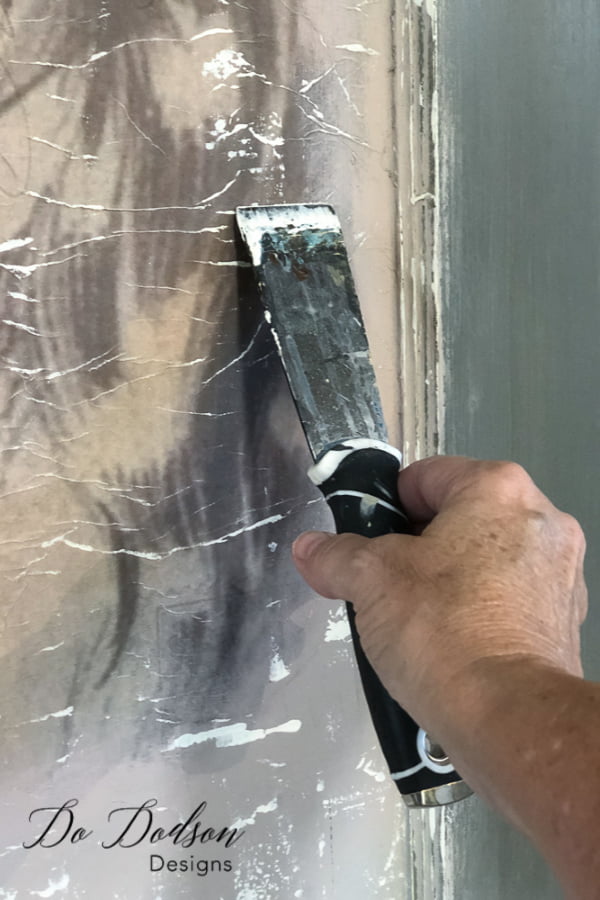
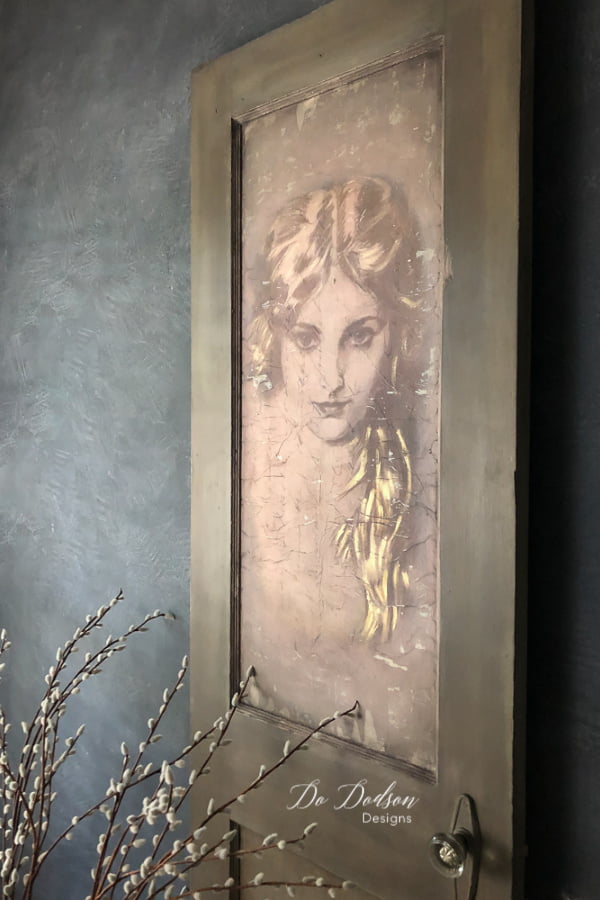
After the topcoat and paint are dried, for a vintage-aged look, try using paint to create a chippy look over the tissue paper by dragging a putty knife across the tiny lines for an aged look. It was a happy accident for sure, but I LOVE everything about this!
Later on, I discovered on another decoupage paper project that if you apply the top coat on your fingertip right after applying the top coat on the paper, you can easily work out any tiny lines and bubbles. Live and learn! But I was still super happy.
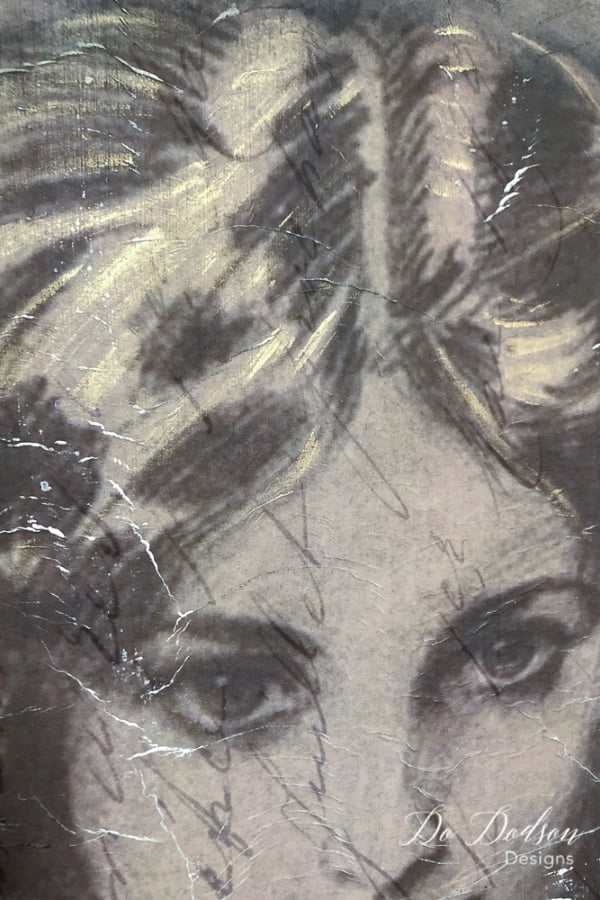
I gave her highlights! Well, the girl needed something to make her pop. I used Decor Wax (Diamond Dust) and applied it with my fingertip to the lighter areas of her hair. Reminds me of my highlighting days before the gray… Huh!
Dark Wax For More Aging
Lastly, add colored waxes that compliment your decoupage tissue paper. WOW! I was speechless. It was like looking in a mirror. As I mentioned before, we started. I spent a lot of time with my grandma during the summer months. SHE introduced me to the paintbrush. A door very similar to this one was my first project. 🙂 The best memories ever!
Thank You, Grandma!
When I look at this door, I see all our memories. I know without a shadow of a doubt that my Grandma’s patience, instructions, praise, and encouragement are why I am here this very moment sharing this with you. This vintage door will accompany me in my office as a reminder of where it all started. Because of you, Grandma.
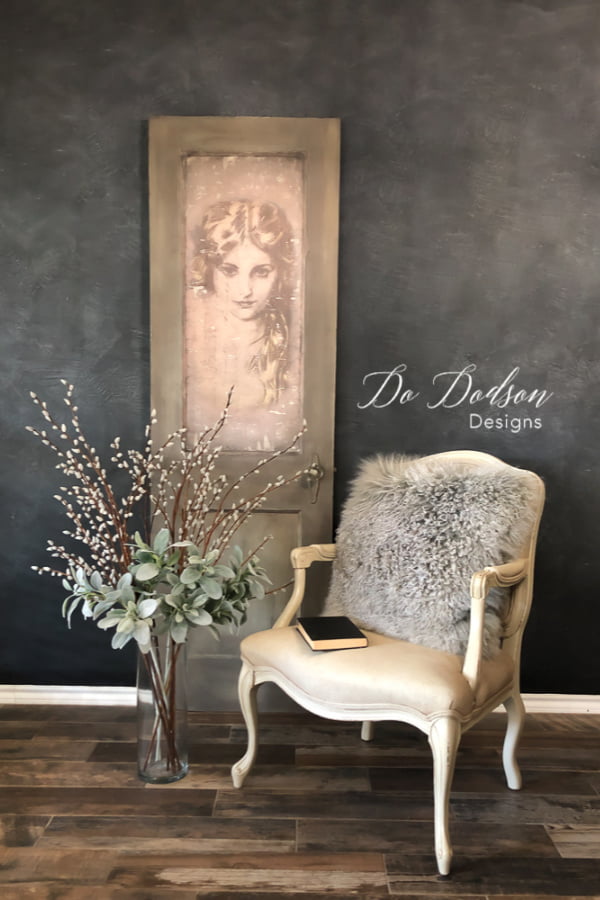
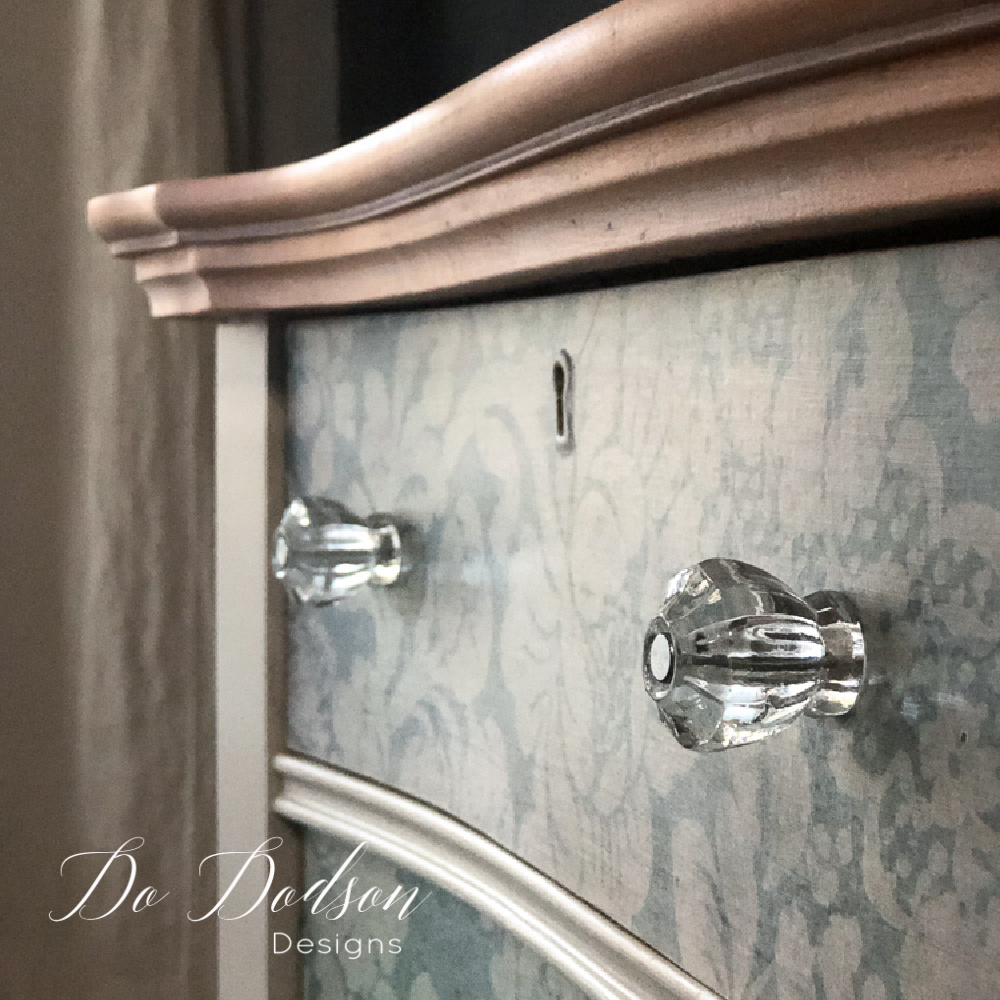
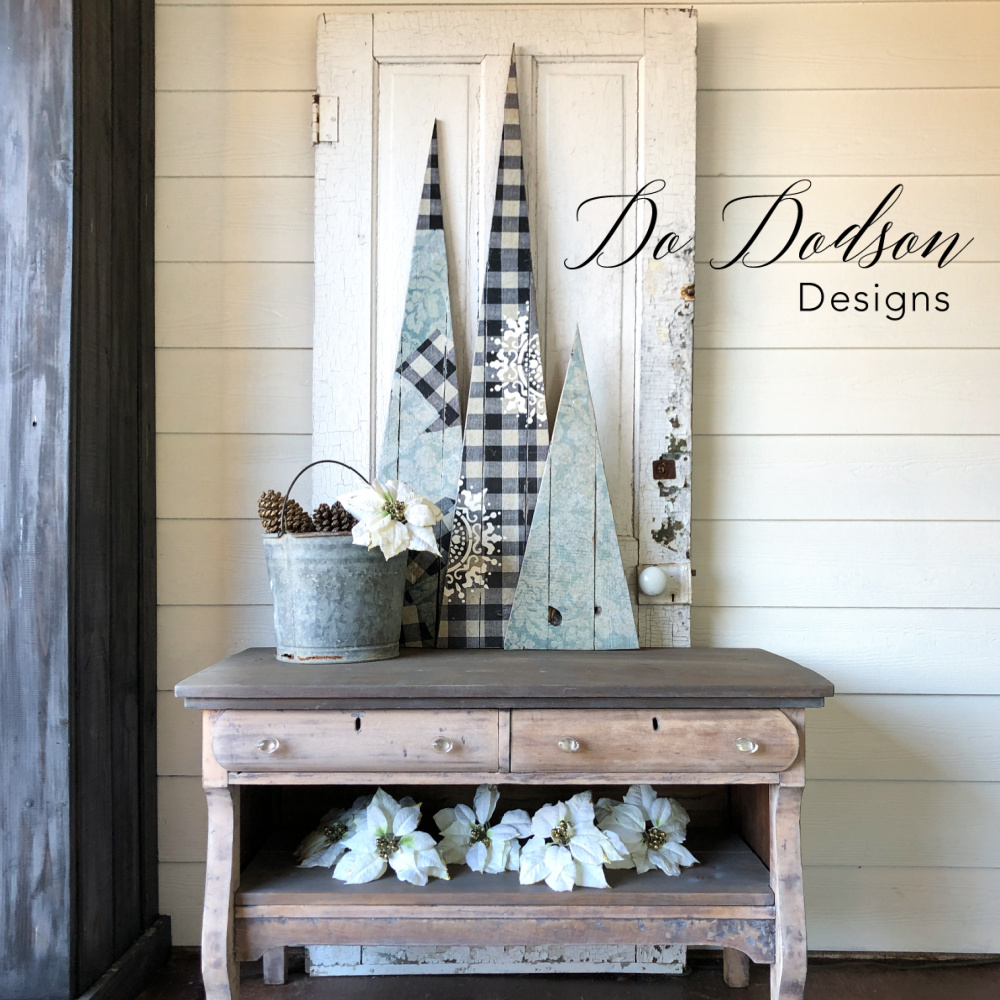
No, it’s not the usual furniture makeover, but why not use a vintage door as home decor? The best of Flea Market decor with decoupage paper! AND… if you loved this makeover, I added tissue paper to a vintage dresser, too. CLICK HERE to see how tissue paper created a vintage feel with some depression glass knobs. And if you love antique doors, you’ll love this chippy makeover.
So, what do you think? I’d love to hear from you. Tell me about your experiences with unusual makeovers. Inspire me! I’m always looking for new ideas. The unexpected! 🙂
Until the next project… xo, Do

Do I love this project. I can tell how much this meant to you. I appreciate you sharing your talent and creativity. I’ve attempted the tissue decoupage not bad on my first try but it does take patience. ?
Thank you, Mary! Yep, a bit of a learning curve but the results are so worth it. xo, Do 🙂
Perfect!
Perfect! Can’t ask for anything better than you and Royce together.
Thank you! She’s a real sweetheart! xo
?Never seen such a beautiful door like this before! I get more inspired every day by your creations. Thank you for sharing!❤️
Hi Cynthia,
I appreciate your kind comments. I’m happy to share them. xo, Do
Where did you get tissue paper like that?
Hi Lori,
I got it here. https://www.zazzle.com/lady_sketch_decouapge_paper-256845838938693445 🙂
Stunning.
Thank you so much!
The door is absolutely gorgeous!!!
Thanks, Debbie! I’m pretty happy with it.
xo, Do 🙂
I LOVE this project!! It is absolutely amazing!! Not only is it a great idea for the door or other wood furniture, it gave me some great ideas for Christmas projects. I just placed an order with Zazzle and now I’m ordering some of the products from Dixie Belle. Can’t wait to find the wood and get started. Thanks!!
Awesome! So glad you liked it. Your gifts will be a huge hit. I would appreciate it if you order them through me. No additional charges.
Click here to order… https://dixiebellepaint.com?aff=80
xo, Do 🙂
I have an old home we bought for storage on our farm. It has doors like the one you decoupaged. With many other pieces of old wood I don’t even know what they are. The house was built before 1900. I want to do something with the pocket door and weights for windows. I love your website. And I love to paint with these paints and dark wax. Thank you again.
Hi, Dorthy. It sounds like you have a gold mine. How it will be to create amazing beauty from the past.
blessings xo, Do
You mentioned a tutorial you made on another decoupage project. Where can we find it. This is gorgeous!
Hi Mindy! Here ya go! 🙂
https://dododsondesigns.com/how-to-decoupage-furniture-tutorial/
Do, this is so stunning! Just love your work and creative mind.
Thanks, Wendy! The mind is always working. xo 🙂
Dear Do
I am from germany and i love your work .I watch a lot of your Tutorials on Pinterest and let me inspiering from your work .Unfortunatly I Cant get the Great Produkts you use (Dixie belle )in germany . There are Other Chalk Paints like rustoleum or Anie Sloan but they don‘t have That much colors and are Really expensive .Sorry for my bad english,
Hello Ramona! Thank you so much for the kind words. Your English is much better than my German. Trust me. 🙂 Hang tight, it will be there soon and then you can paint your world.
xo, Do
This door project is just so beautiful! Thank you for all your posts. I’m always so encouraged by you.
I’m so glad you enjoyed it, Mary Ann. Thank you! 🙂 xo
Buenas noches. Tienen asesoría en Costa Rica.
Hello!
I love you creations. Thanks for sharing about work and ideas. I love to learn and hope that while I’m reading and seeing will help me push myself. Thank you. God bless
Thank you! I’m happy to share it with you. Have a beautiful day. 🙂
Zazzle makes custom tissue paper from uploaded photos. This project is beautiful!
Hi Sheryl, I love Zazzle! Thanks for reading. 🙂