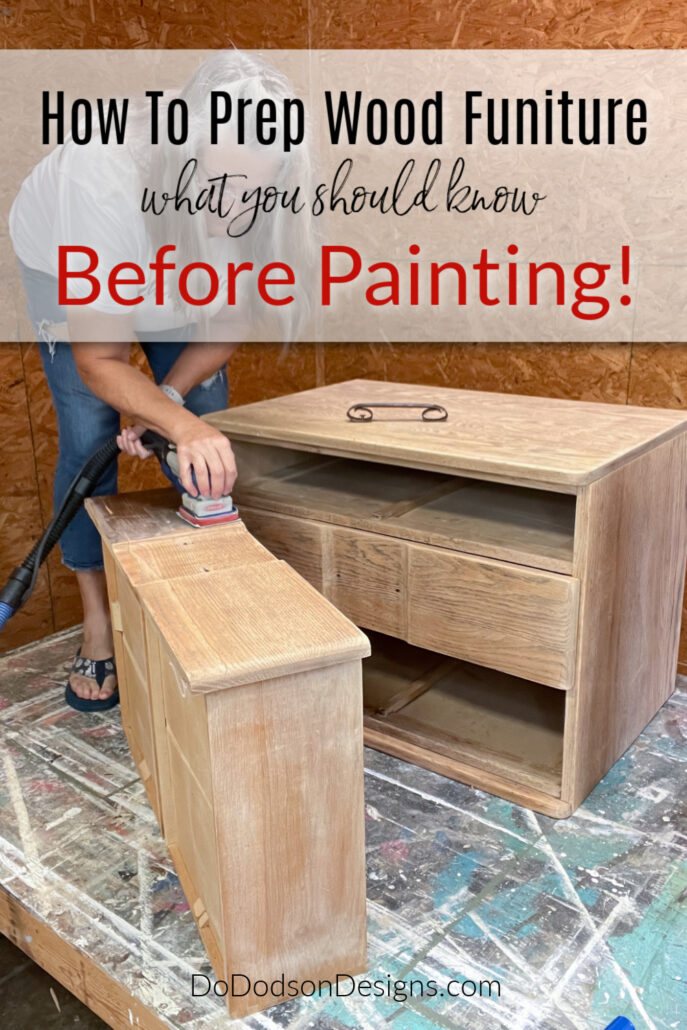
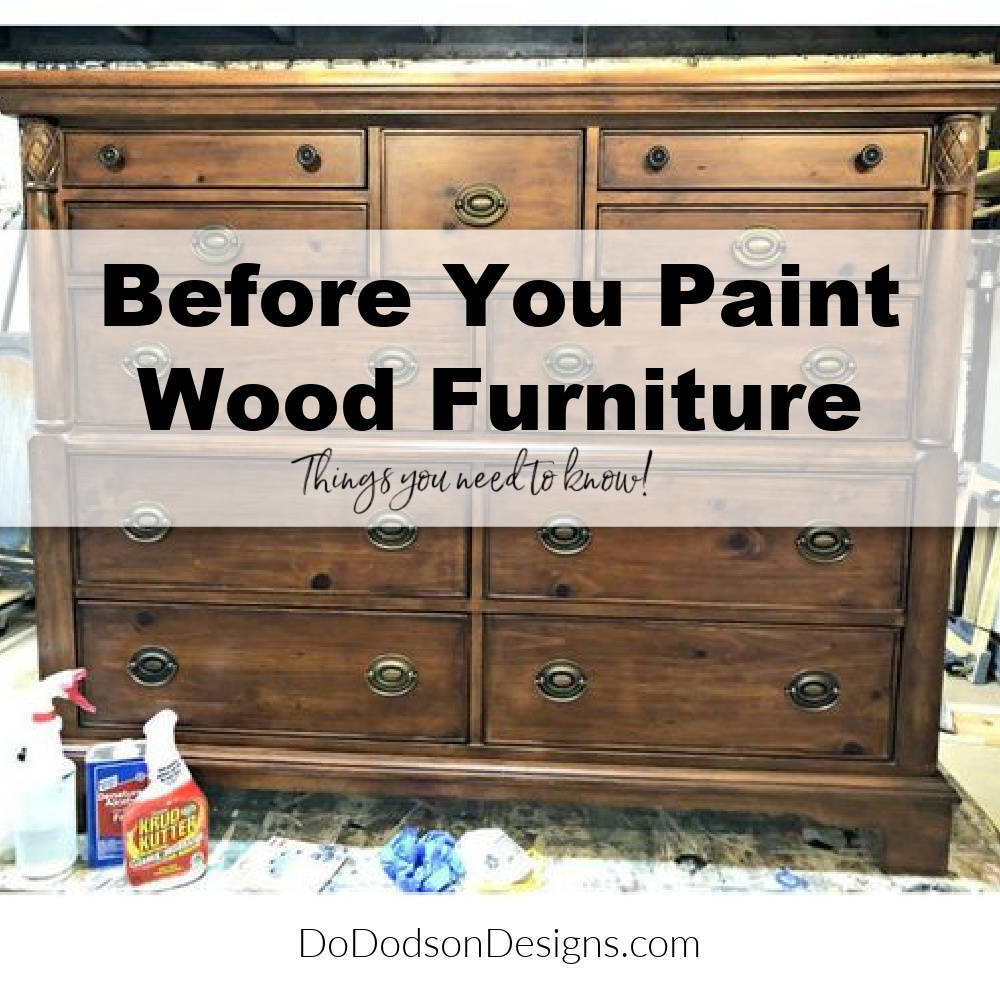
It’s my least favorite thing about painting furniture, and I bet it’s yours too. It’s that dirty four-letter word. P R E P! It’s the first thing you gotta do before any furniture makeover, and it’s the most common mistake I see when painting old wood furniture. But don’t let the confusion stop you from creating an amazing professional finish you can be proud of. Today, I’ll cover all the how-tos and some tips so you can clean and prep wood furniture before you jump into my FAVORITE part. PAINTING FURNITURE!
* As an Amazon Associate, I earn from qualifying purchases and through other companies as well. You will not be charged extra when you purchase through these affiliate links, but any income I make helps me create more amazing DIY projects to share with you! To see my full disclaimer, click here!
What You’ll Need For Prepping Wood Furniture Before Painting
SUPPLY LIST:
Most of these items can be purchased at your local hardware store or, my favorite, Home Depot.
- wooden furniture
- Vinegar and warm water
- empty spray bottle
- trisodium phosphate (TSP cleaning product)
- clean cloth (cotton)
- paper towel
- gloves
- face mask
- wood filler
- sanding block
- orbital sander
- paintbrush
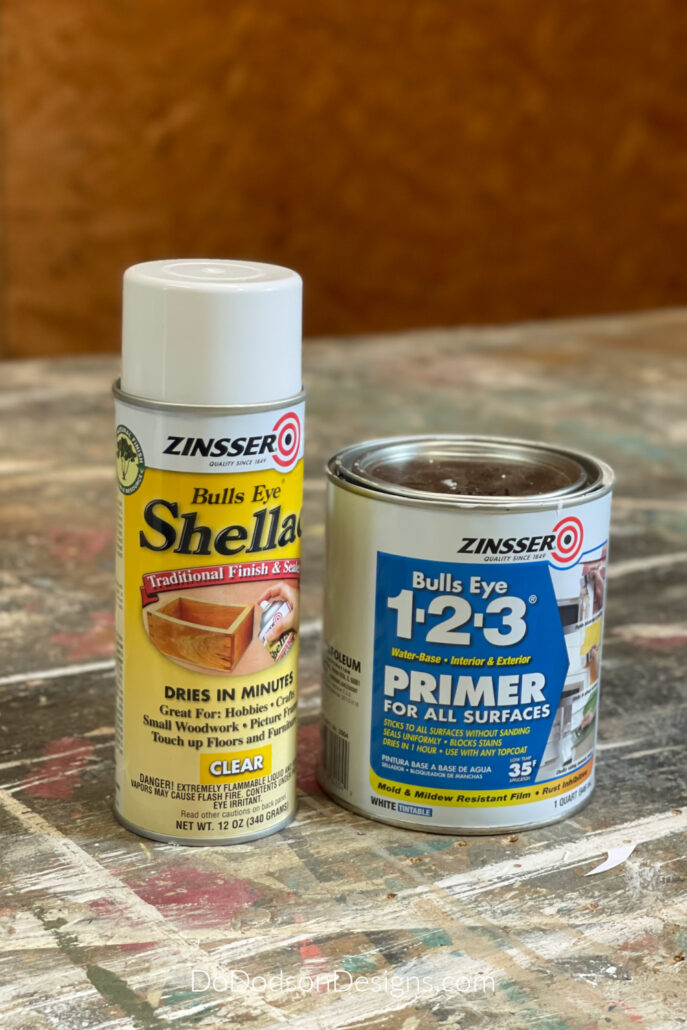
- primer/stain blocker Zinsser Bulls Eye 1-2-3
- stain blocker Zinsser Shellac
- chalk paint® or chalk mineral paint
Some Wood Furniture Pieces Need More Cleaning Than Others
Now, of course, if you find furniture that’s been stored in a barn with the chickens, that piece will need a deeper cleaning, inside and out. You’re going to have to clean the entire piece of furniture. It’s totally okay to get the water hose out and drown it. I mean, seriously. It will not hurt the wood. I do it all the time.
Saturate it with water and a heavy-duty cleaning solution to remove all the visible gunk, grime, dirt daubers (I’m from Texas), cobwebs, and spiders. The creepy things that lurk underneath and inside old pieces. After a good bath, set it out in the sun to dry.
It’s always good to know it’s really clean before you bring it back into your home, especially before painting it. Some of you may be laughing, but I have actually done this. Some of my best antique finds came from an old barn. NO SHAME!
I know what some of you must be thinking. “That’s too much work”. That’s because I thought the same thing when I first started painting furniture, too. Every furniture painter I know will tell you the same thing. It’s all about the prep work, and you can’t skip this part. We all just want you to get it right the first time and avoid the mistakes we made.
Practice makes improvement, I always say, and I’ve had years of practice with my fair share of failures.
Here are some tips that you might find helpful. We don’t know what we don’t know.
Tip 1: Inspect And Make Furniture Repairs Before Painting
The first step is to make those repairs. Check for sticky drawers that don’t slide, loose drawer fronts, damaged veneer, wobbly legs, or broken anything.
Maybe you want to replace the knobs on that old dresser before you paint it. Wood filler and a sanding block go a long way, and these are things that can easily be done even if you’re a newbie.
I don’t ever remember not having to do at least one repair (or a total overhaul) on any piece I’ve ever done. Maybe that’s because I’m a thrifter and I view curbside finds as a challenge. Give me a FREEBIE every day! That’s called a SCORE in the furniture flipping world if you didn’t know. You’re welcome.
Learn more about these topics:
How To Make Sticky Drawers Slide Easily
How To Repair Wood Veneer Damage
4 Ways To Remove Damaged Veneer
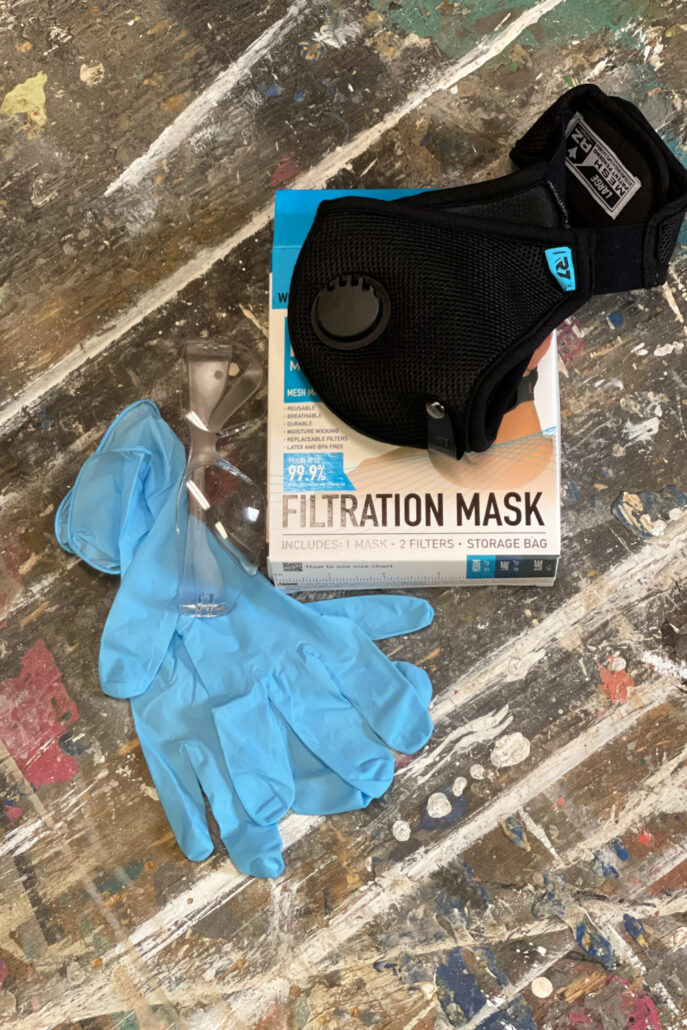
Tip 2: Wear Protective Safety Equipment
Refurbishing and painting furniture is a dirty job, and you’ll need to protect your skin, eyes, and lungs from potentially hazardous materials when prepping. Invest in a dust mask, protective eyewear, and gloves to protect you from floating dust, paint splashes, and harmful substances that can irritate your hands and skin. It doesn’t hurt to wear an apron to protect your clothing.
Tip 3: Always Clean First Before Sanding Wood Furniture
This may sound like a no-brainer, but I didn’t know this for a long time. Never sand wood furniture before thoroughly cleaning it.
FAQ: Why can’t I just sand it first?”
If you start sanding before cleaning, you risk grinding dirt and oils from the surface deep into the wood grain. Cleaning the wood after sanding won’t give you the thorough cleaning you need.
Wiping away sanding dust isn’t nearly as hard as having a failed finish and having to undo everything that you just did. Clean first, then sand, and then clean again. It’s not worth the risk.
Furniture That Doesn’t Look Dirty (Vinegar and Water)
This is an affordable option when you’re first starting out and don’t have the extra money to spend on additional products. Use what you have at home. Add equal parts of vinegar and warm water to a spray bottle. Spray the mixture over the surfaces, then wipe them clean with a soft cotton cloth to thoroughly clean the furniture. You can also use paper towels. I used this method with good results when I first started out.
The one thing you need to remember is that dirt is dirt, whether it’s visible on your wood surface or not. That means every wooden furniture piece should be cleaned. Grease can be lurking on the wood and not be visible to the naked eye.
Not to mention all the fingers that have touched said piece. Our skin contains oils and can be easily transferred by a single touch. I don’t know about you, but I’m pretty sure my furniture has been touched a lot. Pay special attention to high-traffic areas when cleaning, such as drawer fronts and handles, to remove these oils. A little extra attention to these areas will go a long way.
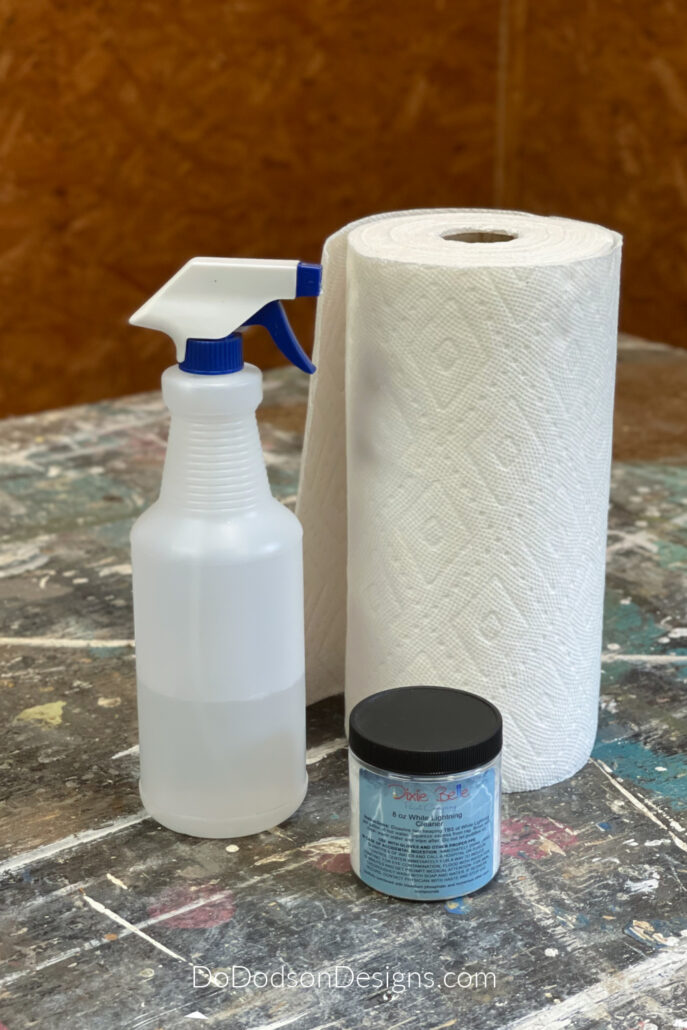
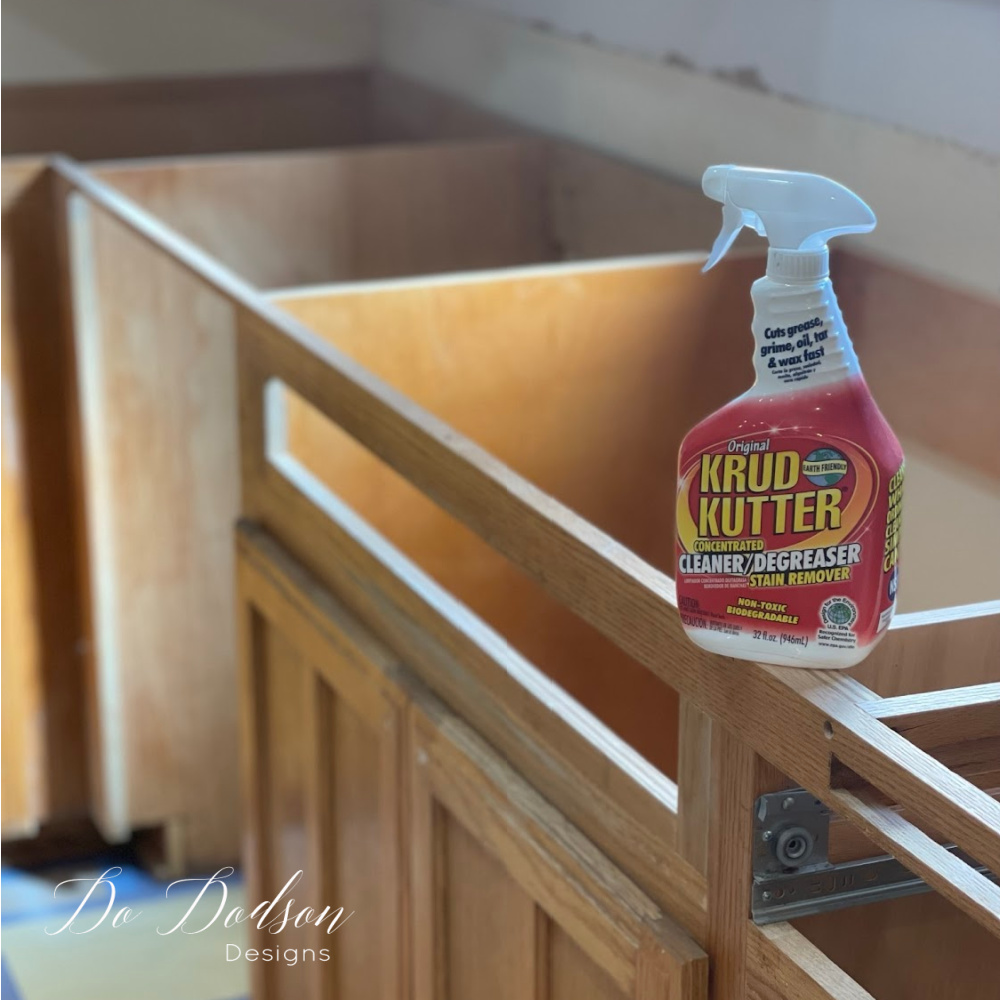
Dirty Furniture Jobs (TSP Cleaning Products)
Another product I use is a TSP in crystal form. When mixed with warm water, it safely removes dirt and debris and also acts as a degreaser. Spray and wipe, and use clean water on a damp cloth as your final wipe to remove any residual on the surface. It’s a powerful cleaner, and you want to remove it all before you paint.
I keep a premixed bottle that way I’m ready to go at a moment’s notice, because you never know when the mood hits to paint furniture. 🙂
Scuff Sanding After Cleaning
After cleaning, lightly sand (scuff sand) your wood furniture to create a smooth surface for paint. This will smooth out any rough areas of loose varnish and brittle wood areas. Old wood furniture is usually dry and brittle, and a light sanding will go a long way in helping your paint go on smoothly.
A good orbital sander is a great tool to have and can really speed up furniture prep, but you can certainly use fine-grit sandpaper and put in a little elbow grease with your bare hands.
Prevent Bleed-Through Before Painting
What is bleed-through? It’s a shadow or coloring that appears through the paint. This can happen quickly after painting, or it can take days to rear its ugly head after the paint has dried. That’s when it hurts the most.
This is usually caused by tannins in the wood, either on the surface or deep within the wood. Bleed-through is common, especially when painting wood furniture with white or light-colored paint, but it can be prevented by using a good-quality primer/stain blocker before painting.
The primer/stain blocker can be applied with a paint brush or roller. This is your insurance policy against stains and bleed-through. I promise you won’t be sorry.
Zinsser Bulls Eye 1-2-3 is water-based and can be used on all surfaces. I also like their product with a Shellac Base. It’s a great product when you know bleed-through will be an issue.
If you’re painting with latex paint, you’ll need a primer to prepare the surface. Unlike chalk paint®, which sticks to most clean surfaces without a bonding primer, latex needs a bonding primer.
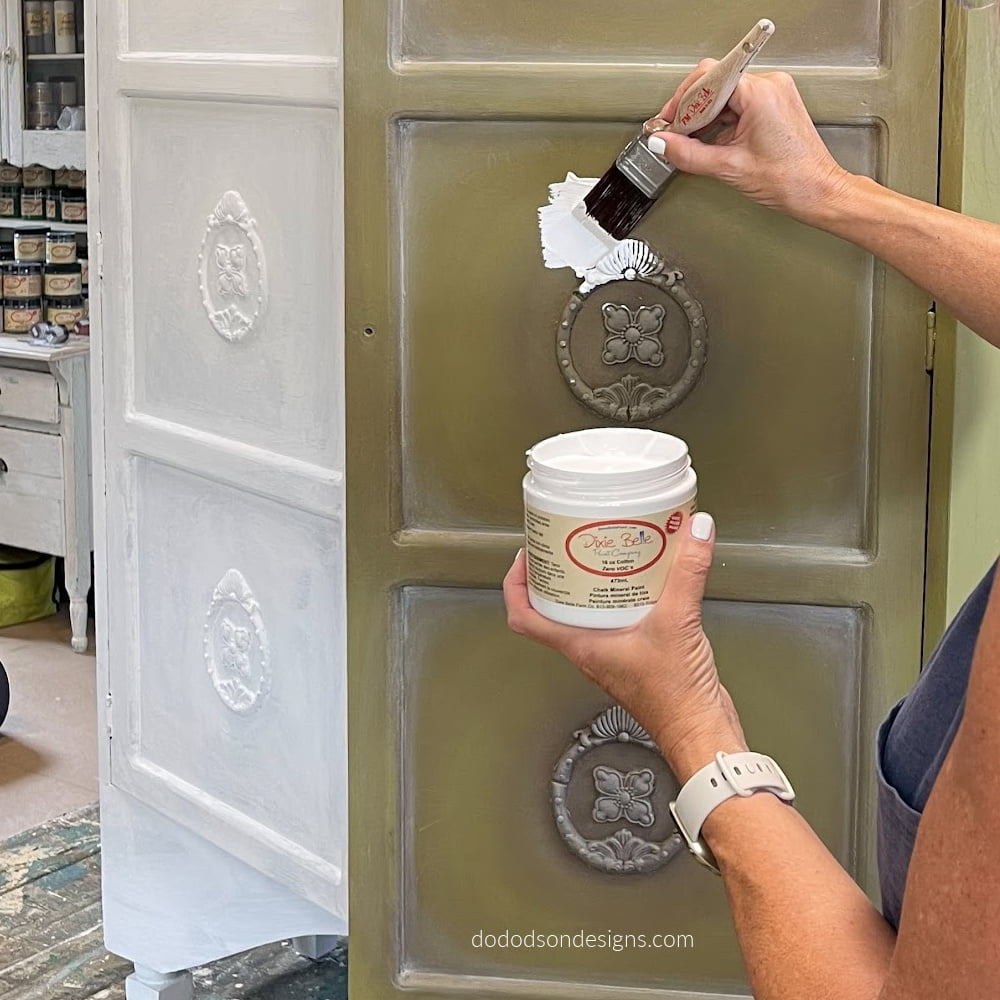
Painting Your Wood Furniture Project
Now you can grab your favorite furniture paint and create a beautiful, lasting finish. If you’re looking for good-quality furniture paint at a great price, I recommend Dixie Belle Chalk Mineral Paint.
To Sum Things Up
Cleaning and prepping wood furniture doesn’t have to be hard when you follow these simple steps. Inspect, repair, clean, and block stains. Taking these steps will ensure you get the best results with your paint job.
Thanks for joining me today, and I hope I enlightened you about the importance of cleaning wood furniture before painting. It has always been my goal, as a furniture painter and blogger, to help others learn to create amazing finishes while having a good time.
If you want to learn more about painting furniture, I’d like to invite you to join me in The Art of Painting Furniture. It’s where I share my love of painting furniture with all who want to learn.
Until the next project, happy painting!
xo, Do
I am about to paint my dads old pedestal table that his family had when he was a child. It is stained right now. I would like to paint the bottom a cream or white and restain the top. It is the old orangey oak right now. What do you think about using latex paint for the bottom? Or do you recommend chalk paint instead, and why do you prefer one over the other? Also I would like to go with a very light color stain for the top or even just put a top coat on it for the raw wood look. Is there a stain color you recommend? Kind of looking for the coastal look. I am new to your blog but you seem to have so much information. I would appreciate any help. Thank you so much
Hi Lee,
I have a couple of blog posts that I hope will answer your questions about your project. I can’t add links here so check your email inbox. 🙂