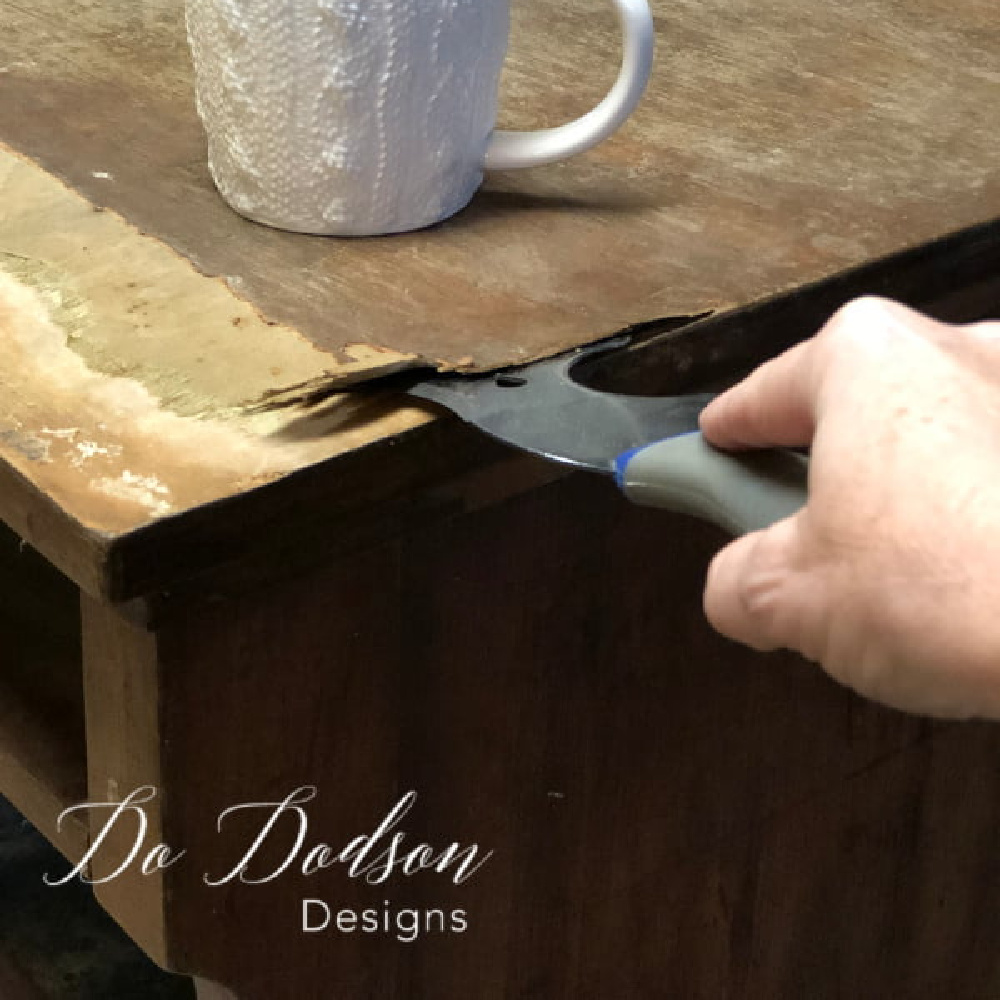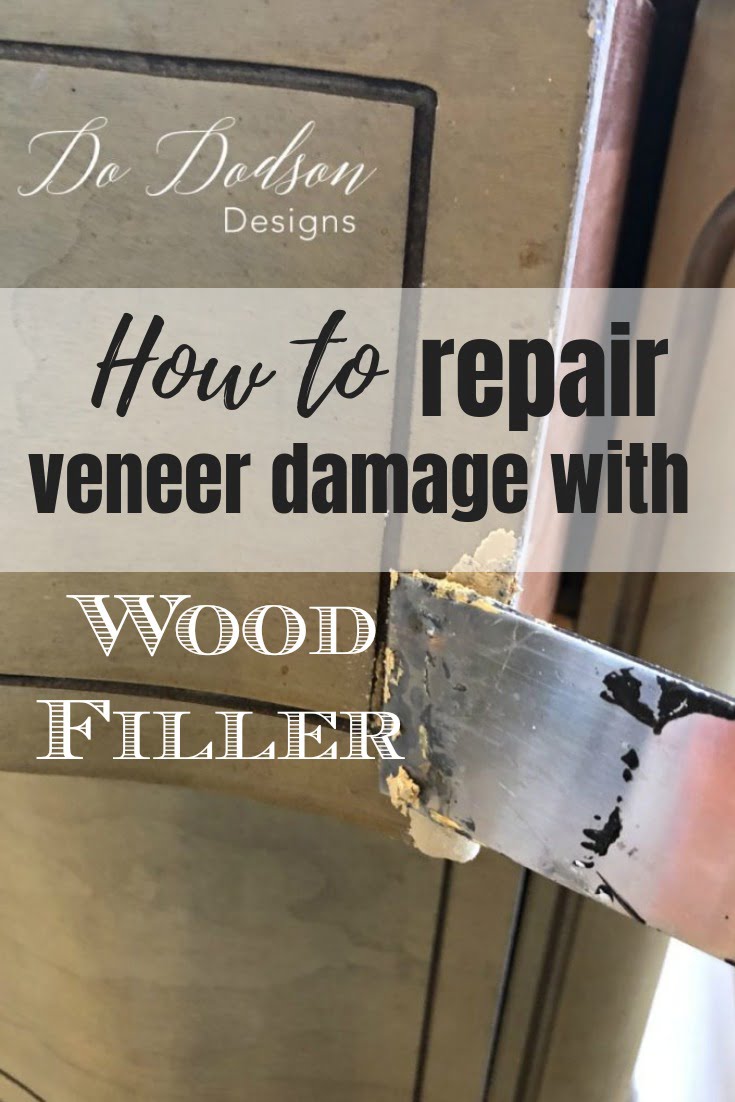
Using a wood filler is an easy way to repair those minor issues with veneer damage that has been loosened over time. I purchase a lot of furniture with wood damage. Trust me! It’s just the nature of the business. With a few simple steps, you’ll be ready to paint that piece in no time.
This post contains a few affiliate links to help you find the products I use. You are not charged extra to use any of the links, but any income I make will be used for more fun projects! To see my full disclaimer, click here.
How To Apply Wood Filler
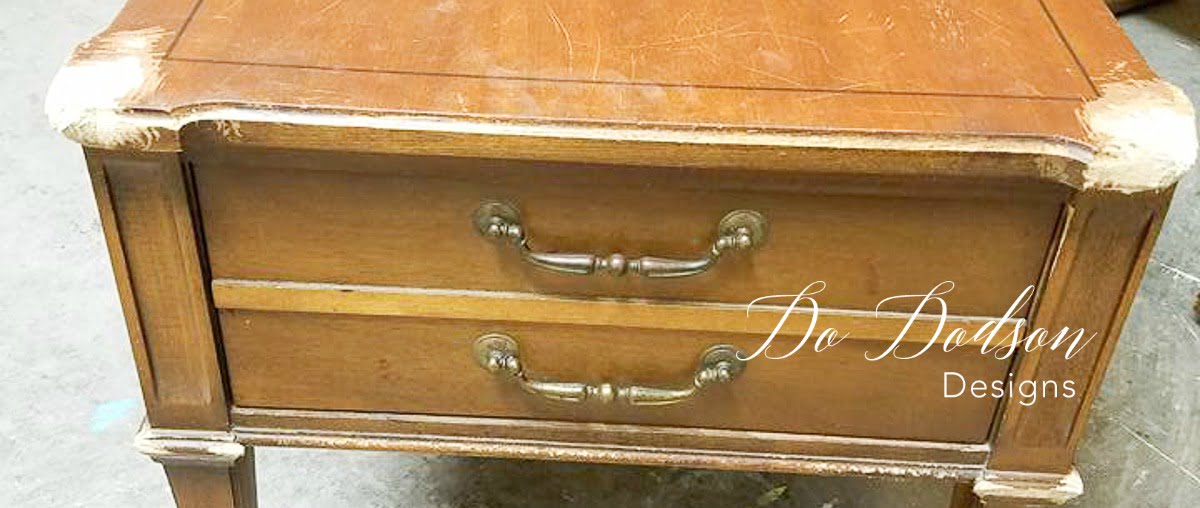
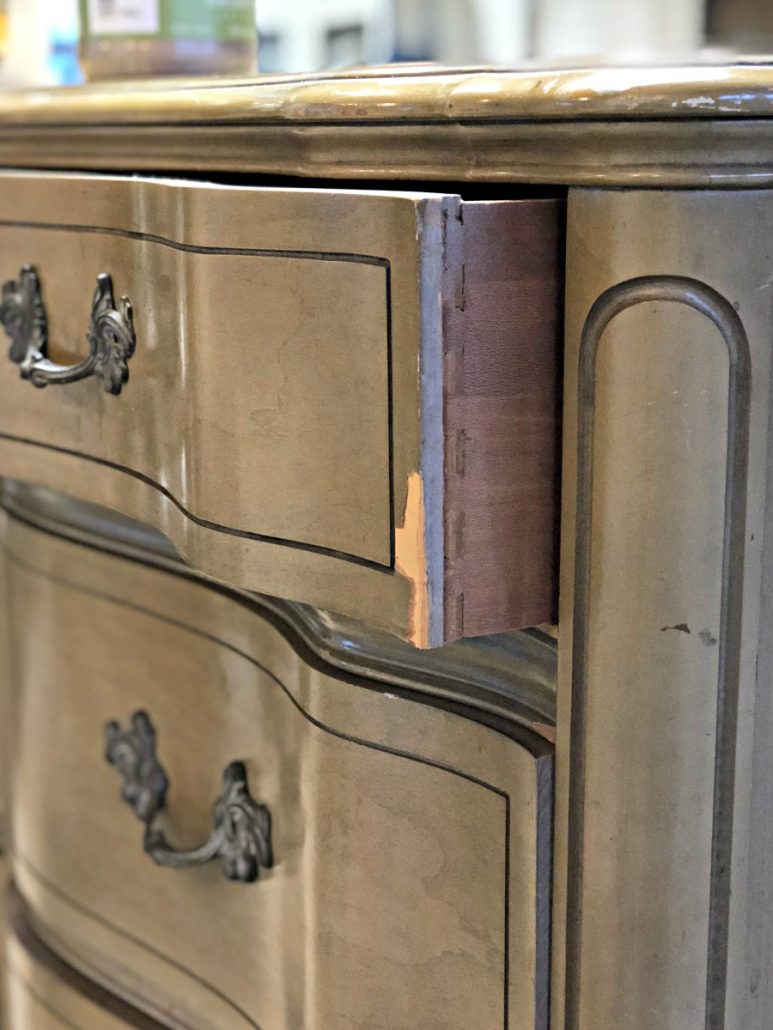
Most wood damage can be repaired fairly quickly. like with this French Provincial dresser. The corners have had a lot of wear and tear, and the veneer was lifting and had broken off. The rest of the surface was in decent shape and still had good contact. It just needed surface wood repairs.
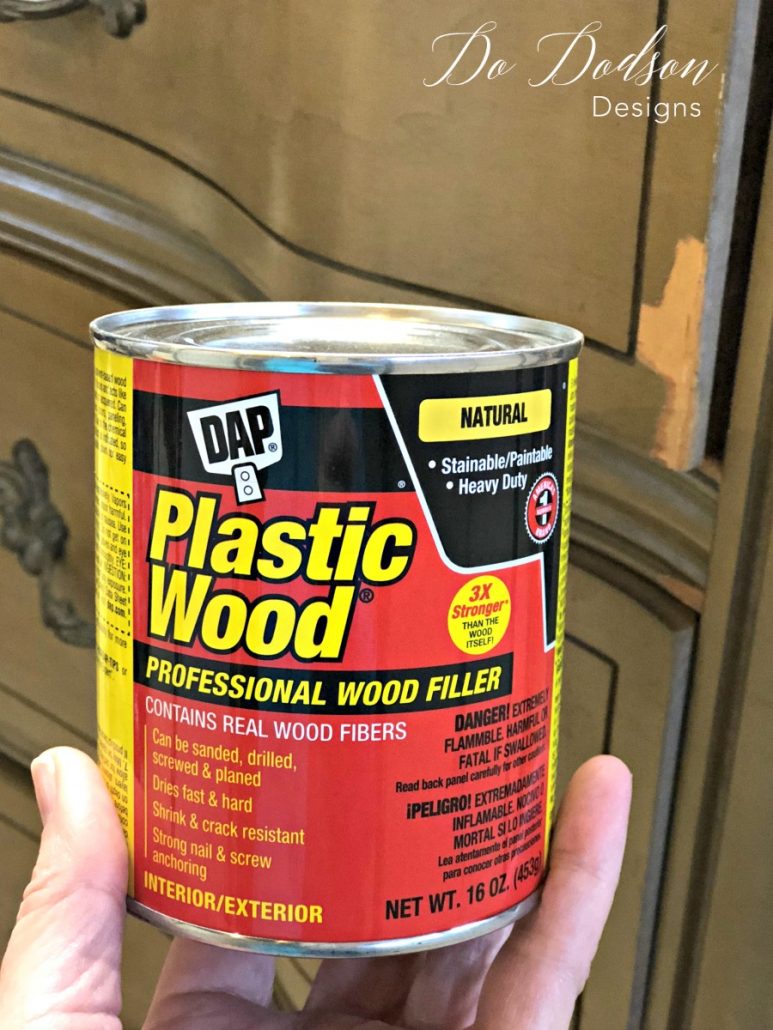
Here is what I used to repair this veneer damage on this dresser.
Supply List:
Application of Wood Filler
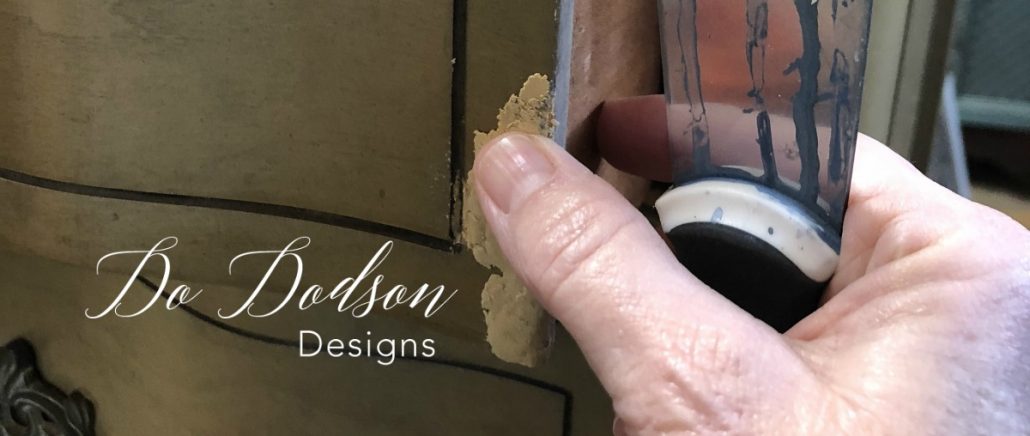
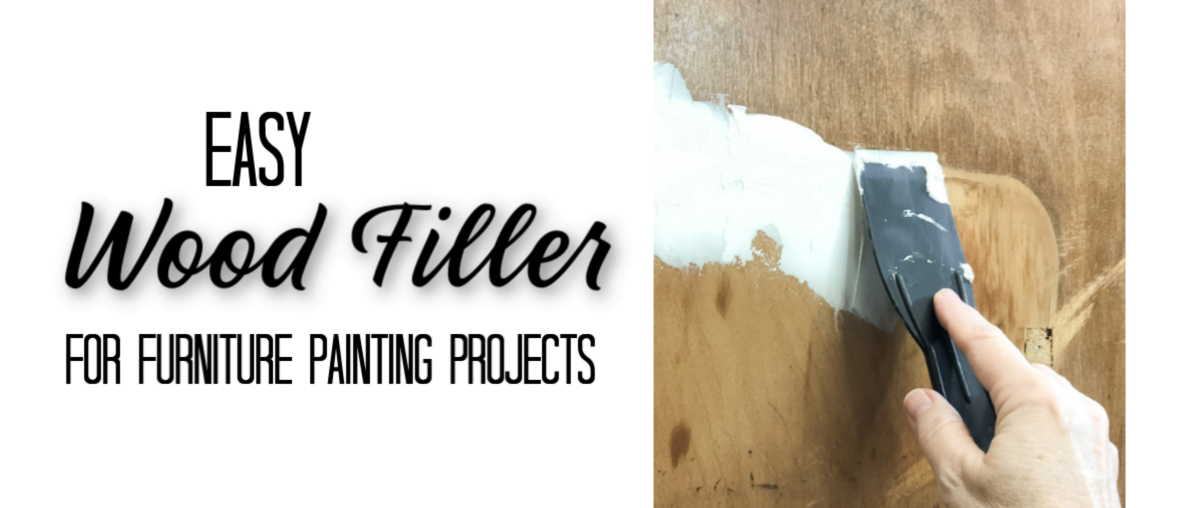
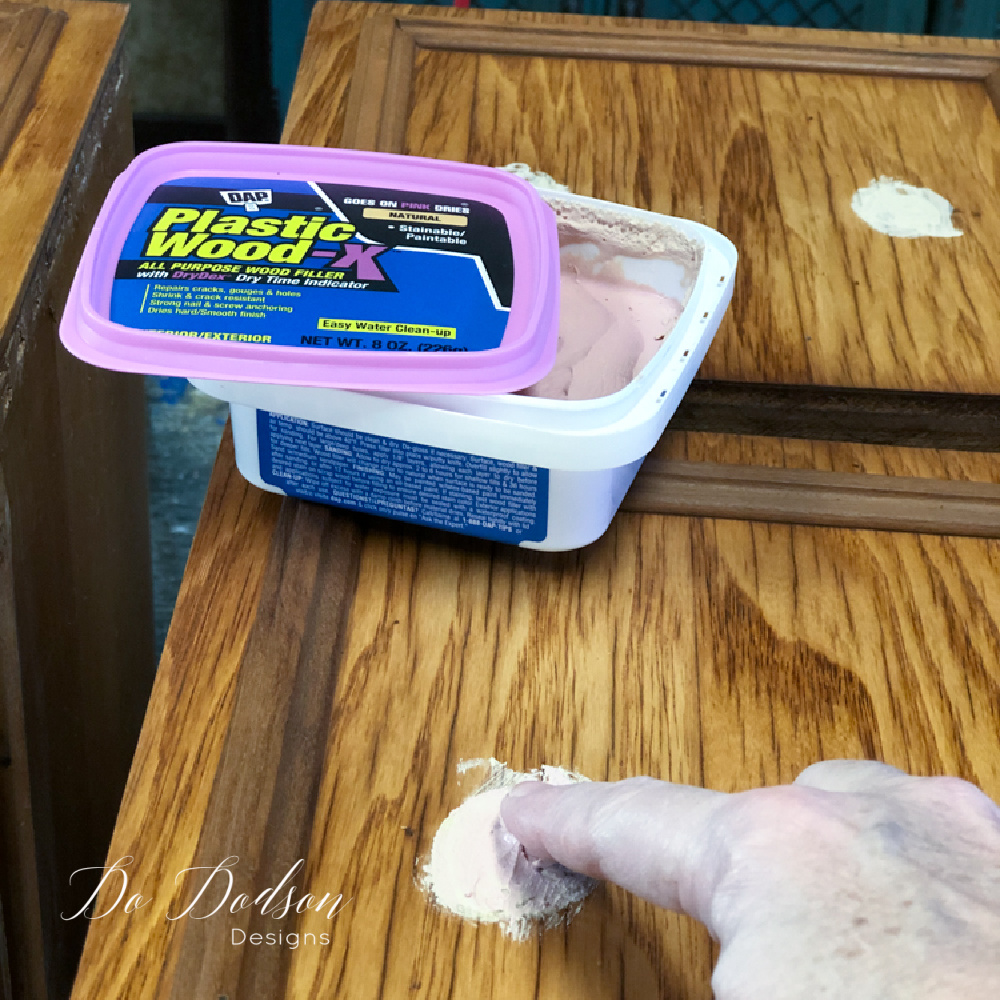
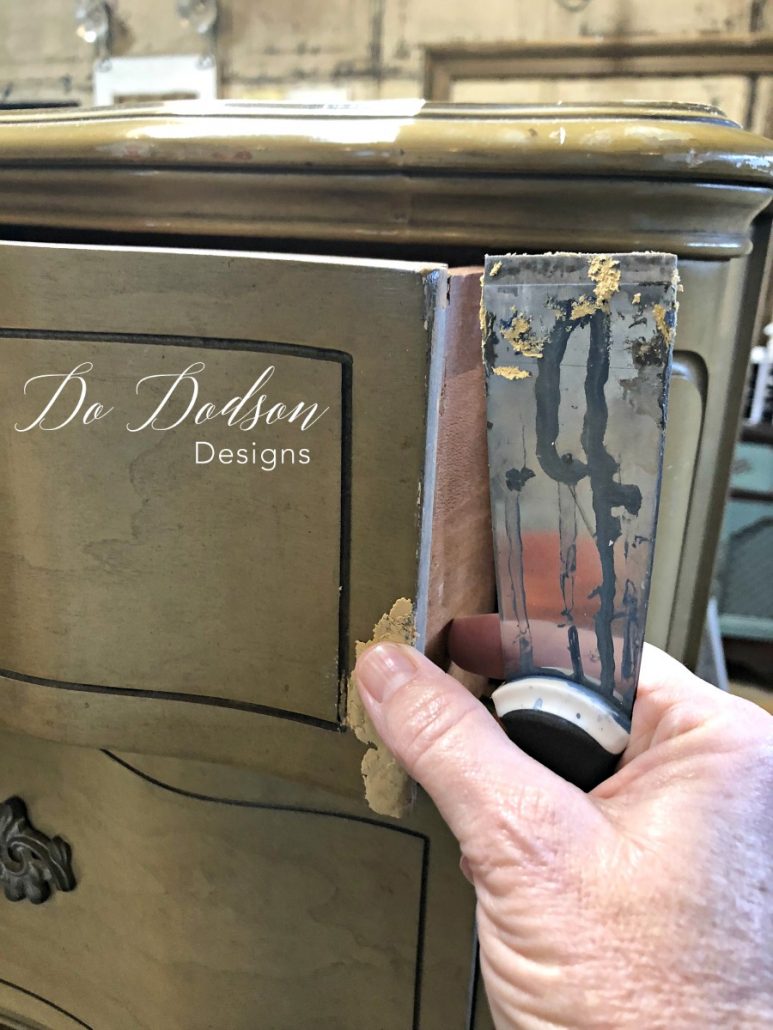
Apply a small amount of the DAP Plastic Wood to the damaged area with a putty knife or your finger. If you do, be sure to wear gloves for protection.
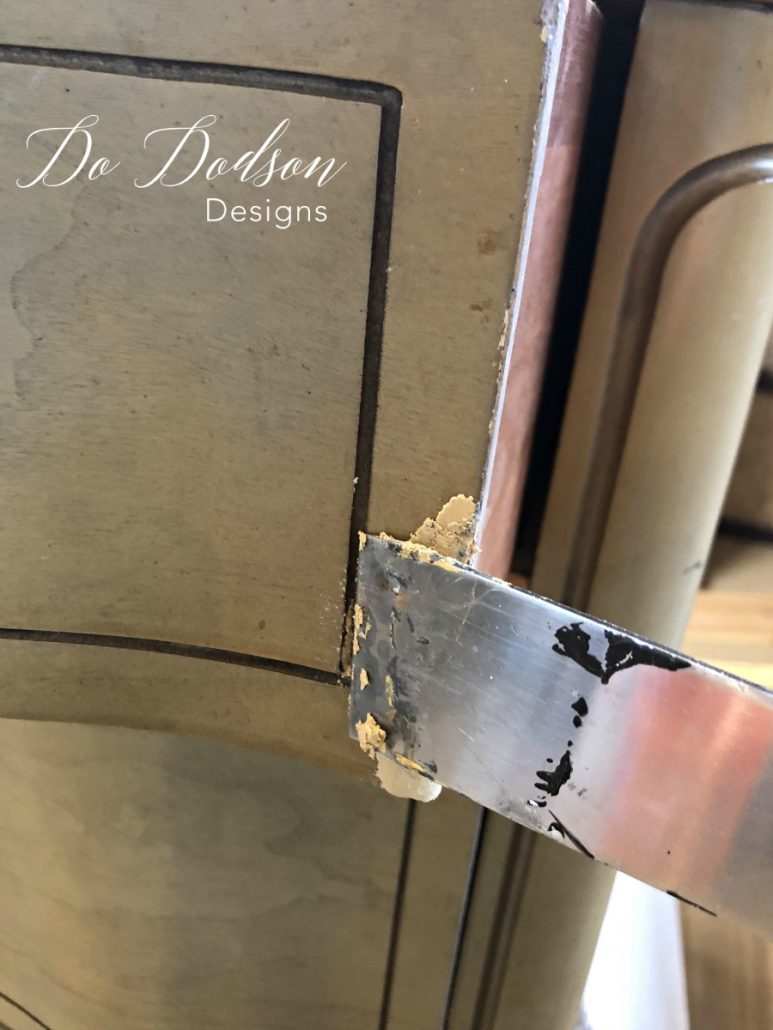
I found it helpful to secure the putty by gently pushing it into the damaged area with my fingers. This made sure there were no air pockets or gaps that could cause the wood filler not to adhere properly.
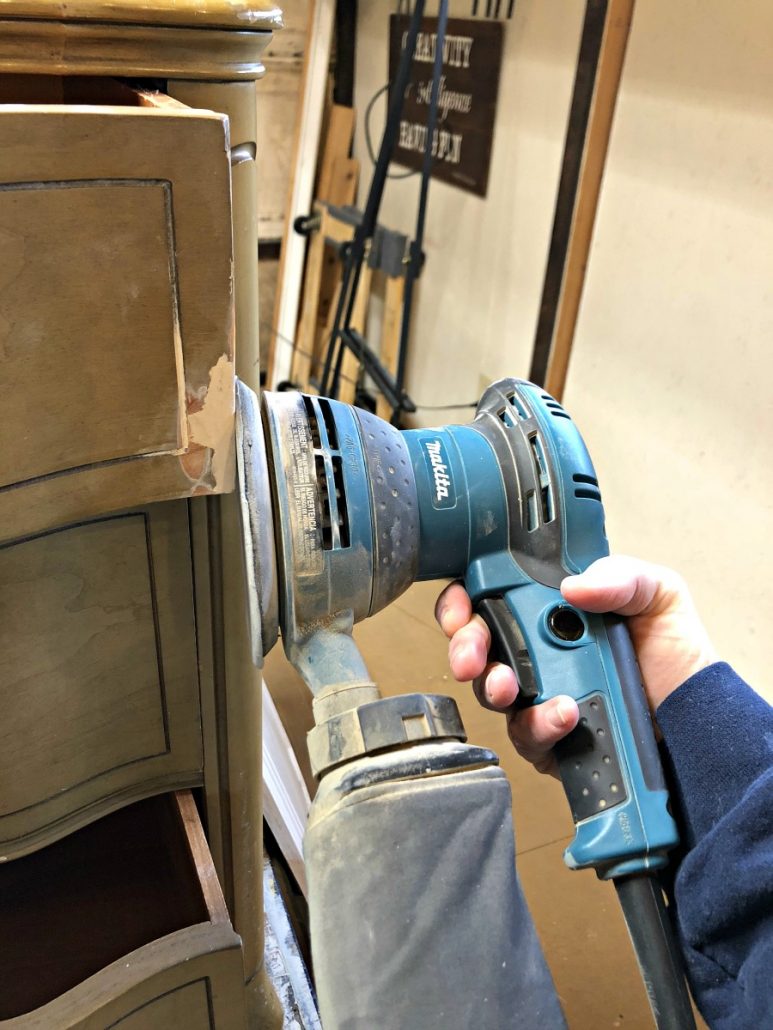
Sanding the Wood Filler
After the wood filler is completely dry (about 2 hours), lightly sanded the area smooth. I used my electric Makita Orbital Sander for quick results, but you can sand it by hand. It’s that simple.
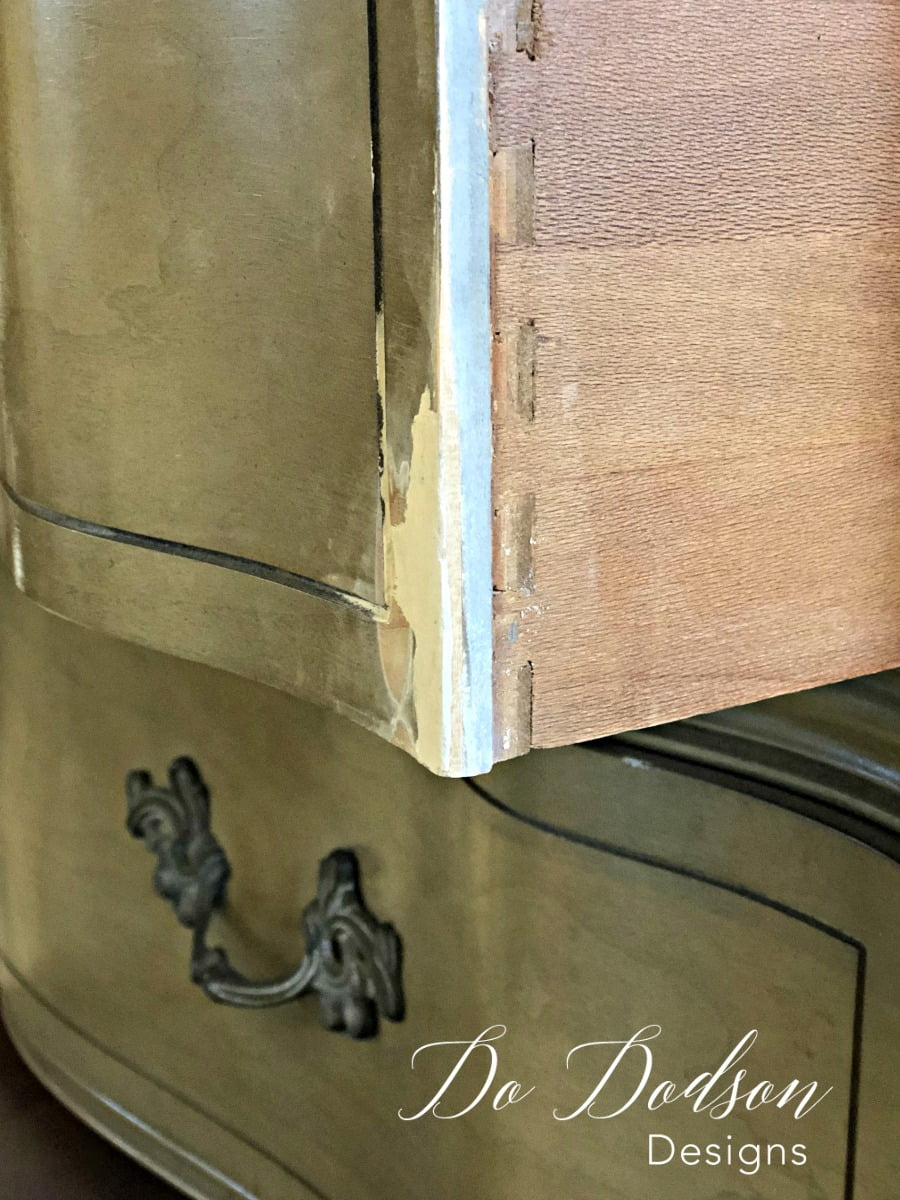
I recommend a good primer over the wood filler before painting, but not always necessary depending on the paint you chose. I have several more furniture repair-related posts that you may enjoy too. Got a question you need answers to? Below are some of my most commonly asked questions answered about furniture repair. Or, let me know what you need help by commenting below. I’d love to hear from you.
Until the next project… xo, Do

