
There are many reasons not to paint an antique dresser, and a Mother in laws opinion isn’t one of them. 🙂 More on that later in this post. However, I feel strongly about saving these old pieces, even if it means painting them. For this project, I have chosen to do a little of both: wood restoration and paint. Warning, it’s a little edgy.
This post contains a few affiliate links to help you find the products I use. You are not charged extra to use any of the links, but any income I make will be used for more fun projects! To see my full disclaimer, click here.
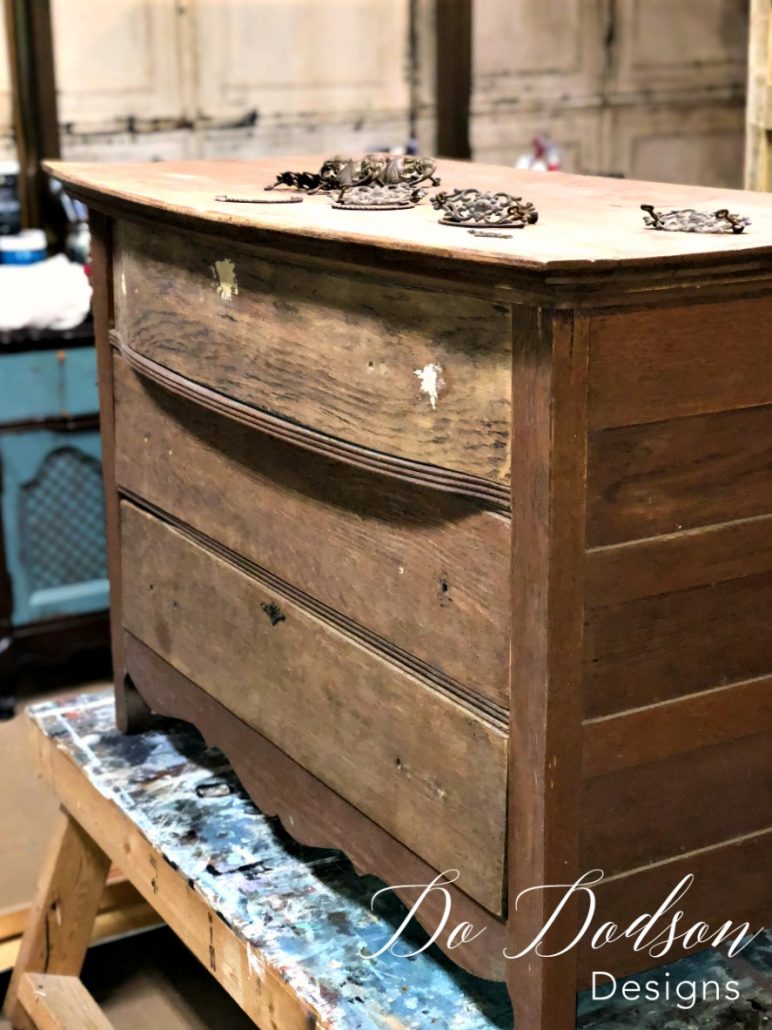
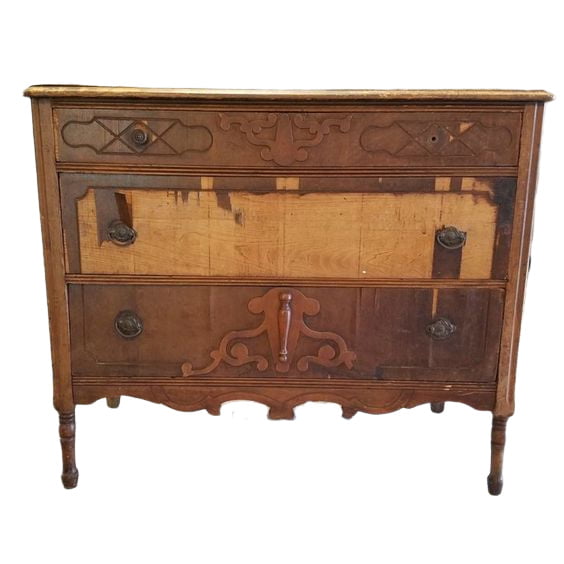
Antique Dresser Makeover With Paint – Before
This antique dresser had seen better days. The top was pretty beaten up and stained, and no amount of sanding would remove the stains in the wood. However, the lower half wasn’t too bad. The wood was still in good shape, and I was more than happy to restore that part of this antique dresser, but I wasn’t sure how to cover up the ugly part, but I was willing to take a risk and try something new.
Supply List For This Project
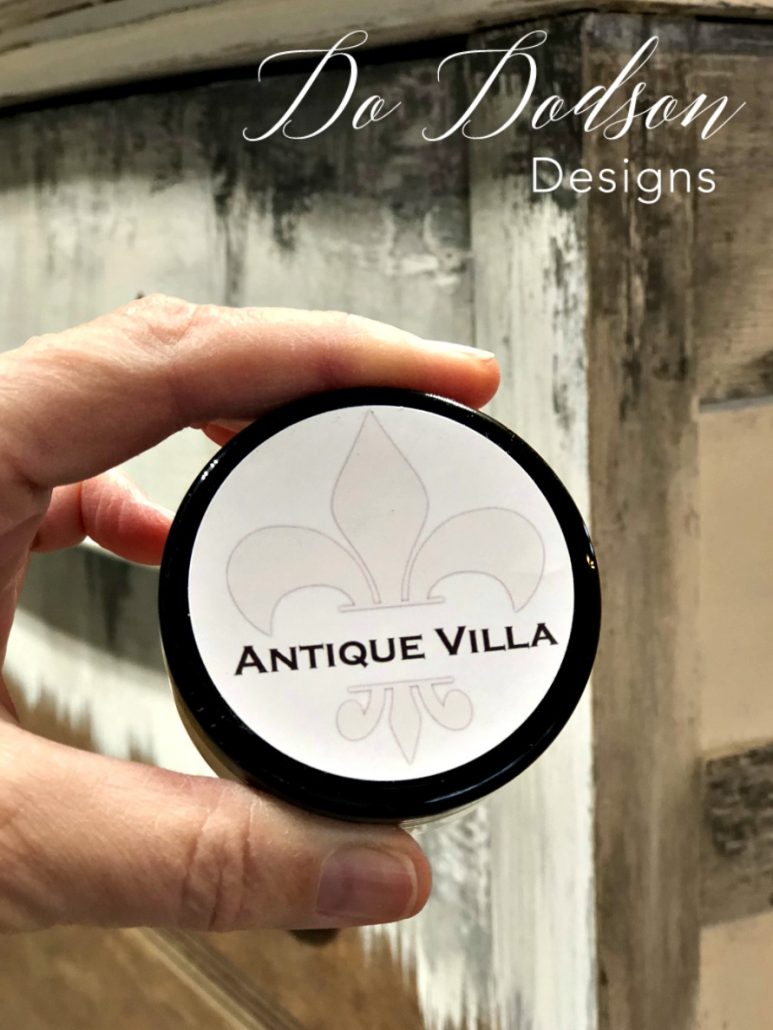
- Villa (Chalk Synthesis Paint by Wise Owl)
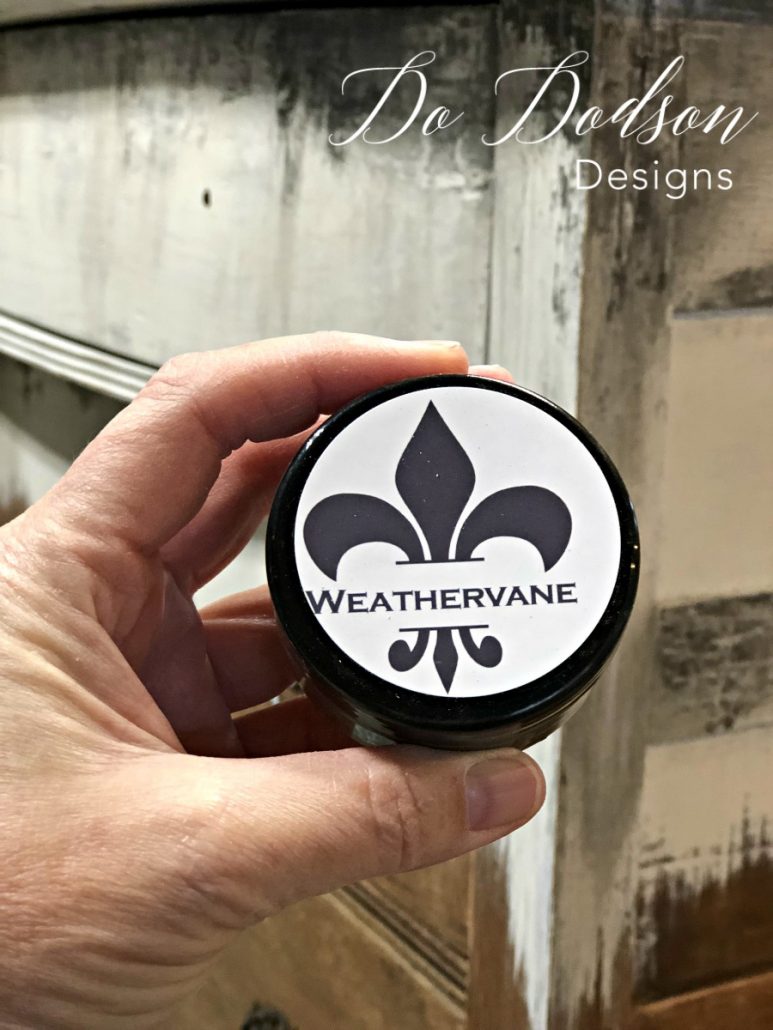
- Weathervane (Chalk Synthesis Paint by Wise Owl)
- Cling On Paint Brush
- Spray Bottle (water for blending paint)
- Putty Knife (for blending the paint)
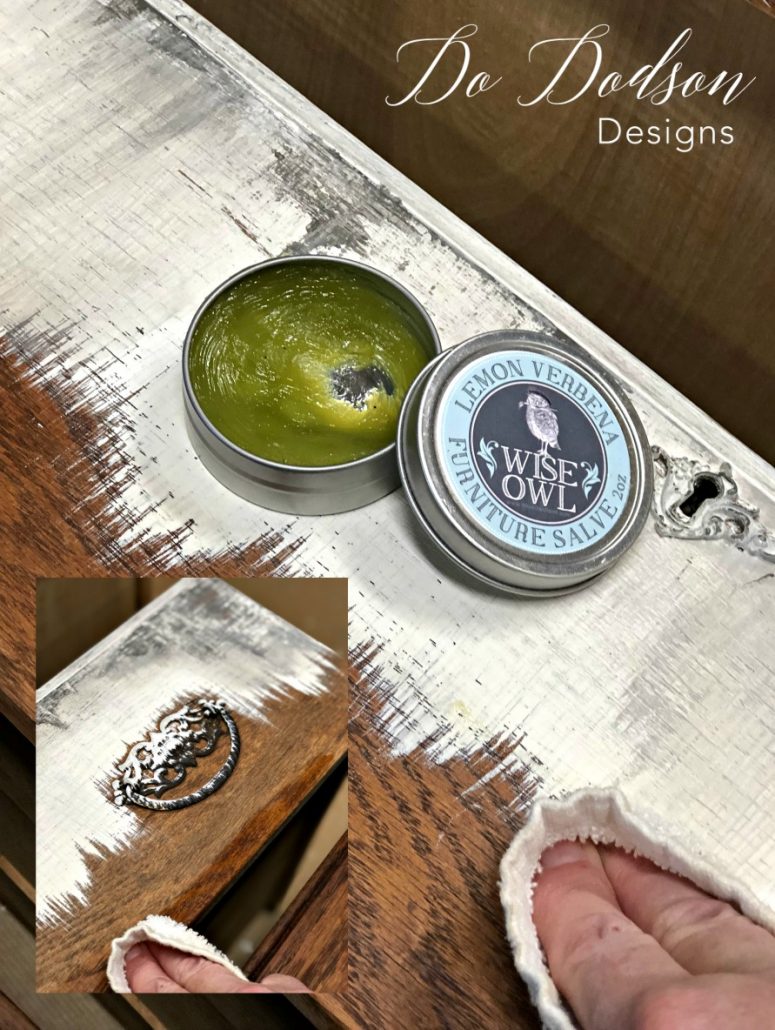
- Lemon Verbena Furniture Salve (to remove the musty, stinky smell)
The Back Story Of This Antique Dresser
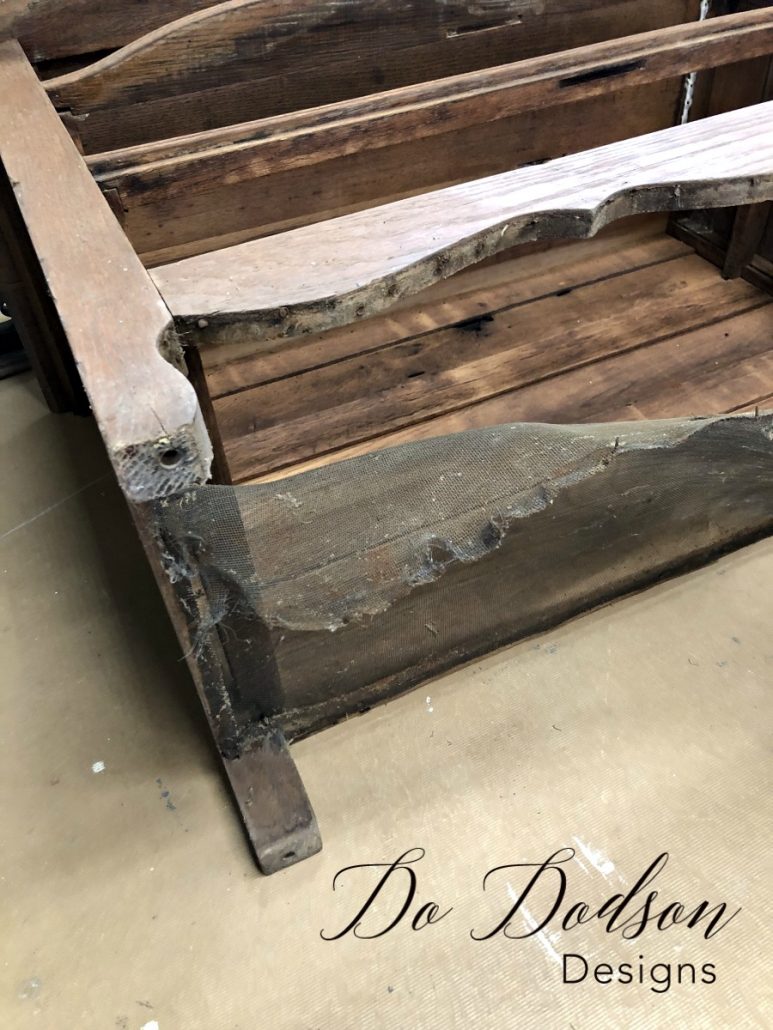
The drawers were falling apart; if that weren’t bad enough already, someone had added wire to the bottom of this antique dresser and over several holes in the back. Want to know why? Scroll down if you dare!
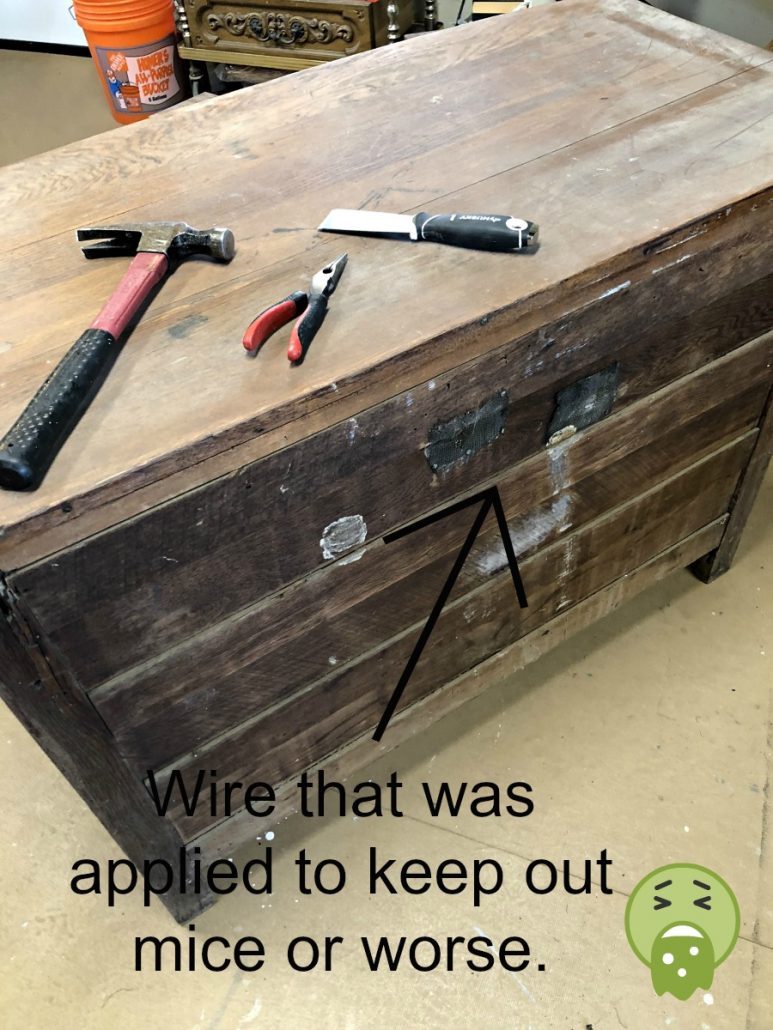
Varmints! There’s nothing in my book worse than mice or rats.
The only reason I know that adding wire like this is that I saw my Grandfather do this to my Grandma’s furniture. She has an old wardrobe I liked playing in as a child. I also remember the smell of moth balls that were placed inside the wire to repel varmints. That’s what Grandpa called them! My Grandparents had a weekend home in the country, and let’s just say it wasn’t as secure as it needed to be. My nights spent with my Grandparents were sometimes interesting but memorable, to say the least.
Repairs And Cleaning Before Painting
A lot of cleaning, sanding, and repairs to the drawers were done before I could even think about getting out my paintbrush.
After my usual sanding, cleaning, and repairing of this dresser, I decided to do something a little different. The wood top had a lot of stains that went deep into the wood, but the lower 1/2 of the wood was in fairly good shape. Refinishing the wooden top wasn’t an option.
So, rather than painting the whole dresser, I decided to paint only the parts of the wood that couldn’t be refinished.
The Edgy Paint Finish
I started this makeover by painting the top half with light-colored chalk paint (Antique Villa), using a cling-on brush, and dragging the paint down the sides (starting from the top edges) in a random uneven streaking motion.

The second color I used was gray, called Weathervane. It’s a yummy dark gray, and when paired with the Antique Villa, it creates a beautifully aged paint finish. I used my Cling On Brush, a spray bottle with water, and a putty knife to create this look by dragging the gray into the Antique Villa (cream color). After completing the design, I wanted; I allowed the paint to dry fully—about 3 hours at room temperature. Wise Owl Paint dries quickly.
Sealing The Paint And Wood On The Antique Dresser
Wise Owl makes a Furniture Salve that is nothing less than amazing! Not to mention the heavenly smell of my favorite Lemon Verbena. This salve is multi-purposed. It’s great to rehydrate brittle wood, clean old hardware, and even help with old sticky wood drawers. I applied it over the antique dresser (even the paint), inside and out, using a soft cotton cloth. It conditioned the wood and sealed the paint all at the same time. You gotta try this stuff!
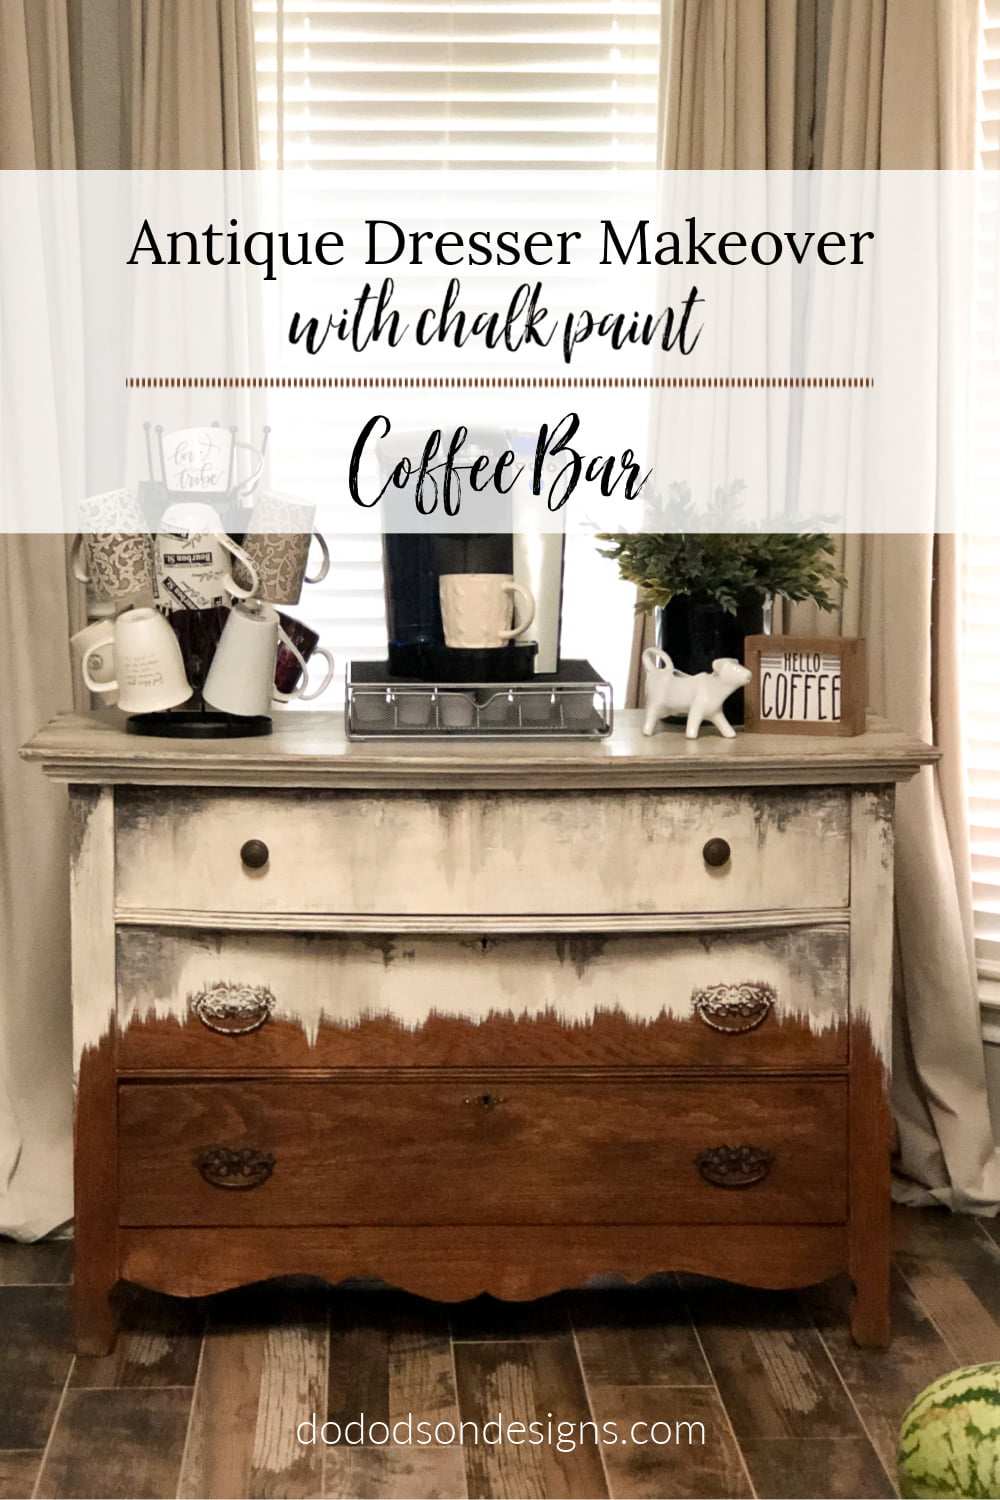
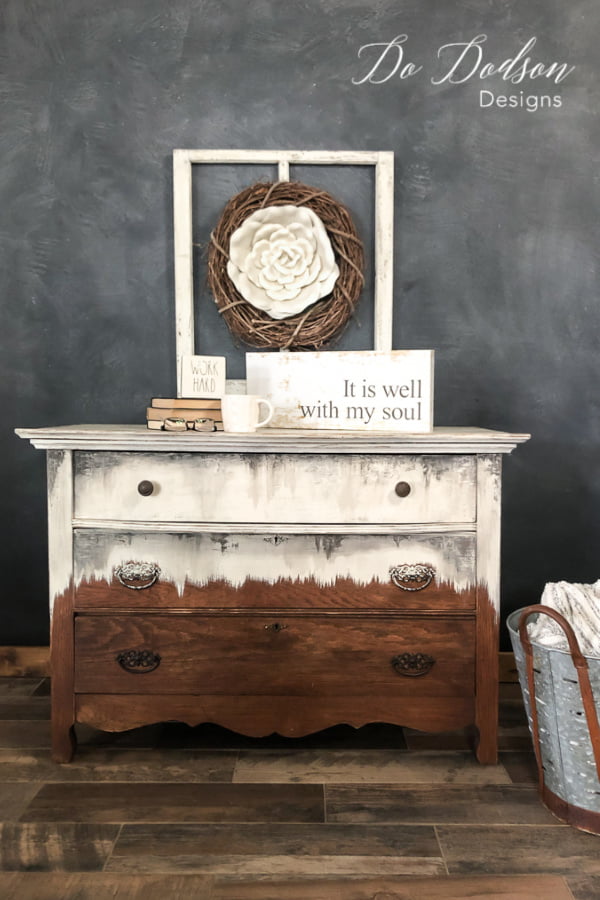
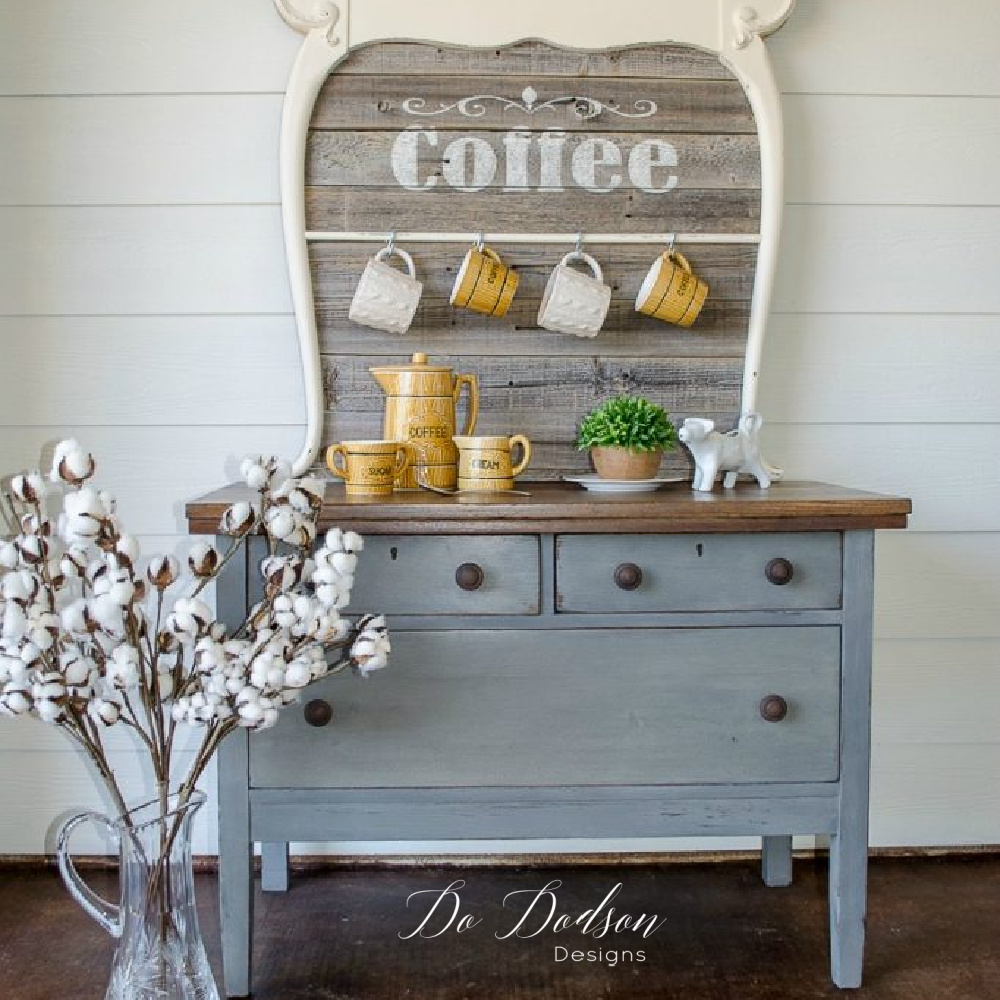
How The Antique Dresser Looks Now – After
I’m super happy with this edgy paint finish! Rustic, yummy, aged goodness with the beauty of the wood, giving it the appearance of the old weathered finish with my spin on an artistic design. The best of both worlds, and as a result, I saved this antique dresser from the landfill.
This isn’t my usual painting style, but I’m liking the artistic vibe!
Oh yeah, and I have to share this funny with you. I LOVE my Mother In Law… let me just say that first. She knows that I paint old furniture, that’s no secret. One day when she was over for a visit, she informed me that she did “NOT LIKE THIS ONE.”
I’m happy to report that my Mother In Law still loves me even if I don’t meet her standards of furniture refurbishing.
I don’t think I’ll ever get tired of it. It’s a little edgy but not boring.
Thanks for stopping by today. I’m so glad I got to share this antique dresser makeover with you. Let me know what you think in the comments. I can take the heat! LOL
* Post Update My Mother In Law has since gone to be with her father in heaven. I will forever be grateful for her unconditional love and support of my business of refurbishing old furniture. I miss you, Lena. I’ll see you again one day.
Until the next project… xo, Do

