Primitive furniture has always drawn me in with its simplicity, worn character, and connection to a slower way of life. When I discovered this antique pie safe in an old storage unit, I immediately pictured it with a distressed black finish that would highlight its age rather than hide it. In this tutorial, I’ll show you how to create an authentic-looking primitive furniture finish using black chalk paint, wet distressing, and furniture wax.
Updated September 2026: I’ve refreshed this tutorial with clearer step-by-step instructions, additional painting tips, and helpful answers for creating a naturally aged primitive finish.
This post contains a few affiliate links to help you find the products I use. You are not charged extra to use any of the links, but any income I make will be used for more fun projects! To see my full disclaimer, click here.
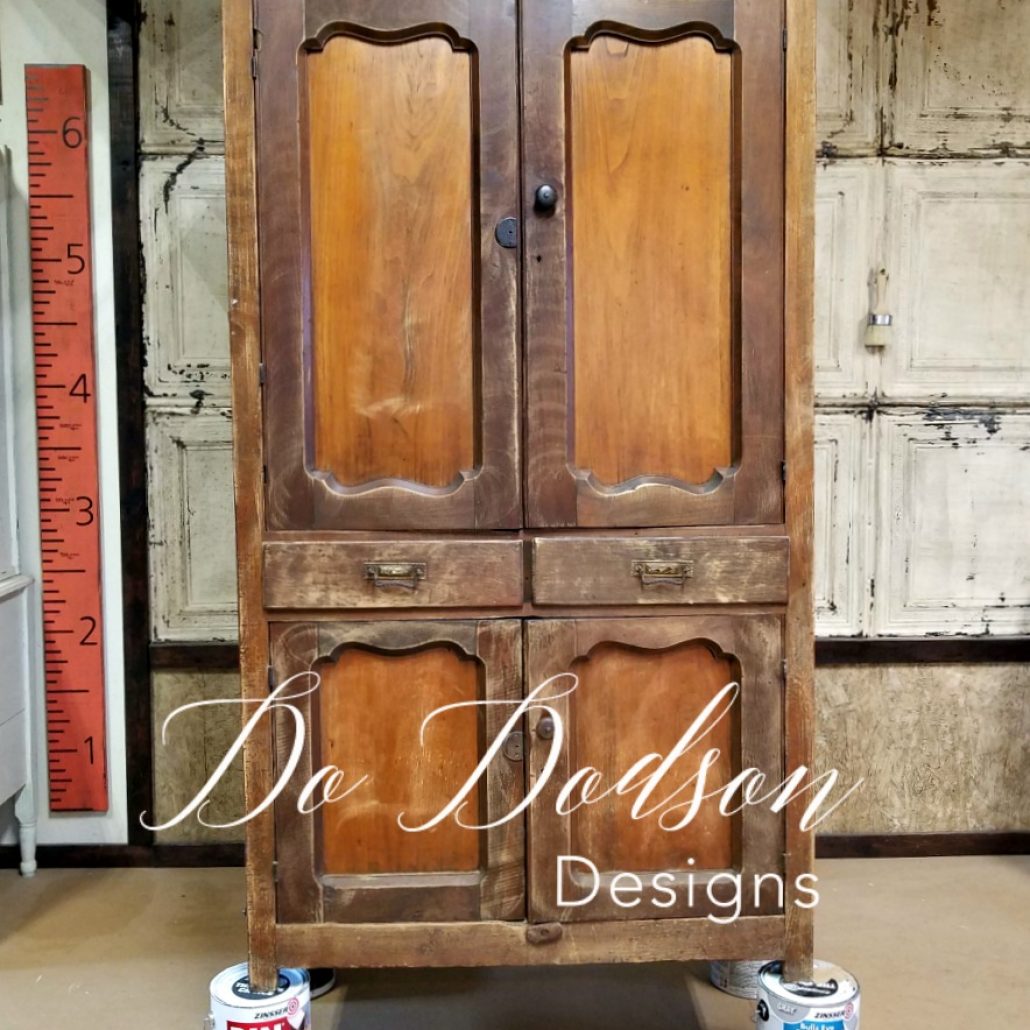
Before the Antique Pie Safe Makeover
This antique pie safe was tucked away in the back of a 10-by-15-foot storage unit that I purchased for $150—without knowing exactly what was inside. Talk about a furniture flipper’s treasure hunt!
Five antique furniture pieces came out of that unit, but this pie safe was easily my favorite. Its simple construction, timeworn wood, and naturally imperfect surface made it the perfect candidate for a primitive furniture makeover.
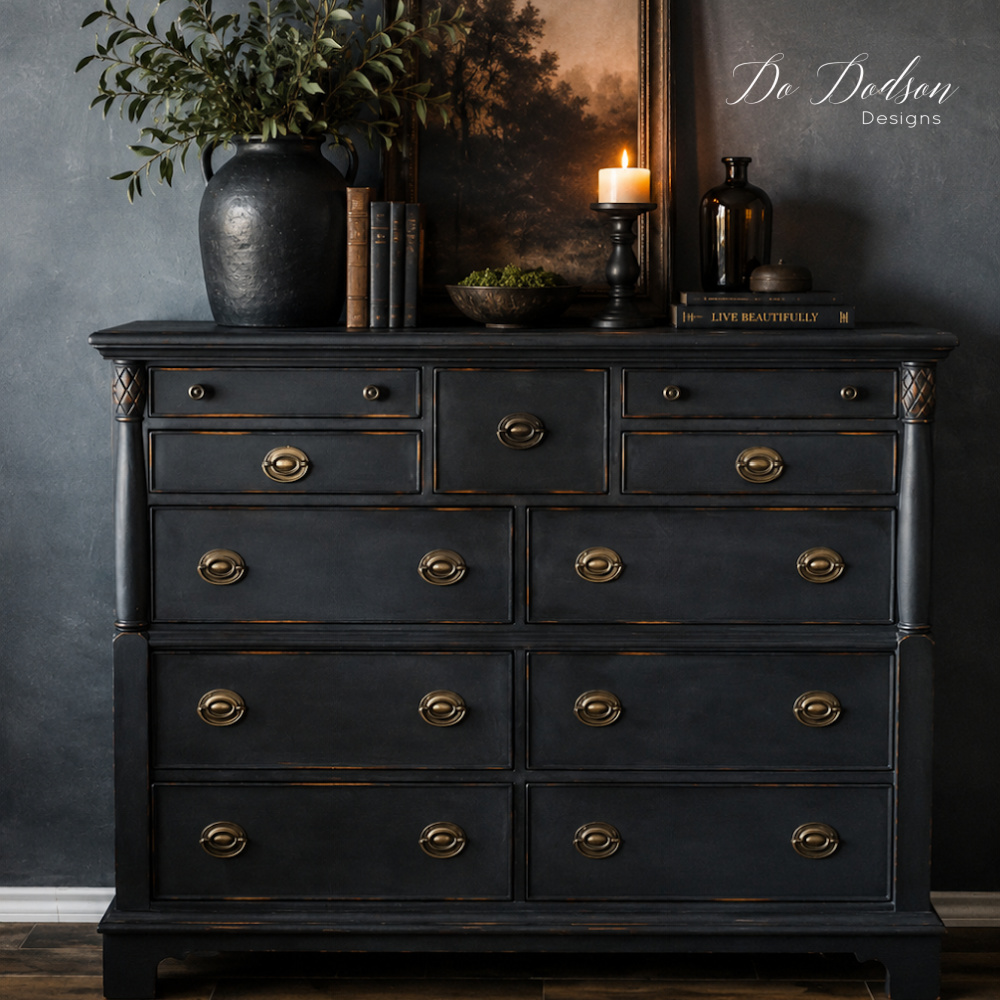
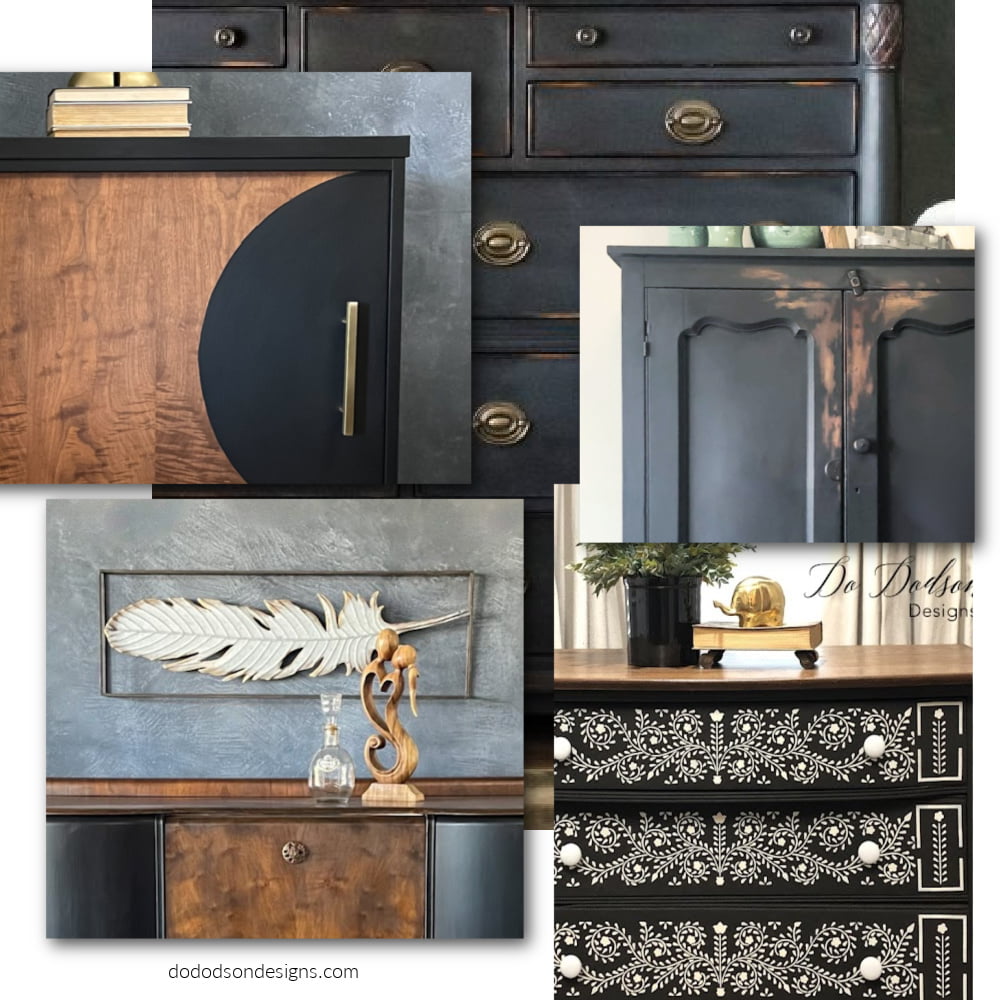
I wanted to preserve its aged character while giving it a more dramatic appearance. After gathering inspiration, I decided that a distressed black chalk paint finish would beautifully complement the pie safe’s rustic style.
Supplies Needed for a Primitive Furniture Finish
You only need a few basic painting supplies to recreate this rustic, timeworn finish. Always check the manufacturer’s current directions for drying times and proper application.
- Black chalk-style furniture paint (Wise Owl)
- Clear furniture wax (Wise Owl)
- Furniture cleaner or mild soap and water
- 2-inch foam roller
- 2-inch fine finish roller
- Quality paintbrush
- Small paint tray
- Scrubber sponge
- 220-grit sandpaper or block
- Soft, lint-free cotton cloths
- Wax brush
- Small bowl of clean water
- Gloves and appropriate protective equipment
Step 1: Clean and Prepare the Furniture
Before painting, clean the furniture thoroughly to remove dust, dirt, wax, and years of grime. My antique pie safe had been stored for quite some time, so it needed a good cleaning before I could begin.
Check the piece for loose hardware, damaged wood, peeling finishes, or repairs that need attention. Lightly sand any rough or glossy areas, then remove the sanding dust with a damp, lint-free cloth. Allow the wood to dry completely before painting.
I wanted to preserve the pie safe’s dents, scratches, and natural imperfections because those details would help make the primitive furniture finish look authentic. The goal wasn’t to make this antique look new—it was to celebrate the character it had already earned.
I chose flat black chalk paint because it complemented the simple, timeworn character of the antique pie safe. Instead of creating a smooth, elegant finish, I wanted the paint to look naturally worn—as if years of everyday use had slowly revealed the wood underneath.
The paint had a creamy consistency and was easy to apply. Later, I would distress the areas that normally receive the most wear, including the edges, corners, doors, and around the hardware.
Step 2: Apply the Black Chalk Paint
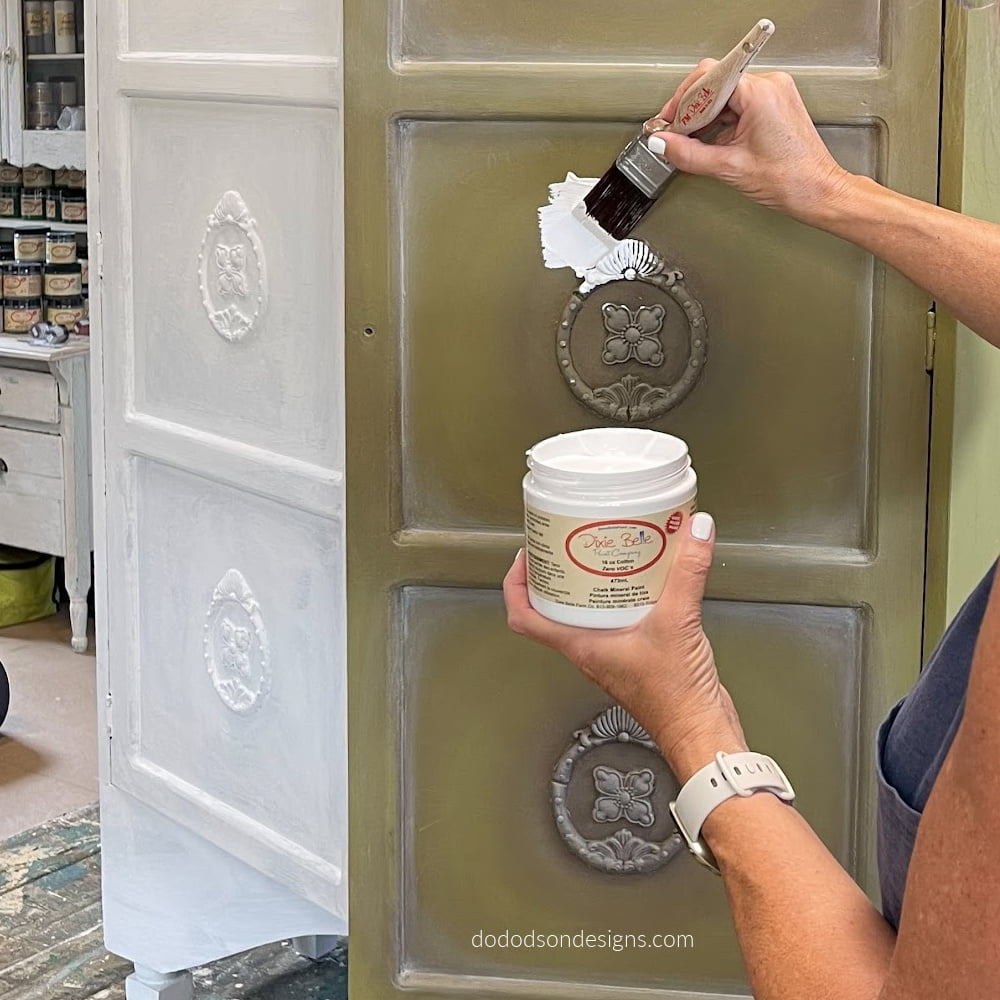
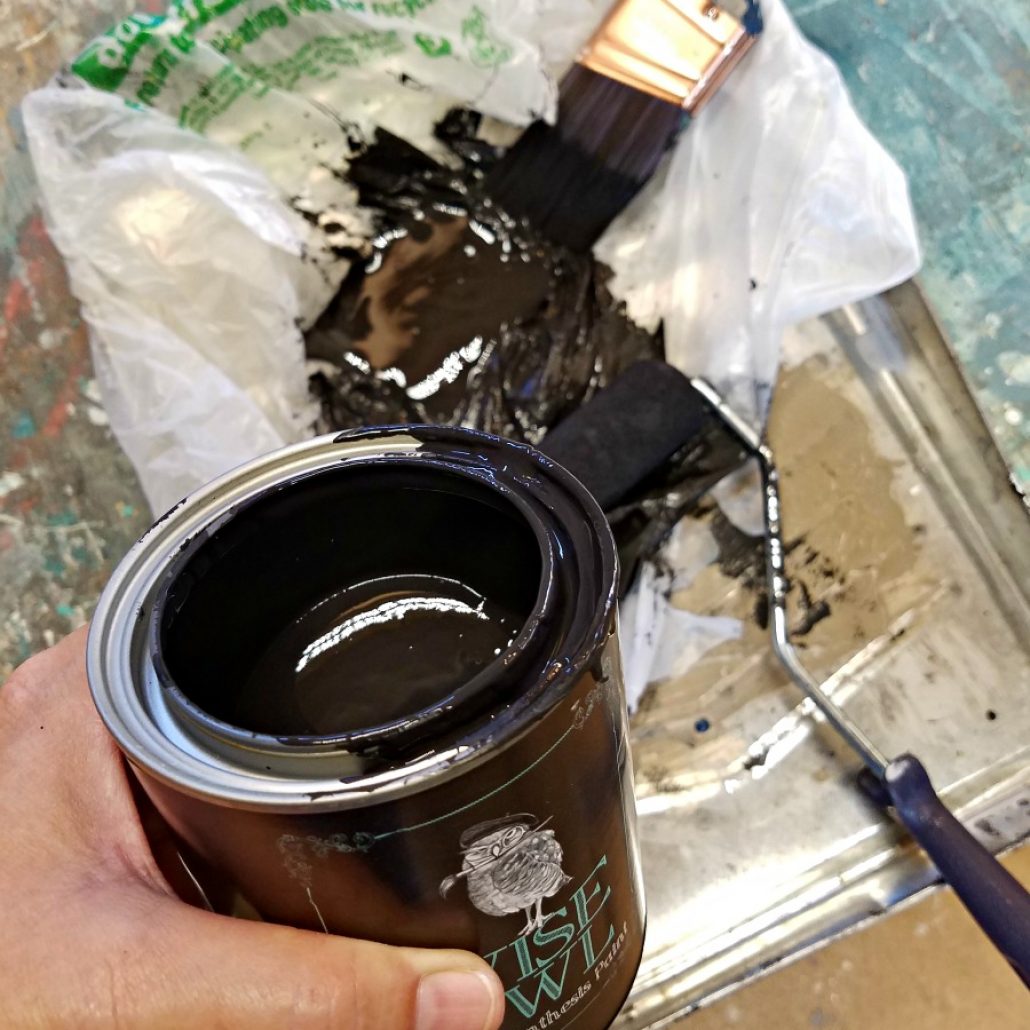
I applied the black chalk paint with a small foam roller. The roller left behind a subtle texture that worked beautifully with the aged, primitive look I wanted. If you prefer a more hand-painted appearance, you can use a paintbrush instead.
Apply the paint in thin, even coats, working in manageable sections and watching for drips around the corners and edges. Don’t worry about creating a perfectly smooth finish—a few subtle variations will add character once the piece is distressed.
I applied two coats of black paint, allowing each coat to dry for approximately two hours. Always follow the drying and recoating instructions listed on your specific paint product.
Step 3: Wet Distress the Chalk Paint
Once the final coat of paint was dry, I used a damp scrubber sponge to create the naturally worn areas that give primitive furniture its character.
Dip the sponge into a small bowl of water, then squeeze out most of the excess. The sponge should be damp—not dripping wet.
Using the scrubber side, gently rub the painted surface in small circular motions. Concentrate on places that would naturally show wear over time, such as:
- Corners and outer edges
- Around knobs, latches, and handles
- Door and drawer fronts
- Raised details
- Areas frequently touched or used
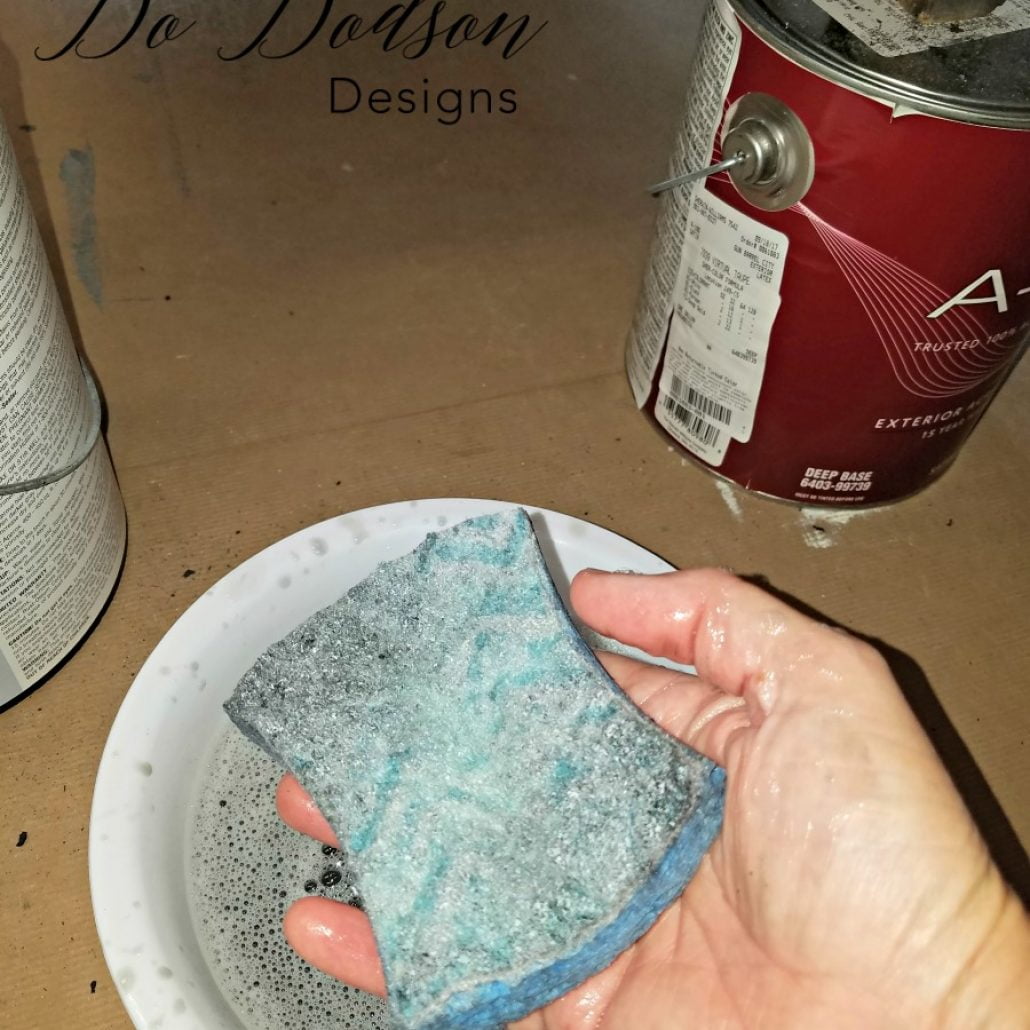
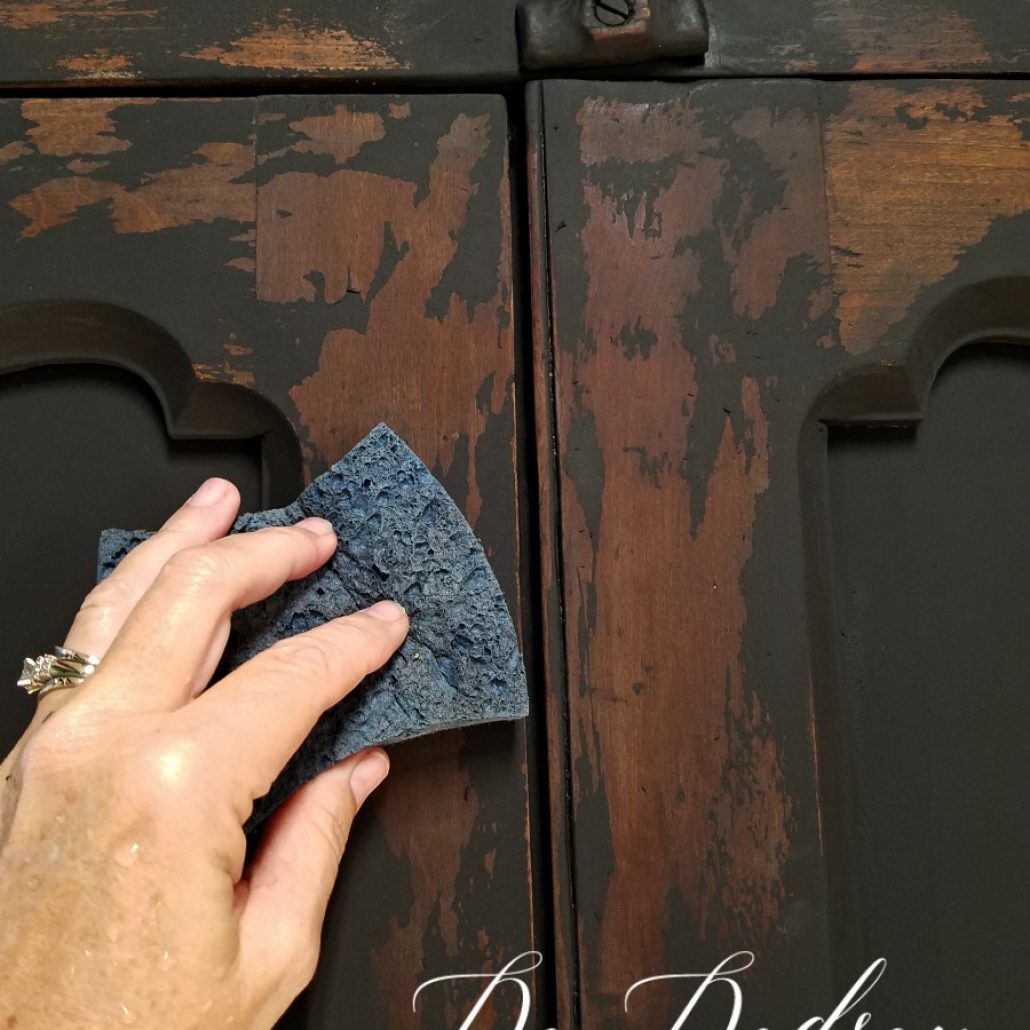
Wipe the surface with the softer side of the sponge as you work. This removes the loose paint and lets you see how much of the original wood is showing.
Work slowly and step back occasionally to look at the entire piece. If you accidentally remove too much paint, simply touch up the area, let it dry, and distress it again.
Step 4: Smooth and Refine the Distressed Finish
After I was happy with the amount of distressing, I allowed the furniture to dry completely. Then, I lightly sanded the painted surface with 220-grit sandpaper to smooth the finish and soften any harsh edges around the distressed areas.
Focus on the corners, edges, and exposed wood where natural wear is likely to occur. Use a light touch so you don’t remove more paint than intended.
Once the surface feels smooth, wipe away the sanding dust with a clean, damp, lint-free cloth. Allow the furniture to dry completely before applying the protective finish.
Step 5: Seal the Chalk Paint With Furniture Wax
To protect the distressed finish, I applied one thin coat of clear furniture wax with a round wax brush. Working in small sections, I brushed the wax over the surface in circular motions and then smoothed it out with the brush.
Allow the wax to dry according to the manufacturer’s instructions. Once dry, buff the surface with a clean, soft cotton cloth to remove any excess wax and create a smooth, subtle sheen.
Furniture wax needs time to cure, so treat the piece gently and avoid placing heavy or wet objects on it until the finish has fully hardened.
Step 6: Refresh the Interior of the Antique Pie Safe
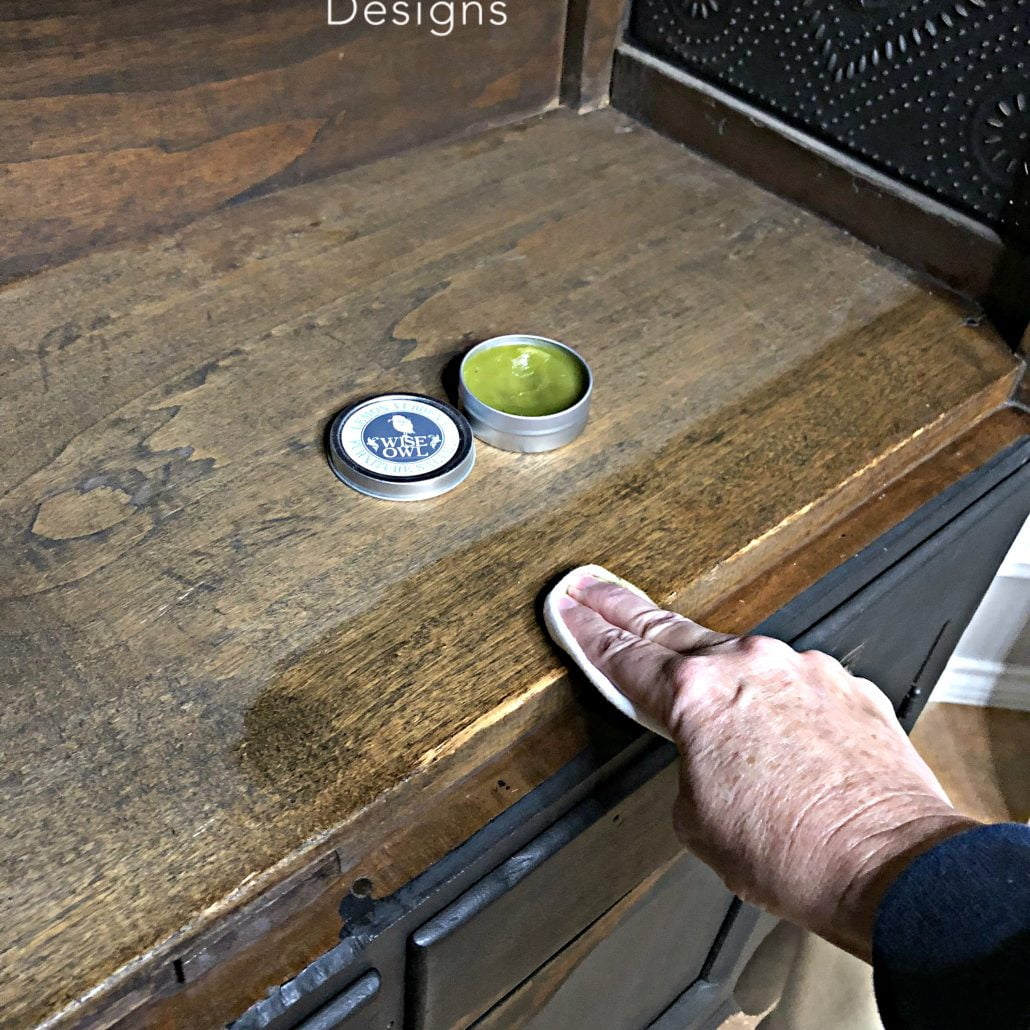
Old furniture often has a dry, dusty, or musty-smelling interior. Since the inside of this pie safe was unfinished wood, I applied furniture salve to clean, condition, and freshen it.
Using a clean cloth or brush, apply a small amount of salve to the interior wood and work it into the surface. Remove any excess and allow the interior to air out before storing anything inside.
Always test the product in an inconspicuous area first and follow the manufacturer’s directions. Avoid applying furniture salve over painted or sealed surfaces unless the product specifically states that it is safe to do so.
Conditioning the interior revived the old wood and left the pie safe smelling much fresher. Now it’s ready to store my vintage quilts—although using a pie safe for something other than pie still feels a little questionable!
The Final Primitive Furniture Finish
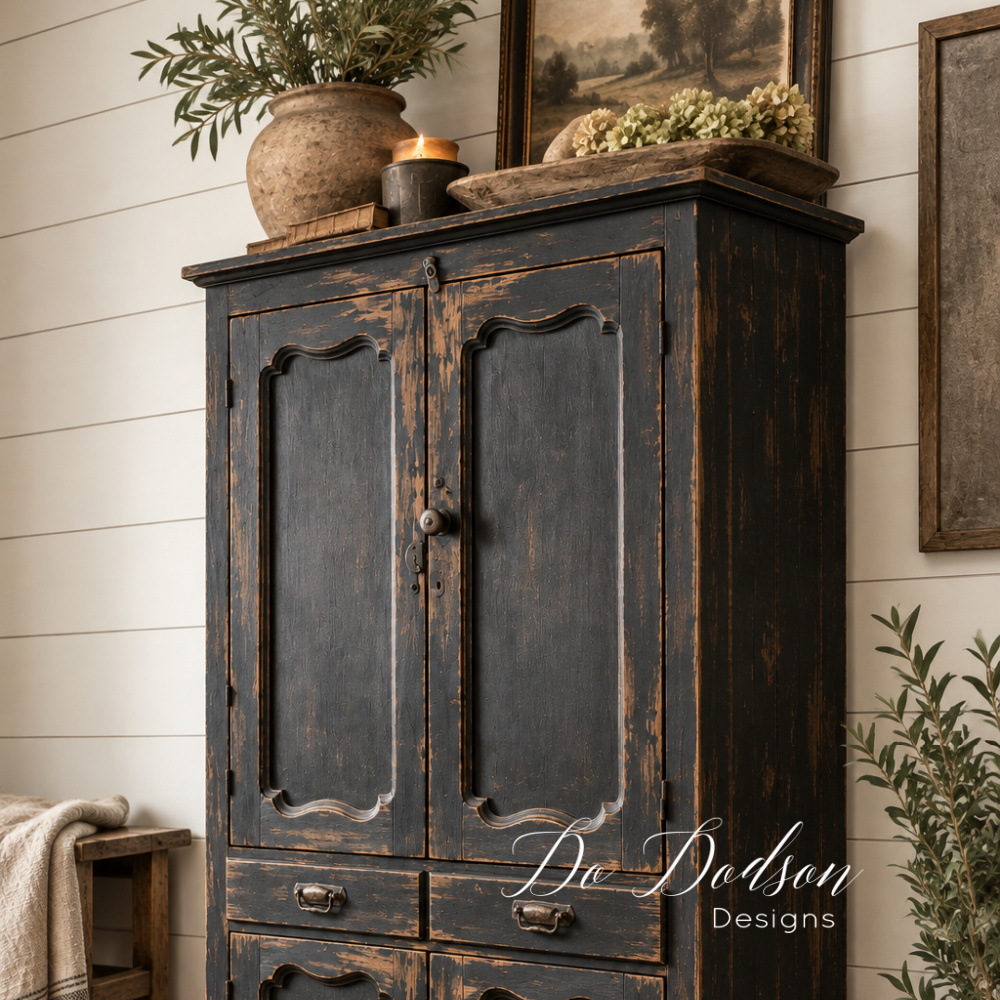
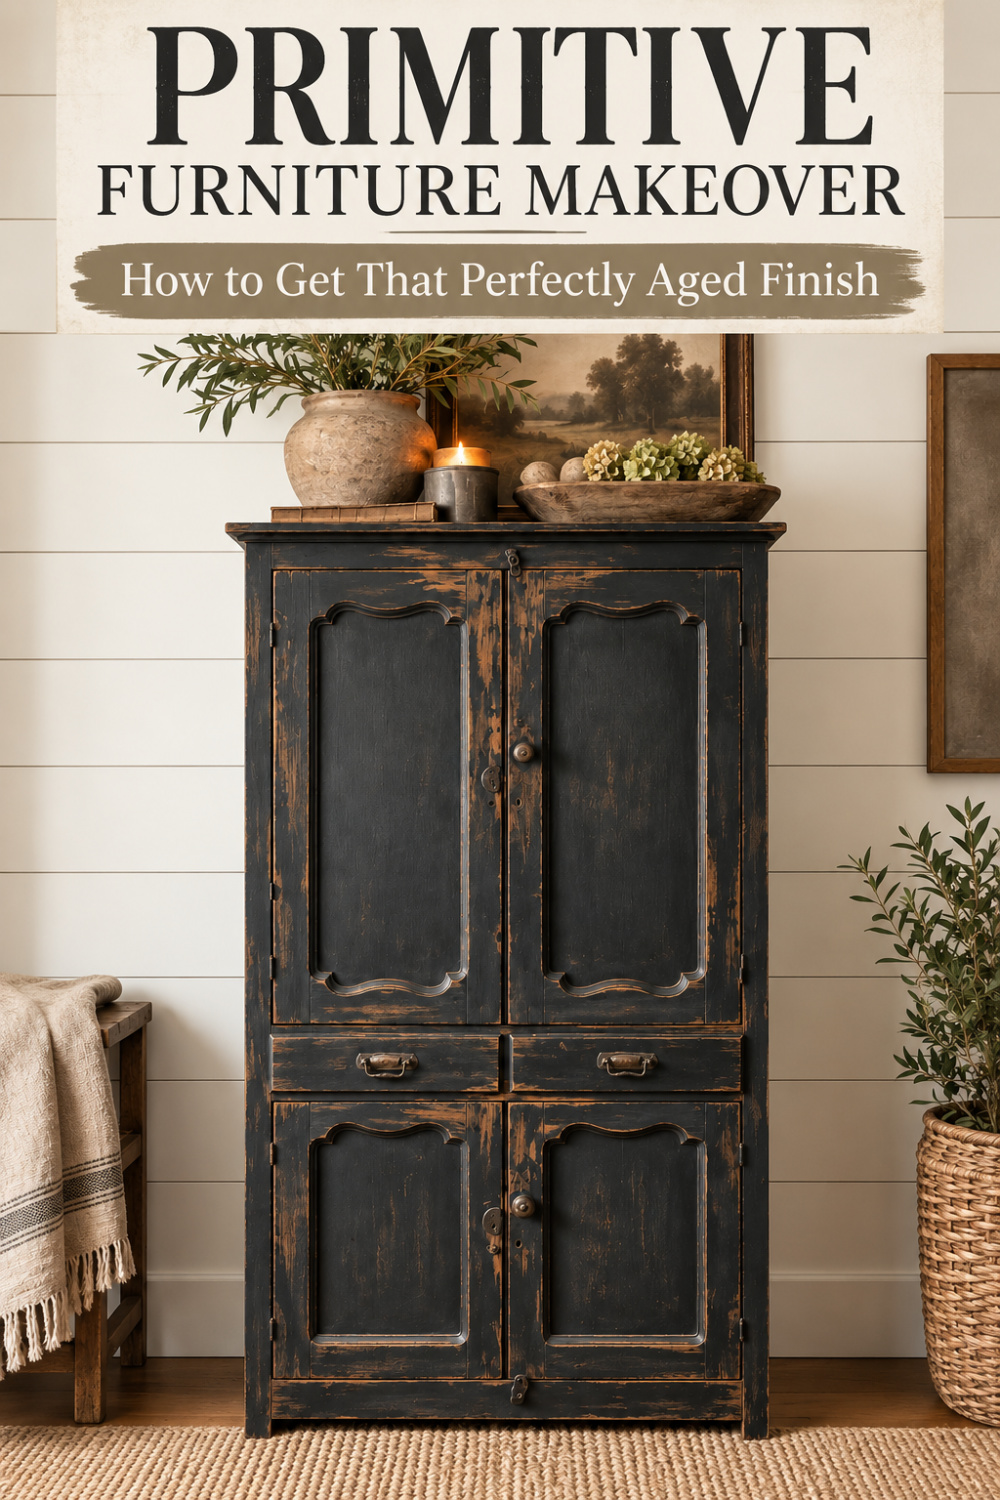
The distressed black paint gave this antique pie safe the simple, timeworn appearance I had envisioned. The exposed wood along the edges and frequently used areas highlights its age without making the finish look overly distressed.
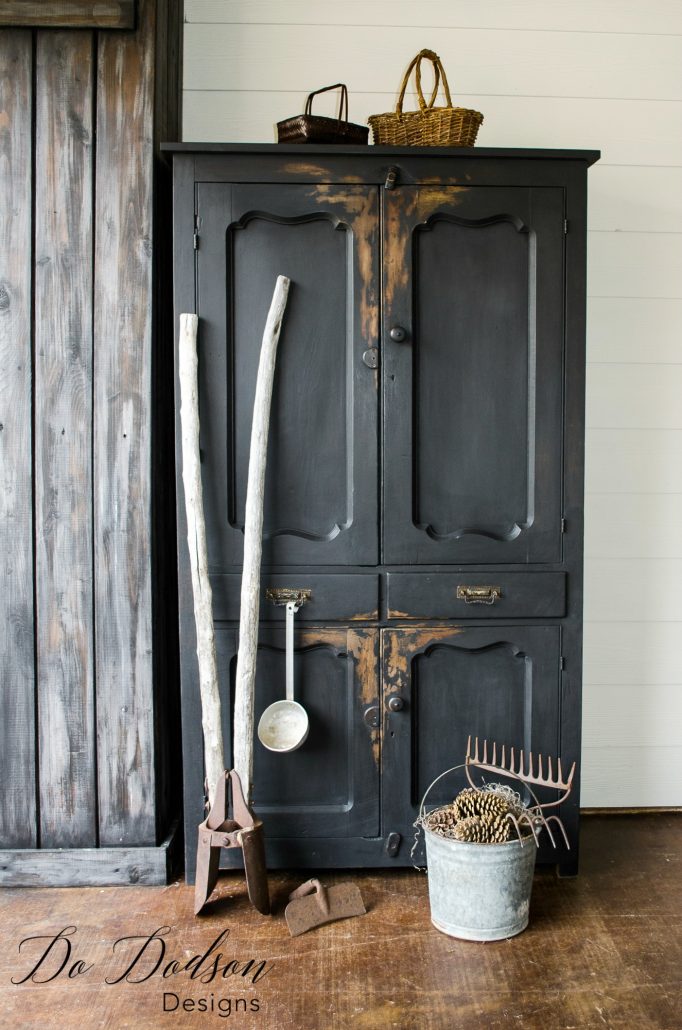
A few years later, I decided it needed a little more distressing. I LOVE it even more now, if that’s possible.
I especially love that the makeover didn’t erase the dents, scratches, and imperfections. Instead, the black paint brought those details forward and helped tell the story of a piece that had already lived a long and useful life.
This wet-distressing technique can also be used on dressers, cabinets, tables, and other wooden furniture to achieve a rustic, aged finish. The key is to distress slowly and concentrate on areas where wear would naturally occur.

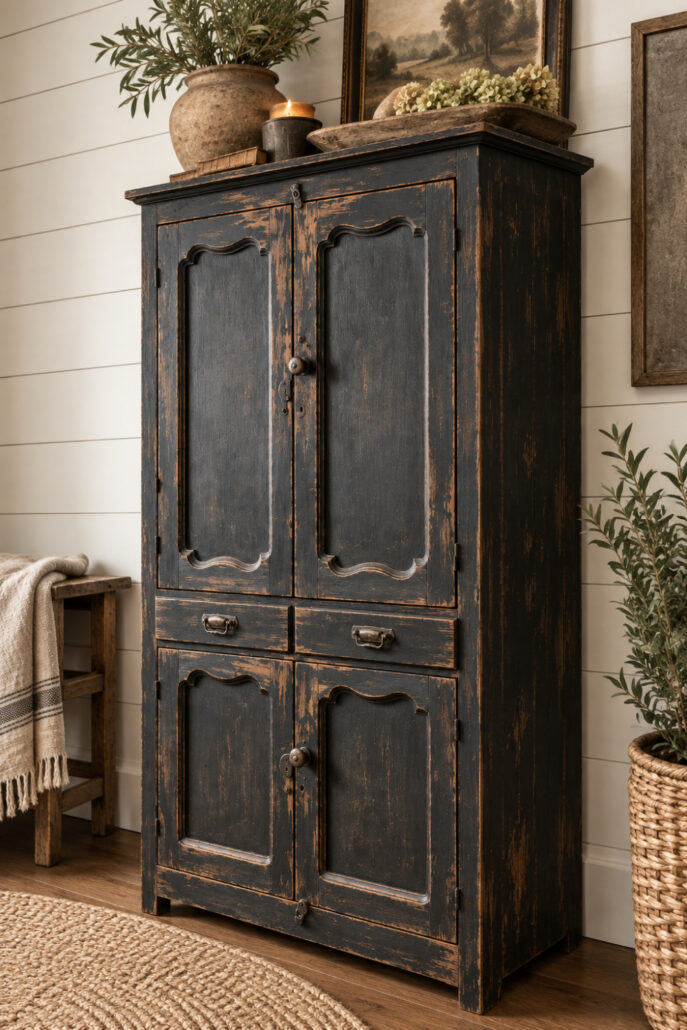
What do you think of the finished pie safe? Would you use classic black for a primitive furniture makeover, or choose another historically inspired color?
I had a lot of fun creating this primitive distressed furniture look. It’s fun to try new finishes, and sometimes, you discover some pretty finishes along the way.
I’d love to hear your thoughts on this technique in the comment section below. What do you think? Tell me about your experience or just say hi so I know you were here.
Oh, and don’t forget to PIN and share this to your favorite Pinterest Furniture Makeover board.
Until the next project… xo, Do