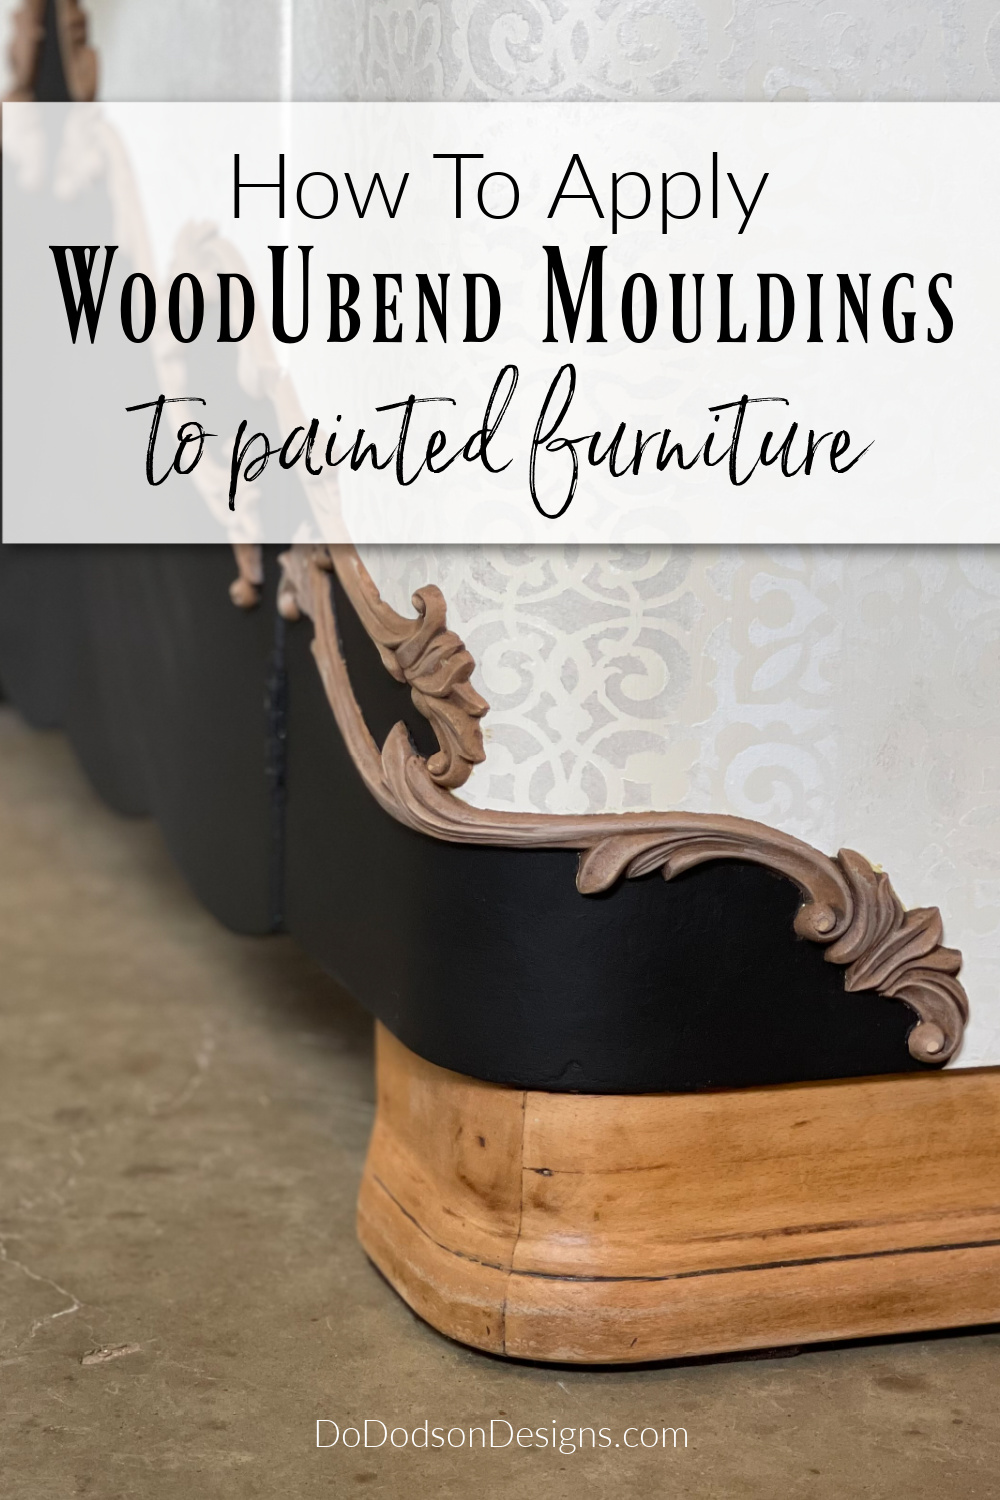
Today I want to show you how to use WoodUbend mouldings and how to apply them to furniture or art projects. Sounds pretty straightforward, right? Well, they’re anything but straight. These fancy little wood pieces are bendable appliques that make any plain surface a little fancier with their curvaceous abilities. Let’s get started.
Thanks to Dixie Belle Paint Co for sponsoring this post. While I was compensated to write this post, all opinions are my own.
* As an Amazon Associate, I earn from qualifying purchases and through other companies as well. You will not be charged extra when you purchase through these affiliate links, but any income I make helps me create more amazing DIY projects to share with you! To see my full disclaimer, click here!
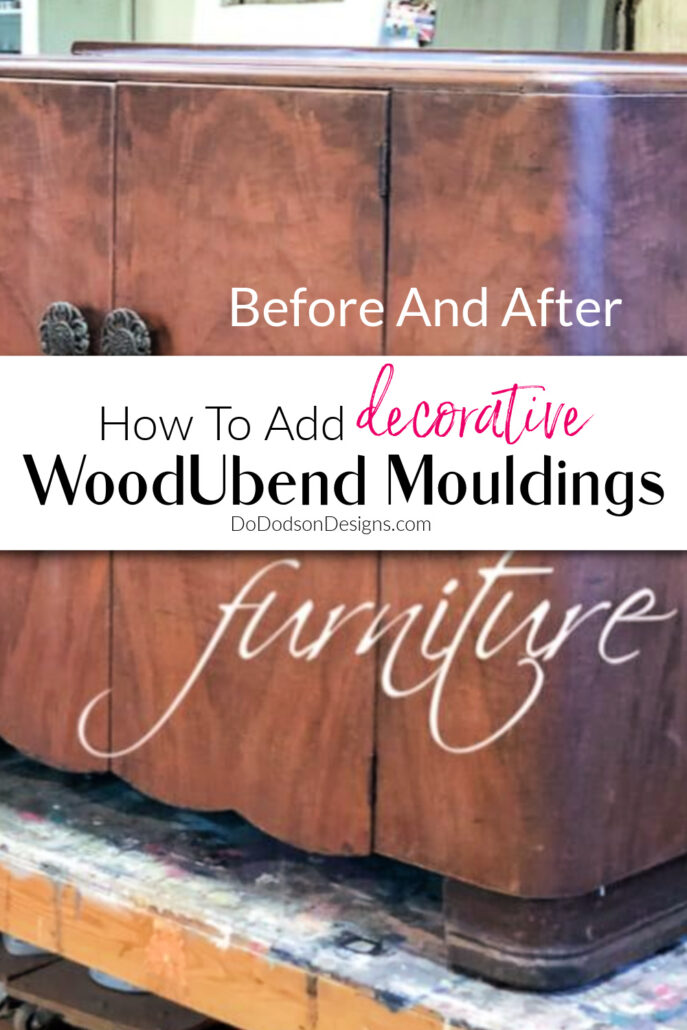
Fourth Time Around (Before & Afters)
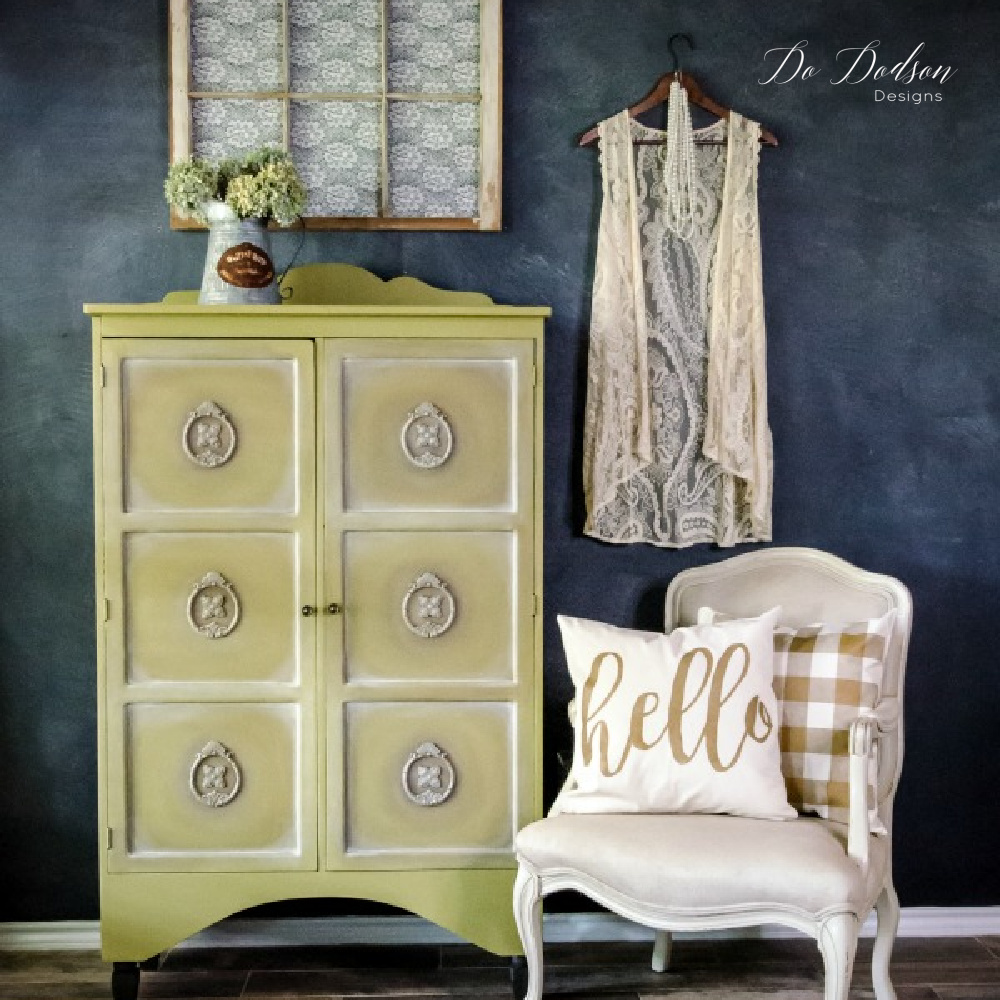
There’s no shame in me telling you that this piece of furniture has had three other looks. It happens a lot more than you think with furniture painters. We get bored and feel the need to change things up.
The good thing about painting furniture is that you can always change your mind and give it another go. This will be the fourth and final makeover for this buffet table. Are you curious about the other looks this furniture piece has had? Click the links below to see the other three. I think I finally got it!

SUPPLY LIST:
What you’ll need to add wood mouldings to your painted furniture.
What Are WoodUbend Bendable Mouldings And Trim
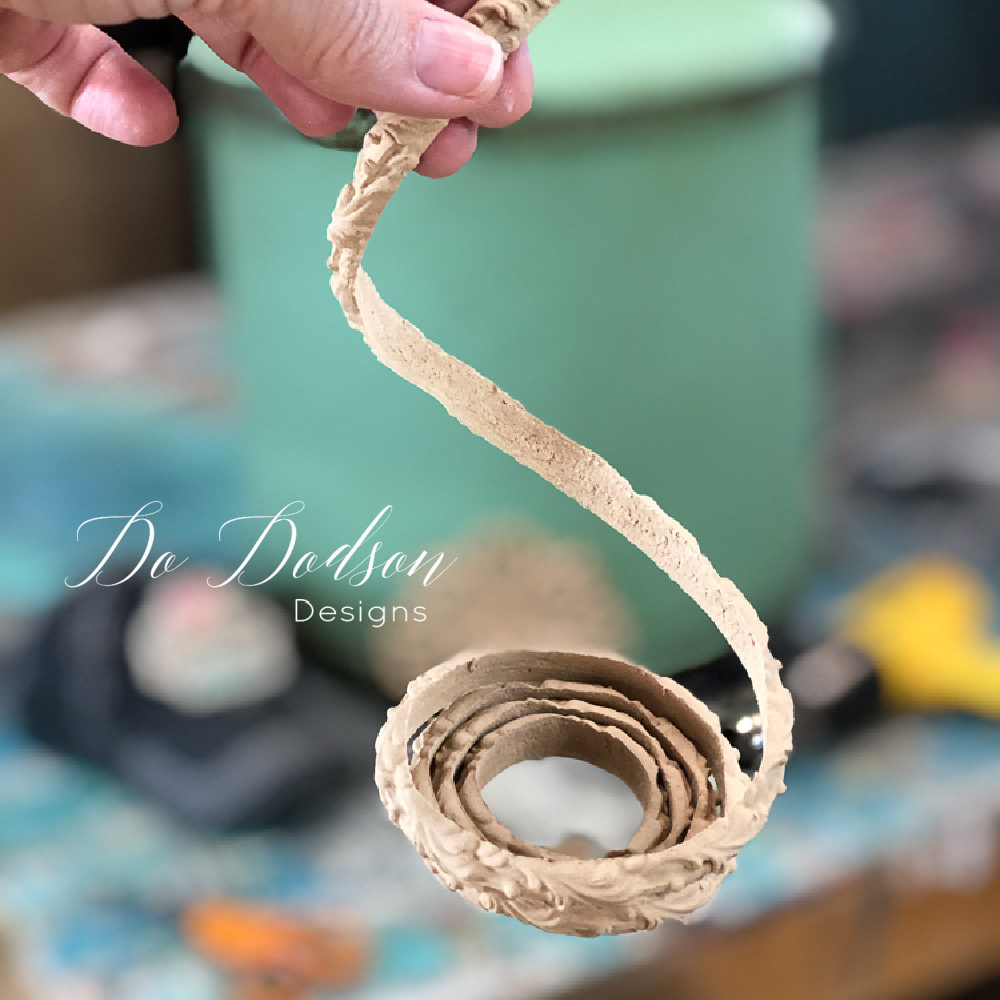
WoodUbend appliques look, feel and act like real wood. They have all the properties of wood but have this one thing that makes them unique. They bend after warming and can be conformed to a curved surface.
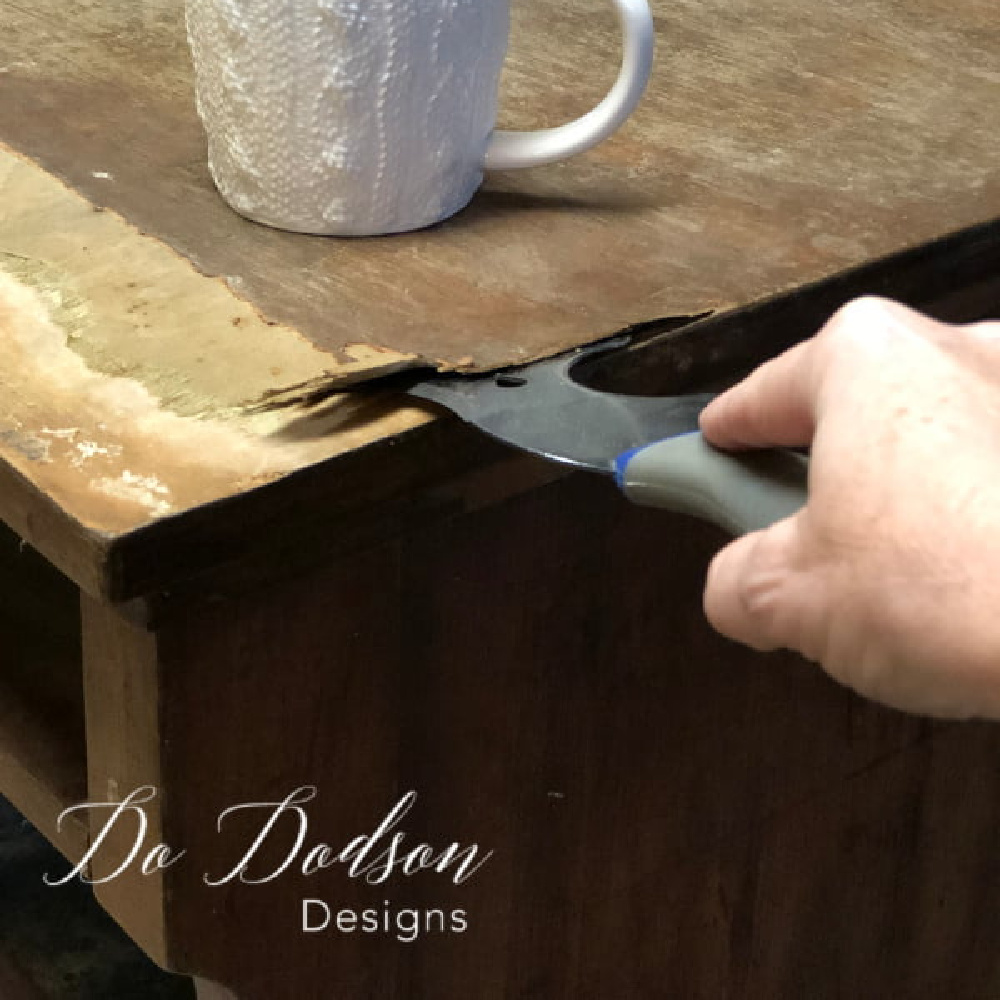
First thing, let’s talk a bit about the surface I’m applying them to today.
This buffet table had been previously painted with Dixie Belle chalk mineral paint. The paint doesn’t require a sealer and dries to a beautiful matte finish. No topcoat (wax) was applied. It’s the perfect painted surface for adding WoodUbend decorative moulds or trim, especially if you want to paint or stain them before applying them to your already painted furniture. That’s what I’ll be doing here today. But you can always apply them first and then paint over them. That’s another project.
The mouldings can also be applied to glass, wood, plastic, and metal surfaces. It’s an easy way to dress up those boring surfaces that need a little extra. I don’t know about you, but I love me some extra!
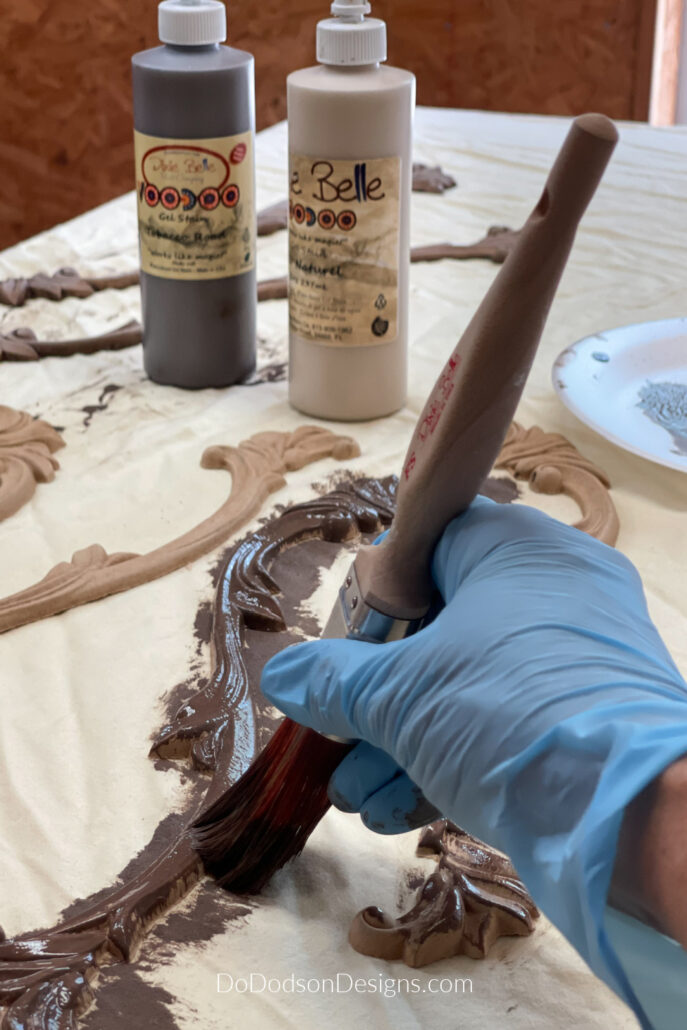
How To Use Stain Or Paint On WoodUbend
The beauty of these decorative wood pieces is that they can be stained, painted, or vanished. Just like real wood. You can even distress them for a rustic look after painting with a fine-grit sandpaper.
I used water-based gel stains to get the desired look I wanted. Dixie Belle’s Voodoo gel stains work perfectly with Woodubend mouldings.
WATCH THIS Helpful Video On How To Apply WoodUbend
Grab Your Heat Gun
Here’s the fun part! After the paint and or stain has dried thoroughly on the mouldings, it’s time to heat those bad boys. I like to use a heat gun because it’s quicker, but you can always use a simple hair dryer.
Lay the mouldings on a heat-safe designated surface. I grabbed a cookie sheet from the kitchen. With the help of a little heat, I carefully warm them up by blowing the warm/hot air on them. Be sure to flip them over from front to back a few times and heat both sides equally, especially if you’re using the larger pieces. Once the mouldings are warm, they will become bendable.
I’ve also seen others lay them on a heat plate or griddle on a low setting to heat them as well. That’s a great idea! Just be sure not to “SQUIRREL” and burn them up. That would be me, so I’ll stick to the heat gun.
Use A Good Quality Wood Glue
Once the mouldings are warm, immediately apply a tiny bit of glue (with a chip brush or your fingertip) to the back of the molding. Be mindful to make sure that the edges of your molding have glue on them too. You want full coverage with the glue for the bonding process.
Apply The Mouldings
Apply the WoodUbend mouldings to your surface and reheat the mouldings with your heat source and apply gentle pressure to ensure that it becomes a permanent part of the surface. If you’re applying them to a curved surface, gently bend the piece to fit the surface. It’s okay to use duct tape or painter’s tape to hold it in place while you reheat the molding. Apply pressure until the moulding conforms, which will be pretty quick. Remove any excess glue that might ooze out from under the mouldings with a water-damp cloth.
Heat is a crucial part of the bonding with the surface. The heat allows the mouldings to absorb the glue and creates that tight bond with the surface.
You can also cut the mouldings when warm to fit a specific area with a simple pair of scissors or utility knife. After cutting, give the ends a light sanding and proceed with your project. This will give you endless opportunities to be creative.
Getting Creative
If you love details, your creativity will know no bounds with these bendable beauties.
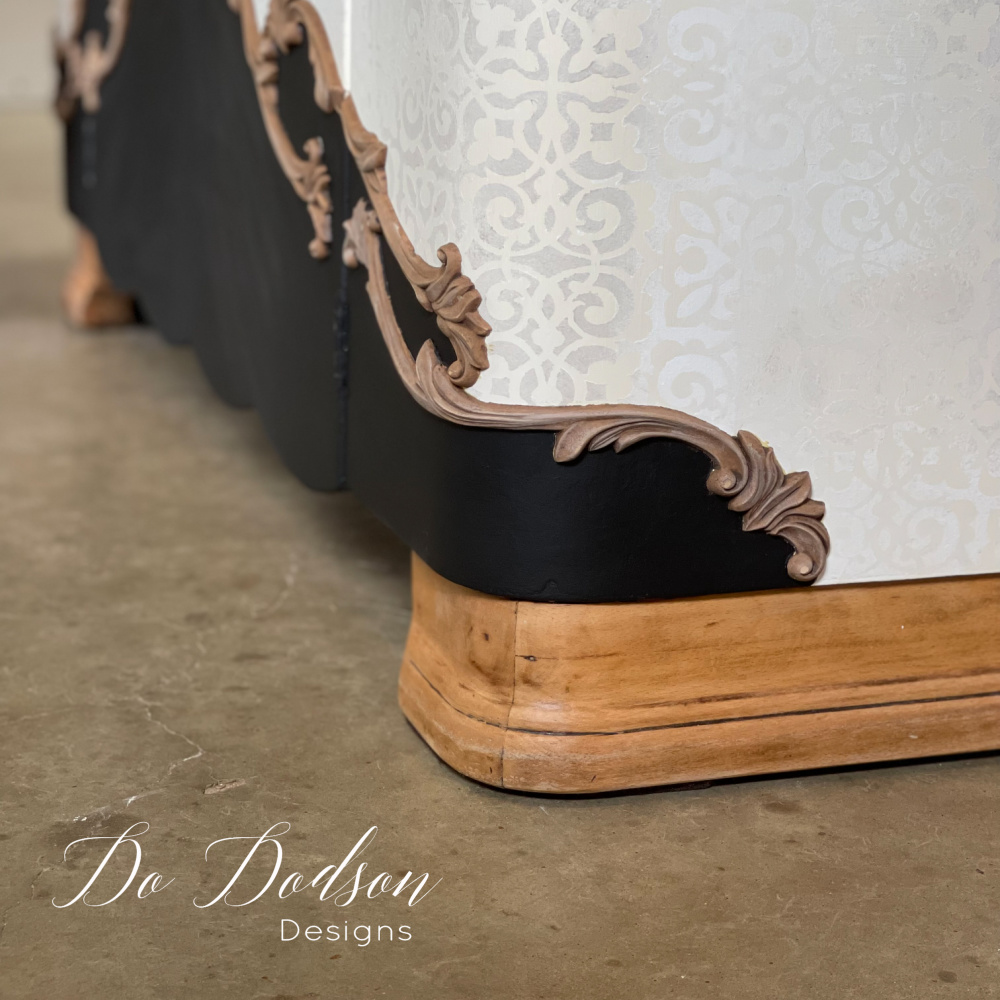
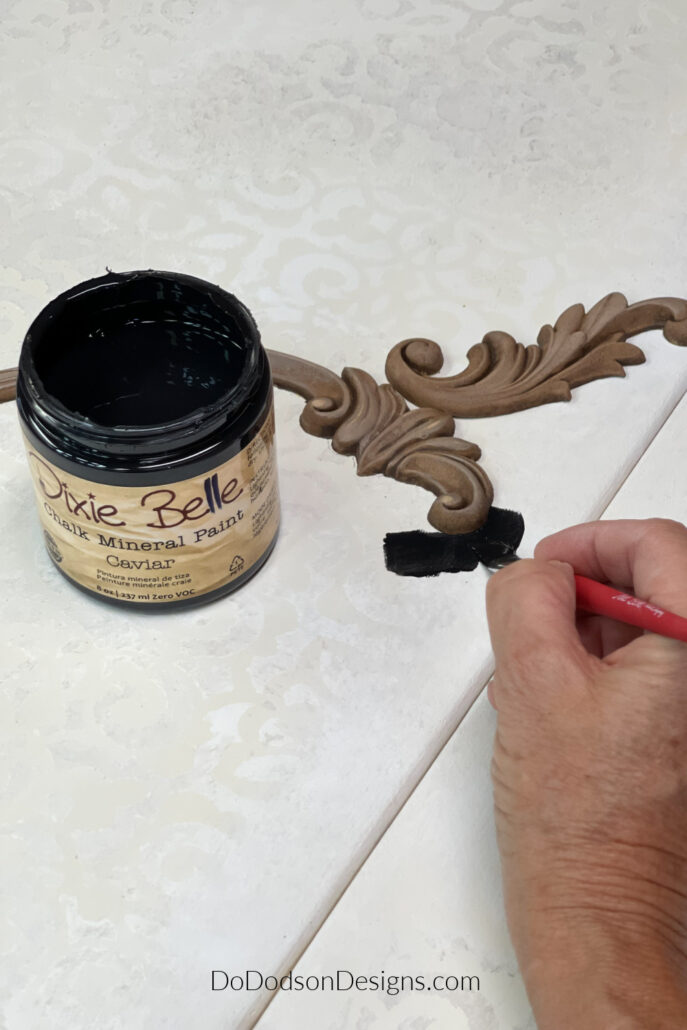
I decided to fill in the lower part of my design with contrasting black chalk paint that complimented the wood details. An artist brush was used to cut in around the design. I admit it was a tad bit time-consuming and took a steady hand. All I can say is, practice makes improvement.
Once the detailed areas were cut in I used a larger paintbrush to fill in the rest of the open area.
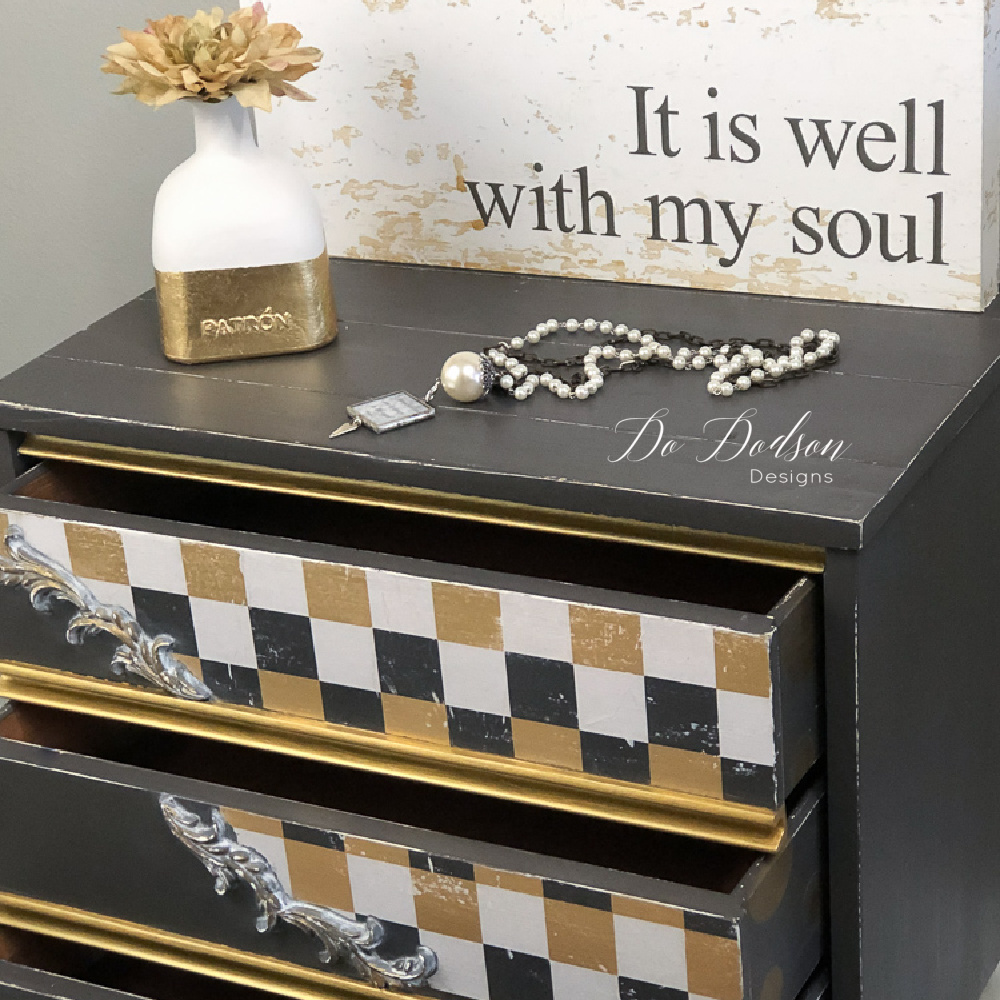
The Final Look


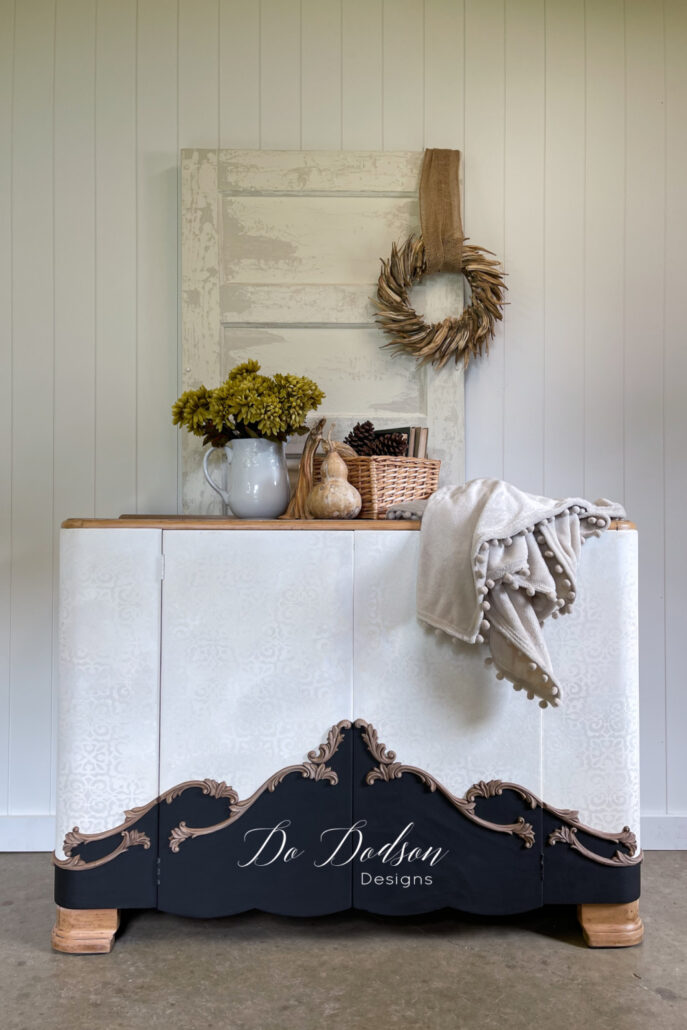
This project took me in a few different directions before it was done. But, in the end, I’m happy with the final look. I haven’t decided on hardware just yet. Got any suggestions? I hate to drill holes and change my mind later. Have you done that too?
Hey, thanks for joining me today while I share my experience with how to use WoodUbend appliques. As always, I welcome any feedback or experience you have with this product. I love hearing from you!
Until the next project… xo, Do
Hi Do,
I think the knobs would be great in the center where the wood curls up and down in the black…there, but not there, so to speak. The white design would not be interrupted visually.
Great and unexpected design!
Hi Carmel, I agree with you. The disruption of the design would be tragic for the whole look. I’m leaning towards that as my best option. Thanks so much for the affirmation. Have a great rest of your day. 🙂 xo
Wow!!! That piece is stunning!!! I haven’t used WoodUBend…yet!!!
I would skip the knobs and install magnetic touch latches on the inside. This way you can keep the clean line of the piece.
Great idea! I never thought about that. I appreciate your suggestion. 🙂 Have a great day.
I absolutely LOVE the finished look. The black with the wood trim is gorgeous. Thank you for sharing.
Hi Kathy! Thanks for stopping by. LOL, I think it turned out pretty well for the 4th attempt. I hope you have a nice long weekend. Enjoy. 🙂 xo
That looks really rich! I’ll remember this and incorporate it in my own work. Thanks!
Thanks, Sandy! It does look rich. You can’t go wrong with black and white. Adding wood to the mix makes it even better. Thanks for stopping by. 🙂 xo
gorgeous makeover and I love Woodubend as well! Awesome! XOXO
Thanks, Denise.
That stuff is so fun to work with.
As usual, another beautiful project. I love it.
Thank you, Jo! I appreciate that. Have a wonderful week. 🙂
Beautiful Do! I have several of these moldings and haven’t tried using them yet! You’ve inspired me to apply them to a project – possibly an old tall boy dresser. Thanks! Pinned 🥰
Hey Cindy! You will have so much fun creating with woodubend. The first time I used it I was hooked! Have a great week and thanks for reading. 🙂