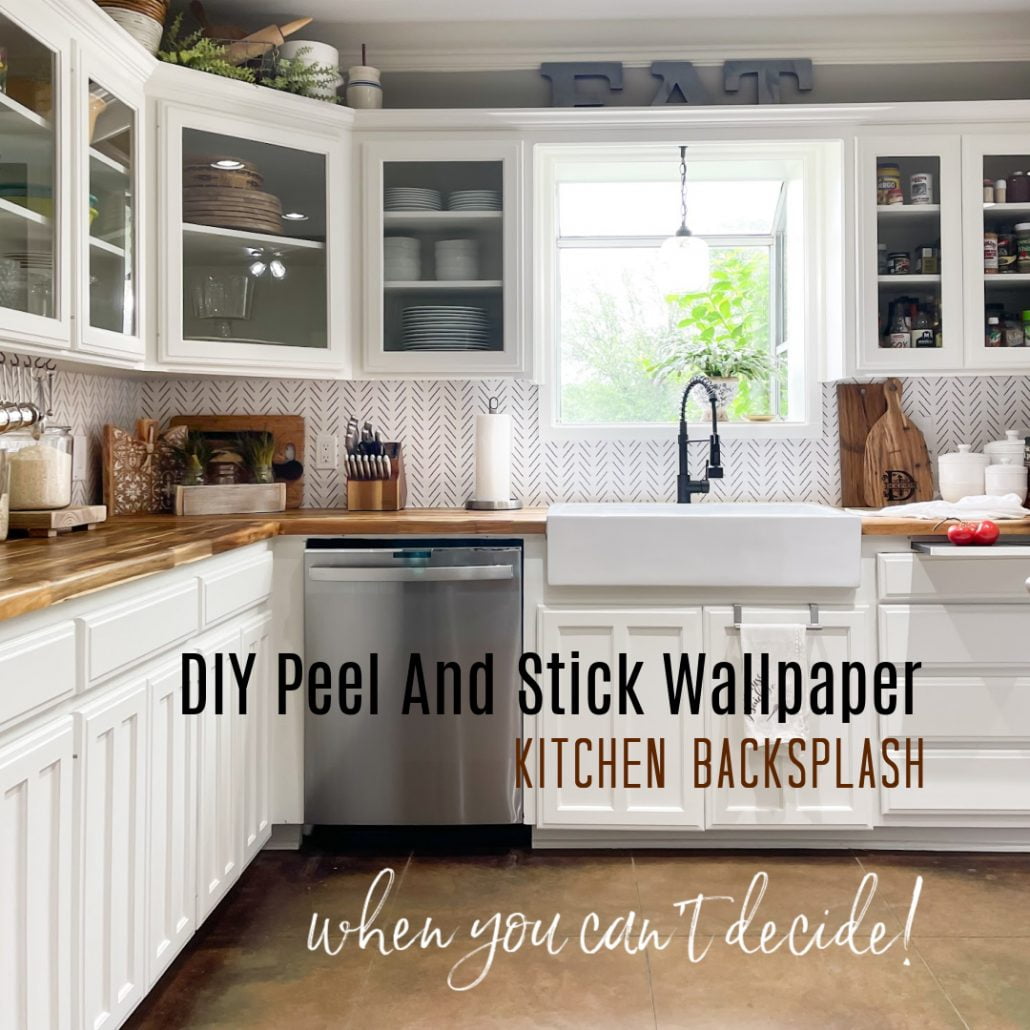
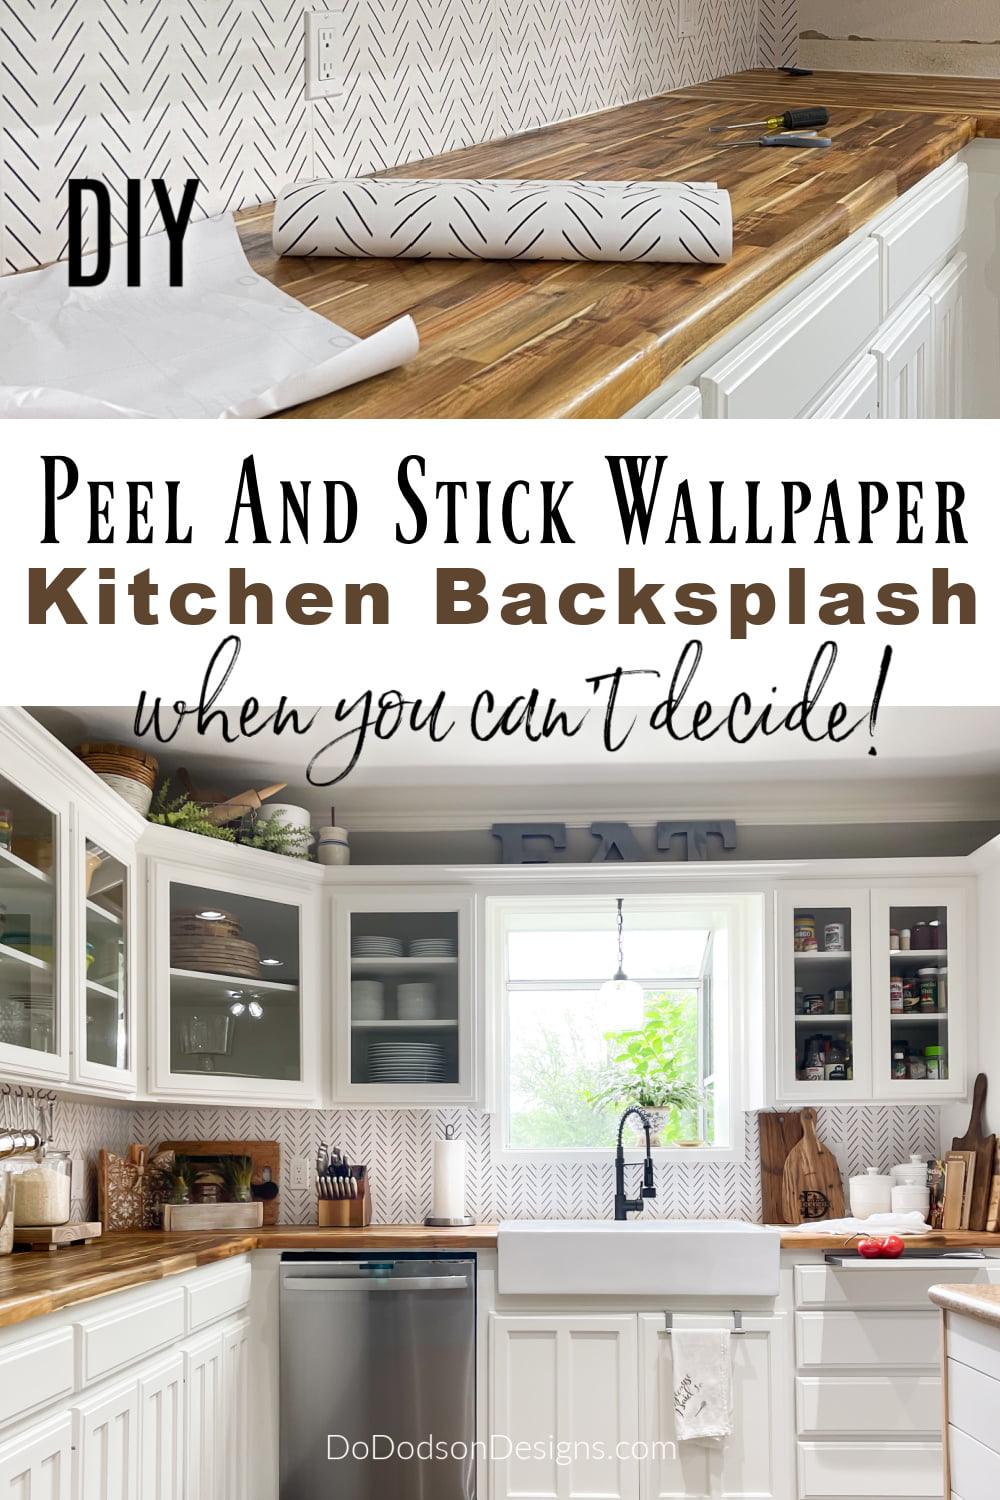
So, what do you do when you can’t decide? You go with a DIY peel-and-stick wallpaper backsplash. It’s a great alternative idea for the kitchen and it’s removable.
* As an Amazon Associate, I earn from qualifying purchases and through other companies as well. You are not charged extra when you purchase through these links, but any income I make helps me create more amazing DIY projects to share with you! To see my full disclaimer, click here!
DIY Peel And Stick Kitchen Backsplash – 4 Easy Steps
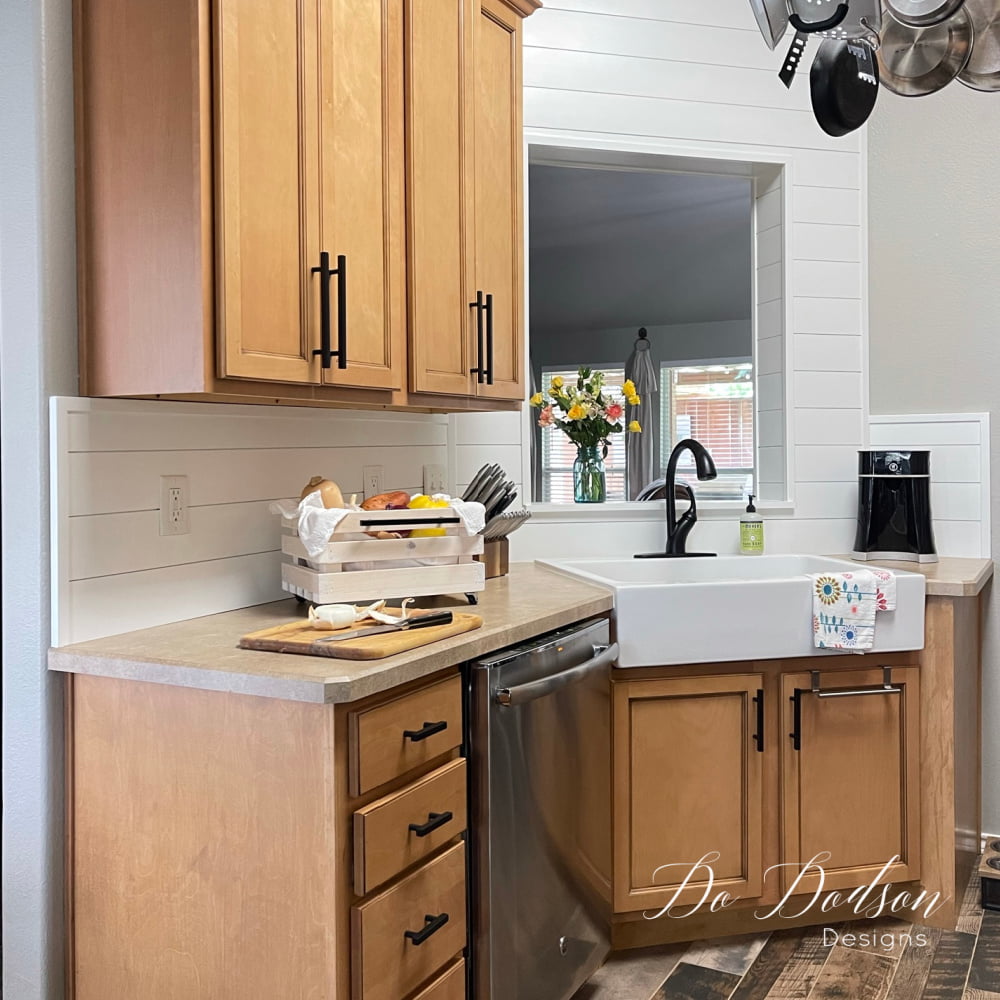
When we replaced the countertops of our newly purchased ranch home fixer-upper, we knew that we would need a new kitchen backsplash. We really didn’t want ceramic tiles. They’re such a hassle to install and way too permanent.
Me being the impatient one in the family (shocker, right?), I wanted to install the shiplap kitchen backsplash we had in our prior home, but I just couldn’t make up my mind. I’m pretty sure, but not sure. Does this sound familiar?
So, after some “careful” online research, I’m going with a DIY peel and stick wallpaper for a temporary removable backsplash until I can decide on a permanent one. It sounds easy enough. There’s no glue involved, it’s peel and stick, and I have scissors; this would be a quick 1-hour project, and no one will notice its wallpaper. So I thought.
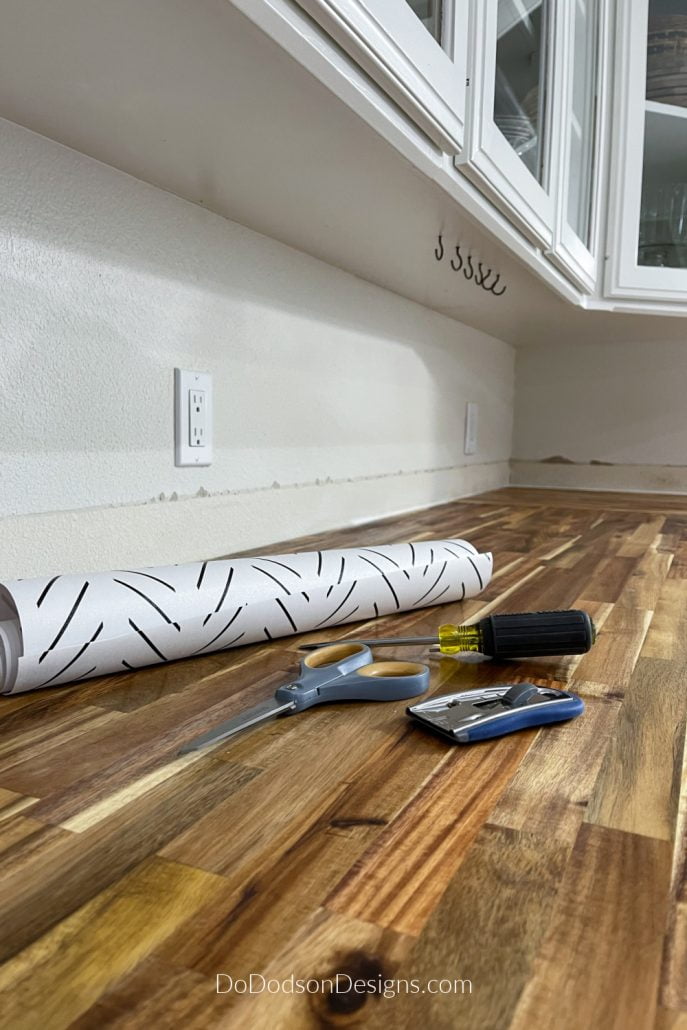
The one thing that I thought wouldn’t matter is that the wall is TEXTURED! And it has a bit of sheetrock damage from my aggressive demo skills.
Before starting, use kitchen and bath silicone to seal the countertop to protect it from the water before applying the wallpaper.
SUPPLY LIST:
- vinyl peel and stick wallpaper
- utility knife
- scissors
- screwdriver (to remove the electrical covers)
- and a whole lot of patience
Peel And Stick Back Splash (Easy Installation)
Here is what I figured out really quickly. For the best and long-lasting results, it’s best to have a smooth wall. Our wall is textured, but I knew this peel-and-stick wallpaper would be a temporary solution at an affordable price. I was totally on board with that, so I pushed on. I’m a trailblazer!
STEP 1:
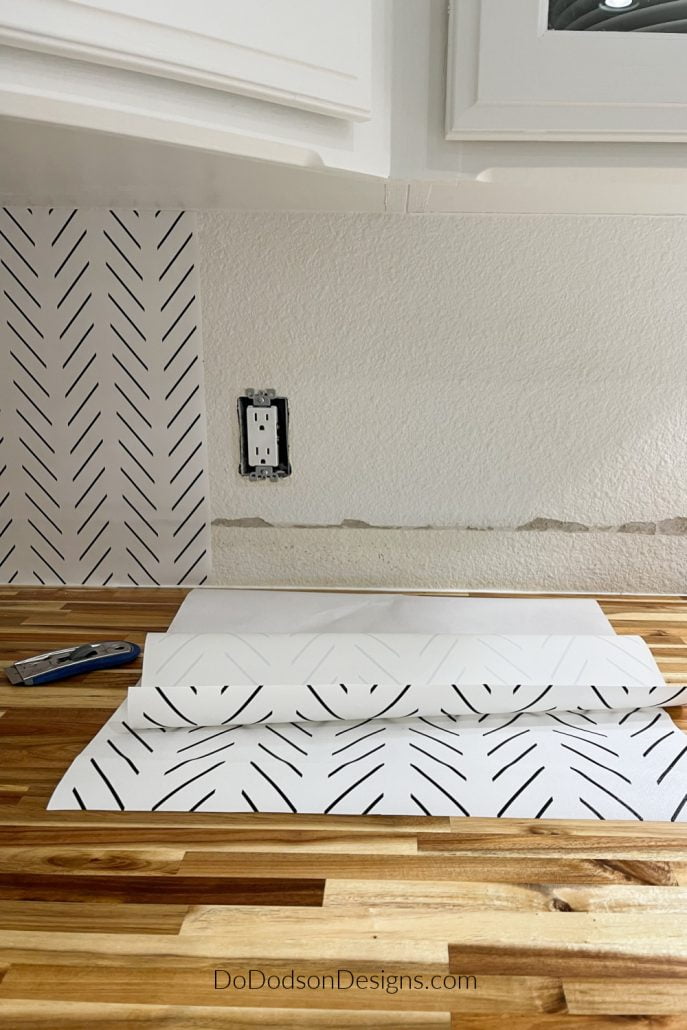
Determine the amount of wallpaper you need for your project. Our kitchen countertops are approximate 10’X10′. I used less than three rolls to complete this peel and stick wallpaper backsplash. CLICK HERE to see where I purchased the wallpaper from.
Remove covers on electrical outlets, and be sure to clean (wipe down) your wall to remove any dirt, grease, or grime it may have accumulated and allow it to dry. It is a kitchen, and things do tend to splatter.
* Before working on any project around electrical outlets, turn off the electricity to prevent serious injuries or death.
Pick A Design That Is Easily Matched
STEP 2:
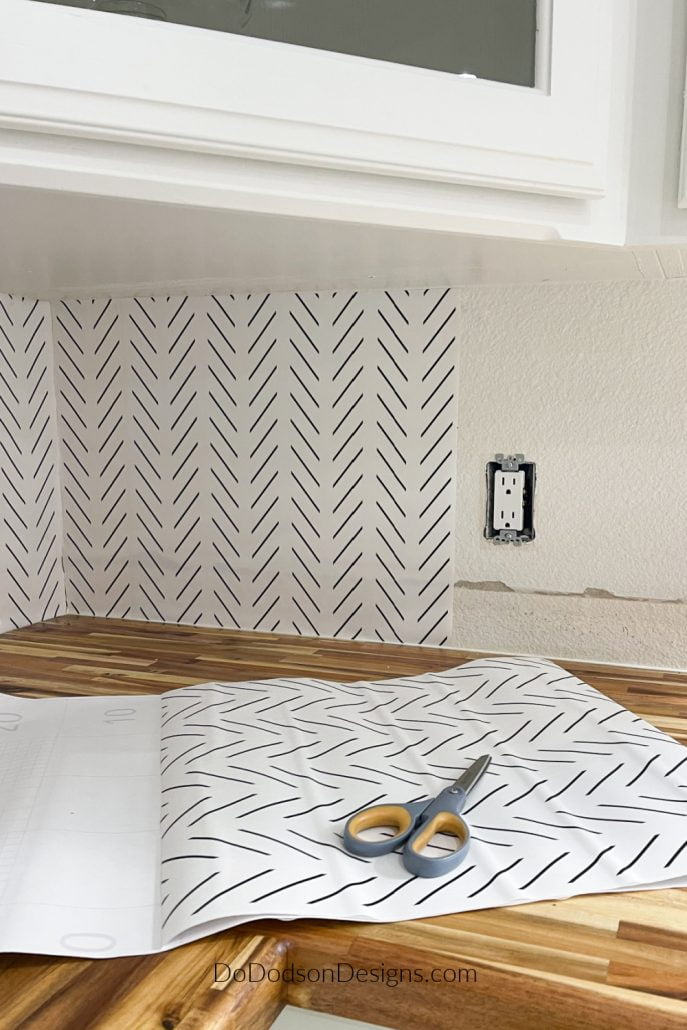
Measuring from the top of the backsplash to the bottom of the kitchen counter, cut a piece of the wallpaper about 1/2 inch longer than you need for wiggle room. Any extra can be cut away after applying with a utility knife or whatever you have in your kitchen junk drawer. I used a scraper blade. Use what you have!
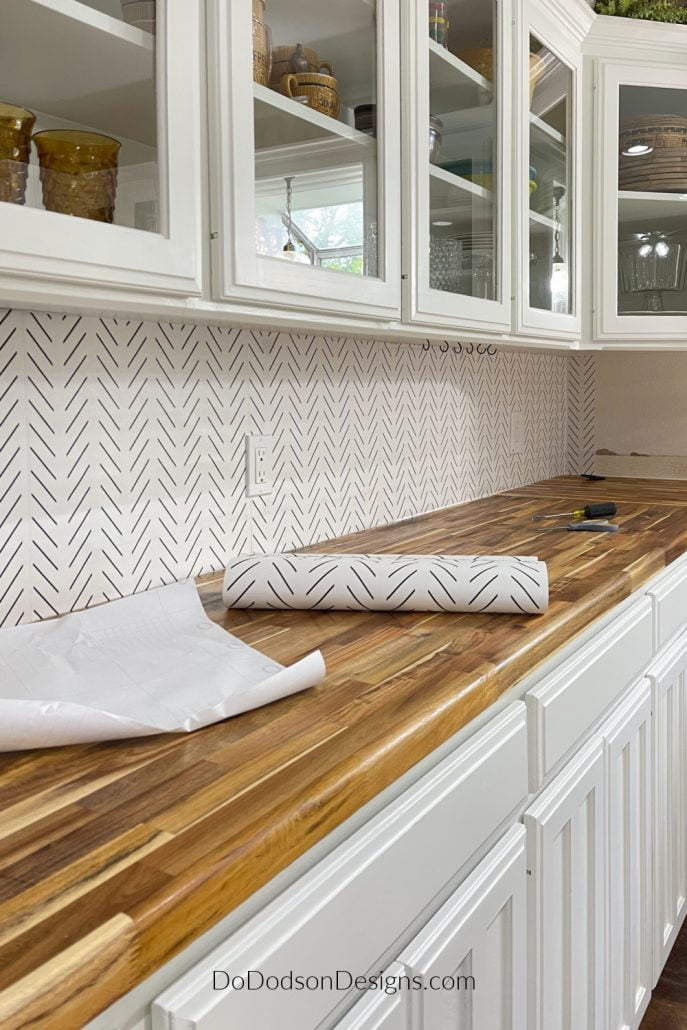
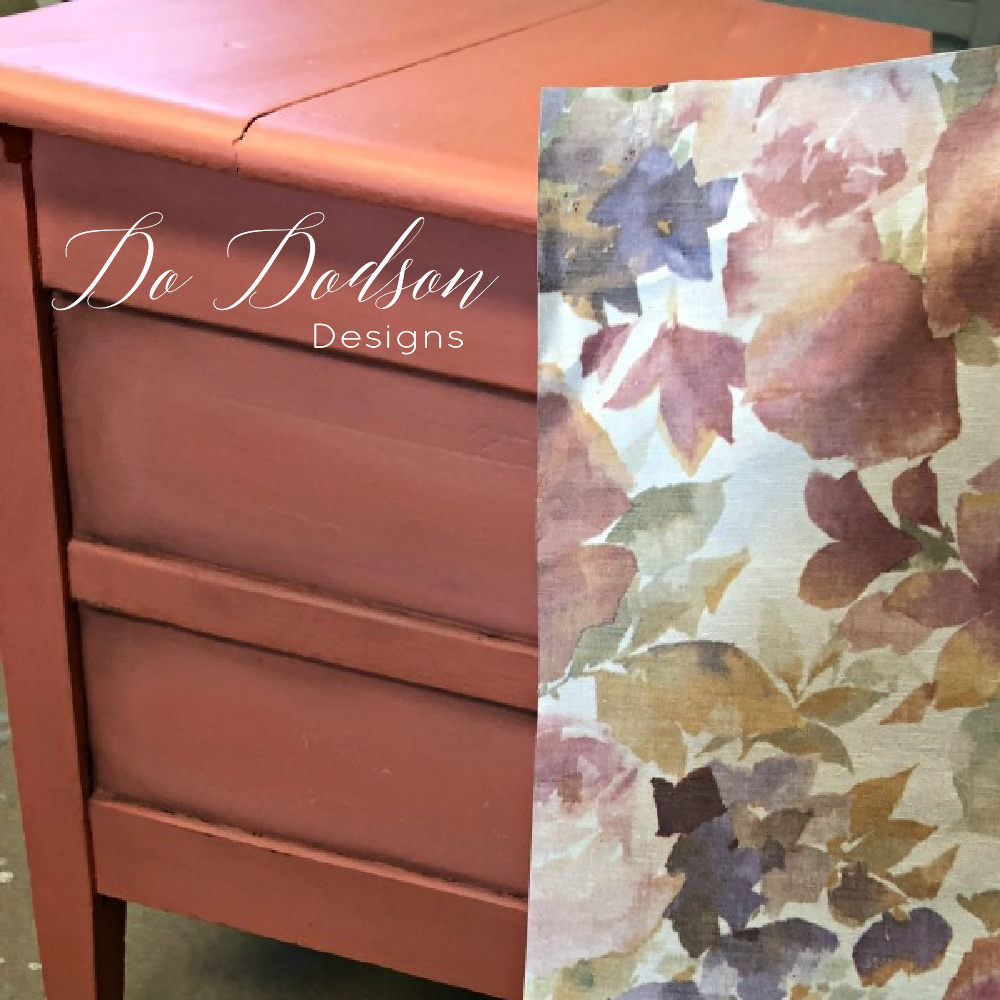
For this peel-and-stick wallpaper kitchen backsplash design, I chose vinyl paper (which repels water) with a pattern that can be easily matched. There is less waste when the design is repetitive. That’s less waste, more savings.
I also noticed after purchasing that the white wallpaper is a bit transparent, and if you look closely, you can see the line of sheetrock damage behind the paper. From across the room, it’s not visible. Yeah, I’m going with that. Remember, it’s temporary, I kept telling myself, pushing on!
Top To Bottom Application – Removable Peel And Stick Wallpaper Backsplash
STEP 3:
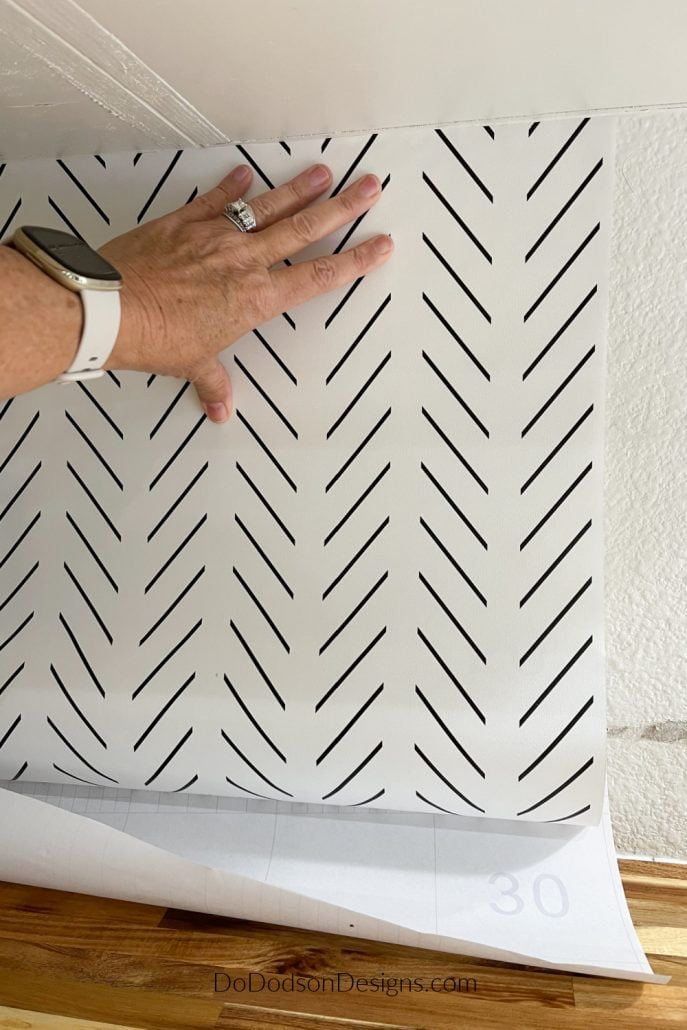
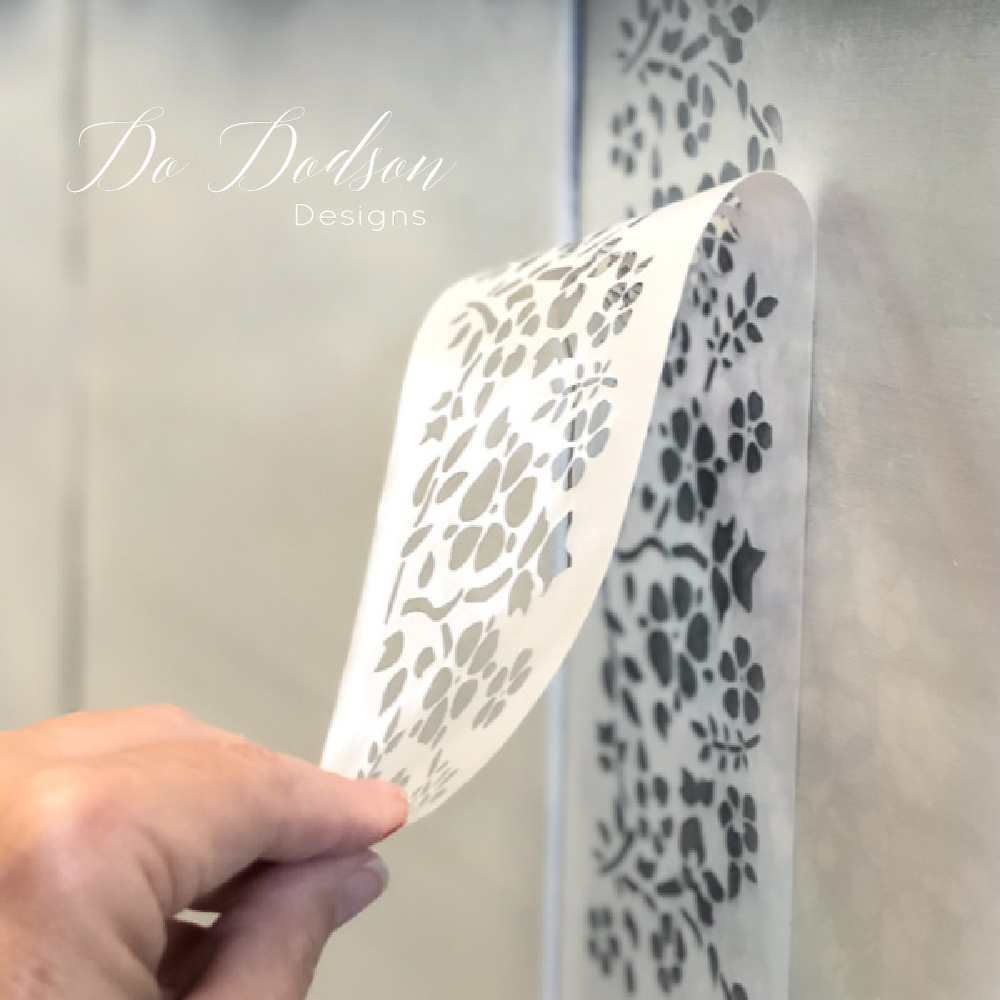
After cutting (use the cut lines) the wallpaper into the size strips you need, then peel away the back sheet to expose the sticky side of the paper about 1/3 of the way down. Don’t try to remove the whole back sheet because I promise the results won’t be good. Trust me, and I tried it. Learn from my mistakes.
Start the application of the peel and stick wallpaper backsplash from the top, smoothing the paper as you work your way down with your hand.
STEP 4:
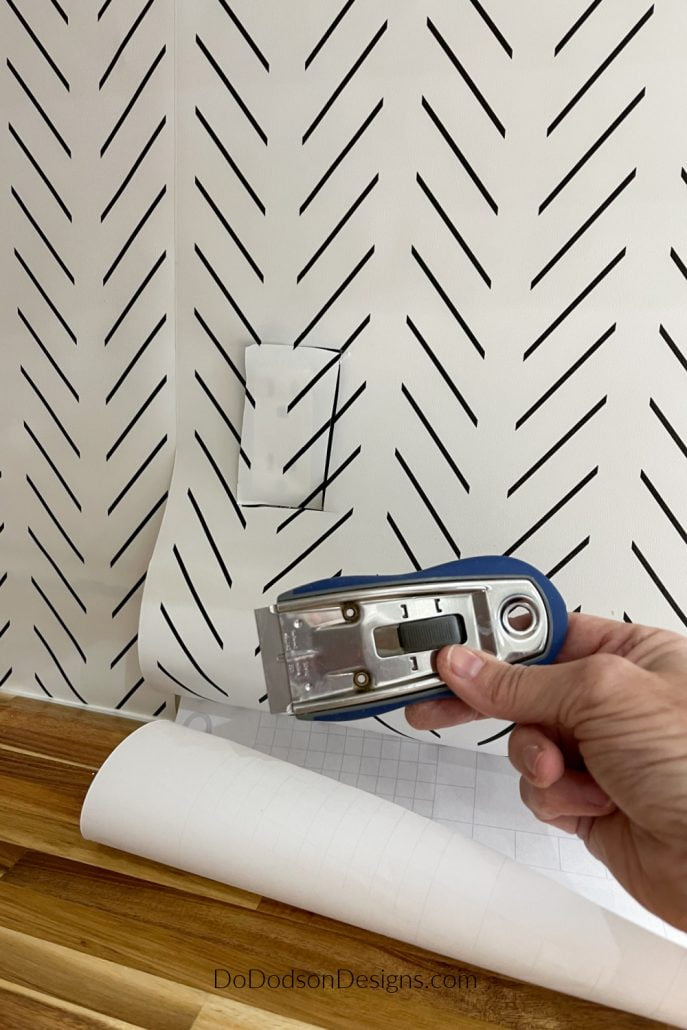
Once you have the DIY peel and stick wallpaper backsplash in place, use a utility knife to carefully remove the excess at the bottom of the paper and cut around electrical outlets.
Replace all outlet covers and turn the electricity back on so you can see the beautiful results of your labor. Time to take some Aleve!
Here Is How It Turned Out!

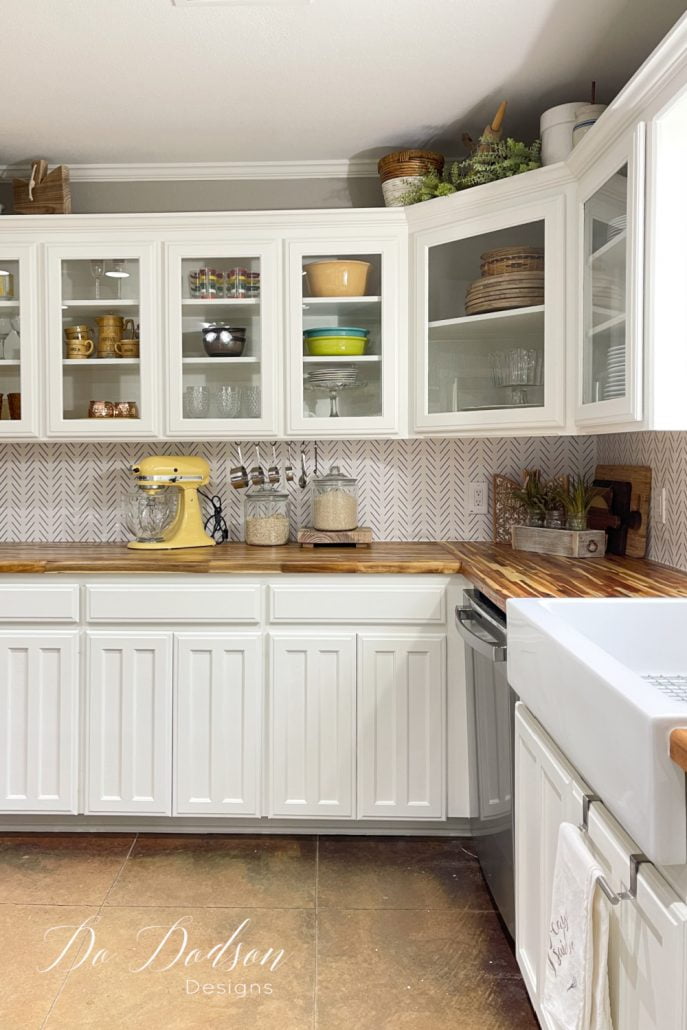
I love how the natural light reflects off the backsplash giving the kitchen a fresh airy feel.
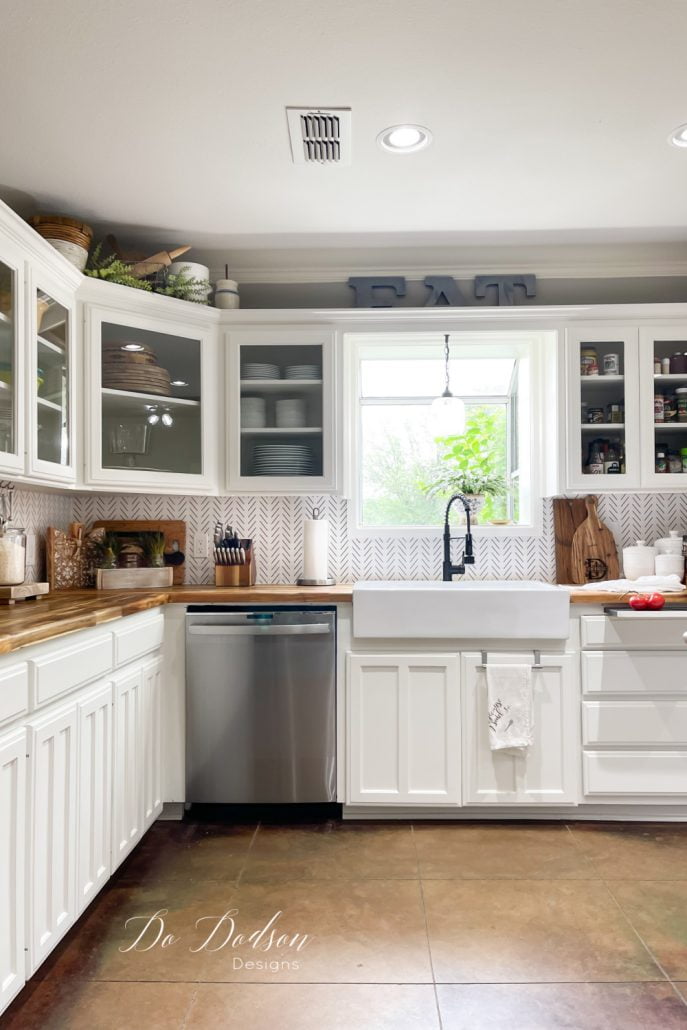
Is it perfect? No. Is it a great temporary solution? YES! And it’s removable!
My total out-of-pocket was about $30 for this DIY peel and stick wallpaper backsplash in my kitchen. Not bad, but it could be better if my wall had been smooth. It’ll DO for now.
So, what do you think about this temporary kitchen backsplash idea? Are you one of those that can’t decide like me? Let me know in the comment section, or just let me know you stopped by. I love hearing from you always. Don’t forget to share this post. I appreciate you! kiss kiss
Until the next project,
xo, Do

I absolutely love the kitchen. The painted cabinets look beautiful and brighten the kitchen. What did you use to paint them?
Hi Lynn! I LOVE the cabinets. They were painted with Sherwin Williams urethane trim paint in the color Alabaster white. It’s a creamy white with warm tones. The bright whites are nice but paired with the wood in the home I felt this worked the best. Thank you so much for stopping by and reading. I hope you have a wonderful day. 🙂 xo
Hi Donna! I think it looks great. We have alot in common you know. I have always been attracted to herringbone or whatever this pattern is called. I love it!
Hi Cheryl! It’s a great pattern. I like the simplicity of the lines. Thanks for reading, and I hope you have a beautiful day. 🙂 xo
That is a great wallpaper! It looks really clean and bright. Good choice
Thanks, Mary! I do feel the need to keep that kitchen clean and bright. Thanks for reading today. Have a blessed day. 🙂 xo
I love your backsplash. It’s beautiful!
Thanks, Lori! I’m so glad you stopped by to read. 🙂 xo
Nice contrast with the wood counters and very fresh looking. I would opt for chevron tile to bring your kitchen some polish. And this wallpaper gives you an idea of how great that would look. Shiplap doesn’t seem very forgiving as a kitchen backsplash and by the way, don’t you have enough wood texture going on in that house? Love your posts and your new/ old place! Magnificent!
Thanks, Lynn! I like the pattern of the paper but something in me feels a bit uneasy about all that pattern. I love wood, especially painted. I can never have too much wood. Thanks for reading. xo 🙂
I love it!! Great job!
Thank you, Jennifer! xo 🙂
I love it! You have inspired me to use it on a bathroom wall!
Yes! You’ll have to write a blog about it. I’d love to see it.
Looks really nice. I vote for shiplap 😁
Hi Jackie! The shiplap will happen and I’ll share it with you when it’s done. It’s in my heart! 🙂 xo
This is an awesome solution Do! The pattern is perfect and it reflects your personality 🙂 I love your kitchen!! Pinned 🙂
Thank you, Cindy. It’s always a bright spot in my day when you stop by. Miss our chats. 🙂
Love it! Great job, Do!
Thanks, Leslie.
Merry Christmas to you and your family. 🙂 xo
Have you tried to apply this over glass tile?
Hi Andrea,
I have not, but I think it will work as long as the tiles are smooth without a recessed grout line. I hope this helps. It’s a great way to update without a lot of money or skills.