Hello friends! Today I’m sharing how to repair chipped wood furniture. You know the type… the ones that you give a second and third look. Go ahead and buy that janky thrift store find at a bargain. Or pick up that freebie curbside finds so that you can do what you love… and that’s giving new life to some sad furniture. I used to shy away from those great deals because I thought it would be too much work to repair them. It’s not! Let’s get started.
This post contains a few affiliate links to help you find the products I use. You are not charged extra to use any of the links, but any income I make will be used for more fun projects! To see my full disclaimer, click here.
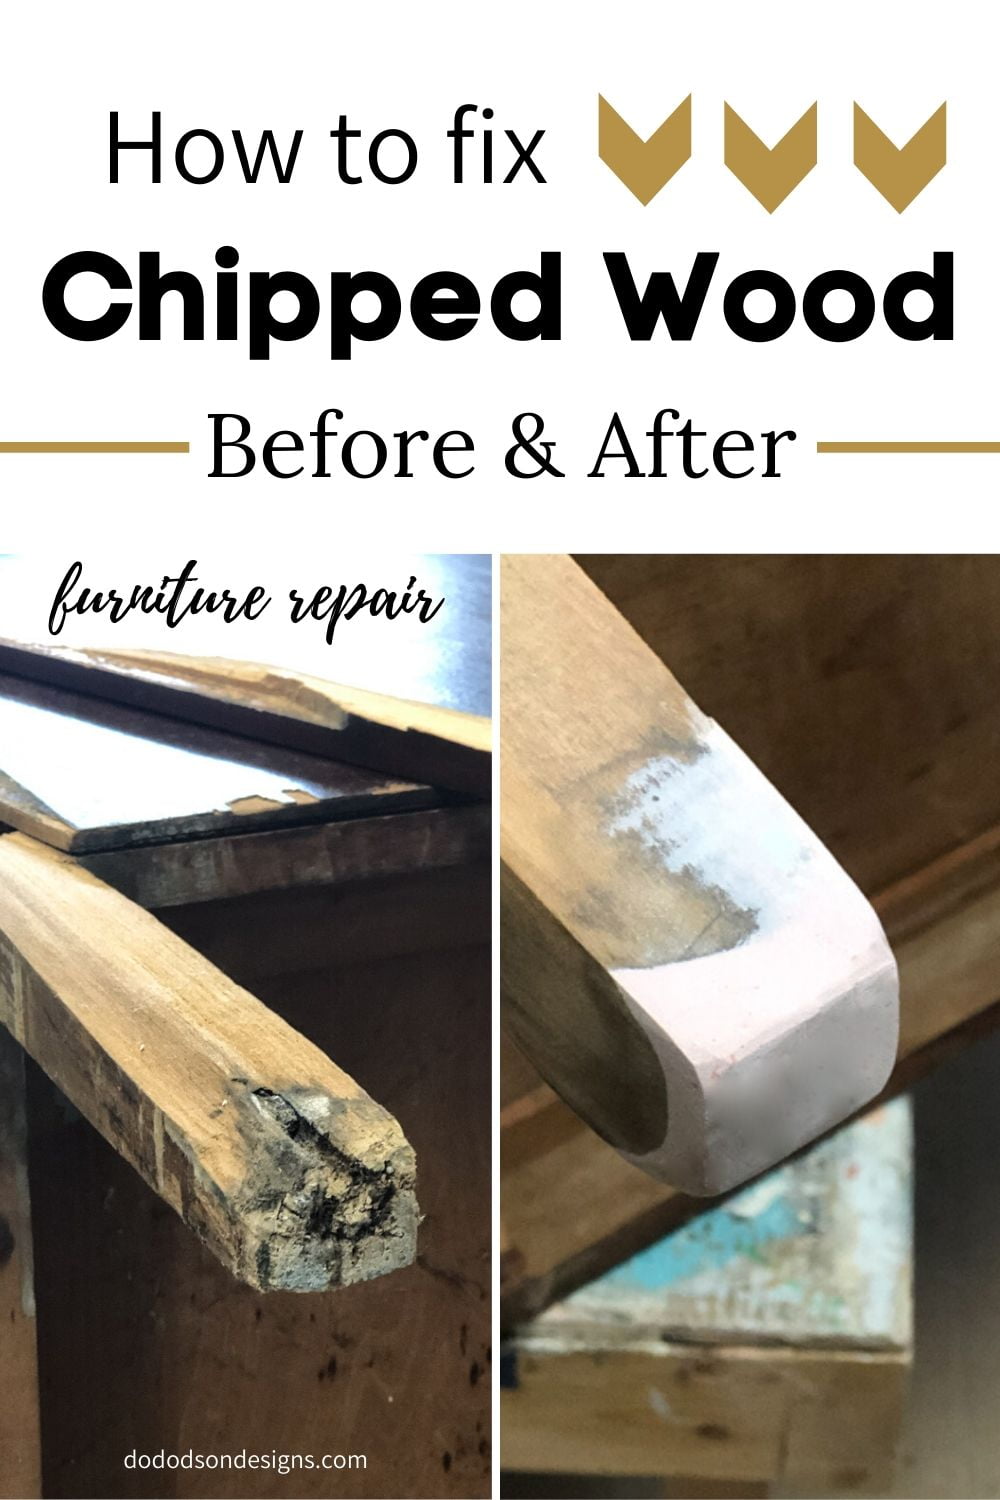
How To Repair Chipped Wood Furniture
Supplies List
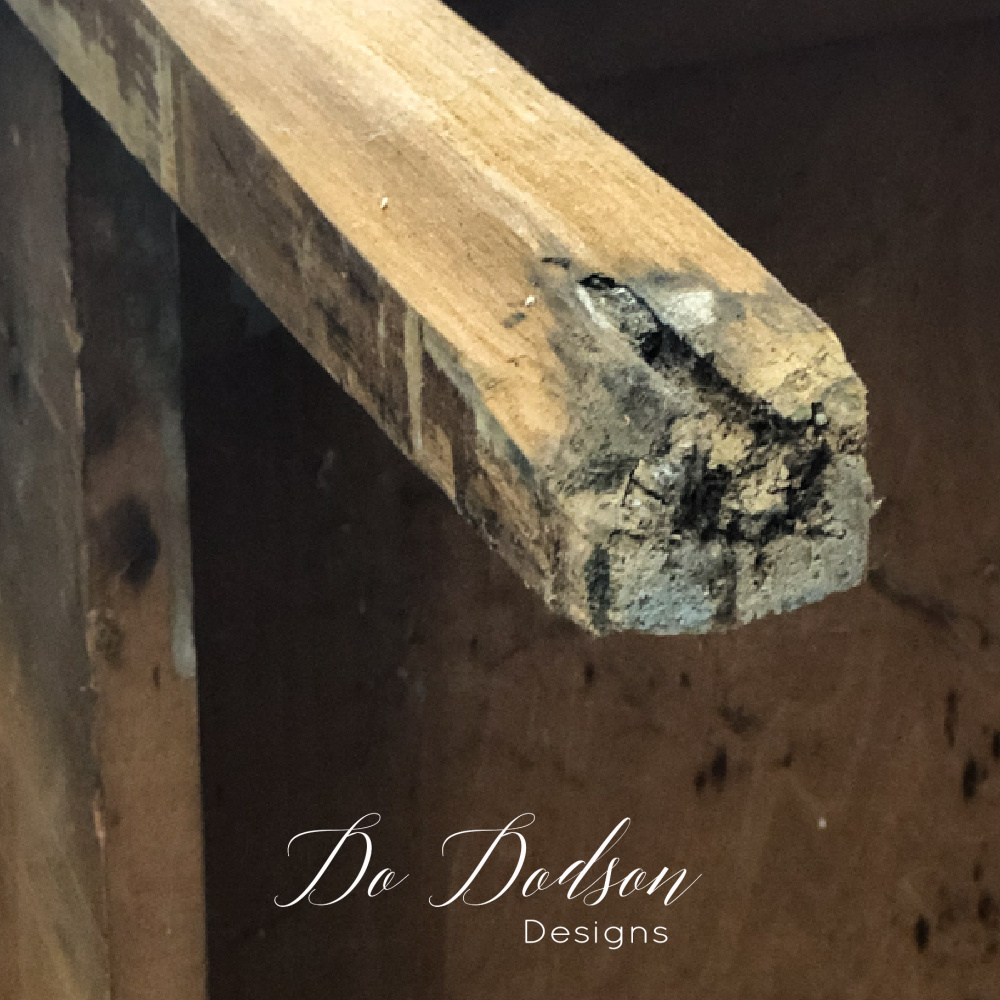
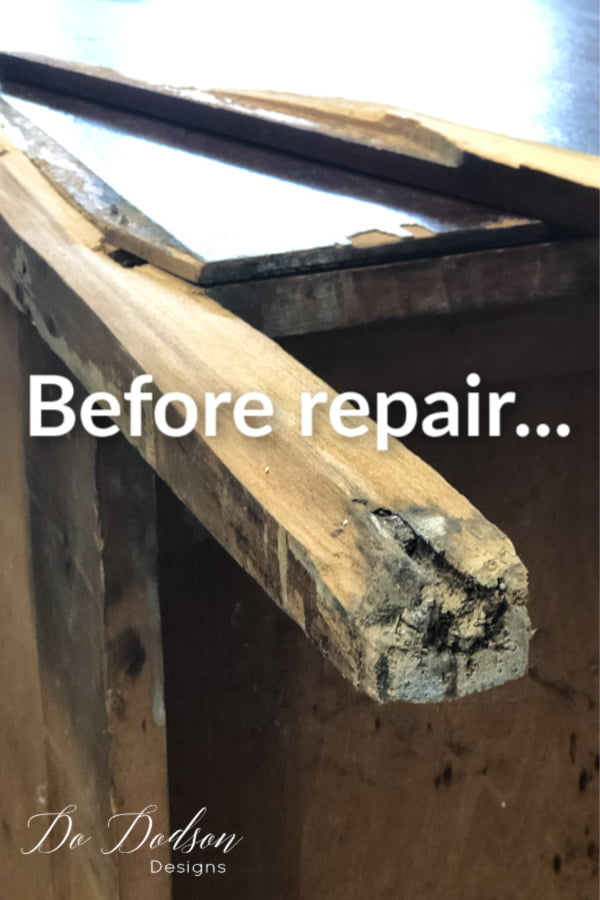
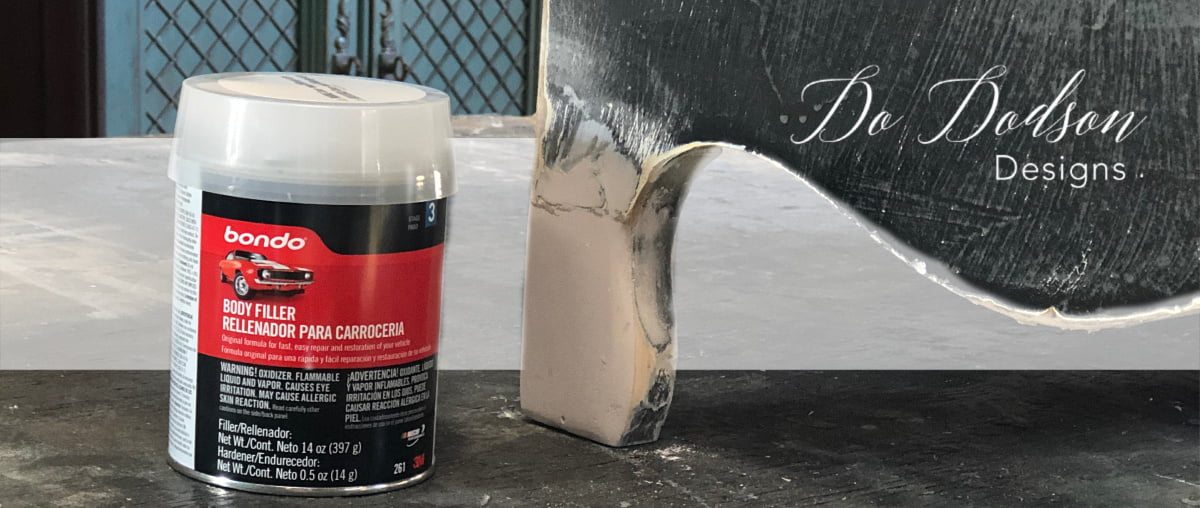
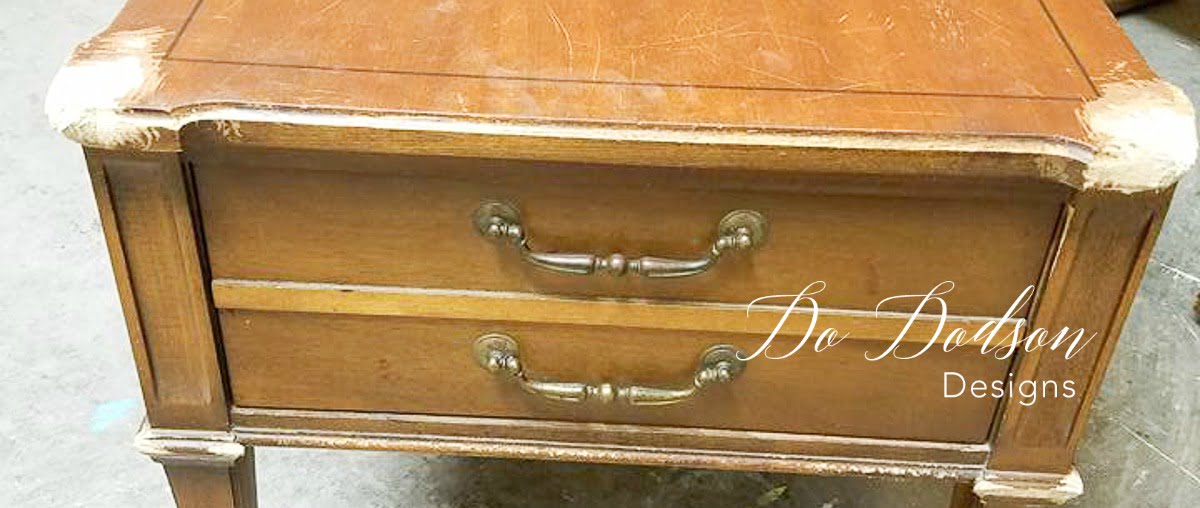
Oh, that’s U G L Y ugly! Ever come across a leg that looks like this? More times than none I end up repairing a lot of chipped wood or deep gouges on furniture. Here is my go-to list for these types of repairs.
- Bondo Body Filler
- Craft Sticks AKA tongue depressors HA!
- Screws or Nails (as long as they have a head-on them)
- SurfPrep Sanding System
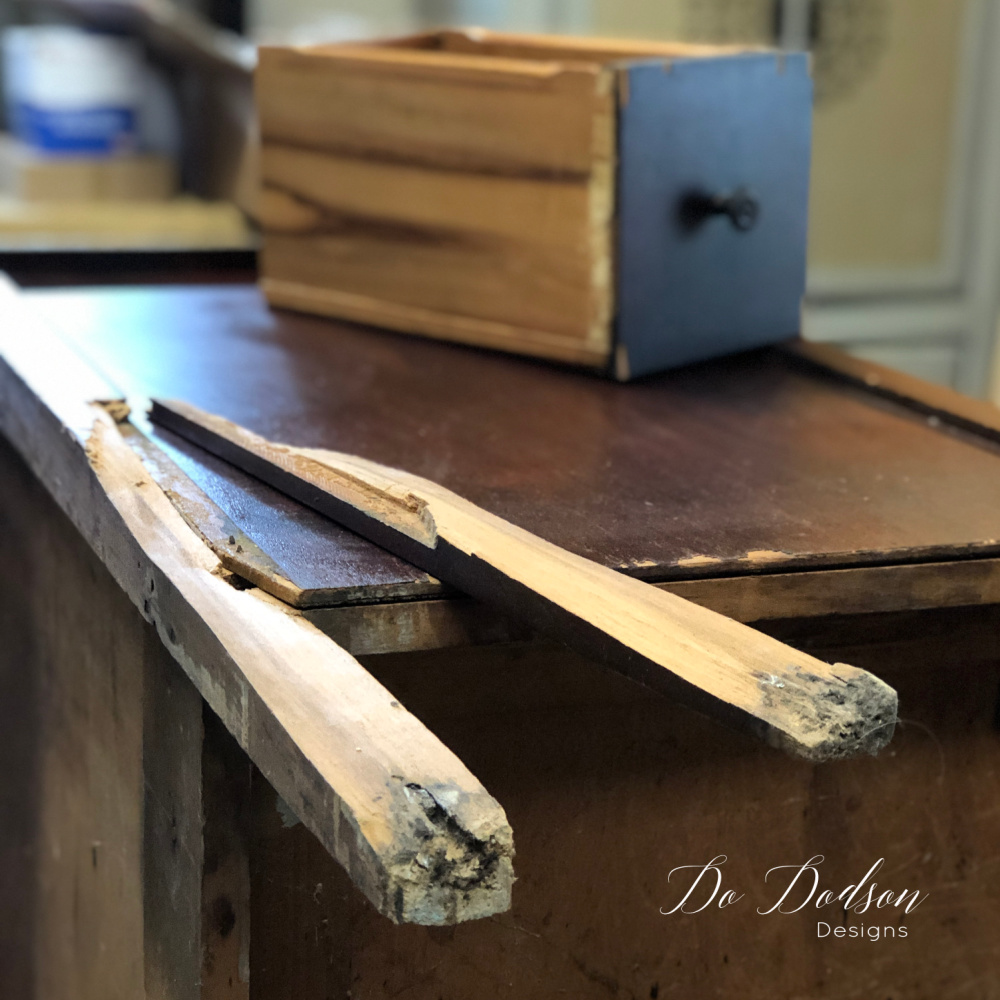
Firstly, clean the broken, rotten, or damaged areas well with sandpaper to remove all the dirt and debris. This will help to ensure a good bond between the wood and Bondo. Be sure to blow the loose dirt and remaining sawdust away from the chipped wood area or hole after sanding. Don’t hesitate to pull out a screwdriver and dig out the dirt if needed. Whatever it takes to remove it. This dresser appears to have been sitting in a barn for a while in addition to the dirt that it housed. The wooden rollers that were once in place were gone leaving the perfect hole for age and damage to occur. The leg on the dresser was also broken and had to be repaired before adding the Bondo. CLICK HERE to see how I fixed the broken leg on this dresser.
Creating A Surface For Bondo
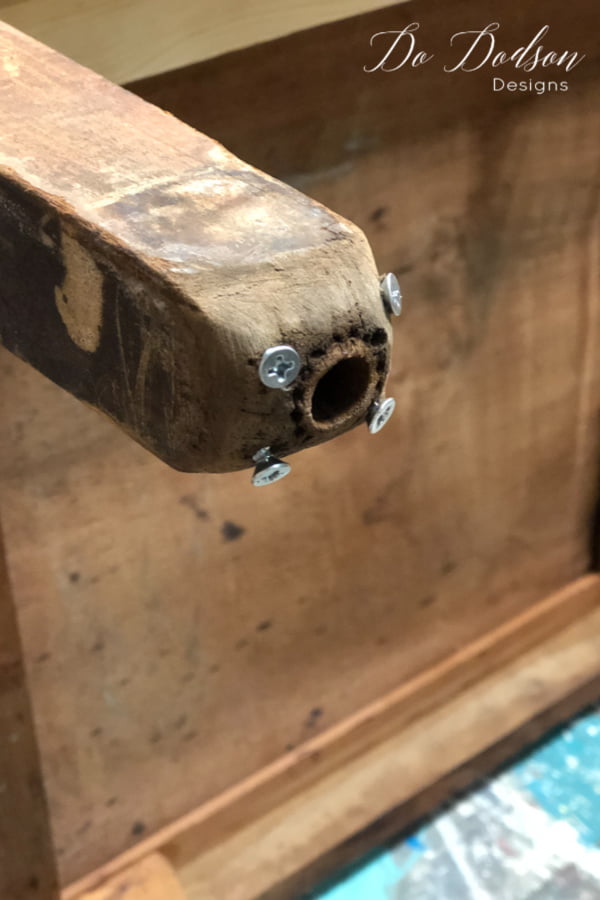
Secondly, if the area you’re working on is a deep gouge or weight-bearing, add a few screws or nails to give the Bondo something to attach to. This will create a greater bond. I learn this repair technique using Bondo from my friend, Denise with Salvaged Inspirations. She does a lot of furniture makeovers and her work is stunning! The only difference is that I added a few screws for the Bondo to grab ahold of since all the weight of the furniture will be on the bottom of the leg. This tip I got from Bruce Davis… the GURU of furniture repair.
Mixing The Bondo For Wood Repair
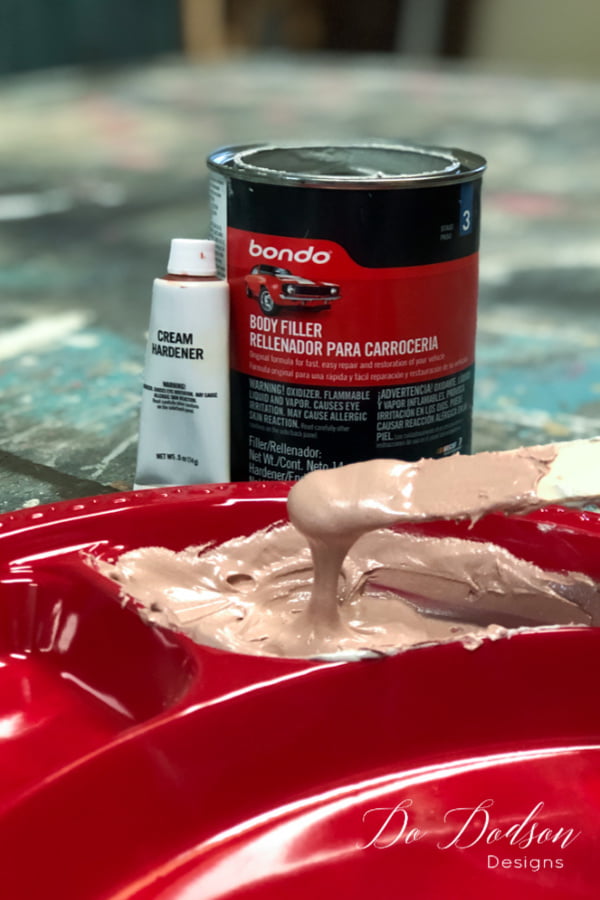
After that, you will need to mix the Bondo. I use a disposable plate. Be sure to follow the directions on the can for best results. It turns a pinkish color once it’s mixed. This product should always be used in a well-ventilated area with protective gear. It’s super smelly and not good for anyone to breathe into their lungs. Always use gloves to protect your skin.
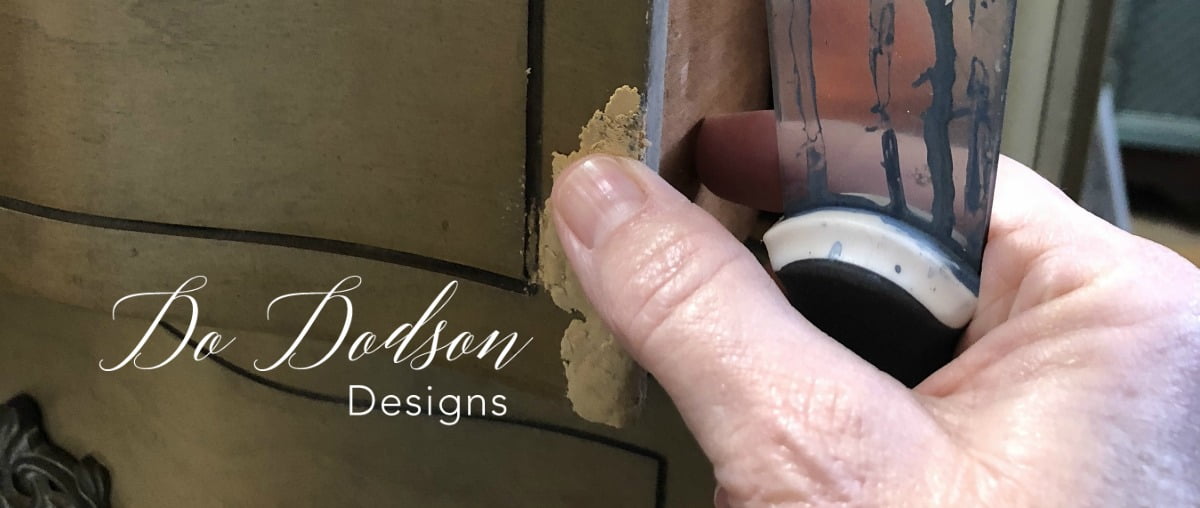
The FUN Part Of How To Repair Chipped Wood Furniture
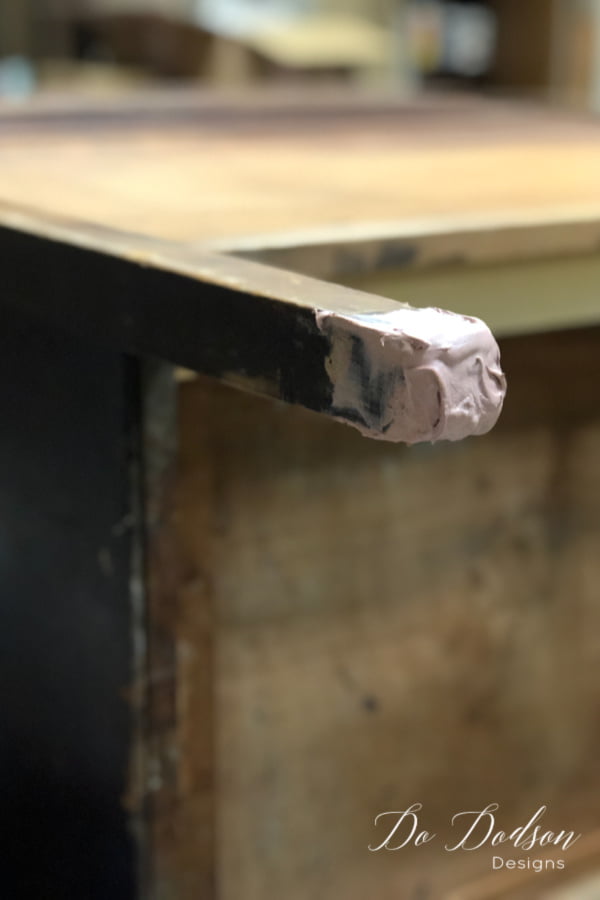
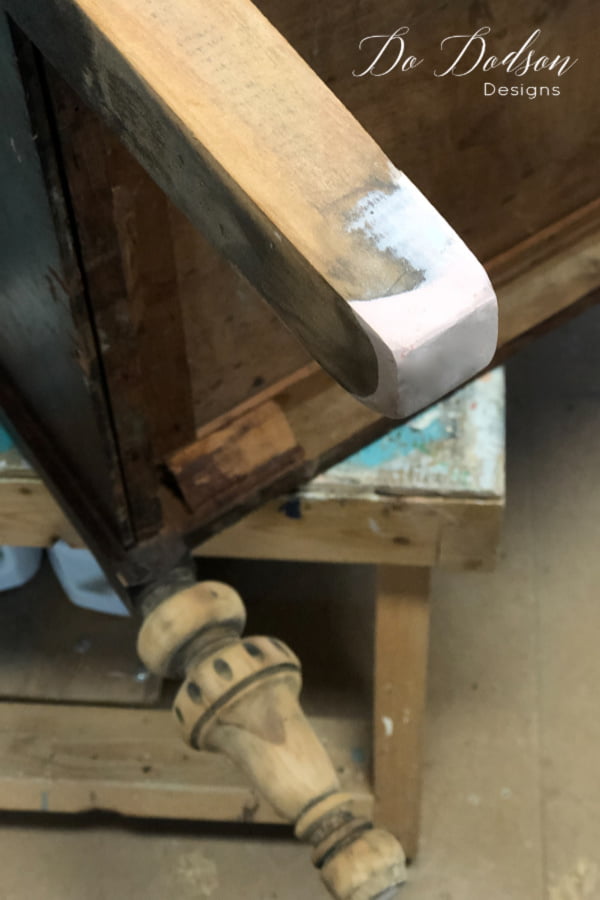
Next, use a paint stick or something similar to apply the Bondo. A putty knife works well too. The Bondo mixture was thick but still runny at first. After a few minutes, it began to thicken. You will want to work quickly because the Bondo will harden fast. After it has hardened, use 180- 150 grit sandpaper to smooth it into the shape of the furniture. This can be done by hand but I recommend an electric sander due to the amount of effort it will take to smooth it out. Here’s a quick video of how I use my electric sander to smooth out the Bondo.
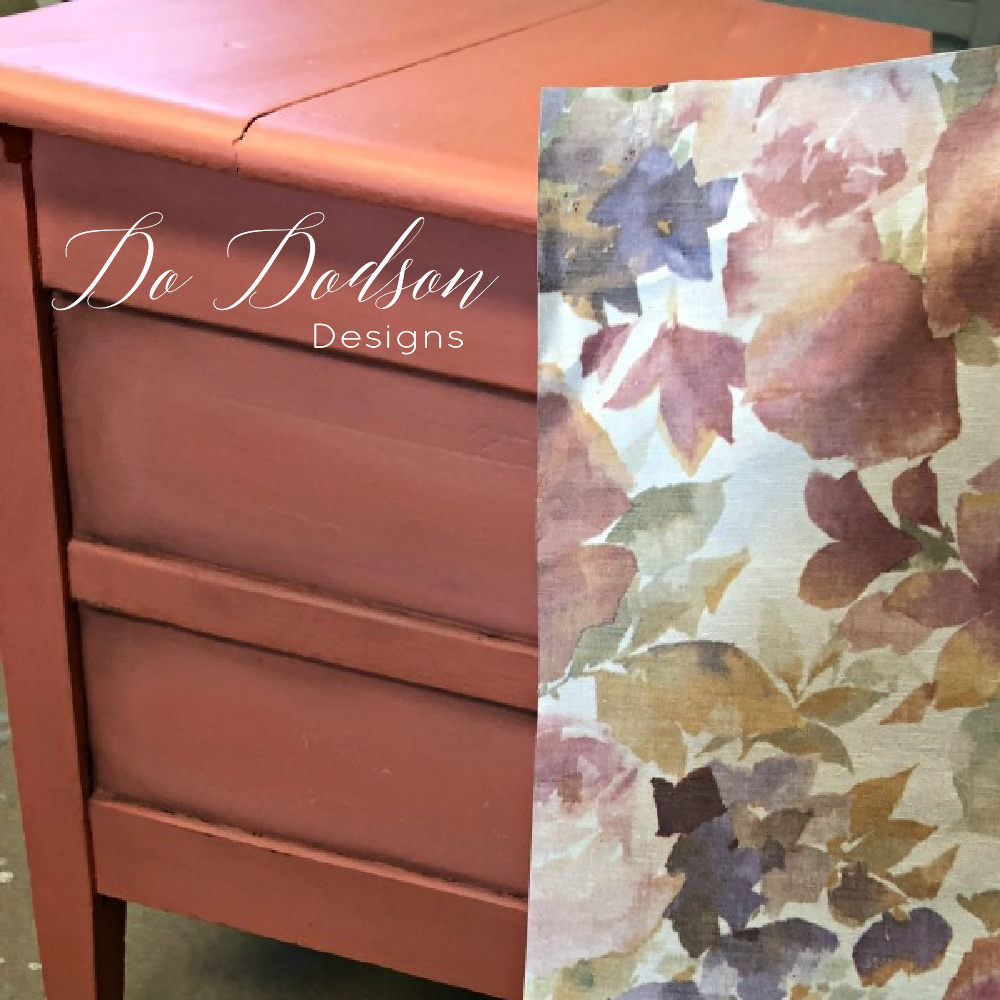
How about that chipped wood repair? Do you think you can do that? Of course, you can! You can see that even the jankiest furniture can be salvaged and I want to encourage you to try this technique out for yourself. It has opened up a new world of furniture makeover options for me due to the sheer fact that almost all wood furniture can be repaired. It’s crazy fun to see these transformations. I’d love to hear about yours and you can tell me all about it in the comment section. I love hearing from you.
Until the next project… xo, Do
Thank you Do for the tip and the step by step! I would not of thought to do that! Have a great day! ? judy
You’re welcome, Judy! I’d love to hear how this works for you when you try it. Have a wonderful week. 🙂 xo
Boy, I had no idea when and how to use Bondo! You have really demystified and made using this product not so difficult. Thank you, thank you!!
Yay! So glad I could help. It’s really pretty easy. xo, Do
Hi Donna, I’m planning on starting a home goods up-cycling business as a side gig to prepare for my retirement in a few years, and I’m really enjoying all the great ideas on your site. Keep up the good work and I’ll send you a picture of my first refinishing project.
That’s fabulous, Jan! I’m so excited for you. Yes, I would love to see your project. 🙂 xo
Do you think this would work on the front part of a rocking chair rail? It doesn’t bear weight on the tip and probably doesn’t come into contact with the floor. A dog chewed on them and if this would work it would be a lot more economical!
Hi Nicole,
Yes, Bondo is an excellent fix and super durable. Good luck with your project, and I would love to see how it turns out. Send me pics. 🙂 xo
But what if you’re staining the repair. You can’t really stain body fillers.
No, unfortunately you cannot.