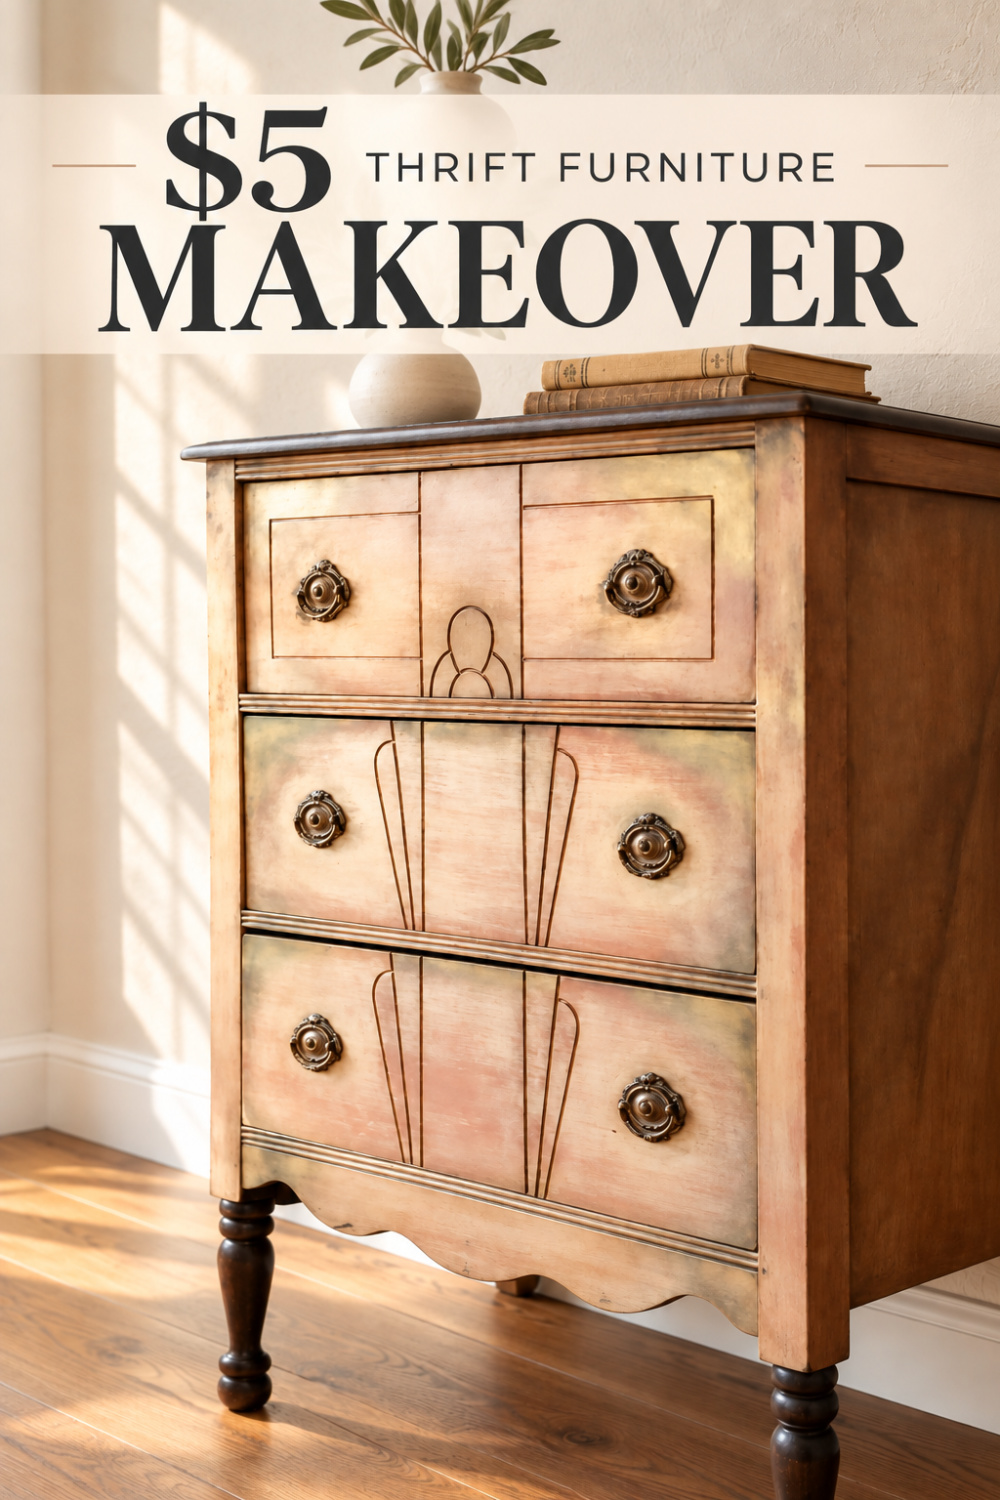
Thrift store furniture makeovers are one of my favorite ways to create a beautiful, one-of-a-kind piece without spending a fortune. With a little paint and imagination, even an outdated furniture find can become something worth showing off.
For this makeover, I gave this second-hand piece an unexpected metallic finish that brought out its details and gave it a whole new personality. If you love saving money and rescuing old furniture, this makeover will have you watching for your next thrift-store or garage-sale find.
This post has been updated in September 2026 with clearer instructions and helpful furniture-painting tips while preserving the original makeover.
* As an Amazon Associate, I earn from qualifying purchases and through other companies as well. You will not be charged extra when you purchase through these affiliate links, but any income I make helps me create more amazing DIY projects to share with you! To see my full disclaimer, click here!
Where I Found This $5 Furniture Piece
I wish I could tell you there’s a secret place where I find $5 furniture, but bargains like this don’t come along very often. Most of my searching happens at garage sales, thrift stores, and estate sales—with the occasional roadside rescue when the furniture-picking stars align.
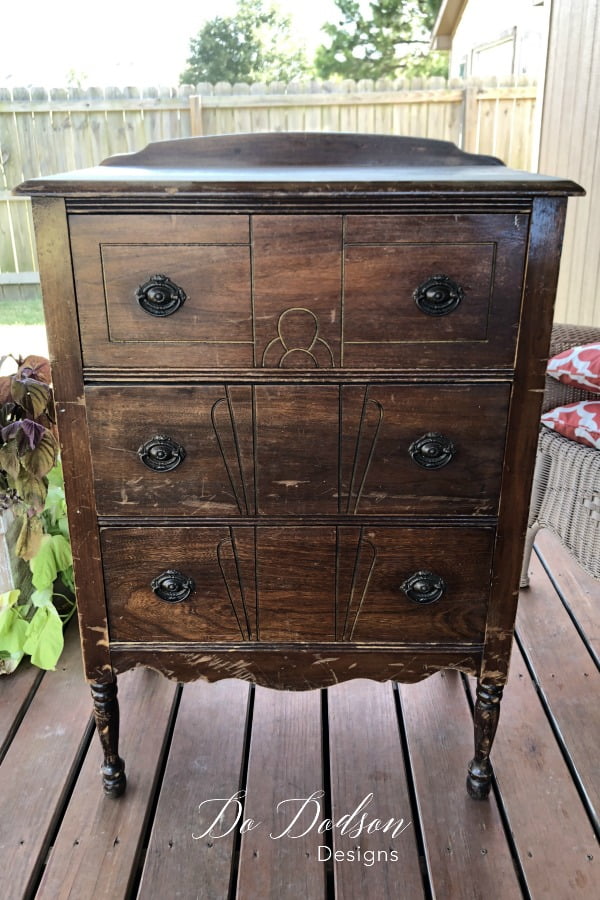
This little chest turned up at a garage sale, where the sweetest older gentleman had been using it to store his tools. Naturally, I had to ask if it was for sale.
He gave it a little kick and said, “This old thang? I use it for a toolbox.”
My eyes got so big! Before I knew it, the chest was loaded into the back of my truck. He insisted it wasn’t worth anything, but taking it for only $5 almost made me feel guilty, almost.
A furniture makeover was already taking shape in my head.
Supplies for This Thrift Furniture Makeover
This makeover combined warm paint colors, dark gel stain, metallic paint, and gilding wax to give the little chest its one-of-a-kind finish with Dixie Belle Paint products. You don’t need to use the exact brand I originally used—choose comparable products in similar colors.
- Furniture cleaner or mild dish soap
- Fine-grit sandpaper or sanding pad
- Dark brown water-based gel stain
- Black water-based gel stain
- Applicator pad or clean sponge
- Terracotta-colored furniture paint
- Warm cream furniture paint
- Copper metallic paint
- Warm gold gilding wax
- Aging or decorative dust, optional
- Durable water-based topcoat
- Paintbrushes
- Lint-free cloths
- Gloves
Preparing the Old Chest for Its Makeover
This little chest sat in my spare bedroom for at least 15 years while I waited for the right inspiration to strike. Please tell me I’m not the only one with furniture waiting patiently for its turn!
The chest was sturdy and in great condition, but the old varnish had become dry and flaky. Because the finish was already coming loose, it was surprisingly easy to remove.
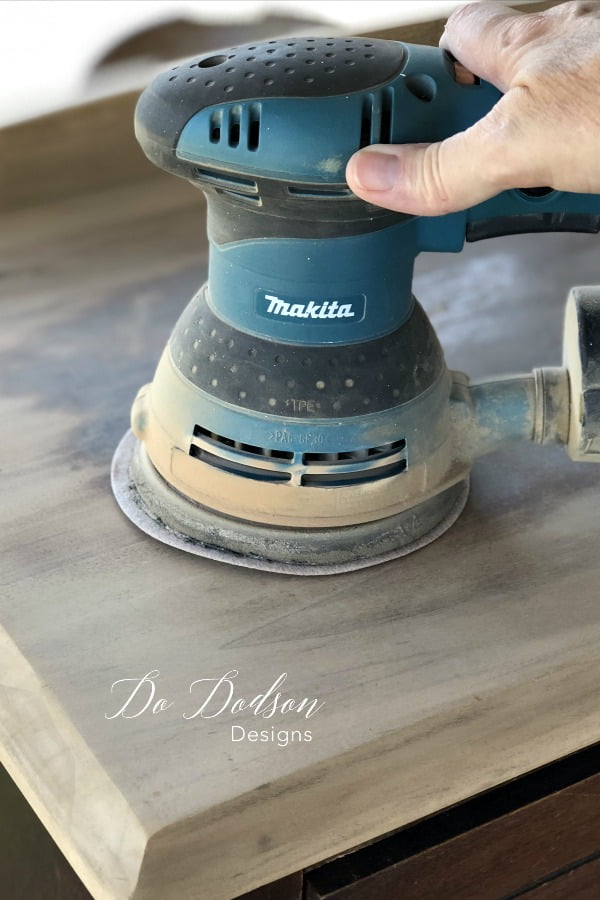
I used my rotary sander with 220-grit sandpaper to remove the failing finish and reveal the bare wood. Always sand in a well-ventilated area, wear appropriate protection, and remove all the sanding dust before applying a new finish.
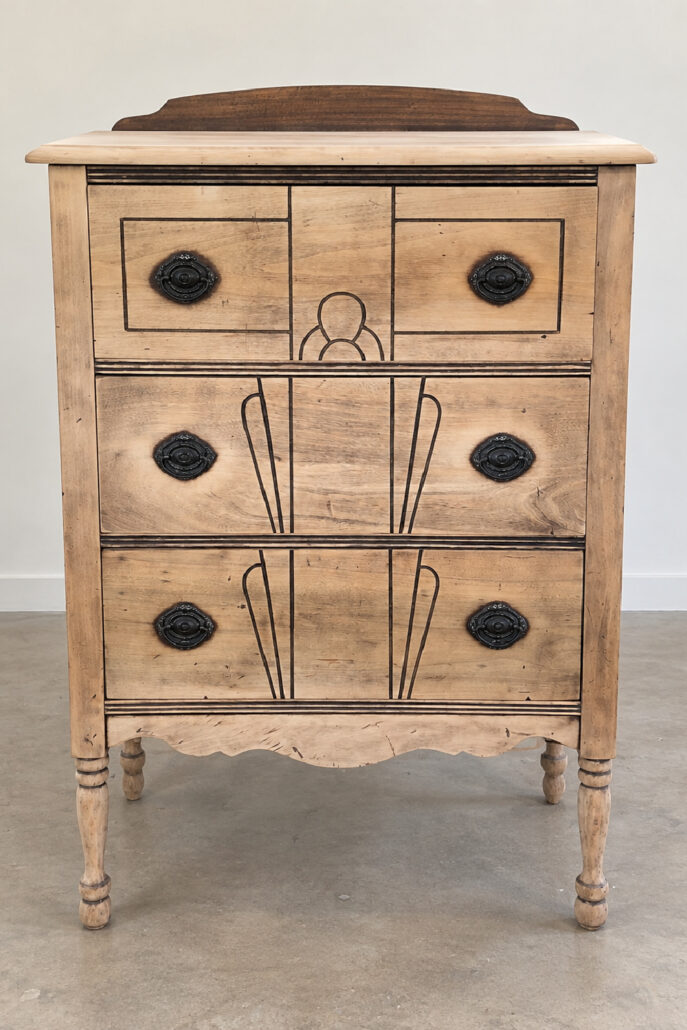
Once I saw that beautiful bare wood, I had a moment: I can’t paint that!
How I Stained the Wood Top
The bare wood was too pretty to cover completely, so I decided to stain the top and paint the base of the chest.
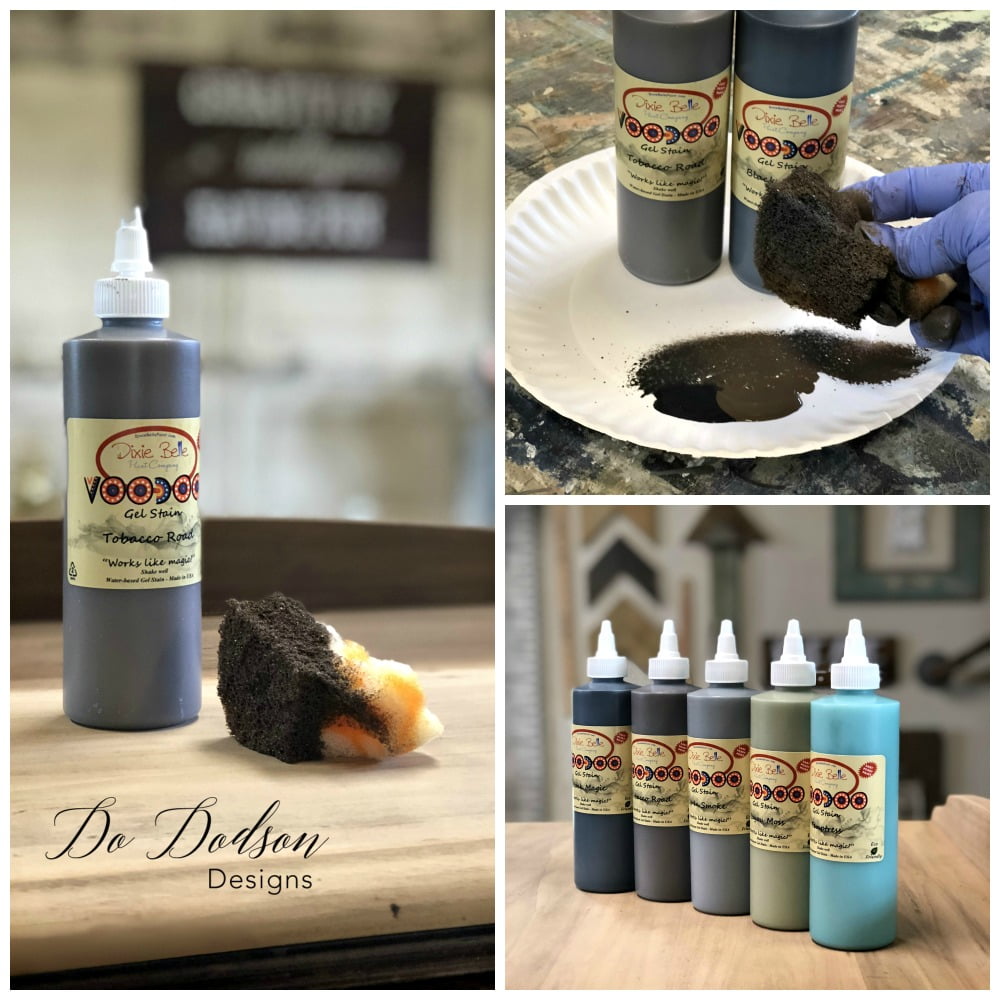
To create a deeper custom color, I combined a dark brown water-based gel stain with a small amount of black gel stain. Mixing the two shades gave the wood a rich finish while allowing its natural character to remain visible.
I applied the stain evenly with an applicator pad, working in the direction of the wood grain. After removing any excess stain, I allowed the finish to dry overnight. Always follow the drying instructions provided by the stain manufacturer, especially when mixing colors or applying a protective finish afterward.
Once the stain was completely dry, I sealed the top with a durable water-based topcoat to protect it from everyday wear.
Layering Paint for an Aged Metallic Finish
This is where the biggest part of the transformation began—and one of my favorite parts of any furniture makeover.
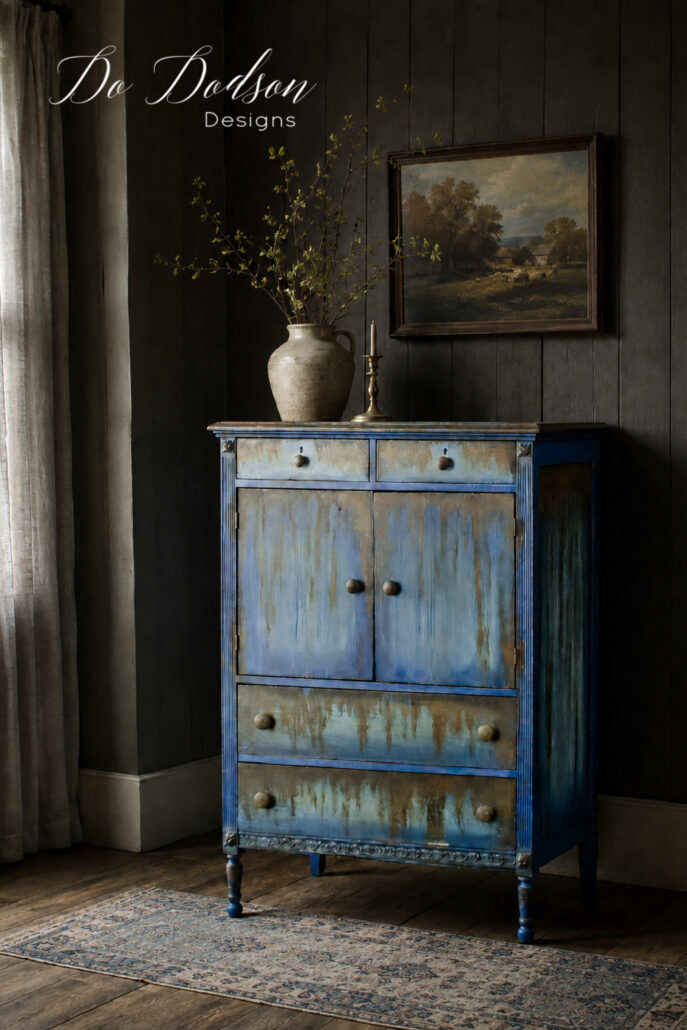
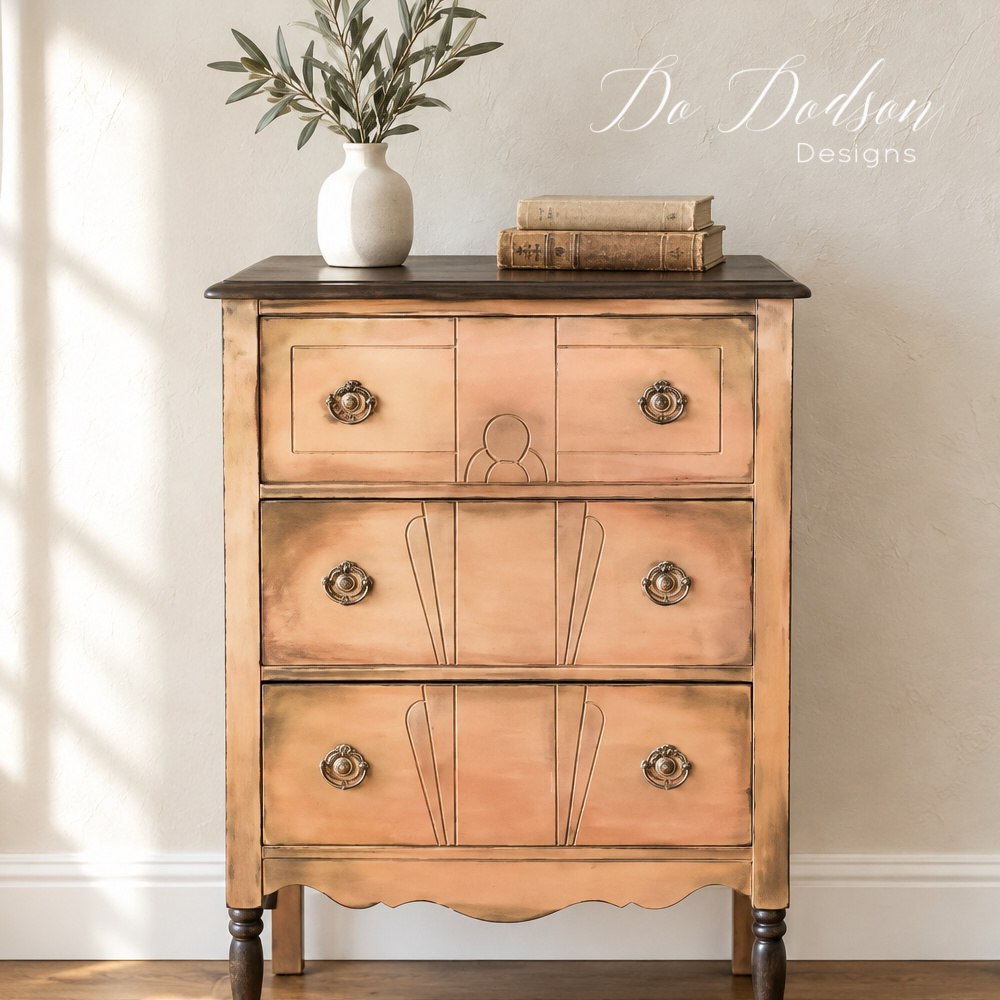
I started by applying one coat of terracotta-colored furniture paint to the base of the chest, and I painted directly over the original hardware so it would blend into the layered finish rather than stand out on its own. Yes, painting over vintage hardware can feel a little sacrilegious, but stick with me. It will be worth it!
After the terracotta layer dried, I lightly dry-brushed warm cream paint over the surface. I kept very little paint on my brush and left the terracotta color visible underneath. This created variation and began building the aged look.
The finish was already beautiful, but apparently, I didn’t know when to stop. Ha! I added a thin layer of copper metallic paint to bring warmth and a subtle shimmer to the chest.
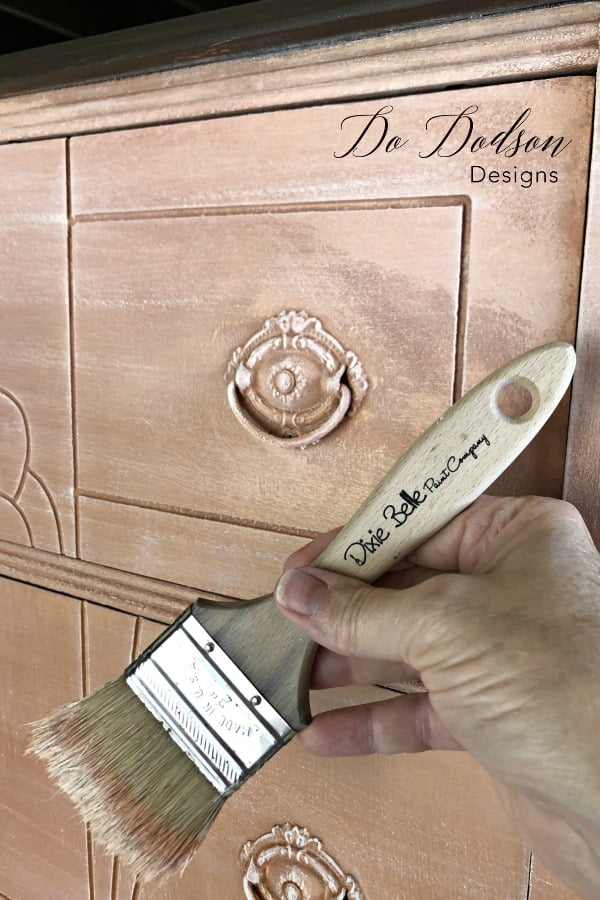
Once all the paint was completely dry, I lightly scuffed the surface with my rotary sander. I concentrated on the edges and areas that would naturally show wear, using a light touch so I didn’t remove too much of the layered finish.
How to Apply Gilding Wax to Furniture
To accent the layered finish without making it look too shiny, I applied warm gold gilding wax with a small makeup brush. Yes, a makeup brush! Use whatcha got, right?
If you try this trick, use a clean brush dedicated only to furniture projects—not one you plan to return to your makeup bag.
I picked up a small amount of gilding wax with the brush and offloaded the excess onto a paper plate. Using light, circular motions, I gradually blended the wax onto the areas where I wanted a little extra flair.
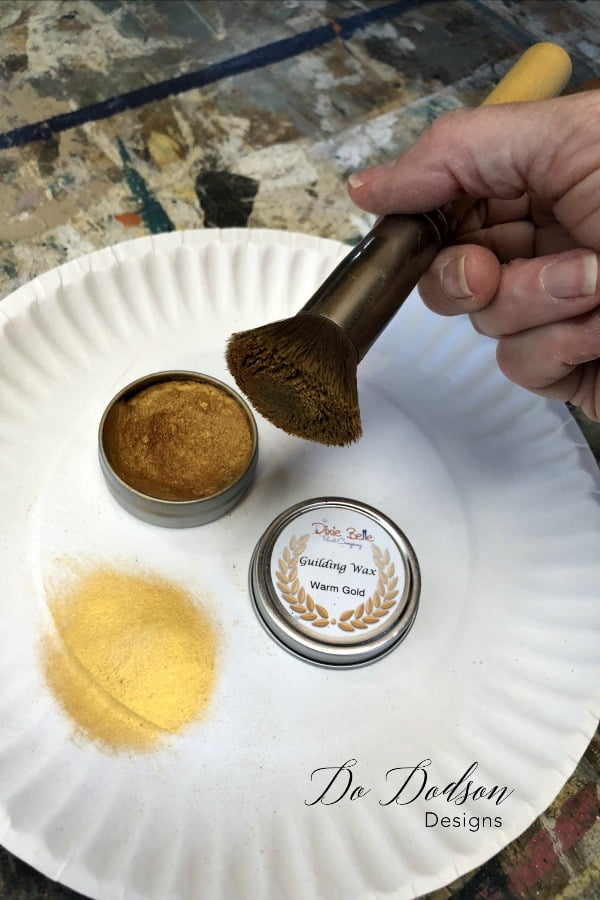
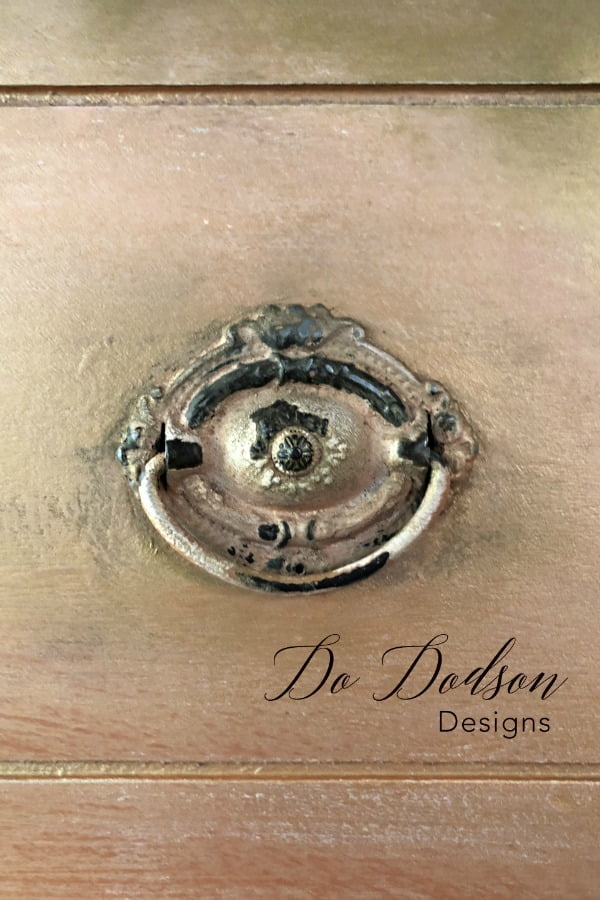
I concentrated on the drawer handles, drawer corners, edges, and raised details. Starting with a tiny amount made it easier to build the color slowly without overpowering the finish.
Adding an Aged Look With Decorative Dust
Isn’t it amazing what paint can do?
For the original makeover, I used Dixie Dirt, a fine decorative powder made to imitate the dusty buildup and aged patina often found on antique furniture. Similar products may also be labeled aging dust, decorative dust, or patina powder.
I don’t have a photo of this step, but the application is simple. Using a dry chip brush, I lightly dusted the powder over the areas where I had applied the gilding wax. The powder clung to the wax and settled into the corners, hardware, and detailed areas.
This technique gave the chest the appearance of years of natural aging—without bringing years of actual dirt into the house. Start with a small amount because it is much easier to add more than to remove too much. Avoid breathing the fine powder and follow the manufacturer’s safety directions.
A $5 Thrift Furniture Makeover With Character
Not bad for a little chest that spent years storing tools in someone’s garage! The stained wood top, layered paint, copper metallic finish, gilding wax, and aging dust gave this $5 find a completely new personality.
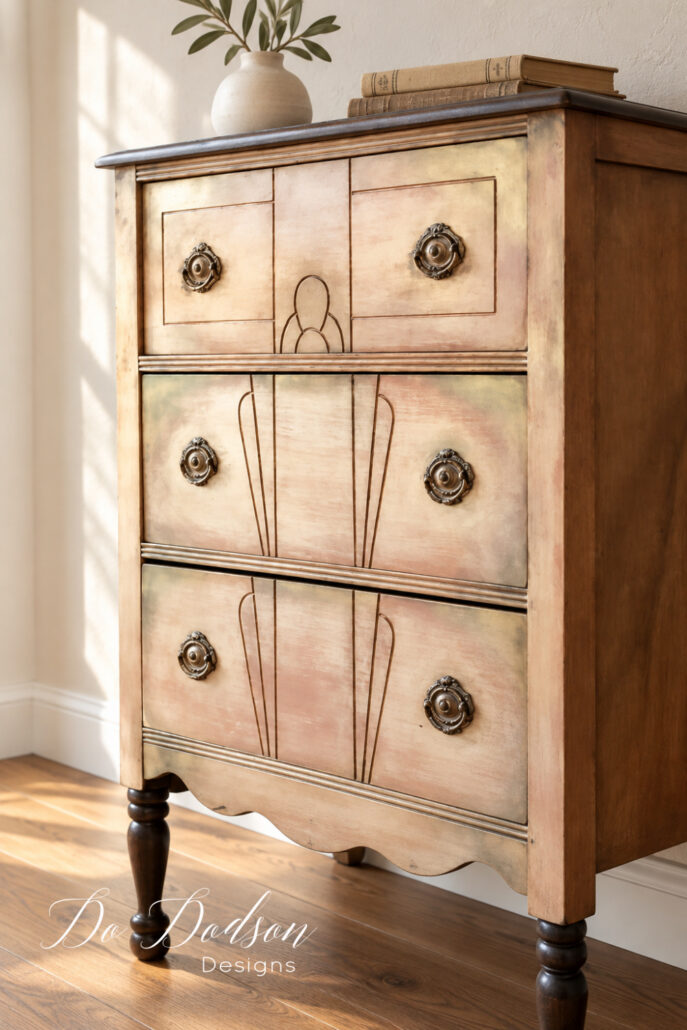
This makeover is a good reminder that secondhand furniture doesn’t need to be perfect—or expensive—to be worth saving. Sometimes the pieces others overlook are the ones that offer the most creative possibilities.
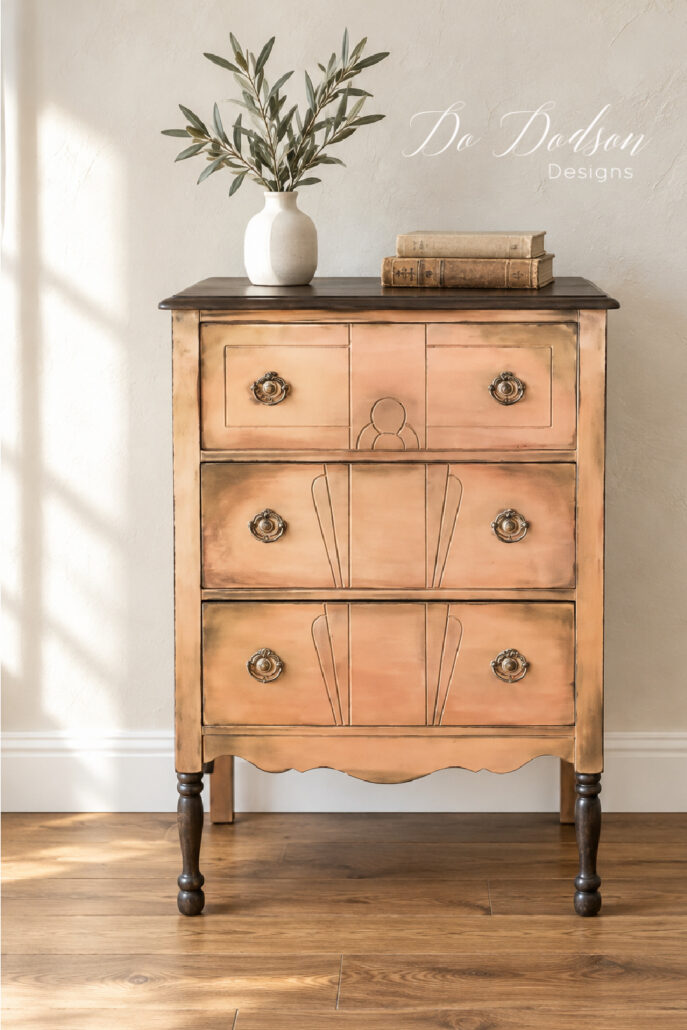
Keep your eyes peeled for those hidden treasures while keeping your hands firmly on the wheel. You never know when your next thrift furniture makeover might be waiting at a G A R A G E S A L E!
Would you have painted this chest or left all that pretty wood natural? Let me know in the comments. I always enjoy hearing how you would make a piece your own.
Until the next project… xo, Do
More Thrift Furniture Makeover Ideas
If this $5 furniture find has you ready to hunt for someone else’s unwanted treasure, here are a few more thrifted pieces I’ve rescued and transformed. Sometimes all an old piece needs is a little repair, a creative finish, and someone willing to see what it could become.