Copper patina paint can turn even the most ordinary piece of furniture into something beautifully aged and full of character. But if you’ve never worked with reactive patina products, spraying an activator over freshly painted furniture can feel a little intimidating.
Thankfully, creating an authentic copper patina finish is much easier than it looks. In this tutorial, I’ll show you how I transformed a dated side table with layers of black paint, copper patina paint, and blue-green oxidation. The result is a dramatic furniture makeover with a naturally weathered finish—perfect for adding a moody vintage touch to your home or Halloween decor.
This post contains a few affiliate links to help you find the products I use. You are not charged extra for using any of the links, and any income I earn will go toward more fun projects! To see my full disclaimer, click here.
What Is Copper Patina Paint?
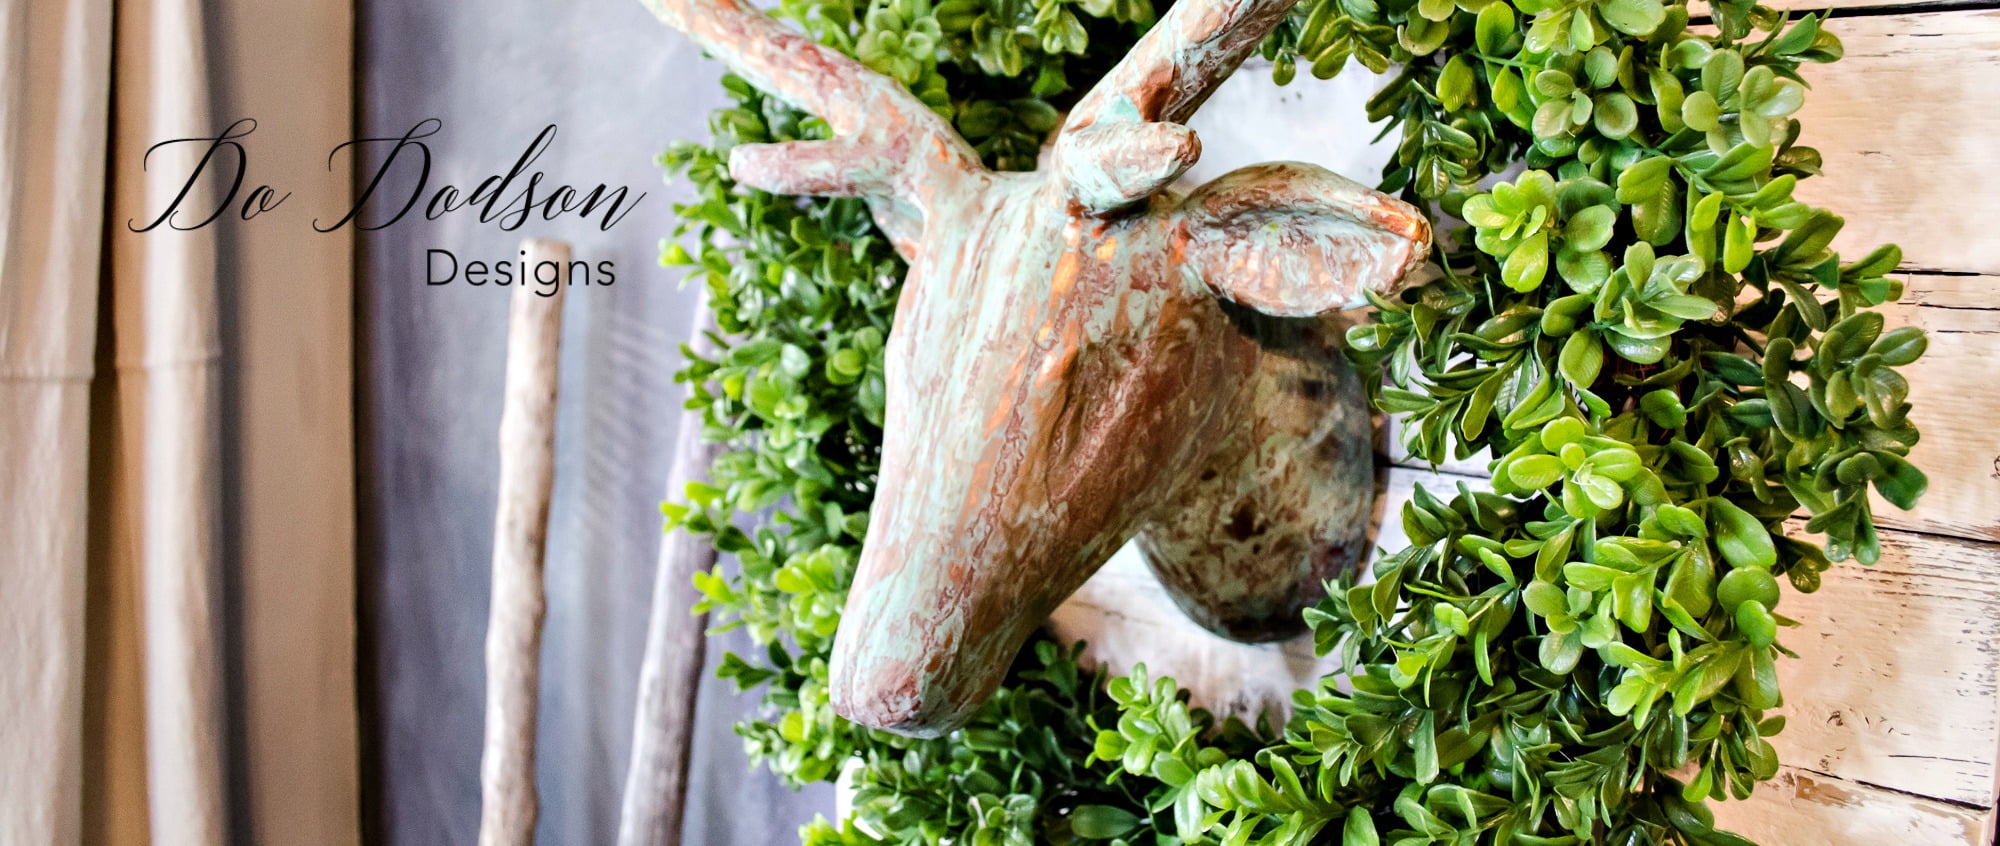
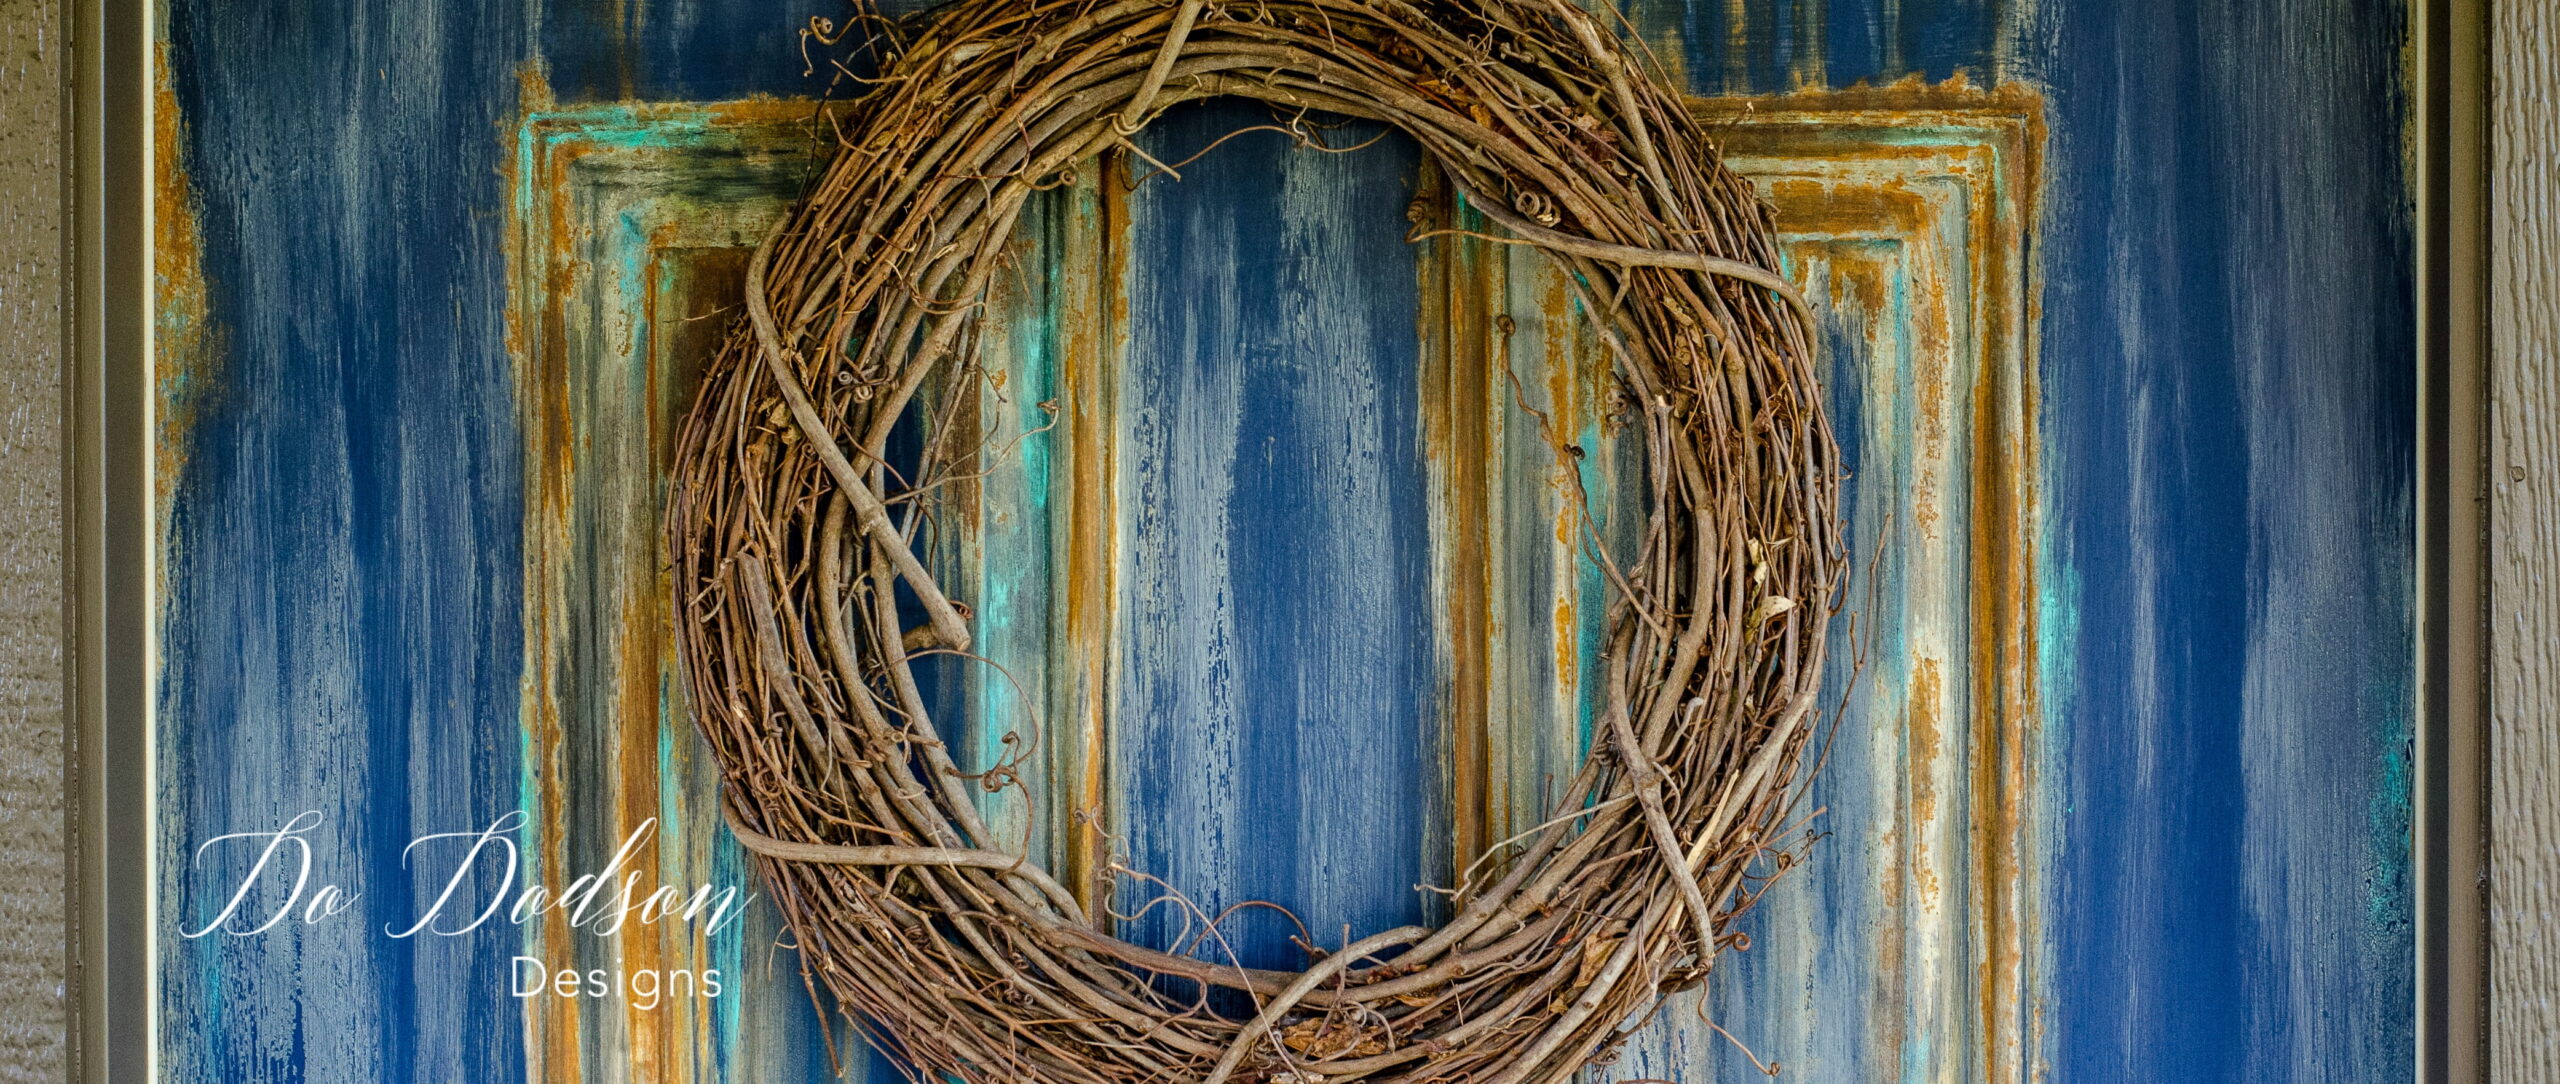
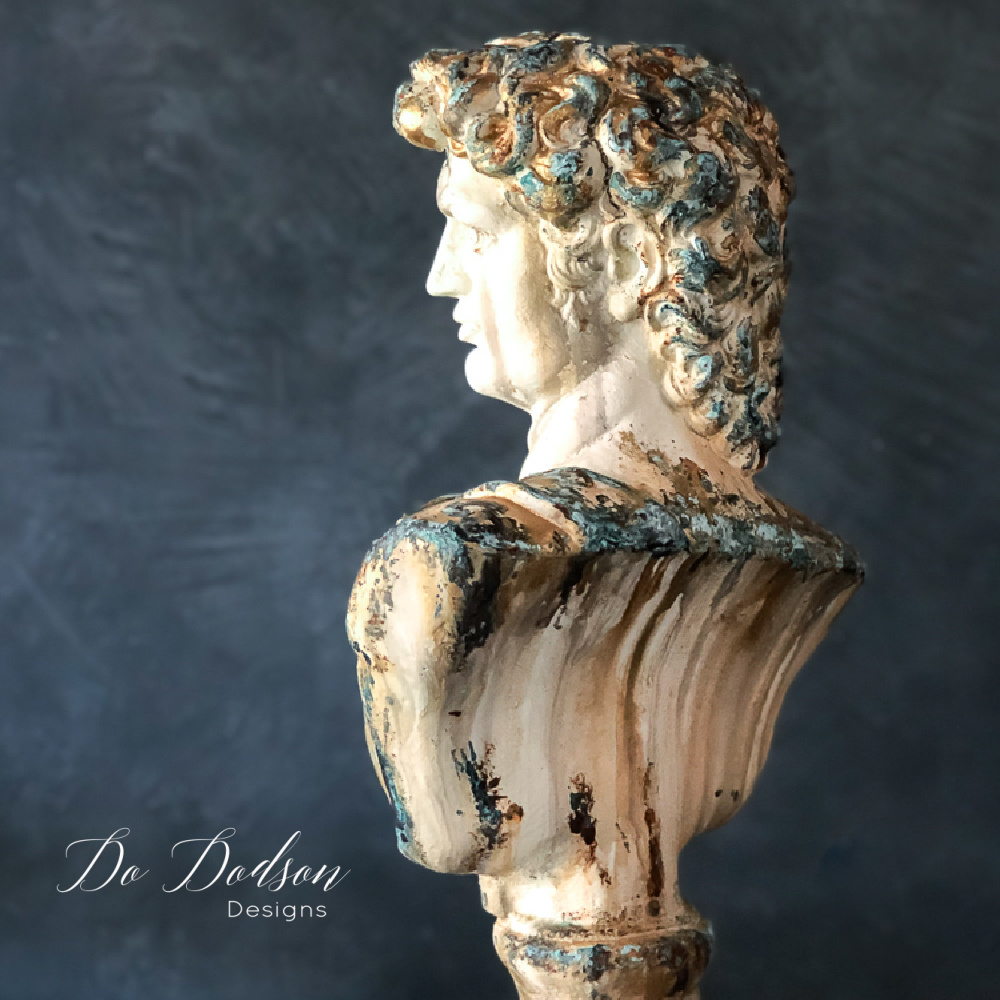
Copper patina paint contains real metal particles that react when sprayed with a patina activator. As the products work together, the copper begins to oxidize, developing natural-looking shades of turquoise, blue, and green.
Unlike a faux finish created by layering ordinary paint colors, this process produces a genuine chemical reaction. Every application develops a little differently, making your painted furniture finish truly one-of-a-kind.
Supplies for a Copper Patina Furniture Makeover
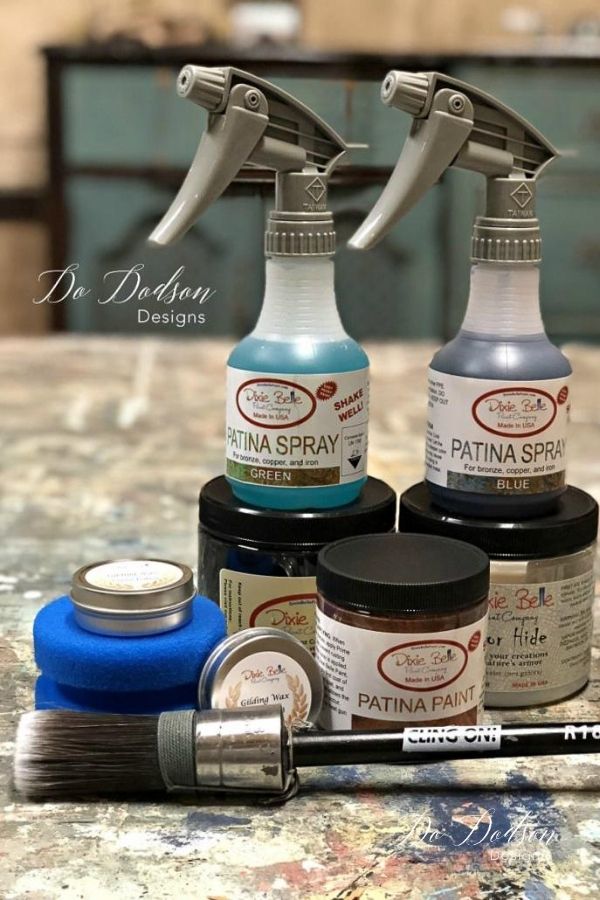
These are the products and tools I used to create the copper-and-blue-green patina finish on this side table. If you use a different brand, choose a reactive copper paint and a compatible patina activator designed to work together.
- Furniture Cleaner
- Orbital sander if needed
- 220 grit sandpaper
- Caviar Chalk Mineral Paint
- Copper Patina Paint
- Patina Spray blue & green
- Gator Hide (durable clear topcoat)
- Gilding Wax copper and green
- Cling On Paint Brush
- Gloves
- Drop Cloth
Step 1: Clean and Prepare the Furniture
Good preparation gives your painted finish a strong foundation. This little side table had several areas of loose and damaged veneer, so I carefully removed them with a paint scraper before doing anything else.

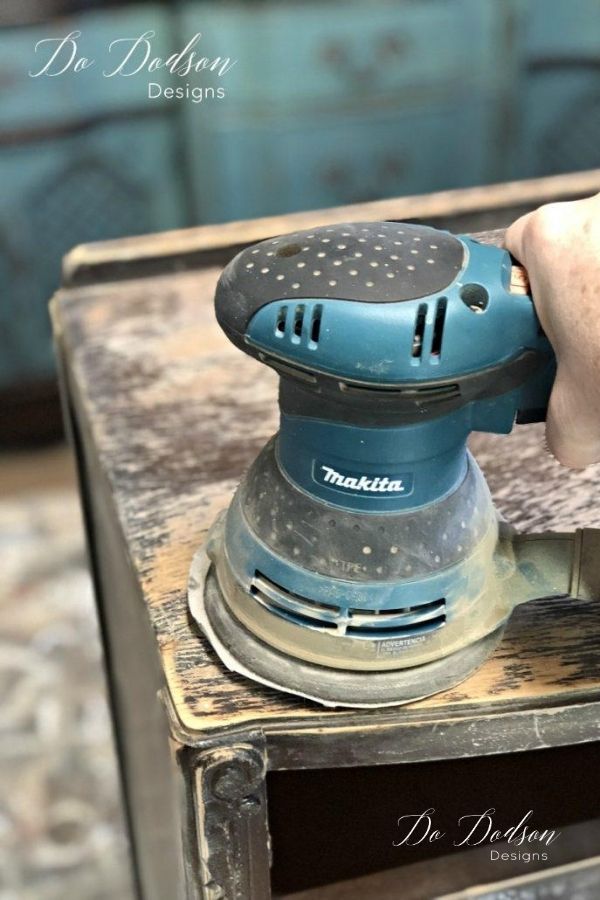
Once the loose veneer was gone, I cleaned the entire piece to remove dirt, dust, and residue. I then sanded the surface with 220-grit sandpaper to smooth the damaged areas and lightly scuff the existing finish. After sanding, remove all the dust with a clean, lint-free cloth before painting.
Your piece may not require as much repair, but don’t skip the cleaning and inspection. Patina paint creates an amazing finish, but it won’t hide loose veneer, peeling paint, or an unstable surface.
Step 2: Apply the Black Base Coat
I painted the entire side table with black furniture paint to create a deep, dramatic base for the copper patina. The dark color adds contrast and allows the copper, turquoise, and green tones to stand out beautifully.
Apply one or two coats as needed for even coverage, allowing each coat to dry according to the paint manufacturer’s directions. Don’t worry about creating a perfectly smooth, factory-like finish. A little texture and variation will complement the naturally aged appearance of the finished patina.
Once the black paint is completely dry, decide where you want the oxidized copper to appear. I concentrated it around the decorative details, edges, drawer front, and other areas where an aged finish might develop naturally.
Step 3: Apply the Copper Patina Paint
Next comes the most important part—applying the reactive copper paint.
Brush the reactive copper patina paint onto the areas where you want the oxidized finish to develop. I applied it around the carved details, along the edges, and randomly across the side table to create an uneven, naturally aged appearance.
Avoid covering the entire piece with a solid, uniform coat. Leaving portions of the black base visible creates depth and prevents the finish from looking too planned or painted on.
Stir the copper paint thoroughly before and during application, as the real metal particles can settle to the bottom of the container. Follow the product directions carefully, as some reactive patina paints require a first coat to dry before applying a second coat before adding the activator.
Step 4: Spray the Patina Activator
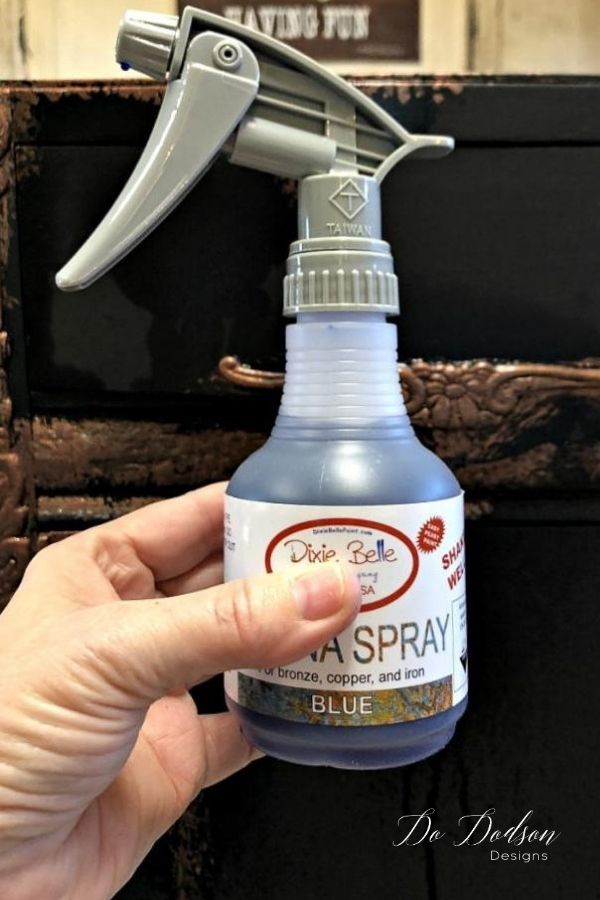
While the final coat of copper patina paint was still wet, I sprayed the activator directly over the painted areas. This is when the magic started! Within minutes, the copper began oxidizing and developing beautiful shades of turquoise, blue, and green.
I used both blue and green activator sprays to give the finish more depth and natural color variation. Apply the spray randomly rather than trying to cover every inch evenly. A few heavier sprays can create dramatic oxidation, while a lighter mist produces a more subtle effect.
Allow the chemical reaction to develop without brushing or wiping the surface. The colors will continue changing as the finish dries, so be patient before deciding whether it needs another application.
Step 5: Seal and Highlight the Patina Finish
Once the patina had fully developed and dried, I protected the side table with a durable clear topcoat. Sealing helps preserve the oxidized finish and prevents the colors from rubbing off during everyday use.
Follow the drying and sealing directions provided by the patina paint manufacturer. Applying a topcoat too soon may interrupt the oxidation process or change the finished colors.
After the topcoat dried, I randomly applied small amounts of copper and green gilding wax with my fingertip. This brought back a hint of metallic shine, emphasized the decorative details, and added another layer of depth. Use a light hand—the wax should highlight the patina rather than cover it.
The Finished Copper Patina Furniture Makeover
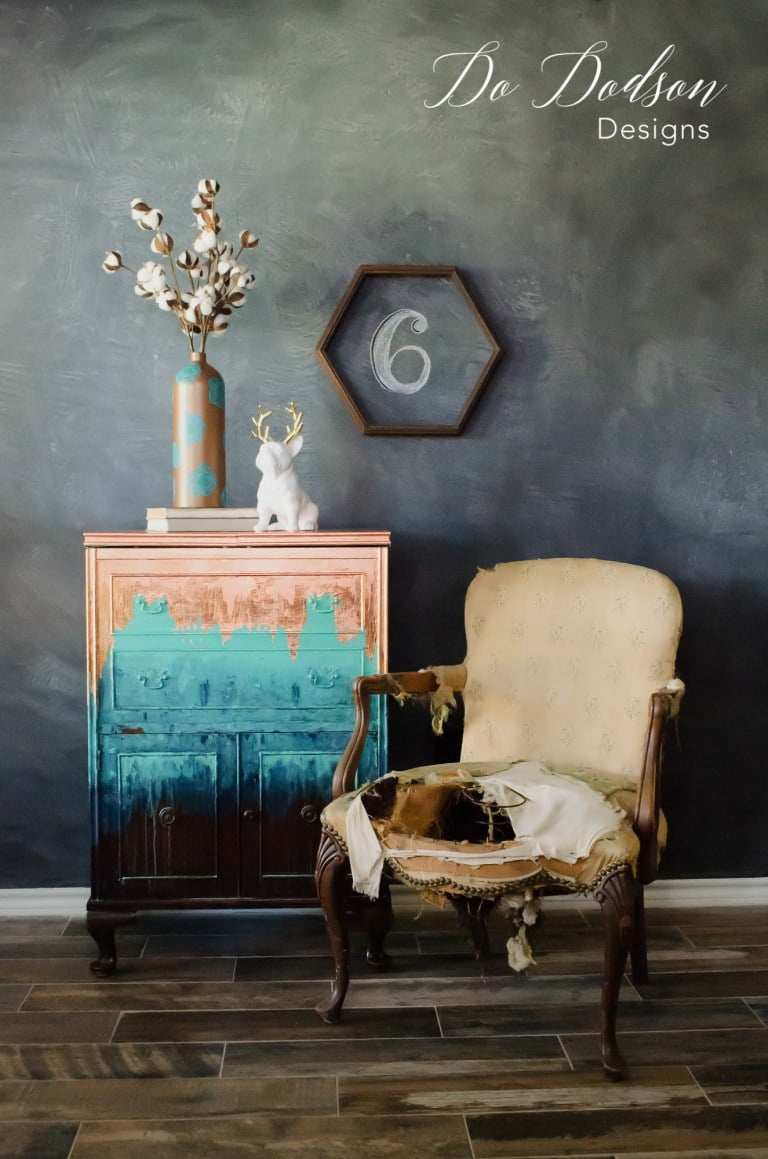
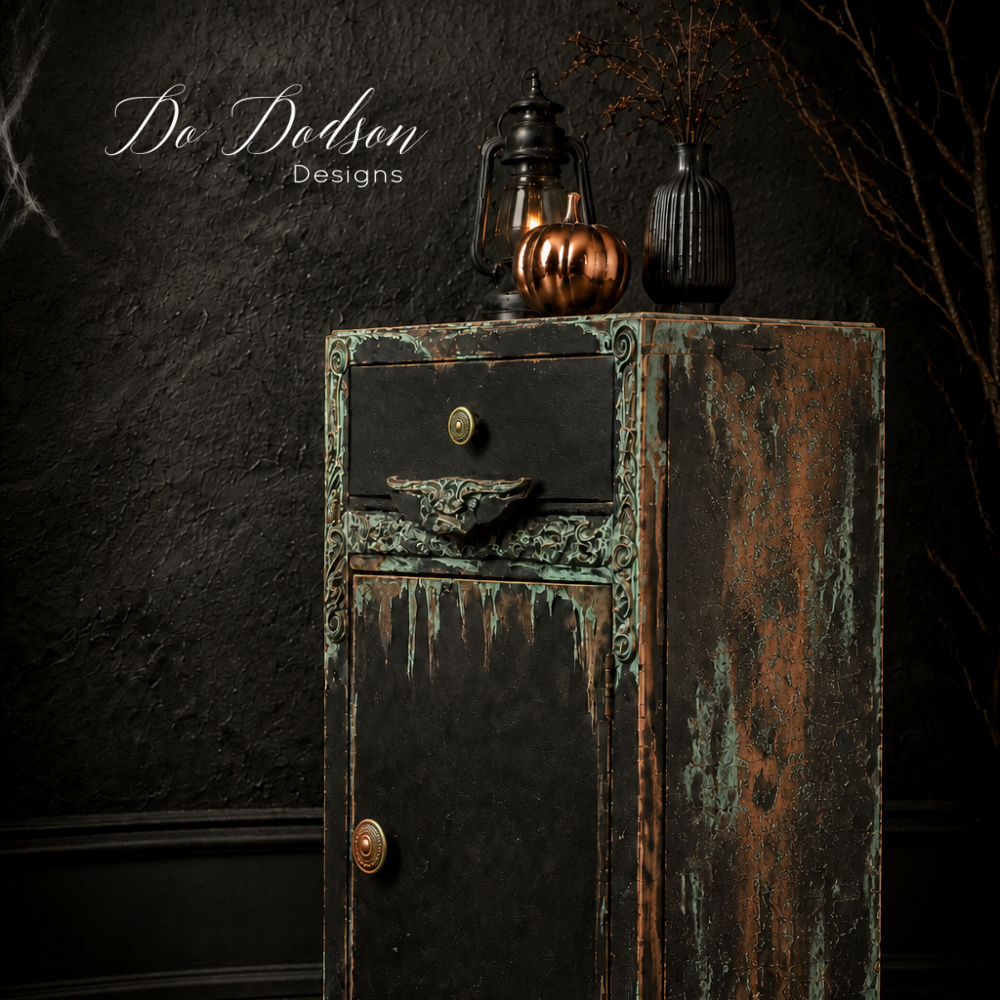
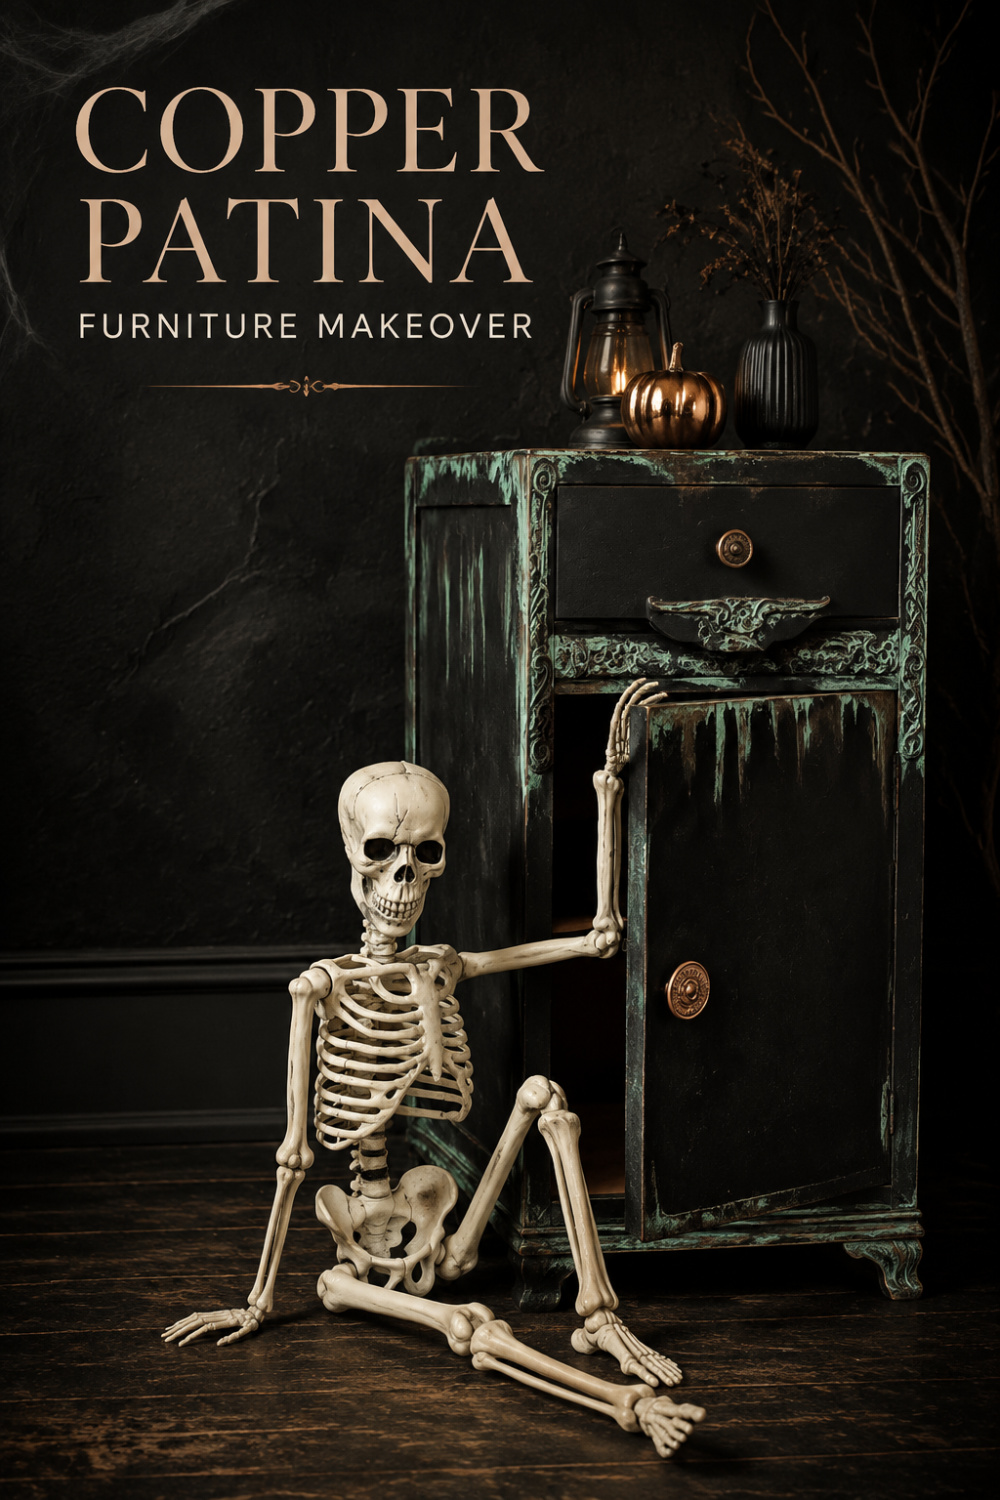
The combination of black paint, warm copper, and blue-green oxidation gave this little side table the dramatic aged finish I had envisioned. Instead of looking freshly painted, it appears as though the layers of patina developed naturally over many years.
I especially love how the copper and turquoise highlight the carved details while the black base keeps the makeover dark and moody. Styled with vintage books, a black lamp, and a large fall pumpkin, it makes a striking accent piece for Halloween—but the beautifully weathered finish can be enjoyed year-round.

No two reactive patina finishes will ever look exactly alike, and that unpredictability is part of the fun. Step back, let the products work their magic, and enjoy creating a furniture finish that is completely one of a kind.

Tips for Creating a Natural-Looking Copper Patina
- Apply the copper paint unevenly. Random placement creates a more naturally aged finish than solid, uniform coverage
- Keep the final coat wet. The patina activator needs to be applied while the reactive copper paint is still wet.
- Mix the copper paint thoroughly. Real metal particles settle quickly, so stir before and during application.
- Use both activator colors sparingly. Blue and green activators add depth, but too much can overwhelm the copper tones.
- Let the reaction develop. The patina will continue changing as it dries, so wait before adding more activator.
- Work in small sections. This prevents the copper paint from drying before you apply the spray.
- Protect nearby surfaces. Patina spray can travel beyond the furniture, so use a drop cloth and work in a well-ventilated area.
- Wait before sealing. Allow the oxidation process to finish and the surface to dry completely before applying a compatible topcoat.
More Patina Makeovers and Halloween DIYs
“Love moody furniture finishes and handmade decor? Here are a few more creative projects you might enjoy.”
Ready to Try a Copper Patina Furniture Makeover?
This little side table may have started out as a damaged, dated piece, but the copper patina gave it a dramatic new personality. The mix of black paint, warm copper, and blue-green oxidation created a beautifully aged finish that couldn’t be duplicated exactly—even if I tried!
If reactive patina paint has ever made you nervous, I hope this tutorial encourages you to give it a try. Start with a small piece, let go of perfection, and allow the oxidation process to create something completely unique.
What do you think of this moody furniture makeover? Leave me a comment below—I always love hearing from you. Don’t forget to save this copper patina paint tutorial to your favorite painted furniture board on Pinterest for later.
Until the next project… xo, Do