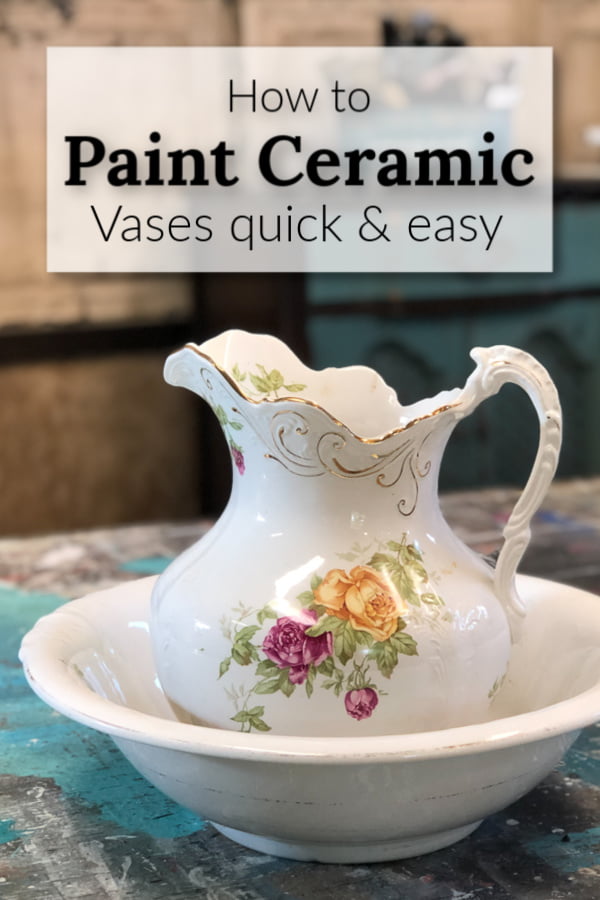
Have you ever wondered if you could paint ceramic vases or those vintage water pitchers? You most certainly can! No reason not to paint them in my opinion. This one is not my style and it’s getting a new and modern update. More of a Farmhouse Glam look. I can’t wait to show you how I did it.
This post contains a few affiliate links to help you find the products I use. You are not charged extra to use any of the links, but any income I make will be used for more fun projects! To see my full disclaimer, click here.
How To Paint Ceramic Vases Quick And Easy

Supply List: What You’ll Need To Paint Ceramic
- Ceramic Vase / Ceramic Pitcher
- Slick Stick (bonding primer for slick surfaces)
- paintbrush
- Drift Wood (chalk mineral paint)
- Cotton (chalk mineral paint)
- Spray Mist Bottle
- Gold Metallic Paint
- White Wax
- Wax Brush
Prep Before Painting Ceramic
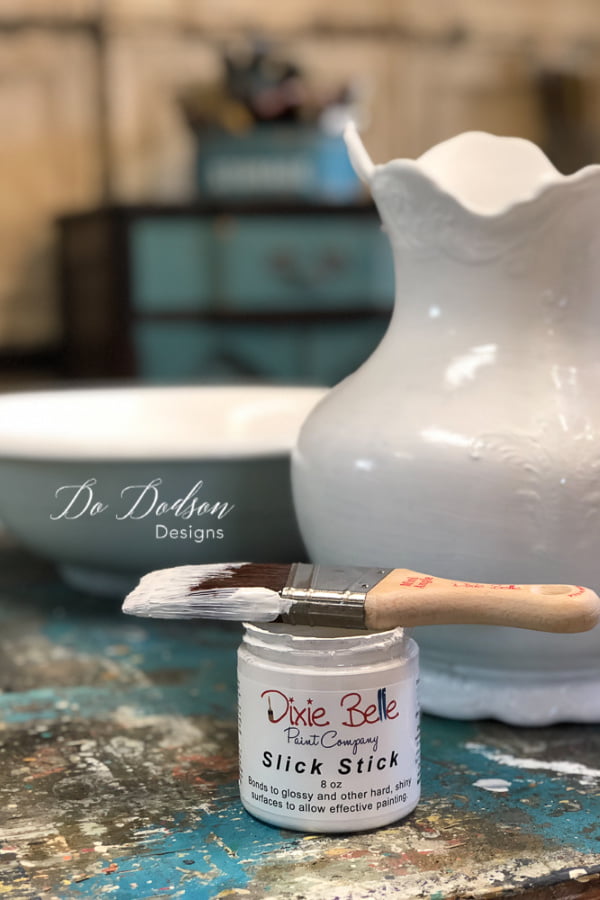
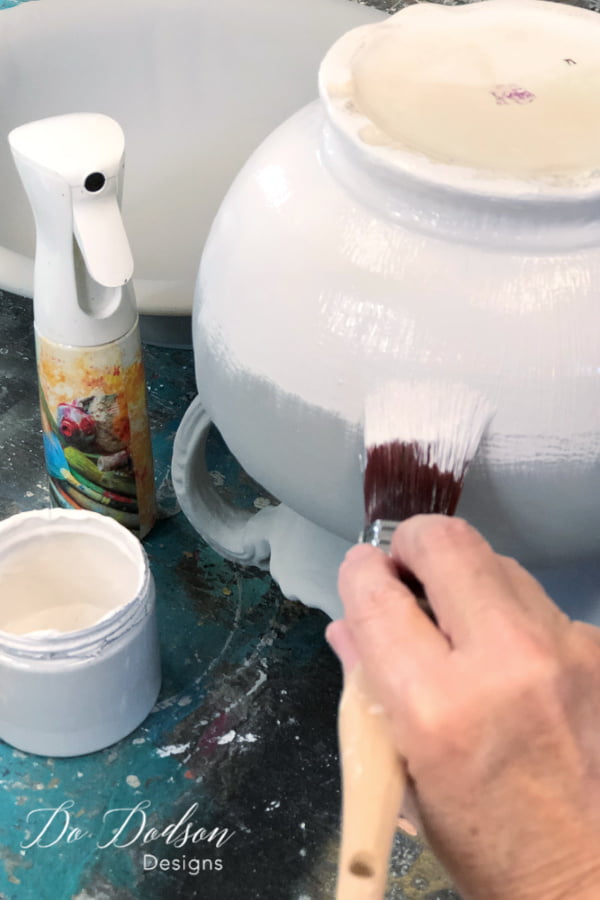
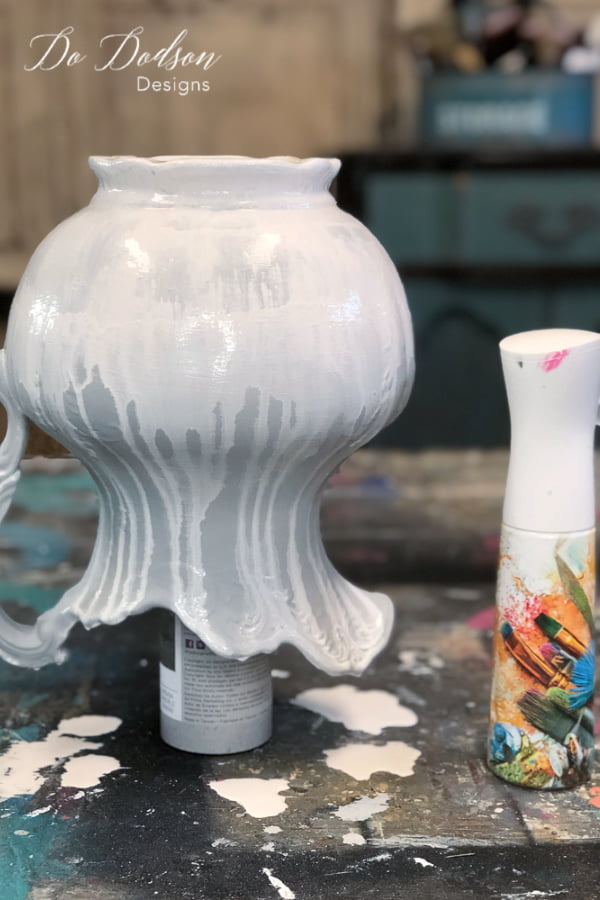
Let’s get started! First, you will need to clean your ceramic vase/pitcher well. Use a mild soap and water and rinse well. Next, apply a bonding primer to the slick surface. This will allow the paint to adhere to the ceramic properly. 1 coat of the primer/bonder will do the trick.
I did not paint the complete inside of the vase/pitcher. Only just inside enough that the paint line could not be seen from outside. This will also allow the vase/pitcher to hold water for fresh flowers if you chose.
Painting Ceramic

Next, chose a color you love. I used chalk mineral paint for ease of use and I’ll be showing you a cool trick that involved a drippy modern look. Chalk Mineral Paint can be used in many ways to create unique and stylish looks on your home decor. Apply 1-2 coats depending on the color you choose. Lighter colors may need two coats. Allow drying completely before this next step.
Creating A Design On The Vase/Pitcher
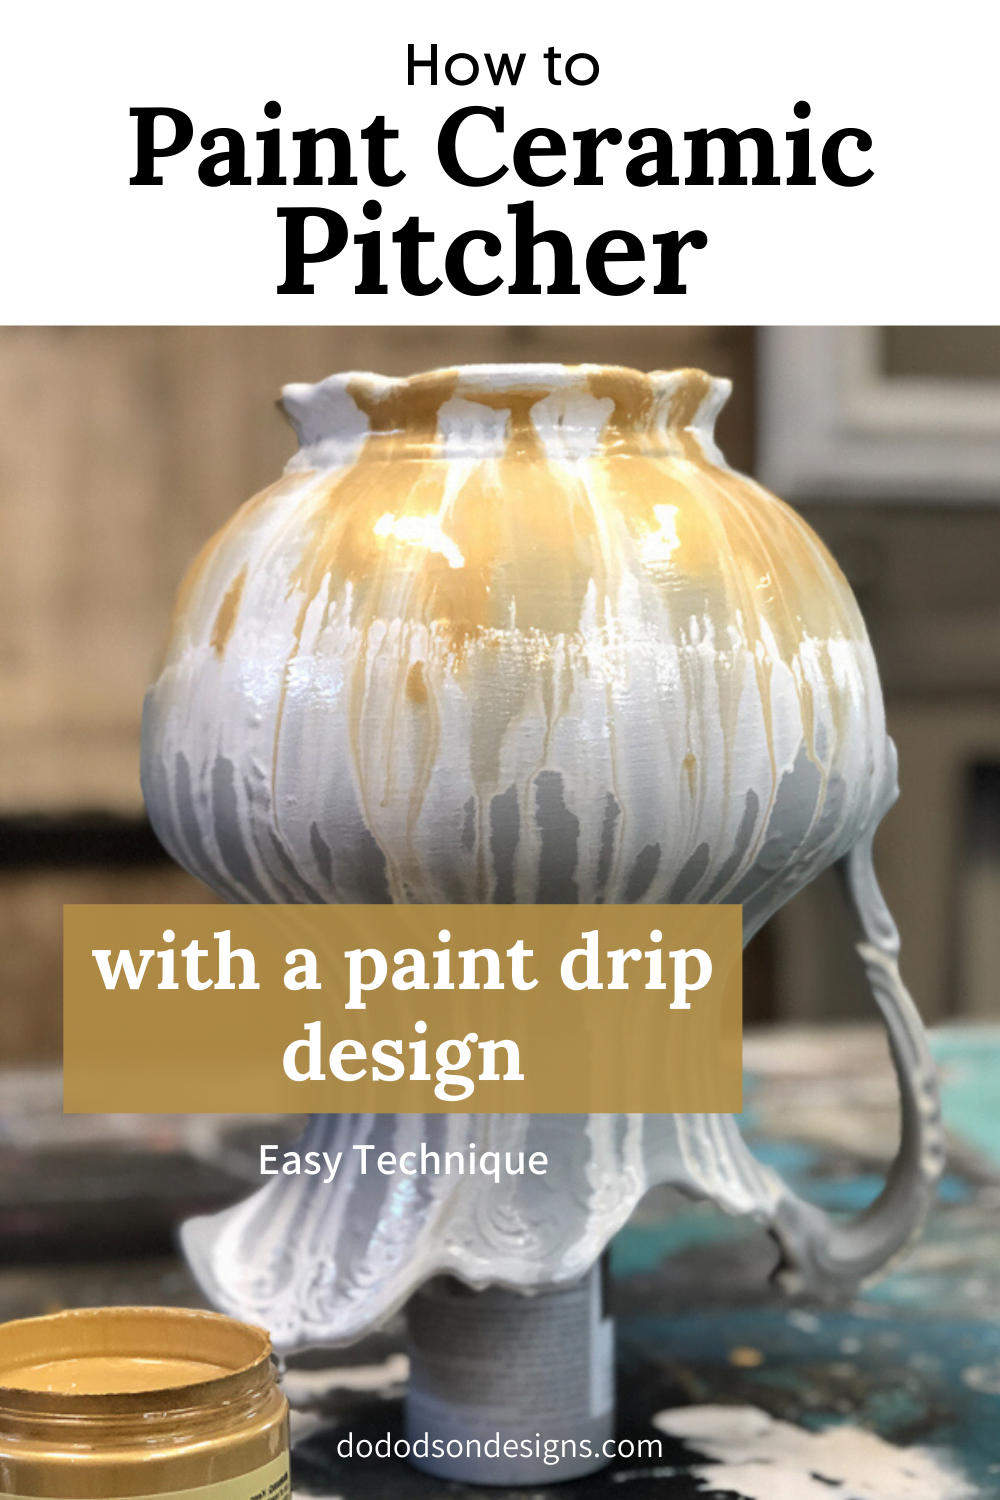
For this design, chose a lighter complimentary chalk mineral paint color that you love for the painted ceramic project. Paint around the base of the vase/pitcher about 1/3 from the bottom. It doesn’t have to be full coverage. Just get it on there.
Next, while the paint is still wet, use a spray mist bottle with water and spray directly over the wet paint on the painted ceramic and watch the magic happen! This is very messy so make sure you have a good surface and plenty of paper towels on hand.
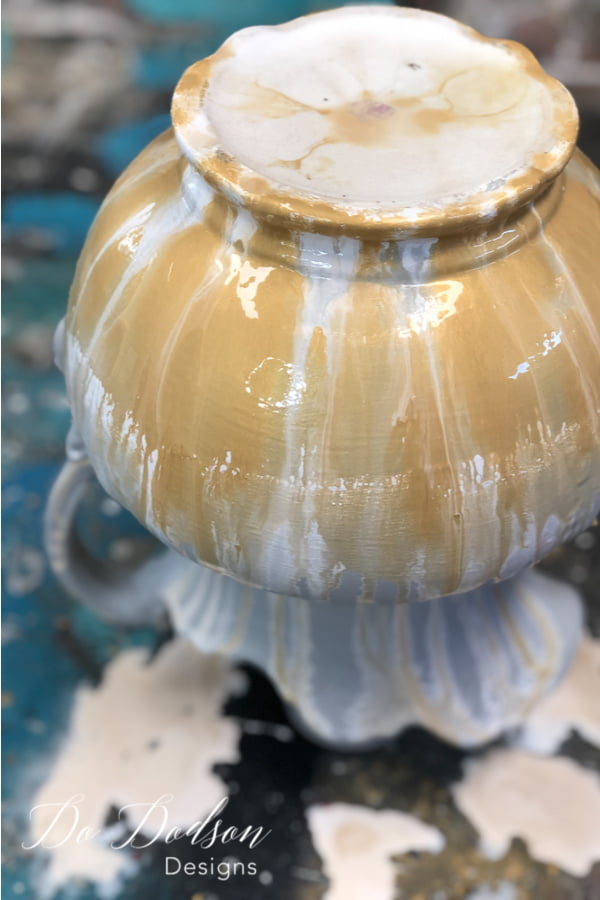
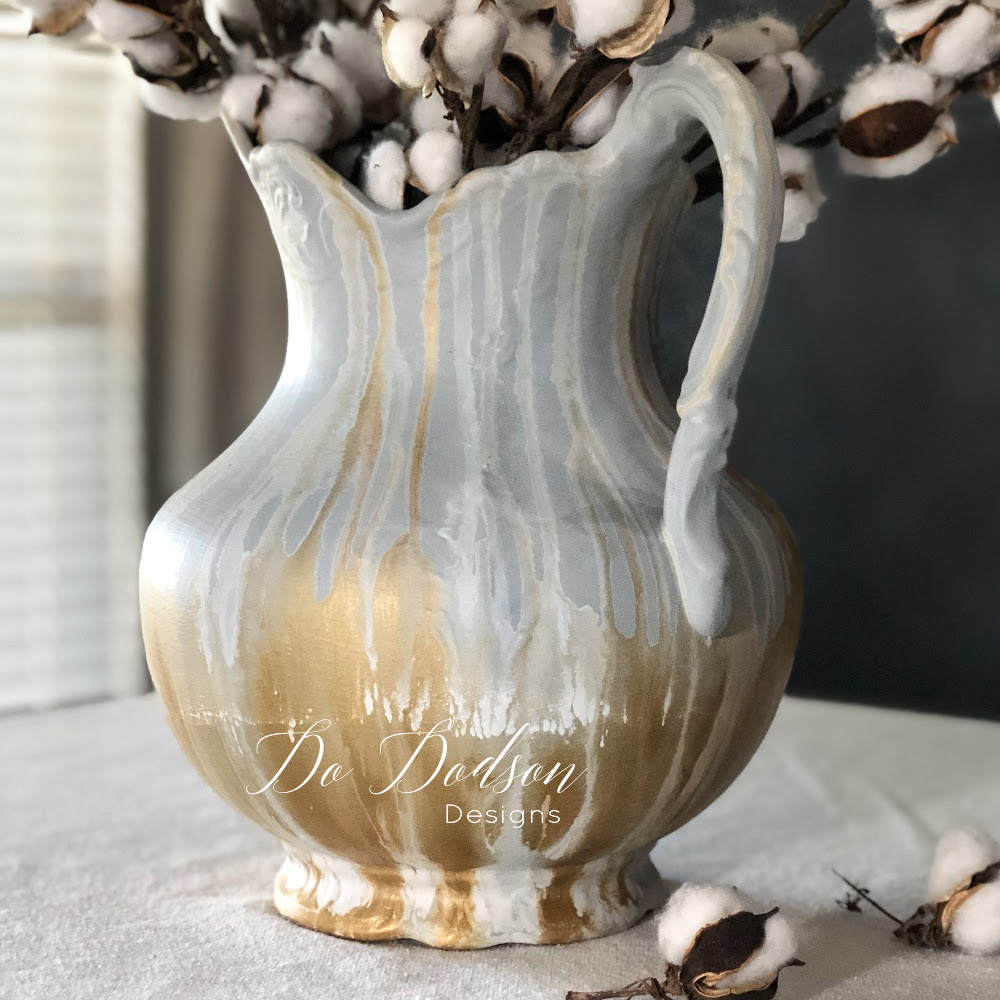
Next, repeat that step with another chalk mineral paint color. I chose Metallic Gold for this one. OMG! I’m in LOVE.
Sealing The Painted Ceramic Vase/Pitcher
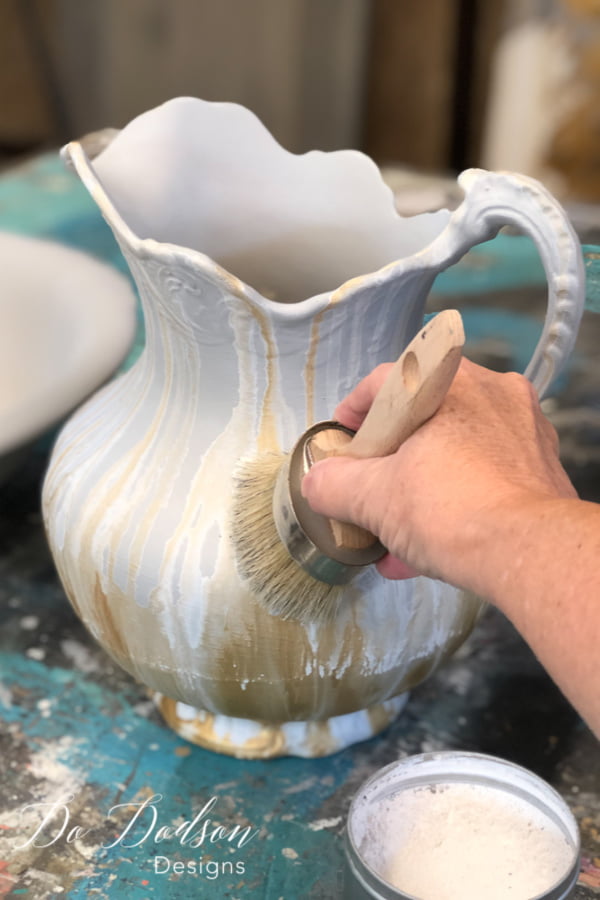
Allow the painted design you created on the ceramic vase/pitcher dry completely overnight. Next, apply wax over the whole project and buff off with a soft cloth to seal and protect your newly painted ceramic vase.
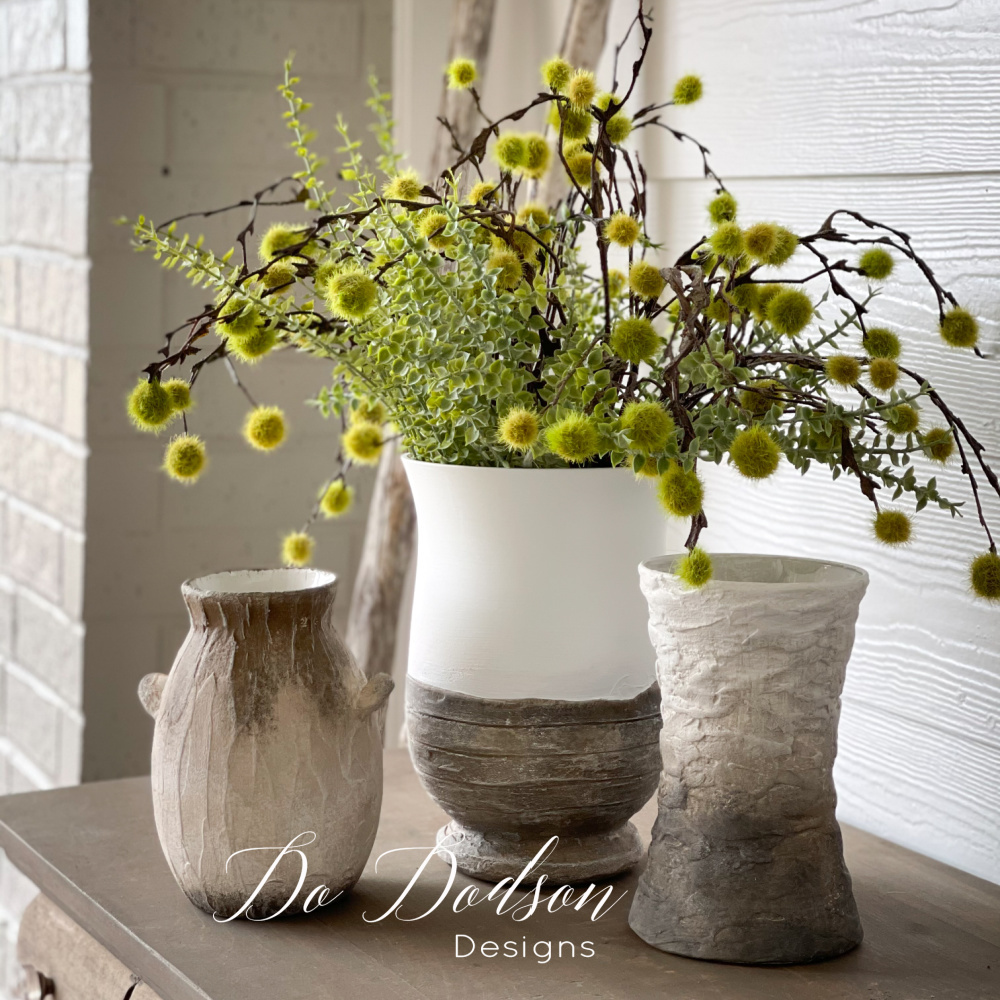
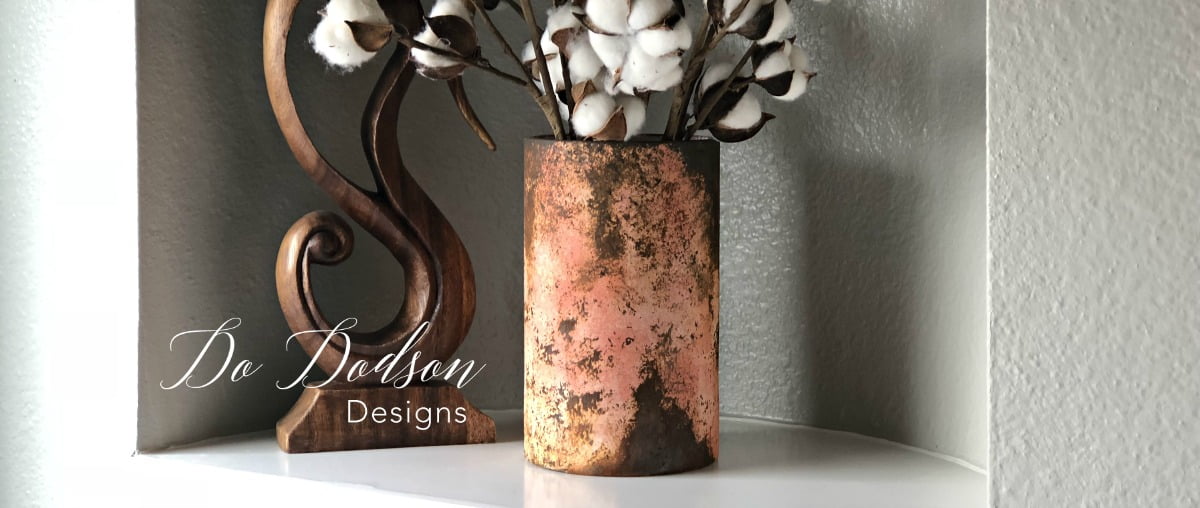
The End Results
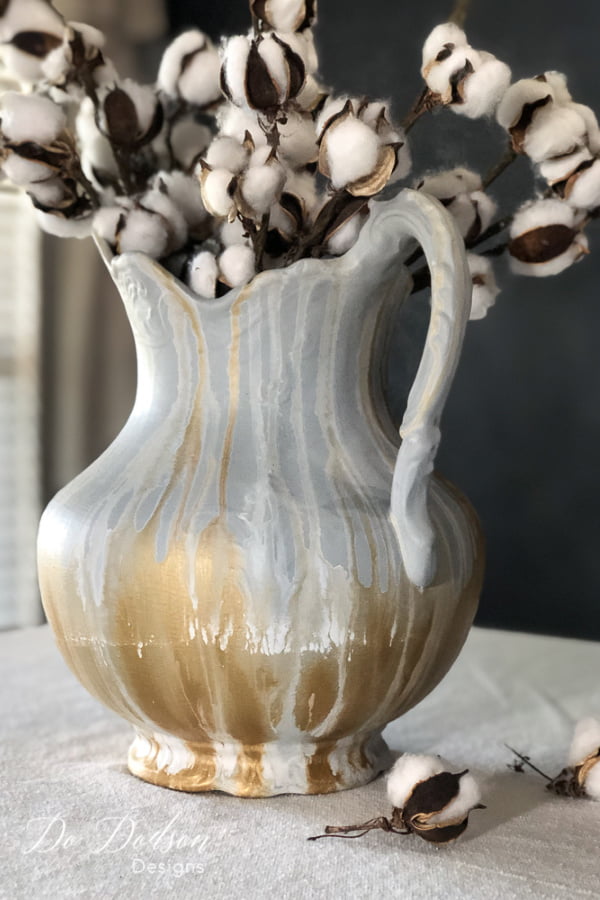

And… the bowl can be used separately for displaying florals or other items of home decor. BONUS! This will be a great addition to my staging decor items for my furniture makeovers too. So, whatcha think? I’d love to hear your opinion on painting ceramic vases.
I know some don’t always agree with paint, but I believe it’s better to salvage than filling up our landfills and who doesn’t love a good home decor hack. Here’s another home decor project with an old picture frame. It’s a great way to layer your home decor on your walls.
Until the next project… xo, Do
All that I can say is WOW!! The vintage water pitcher turned out amazing! I am a fairly new subscriber to your blog and I am so happy to have found you. I love reading your blog and you have given me so many ideas for projects that I would like to try for my own home, when I can find the time. You work is simply beautiful!!
Thanks, Doshie! I’m glad we found each other. Finding the time is tricky, but you deserve it. xo 🙂
I’m all about salvaging! 😉 The ceramic vase/pitcher turned out gorgeous Do! XO
Thanks, Denise! It was a lot of fun. Anytime I get to play with paint is a good day. xo 🙂
i LOVE IT!! You are amazing <3
Thanks, Shelley. It’s just paint. xo
OMG! this is AMAZING! I work in Estate Sales and see so many items that need an update. More things to buy!!!!
? right! But I just can’t pass up some of these beautiful old pieces. xo
Love the update! So gorgeous! Beautiful colors and technique! And just love the staging!
Your stuff is always so beautiful and such and inspiration!
Thanks, Abbey! 🙂 xo
Now you have the memories of the piece and get to use it too!!! Win Win (and its gorgeous)
It is a win win! Thank you so much. 🙂 xo
Hi Do! It definitely looks more modern now. I love that you added the gold metallic. You really know how to think outside the box.
Thank you, Cheryl! You know I love my gold. 🙂 xo Do
Looks like fun. Love the colors
Thank you! xo, Do
Hi Do , I just recently found your inspiring blog! I have an old vase gifted to me by my aunt because my mother had given it to her as a wedding gift. It’s beautiful and has such an interesting shape, but out/dated! Now I know what to do with this piece to keep it in the family, but with a more updated look! Thank you!
Hi Jeanne! I’m so glad you found me. It’s a great way to update those old vases. Endless possibilities. I’ll be sharing even more fun DIY ideas in 2022. Happy New Year! 🙂 xo
Hi. Live this… did you allow it to dry before putting the gold on?
Yes, ma’am. It’s a lot of fun to work with. I’m so glad you stopped by. Have a great week. 🙂 xo
I decided to do the same to mine once I read your article. I did the outside of the bowl also for a different look. Just love it, thank you for the inspiration.
That’s so nice of you to share with me, Lynn. This was a fun project and still one of my favorites. I’m glad you enjoyed this one. 🙂