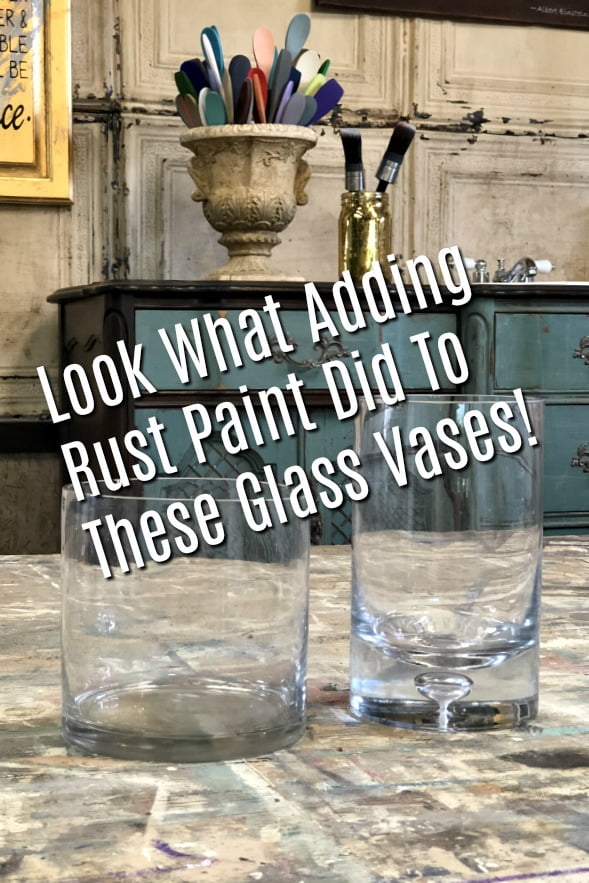
When Goodwill has an ocean of perfectly good glass vases, there’s no reason not to try a new painting technique out on them. It’s only a dollar, right? I usually use cabinet doors to practice my paint finishes, but I have something special in mind for this project. RUST PAINT! Why not make these vases look like old tin cans! Let’s DO this!
This post contains a few affiliate links to help you find the products I use. You are not charged extra for using any of the links, and any income I make will go toward more fun projects! To see my full disclaimer, click here.
I’m So Excited To Add Rust Paint To These Glass Vases!

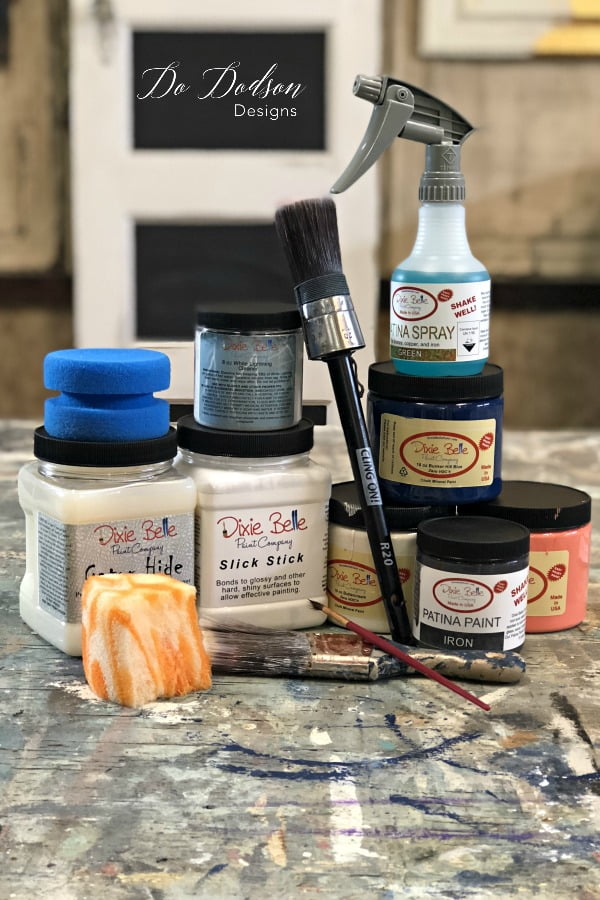
Product List For Painting Glass With Rust Paint
You can purchase all your Dixie Belle Paint products by CLICKING HERE!
- White Lightning (cleaner)
- BONDING BOSS (formerly known as Slick Stick) new formula
- Chalk Mineral Paint (Dixie Belle Paint Co.)
- Paintbrush
- Patina Paint (Iron) rust paint
- Sponge
- Gator Hide
Painting With Rust Paint
Okay, I missed a step in this photo, which I suggest you do if you are using your glass vase/container in an area that will be well-used. Example: a kitchen or any place where it could come into contact with water, or where it will need to be cleaned frequently. If it’s just for home decor, you should be good to go without the second step.
- Clean your glass vase/container before painting. I used White Lightning from Dixie Belle. It comes in a crystal form and is mixed with water. It removes all the dirt, grime, and anything that could possibly cause your painted finish to fail. We don’t do failures at Do Dodson Designs if I can help it. Just saying…
- Paint your glass surface with one coat of Bonding Boss (bonding primer). As mentioned above, if this is just for home decor, you can skip this step. In hindsight, I should have used the slick stick. It just guarantees the paint will stick to any slick surface. But I’m going with it.
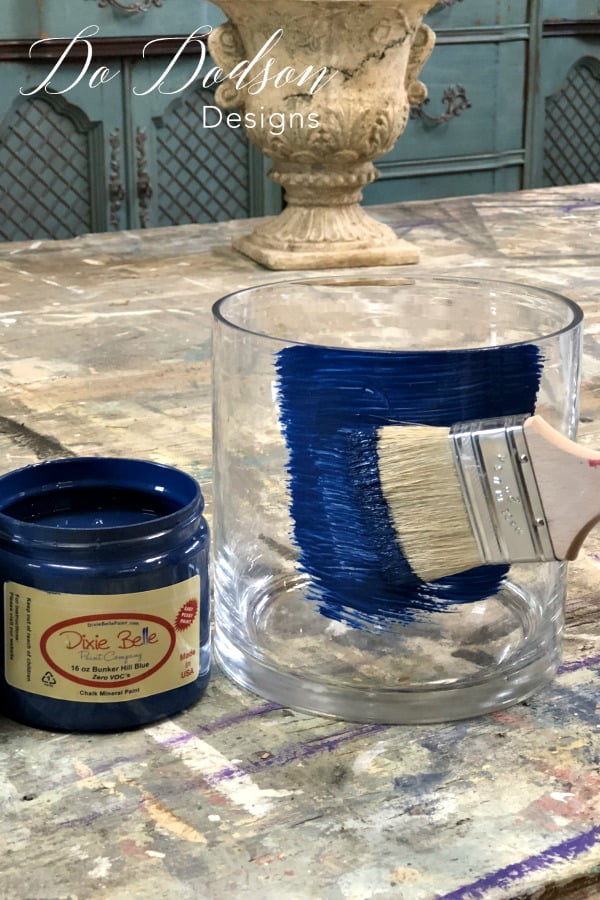
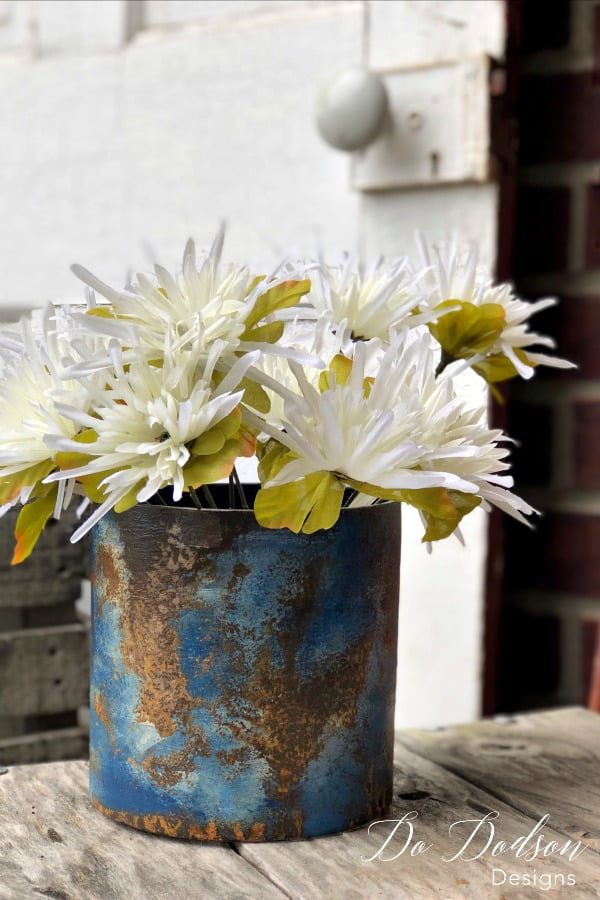
- One coat of your favorite color of chalk mineral paint by Dixie Belle. I used Bunker Hill Blue and Butter Cream for this project.
Adding Layers to Your Project
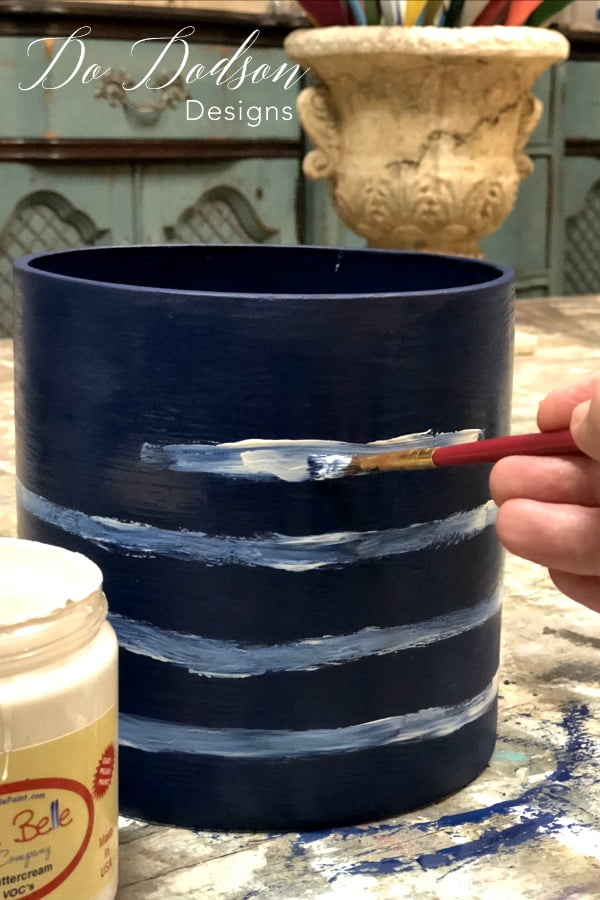
4. The next step was me just playing around. I painted lines around the vase to resemble a tin can while the paint was still wet, blending the two colors as I went.
Creating Texture On The Glass
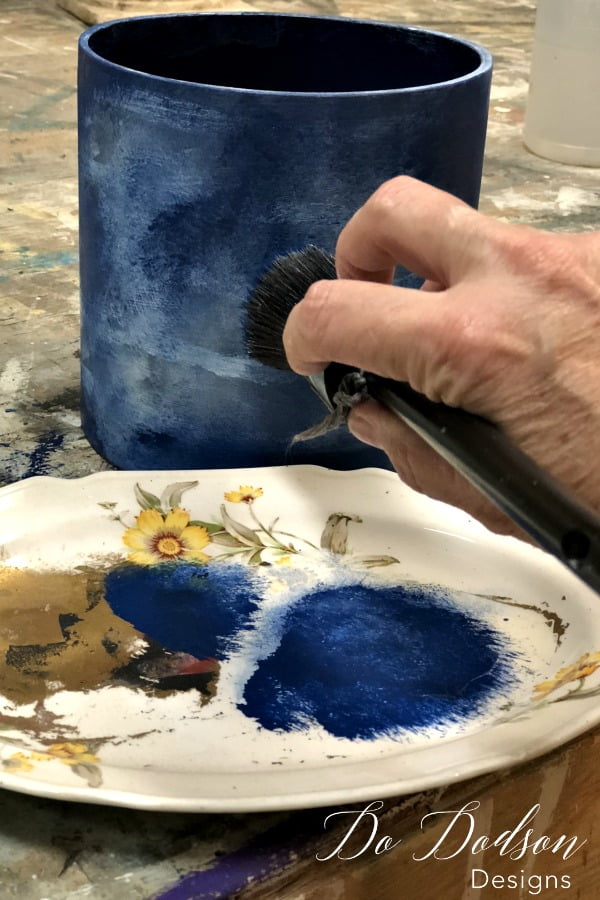
5. With the same two base colors, I used my Cling On brush and dabbed the lighter color around the glass vase first, followed by the darker on top. Don’t worry if your lines get a bit covered in the process. The next step will cover a lot of the imperfections. Trust the process. ♥
Here’s The Fun Part! Rust Paint
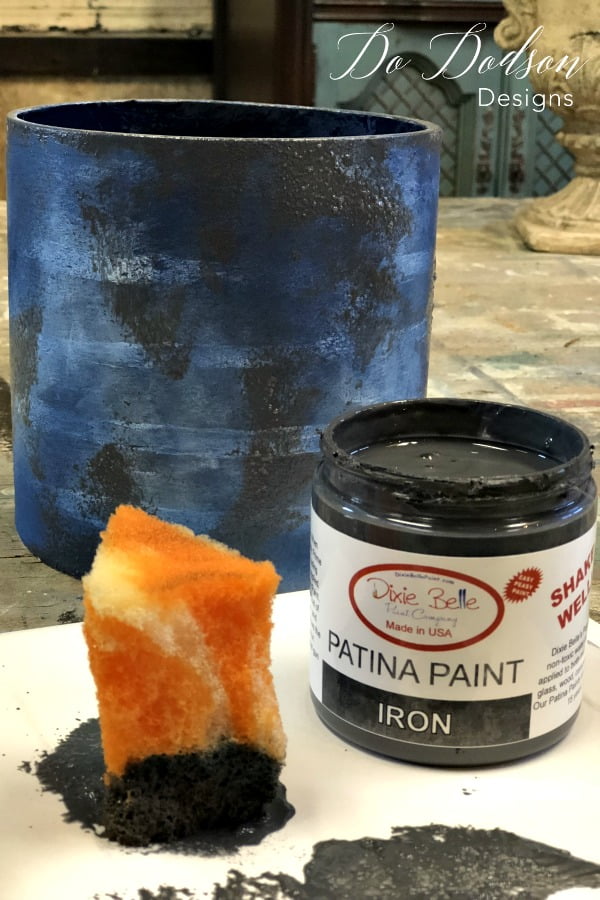
6. SHAKE YOUR IRON PAINT! Don’t miss this step; it’s crucial to distribute the metal particles evenly throughout the paint before use. Then I used a Walmart Car Wash sponge, torn into pieces, to dab the Iron Paint into the spots where I wanted the rust effect. Pretty simple. Oh, and don’t forget your gloves! You’ll need them for the next step.
Adding The Green Patina Spray
7. Immediately after applying the Iron Patina Paint with the sponge, (while it’s still wet) spray over the painted surface with the green patina spray. If the Iron Patina Paint is dry when you apply the patina spray, the activation process will not occur. It’s important that it is wet. A second coat of the Iron Paint can be applied again if needed before you spray. Now comes the hard part…you wait! The rusting process can take up to 6 hours. Be patient and trust the process. Did I say that again?
8. After you have the amount of rust you want on your project, you can seal your rusty, crusty masterpiece with Gator Hide. It’s not necessary, but I plan to use it as a kitchen utensil holder, and it will be used daily. The Gator Hide is water-resistant and can be cleaned with a damp cloth as needed. For home decor, it’s not necessary. Your vase is NOT dishwasher safe, just in case you’re wondering.
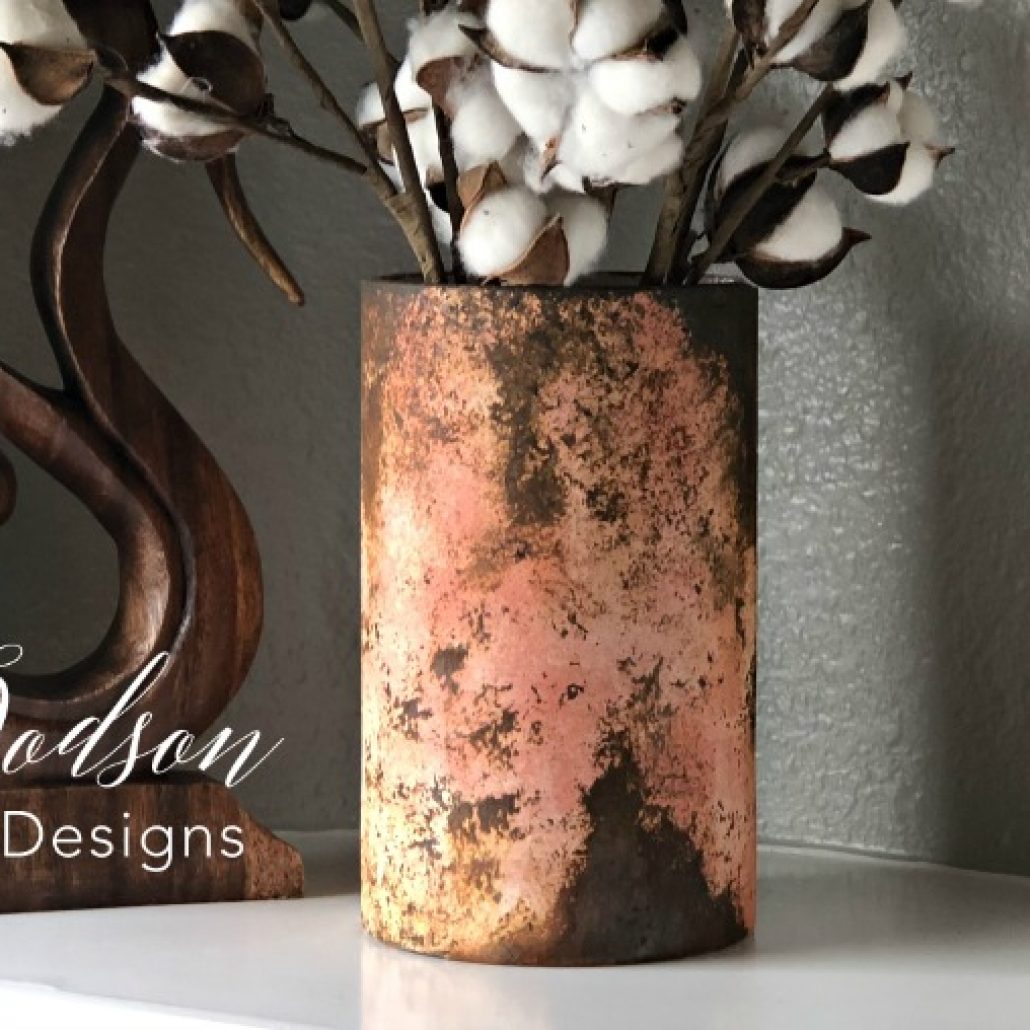
Add flowers, And Voila!
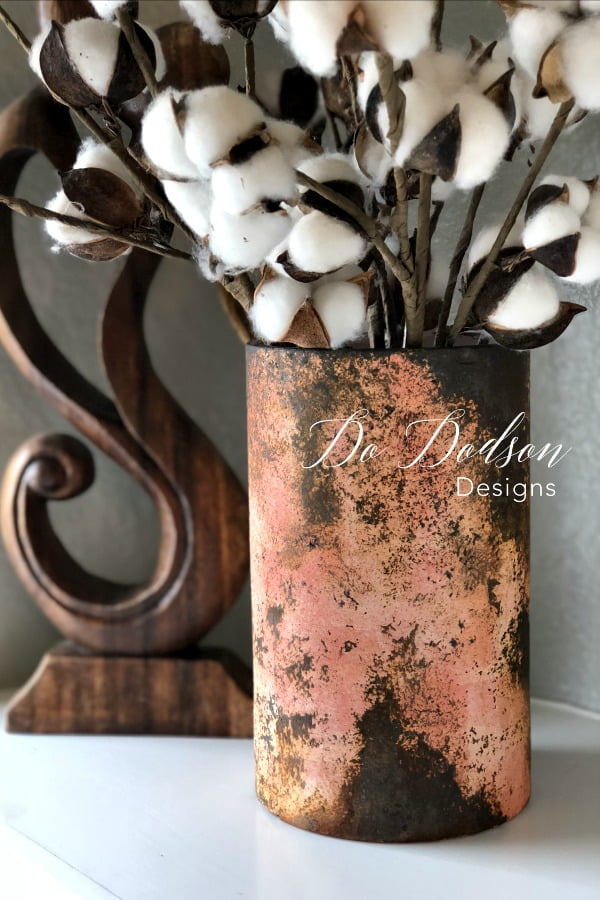
This vase was painted using Dixie Belle’s Flamingo chalk mineral paint! L O V E and that’s how I added rust paint to a glass vase! What a fun project, and I hope you will try adding a little patina to your next makeover. Did you know you can paint ceramic too? CLICK HERE to see how I paint a ceramic pitcher with a beautiful drippy gold design. But before you go, you gotta see this one. CLICK HERE to see how rust looks on furniture.
Hope you had fun with this rust paint tutorial! It’s a total game-changer for those plain vases, for sure.
Until the next project… xo, Do