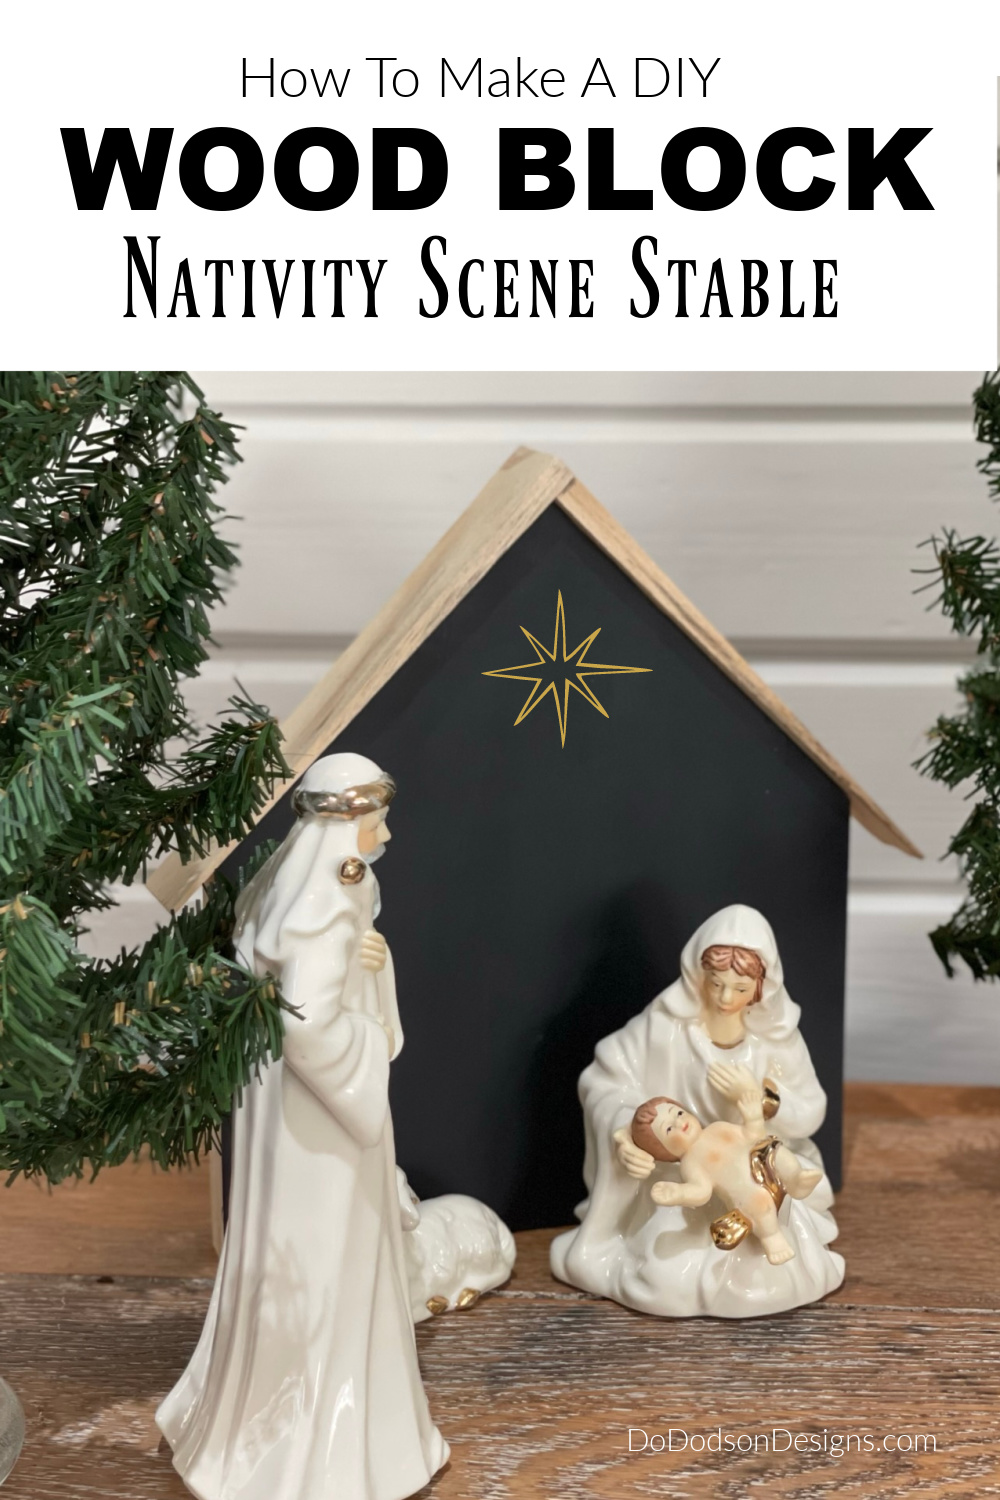
Turn wood scraps into a decorative nativity scene just in time for Christmas! Here’s how to make a DIY wooden block Christmas Nativity stable to compliment your nativity characters.
Thanks to Dixie Belle Paint Co for sponsoring this post. While I was compensated to write this post, all opinions are my own.
* As an Amazon Associate, I earn from qualifying purchases and through other companies as well. You will not be charged extra when you purchase through these affiliate links, but any income I make helps me create more amazing DIY projects to share with you! To see my full disclaimer, click here!
How To Make A DIY Wooden Nativity Scene Stable
Like many, I start pulling out the Christmas decor every December. Sometimes November! I look forward to it all year, and the memories of Christmas past seem to flood out as I go through every piece. It’s bittersweet. Especially when you have loved ones that are now angels in heaven. Many family members have come and gone, and the last few years have been a bit rough with the loss of our parents.
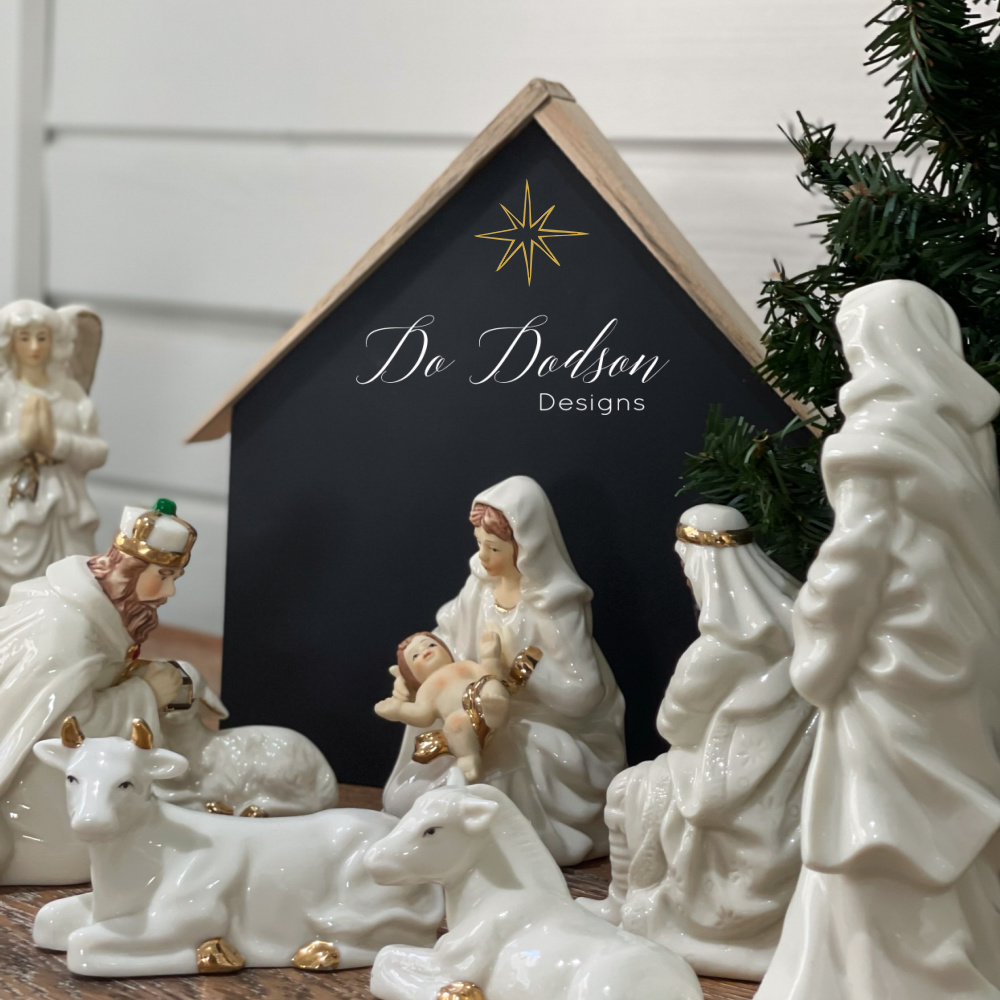
Last month when we were cleaning out the attic of my husband’s parents, I came across a nativity set. It was one that I had taken particular notice of during the holidays. So, I knew it was coming home with me. One problem, it had no stable for Mary and baby Jesus. That can’t be!
So, I made one! With a few basic tools, scrap wood, glue, and no nails. I created a simple design that adds so much to the nativity characters. Even the sheep seem to love it! 🙂
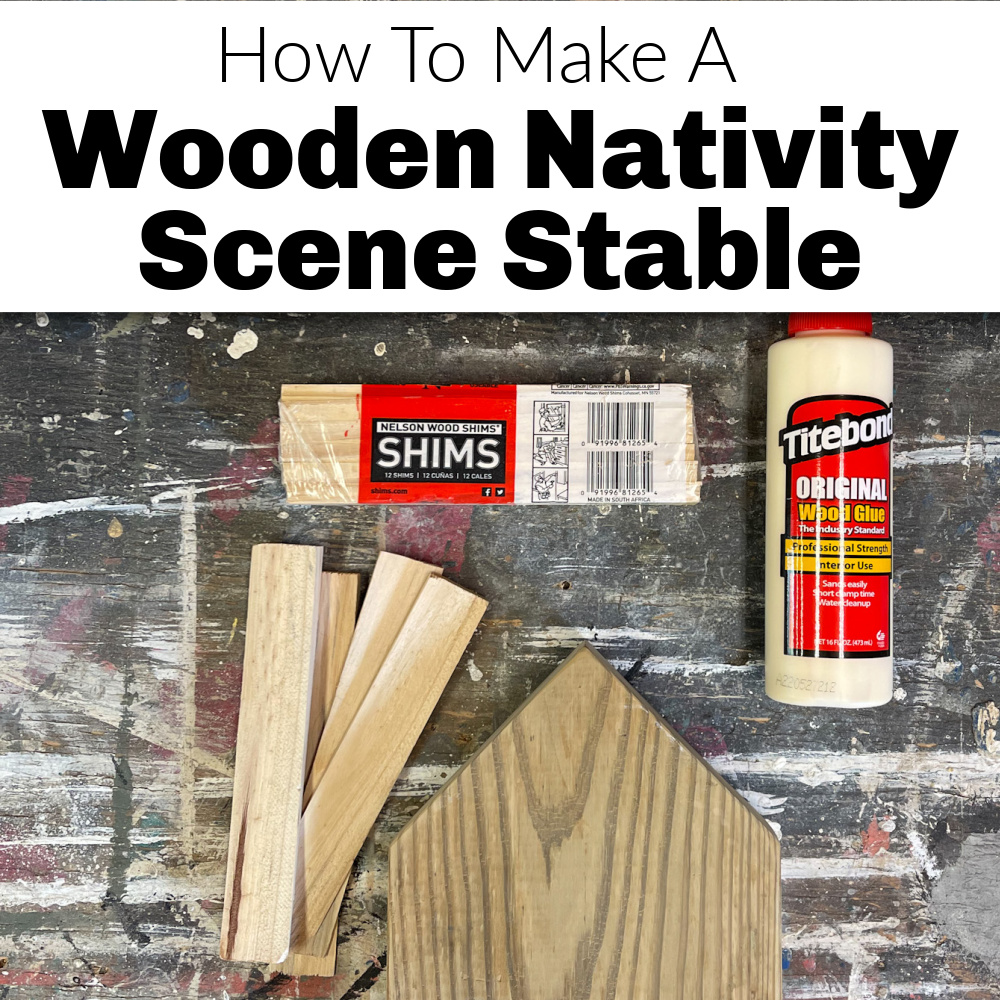

SUPPLY LIST:
Here is what you’ll need to DIY a wooden nativity scene stable.
- scrap wood pieces (2×8 or 1×8 board)
- wood shims (for the roof)
- pencil
- miter saw, or miter box with saw
- wood glue
- midnight sky (chalk mineral paint)
- paint brush or artist brushes
DIY Wood Block Houses – Christmas Crafts
This DIY nativity stable can also be used as a Christmas block house. I made two (1×8 and 2×8) of these wooden stables, but I only needed one, so I’ll show you how to use the other one for rustic Christmas decor.
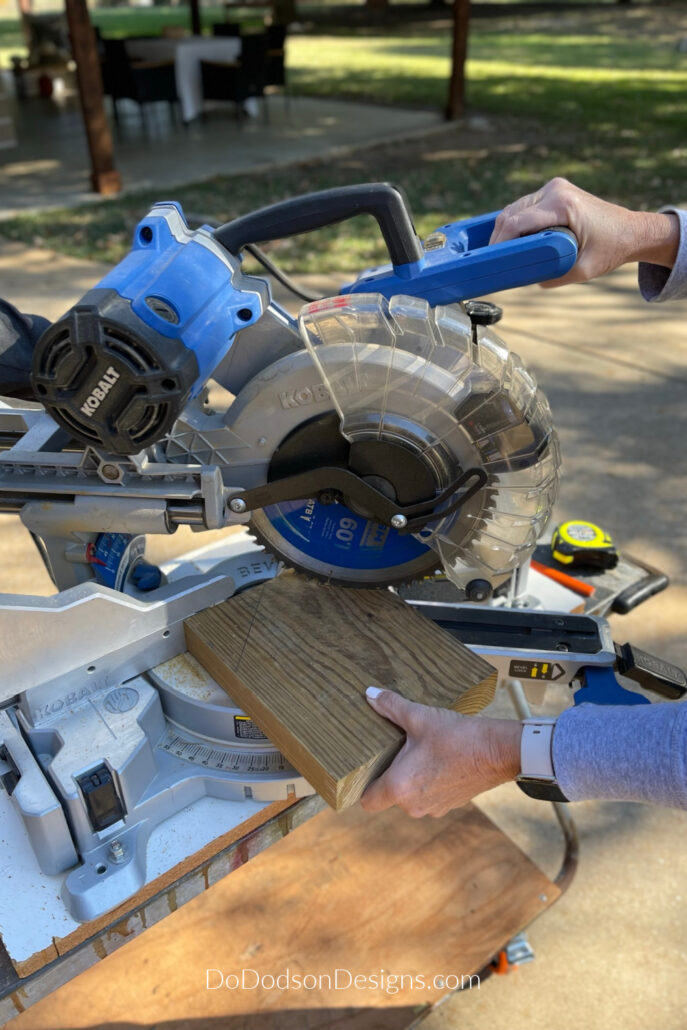
STEP 1: Find some wood scraps. The size of the stable you make depends on the nativity characters. The tallest one of the wise men in my nativity set was 7 inches, so I cut my wood to be 10 inches to the peak of the stable.
After cutting the board, find the center and mark it with a pencil.
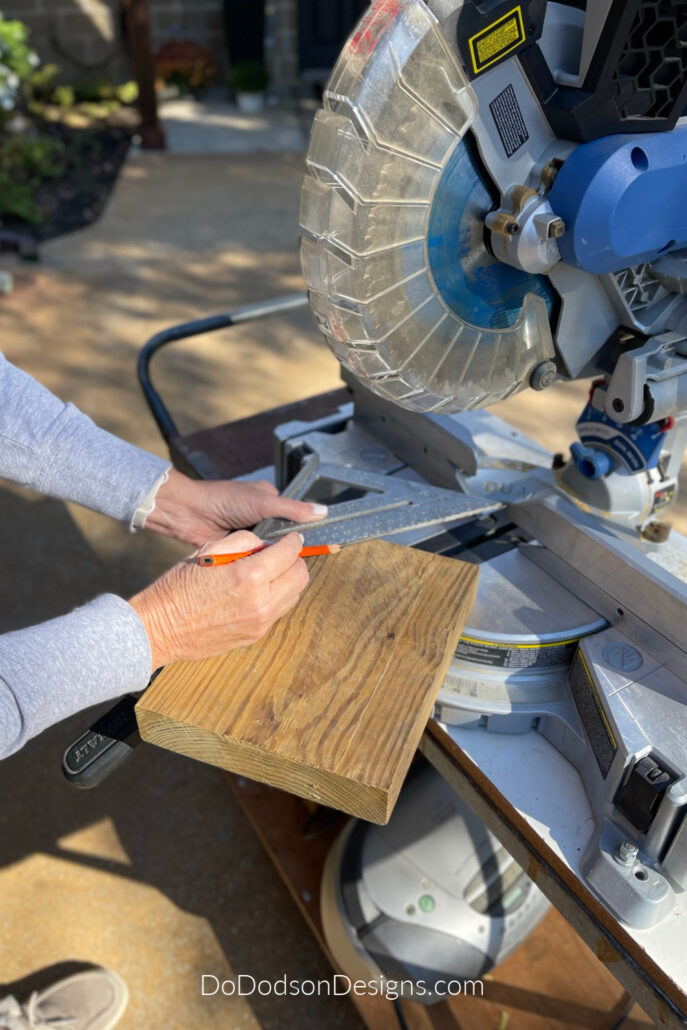
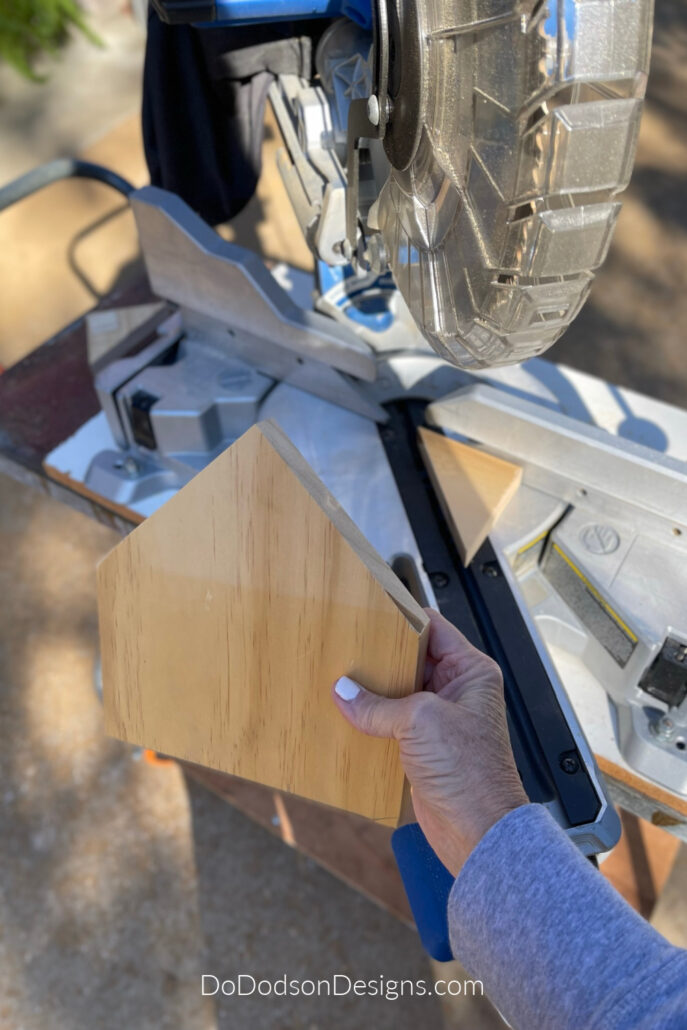
STEP 2: With a miter saw or a miter box and hand saw, cut a 45-degree angle to make the peak of the stable.
Adding A Wood Roof
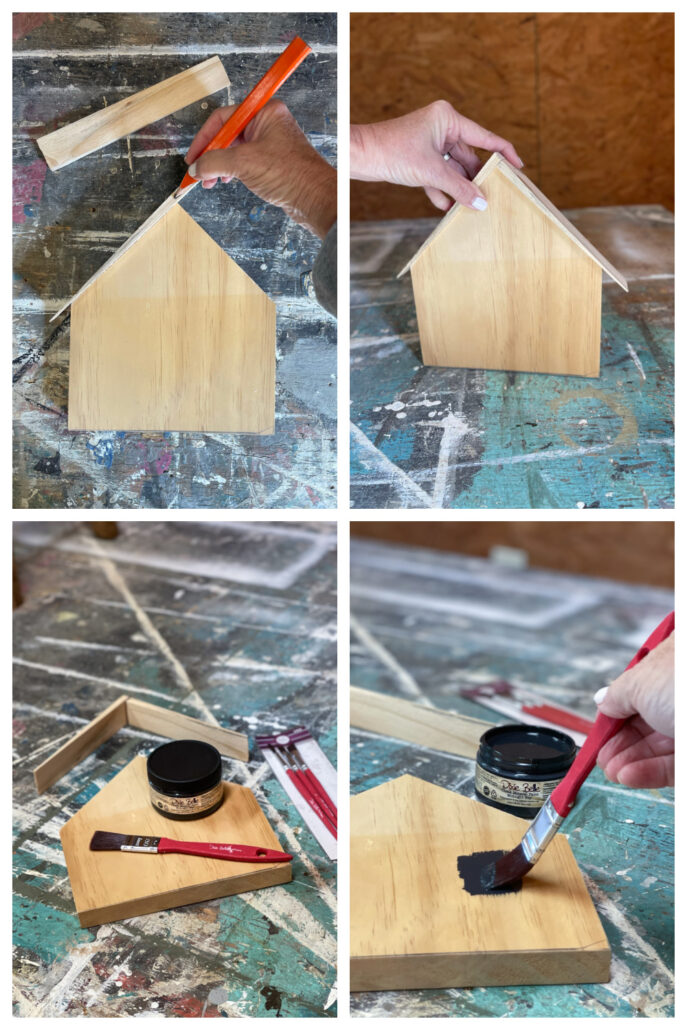
STEP 3: I used wood shims to make a rustic wood roof. These small pieces of wood are perfect because they are already cut with and tapered on the ends and are perfect for making the stable look like it has dimension.
Take two shims and square them together on the tip top of the wood block to create the peak. One end will be hanging over to meet the other wood shim. This is the easiest way without having to miter them together. I prefer a more rustic look with wood crafts like this.
Trim the tapered ends so that they match on both sides. I used a heavy-duty pair of scissors to cut mine, but if you have a utility knife, you can also score the wood where you want to cut it, and it will snap off easily.
Painting The Stable BLACK
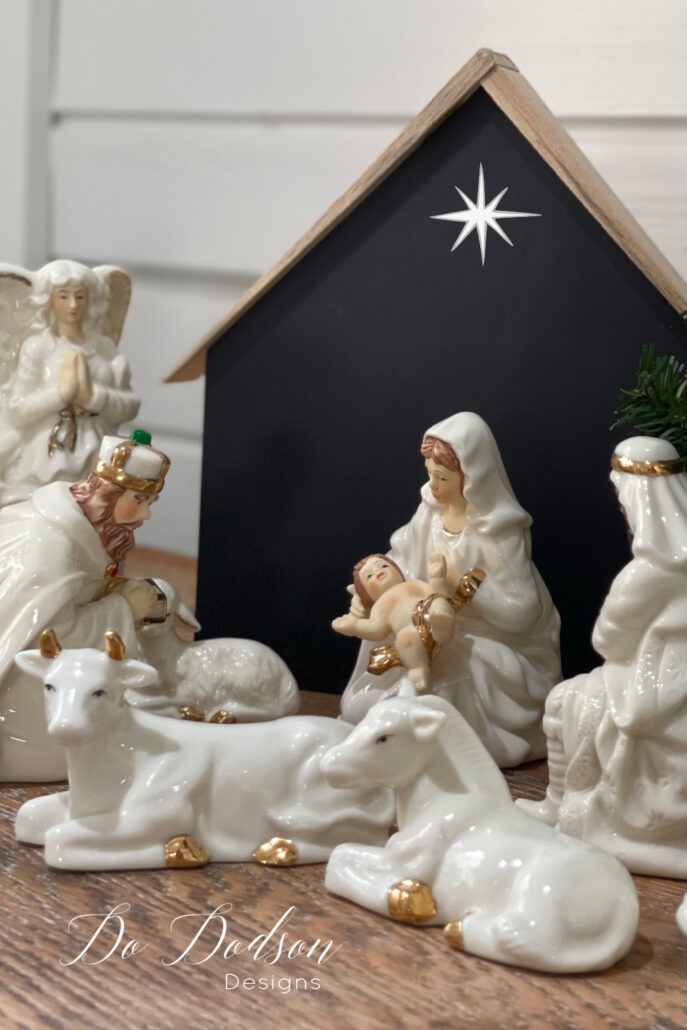
STEP 4: Since the baby, Jesus was born on the night of December 24 before the 25th, it was likely dark outside. So, it makes perfect sense to paint the stable black inside, and it will make my white nativity characters stand out.
For this Christmas craft project, I used Dixie Belle’s Midnight Sky chalk mineral paint. I applied two coats with a large artist’s brush, allowing each coat to dry thoroughly. This paint dries to a beautiful matte finish with no sheen, making the perfect midnight background.
STEP 5: After painting the wood block, glue the two wood shim on for the roof. You can glue them on first and paint after, but I find it’s easier to paint first.
Go lightly on the glue because it will run. You can also secure the wood shim roof with nails if you prefer.
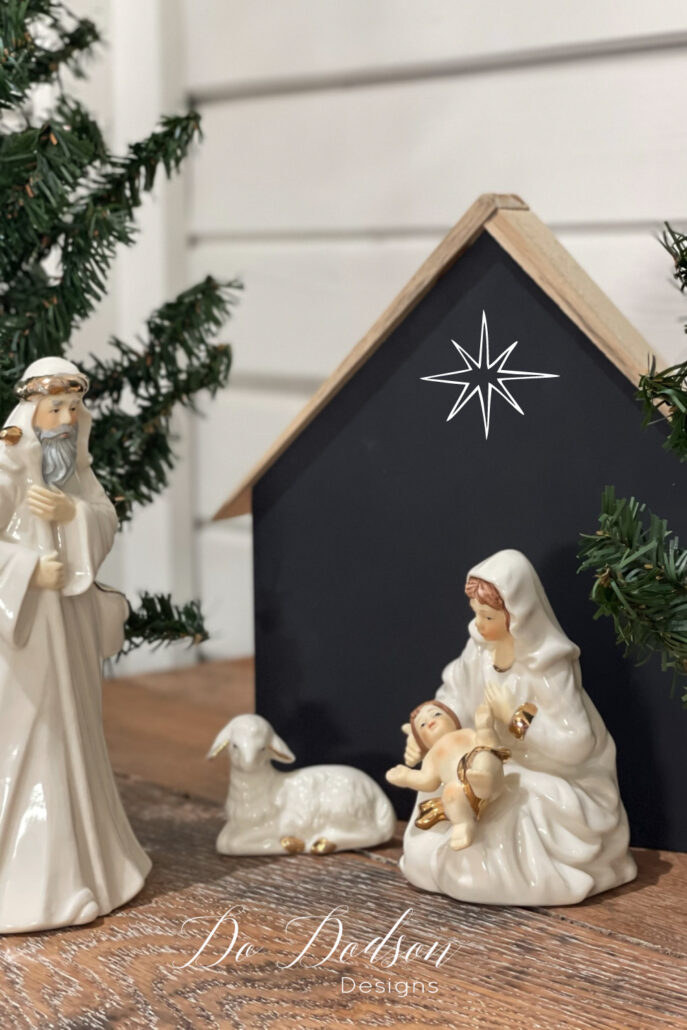
Oh, but wait! There’s a star in the sky! It’s the star of Bethlehem. The stable most certainly needs a star. Done!
The Finished Project – DIY Wooden Nativity Scene Stable
I couldn’t be happier with how this turned out, and I can’t wait to show these to my Grandkids. Telling the story of the birth of Jesus will be so much better with this display. The nativity scene with the addition of the new stable is perfect.
The Second Wooden Nativity Block Stable
As for the second wood block, it was a thicker (2×8) piece of wood. The shims were too small to create a roof. I was a bit bummed, and then I tried adding two wood shims to each side. This worked perfectly with just the right amount of overhang on both sides of the DIY wooden nativity stable.
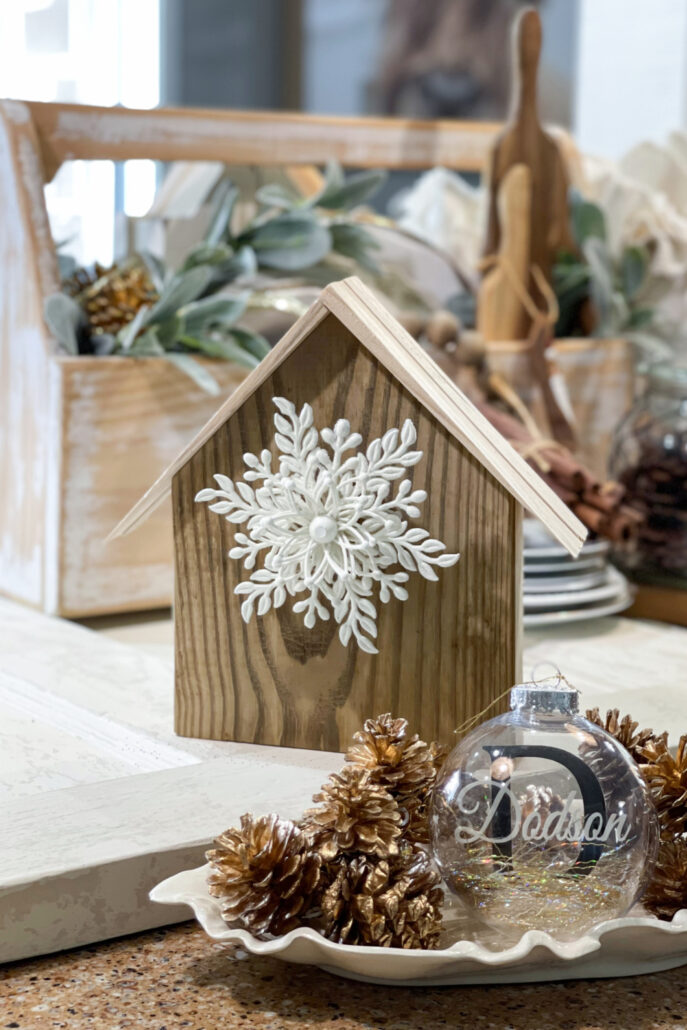
What do you think about this DIY wooden nativity scene stable project? I love that you can use wood block decor throughout the year. It’s not just for Christmas. Add your special touches for a unique look that matches your style.
Thanks for joining me, and don’t forget to PIN and share your thoughts. Or say hi in the comment section, so I’ll know you stopped by.
May the joy of Christmas fill your hearts with peace and love this holiday season.
Until the next project… xo, Do


Oh my goodness! I love this idea.
Isn’t it cute? Worked out perfectly. 🙂 xo
Absolutely beautiful!!!!
Thanks, Barabara. I’m pretty happy with the completed nativity scene. Happy holidays! 🙂 xo
Love this so much. Just the right touch. I think I have shims and wood scraps to make this!
Hi Mae Lynn! Sounds like you love wood crafts too. Have fun creating. 🙂 xo Happy holidays.
Now that’s perfection!
Love your nativity set!!
Thank you, Diane! It just wasn’t complete without it. Happy holidays:) xo.
This is so cute Do and looks like something I could handle with the saw, LOL
I am going to give it a try.
Easy peasy, Wendy! You got this. Thanks for stopping by. 🙂 Merry Christmas! xo