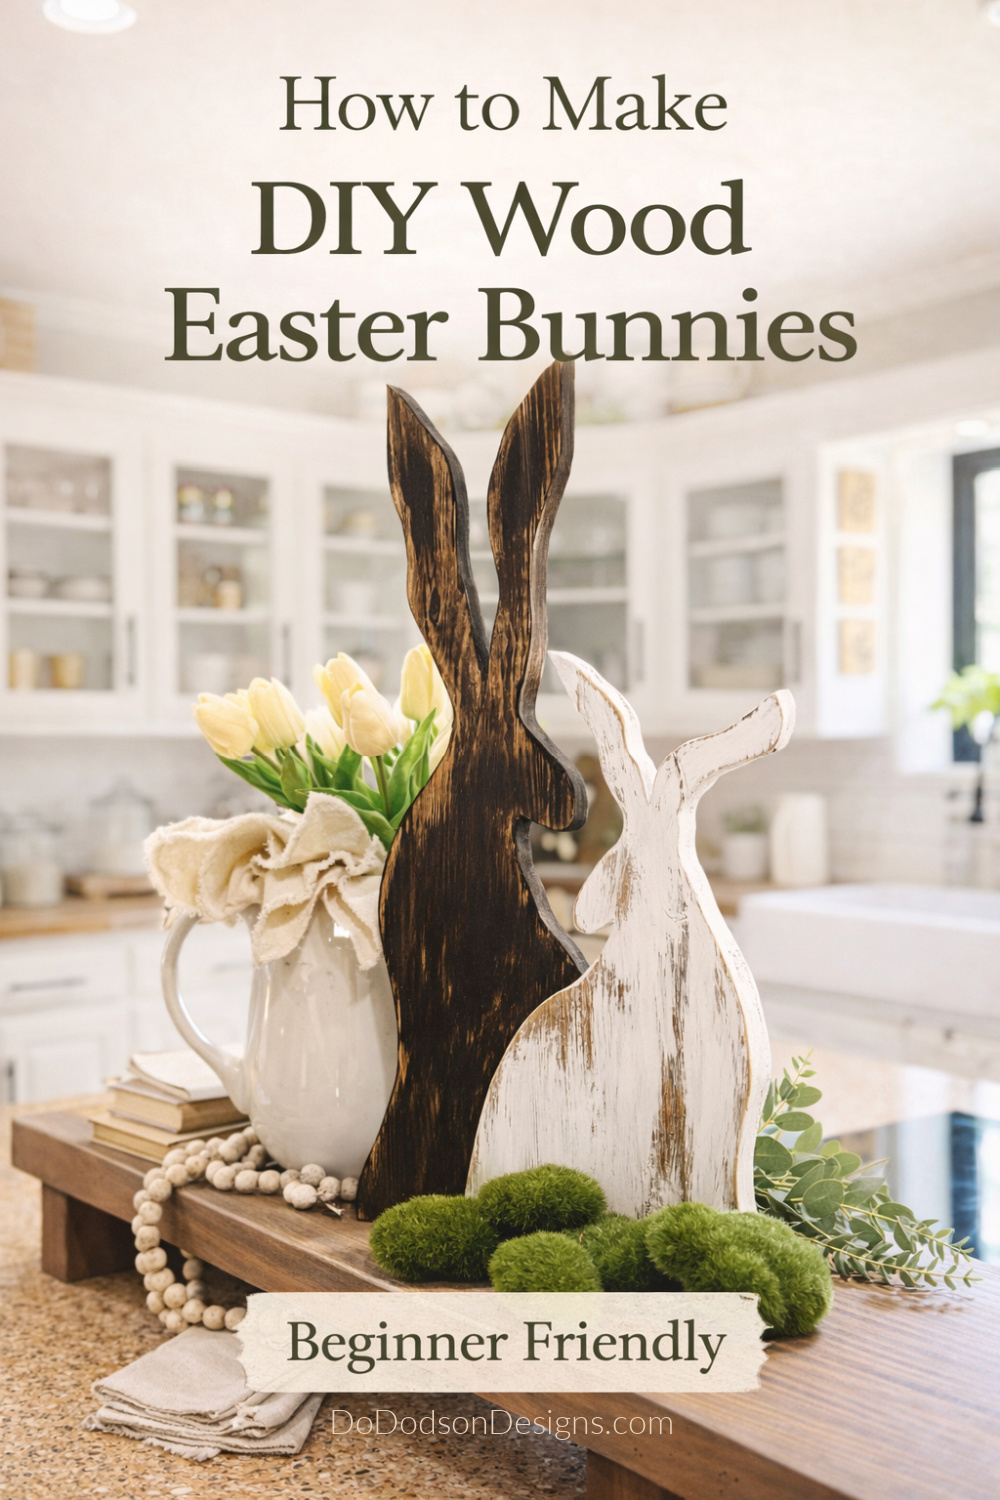
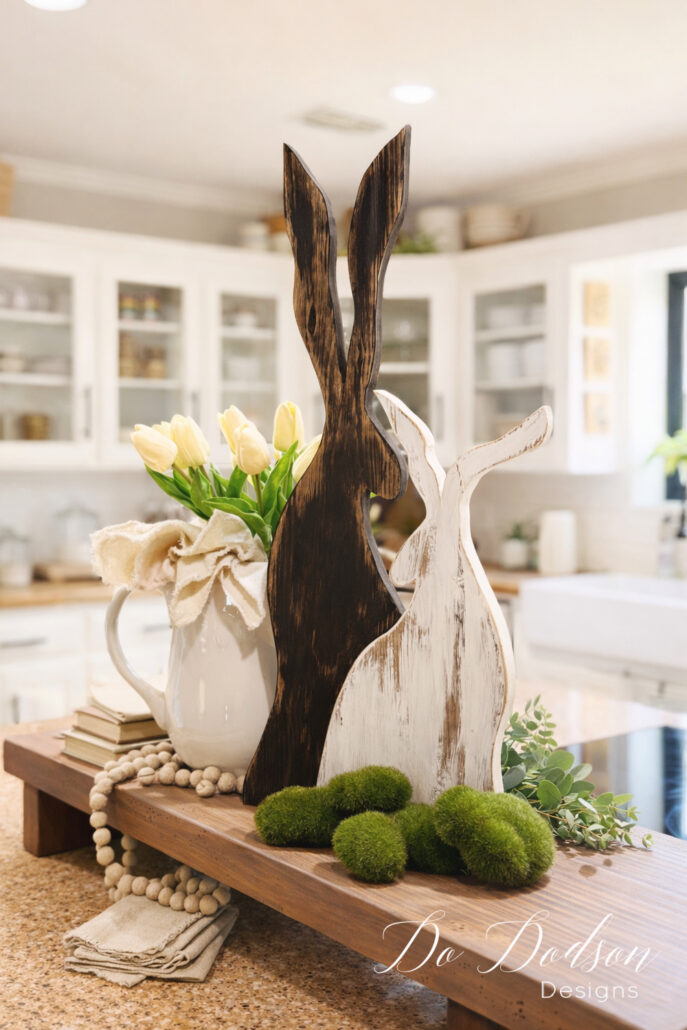
If you love simple, budget-friendly projects that bring charm to your home, these DIY wood Easter bunnies are going to be your new favorite. Made from scrap wood and styled with a rustic farmhouse finish, they’re perfect for spring decorating—whether you tuck them into a dough bowl, place them on a mantel, or use them as part of a centerpiece.
The best part? You don’t need expensive materials to make wood Easter crafts.
Thanks to Dixie Belle Paint Co. for sponsoring this post. While I was compensated to write this post, all opinions are my own.
* As an Amazon Associate, I earn from qualifying purchases and through other companies as well. You will not be charged extra when you purchase through these affiliate links, but any income I make helps me create more amazing DIY projects to share with you! To see my full disclaimer, click here!
Why You’ll Love Making This Wood Easter Bunny
- Uses scrap wood you already have
- Beginner-friendly (great scroll saw or jigsaw project)
- Budget-friendly Easter decor
- Fits perfectly with farmhouse and rustic style
- Easy to customize with paint or stain
And the best part? It’s super fast! I whipped these up in about an hour, and I could probably make a whole bunny family if I wanted to.

SUPPLY LIST:
- Scrap wood (pine works great)
- Bunny template (draw your own or print one)
- Scroll saw, or jigsaw
- Sandpaper (medium + fine grit)
- Wood glue
- Brad nailer or finish nails
- Coffee Bean Chalk Mineral Paint
- Cotton Chalk Mineral Paint
- Synthetic Chip Brush, Dry brushing (optional for a weathered look)
- Clear water repellent topcoat (optional if you’re using it to display outdoors)
Staining the wood is another way you could finish these. Paint or stain, both look great!
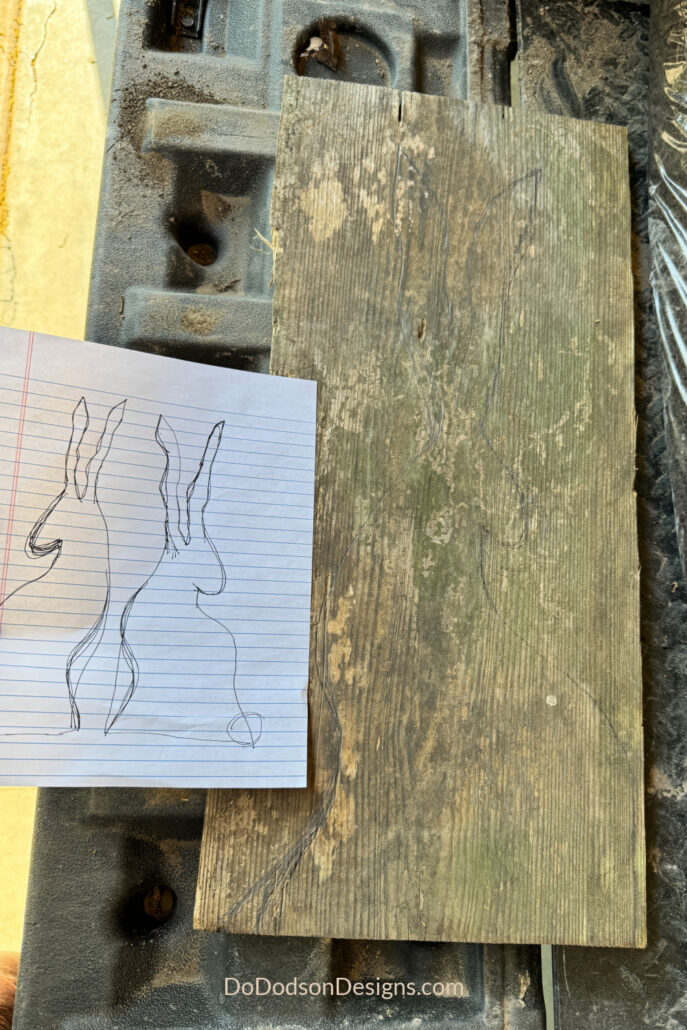
STEP 1: Create or Trace Your Bunny Shape
Start by sketching a simple bunny silhouette onto your wood. Think long ears, a rounded back, and a flat bottom so they can stand on their own.
If you’re having trouble coming up with a design or an image you like, Pinterest is the place to go.
Tip: Make two sizes (like I did here) for a layered, styled look—it instantly feels more designer.
STEP 2: Cut Out the Bunny
I’ve been meaning to use my new scroll saw; my hubby got it for me last year. No idea why I waited so long. Maybe it was a little intimidating… ha, I had to read the instructions! But it’s actually pretty easy, and for $99, totally worth it for a beginner like myself. I highly recommend this cool tool over a jigsaw any day. This bunny took me literally 10 minutes to cut out with the scroll saw.
But if a jigsaw is what you have on hand, use it. It will work too, just not as fast.
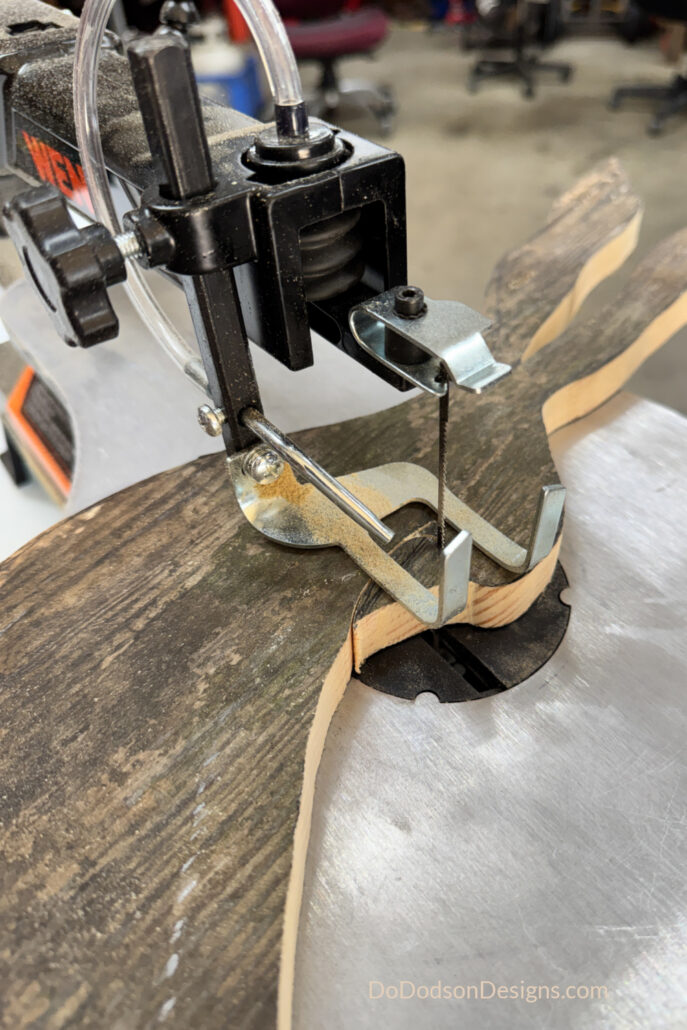
Take your time around the ears—they’re the most delicate part. Don’t worry about perfection—slight imperfections actually add to that rustic charm.

STEP 3: Sand the Edges
Just lightly sand all edges and surfaces to get rid of any splinters and smooth out your cuts on each bunny. And remember, those long ears are delicate, so be careful! To get inside the tight areas (between the bunny ears), hand sand with a piece of sandpaper folded in half. That really does the trick.
Focus on:
- Ear edges
- Curves along the back
- Bottom so it sits flat

STEP 4: Bonding The Wood Bunnies
To get those bunnies to stand up together, I just used wood glue and a brad nailer.
This method not only secures the bunnies together but also constructs a more substantial base, allowing them to stand on their own. The simplicity of this approach is truly “outstanding!” Get it? Outstanding… yep, I laugh at my own jokes. 🤭

STEP 5: Paint or Stain
This is where the magic happens. ✨
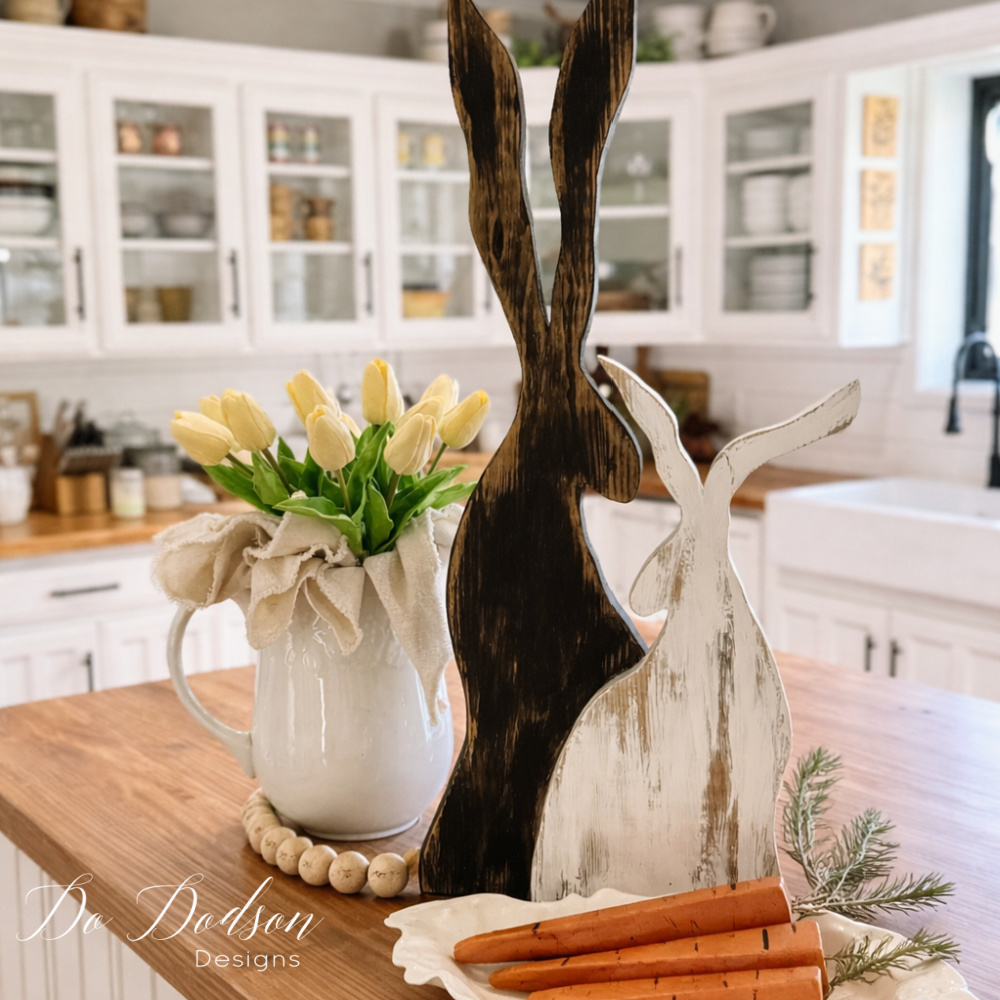
For a rustic farmhouse look, I chose to paint them.
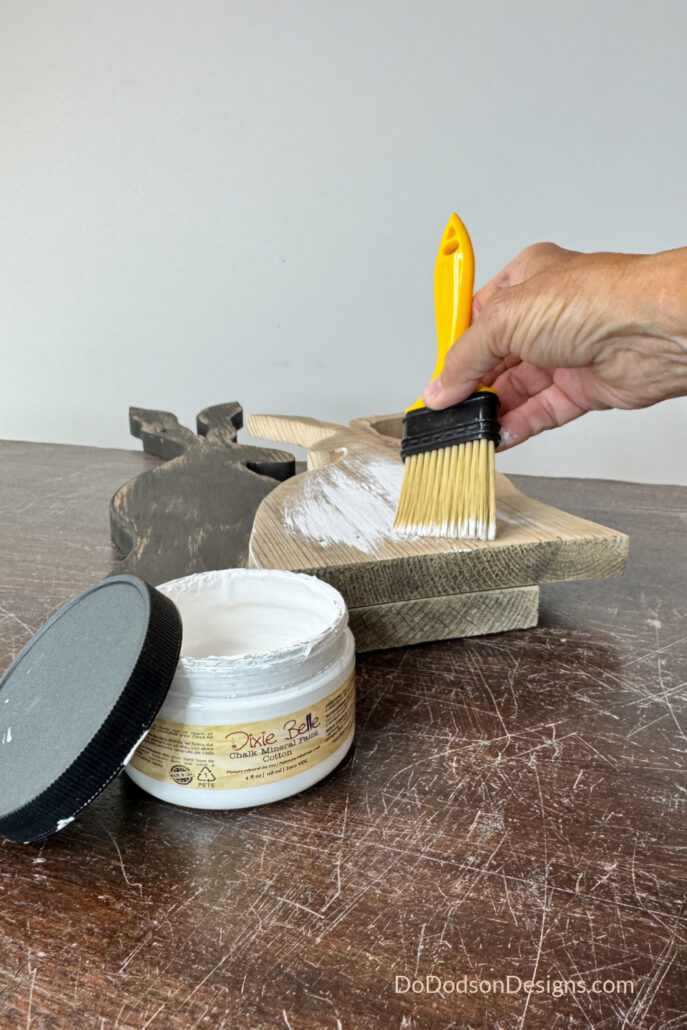
Using Dixie Belle’s chalk mineral paint in the shades cotton and coffee bean, to give them an aged, weathered finish.
Simply dry-brush the paint over the wood in the direction of the grain, leaving some areas unpainted.
After the paint dried, I used 220-grit sandpaper to give them a more rustic farmhouse vibe.
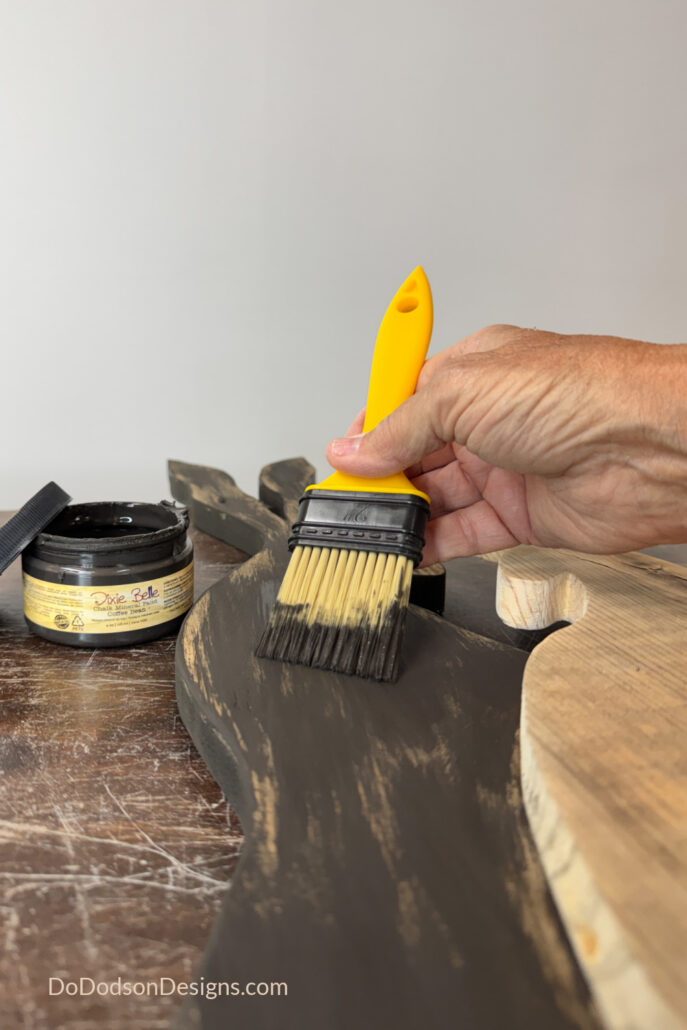
When painting wood crafts that overlap, like this wood bunny project, I’ve found that using a darker shade for the background and a lighter shade for the front creates a more intentional look. It’s a simple trick that adds depth and makes your projects pop!
Pro Tips for a High-End Look
- Use varying heights (small + large bunny together)
- Keep your color palette neutral (wood tones, whites, creams)
- Style against a clean background, like shiplap or light walls
- Let the wood grain show—don’t overpaint
How to Style Your Wood Easter Bunnies
These wood Easter bunnies are super versatile and look awesome in all sorts of places. Here are some ideas to try!
- In a wooden dough bowl with moss or greenery
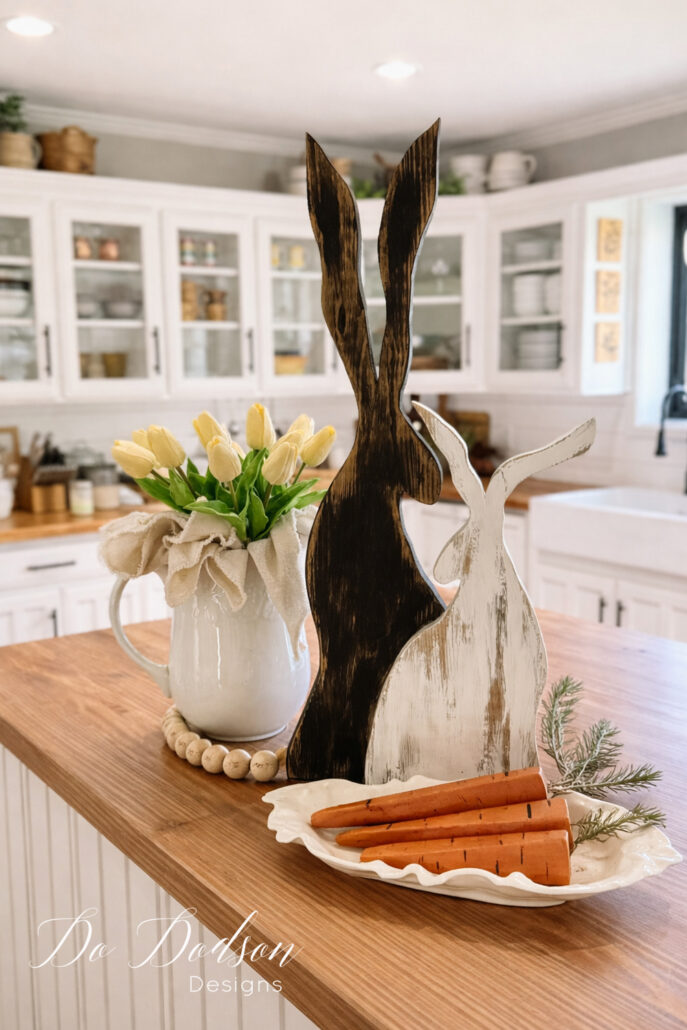
- On a butcher block countertop in a farmhouse kitchen
- As a table centerpiece with wildflowers
- Layered on a shelf with other spring decor
- In a wicker basket for that cozy cottage feel
And hey, have you checked out those DIY wood carrots I whipped up? I think they’re the perfect little somethin’ to make the bunny display even cuter, adding that extra rustic touch!
DIY Wood Bunnies for Your Garden
What about some garden decor ideas?
Okay, the bunny is outta the bag now! 🐰 Sneek peak! 👀
Over the last six months, I’ve dedicated myself to creating (digging up grass 😏) a lovely country cottage garden in my outdoor area. The moment the idea for these rustic wood Easter bunnies popped into my head, I immediately pictured them in this space, recognizing it as the ideal location to display these handmade creations and infuse my garden with an added hint of springtime charm.
My daffodils are daffodilling! 💛 I’ll be sharing more on my garden soon.

Looking for more Farmhouse Easter Decorations? Check out these fun DIYs.
My Thoughts On Sustainable Wooden Easter Decorations
These DIY wooden Easter bunnies are super easy to make and look amazing without costing a fortune! They’re the perfect way to add some charm to your home decor, year after year, and could even help you make some extra cash if you’re into that. Plus, they’re definitely a seasonal fave!
And if you’re anything like me… once you make one, you’ll end up making a whole little bunny family. 🐰
Hey, I’d love to hear what you think about these bunnies! Drop your thoughts in the comments, and don’t forget to pin this DIY to your fave Easter or Spring board!
Until the next project… xo, Do
These bunnies are the best ones I’ve seen. I really loved them outside in your garden with the daffodils.
Hi Joanna,
Thank you! I think the ears are my favorite part of them. Yes, they will live in the garden while it’s good weather. I appreciate your kind words. Have a beautiful weekend. xo 😘
These bunnies are adorable AND upscale all at once! And your scrap wood carrots are the perfect companion to this duo. Looks beautiful, and I love your new scroll saw. I can’t wait to see what other creative scrap-wood projects you’ll create with this tool! Pinned XOXO🐰
Bunnies and carrots 🥕… like peas and carrots, they just go together. I’m excited about that saw. It will definitely get loved on, a lot. 😍 Thank you for always supporting me, my friend. Have a beautiful week. xo 😘
I absolutely loved those rabbits! I wish I had the right tools to make some of them myself — a variety in different colours would make a wonderful Easter table setting! Thank you for sharing!
Hi Val!
I know what you mean about wishing. I wished long and hard for this one. I’ve been using the same old jigsaw for 15 years and it’s on its last leg. It was a sweet for my hubby to buy it for me. I’m glad you enjoyed this DIY. Yes, you could have a fluffle of bunnies… all colors! Have a nice week. xo 🙂
Any way you can give us this template?
Hi Carlee,
I’m sorry, I don’t at the moment, but I’m searching how to create a template. I’m new at the template game and it will take some research on my part. Thank you for understanding. 🙂