
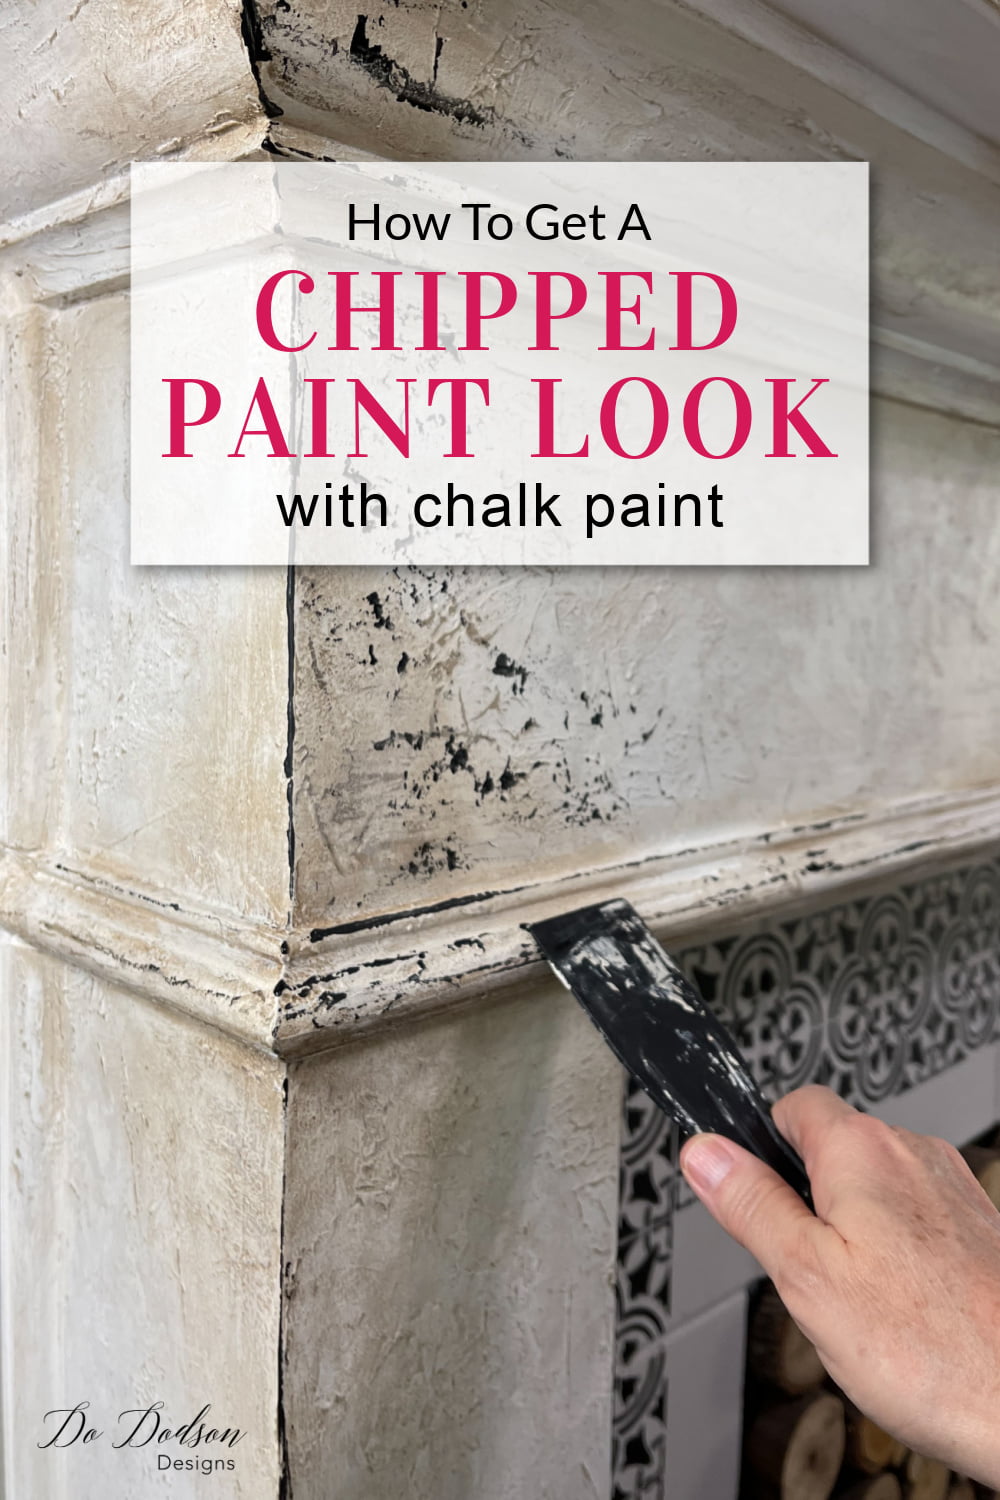
Hey friends, today I’m sharing how to create a DIY chipped paint look with chalk paint and a texture additive. Just one more step in the transformation of my builder-grade home into the house of my dreams. If you have been following me for a while, you know what I’m talking about. I’m living in a modest, small “I wanna be a modern farmhouse someday.” So the dream continues, and I’m making it happen one project at a time.
THIS POST IS SPONSORED BY DIXIE BELLE PAINT CO.
* As an Amazon Associate, I earn from qualifying purchases and through other companies as well. You are not charged extra to use any of the links, but any income I make helps me create more amazing DIY projects to share with you! To see my full disclaimer, click here!
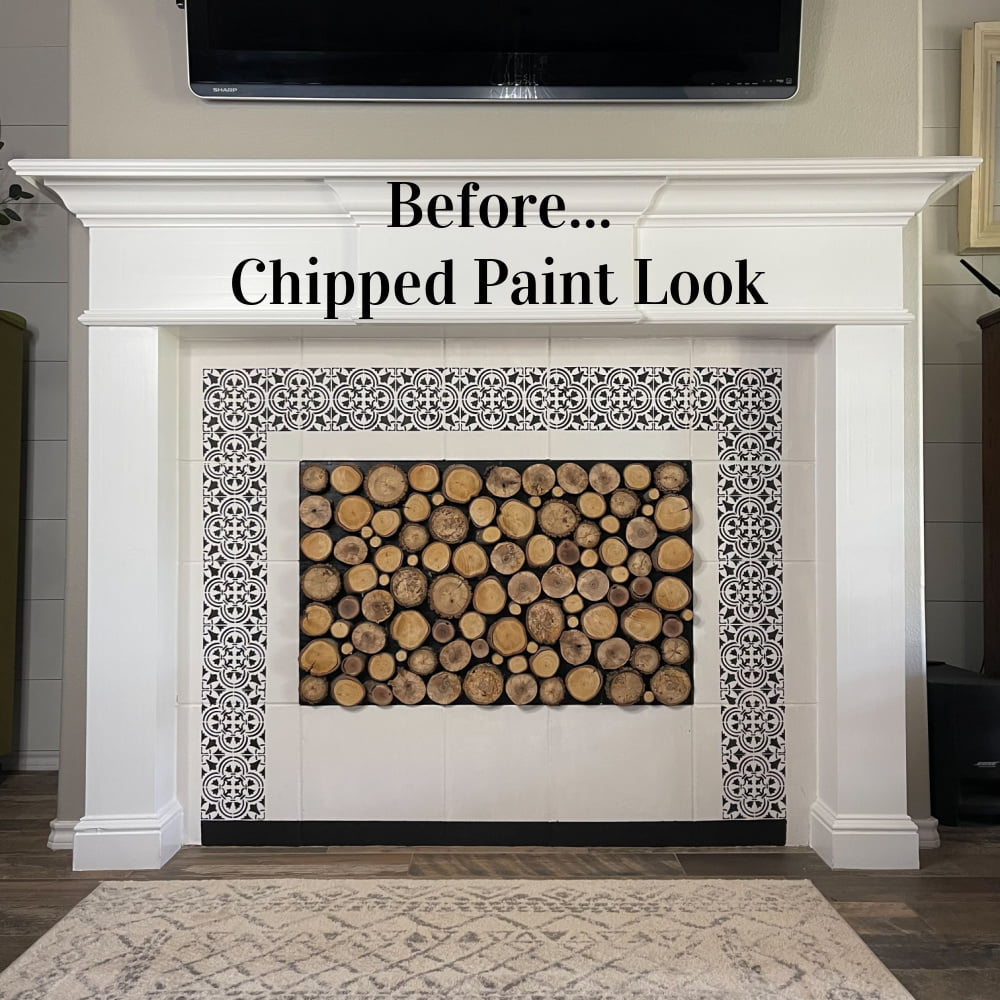
Before… Chipped Paint Look
Today I’m working on my traditional fireplace to give it more of a vintage feel with this DIY chipped paint technique. Why not incorporate a little vintage feel in the mix. I do what I love in my home, and I can’t wait to share this with you.

SUPPLY LIST:
- COTTON, BURLAP, SANDBAR & CAVIAR (Chalk Mineral Paint)
- Sea Spray (chalk mineral paint texture additive
- Spatula (to apply the texture with)
- Paintbrush (Mini Angle)
- SurfPrep Sander (use my discount code DOIT10 to get 10% off)
- Glaze (Van Dyke Brown)
How To Create A Chipped Paint Look
Chose your chalk mineral paint colors. For this vintage makeover, I chose a few colors that coordinated well with my living room. All neutral, of course… that’s my jam. Since I’m going for a chipped paint look, I want to see layers of paint like you would normally see in a multi-layer (it’s been painted multiple times) aged piece.
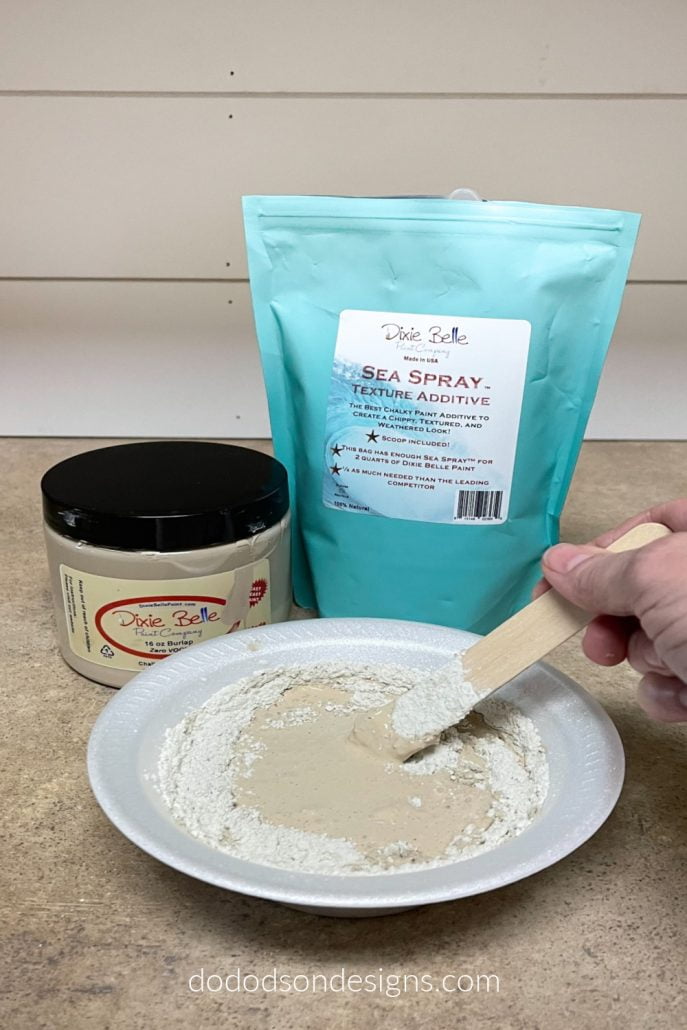
STEP 1 Creating Texture Paint
The first layer of paint should be on the darker end of the color pallet of neutrals. MIx your chalk mineral paint with a texture additive to thicken the paint. The mixture depends on how thick you want the texture. Add the paint to a disposable bowl, and then add the texture a little at a time. I mixed mine to the consistency of drywall putty.
The consistency has everything to do with the finish, and the thinner the paint mixture, the more cracking you will get. At least, that is what I have found.
With a plastic spatula, apply the texture paint over the surface you want to add the chipped paint look to. This is super fun, by the way… go ahead and channel your inner child. 🙂
STEP 2 Layering
Allow the first coat of texture paint to dry ( I waited overnight) and add the second color ( a bit lighter than the first) in the same fashion. Same process. Allow the paint to dry completely and repeat with a 3rd color if you want. It all depends on the look you’re going for. I thought about adding a green to the mix, and then I chickened 🐔 out. But wouldn’t it be pretty?! I can always add it later.
STEP 3 Getting A Chipped Paint Look By Sanding
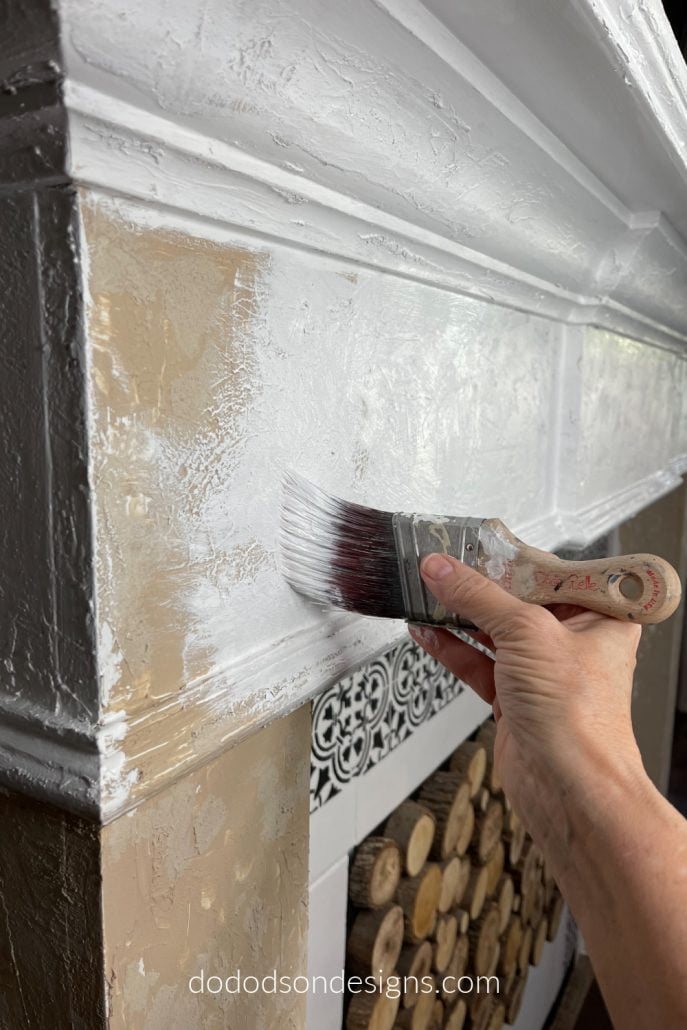
Once the layers of chipped paint are dry, paint over all the yummy texture you created with the color you want to be predominant. For me, that is COTTON. The shiplap in my living room is white, so that this color should tie in nicely.
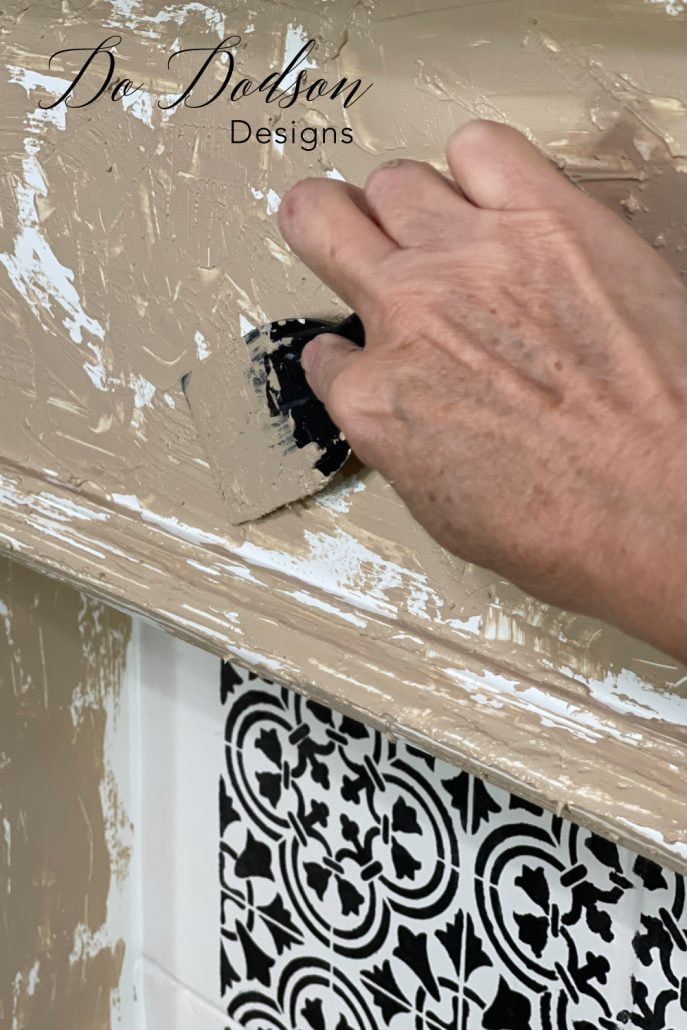
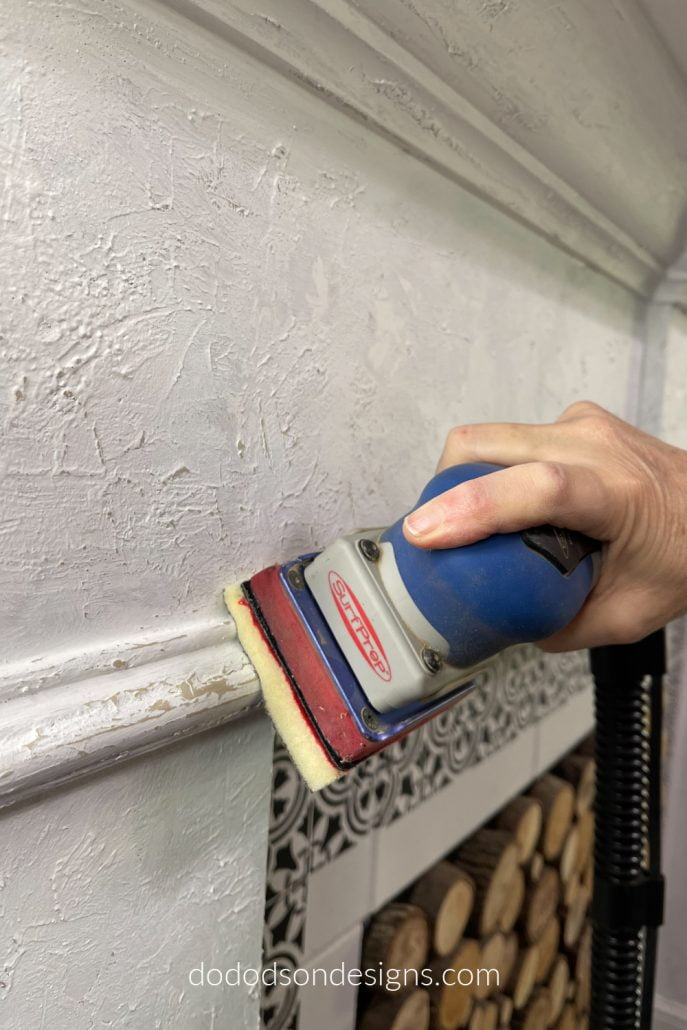
STEP 4 Sanding The Texture
Here is where you’ll really start seeing the chipped paint goodness. With an electric hand sander (or hand sanding), smooth out any rough patches (well, pretty much the whole thing) to allow the colors underneath to peek their lovely self out. This still gives me the warm fuzzies just talking about it. It’s like I was in magical chipped paint heaven. But there’s more!
Adding An Aged Feel To the Chipped Paint Look
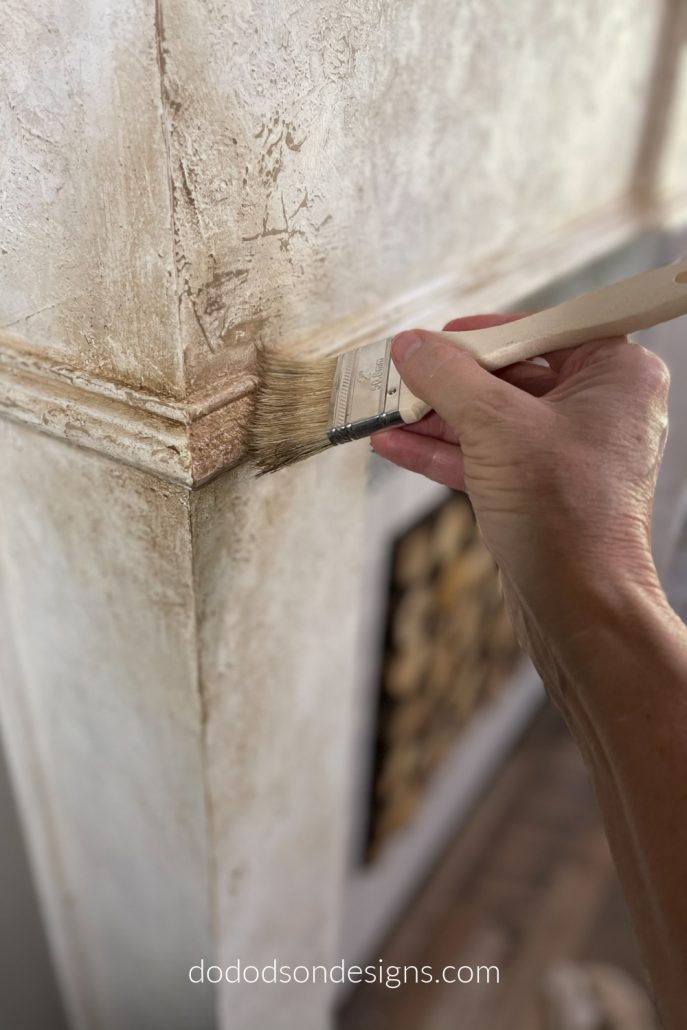
STEP 5
Glaze! This is a great way to add that aged feel. Super easy. The glaze I used was water-based, so I applied it lightly over the whole fireplace mantel and wiped it back with a damp paper towel.
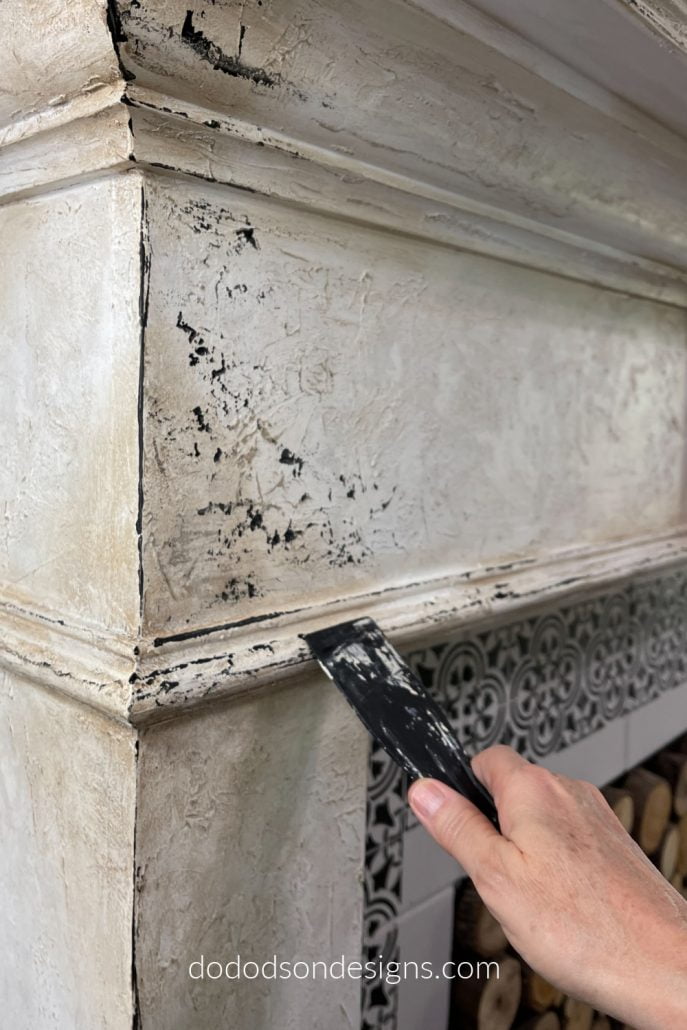
STEP 6
And lastly, to give the appearance of a chipped paint look, I used CAVIAR (black chalk mineral paint) and used the same plastic spatula to drag the paint across the surface and on the corners and areas that I wanted to show off the chipped paint look.
This technique is super simple. The trick is to use a minimal amount of paint on the tip of the plastic spatula.
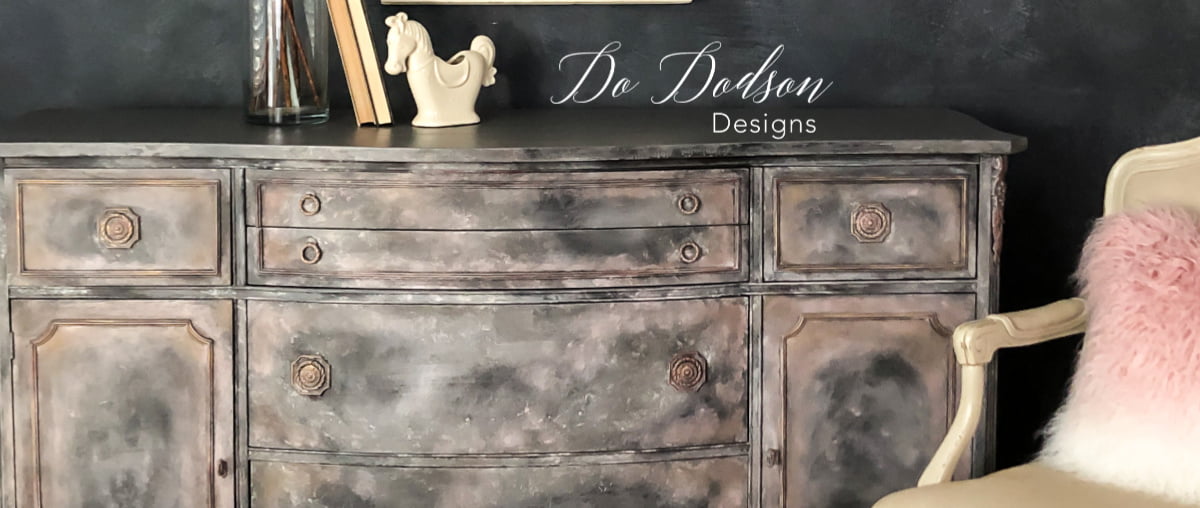
The Finished Chipped Paint Look On My Fireplace Mantel
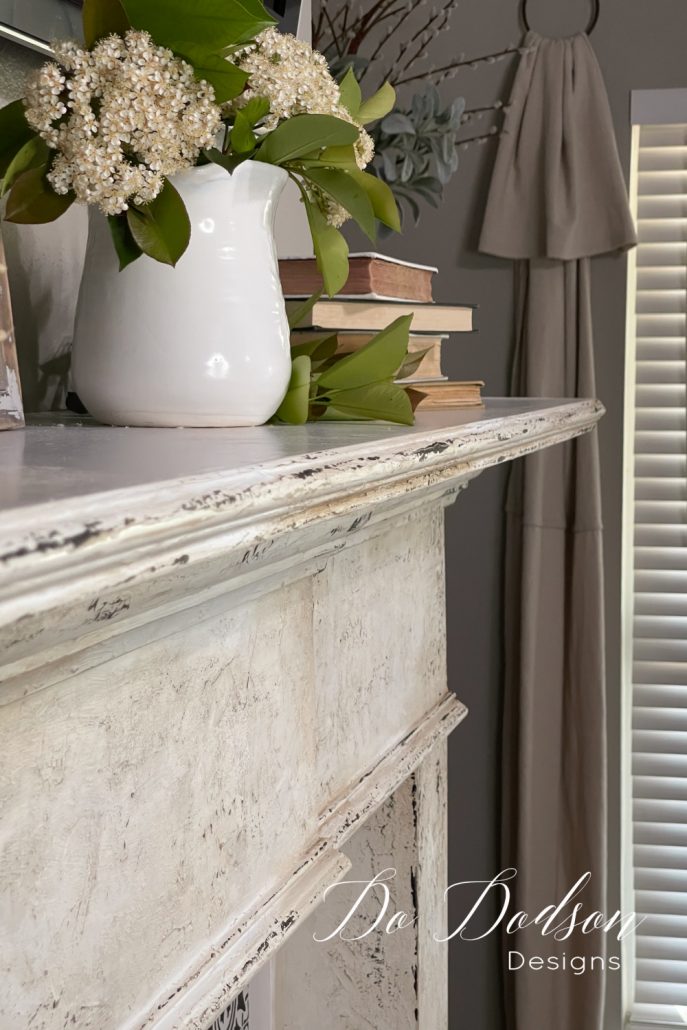
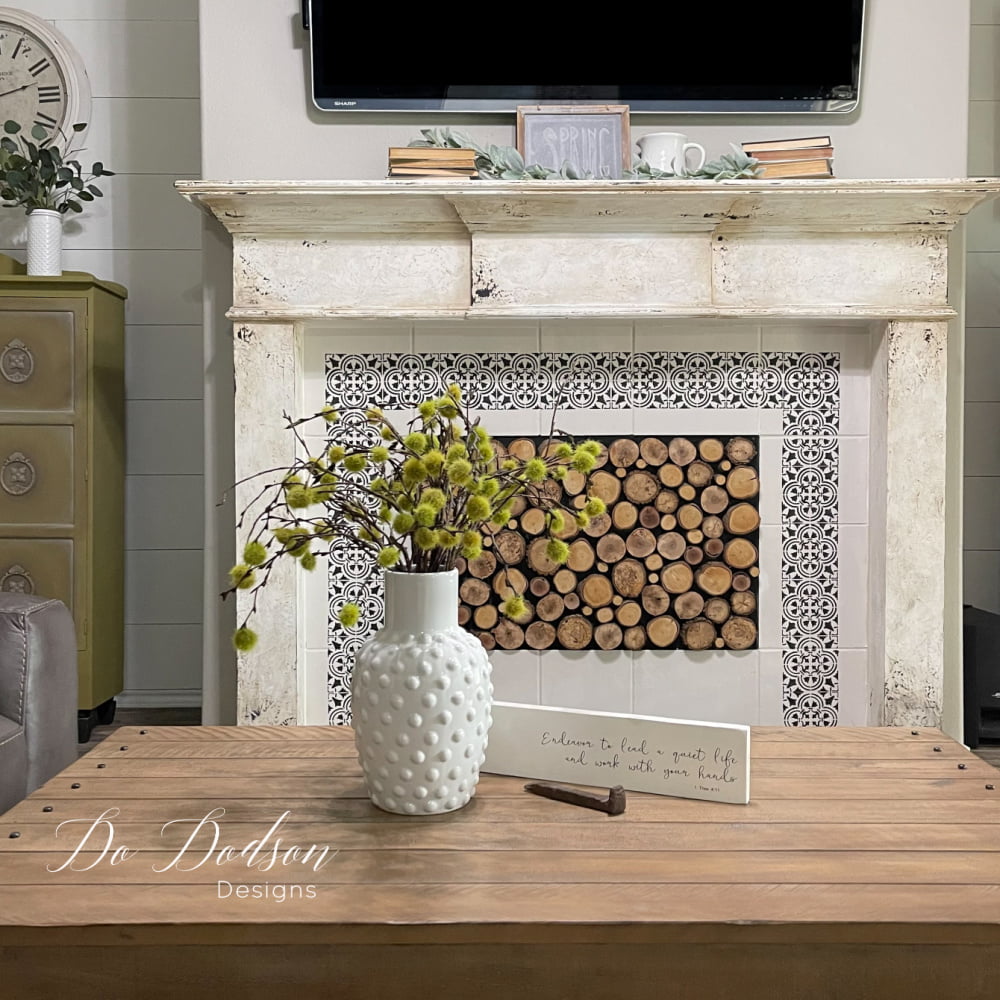
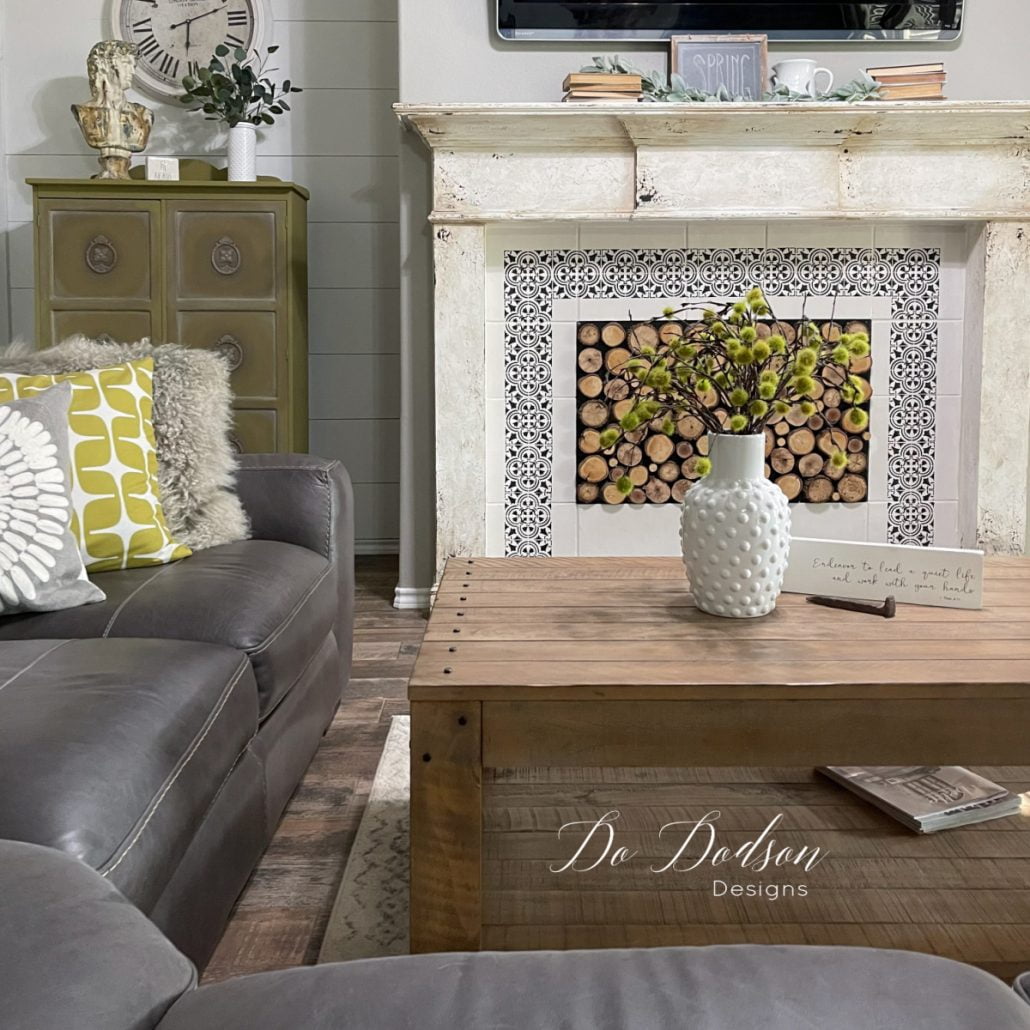
My builder-grade home just became a little more farmhouse with this chipped paint look, and I couldn’t be more pleased with the results. Yes, the before wasn’t bad, but why not change it to what you love? It’s your home, and your home should be your happy place. I smile every time I walk into the living room. That’s a good thing.
Thanks for joining me today. Would you like to see more of my DIY Home projects? Check out the related post below for more DIY inspiration. Or let me know what you think about this DIY technique. What will you try it on?
Until the next project… xo, Do
I love it!! I LOVE IT!!! It really looks like it’s been there for many, many years and aged gracefully! Great job!
Thank you, Karolyn! That is the look I was going for… aged gracefully. I want it for myself too. 🙂 LOL
Turned out beautiful! I’m waiting for my husband to go out of town so I can attack a couple projects he’s skeptical of! He always vetos them when I suggest it, but always loves it when they’re done…you’d think he’d start trusting my judgement at some point…after 40 years! 😂
Ha! You would think that, Kimberle. So, I’ll keep planning my big DIYs when he’s out of town. LOL, Thanks for sharing. 🙂
I’m probably going to be in the minority here but honestly—this is the *ONLY* project I’ve seen since I began following your blog that I liked better before than after. I respect your talent and I get the vibe you were going for but I just prefer the clean white over this particular chippy painted mantle. I’m glad you are happy with it and I am grateful to now know the technique to make this result happen!!!
Keep doing YOU, DO!!
Xoxo,
Pennie
Thank you, Pennie!
I appreciate your honesty and welcome any feedback. I understand where you’re coming from and like you said, “I’m happy with it.” Yes, the technique can be used on many surfaces, and I hope you get a chance to try it. I think you’ll find it rather fun to create this look.
Have a fantastic week, and thanks again. xo 🙂
I do have a question…did you add the texture (Sea Spray) to each color before you applied them? It turned out beautifully. I must say that even after 47 years, I did would not do anything like this without hubby knowing before hand. I do know what is off limits and what I can try something new on. He does not want the woodwork in our home painted, which would be way too big a challenge for me anyway. I would LOVE it though!
Hi Tawn,
What a beautiful name. Yes, I added the texture to the layers and then painted the last layer… the white. That way, when you sand back the top paint color, you see the others peeking through. Thank you for your kindness.
On a side note… my hubby is a little lenient with me because this is my business. It doesn’t mean he likes it, but he tolerates my creativity. LOL xo 🙂
Your mantel turned out gorgeous, Do! But, of course, I love all of your projects.
Thank you so much, Virginia! I really like the results. 🙂
It’s gorgeous Do. Looks so authentic! And I see your “David” in one of the pics too. hehe 😉
🙂 I just love him. Thanks, my friend. xo
It is so awesome! I love the step by step instructions that you provide. I just found your site and I’m glad I did👍You are very talented indeed😊 Blessings
Hi Lisa! It’s so nice to hear from you and glad you found me too. Most all my blog posts are tutorial-style written so that you can follow along if you want to DIY. Be sure to sign up for my newsletters so you don’t miss out. Thanks for stopping by and I’m happy you enjoyed this one. Have a fantastic weekend. 🙂 xo
Love all your posts!!! Just sent to my sister to look at all your great info and links!!!
👏👏👏👏👏
Thank you, Linda! And thanks for sharing. xo 🙂