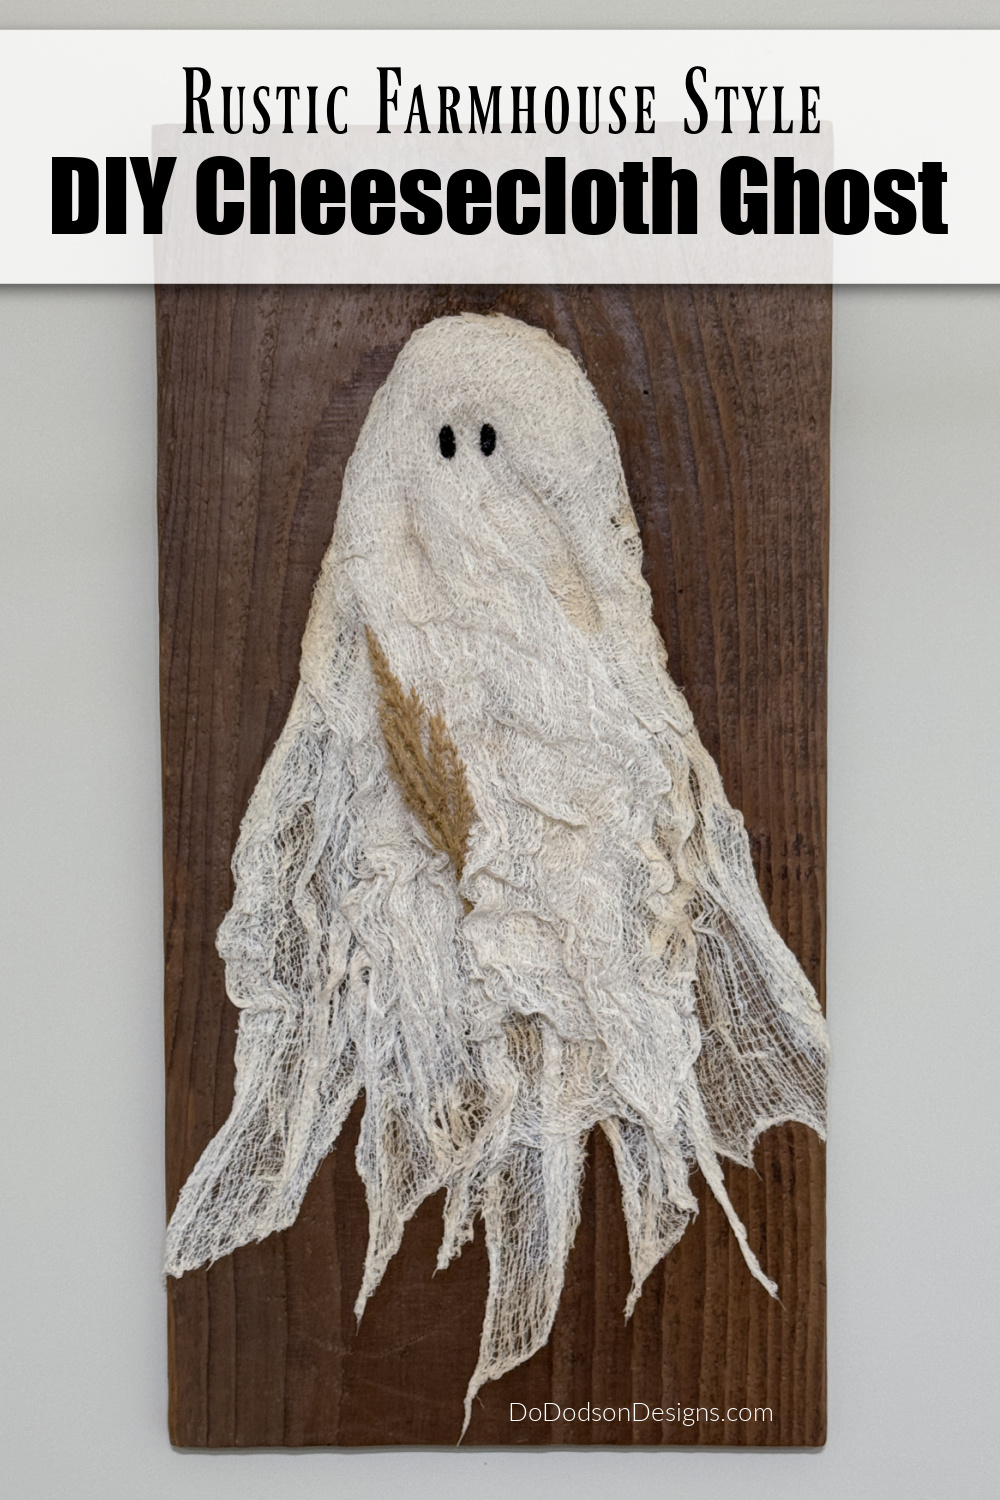
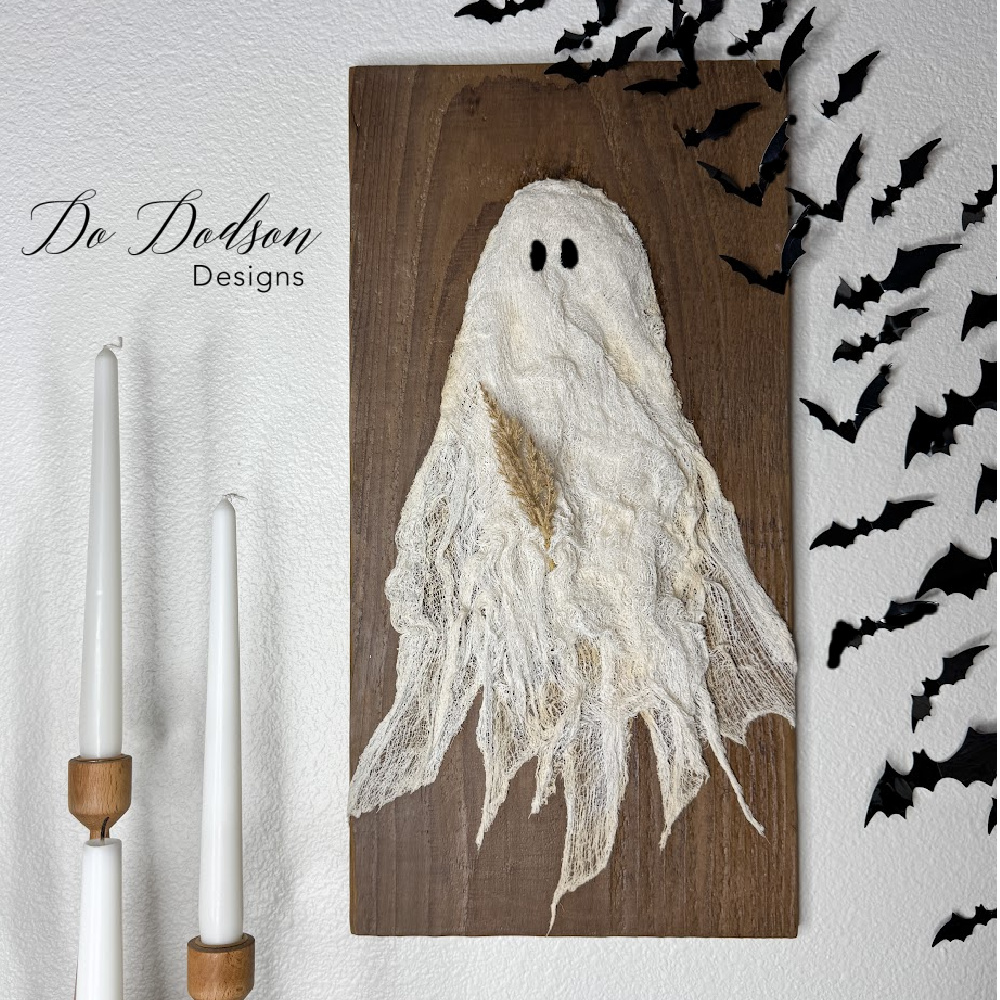
Want to add some spooky charm to your Halloween decor? Create these easy DIY cheesecloth ghosts! All you need is a glue mixture, cheesecloth, a board, and a few simple steps to create this hauntingly rustic farmhouse wall art. Decorating your home should be a creative experience.
Thanks to Dixie Belle Paint Co. for sponsoring this post. While I was compensated to write this post, all opinions are my own.
* As an Amazon Associate, I earn from qualifying purchases and through other companies as well. You will not be charged extra when you purchase through these affiliate links, but any income I make helps me create more amazing DIY projects to share with you! To see my full disclaimer, click here!
5 Reasons You Should DIY Halloween Decor
1. Because you can! I promise you can do this.
2. It’s budget-friendly and saves you money to spend on more important things.
3. Because no one wants cookie-cutter Halloween decor. Well, some of us don’t, and if that’s you, I can help.
4. It’s a good reason to have a crafting session with friends and or family. Friends who craft together stay together. 🙂
5. It’s awesome to have bragging rights! Your house guests will be so impressed that you made your own Halloween decorations.
6. Hello! I’m giving you instructions!
And if you need more Halloween DIY decor inspo, here are a few of my faves listed below.

Materials Needed:
Here is what you’ll need to create a DIY cheesecloth ghost.
- 1×12 board (barnwood) or canvas
- miter saw or get a neighbor to cut your wood for you. 😉
- electric sander (my preferred sander)
- cheesecloth sheets (unbleached)or rolls
- clear coat (satin top coat), or Mod Podge
- synthetic chip brush
- artist brush
- Caviar Chalk Mineral Paint
- D Ring picture hanger
STEP 1: Cutting And Sanding The Wood
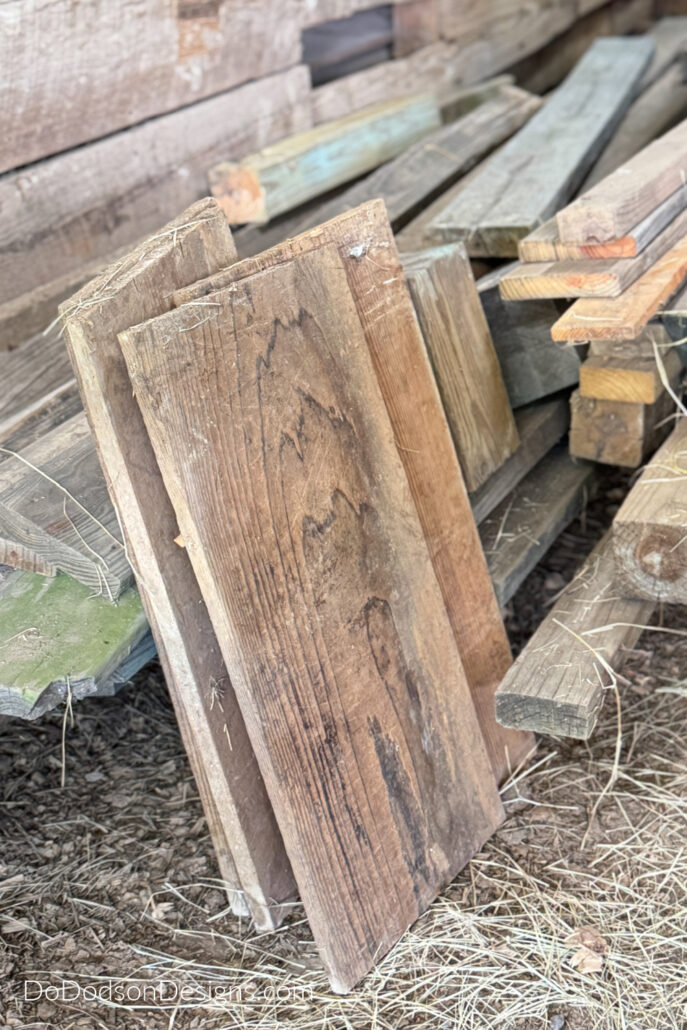
To the scrap wood pile!
The scrap piece of wood I’m using today was previously used as a nesting box for peacocks. It’s kinda funny knowing the history of the wood I reuse. Look at that grain!
It was very dirty and brittle, which means it would need to be cleaned and sanded smooth before adding the cheesecloth ghost. Whoever said DIY isn’t a dirty job?
However, first, I measured and cut the board to the desired size. I wanted my cheesecloth ghost to be tall, so I measured the 1×12 at 22 inches and cut it to length.
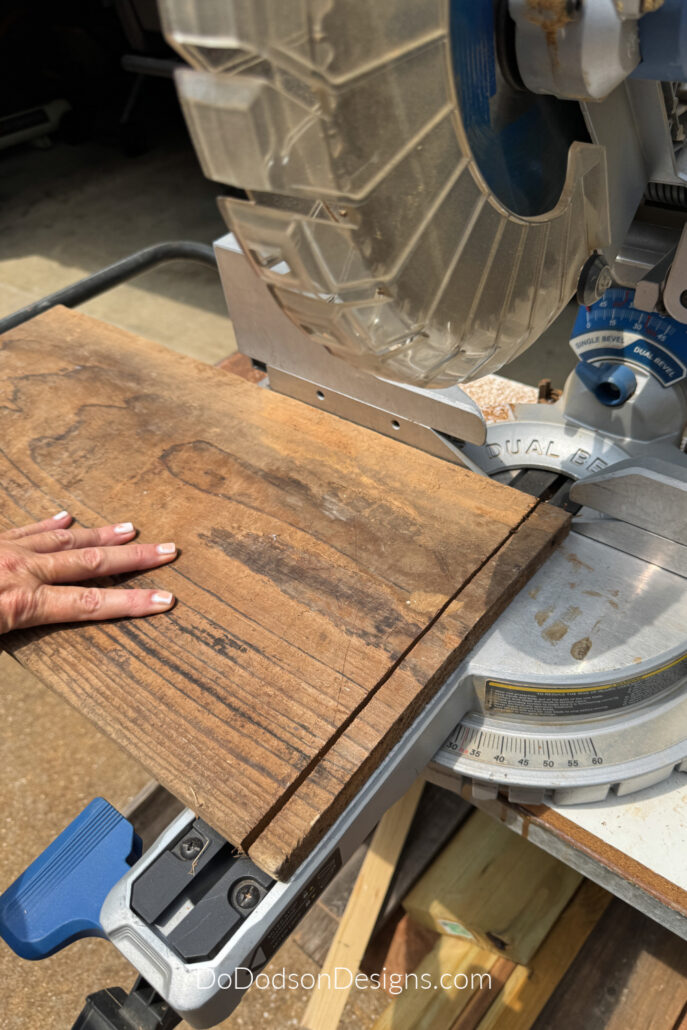
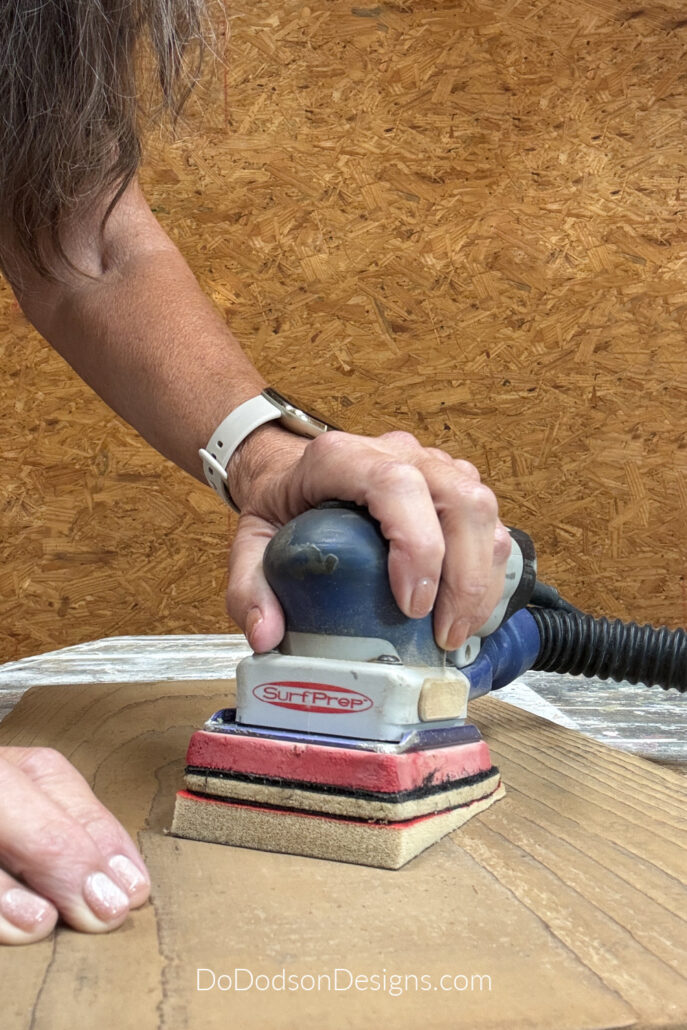
I used my electric SurfPrep wood sander to speed up the process, but you can totally do this by hand.
Before sanding any wood, always assess the wood’s surface. Use the correct abrasive or sandpaper for the project.
For my board, I started with 180-grit and progressed to 220-grit. Once the board was sanded smooth, I removed any remaining wood dust from its surface so that it was clean.
STEP 2: Mod Podge Glue Or Top Coat
Whoops! I completely ran out of glue. Can you believe it? I had Mod Podge on the shelf ready to go, but I must have left the lid open, and it dried up completely. Oh well, time to get creative!
In the past, I’ve used Dixie Belle’s top coat for decoupaging paper, and it worked beautifully. I decided to give it a try. What’s the worst that could happen? My cheesecloth ghost would fall off the board! 🤭
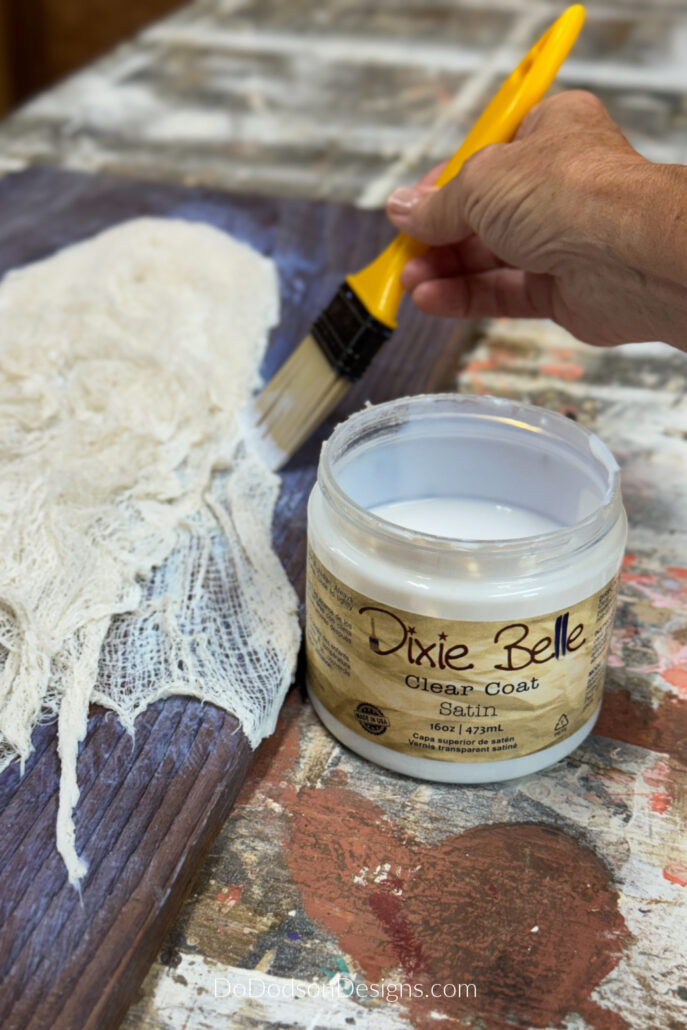
* The clear coat that I’m using for this project in place of Mod Podge can also be used as a glue and fabric stiffener. Liquid starch and cornstarch are also options for use as fabric stiffeners, if you happen to have those available.
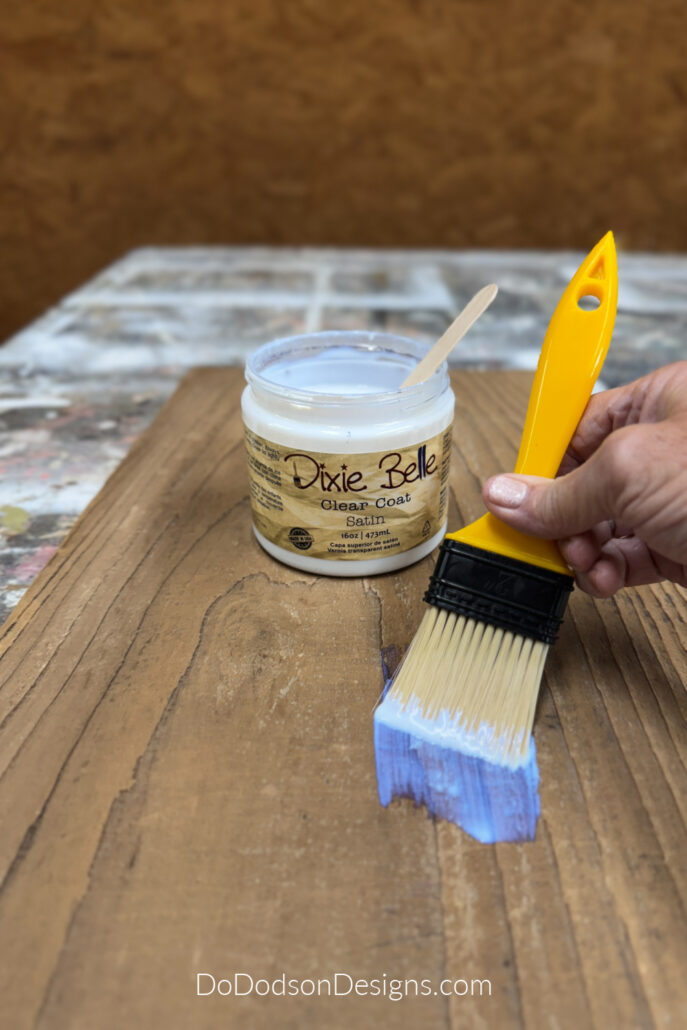
To prepare the board for the ghost, I applied a coat of satin clear coat (it’s actually a top coat for paint) and let it dry completely. It appears blue when applied, but dries clear. I knew I had to seal the wood before gluing anything on it, and this worked like a charm. It even gave the wood a rich, darker color.
STEP 3: Glue Mixture (Fabric Stiffener)
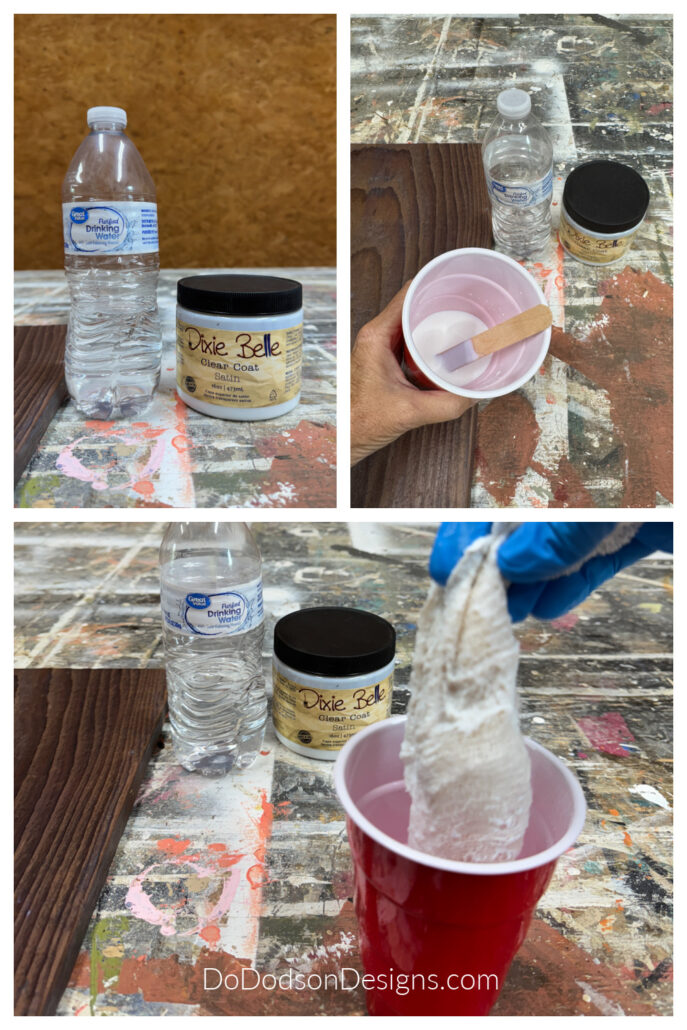
Using the same clear coat that I sealed the wood with, I added a small amount of water to the clear coat and mixed it well to make a fabric stiffener. I didn’t get the measurements because I was testing it out, so I thought.
It worked! I’m guessing the clear coat-to-water ratio was 4:1, meaning four parts clear coat to one part water. This mixture will be used to saturate the cheesecloth and to make the fabric stiff when it dries.
STEP 4: Shaping The Ghost Design
Apply another coat of clear coat (not the watered-down mixture) on the board to use as a glue just before applying the ghost.
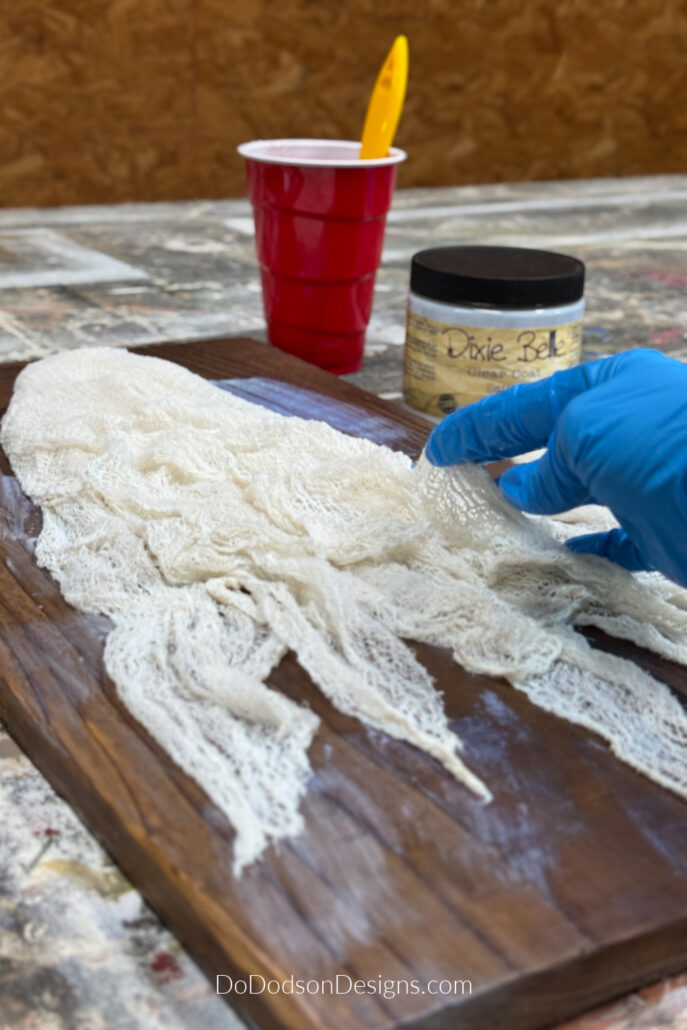
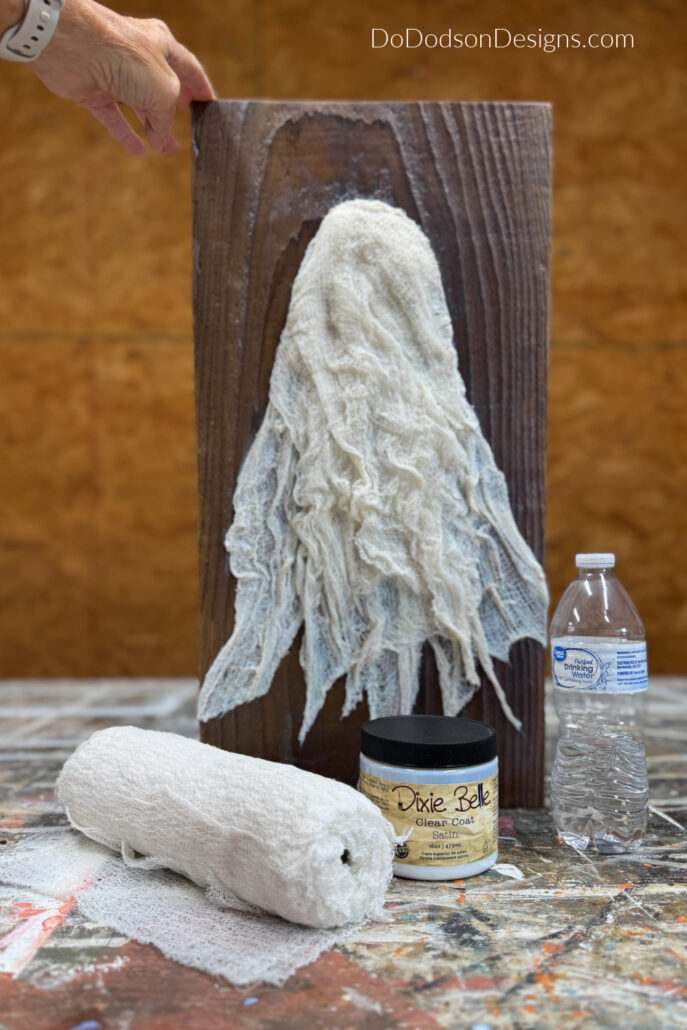
Next, cut four pieces of cheesecloth, each measuring 10 inches by 14 inches. Dip each piece of the cheesecloth into the fabric stiffener and squeeze out the excess back into the plastic cup.
Drape each piece from the head downward, shaping the head of the ghost as you go and allowing the bottom pieces to flare out.
Layer as you shape. Now is a good time to make any adjustments. You should have plenty of work time with the cheesecloth before it starts to dry.
Once you have your ghostie on the board, add more clear coat around the edges to secure it in place. Remember, the clear coat acts as a glue and will harden upon drying.
Since I opted to use unbleached cheesecloth for this project, it gave this DIY ghost a vintage vibe that complements my farmhouse style.
Also, please note that the clear coat will give a slight yellow hue to the fabric once it has dried. If you’re using unbleached cheesecloth, it’s hardly noticeable and adds to the overall vintage look. That’s what I was going for here.
And here’s how it looks wet.
STEP 5: Add Finishing Touches
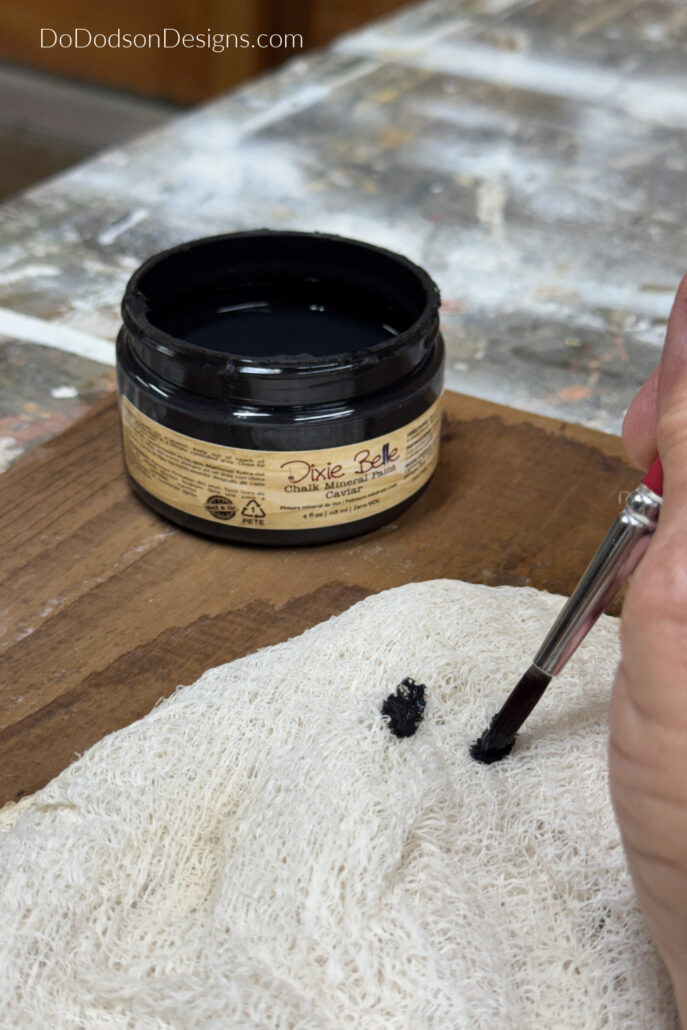
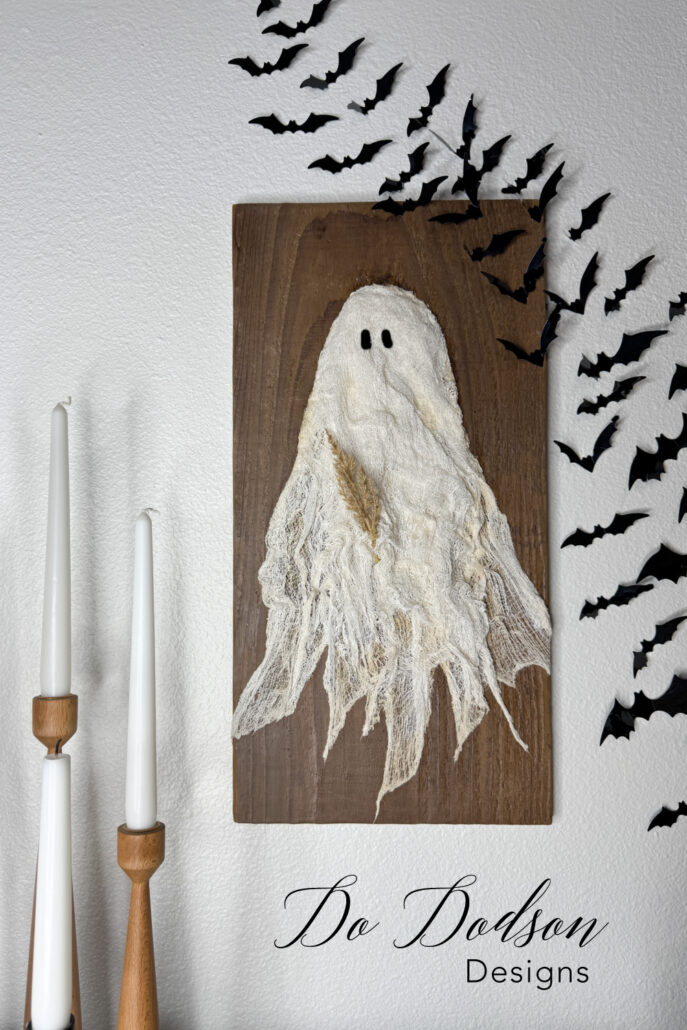
After it’s completely dried, of course, I added wide-open eyes to my DIY cheesecloth ghost.
The eyes are simple. I used chalk mineral paint in the color Caviar (black) and painted the eyes on with an art brush.
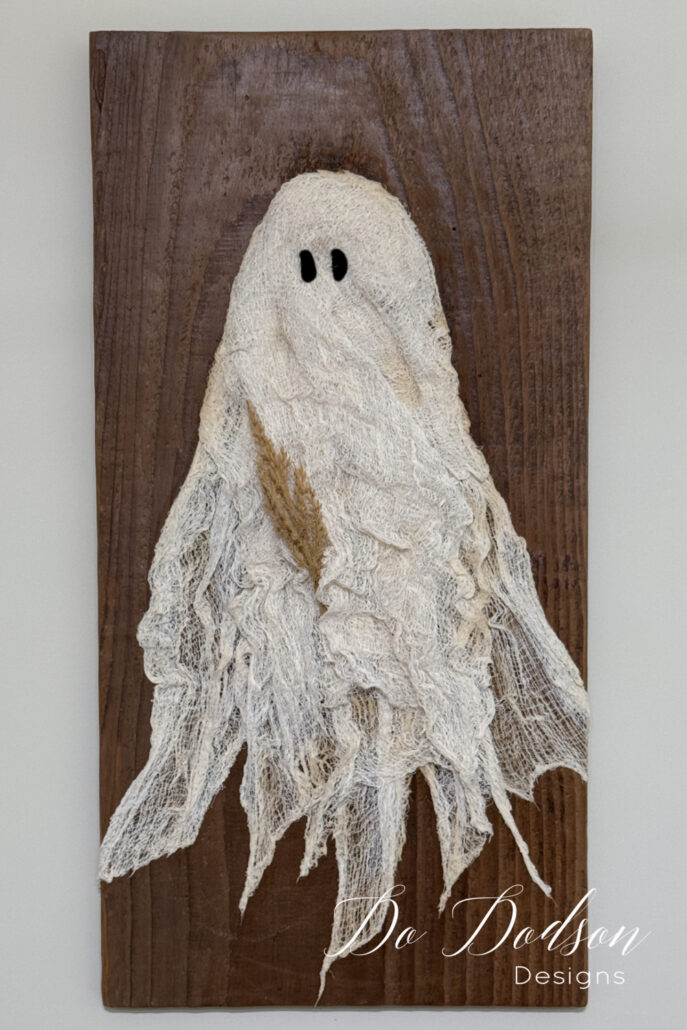
Add a picture hanger or D ring on the back, and it’s ready to hang on your wall.
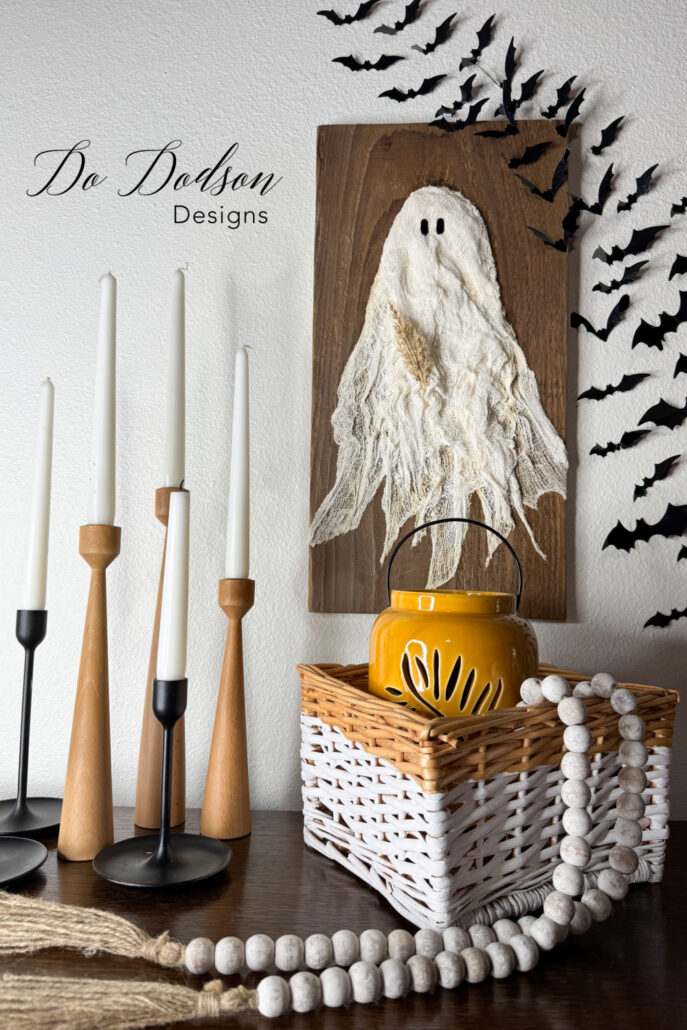
Display Your DIY Cheesecloth Ghost Portrait
My ghostie was so cute that I had to give her something to hold onto. Some dried flowers snipped from a Fall arrangement did the trick. I simply nestled them in the cheesecloth.
To add a special touch to my wall, I purchased these sweet little stick-on bats from Amazon. I swear I spent two hours applying them to my wall. The ghost was quicker!
CLICK HERE for more info on the decorative wall bats.
Now, if you wanted, you could always make smaller ghosts. What about a jar filled with Halloween candy with this sweet little DIY cheesecloth ghost on it? I may have to make one of those! So many ideas.
I’m glad you could join me today. As always, I’d love to hear your thoughts on this DIY project. Please leave me a comment below or say hello, so I know you’ve stopped by.
Until the next project… xo, Do
I love this! Looking for a board right now. Love your creativity. Thanks
Hi Carol! I think you’ll enjoy making this adorable little ghostie. Enjoy your weekend and happy crafting. 🙂 xo
I love the little ghost holding onto the dried flower – super cute. And cheesecloth for the WIN… that looks so good!!!! Enjoy your week my friend! hugs
Thank you, my friend! I sure will. You do the same. 🙂 xo
That is absolutely adorable! I can’t wait to give something similar a try.
Hi Shirley! You’re welcome and I hope you have as much fun creating them as I did. Have a beautiful weekend. XO