Hey triple-D friends! I just discovered the world of flower pounding on paper. OMG! How did I miss this? Now, I feel I must share it with the world. You first, of course. It was my first attempt at this interesting art form that combines nature’s beauty with creative expression. Who would have thought you could make art out of destroying flowers? You’re going to love this!
* As an Amazon Associate, I earn from qualifying purchases and through other companies as well. You will not be charged extra when you purchase through these affiliate links, but any income I make helps me create more amazing DIY projects to share with you! To see my full disclaimer, click here!
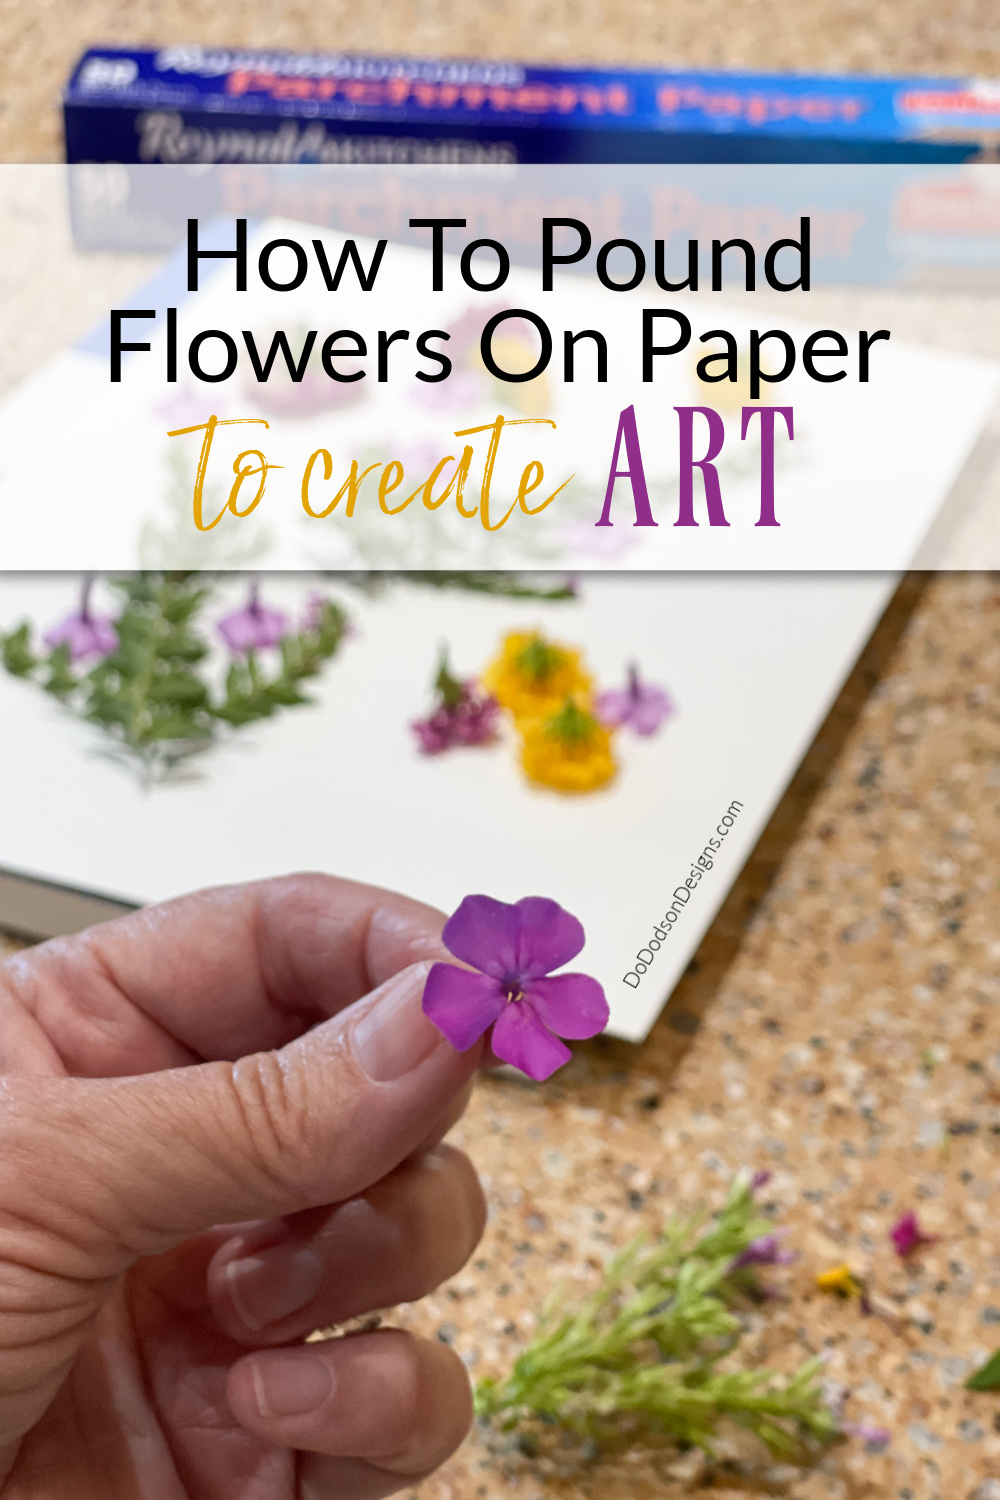
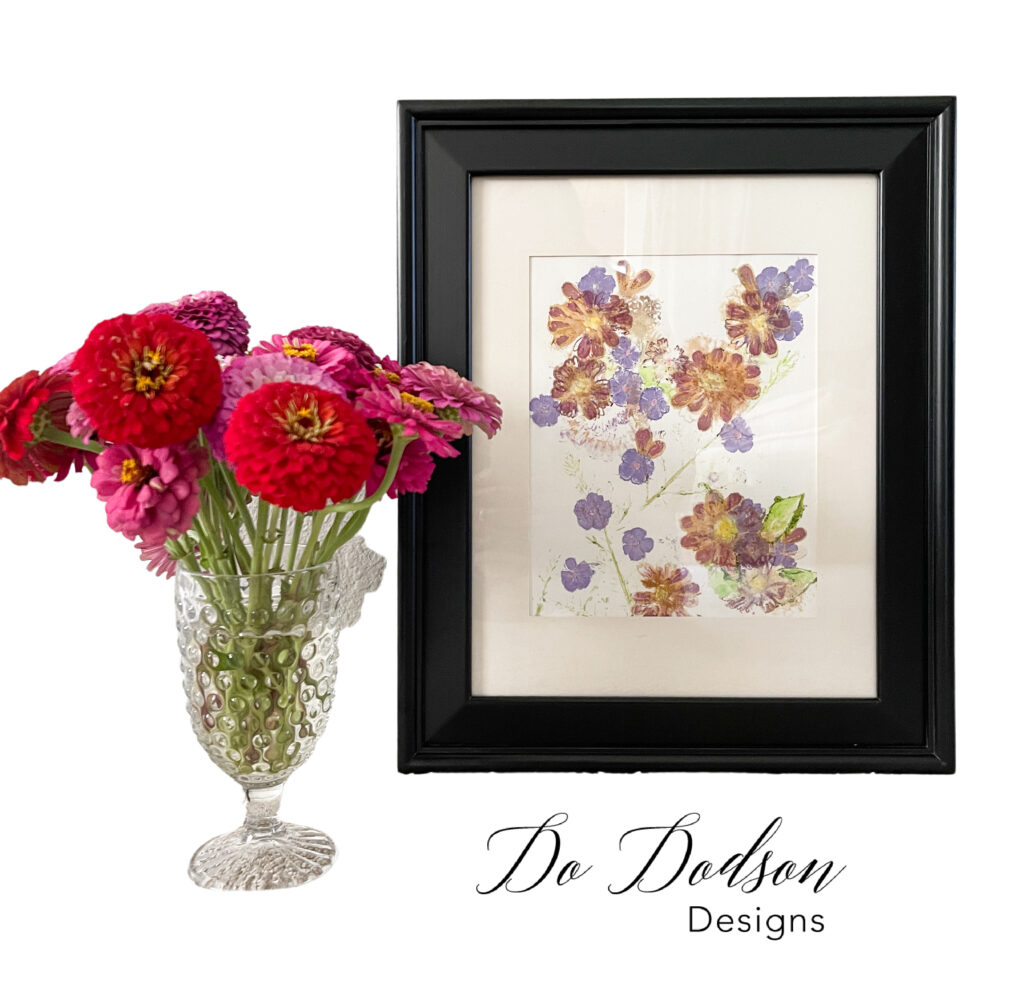
Pounding Flowers On Paper
I LOVE my gardens and work very hard. Actually, it’s not work when you enjoy the fruits of your labor.
Imagine a world where you can create and preserve those vibrant colors and textures to form beautiful works of art. Sounds magical, right?
Welcome to the art of flower pounding on paper, a secret art form that goes beyond traditional boundaries. I wrote this article to share my steps to create a stunning botanical print. So, gather your favorite blooms and come along on a journey that seamlessly blends the enchanting allure of flowers with the power of your creativity. Get ready to discover the art of flower pounding on paper and unleash your inner artist.
I also found this tutorial when I was searching that you might find helpful. Flower Pounding 101
Selecting the Right Flowers
Selecting the right flowers for your flower pounding project is important to achieve the best results. Since the entire process revolves around capturing the colors and patterns of the flowers on paper, I think it’s important to choose vibrant blooms with interesting textures. Consider flowers with contrasting shades and intricate petal designs to elevate the visual appeal of your botanical print.
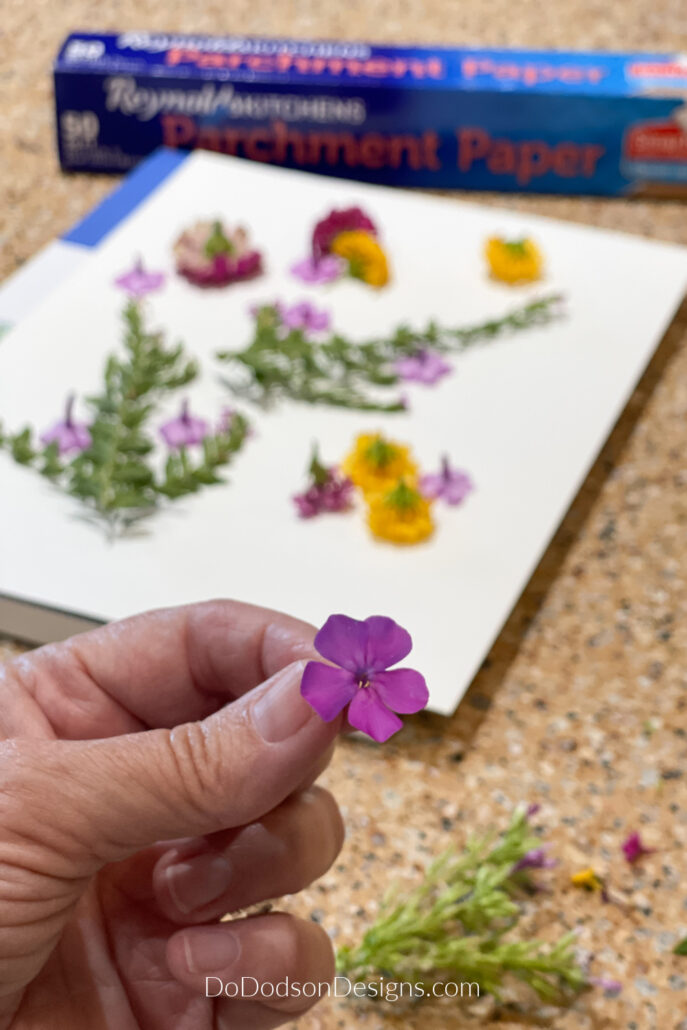
When selecting flowers for pounding, it is best to choose fresh blooms at their peak. Look for flowers with thick petals that will withstand the pounding process without disintegrating or losing their color. Delicate flower petals may not be suitable for this technique, as they are more likely to get damaged during the pounding process.

Experiment With A Variety Of Flowers And Colors
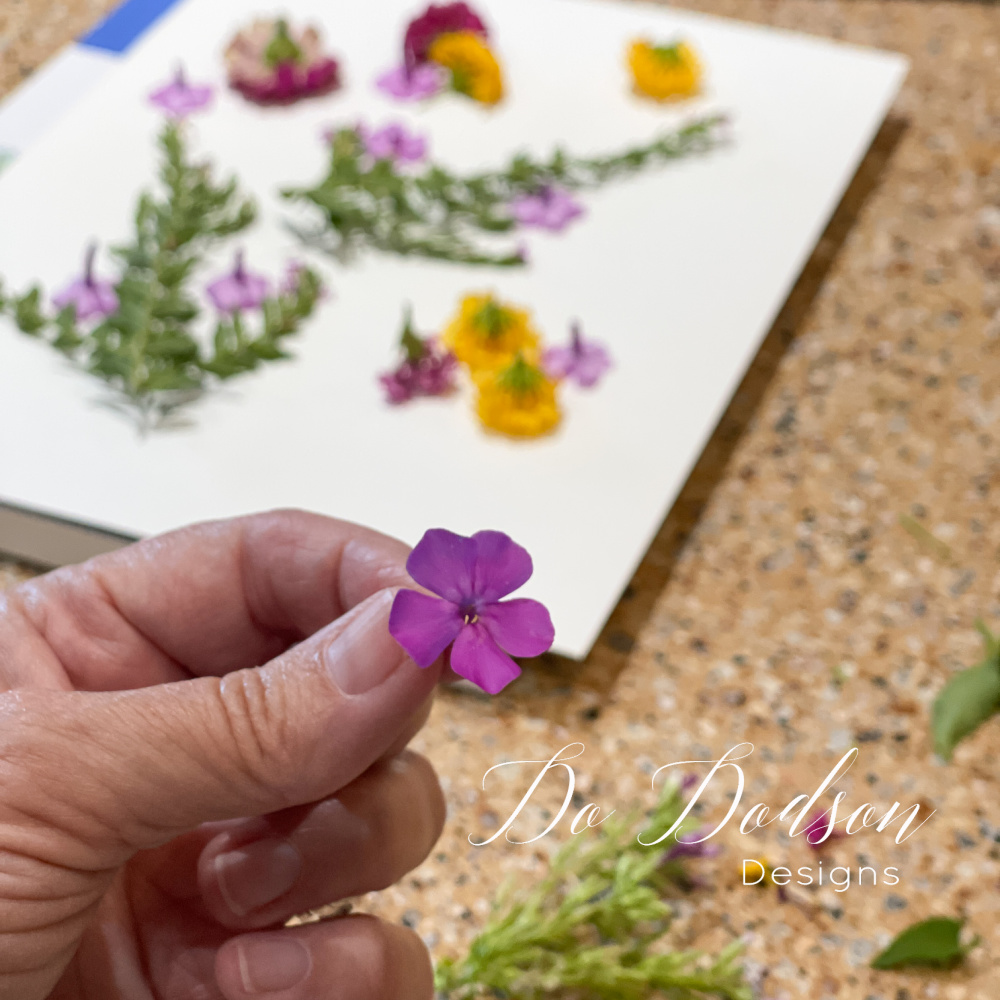
Experiment with various types of fresh flowers to create unique and eye-catching designs. Using different flowers produce different results, so don’t be afraid to mix and match. For instance, try combining flowers with bold hues like marigolds or sunflowers with softer, pastel-colored blooms like pansies or lavender. I found that my old-fashioned phlox worked beautifully. This combination of natural pigments will add depth and dimension to your prints.
Too bad I didn’t have hydrangeas. I’ll have to try this again with the Spring blooms.
Remember to consider the size and shape of the flowers as well. Smaller flowers will help to fill in gaps and add delicate details and layers to your prints, while larger blooms like black-eyed susans and zinnias can serve as the centerpiece or focal point. You can create visually appealing designs by strategically arranging a mixture of flowers and flower pedals. Doing this will help you create the layers that will make your art interesting and give it depth and dimension with beautiful results.
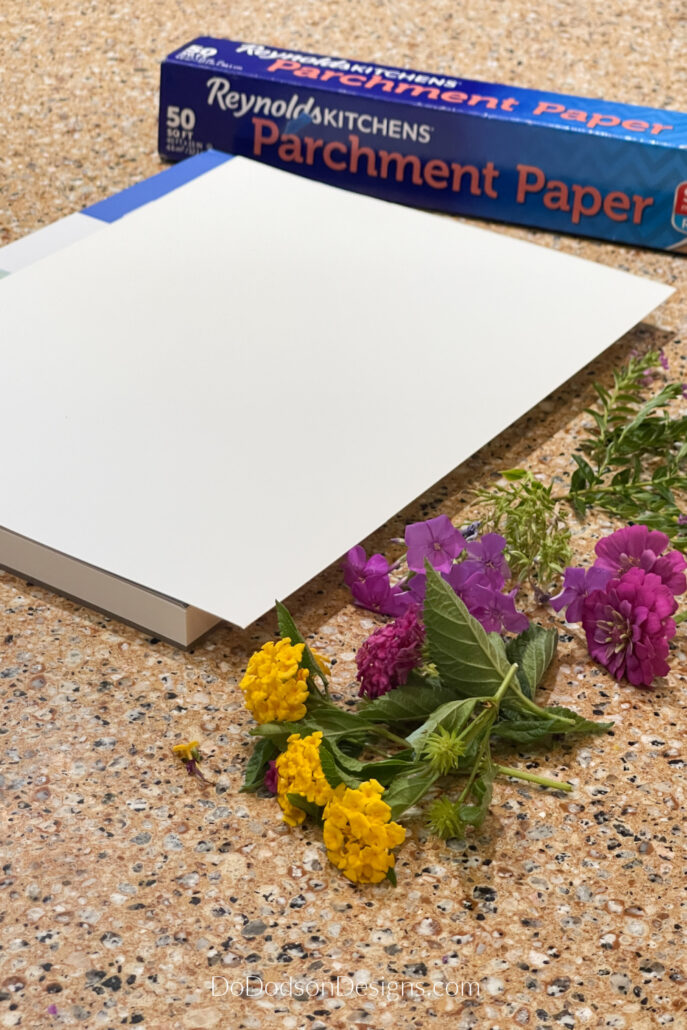
SUPPLY LIST:
- watercolor paper or cotton fabric like tea towels
- wax paper, parchment paper, or paper towel (use what you have on hand)
- hammer or rubber mallet
- frame for your art
STEP 1: Preparing the Paper
Firstly, choose a high-quality paper that can withstand the pounding process without tearing or warping. Thicker papers like watercolor or printmaking paper are ideal. You’re going to need sturdy weight paper that can handle the moisture and pressure involved.
Did you know this same pounding process can also be done on fabric? Here’s a fun tutorial about more on this subject. How To Pound Flowers On Fabric
But make sure that before you begin the pounding process, it’s essential to ensure that you choose a smooth paper that is free of any creases or wrinkles. Lay it flat on a clean, dry surface and gently smooth out imperfections.
STEP 2: Arranging The Flowers On Paper
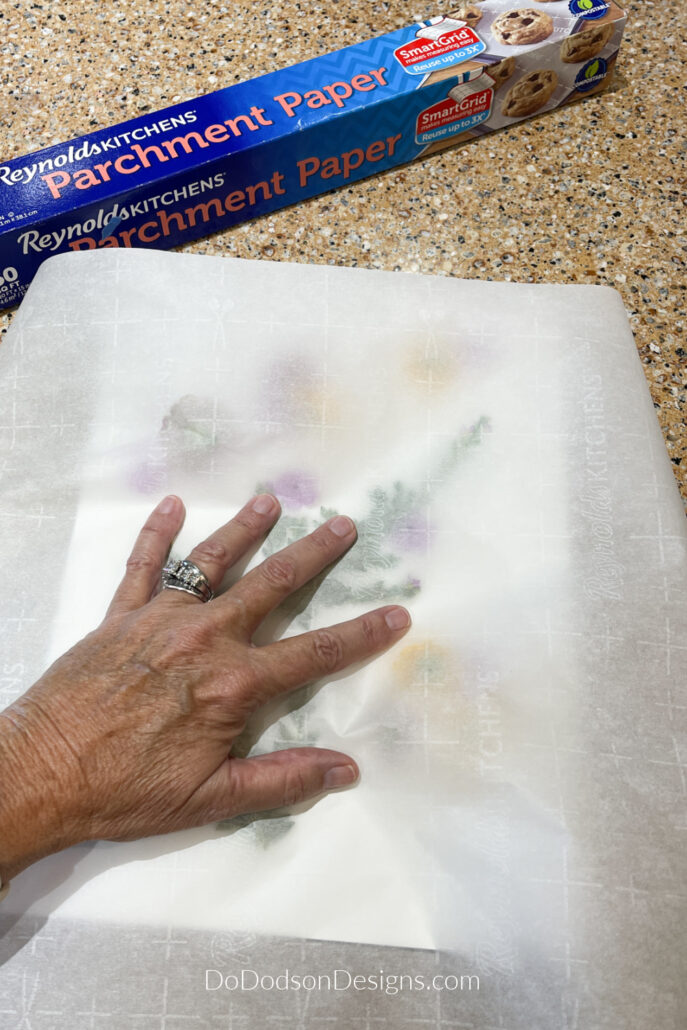
Secondly, after carefully selecting your flowers and greenery, start with the green leaves and stems first, placing them with the top sides of your plants down. Create your design being mindful that you will be strategically layering the flowers and flat petals over and around the greenery also with the flowers.
Be sure to remove the sepals and stems from the flower’s heads with a pair of scissors or flower snips to make for easier pounding. I discovered my mistake after the first attempt.
STEP 3: Master the Pounding Technique
Thirdly, with your arrangement of fresh flowers, stems, and greenery on the paper (fronds from ferns make beautiful stems, too), you are ready to dive into the delicate pounding technique.
Using wax or parchment paper, carefully lay a piece large enough to cover the flowers on top of the watercolor paper.
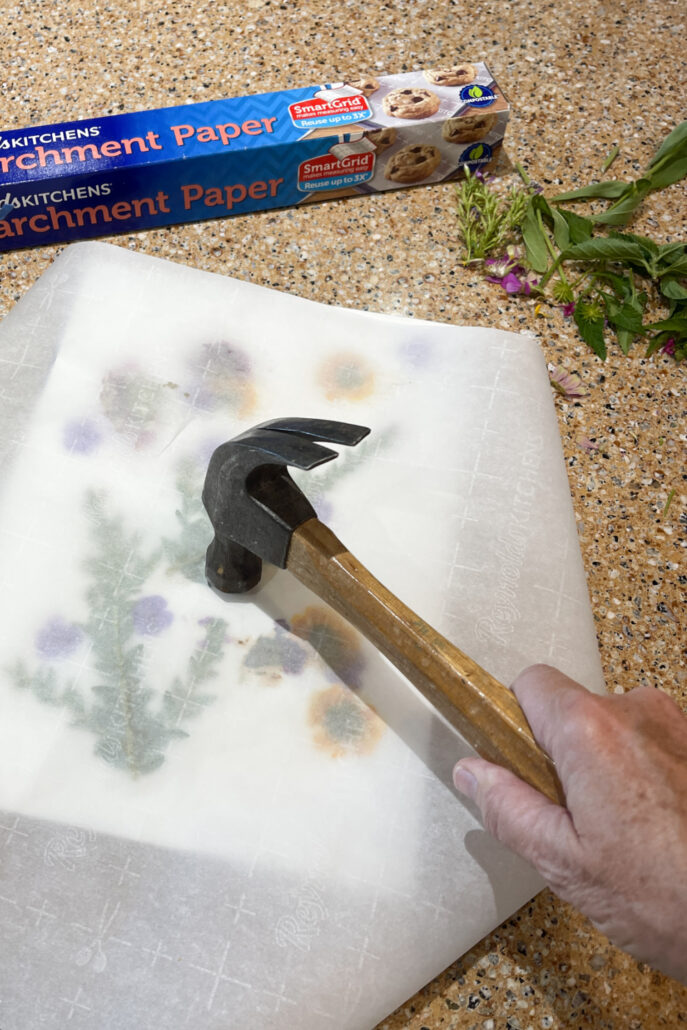
Because I was working on my hard countertop, I used the watercolor paper pad as my surface to pound on since all I had was a traditional hammer. A rubber mallet would probably be better… maybe. Let me know if you try it. I found my trusty hammer worked well for me.
Carefully begin to smash the flowers between the watercolor paper and wax paper with your hammer, being mindful not to miss the edges of the flowers. I found that the outline of the flower was important for definition.
Each strike of the hammer should be swift and decisive, ensuring that the pigments are transferred onto the paper before they have a chance to dry or fade. This can be particularly crucial when working with delicate or fast-drying flowers. Be patient and pay attention, ready to strike at the perfect moment to capture the beauty at its peak.
STEP 4: Be Delicate With Your Flower Pounding
As you begin the pounding technique, it’s important to remember the delicate nature of the process. The key here is to find the right balance between applying enough pressure to transfer the pigments from the flowers onto the paper and being mindful not to crush them completely. Remember, the goal is to create a beautiful imprint without damaging the petals or disrupting their natural patterns.
Additionally, pay close attention to the amount of force you exert with each strike. Pounding too hard can result in blurry or distorted prints, while pounding too lightly may not transfer enough pigment onto the paper. It’s a delicate dance that requires practice and a keen eye for detail. Experiment with different levels of pressure to find the sweet spot that gives the best results for the specific flowers you are using.
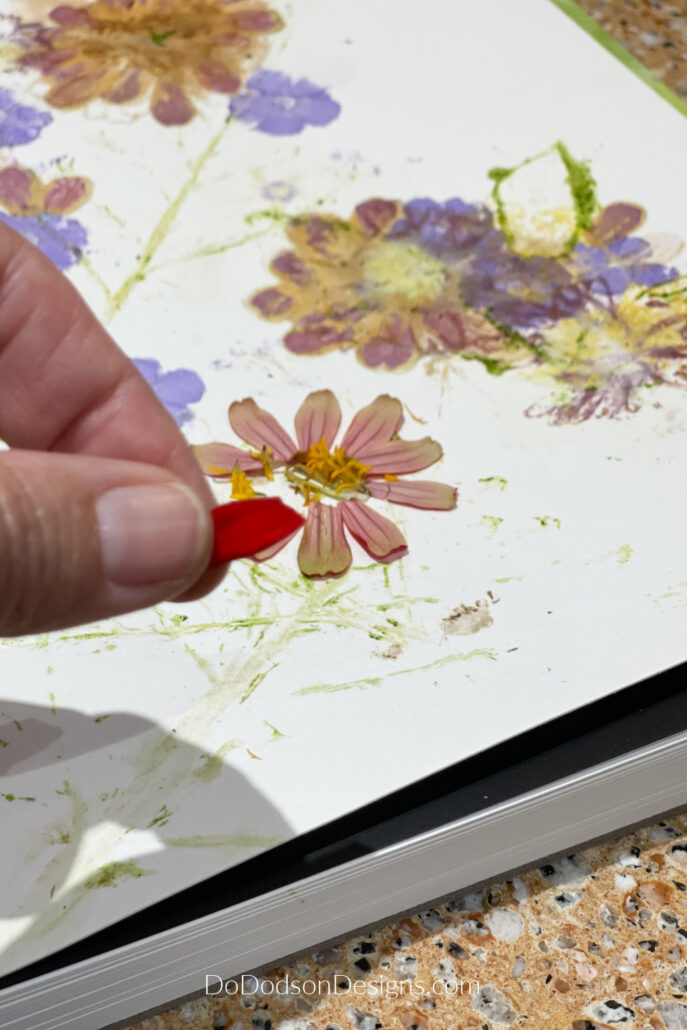
Once you have the florals transferred to the paper by pounding, carefully remove the parchment paper to reveal your smash art. Remove any remaining flowers from the paper and admire your work.
Now, you can continue to tweak and add more florals until your heart desires.
Creating Stunning Smashed Flower Art
Experimentation is also a key element in creating stunning botanical prints. Overlap individual flower petals in various colors. Don’t be afraid to try different combinations of flowers or even mix in other natural elements such as leaves or wood elements from the plants. Allow your creativity to guide you, and don’t be afraid to take risks. Sometimes, the most unexpected combinations can result in the most stunning prints.
Artistic Floral Prints
Lastly, take the time to observe the variations of each flower, from the way the petals fold to the intricate patterns of the veins. By observing these details and incorporating them into your prints, you can capture the essence of each flower and create a truly one-of-a-kind piece of art.
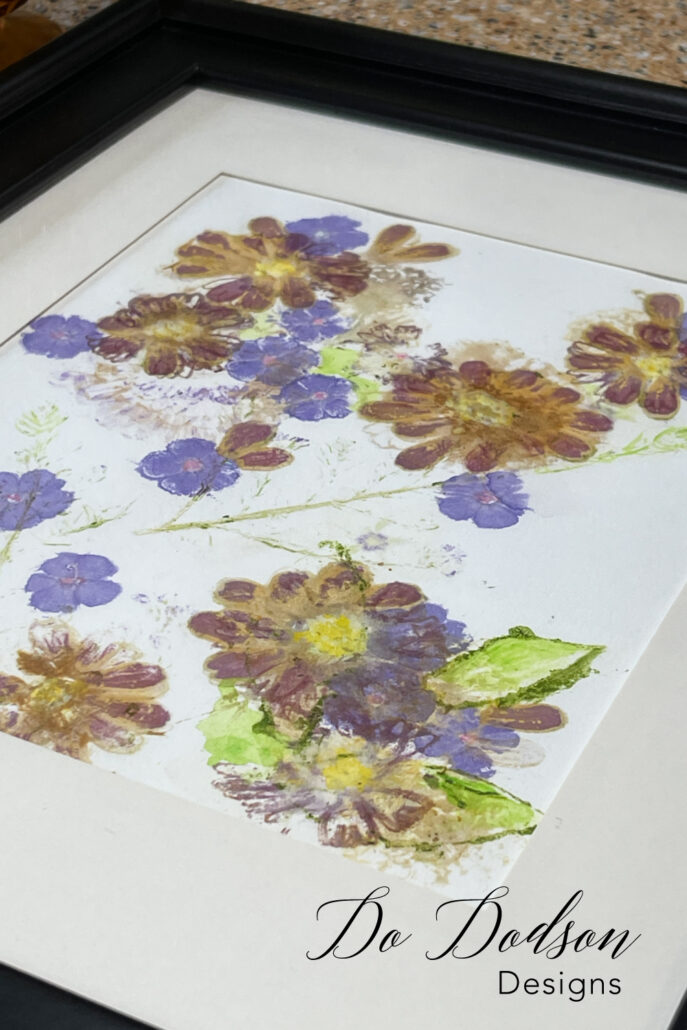
In conclusion, the art of flower pounding (smashing) on paper has opened my eyes to a world where my flower gardens can intertwine with my creative expression. I’m hooked! This technique would also look great on special occasion cards. Have a kid-friendly craft night they will never forget.
Like this creative idea? Let me know your thoughts in the comment section below, or just say hi so I know you stopped by. Don’t forget to PIN and share this idea with your creative friends.
If you decide to try this creative idea, keep in mind the words of Vincent Van Gogh: “If you truly love nature, you will find beauty everywhere.” Happy flower pounding!
Until the next project… xo, Do

This is such a fun idea! It looks so nice in a frame.
Hey Wendy! It was super FUN smashing flowers with a hammer. 🤩 You should try it. 😘🙂
I just want to thank you. I’m always looking for projects to keep my 90 year old mom interested and feeling productive. She used to be a talented artist, but her vision and attention span aren’t what they once were. She loves her garden, so I think this project will be a wonderful for her. Thank you!
Hi Rebecca!
I never thought about that. My Mom is 85 and I think she would love it too. Thank you so much for opening my eyes. She loves gardening as well.
Have fun creating with your Mother and if you get a chance, I would love a photo of her with her smash art. 😍
xo 🙂
I’ve heard of flower pressing but NEVER flower pounding… this is awesome!!! Thanks for sharing my friend. XOXO
Right? It was new to me as well but a lot more fun. Thanks for stopping by. Have a good weekend, my friend. xo 😘
I’ve wanted to try this since I saw it on Crissy’s blog! Your version is beautiful Do! Pinning!
Ohhhhh, I need to check hers out! You should try it with all your lovely flowers. Thank you, my friend. 😘❤️
I bet the flowers aren’t so keen …
😂 I guess we wouldn’t been so keen either if we were smashed with a hammer. With the brutal Summer we’re having in Texas, the heat was getting to them anyways.
Do you know if you can use watercolor as a background on the watercolor paper before you apply and pound the flowers?
Hi Susan,
That’s a great question. I haven’t tried it but I think it would depend on the background color and the flowers. If the flowers are a contrasting color, I think it would work. Let me know if you try it.
Did you try it with your gorgeous hydrangeas yet? I LOVE this project. 🌸🌸🌸 Such a great idea to create unique garden art that lasts all year and more! Enjoy your weekend Do! XOXO
Hi Denise! Great idea! I have not. We had a weird freeze and it knocked them all down. Hopefully they will come back but it will be late Spring. I want to try it on fabric next. Stay tuned! Enjoy your week. 😘 xo