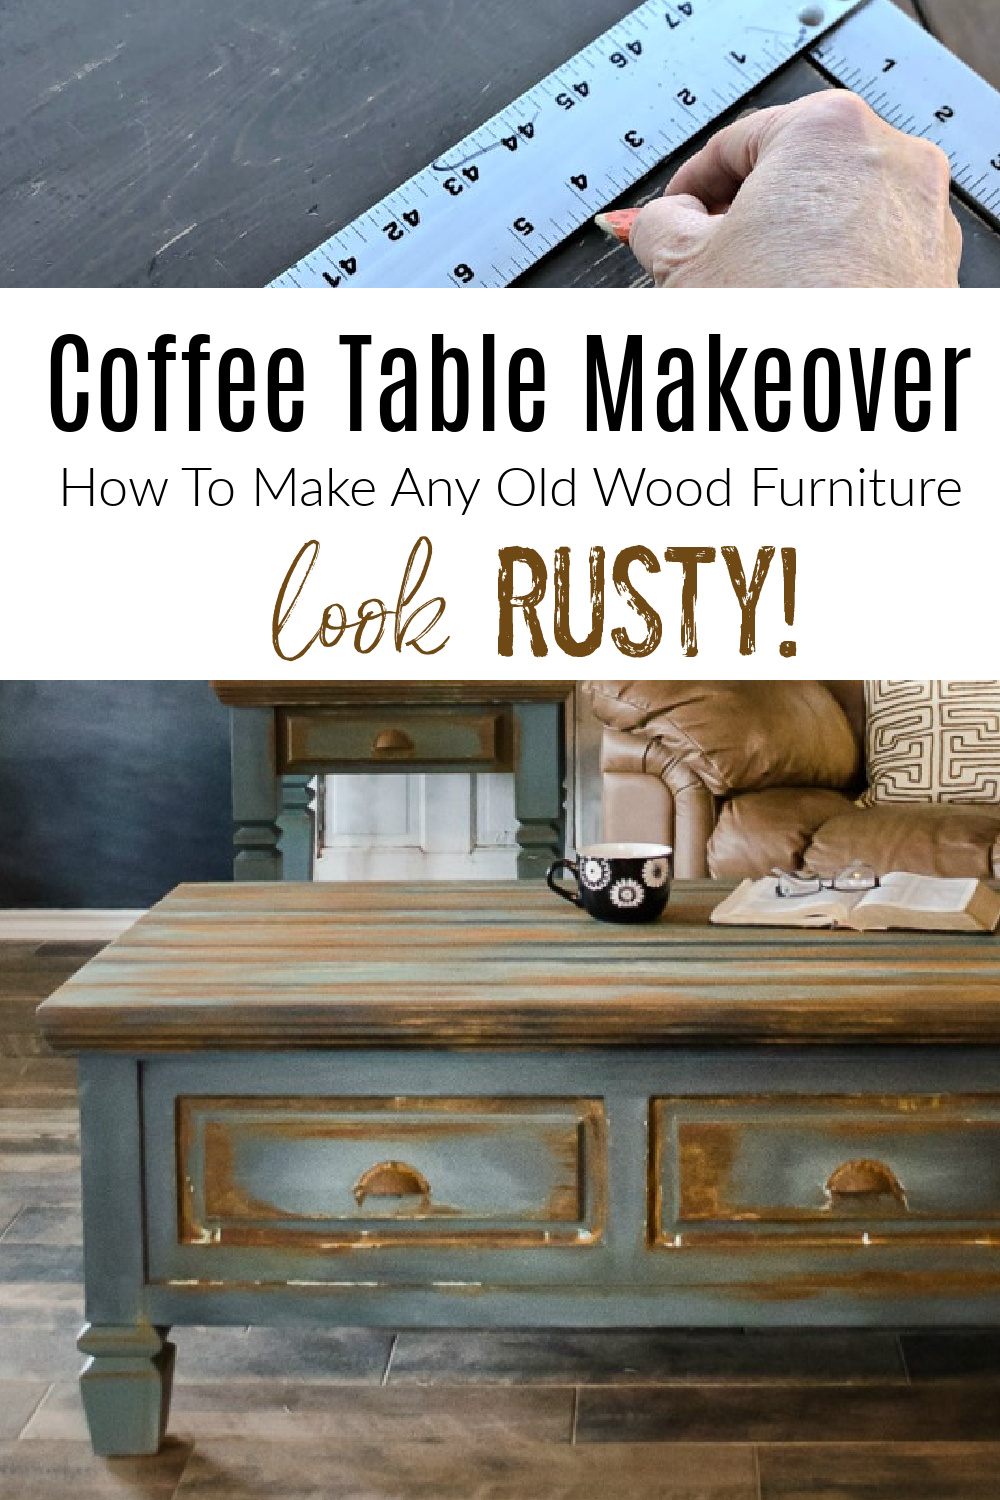
When I think of man cave furniture, I think of leather, wood, and all things chunky and manly. Unfortunately for my man, this isn’t my style of choice for our home. Give me all the pretty! Did I say OUR home? Yikes! That’s where the man cave furniture comes in. Sometimes you just need to bend a little in marriage and that’s what I did.
This post contains a few affiliate links to help you find the products I use. You are not charged extra to use any of the links, but any income I make will be used for more fun projects! To see my full disclaimer, click here.
How To Create Rusty Man Cave Furniture
Before starting a project I pretty much have in my mind what I’m looking for. I had heard that our local church was having a garage sale so I headed out to see what I could find. Most everything is donated to these sales and you can really SCORE big if you’re lucky.
Yep! I SCORED big time when I found this coffee table and matching side of super chunky manliness for $20. There’s nothing feminine about this coffee table and I was pretty sure it was perfect for my idea.
This photo doesn’t show the coolest feature about this table, but the top is attached with springs that allow it to elevate into a tabletop. Football central right here!!! I can just see all his snacks and beverages sitting nicely right in front of his oversized leather recliner… AKA throne to HIS royal highness.
Creating a Faux Wood Plank Table Top
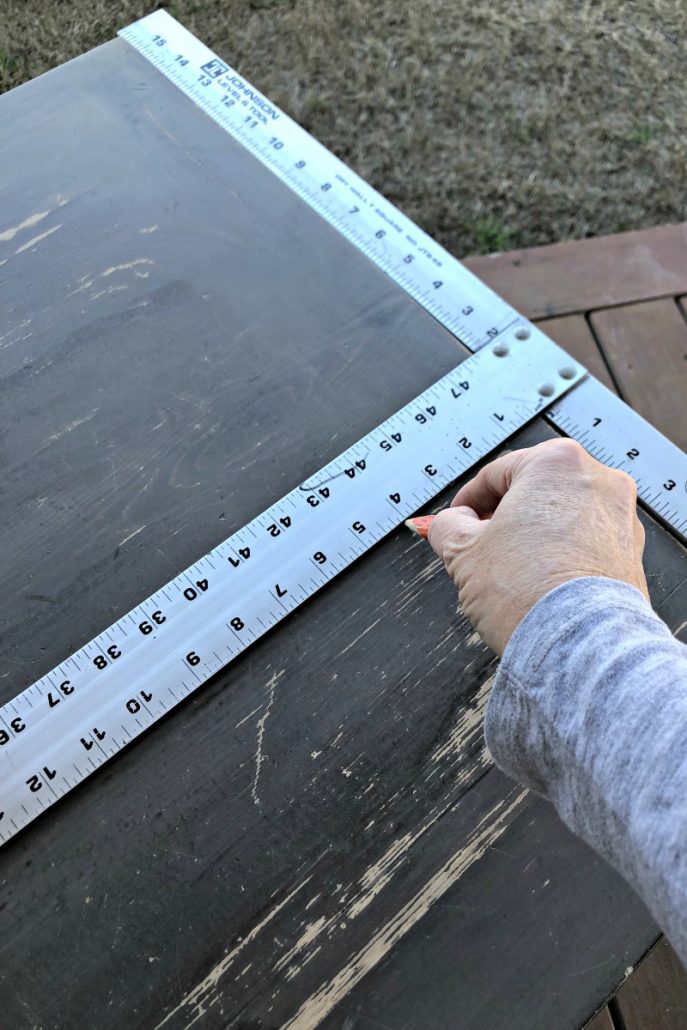
The tabletop on this coffee table was looking a little too plain for my fancy. I wanted it to be manly but farmhouse-ish, so I decided to create a faux plank top by cutting grooves all across the top to look like wood planks. Using a square, I marked lines all the way across the tabletop in random sizes. Kinda like plank boards.
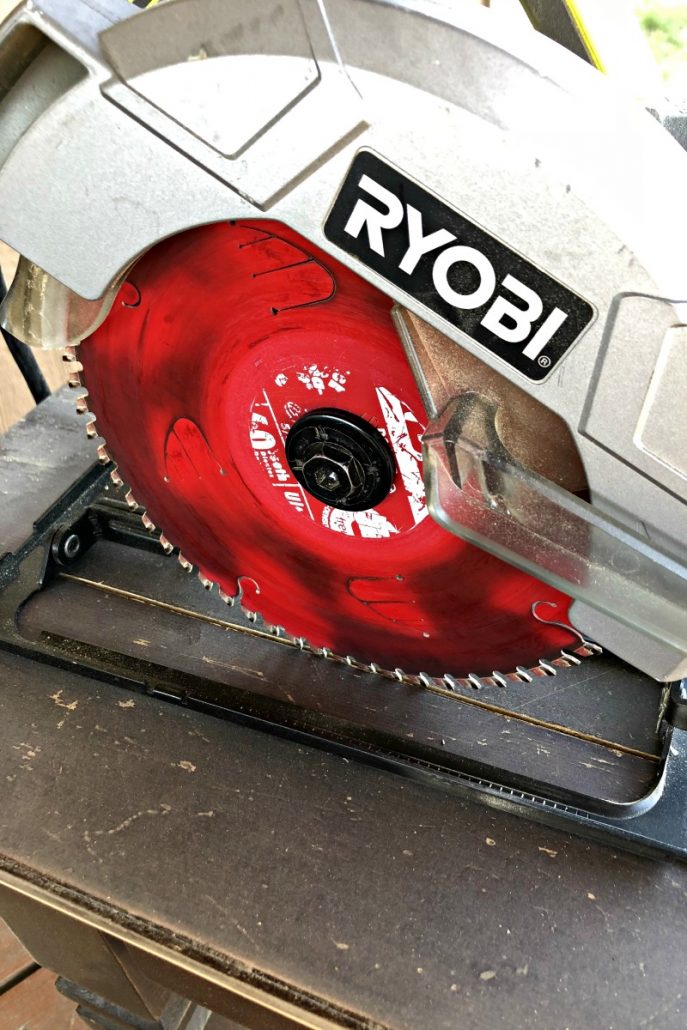
Using my Ryobi circular saw, I set the depth to about 1/8 of an inch and cut grooves all across the top of the wood table. After a quick sanding and cleaning, it was ready for paint.
Painting The Base Color of the Coffee Table
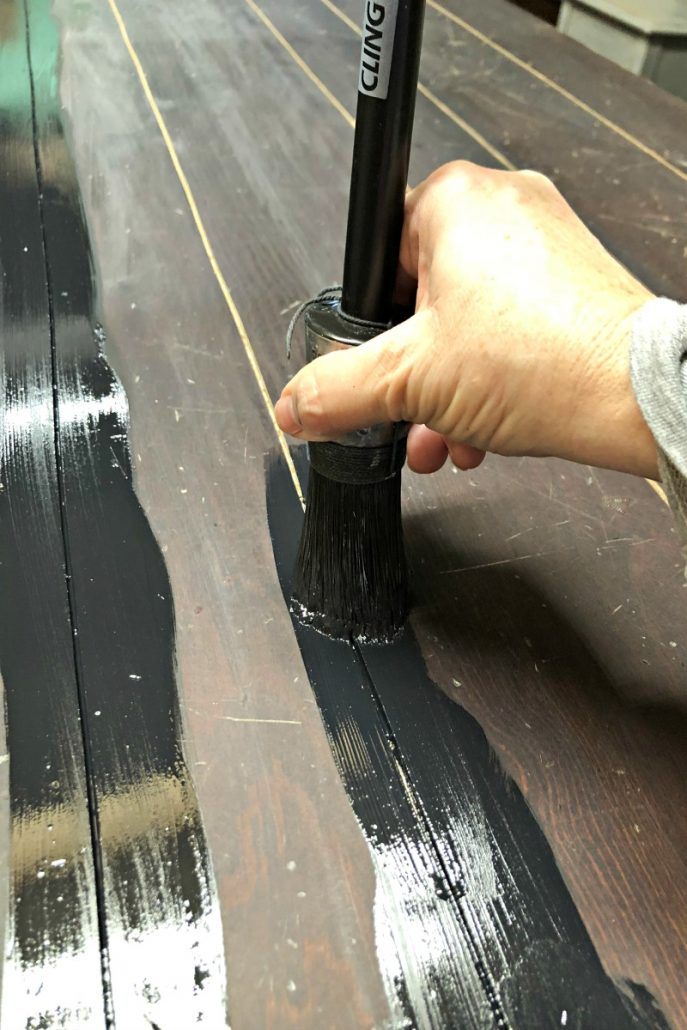
The grooves that were cut into the wood were painted with Caviar (black) to give the appearance of planks.
Next, I layered and blended Stormy Seas (blue-gray) over the black to give the coffee table a subtle but blended look. CLICK HERE to learn more about blending paint on furniture.
The whole process was super easy and so much fun.
You can purchase your Dixie Belle Paint right ⇒ HERE and have everything shipped right to your front door. A smooth creamy chalk mineral paint that covers wood furniture like a dream.
- Stormy Seas Chalk Mineral Paint
- Caviar Chalk Mineral Paint
- Prime Start for metal surfaces (metal handles only)
- Iron Patina Paint
- Patina Spray
- Gator Hide Top Coat
- Cling On Brush for blending (I use different sizes). The larger brush for painting large surfaces and the small brush was used for blending and shading.
- Chip brush for application of Iron Paint
- Spray bottle for water (blending paint)
The Patina Spray Activator In Progress
After painting the base colors and allowing it to dry, I added the Iron Patina Paint with a chip brush in the areas I wanted the rusty patina.
Immediately after adding the iron paint, I sprayed the Patina Spray (while it was still wet) over all the areas where the Iron paint was applied. Allowing the patina spray to pool and puddle in some areas and even dip off the sides and down the legs created a unique look.
In this photo, you can see how the Patina spray is activating the iron paint. The whole process takes between 2- 6 hours. I let it sit overnight for the ultimate rusty finish.
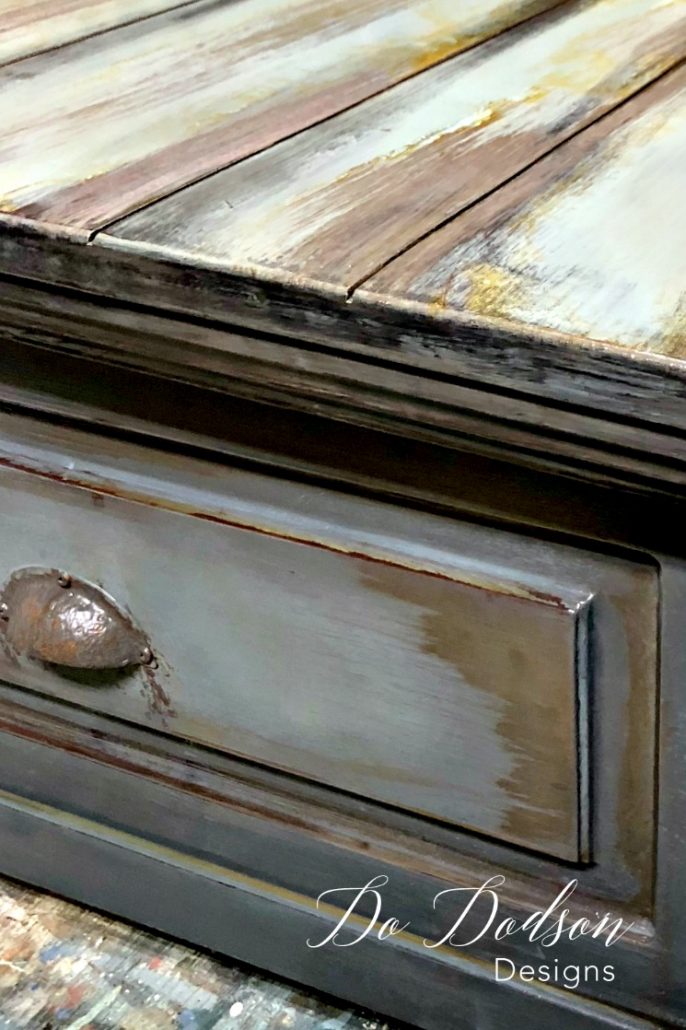
Is this not cool or what?!
The next morning I was so excited that I called my hubby out to the studio for his opinion on the rusty man cave furniture. Trust me when I say I rarely ask his opinion with my work. “paint ruins wood” Yep, he’s all man.
Well, his response was all I needed. One word. WOW! The BEST compliment ever. That was until he decided we should keep it. What did I just DO??? My style is farmhouse not man cave central. That’s what I get for being creative. LOL
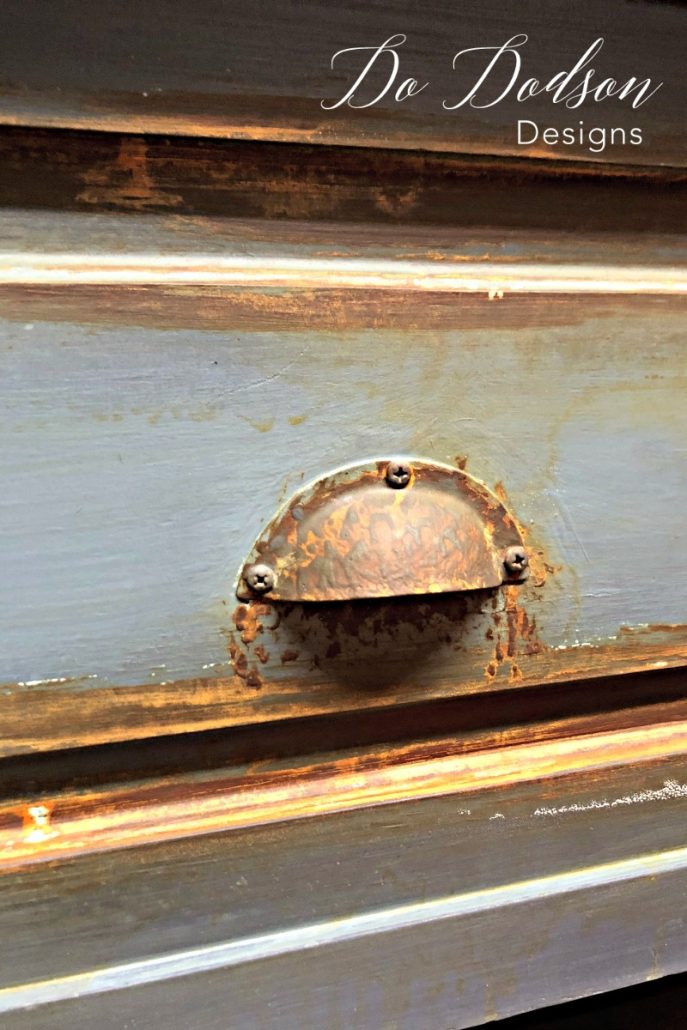
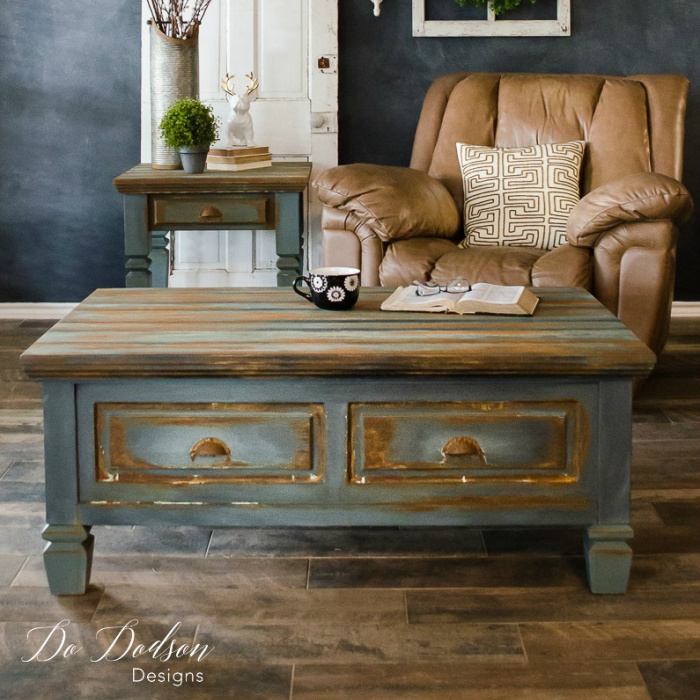
Welcome to Man Cave Central!
This is the look after about 8 hours. It’s perfect in every way. I sealed the finish with the Gator Hide topcoat for ultimate water-resistant protection.
The video tutorial is available in The Ary=t O Painting Furniture
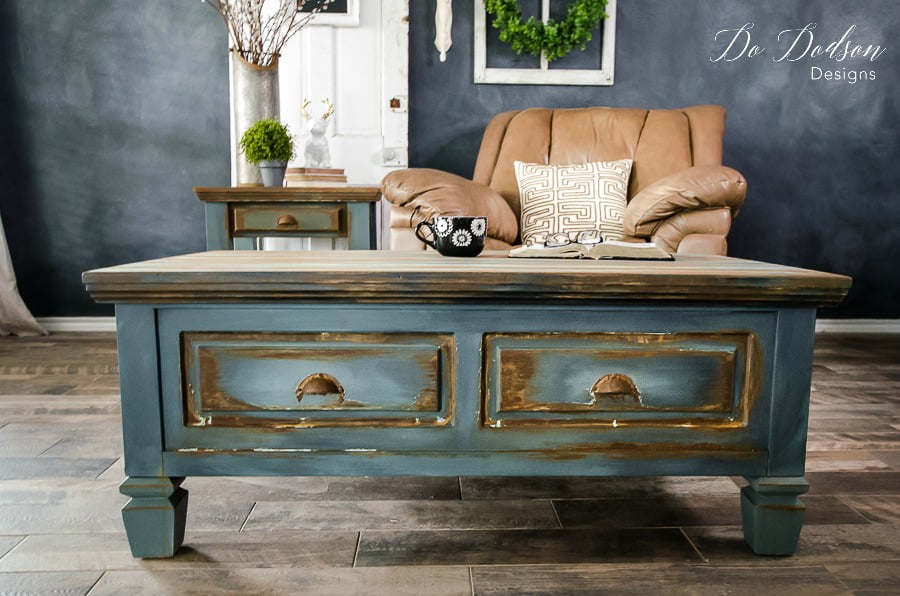
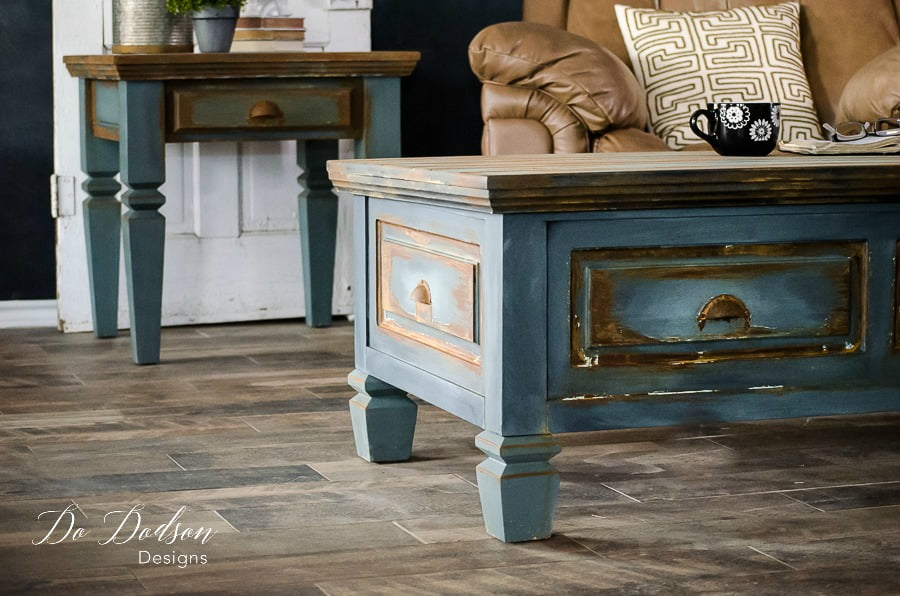
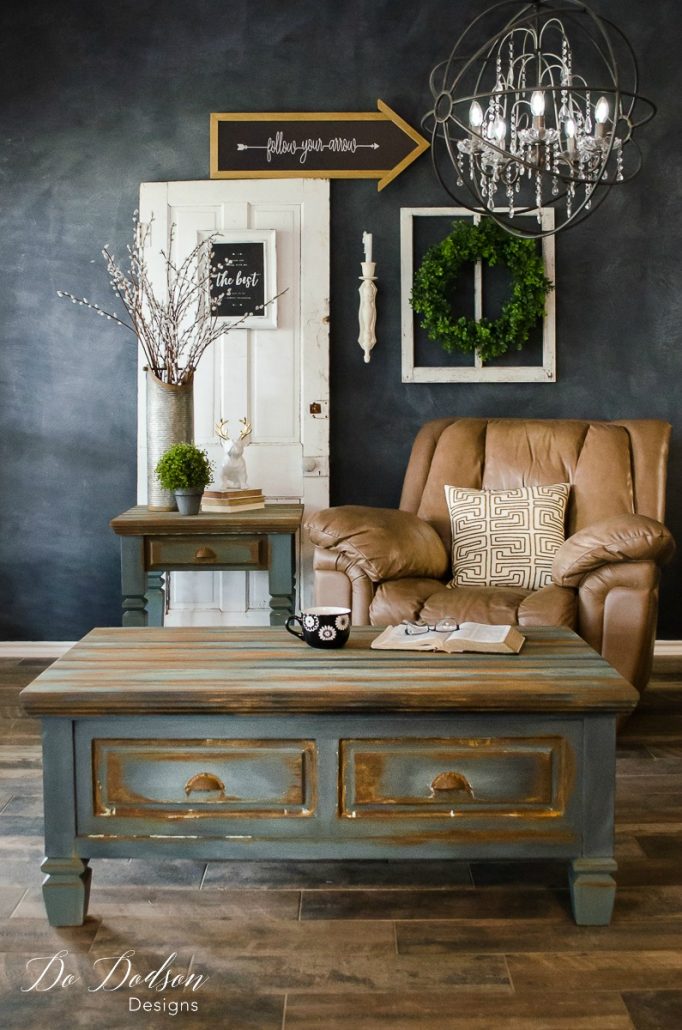
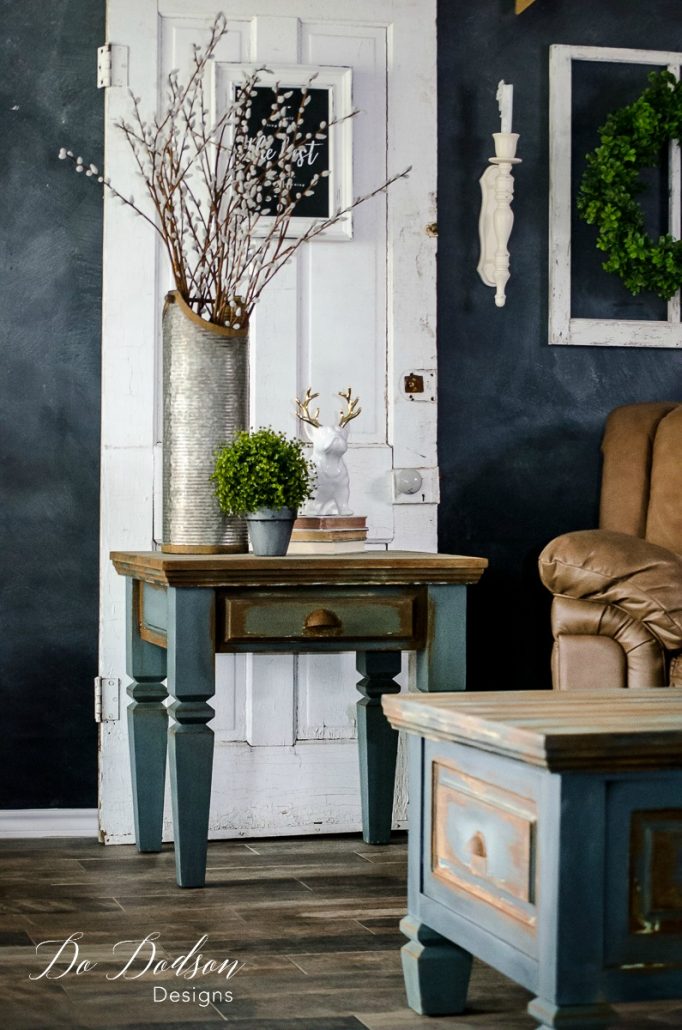
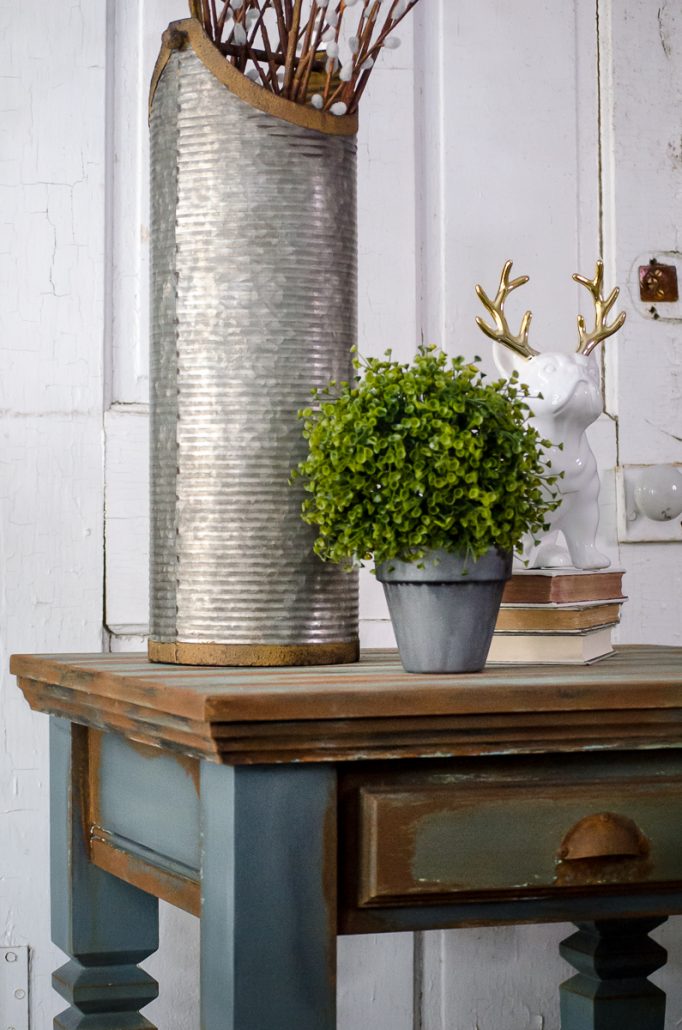
Well, to this day this set still is a part of our home. He did agree that I could add my feminine touches. Thank goodness! I recently share our home on a blog. If you want to see how it blends in with my decor, CLICK HERE!
Thank you so much for stopping by. I hope you enjoyed this manly makeover. It was too fun! If you enjoyed this faux rust finish, I have another I’d like to share with you. CLICK HERE to check out even more rust on a wooden chest of drawers. It’s pretty cool!
Until the next project… xo, Do