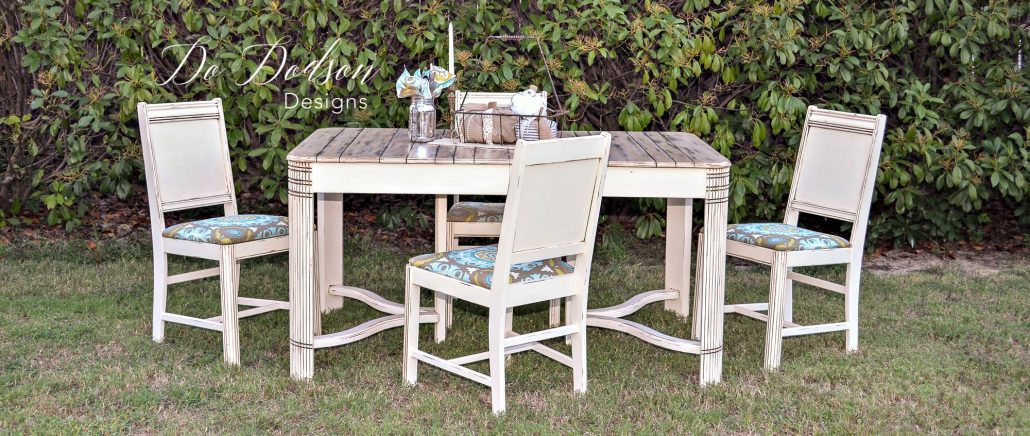
I adore a farmhouse kitchen table. It reminds me of simpler times when everyone gathered around the table for a family meal.
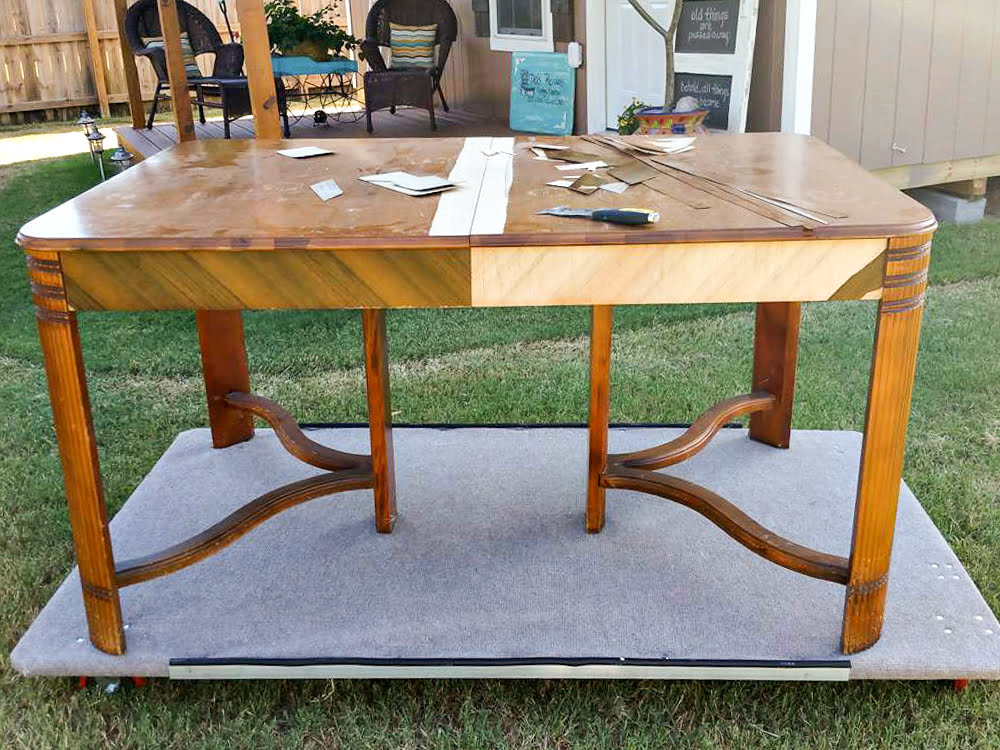
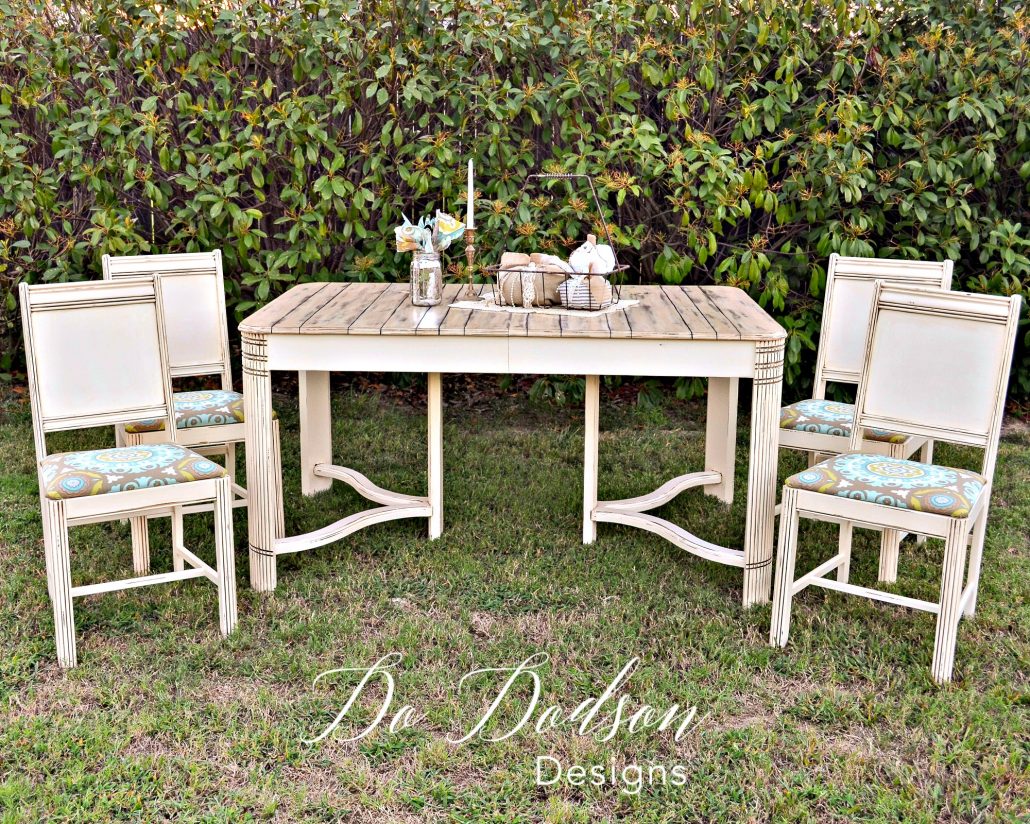
I received a call from a friend wanting to know if I wanted a dining room set. Like with most freebies, it comes with a price. Not literally, but the price of timely repairs. It was a great-looking table, and my inner voice was screaming, “you can do this!” Today, I’ll show you how I created a faux plank farmhouse tabletop on a vintage table with very little skill.
This post contains a few affiliate links to help you find the products I use. You are not charged extra to use any of the links, but any income I make will be used for more fun projects! To see my full disclaimer, click here.
Faux Plank Farmhouse Kitchen Table
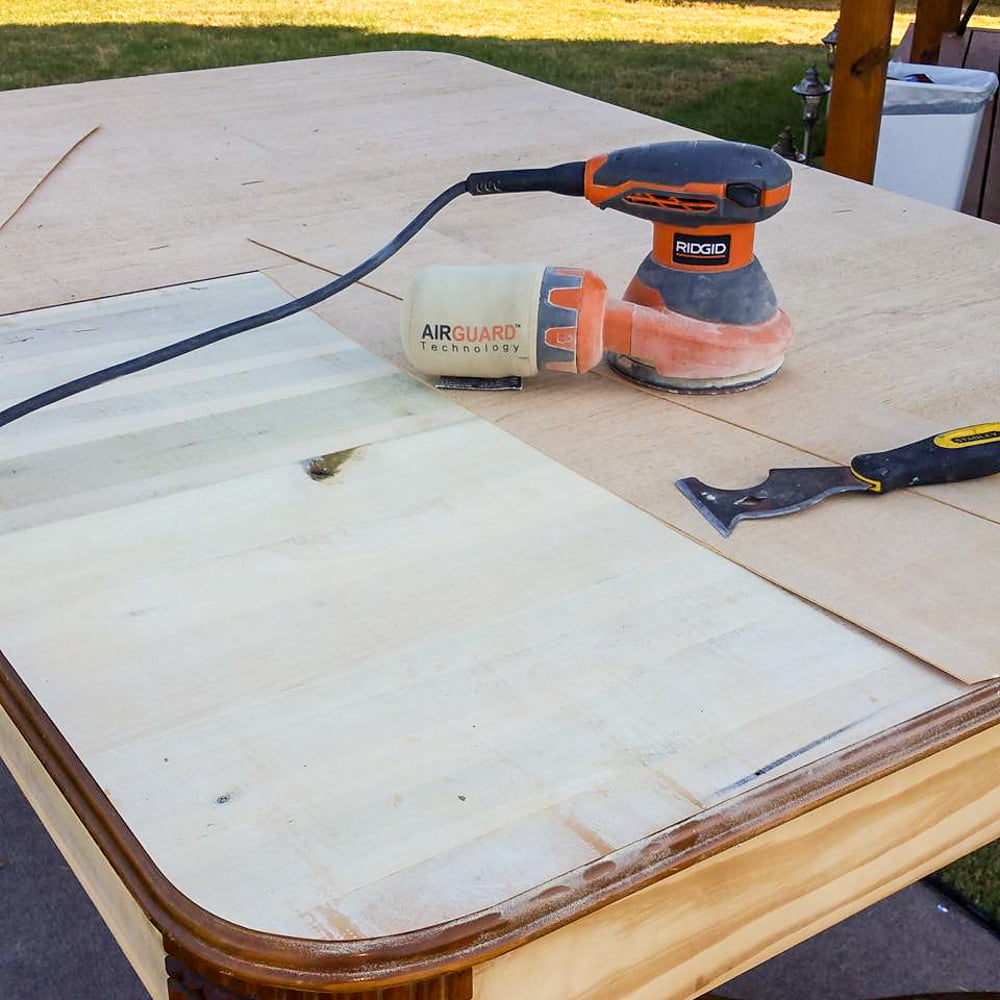
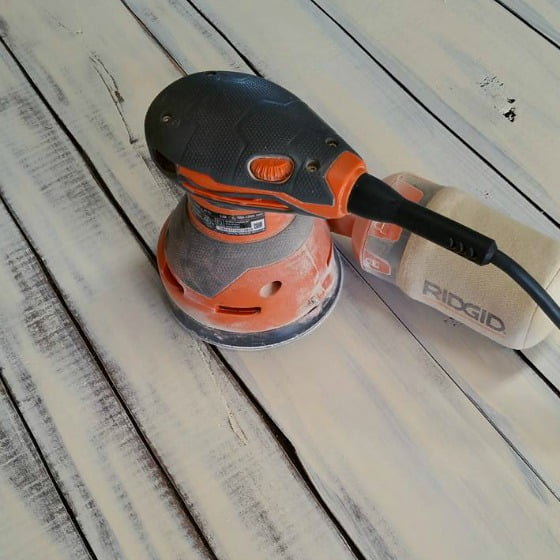
To say this kitchen table was a hot mess was an understatement. Of course, it had veneer issues. For some reason, that seems to be my jam! Lucky me, the veneer was very loose and came off with a paint scraper. Once I removed the veneer, I used my sander to sand down the whole tabletop with 220 grit sandpaper to get it ready for stain. Yep, there was beautiful wood under all that veneer. GORGEOUS!
Supply Lists:
- Carpenter’s Square
- Carpenter’s Pencil
- Circular Saw
- Electric Sander
- 220 grit sandpaper
- Butter Cream (chalk mineral paint)
- Decorative Glaze
- Water-based Topcoat
Cutting Grooves In The Wood Tabletop
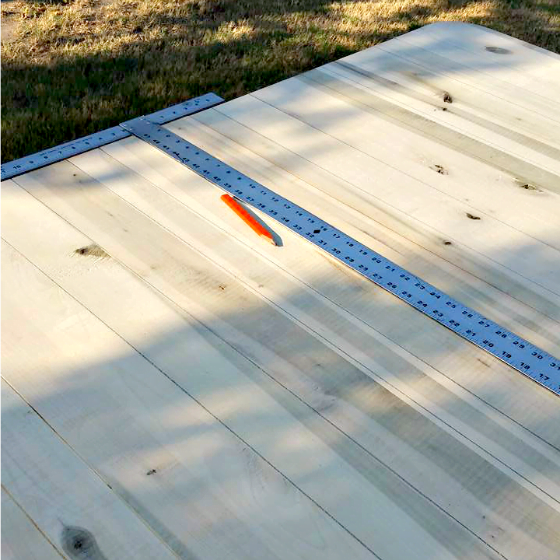
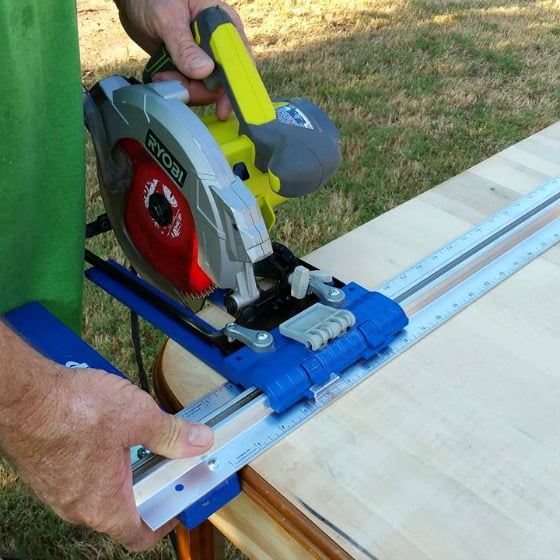
I used a carpenter’s square to draw straight lines across the top of the farmhouse kitchen table to create a pattern of wood planks. I just eyeballed it. No one measurement was the same—rustic and random sizes that would mimic old planks.
With a circular saw, I set the depth to 1/8 inch. Starting at one end, I worked my way across the table, cutting grooves on each line. This was fairly simple, and it created the look of faux wood planks. To keep the lines straight, I started using a guide. That didn’t work out too well. The edges of the table were curved, and it wasn’t easy to keep them straight. I removed the guide and freehanded the groove cuts. As it turned out, the uneven look made it appear even more like rough sawn wood. Perfection is way overrated in my book, and imperfection can add so much character to a farmhouse kitchen table.
Staining The Wood Tabletop
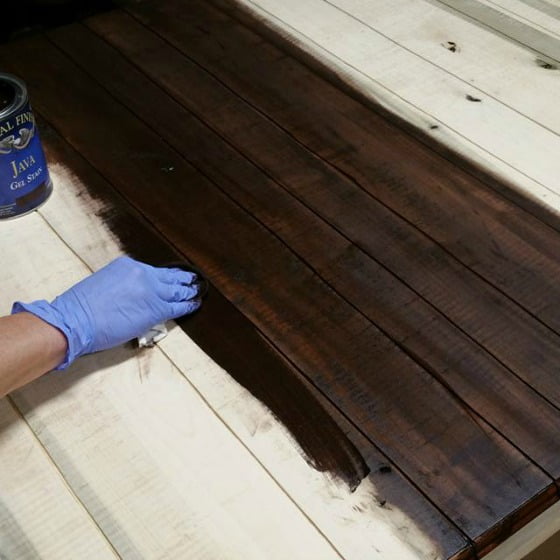
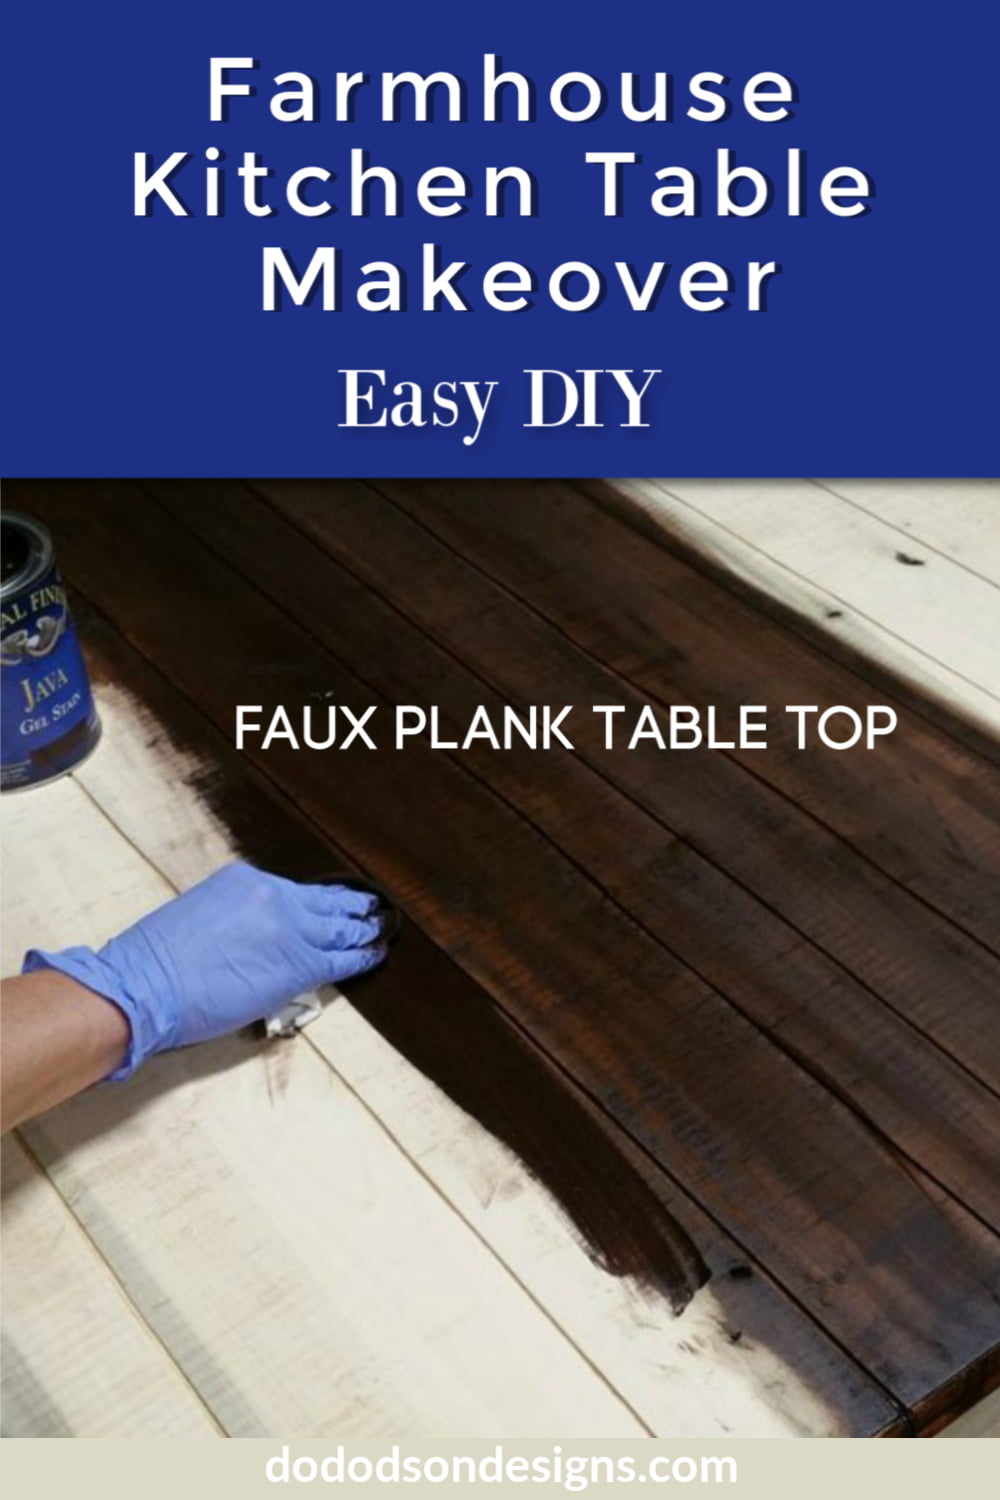
To get the farmhouse look I wanted, I used General Finishes Java Gel to stain the wood and being mindful of making sure it got into all those wood grooves.
Painting The Tabletop
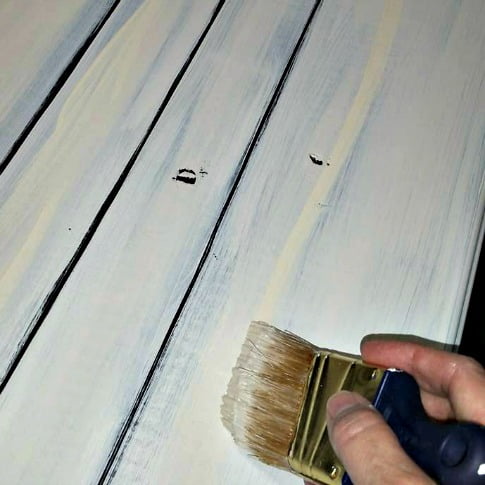
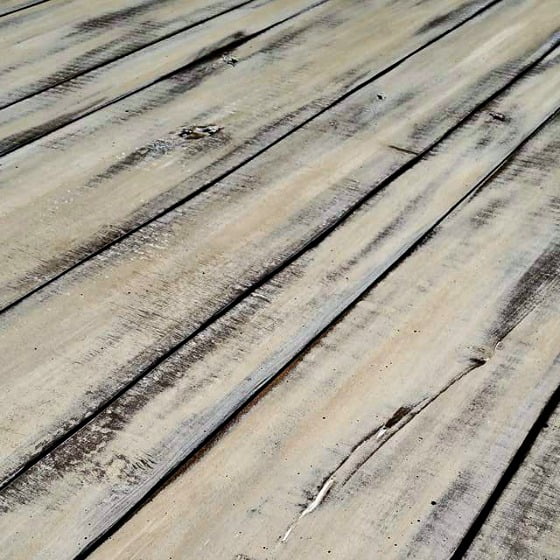
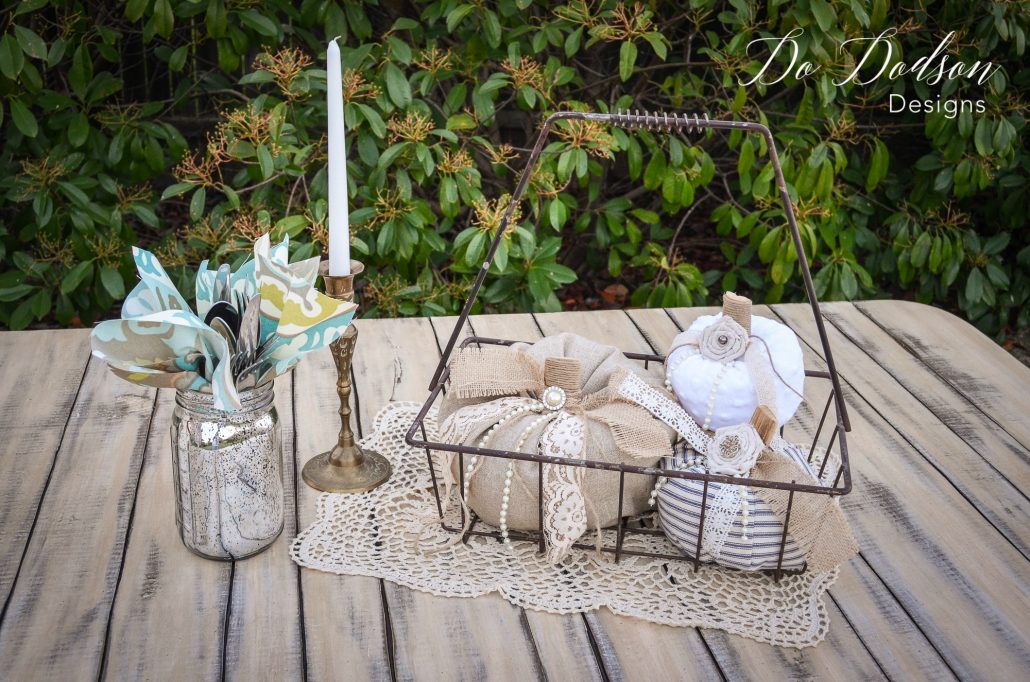
The next day I painted the farmhouse kitchen table with Butter Cream chalky-based paint. I used long strokes with my brush to create a layered look. I was careful not to paint in the grooves. Leaving the grooves dark with the cabinet glaze will give the wood depth on the farmhouse kitchen table.
Adding An Aged Look To The Farmhouse Kitchen Table
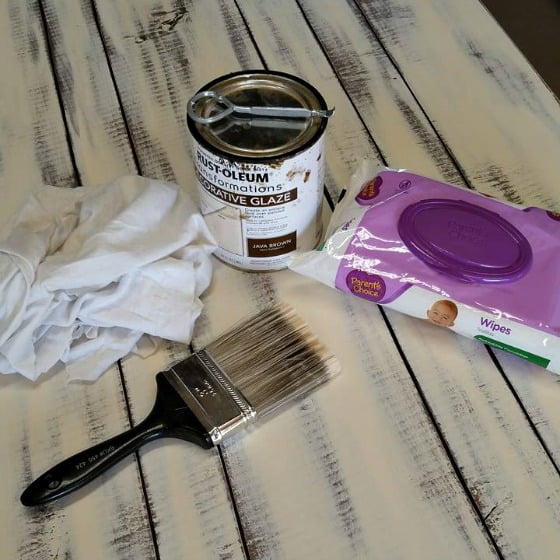
If you want more of an aged look, try using Rustoleum Cabinet Glaze in Java brown and lightly brush it over the painted surface. Immediately after the application, use baby wipes and blended the glaze into the paint.
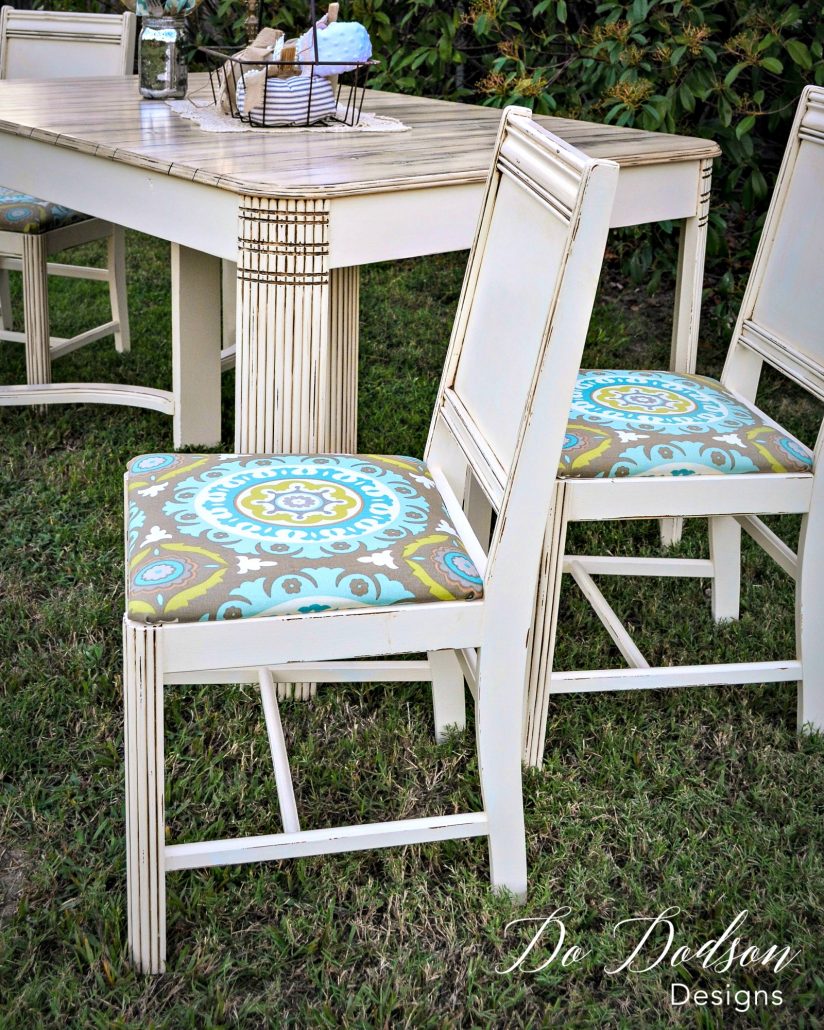
I painted the based of the table and the chairs with Butter Cream chalk mineral paint and used the same cabinet glaze to accent the details and sealed it with Minwax Polycrylic in a satin finish, and recovered the chairs in a beautiful fabric ⇒ HERE is a similar pattern and color that I debated using. Both would be beautiful on a farmhouse kitchen table makeover!
Farmhouse Kitchen Table
Hey, thanks for hanging out with me today. I love these vintage farmhouse kitchen table makeovers, and cutting those grooves in the wood made a huge difference in the look. I have more I want to share with you. CLICK HERE if you would like to see a beautiful old piece that I stripped down to the raw wood. It’s a show stopper! Raw wood furniture is really becoming popular with the farmhouse style.
Did you like this makeover? Let me know… drop me a comment, opinion or say hi in the comment section below.
Until the next project… xo, Do