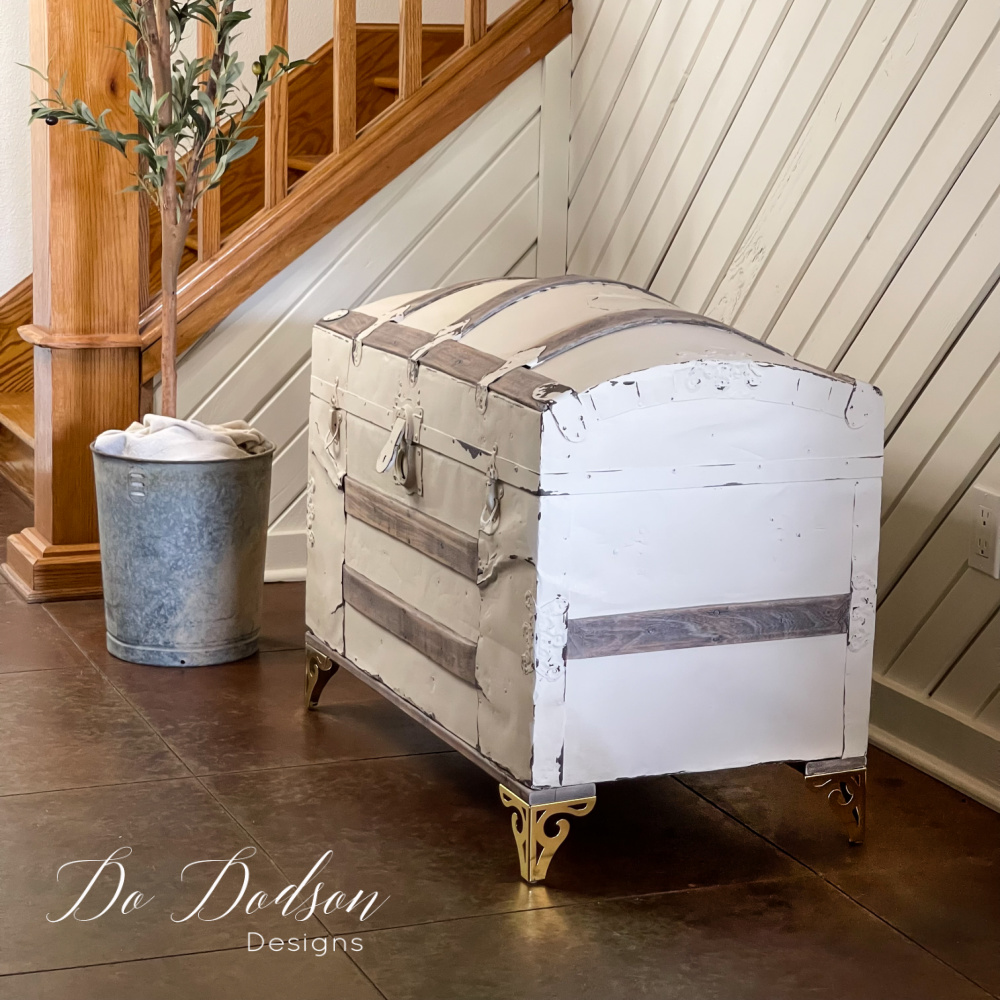
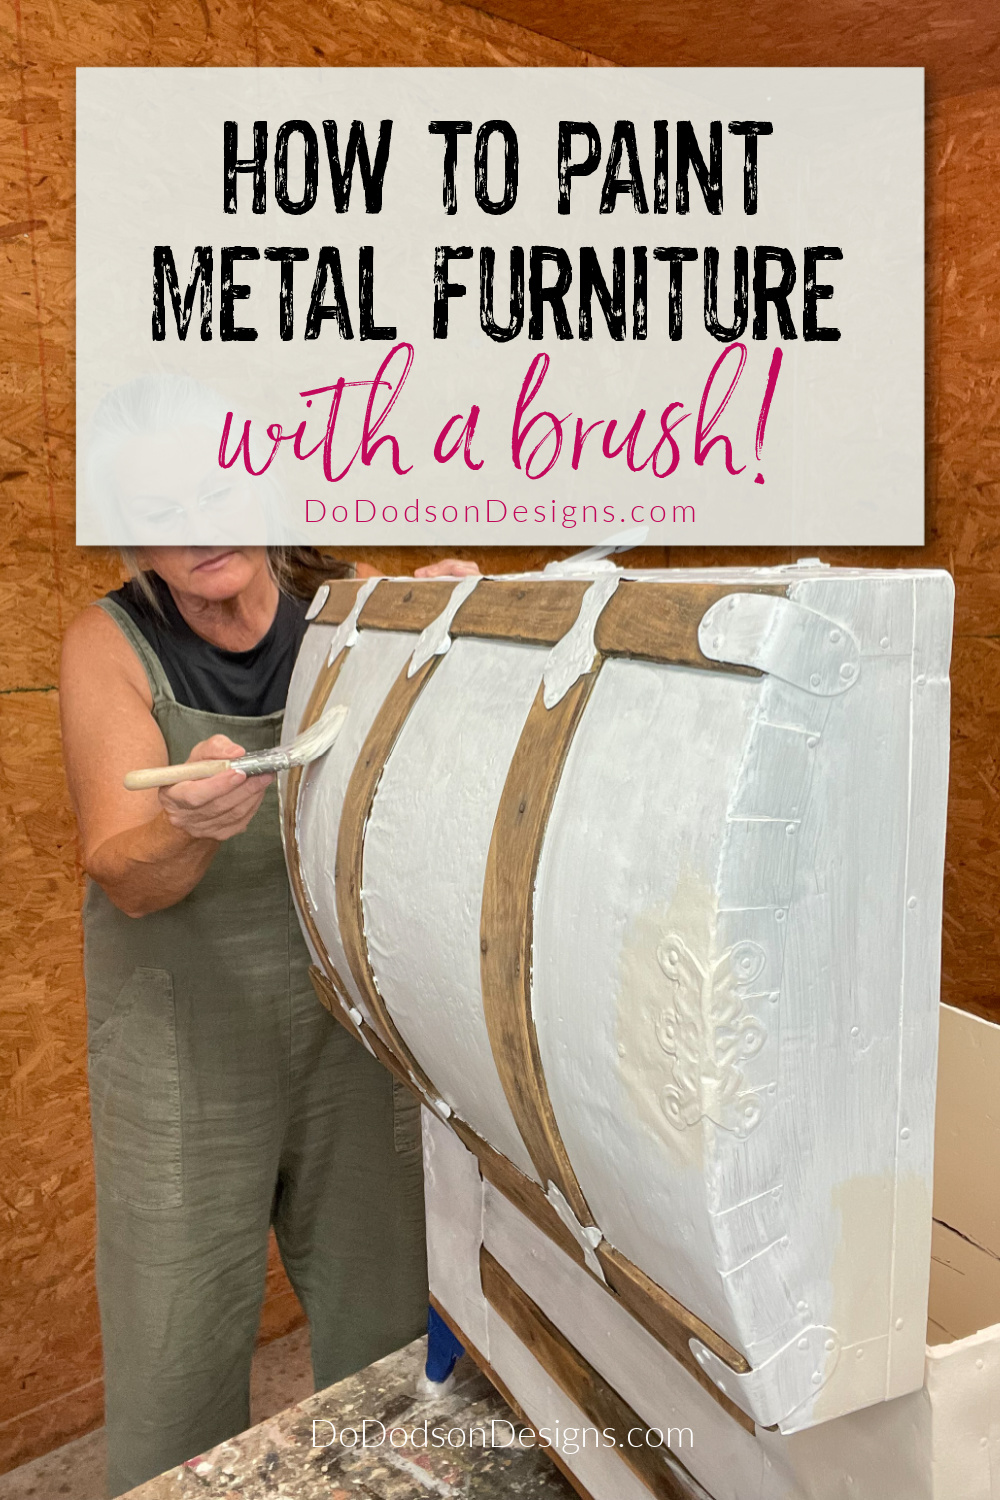
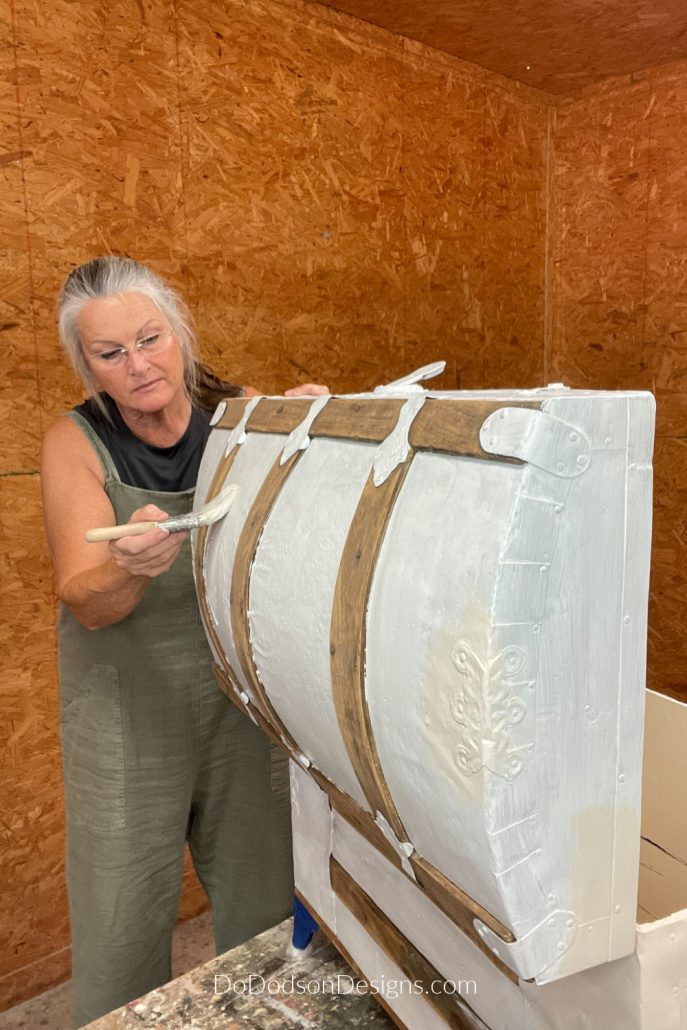
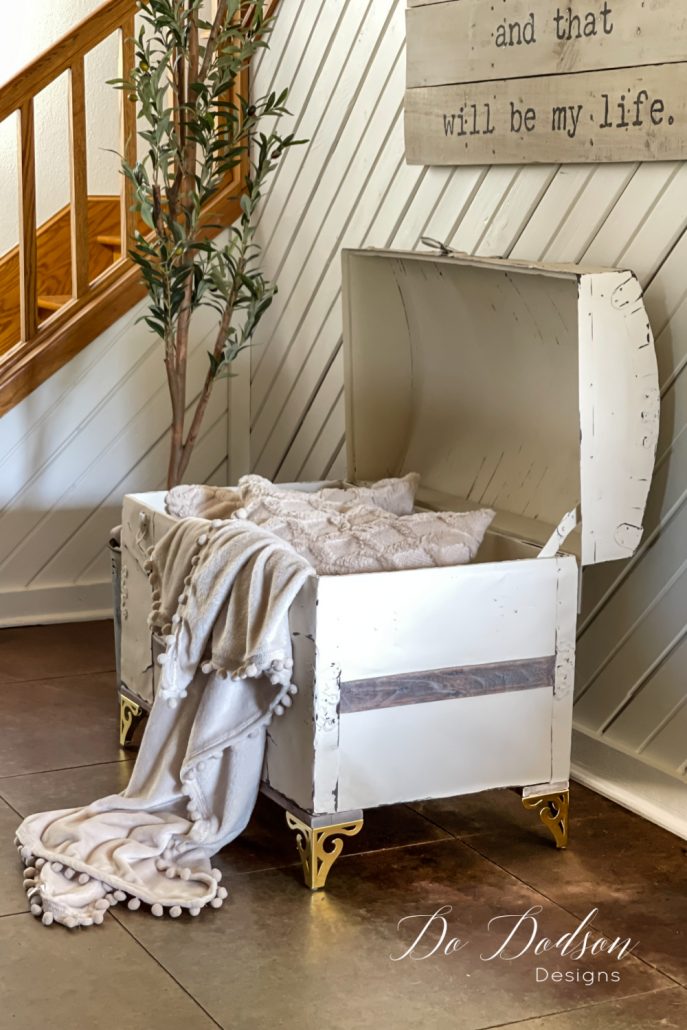
Painting a metal surface on a piece of furniture, or on these old vintage steamer trunks, is not hard. You need to know a few things to get the best results with your DIY project. Today I’m sharing my best technique for painting metal furniture with a brush. No spray paint is involved. This redo is being used as a toy box when my Grands visit. It’s functional but also pretty in my space. No one but them will know what’s inside this repurposed beauty.
Thanks to Dixie Belle Paint Co for sponsoring this post. While I was compensated to write this post, all opinions are my own.
* As an Amazon Associate, I earn from qualifying purchases and through other companies as well. You will not be charged extra when you purchase through these affiliate links, but any income I make helps me create more amazing DIY projects to share with you! To see my full disclaimer, click here!
Preparing Your Work Area
Before starting any DIY project, be sure to prepare your work area. I don’t know about you, but I’m the Queen of Clutter. One project seems to flow right into the next. So, take a little bit of time to clear your space. If you’re working indoors, lay down a drop cloth or something to protect your floors and work in a well-ventilated area. I prefer working in an outdoor space, but that’s not always possible in my Texas heat!
This steamer trunk has seen better days, but I’m going to give it a new life. Let’s get started!


You’ll also want to gather your supplies. Below is a list of what you’ll need to get started.
- drop cloth
- dust mask
- krud cutter (degreaser)
- scrubber pad (I grabbed mine from the kitchen)
- paper towels
- sanding blocks
- Zinsser Primer (for all surfaces) white
- continuous fine mist spray bottle (for water)
- chalk mineral paint (drop cloth)
- mini angle 2-inch synthetic paintbrush
- Voo Doo Gel Satin (tobacco road)
- artist brushes (for adding details)
- wax brush (Best Dang Brush)
- Best Dang Wax (white)
*This painting technique isn’t recommended on outdoor metal furniture due to extreme temperature changes and moisture. It’s best applied to indoor furniture in a controlled environment.
Important Steps To Prep The Metal For Painting (Cleaning)
Step 1: Cleaning your furniture is key to an excellent finish. With metal, you also have to address surface rust or loose paint (if it has been previously painted), and the type of metal. Remove any loose visible dirt with a vacuum and brush attachment. I like to use a heavy-duty cleaner (Krud Cutter) that removes oils and waxes for what you can’t see. It’s excellent for removing loose paint, dirt, and grime, and anything else that may have been spilled on the surface. Don’t skip this step.
Step 2: After cleaning, sand down loose rust or rough spots with an abrasive sanding block. These old trunks have been around, and I can’t help but think this one might have made it off the Titanic. It’s old, and I love the character that only age can give. After sanding, wipe away dust with a moistened cotton cloth.
You MUST Use A Metal Primer Before Painting
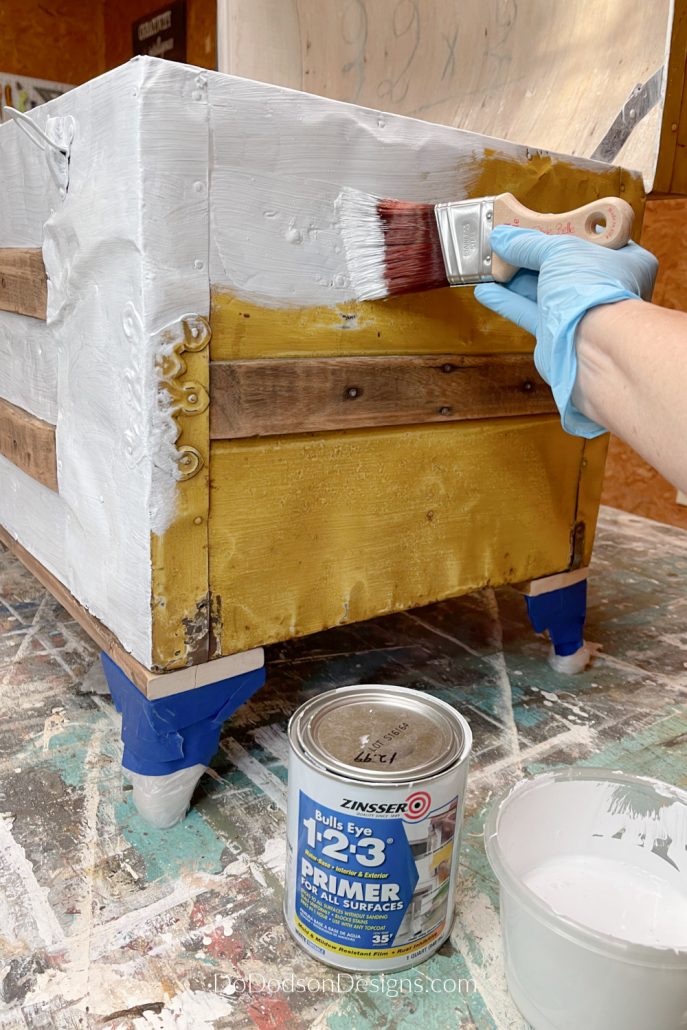
Step 3: Don’t miss this vital step. Next, you’ll need to apply a metal primer (Zinsser 123 Primer for all surfaces) before painting to ensure the paint you choose adheres to the metal surface. I decided to use chalk-based paint from Dixie Belle Paint Co. for this project. It’s my go-to for most of my furniture painting makeovers. I feel I have more control over the finish than using a can of spray paint.
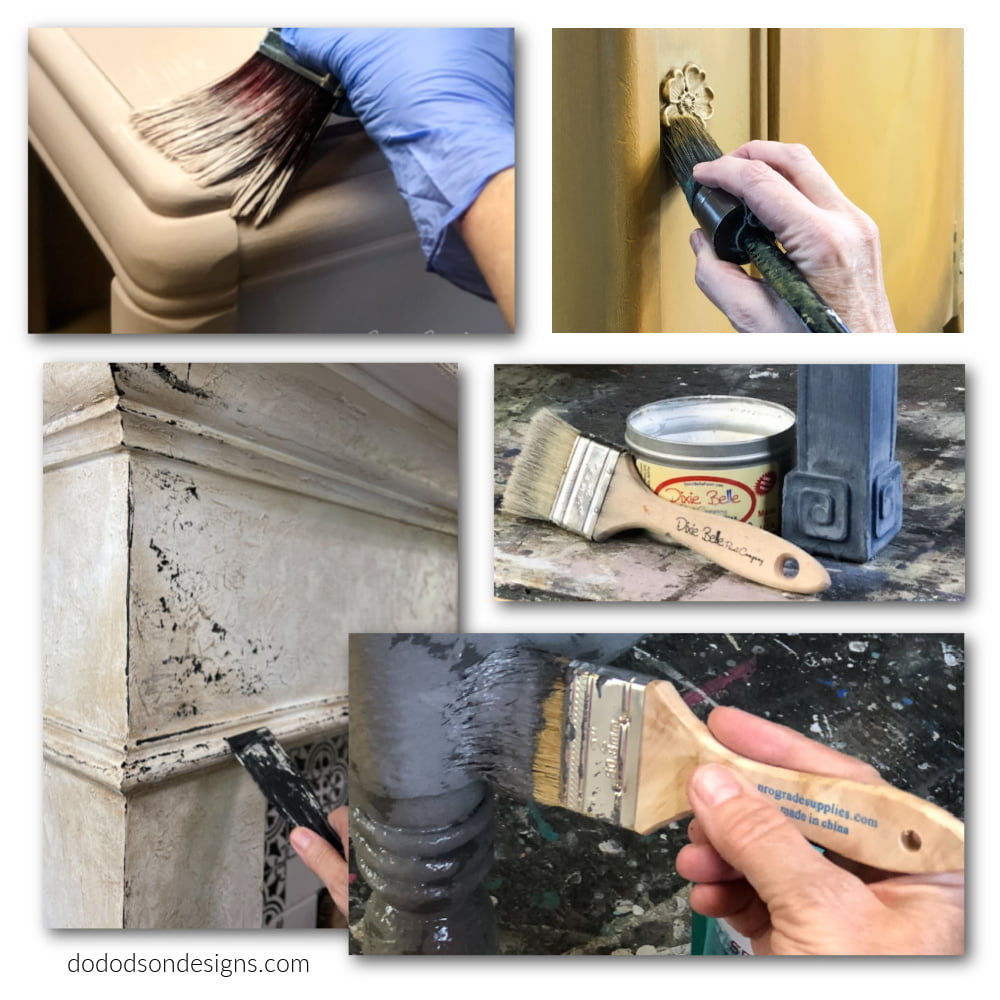
Apply the primer with a paintbrush or roller. I prefer a high-quality paintbrush. You will need two coats for the best result. Don’t worry if you get a few paint drips from the primer. You can sand away any dips or runs with 220-grit sandpaper after the primer dries.
TIP: Use a white primer if you use a light color or white paint. This will make painting so much easier, and you should be able to cover your metal furniture with two coats of paint.
Adding a Fresh Coat Of Paint
Step 4: You don’t need special metal paint if you prime. I like chalky-based paints. It’s a great way to update the surface of furniture. Wood or metal sticks to almost everything; you can be an artist with your creations.
How To Eliminate Brush Marks With Chalk Paint
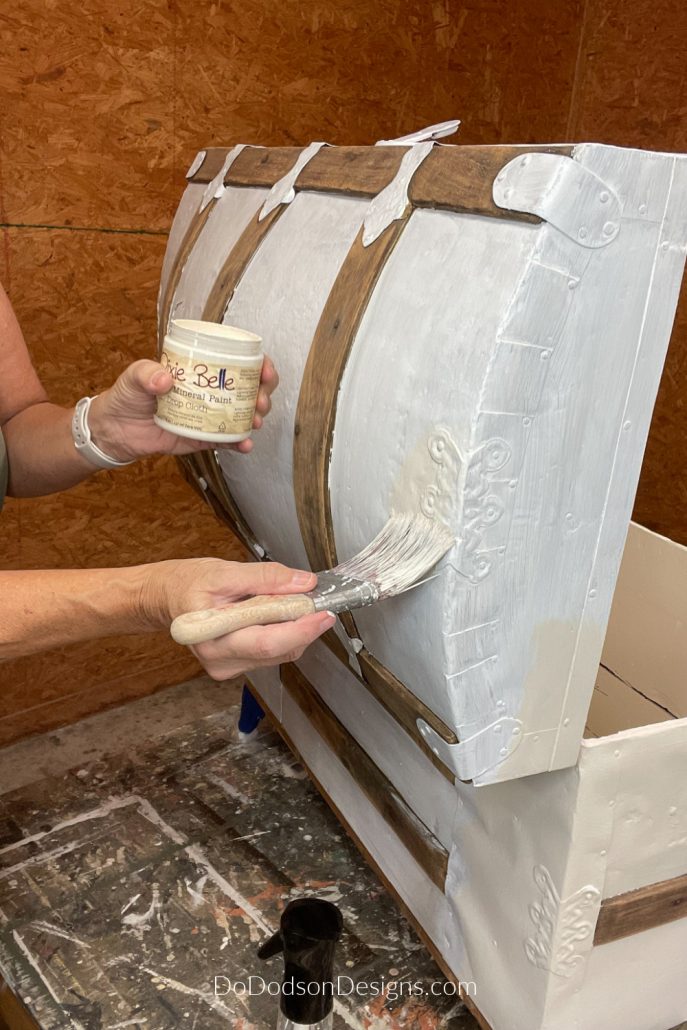
Step 5: Because I chose to use chalk paint for my project, there’s always a concern about brush marks left visible on the painted surface. To help eliminate these pesky eye sores, I use a spray mist bottle with clean water (bottled water) to smooth as I add thin coats of paint.
Using this technique will not only minimize brush strokes but also help the paint dry more quickly, and you will use less paint. That’s what I’m talking about! CLICK HERE for the video tutorial and why I love brush painting.
The Best Paint Brush For The Project
I used a two-inch synthetic angle brush by Dixie Belle Paint Co for this project. It’s great for tight spaces. The first coat of paint goes on as quickly as the second coat. I find it’s one of the easiest ways to apply chalk paint to furniture. For the detailed areas, I used a small artist’s brush.
How To Create A New Old Look
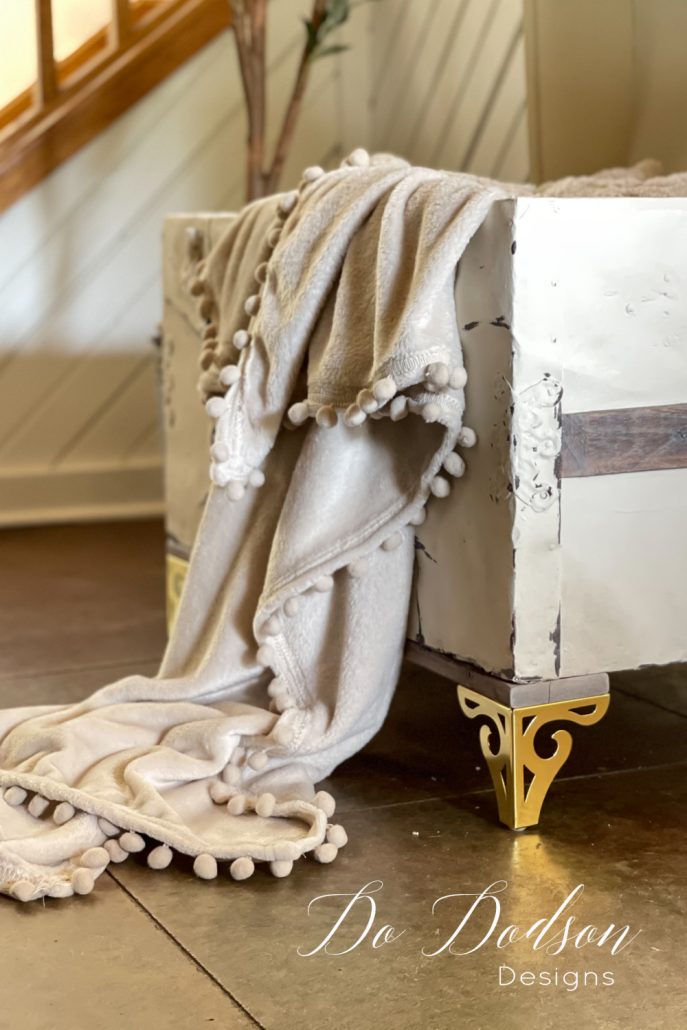
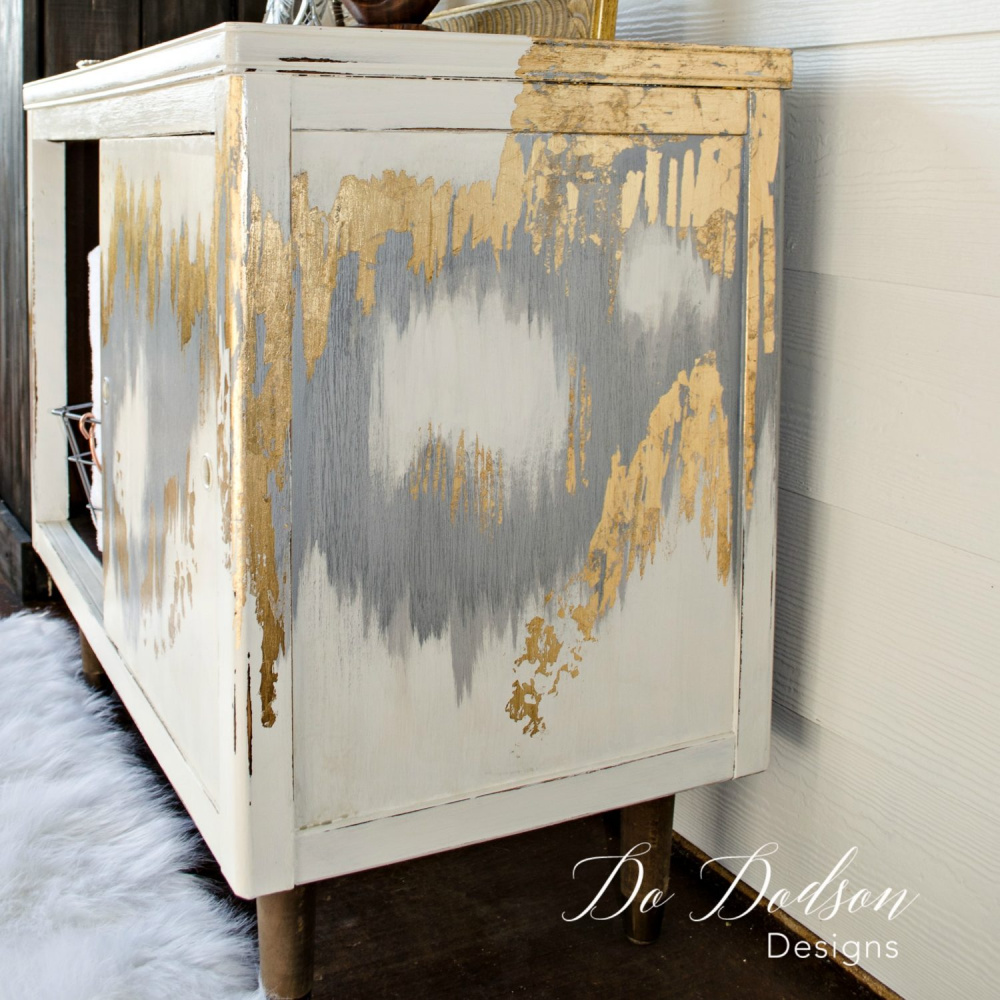
Step 6: Once you have painted your metal furniture project, feel free to add any special touches. For this makeover, I added a water-based gel stain with an artist’s brush to areas that would have typically chipped paint over time. This technique is super simple: add a small amount of the stain to the very tip of an artist’s brush and bump the paint on the edges that would naturally get bumped and worn. It gives so much more character to your furniture painting.
Try using a dark gel stain over white paint to create a more natural look.
Adding A Top Coat Or Wax
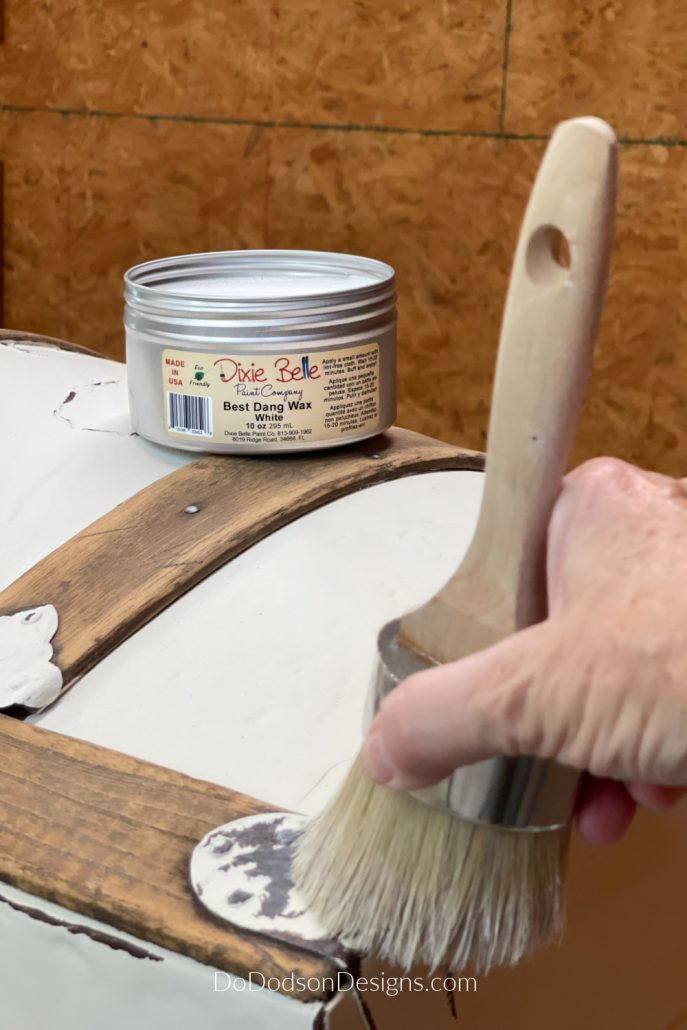
Step 7: Chalky-based paints can be sealed with a clear coat or wax. It’s totally your preference. Whenever I use wood in a furniture project, I like to keep it as natural as possible. The accent wood on this trunk was sanded down to the bare wood. Actually, there wasn’t much finish left on the wood, considering its age. It was more like I sanded away the dirt and mold.
Using Dixie Belle’s Best Dang Wax, apply it to the wood, then paint with a large wax brush in a circular motion. Using a soft cotton cloth, buff the wax to a satin finish. It’s super easy to apply and smooth to the touch.
Don’t forget to PIN THIS!
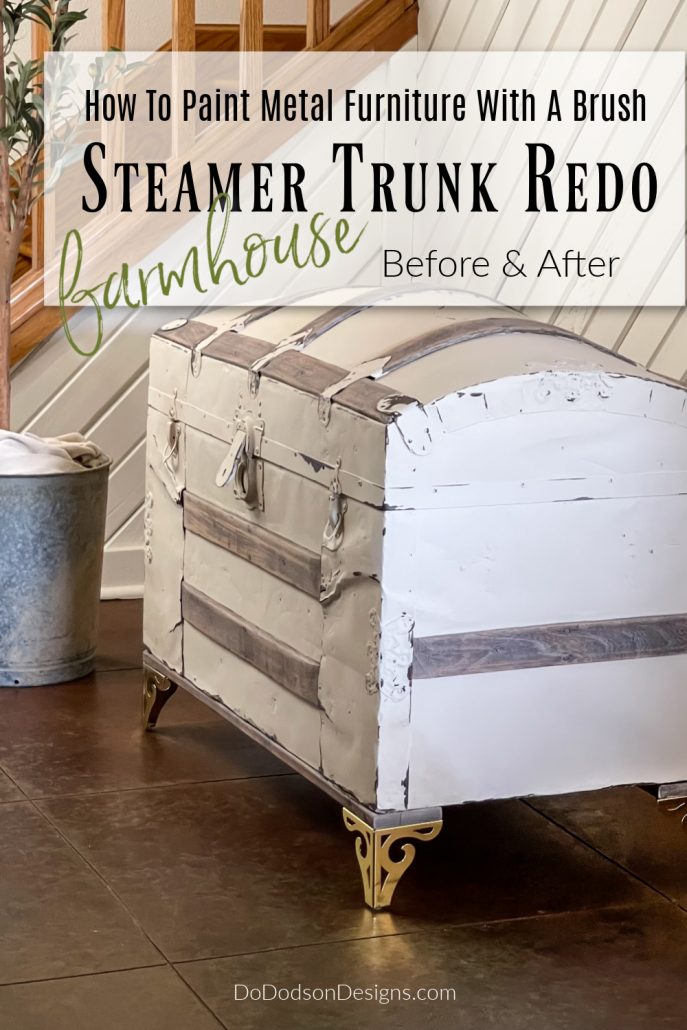
The Steamer Trunk Redo (Farmhouse Style)
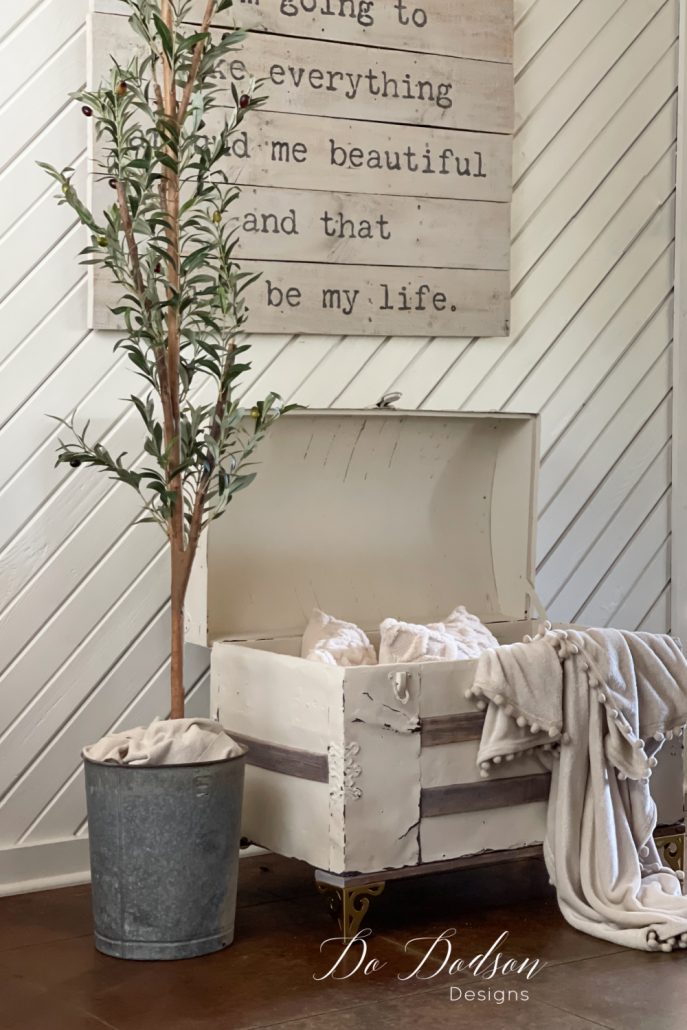
These simple steps will help ensure you get the best possible finish on metal, whether it be furniture, home decor, or vintage metal luggage.
Thanks for joining me today, and I hope you have learned some things to consider before painting metal furniture with a brush. While I love to spray paint, I always come back to the almighty brush. Maybe it’s the therapy of the back-and-forth strokes. There’s just something soothing about it.
What’s your preference for painting? I’d love to hear about your experience with the paintbrush. Leave me a comment below, or just say hi so I know you were here.
Until the next project… xo, Do
Great job!
Where did you find the legs?
Hi Cheri! There’s a product list in this blog post with a link to Amazon so you can find them. All of my blogs have these lists. Thanks for stopping by. Have a great weekend. 🙂 xo
Oh wow! Magnificent job—crazy about the legs
Hi Cheryl! Those legs are everything. Thanks for joining me today. Have a great weekend. 🙂 xo
I’m with you Do, as far as using a paintbrush! I prefer it any day over spray paint!! Love this makeover – pinned 🙂 Your work is always amazing!
Hi Cindy,
I have an obsession with paintbrushes. You should see my stash. Thanks for reading. 🙂 xo
Hi Do! I love these old steamer trunks. I can’t wait to find one that I can makeover someday. Pinned
Hi Cheryl,
You should have no problem finding one. They’re everywhere. Try marketplace on Facebook. Thanks for stopping by. 🙂 xo
I love how you left some waxed wood contrasting the drop cloth paint… looks amazing! And those little legs – adorble! Pinned! XOXO
Thanks, Denise! Those little legs are just the right amount of GOLD to make me happy. I appreciate you. Have a great week. 🙂 xo
Congrats on the magazine article!! All of us are so blessed that you share your talent with us! Please don’t stop! I personally have learned so much from you. Keep it coming 😉
Thank you, Lori!
I’m so happy to hear that. It feels good to know I’m helping others through my love of DIY. Let me know if you have something specific that you would like to see.
xo, Do