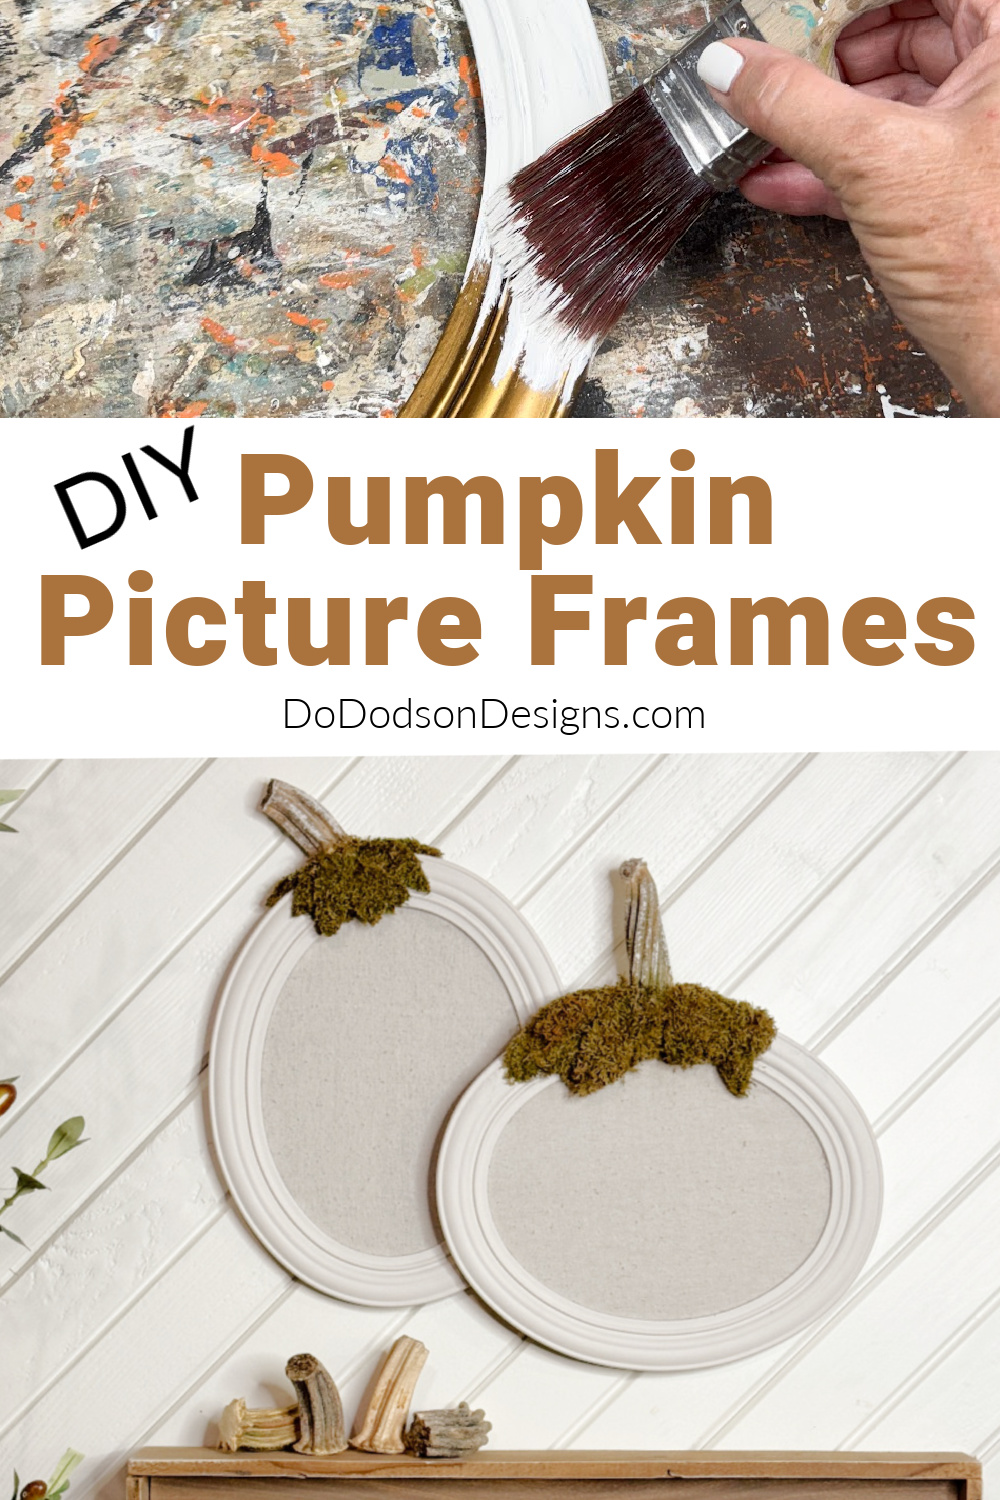
Hey friends! Fall is right around the corner, and I made the cutest DIY pumpkin picture frame craft that I know you’ll want to try. Make a whole pumpkin patch! These adorable pumpkins are the perfect way to add a touch of fall charm to any wall or shelf in your home.
Thanks to Dixie Belle Paint Co. for sponsoring this post. While I was compensated to write this post, all opinions are my own.
* As an Amazon Associate, I earn from qualifying purchases and through other companies as well. You will not be charged extra when you purchase through these affiliate links, but any income I make helps me create more amazing DIY projects to share with you! To see my full disclaimer, click here!
Repurposed Picture Frames | Fall Decor
I LOVE Fall! Maybe it’s because I live in Texas and our Summers are so blame HOT (insert southern accent). We always welcome Fall with open arms, even though we don’t like the cold here.
It’s nothing new for me to start creating my DIY fall decorations in July. Sometimes sooner.
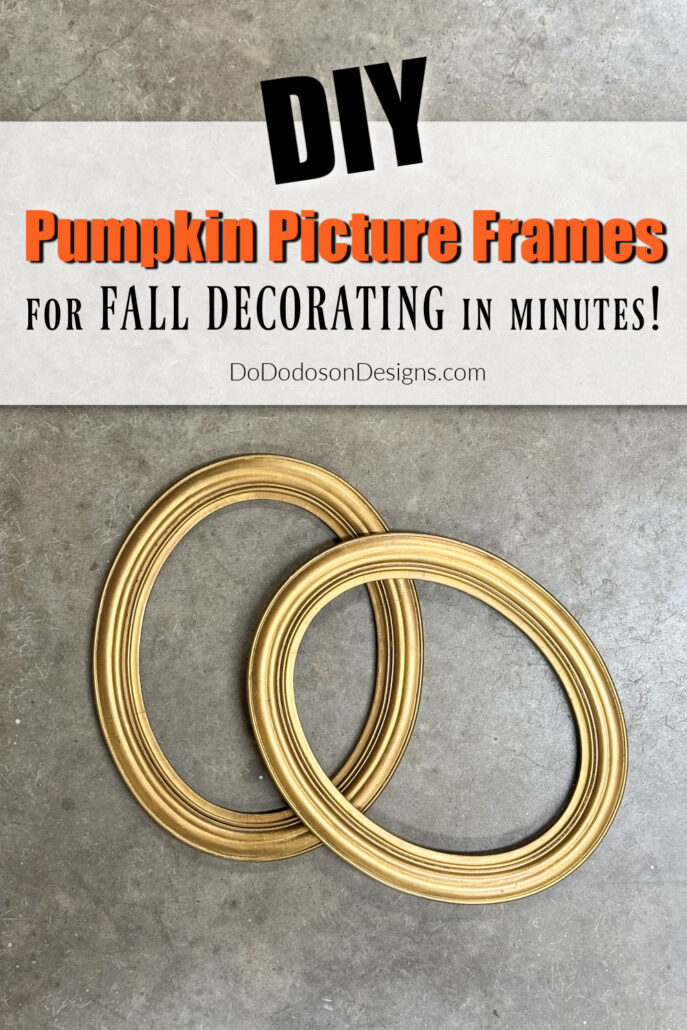
Like most of you, I hold onto items that I can repurpose, and these oval gold frames have been sitting in my studio for over seven years now. This may be a record!
I dragged them with me when we moved a few years ago, along with a lot of other “save this, you might use it one day” items.
Guess what? Today is “one day!”
My inspiration for this DIY project comes from The Shabby Tree. CLICK HERE to see her DIY pumpkin using an old frame.
For more DIY ideas using repurposed frames, check out the posts below.

SUPPLY LIST: What you’ll need to create a pumpkin picture frame for Fall decor.
Here is what you will need to create a pumpkin picture frame.
- thrifted frames
- White Lightning Cleaner
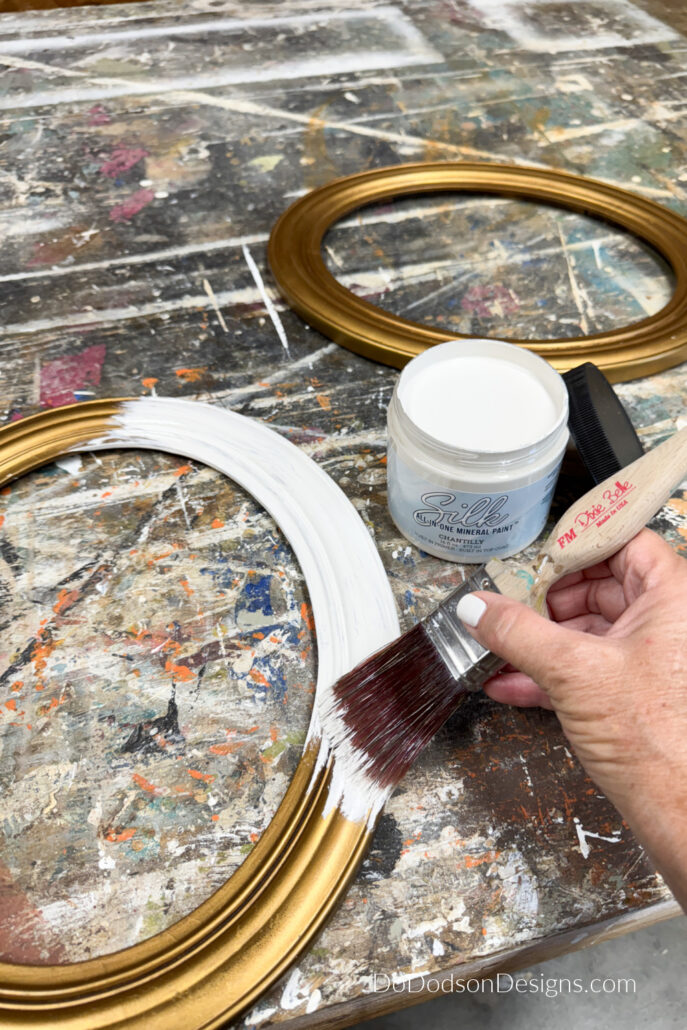
- Chantilly SILK All-In-One Mineral Paint
- Paintbrush
- Bonding BOSS
- canvas drop cloth (any fabric) or lace
- hot glue gun and sticks
- scissors
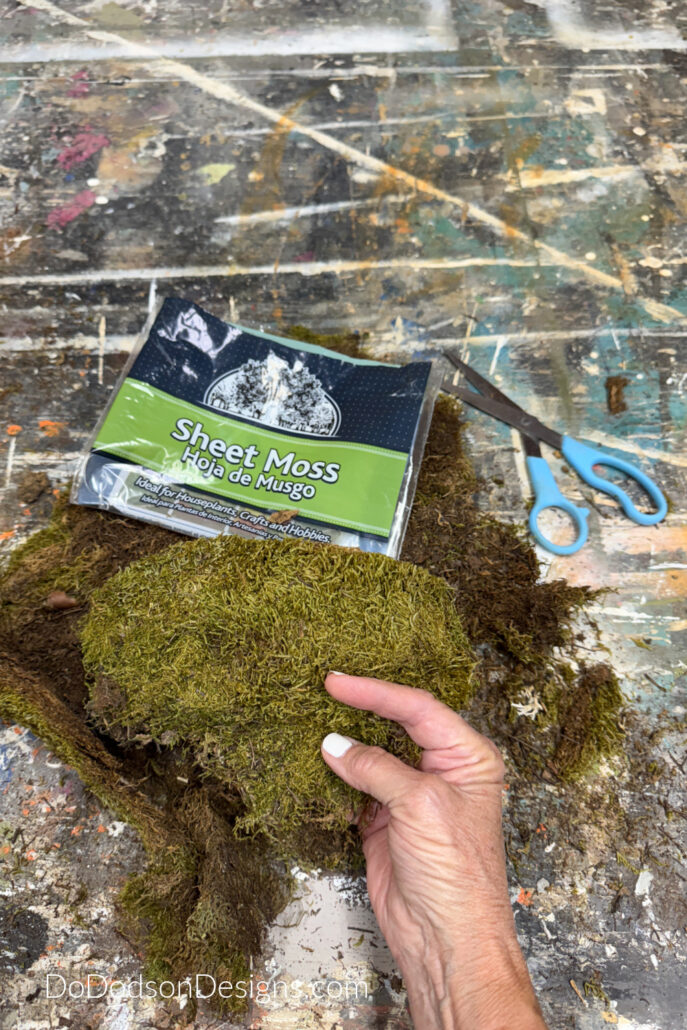
- moss matt
- real pumpkin stems or DIY pumpkin stems
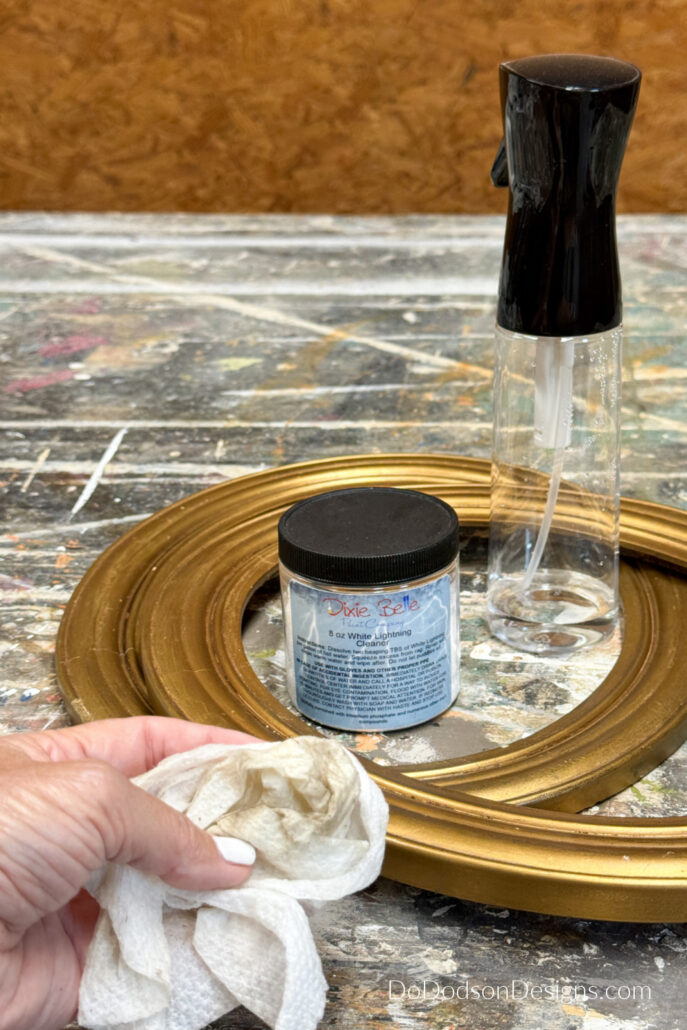
STEP 1: Clean The Surface Of The Frame
Before I start any project, I always clean the surface to remove dirt and oils from who knows where. It kind of grosses me out, and I’m a germaphobe —not literally, but I was a nurse for 33 years and I know a thing or two about that.
I used White Lightning Cleaner (a powerful cleaner) mixed with water in a spray bottle for easy application. Spray it over the surface of whatever you want to paint and wipe it off. The grime that comes off is so GROSS!
Once clean, wipe away any residue from the cleaner with clear water and a soft, clean cloth. This is important as the residue could cause the paint not to adhere properly.
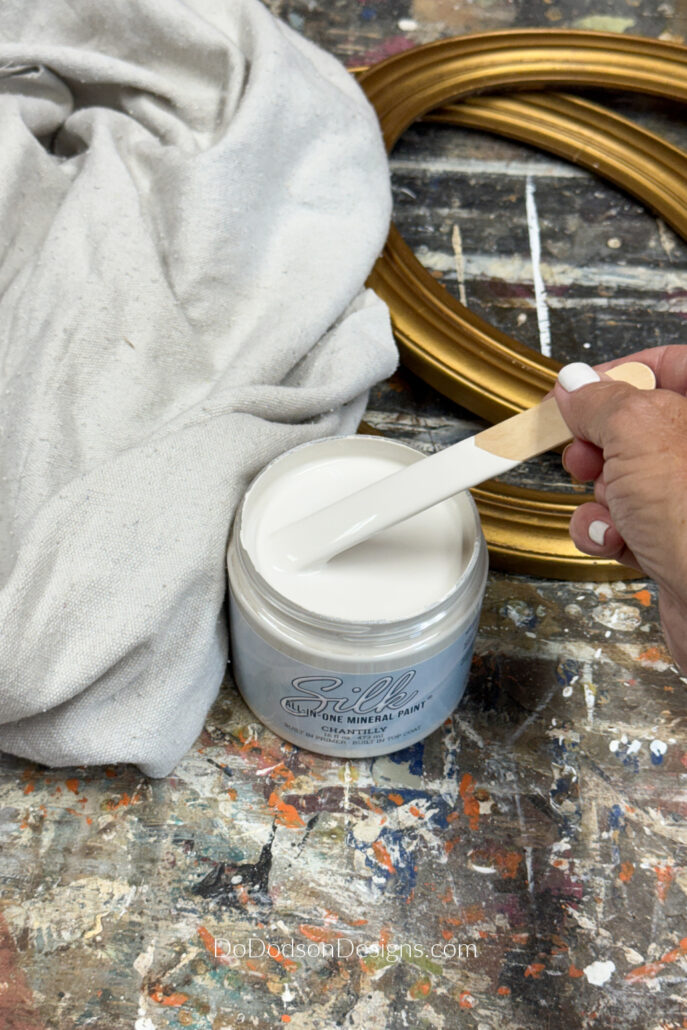
STEP 2: Painting The Picture Frame
Because I typically decorate for Fall with a lot of neutrals (and a pop of color here and there), I decided to go with the color Chantilly Silk All-In-One Mineral Paint by Dixie Belle Paint Co. It is one of their newest release color lines of warm neutrals. I LOVE them all!
And this color matches my bleached drop cloth canvas. My go-to neutral fabric that I’ll be using with the frames.
After scuff-sanding the frames, I applied one coat of Silk All-In-One Mineral Paint and let it dry.
I knew in the back of my mind that the gold paint on the frame (which I hadn’t painted) was possibly an oil-based paint, but I painted it anyway against my better judgment. 😏
SHOCKER! I did a scratch test after the first coat, and it scratched right off! I just want to be upfront and honest with you. Don’t take shortcuts! I didn’t get pictures of my scrubbing off the paint on the frame (thank goodness it was only one frame), then painting a primer on both frames. The primer I used is Bonding BOSS. It adheres to almost any surface, creating a bond that enables the paint to adhere properly. Thank goodness I did the scratch test on it before I proceeded with the frames.
After the primer had dried overnight, I painted two coats of the SILK Chantilly All-In-One Mineral Paint on the frames. Beautiful full coverage with a built-in top coat.
STEP 3: Cutting The Fabric For The Pumpkin Picture Frame
The paint was dry to the touch within a few hours, so I decided to go ahead with the next step.
Here’s the fun part, and you can add whatever fabric you love. Can’t you just see these in a floral pattern? I may have to try that.
To get the right cutout size for the fabric, I just laid the frame, face down, on the drop cloth. Then, I used a pencil to mark the small recessed area inside the frame, where the glass fits. I would have used the glass as a template, but the frame didn’t have one.
Cut the fabric slightly larger than the frame opening with a good pair of scissors. That way, you’ll have some wiggle room to get a good fit inside the picture frame.
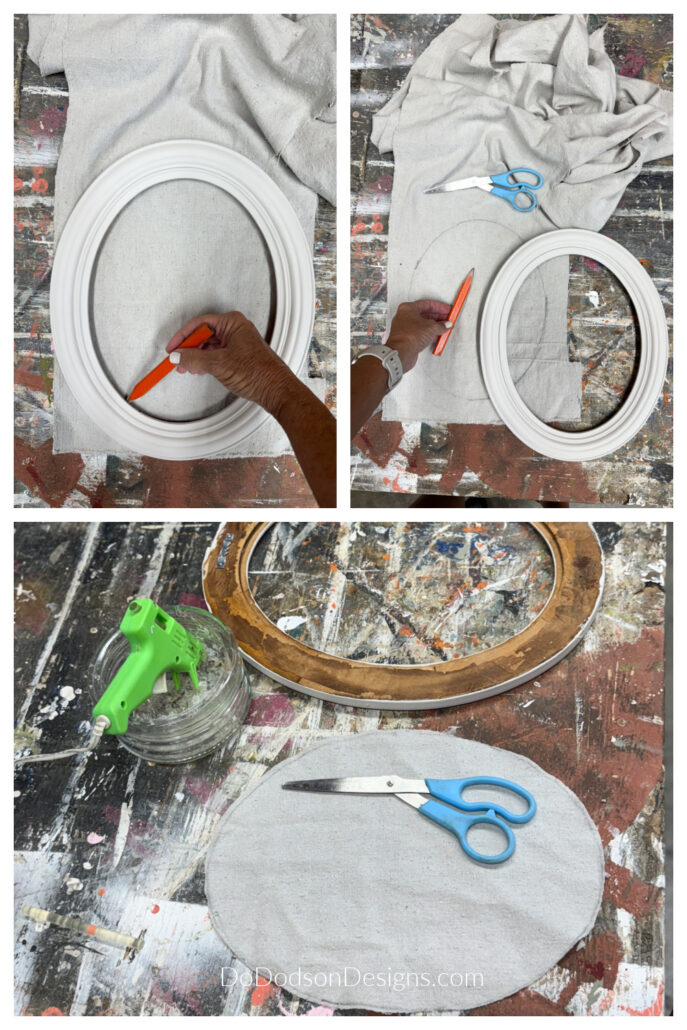
STEP 4: Gluing the fabric To The Frame
Using hot glue, carefully attach the fabric to the inside of the frame. Starting at the top of the frame and glue a small section.
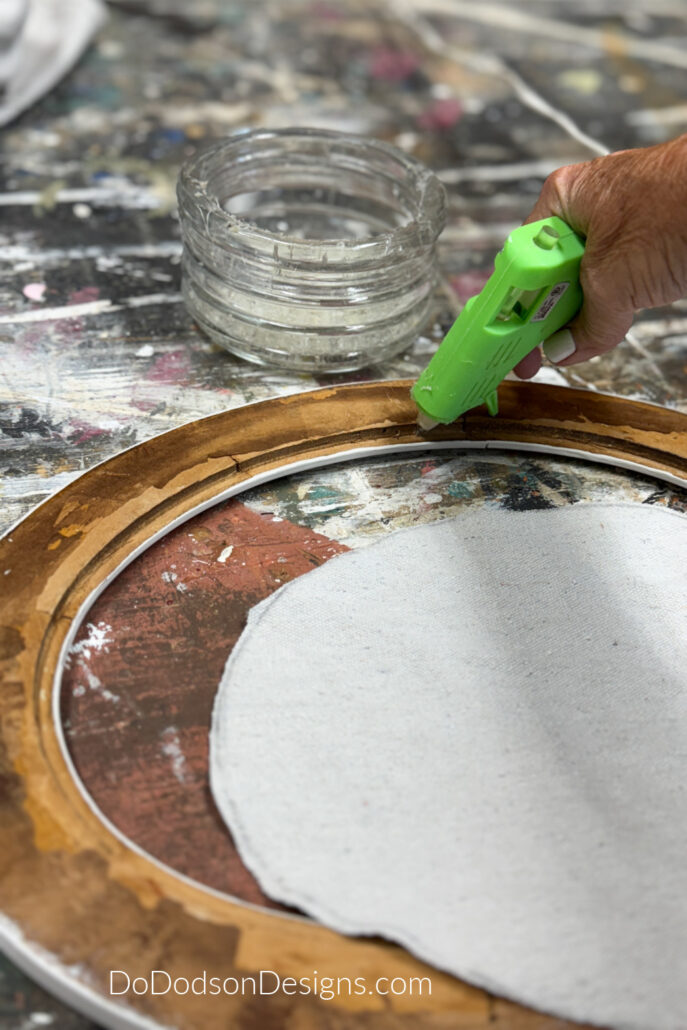
Next, at the opposite end of the frame, gently pull and glue the fabric to achieve a snug fit. It kind of reminds me of upholstery. Not too tight but snug.
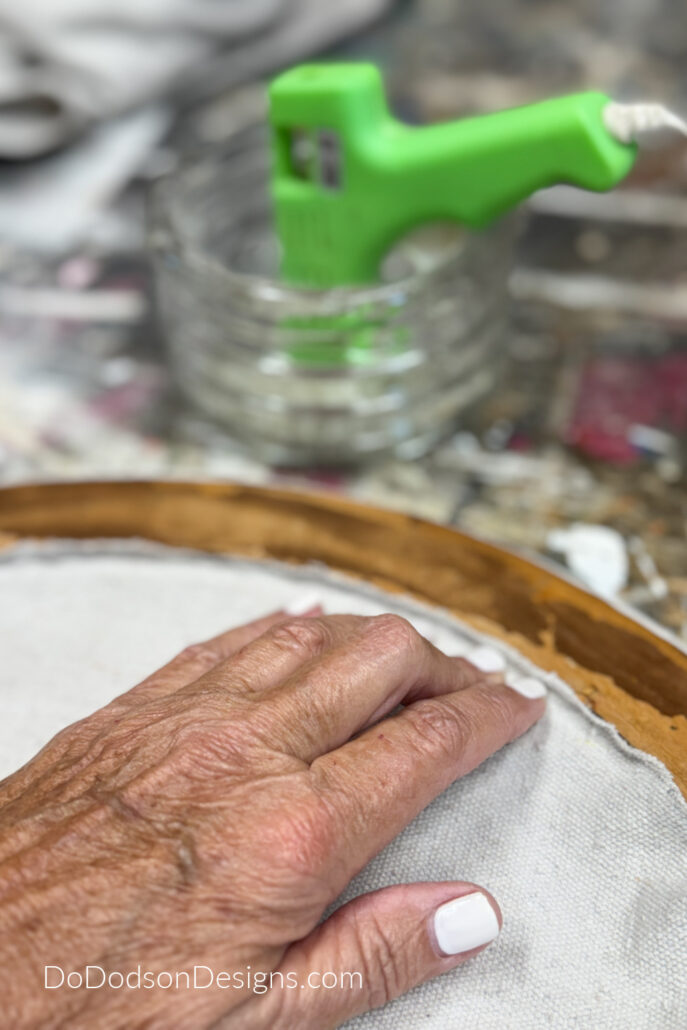
Now that you have the fabric secured at two corners, do the same with the other sides
Trim any extra fabric away with scissors.
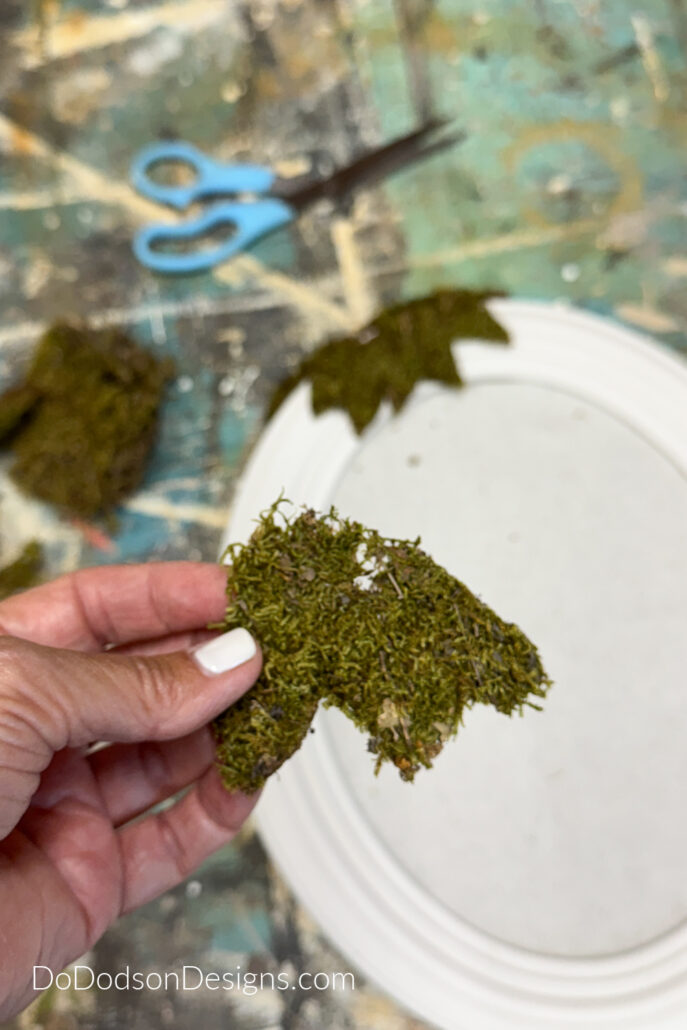
STEP 5: Creating Pumpkin Leaves With Moss Mat
To give the pumpkins some life, I cut out what I thought looked like leaf shapes with the sheet moss. Sorry, no pattern. Apparently, I’m not good at interpreting what a leaf looks like. I just went with it. It will be fine because that’s how I roll.
I also used the wrong sheet moss. I should have used Moss Matt, which has a backing. As they say, live and learn. Maybe that’s the reason I had issues cutting them out. Yeah, that’s my story.
I’m sure yours will look better.🍂
What other material would you use to make the leaves from?
*TIP: If using this sheet moss, it needs a little trim. I just pretended I was mowing the lawn with the scissors to get it even. Warning: It’s going to get messy!
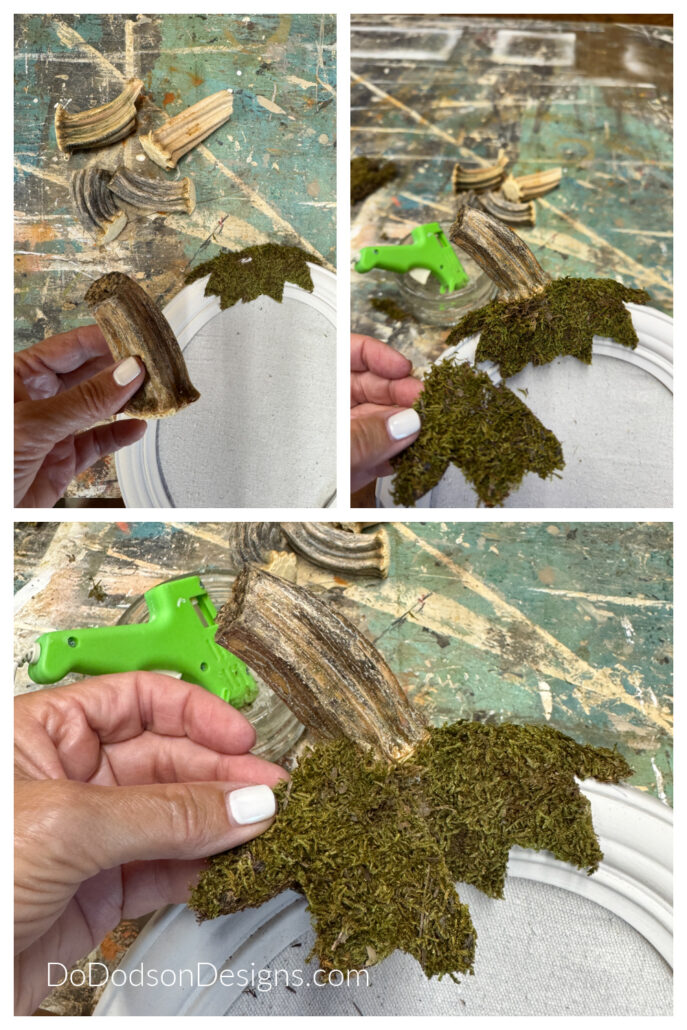
STEP 6: Add A Pumpkin Stem
I just happen to have real pumpkin stems because, you know, I save everything. You can also make pumpkin stems out of various materials. I’ve done it before, and you can read about how I create pumpkin stems here.
Glue the pumpkin stem to the frame first. As you can see, I didn’t, so I’m telling you the best way through my trials and errors.
Next, using the leaf cutouts, layer them just above the stem so that the base of the pumpkin stem is not visible. You’ll want it to blend in.
I think using a real pumpkin stem adds a realistic touch to the pumpkin picture frame. Aren’t they cute?! I have a bag full of them that I like to decorate with for Fall.
A Pumpkin Patch On A Wall
Unusual, yes. Do you see the vision now? I enjoy creating things from repurposed and thrifted items.
One thing is certain: my home decor is never boring.
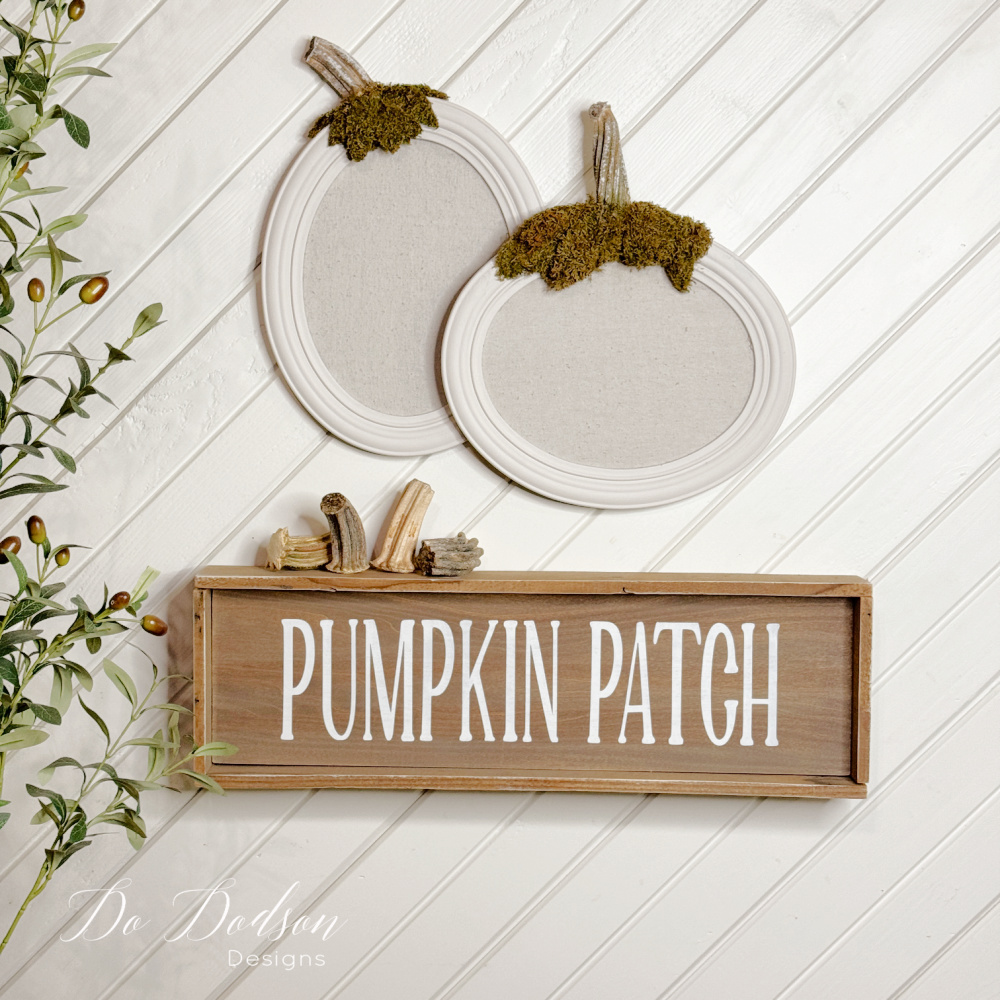
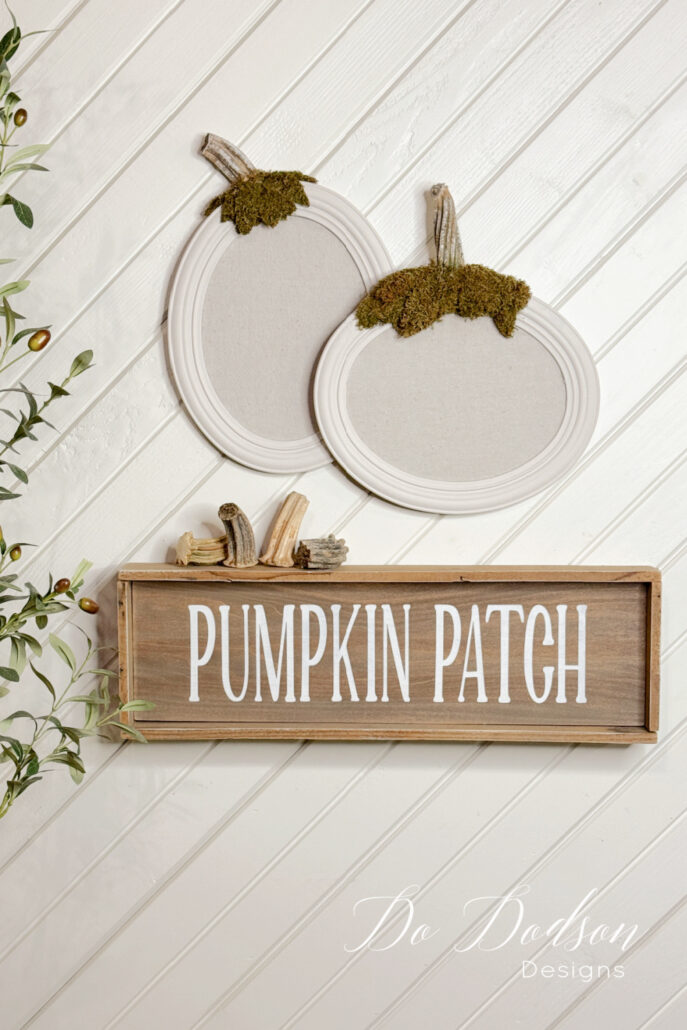
I’m very happy with my pumpkin picture frames. I can see making numerous variations with this DIY project. Not a fan of neutrals? You don’t have to be. Mix and match whatever colors and fabrics you like.
Hey, thank you for stopping by for this quick tutorial. I hope you enjoyed it. Even the part where I struggled to make a leaf.
Don’t forget to share this fun Fall DIY decor project with your DIY friends and family. Oh, and PIN it to your DIY Fall Pinterest board for later, for easy access.
Until the next project… xo, Do 😘🍂
Frigg’n ahhhdooorable Do! What a great seasonal project! Pinned XOXO
Thanks! It’s a bit of a stretch but I think it works. I’m having fun with this years Fall decor. 🙂