
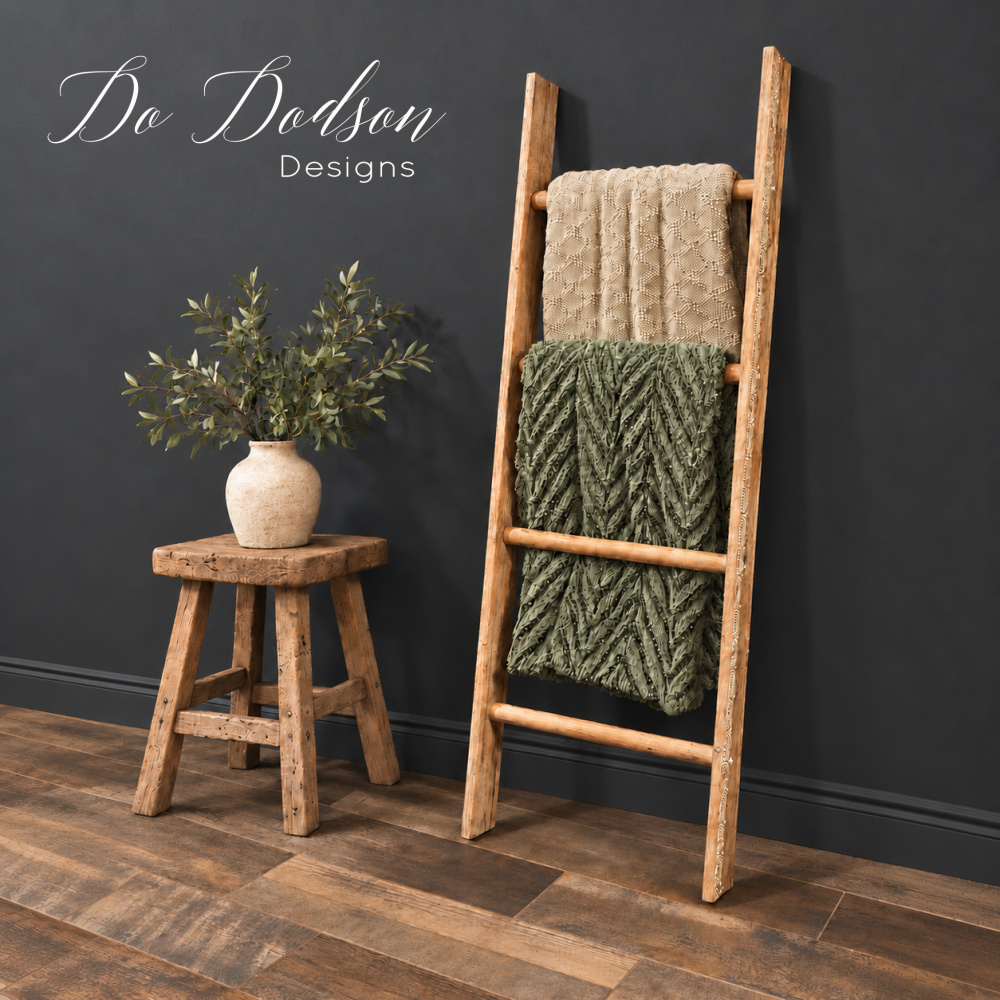

If you’ve got a pile of scrap wood and more throw blankets than places to put them, this DIY rustic blanket ladder puts both to good use. I built mine with weathered wood I’d been saving, a wooden clothes rod, and a few screws. See? This is why I can’t throw good wood away! Here’s how to make your own, with an optional stenciled detail for a little extra personality.
Updated October 2026 with clearer building instructions and helpful tips for making your own rustic blanket ladder from scrap wood.
From Scrap Wood To Blanket Ladder
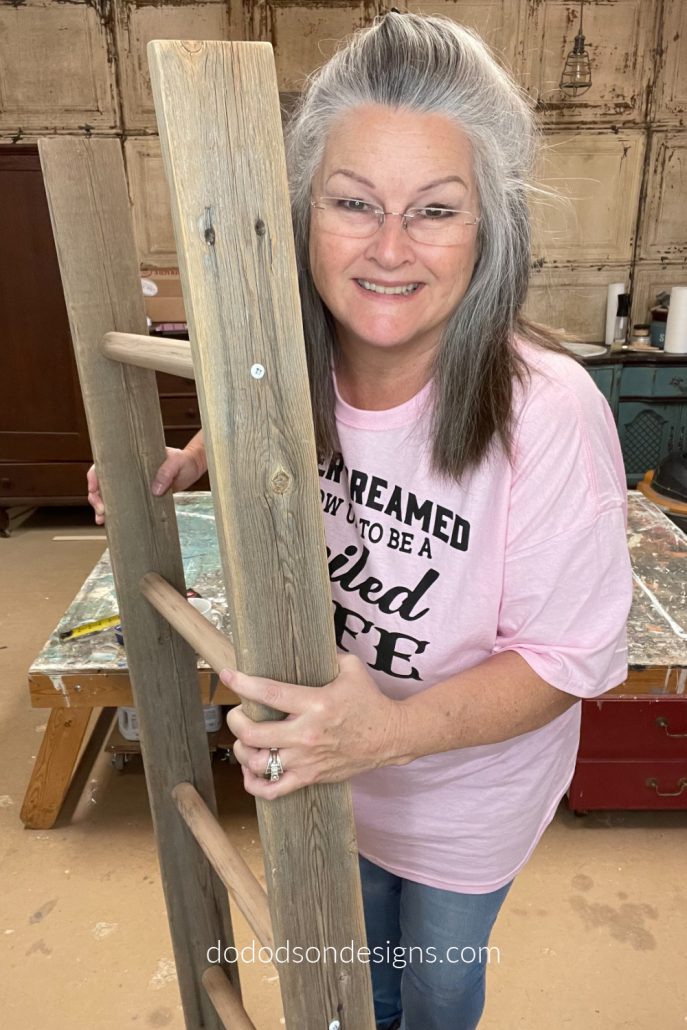
Weathered scrap wood gives this blanket ladder its rustic character. I used pieces I already had tucked away for a future project—and this was their moment! Choose solid wood without rot or large cracks, and check reclaimed pieces for nails or screws before cutting. If you don’t have a scrap pile, new lumber works too. You can stain or paint it to fit your home.
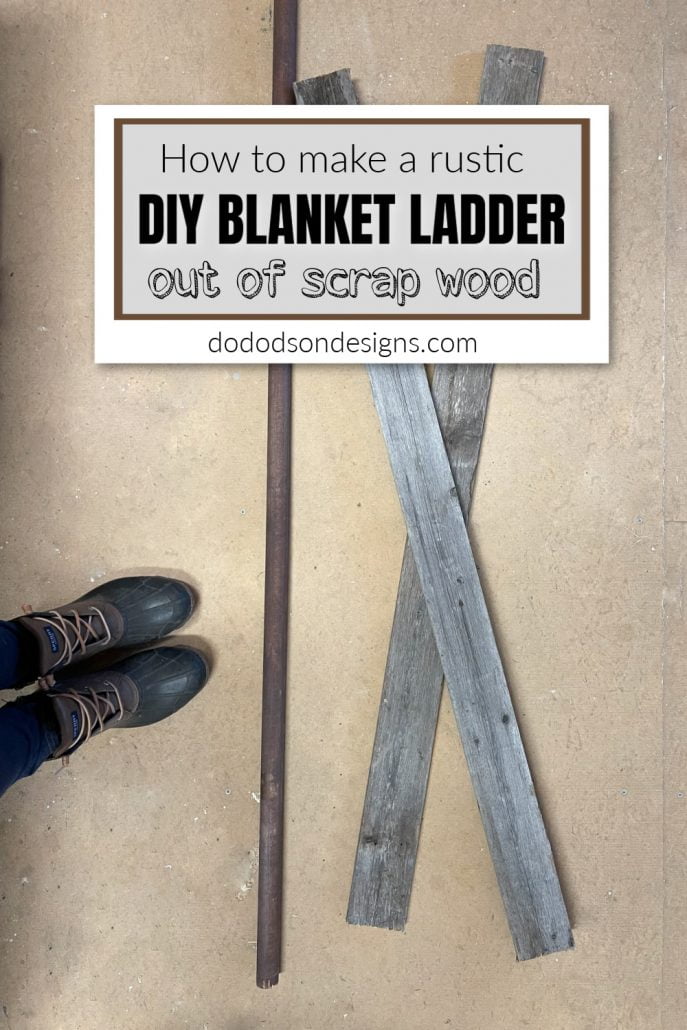
Supplies List For This Project
This post contains a few affiliate links to help you find the products I use. You are not charged extra to use any of the links, but any income I make will be used for more amazing DIY projects to share with you! To see my full disclaimer, click here!
- Two sturdy scrap wood boards for the side rails, or two 2×3 boards cut to 5 feet long
- A wooden clothes rod cut into four equal rungs, or four 2×2 pieces cut to 16 inches long
- Wood screws suitable for the thickness of your wood
- Saw
- Drill and drill bits
- Measuring tape and pencil
- Sander
- Clamps to help hold pieces during assembly
- Safety glasses and hearing protection
- Optional: white paint, a silkscreen stencil, and a stencil applicator
Sanding Scrap Wood Before Building The Blanket Ladder
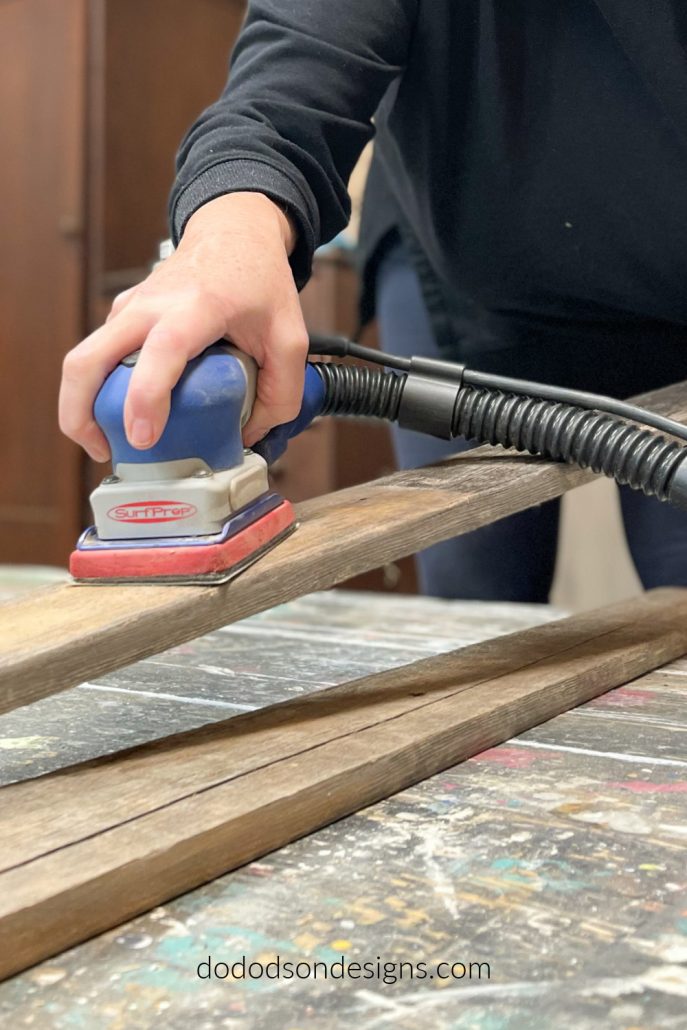
Cut your rails and rungs to the lengths you’ve chosen, then sand each piece before assembling the ladder. Pay extra attention to the rungs where your blankets will hang, smoothing rough spots and easing sharp edges. You can keep that weathered character without keeping the splinters! Wipe away the sanding dust and check for any spots that could snag fabric.
Assembling The Blanket Ladder
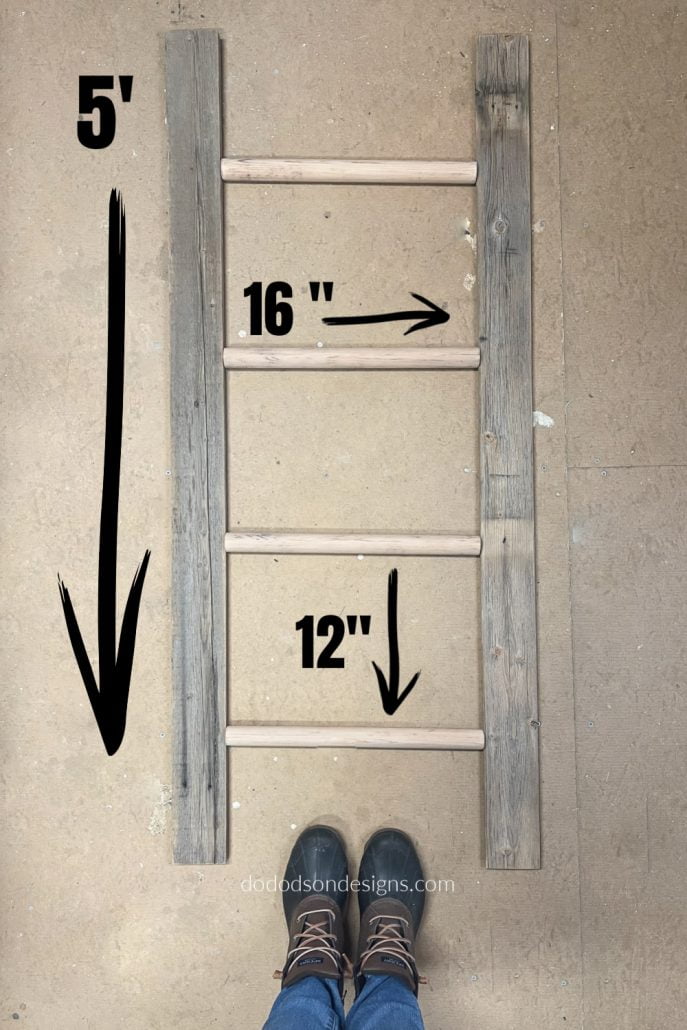
Before attaching anything, lay the two side rails and your rungs on a flat surface to check the arrangement. I like seeing all the pieces laid out—it makes more sense to me than trying to picture measurements in my head. Scrap wood projects don’t have to be complicated!
Keep the rails parallel and position the rungs between them. You can adjust the number of rungs and their spacing to suit the length of your rails and the blankets you want to display. Leave room below the bottom rung so your blankets won’t drag on the floor.
Step 1: Measure and Mark the Rung Positions
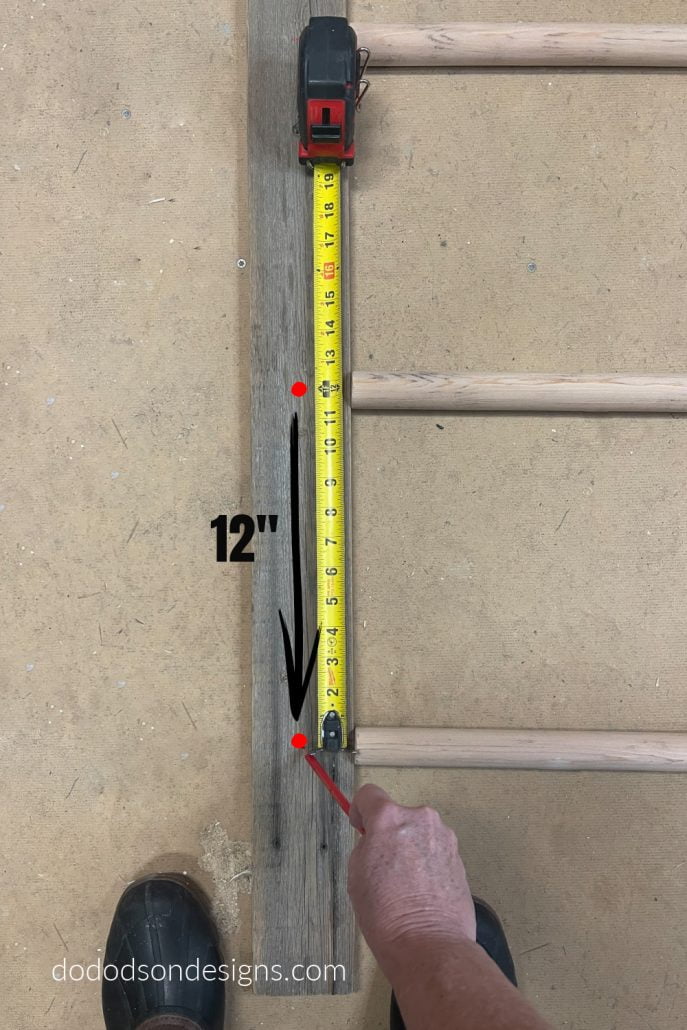
With the pieces laid out, decide where you want the top rung to sit. I spaced my four rungs 12 inches apart, measuring from the center of one rung to the center of the next.
Measure and mark each rung position on both side rails, starting from the same end of each board so the marks line up. At each position, mark the center across the rail’s width—this is where you’ll drill the screw hole. Check your measurements before drilling.
Step 2: Predrill the Rails and Rungs
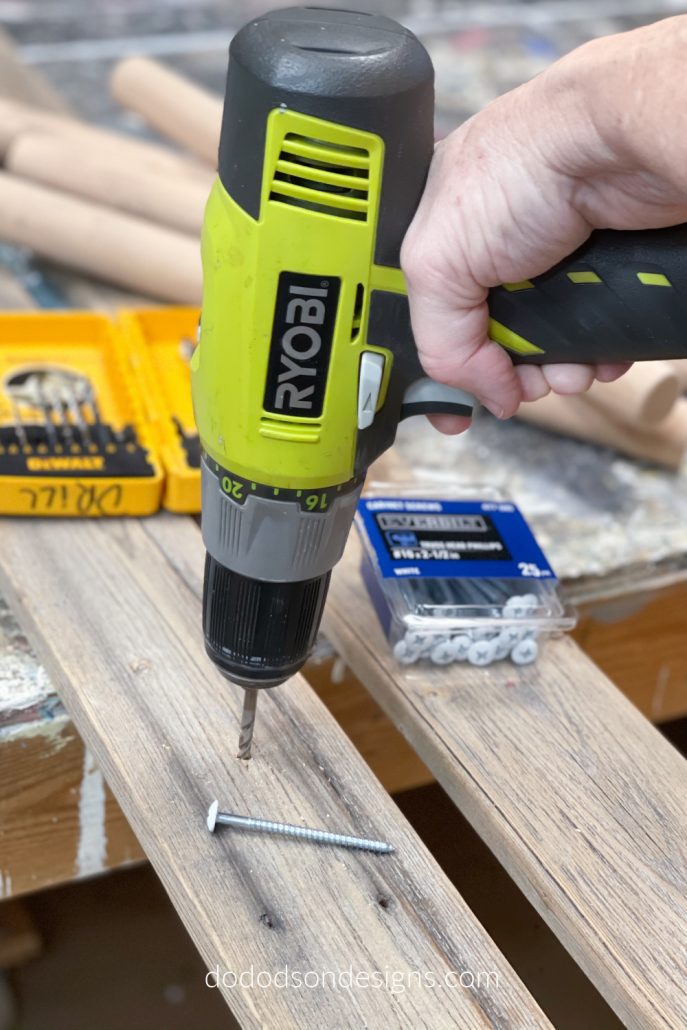
Clamp each side rail securely over a scrap backing board. Drill through the rail at each marked location, using a bit that allows the screw’s threaded portion to pass through without gripping the rail.
Next, mark the center of both ends of each rung. Clamp the rungs securely and drill pilot holes straight into the ends. Use a pilot bit matched to your screw size and wood type, following the screw manufacturer’s guidance. Make the holes deep enough for the portion of the screw that will enter the rung.
These holes help reduce splitting and make it easier to attach the rungs.
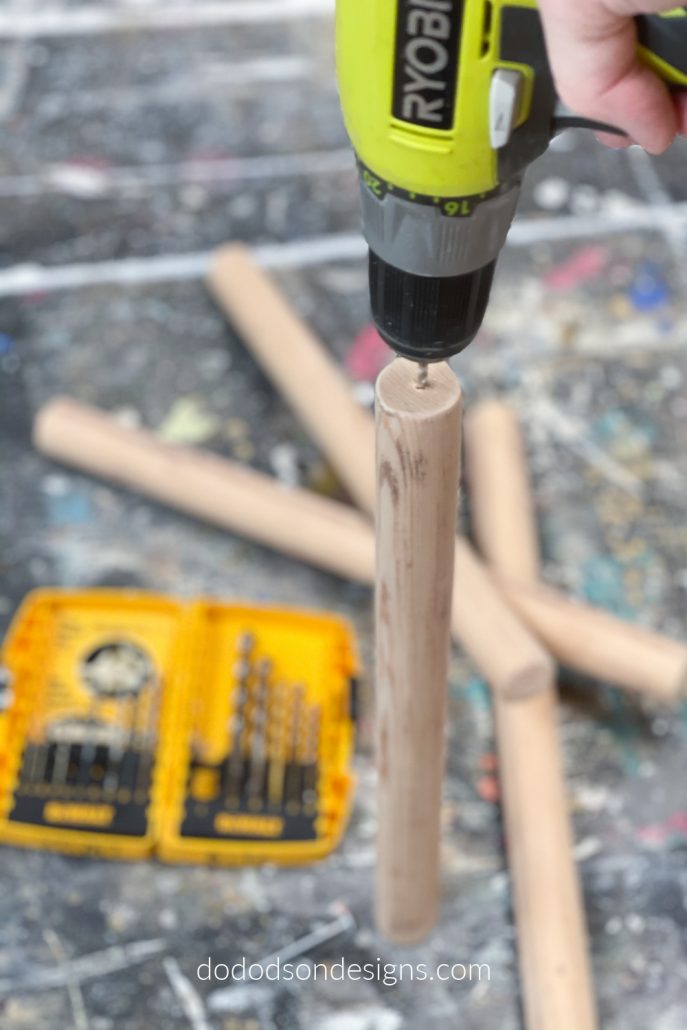
Step 3: Drilling a pilot hole into the center of a wooden blanket ladder rung’s end.
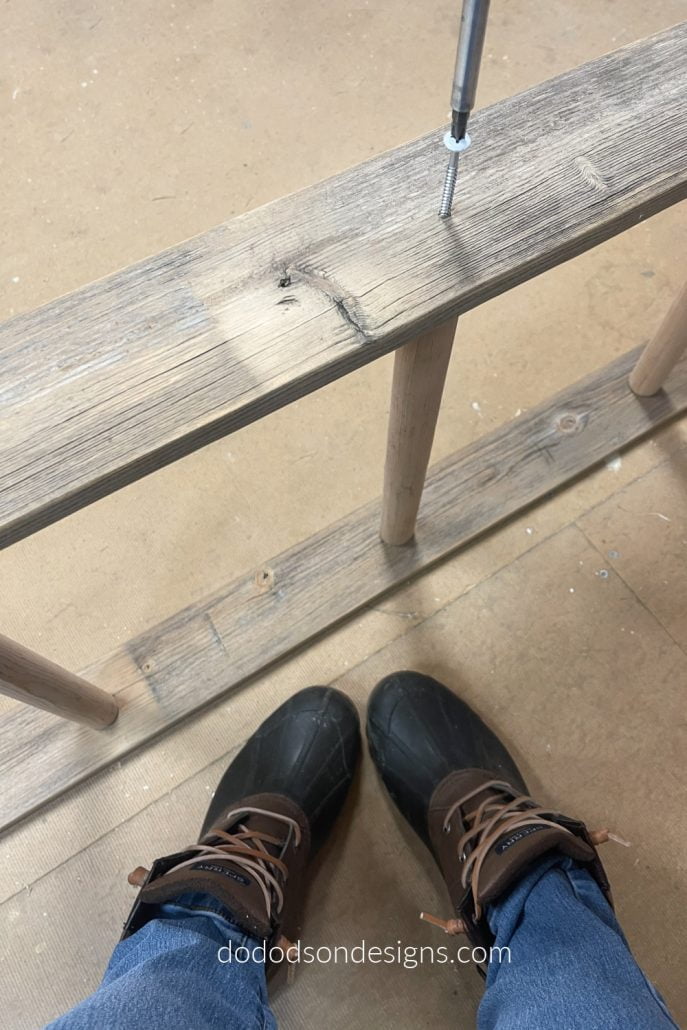
Line up the pilot hole in one end of a rung with its matching hole in the first side rail. Drive a wood screw through the outside of the rail into the rung, leaving it slightly loose while you attach the remaining rungs.
Next, position the second rail and attach it to the opposite ends of the rungs. Clamps or an extra set of hands make this part easier. I’m all for doing it myself, but there’s no prize for wrestling a blanket ladder!
Check that the rails are parallel and the rungs are square to them, then snug up the screws without overtightening. Check each connection for looseness before adding blankets.
This ladder is for displaying blankets only and should never be used for climbing.
Step 4: Add an Optional Stenciled Detail
You can leave your blanket ladder plain, but I wanted a little something extra. A subtle white stencil adds detail without covering up that weathered wood. Rustic can be a little fancy, too!
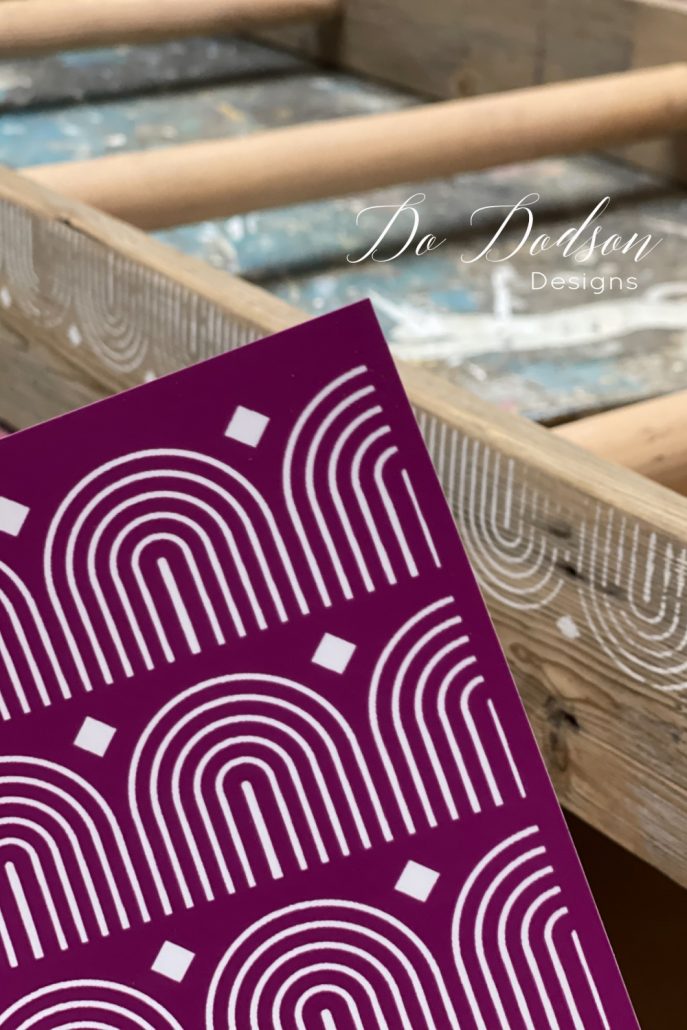
For this project, I used a silkscreen stencil and white chalk mineral paint. The narrow side rails gave me just enough room to add a small repeating pattern.
I cut the stencil sheet into strips to fit the rails. If you’re using a different stencil, choose a design that fits the width of your boards and follow its application, cleaning, and reuse instructions.
How To Apply A Silkscreen Stencil On Wood
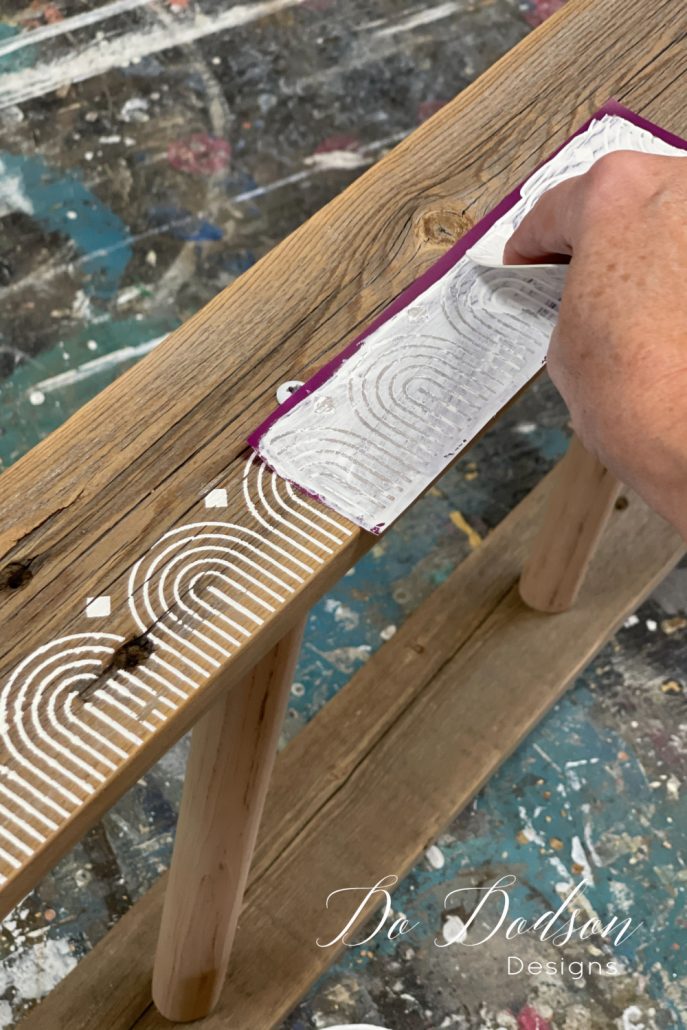
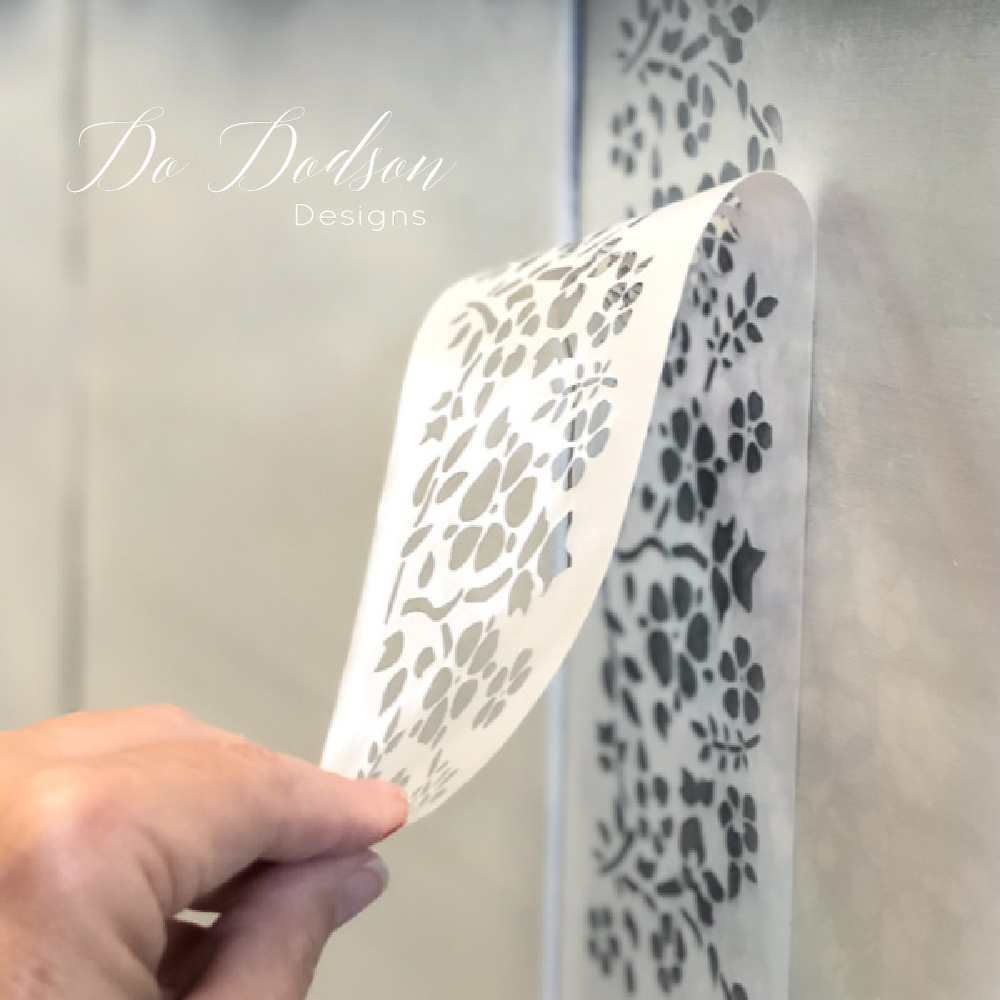
Start with clean, dry wood and wipe away all sanding dust. Position the silkscreen stencil on the rail and gently press it down so the adhesive backing makes contact with the wood. Weathered wood can have uneven spots, so take your time here.
Use a stencil scraper to spread a small amount of white chalk mineral paint across the design. Scrape away the excess—you need very little paint. If needed, mask around the stencil with painter’s tape to keep paint off the surrounding wood.
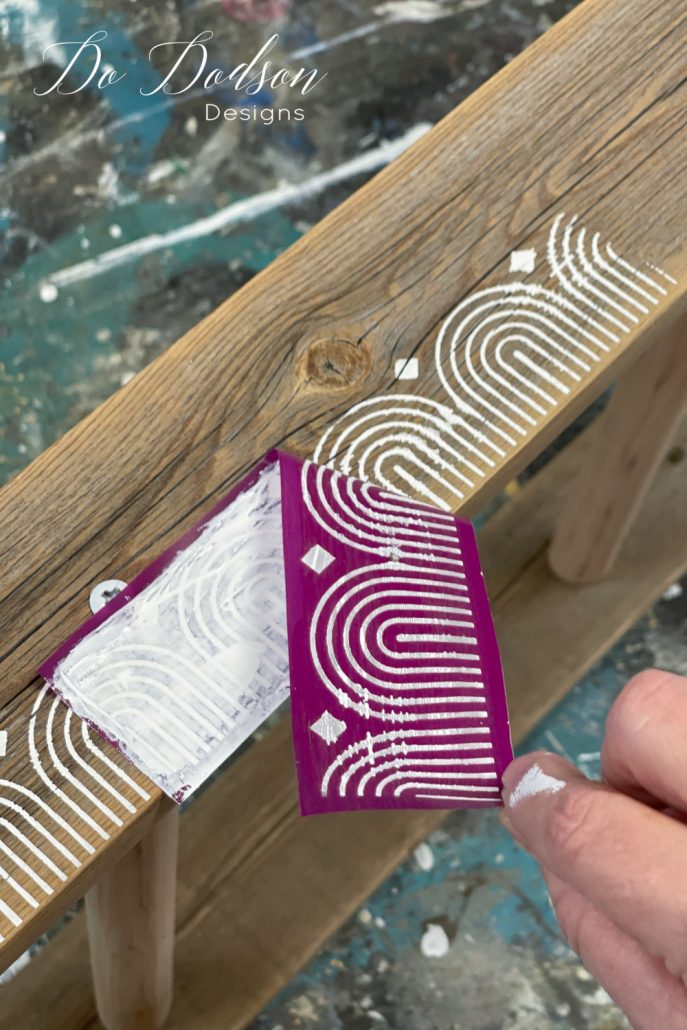
Peel the stencil away while the paint is still wet to reveal the design. Clean the stencil according to the manufacturer’s instructions before paint dries in the screen. If you’re repeating the pattern, let the painted area dry before placing the stencil over it.
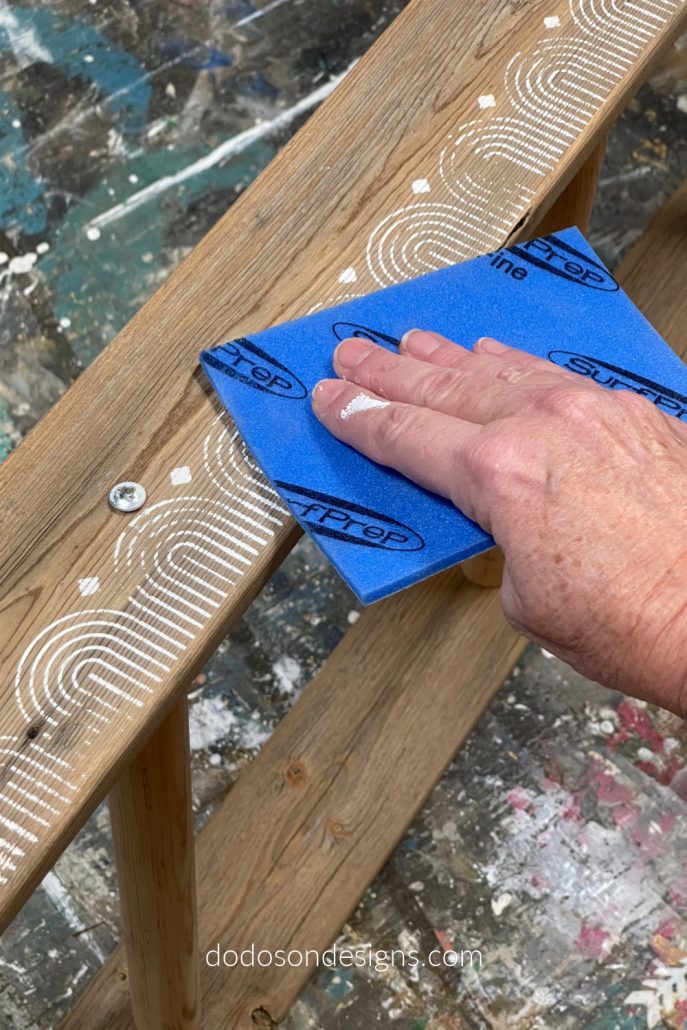
I had a little paint bleed beneath the stencil where the wood was uneven and I’d applied too much paint. It happens! For this rustic project, a little sanding helped soften those imperfections.
Once the paint is completely dry, lightly sand the design with 220-grit sandpaper or a fine sanding pad. Use gentle pressure and stop when you like the look. This softens the white pattern and helps it blend with the weathered wood. Wipe away the dust before displaying your blankets.
Decorating With Your Rustic Blanket Ladder
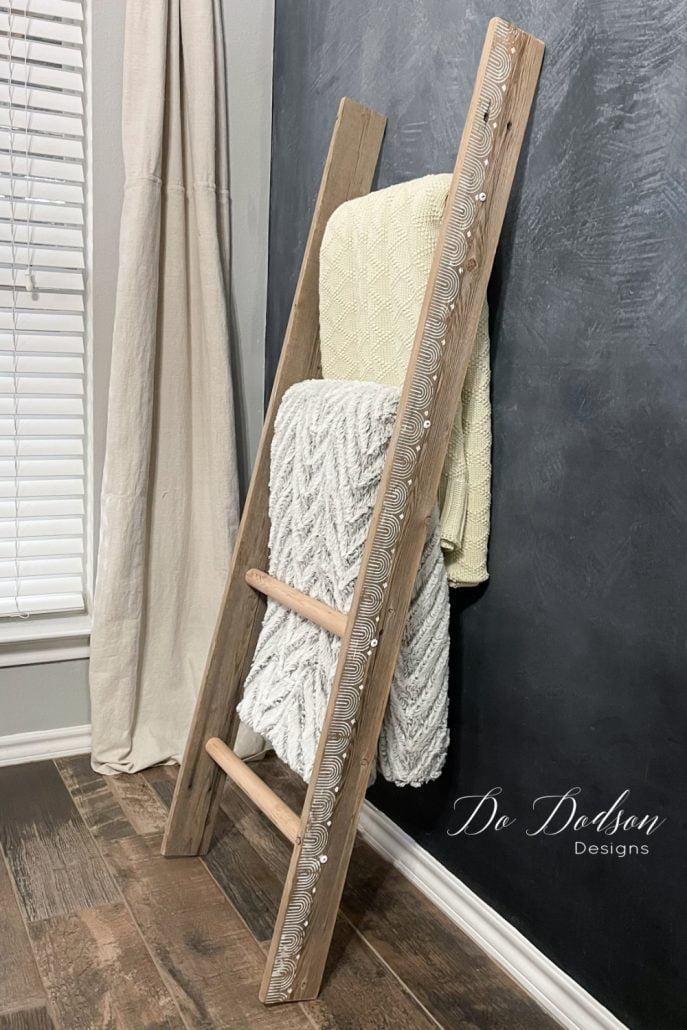
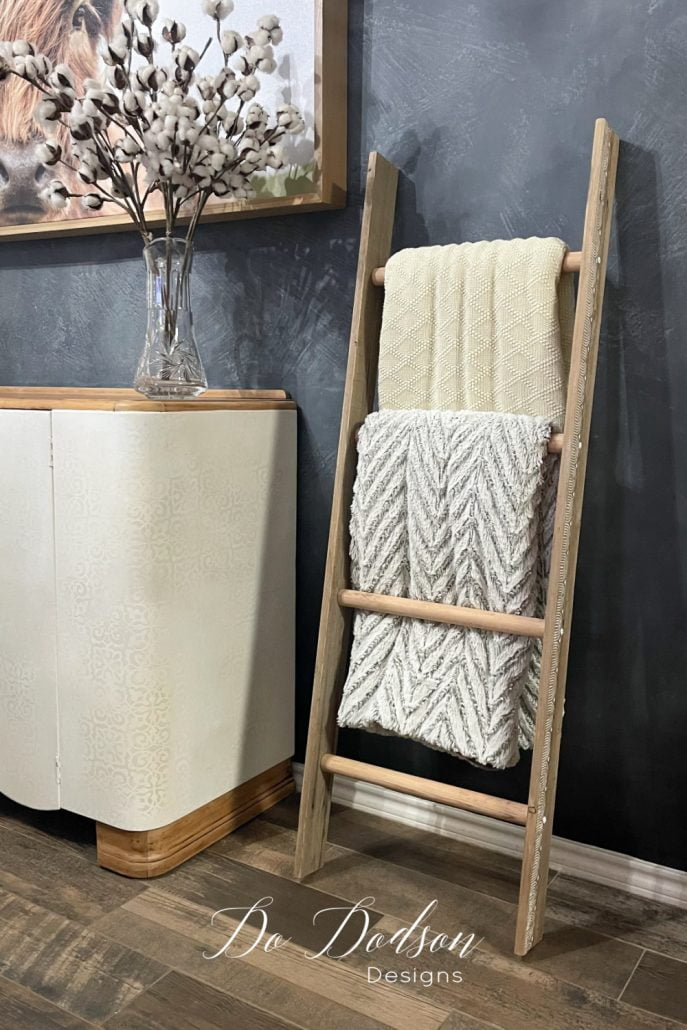
Here’s a fresh look for my blanket ladder with olive green and beige throws, a rustic wood stool, and a little greenery—proof that good scrap wood never goes out of style!

I couldn’t wait to drape my favorite blankets over this ladder. Weathered wood, a little white stencil, and something useful for my home—all from pieces I already had. That scrap pile has earned its keep again!
Fold your blankets lengthwise to fit the rungs, then try it beside a sofa or in a bedroom corner. Let any paint or finish fully cure before adding fabric. Position the ladder on a level surface and secure it to the wall to help prevent slipping or tipping.
Would you leave yours plain or add a little stencil detail like I did? Tell me in the comments. I’d love to hear what you’re making with your scrap wood.
Until the next project… xo, Do
More Scrap Wood Projects for Your Home
Still have a few good boards left in that scrap pile? Here are three more ways to put them to work around your home.







Great project!! What are the colors on your wall behind the staging. I love it and would like to try and replicate it. Thanks!
Hi Denise! It’s not hard at all. This may surprise you. Learn how I did it here. https://dododsondesigns.com/perfect-chalkboard-wall/
Happy New Year!
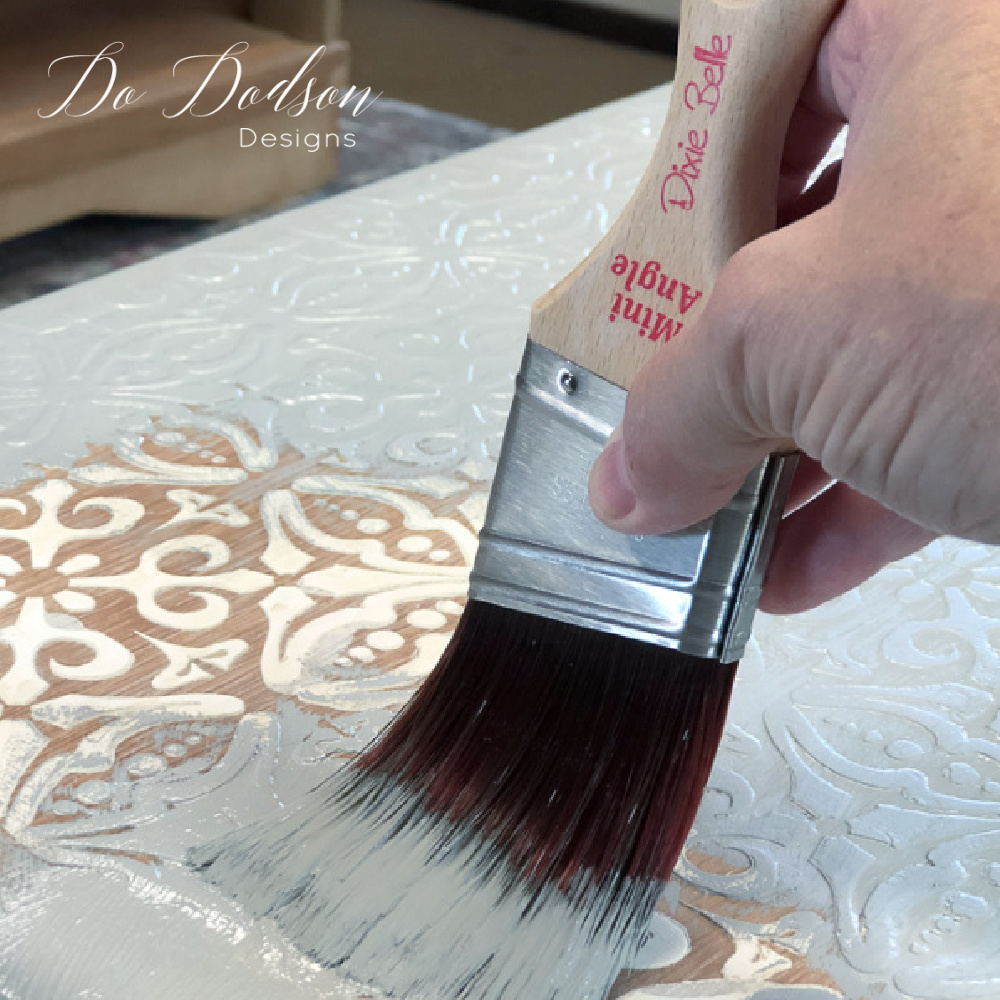
Oh my goodness that is just too cute. I just ordered the mosaic, mandala and floral silkscreen stencils. Can’t wait to get them. Do you think the stencils can be used for texture also?
Hi Barbara, I’m not sure. The screen has silk screen has tiny holes so I’m thinking no. It would work amazing on fabric. But please feel free to experiment and let me know. Happy New Year! xo
What a cutie! And the stenciling is the icing on the cake! Happy New Year my friend XOXO
Thanks, my friend! Happy New Year to you too. xo