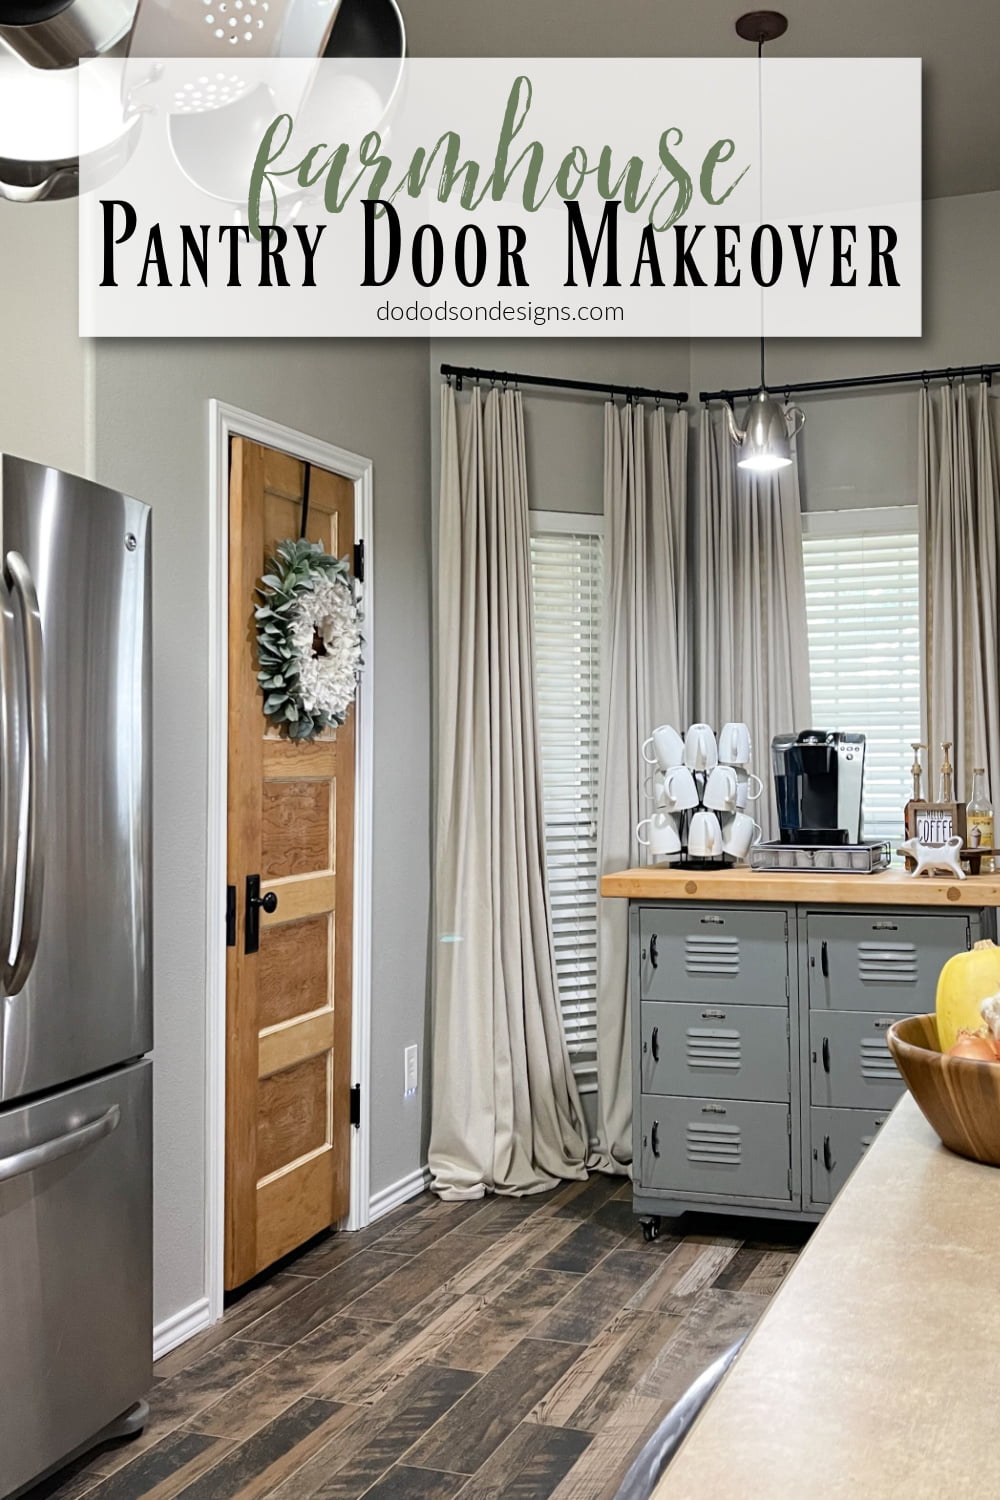
Finally! I’ve done it! I’ve found the one thing that will differentiate my farmhouse pantry door makeover. Bare wood! Here’s how we did it.
* As an Amazon Associate, I earn from qualifying purchases and through other companies as well. You will not be charged extra to use any of the links, but any income I make will help fund more amazing DIY projects to share with you! To see my full disclaimer, click here!
I Found This Old Wooden Pantry Door
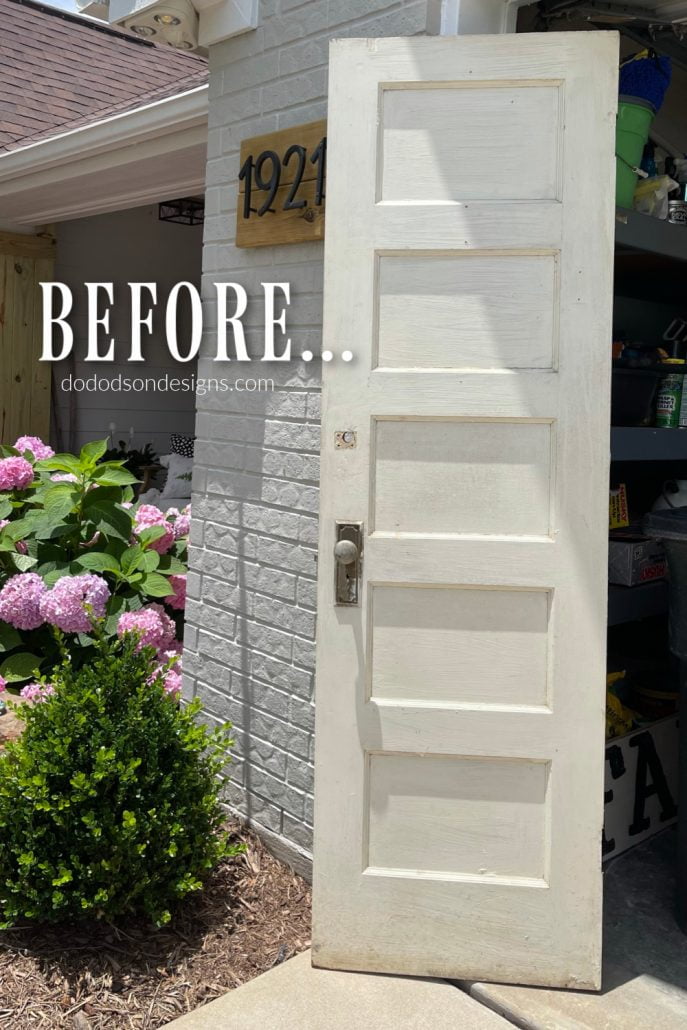
Finding the perfect wooden door for this pantry door makeover has been a challenge—a two-year challenge to be exact. Our existing pantry door was tall and skinny and measured 80X24. It’s a small pantry, so there’s that.
I got excited when I stumbled across this one at an antique store in our small town. What are the odds? It was the perfect fit, and it had the original hardware. SCORE!

SUPPLY LIST:
- vintage wood pantry door
- lead paint test kit (always yest before stripping old paint)
- smart strip advanced (paint remover)
- odorless mineral spirits
- chip brush (2 inch)
- paint scraper for wood
- SurfPrep Sanding System (Use my discount code DOIT10 to get a 10% discount)
- gator hide (water repellant top coat)
Remove The Hardware
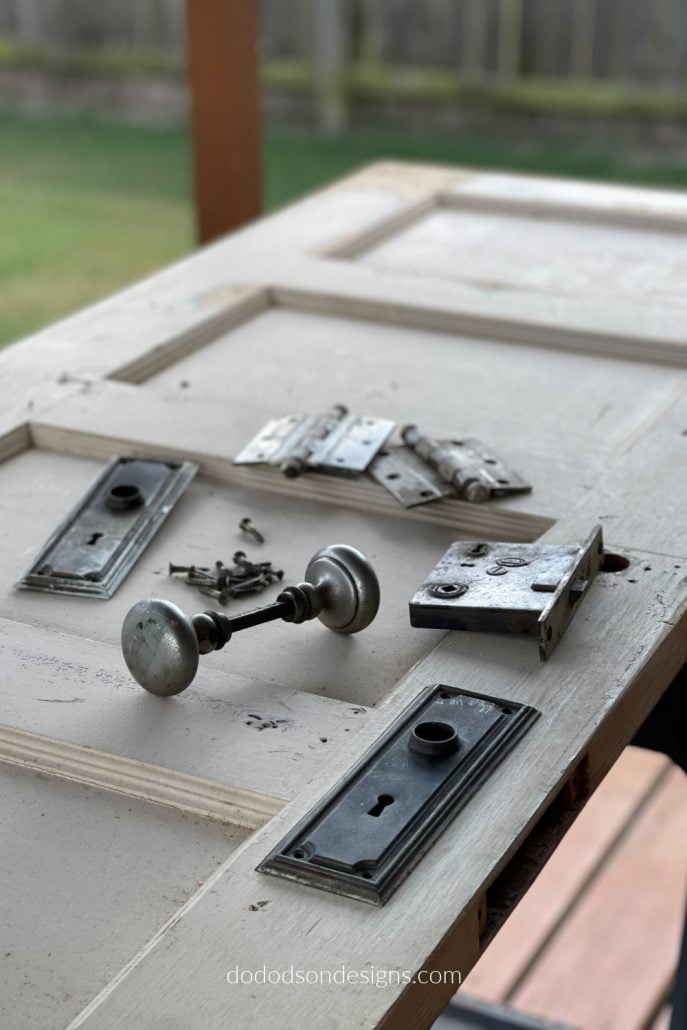
STEP 1: If you are fortunate enough to get the original hardware with the door in good condition, you hit payday with your pantry door makeover!
Because the hardware is old, I recommend that you not use power tools for removal but use an old-fashioned hand-driven screwdriver. Carefully remove the hardware, screws, doorknobs, plates, and hinges and place all the pieces in a plastic baggie for later.
Even if you don’t reuse the hardware, it will be a good reference if you purchase replacements for your pantry door makeover.
Pepping The Pantry Door And How We Chose To Do It
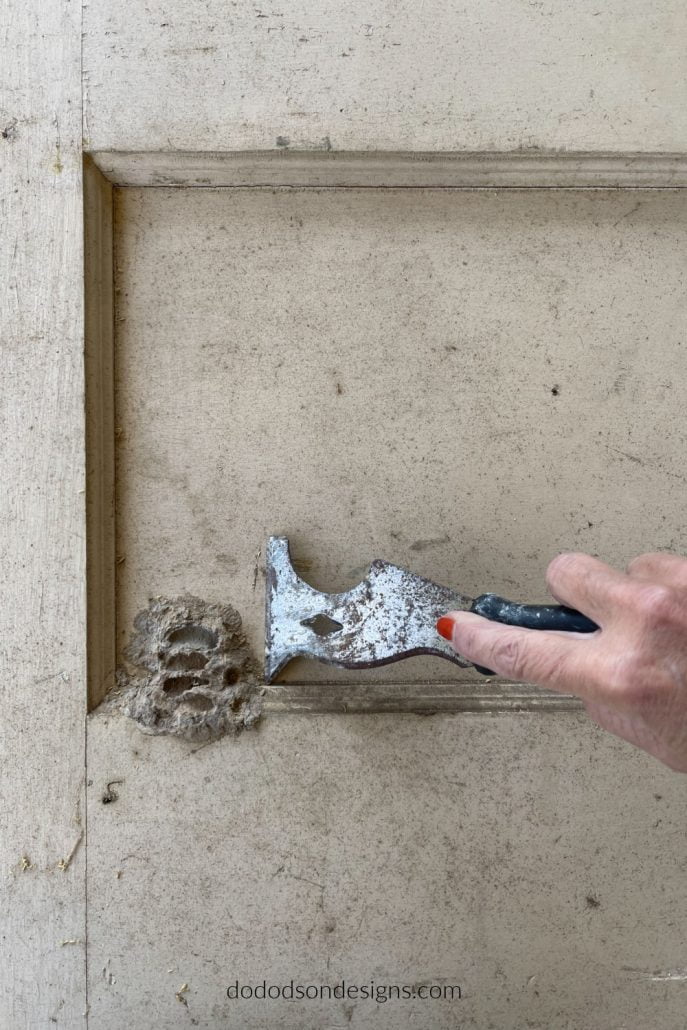
Lots of cleaning has to happen when you’re using a repurposed vintage door, especially when it has been stored in a barn! I giggled a little bit when I saw the dirt (mud) dauber nest.
STEP 2: To clean the door, we used mild soap and water to remove all the dirt and grime.
I’m Not Repainting The Wood Pantry Door
We decided to remove the layers of paint from the door and see what the bare wood looked like underneath. I was almost sure that the door was pine. In addition to that, the door’s weight told me that it wasn’t hardwood like oak.
* You should always test old paint for lead before stripping. Click here to read an article I found about removing lead paint safely.
STEP 3: I found this paint stripper on Amazon and thought I would give it a try. Boy, was I shocked at how well it stripped away the paint. And it’s eco-friendly.
Apply the stripper liberally over the painted surface with a disposable chip brush and wait. Depending on the layers of paint you are removing, it can take several hours to penetrate the layers.
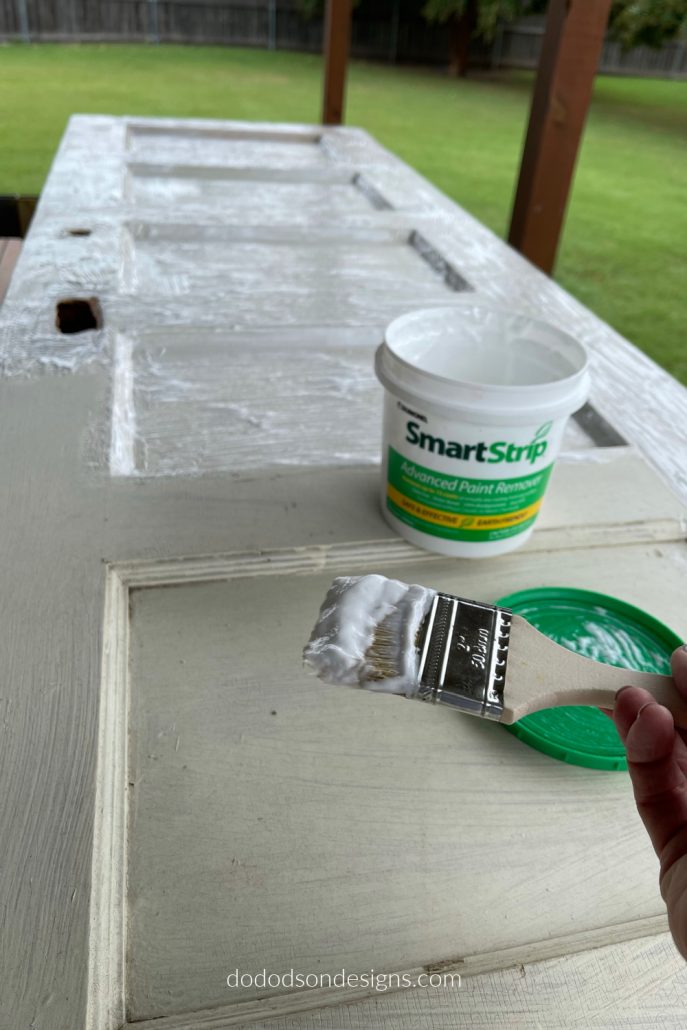
You’ll start to notice the paint lifting and rippling away from the wood when it’s ready to be removed. If you’re not sure, test a spot first. You can reapply in that area if needed.
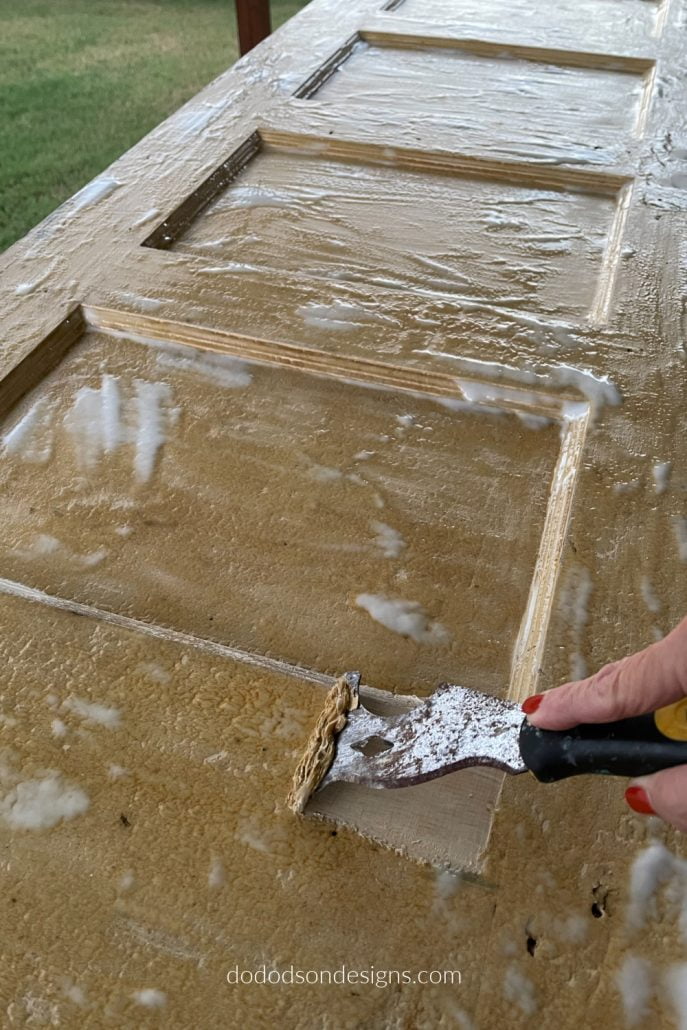
Bare Wood Is Simple To Achieve
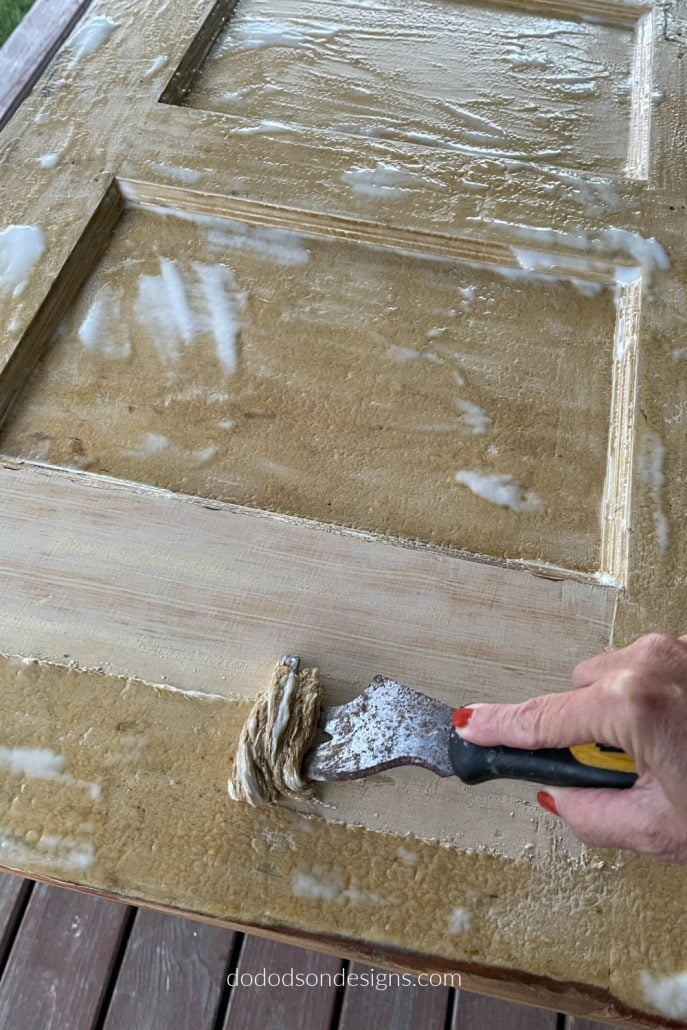
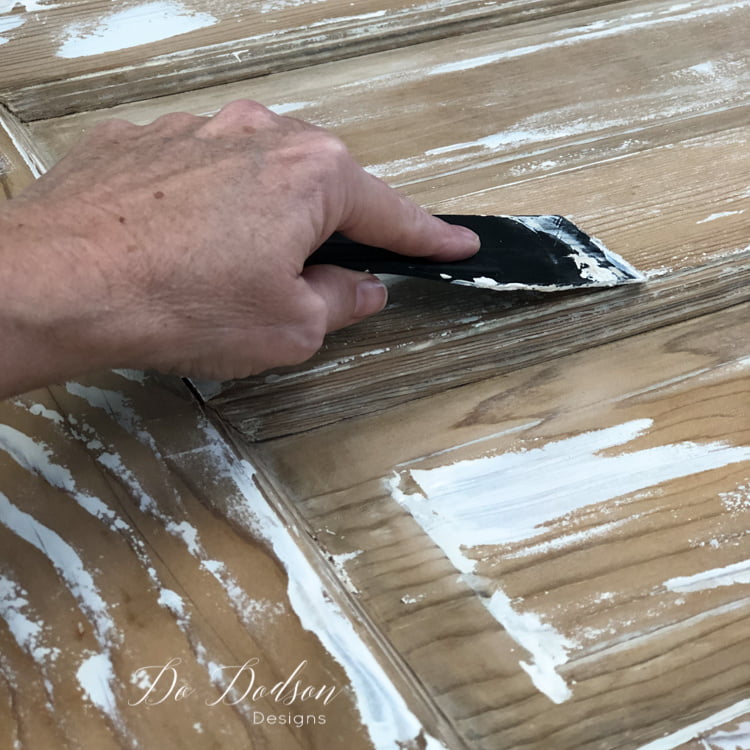
STEP 4: Carefully scrape away the layers of paint with a wood scrapping tool. I used the empty container of stripper and filled it up with the gooey old paint. Of course, I used a lot of paper towels too with this pantry door makeover.
Use odorless mineral spirits to clean up the excess gooey paint mess in the corners. A wire brush also helps in those hard to get to areas.
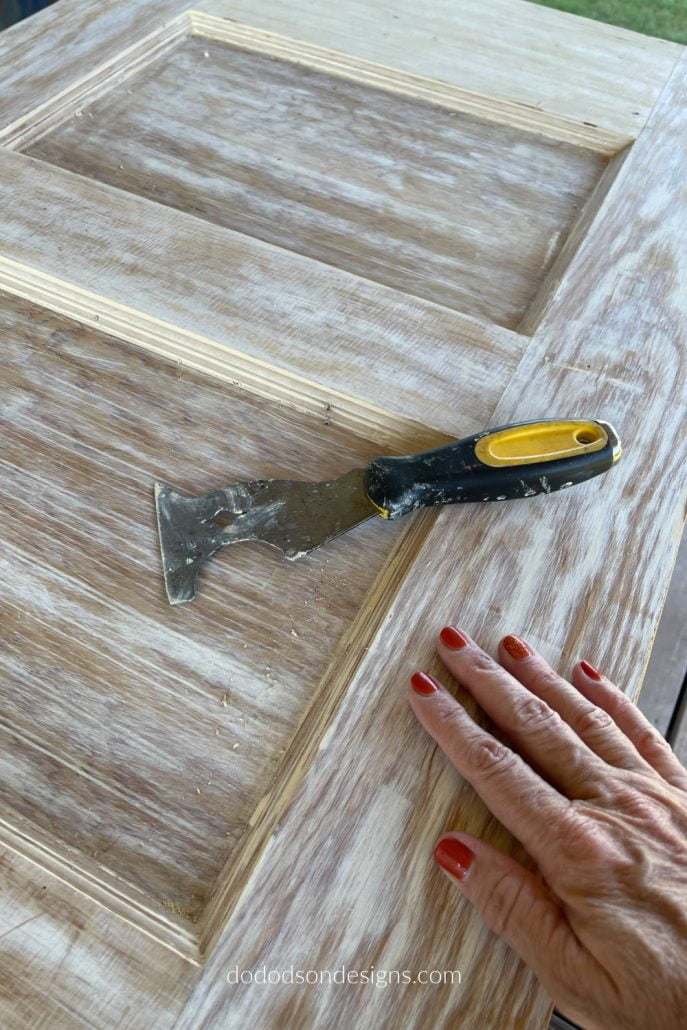
I can’t tell you how satisfying it is to remove old paint to reveal hidden gorgeous wood. I used one heavy coat of this paint stripper to break down these layers of paint. I’ll be adding this product to my arsenal of paint strippers.
Refinishing The Pantry Door
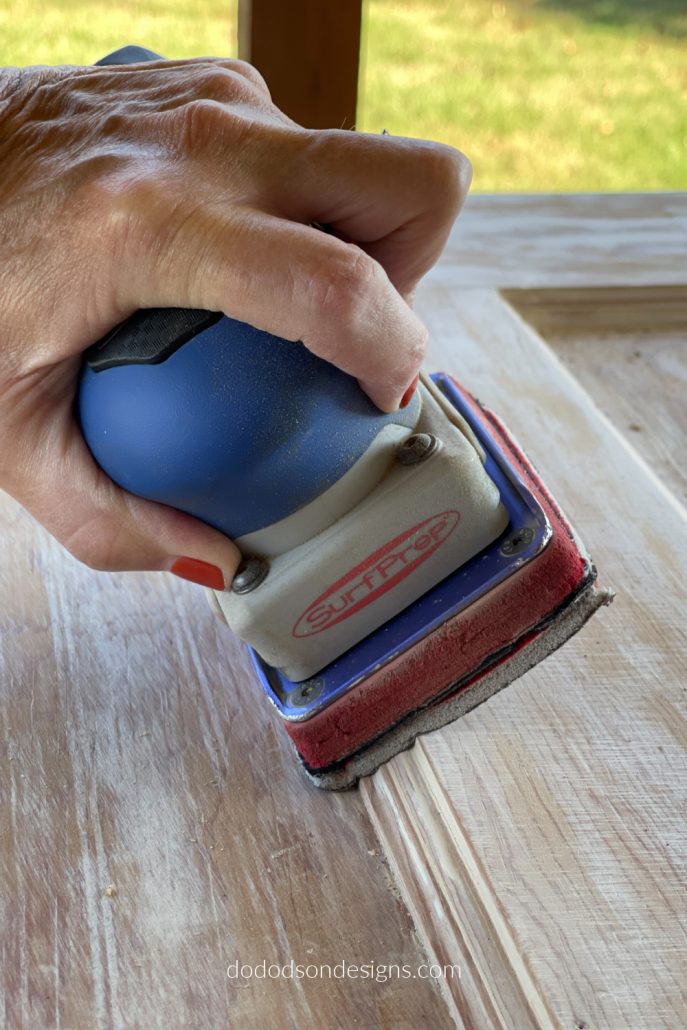
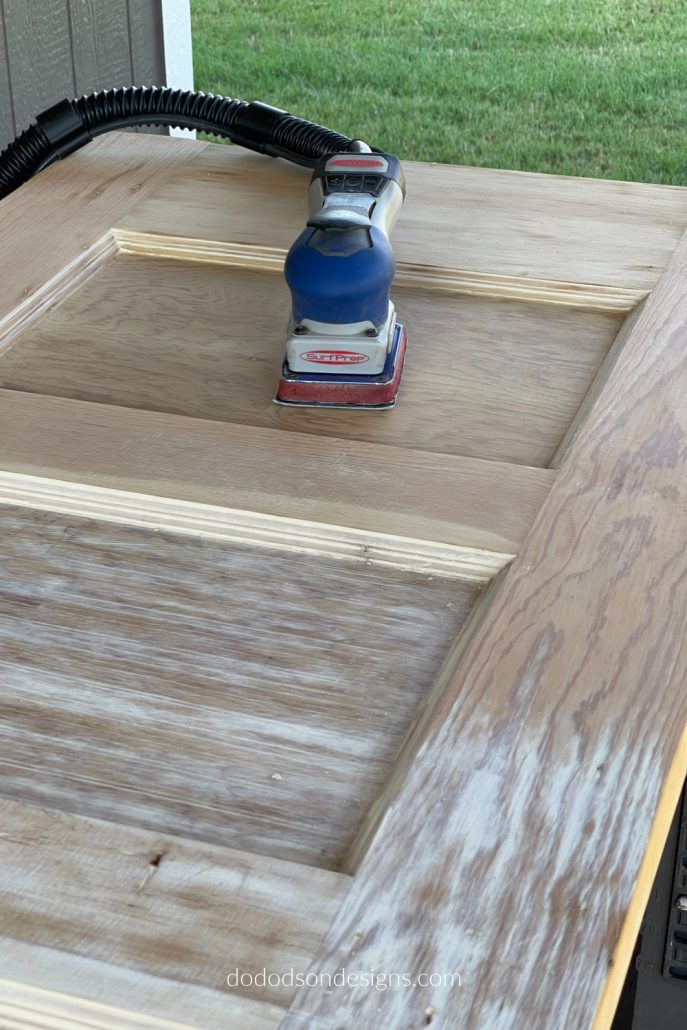
STEP 5: After stripping off the old paint, you’ll need to sand the surface of the wood to remove the remaining paint that the scrapping left behind. It’s not much, and it looks pretty cool if you want a whitewashed look on a wood pantry door.
Removing the residual paint is quickly done with a hand sander and a 100 grit abrasive pad. Using an aggressive grit will leave the wood a bit course afterward but finishing it off with a final sanding with 220 grit with leave the raw wood smooth.
Sealing The Bare Wood For Protection
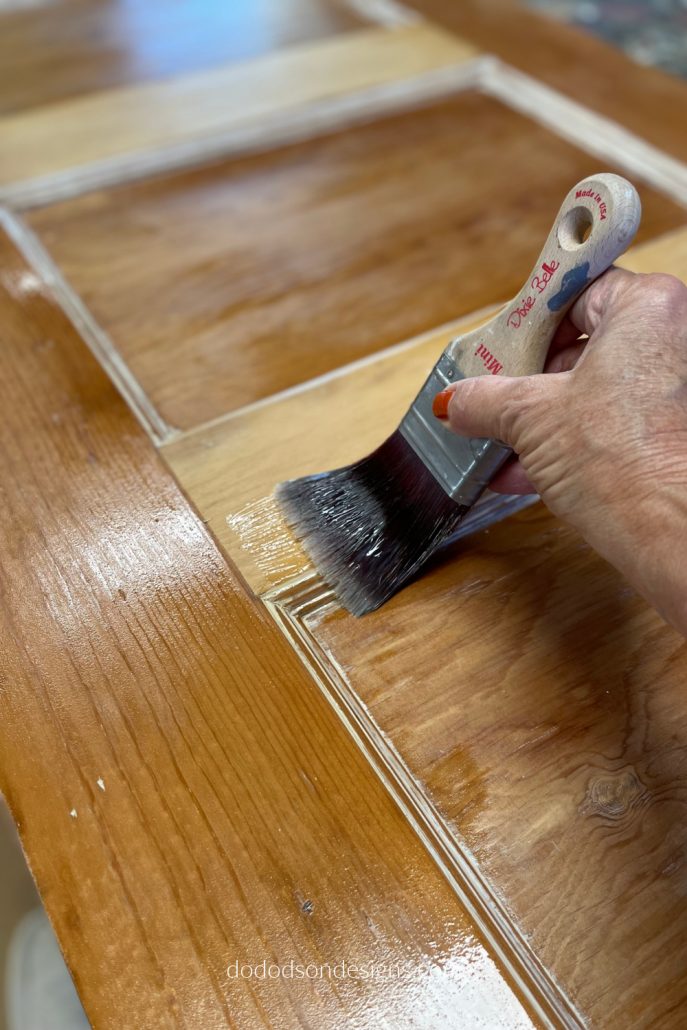
STEP 6: Now that the beautiful bare wood is exposed, it will need a sealer to protect it from oils, dirt, and those grubby hands that visit the pantry often. If we are blessed, 😏 we all have those problems in our kitchen.
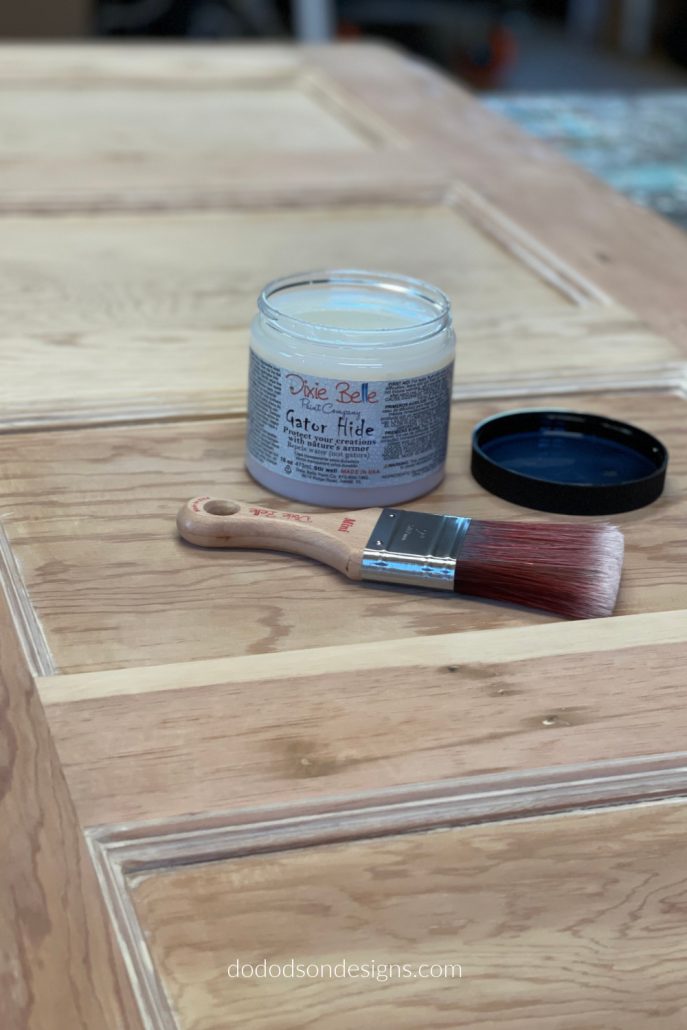
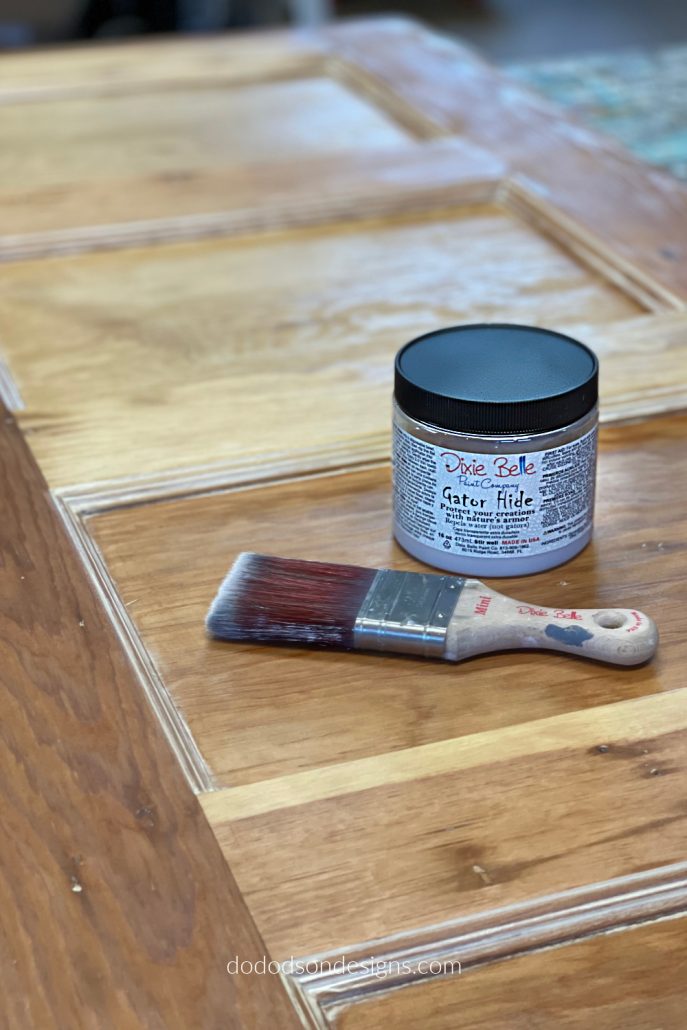
To seal the wood on my new old pantry door, I used a product called gator hide. This water-based poly-acrylic topcoat is made for high-traffic areas such as counters, cabinets, tabletops, and outdoor furniture, and it will be perfect on this door.
If you love the look of the beautiful bare wood and don’t want it to change colors, CLICK HERE to see how to keep the wood light and bright before sealing it with a topcoat.
Updating The Old Hardware With Paint
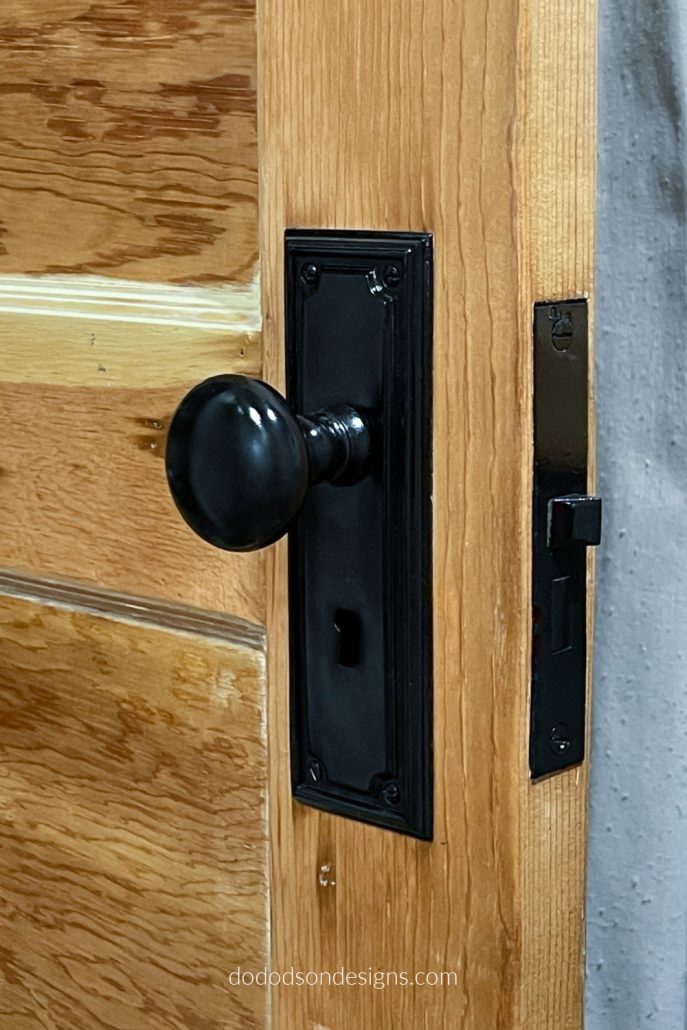
Let’s clean up that old hardware! The original hardware got a new update with a bit of elbow grease and some spray paint. CLICK HERE to learn how I cleaned and painted the hardware.
The End Results!
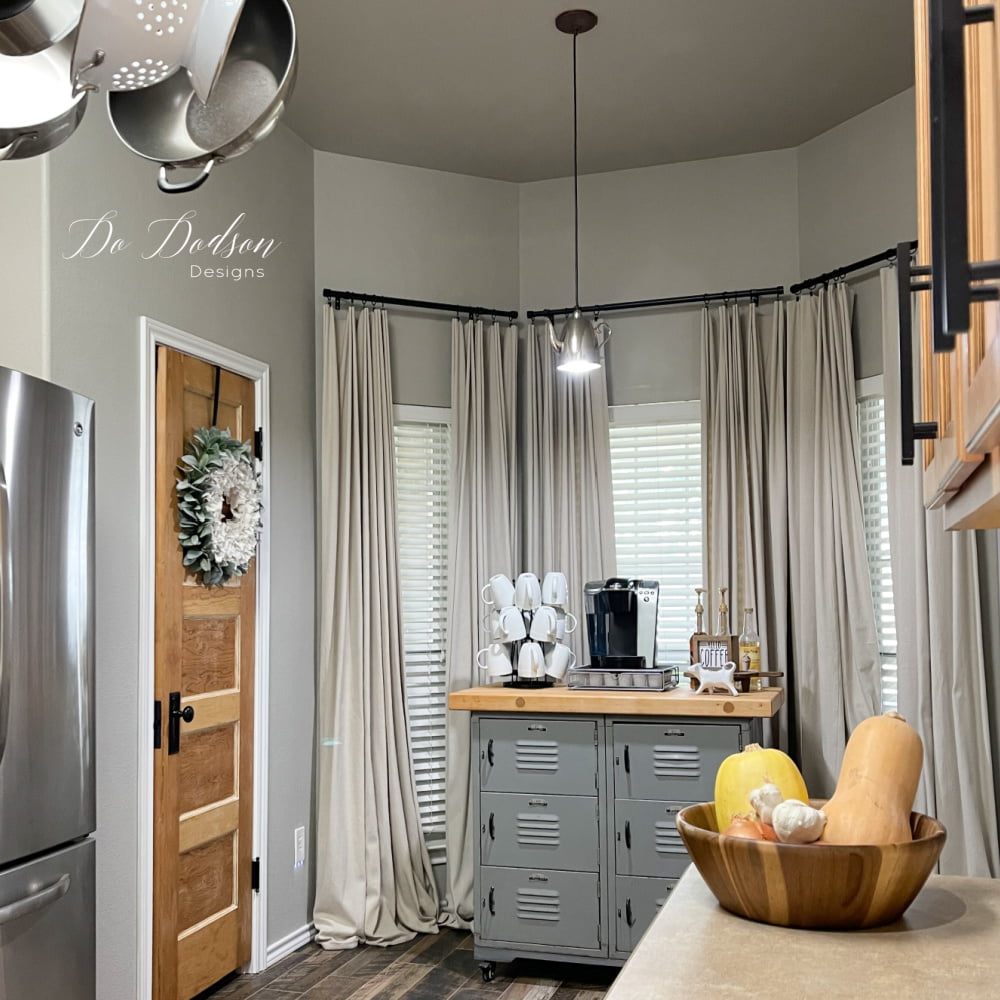
And there’s the drop cloth wreath I made last week! I made it specifically for this pantry door makeover. I love the results, and the pantry door matches my kitchen cabinets perfectly now.
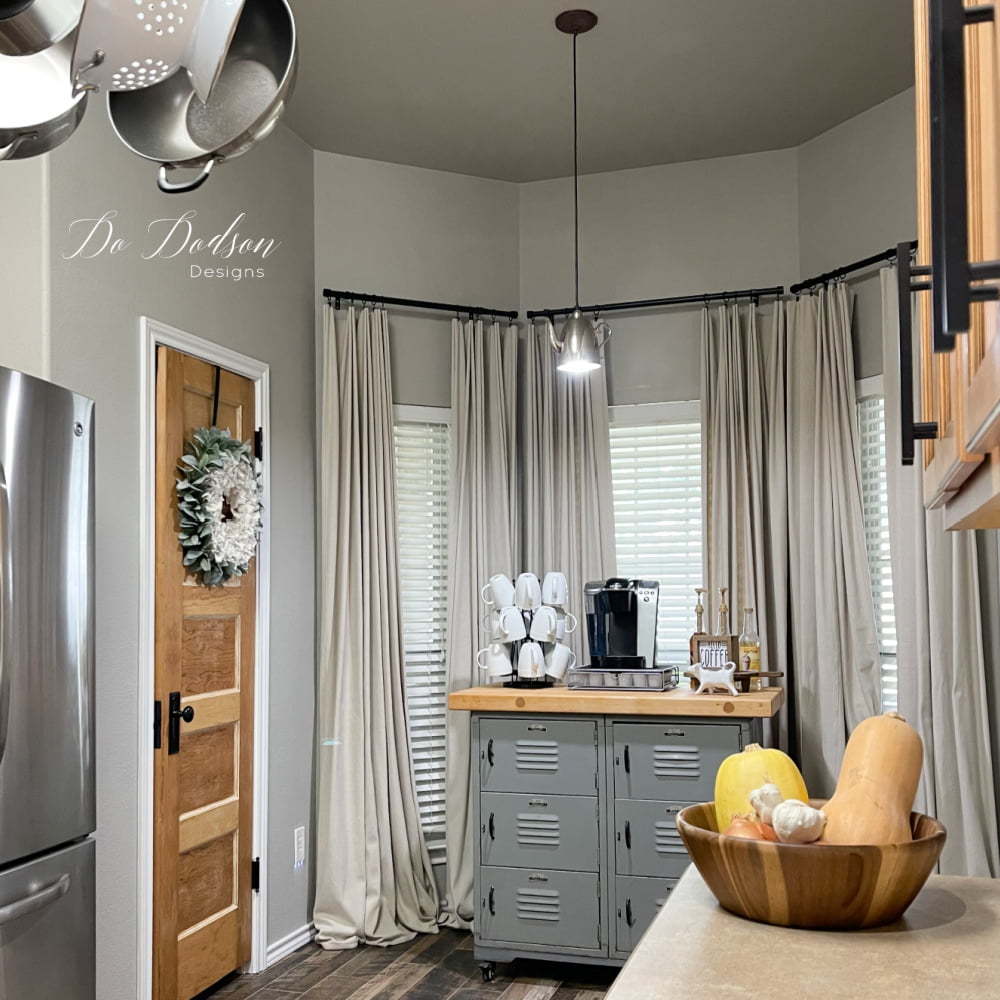
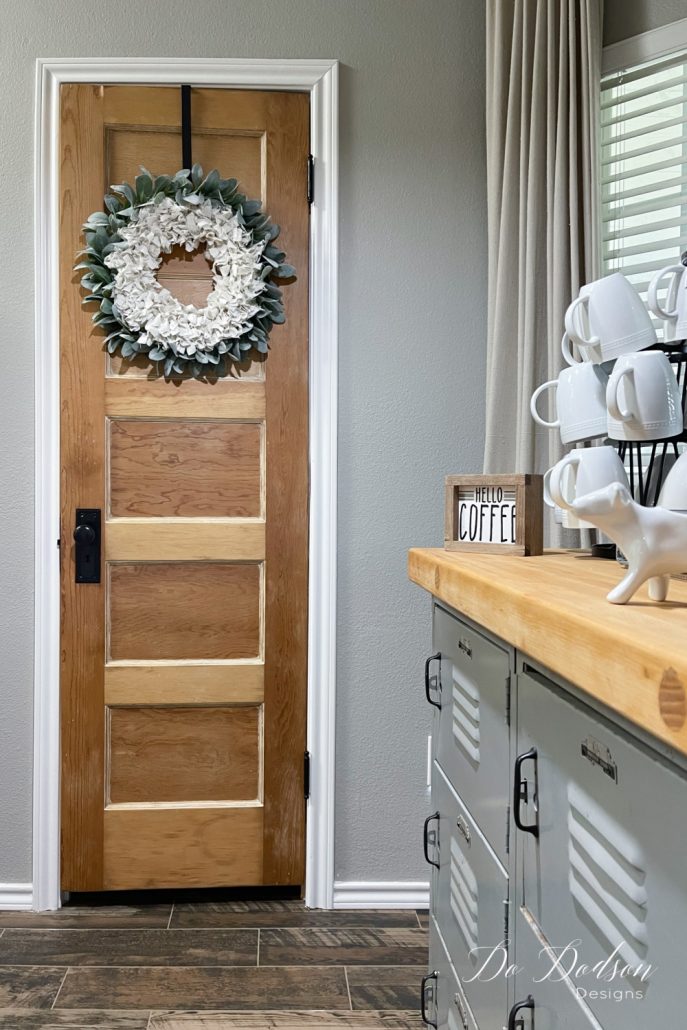
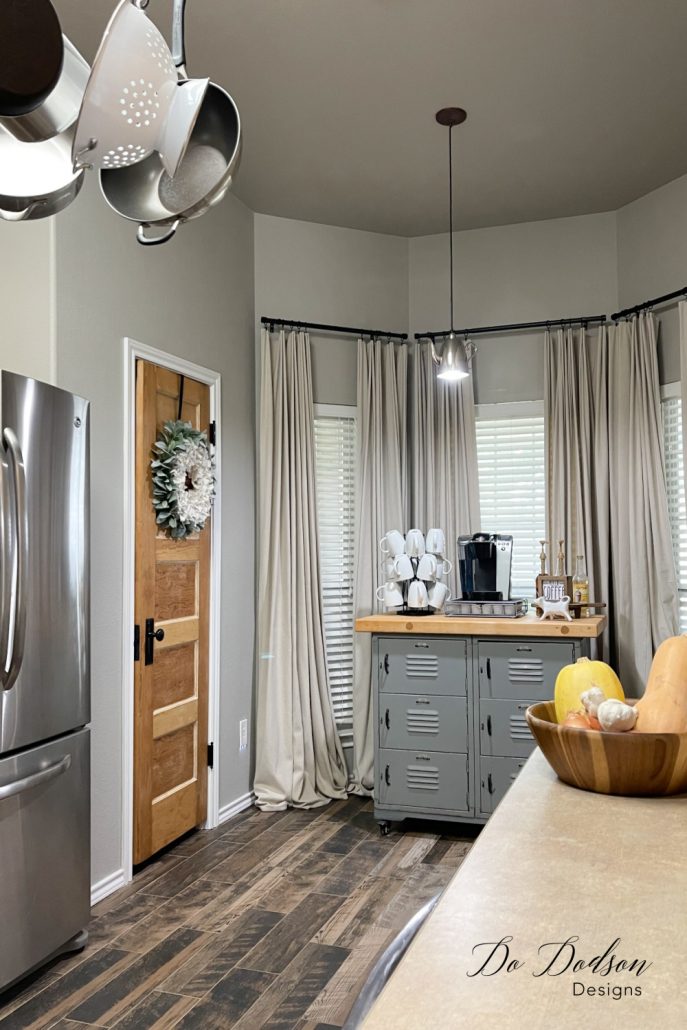
Now every time (which is often) I walk past that pantry door, I smile because I did that. I could have gone with a chippy look, but I’m happy with the bare wood.
Oh, if you’re looking for a chippy door tutorial, CLICK HERE.
Until the next project… xo, Do


Such a pretty door!😍 With the original hardware, now that is rare…in my little corner of the world anyway. Worth waiting 2 years for this beauty. It adds character to an already beautiful corner of your kitchen.
I absolutely love these old panel doors.
Yes! I agree, Nancy. It’s worth the wait to get what you want. There’s just something special about these old doors. I’m looking for another one for my front door. I’d love an antique door. Wish me luck! 🙂 xo
You do beautiful work!!!! I love seeing all your results. This is really hard work!!
Thank you so much, Geneva! It’s not as hard as it looks. Having the right products and tools makes it easier. 🙂
The door is gorgeous and it looks so good in your kitchen.
Thanks, Renea. It is finally starting to come together. 🙂 Have a blessed day, my friend.
It is beautiful, love it!
Thanks, Gail! Have a blessed day. 🙂 xo
Love the look of this wreath, and I have plenty of drop cloth scraps! Yay! Thanks, Do!!!!
You’re welcome, Marilyn! So glad it was of use to you. 🙂 xo
Love the bare wood look Do! Great choice not to paint it!! BTW, I’m drooling over that sander! Pinned!
That sander is everything. It has been my favorite sander of all time, and I go through a lot of them. I’ve had this one going on for 2 years now.