
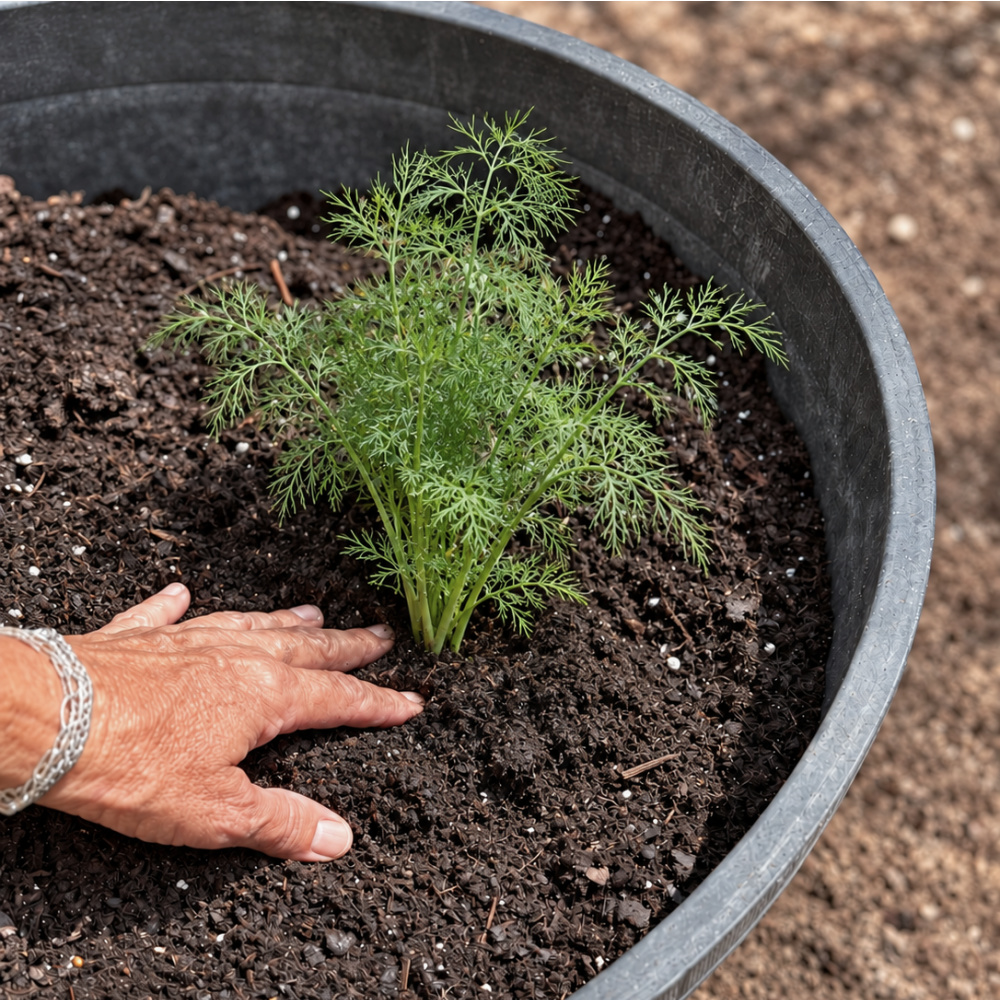
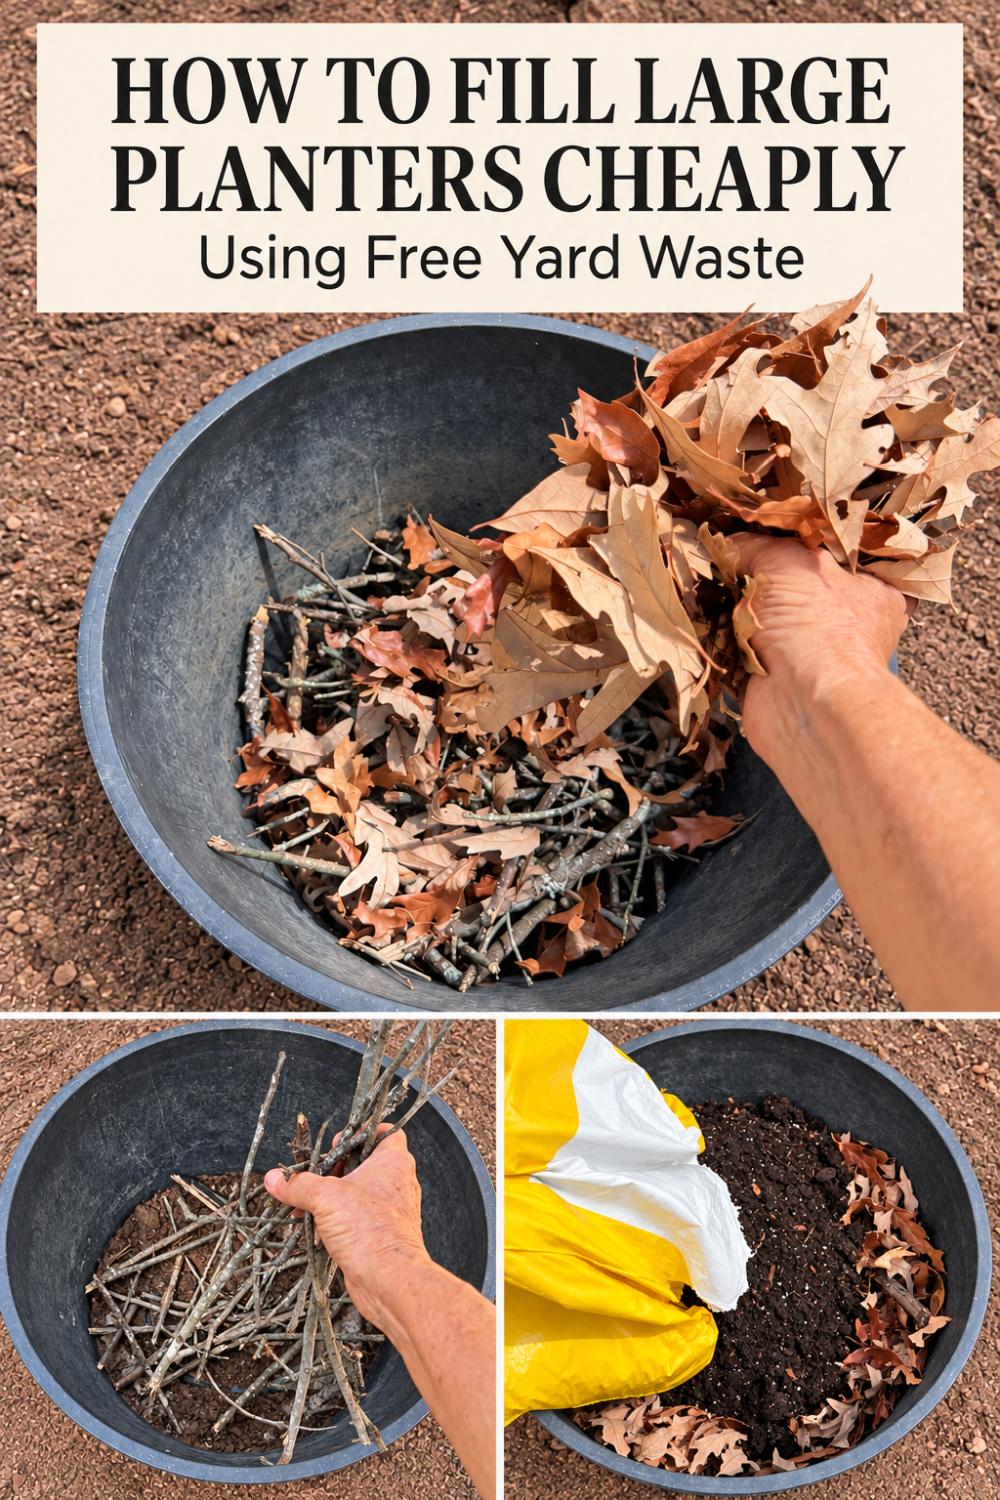
Large planters make a beautiful statement in the garden, but filling one with bag after bag of potting mix can get expensive fast. When I added these oversized barrel-style planters to my new herb garden, I knew there had to be a more affordable way to fill them while still leaving plenty of healthy growing space for my plants.
In this tutorial, I’ll show you how to fill large planters cheaply, how much potting mix your plants still need, and the important drainage step you won’t want to overlook.
* As an Amazon Associate, I earn from qualifying purchases and through other companies as well. You will not be charged extra when you purchase through these affiliate links, but any income I make helps me create more amazing DIY projects to share with you! To see my full disclaimer, click here!
What Can You Put in the Bottom of a Large Planter as a Filler?
When a planter is much deeper than the roots of your plants need, it isn’t always necessary to fill the entire container with expensive potting mix. Clean materials gathered from the yard can take up some of that extra space while keeping the project affordable.
For my large planters, I used small sticks followed by a layer of dry leaves. I packed them loosely into the bottom rather than pressing everything down tightly. These natural materials will slowly decompose, so I expect the soil level to settle a little over time. If needed, I can add fresh potting mix or compost next season.
The sticks and leaves are being used as an inexpensive filler—not as a drainage layer. Before adding anything, make sure the planter has several open drainage holes so excess water can escape. You’ll also want to leave approximately 10–12 inches at the top for quality potting mix and healthy root growth.

Supplies Needed to Fill a Large Planter
You won’t need anything fancy for this project. Most of the filler materials can be gathered right from your yard.
- Large outdoor planter with drainage holes
- Shovel
- Level
- Small untreated sticks or branches
- Dry leaves
- Quality potting mix
- Annual herbs or other shallow-rooted plants
- Watering hose or watering can
The amount of sticks, leaves, and potting mix you’ll need will depend on the size and depth of your planter. Avoid using diseased plant material, branches from chemically treated wood, or weeds containing mature seed heads.
Why I Partially Buried the Planters
Because our Texas summers are so hot, I buried each planter approximately 4–6 inches into the garden bed. The surrounding soil helps stabilize root temperatures and retain moisture, preventing the potting mix from drying out quite as quickly. As the plants around the containers grow and fill in, their foliage will provide additional shade and help keep the pots cooler during the hottest part of the day.
Gardening Tip: Before planting in large planters, check each plant label or seed packet for its sunlight, shade, and watering requirements. Group herbs with similar needs in the same container so every plant has the best chance to thrive. Also consider the mature size of each herb before deciding where to place it.
Important Note: These planters are made of durable polyethylene, so they will not decay when partially buried. I don’t recommend using this method with wooden containers because constant contact with damp soil can quickly lead to rot. Whatever type of planter you use, make sure it has adequate drainage and that the drainage holes remain clear.
Step 1: Add Drainage Holes
Before adding any filler, turn the empty planter upside down and check the bottom for drainage holes. My polyethylene containers needed better drainage, so I used a drill to create several evenly spaced holes across the base.
Adequate drainage allows excess water to escape and helps prevent soggy potting mix and root rot. Choose a drill bit large enough to create useful openings without weakening the container, and drill slowly to avoid cracking or damaging the plastic.
Because these planters will be partially buried, it’s especially important to keep the drainage holes open and in direct contact with loose, well-draining soil. The sticks and leaves added later will fill unused space, but they do not replace proper drainage holes.

Step 2: Choose the Location and Partially Bury the Planter (Optional)
These polyethylene whiskey barrel planters were left behind when we purchased our home. They’re old and faded from years spent outdoors, but they still have plenty of life left in them. I’m happy to repurpose them in my new herb garden and give them a useful new home.
After choosing a location for each planter, I dug a shallow hole and buried it approximately 4–6 inches into the garden bed. I used a level across the top to ensure the planter sat evenly before filling the soil back in around it. This also gave the lightweight container extra stability and made it look more intentional within the garden.

Step 3: Add Small Sticks to the Bottom
Once the planter was positioned and level, I gathered small fallen sticks from around our property. I broke any longer pieces into shorter lengths and loosely spread them across the bottom of the container.

The goal is to fill some of the unused space without packing the planter too tightly or blocking its drainage openings. Because I’m planting annual herbs, I only need to reserve the upper 10–12 inches for quality potting mix and root growth.
Use clean, untreated sticks that are free from disease or chemical exposure. Avoid large logs, treated lumber, or freshly cut branches from diseased trees. The sticks will gradually decompose and settle, so I may need to top off the planter with fresh potting mix in the future.
Step 4: Add a Layer of Dry Leaves
Next, I gathered dry fallen leaves from around our property and added them over the sticks. This free yard material fills many of the open spaces between the branches and reduces the amount of potting mix needed.
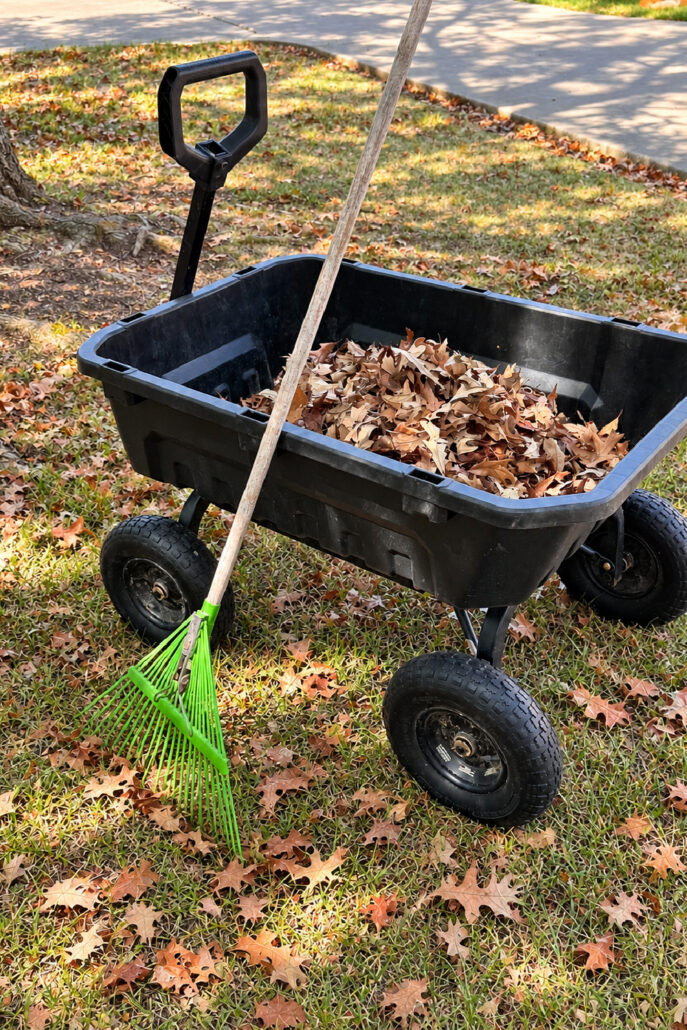
Add the leaves loosely rather than packing them into a thick, solid layer. The combined sticks and leaves should only fill approximately the bottom third of the container, leaving at least 10–12 inches at the top for potting mix and annual herb roots.
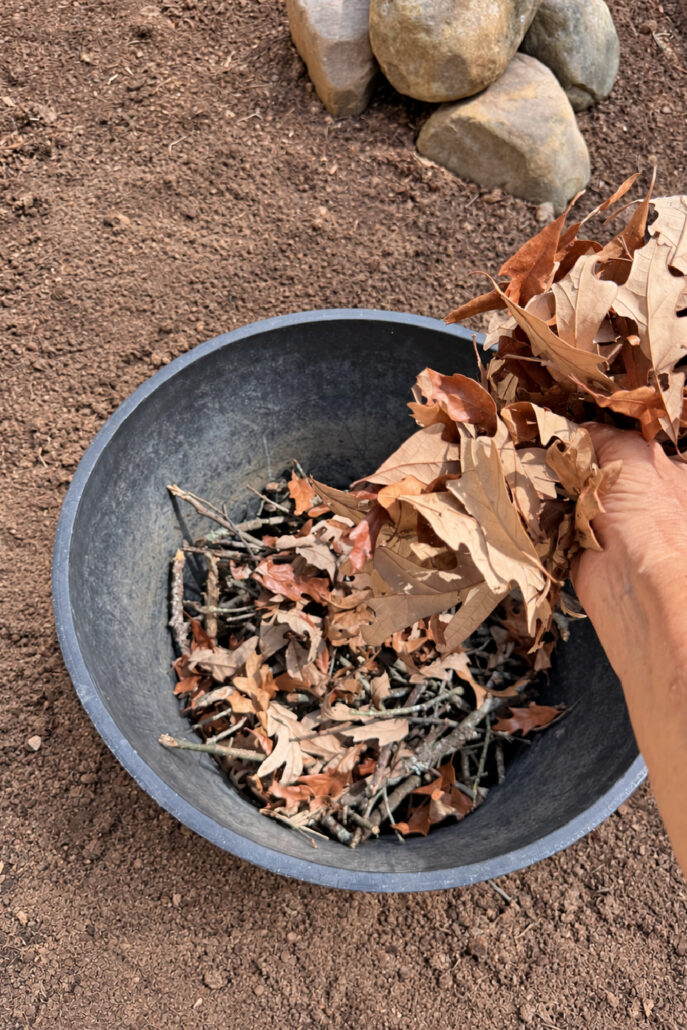
Step 5: Add Quality Potting Mix
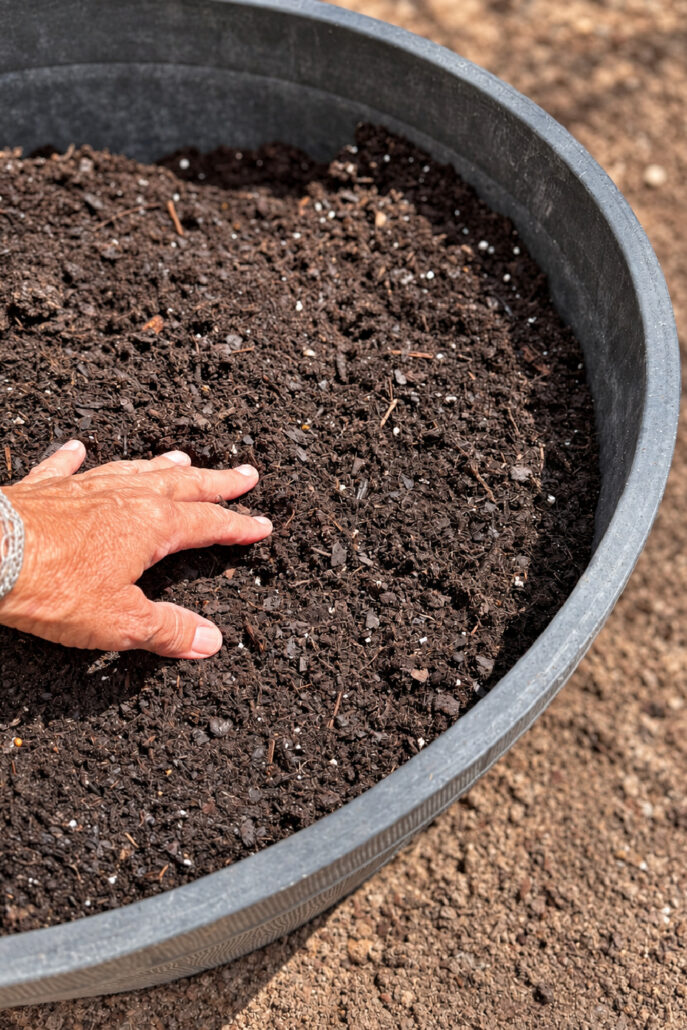
After adding the sticks and leaves, I covered everything with a quality potting mix formulated for outdoor containers. Avoid filling the planter with soil dug directly from the garden because it can become heavy and compacted, preventing proper drainage and healthy root growth.

Add enough potting mix to create at least 10–12 inches of growing space for the annual herbs. Stop approximately 1–2 inches below the rim to leave room for planting, watering, and a light layer of mulch, if desired.
Gently spread the potting mix across the surface without packing it down firmly. Water it thoroughly and allow everything to settle before planting. If the soil level drops as the leaves compress, simply add a little more potting mix.
Step 6: Plant the Annual Herbs
After watering the potting mix and allowing it to settle, arrange the annual herbs on top while they are still in their nursery pots. This makes it easier to experiment with the spacing and placement before digging any holes.
Check each plant label for its mature size, sunlight needs, and watering requirements. Group herbs with similar growing needs together so one plant isn’t constantly thirsty while its neighbor prefers drier soil.
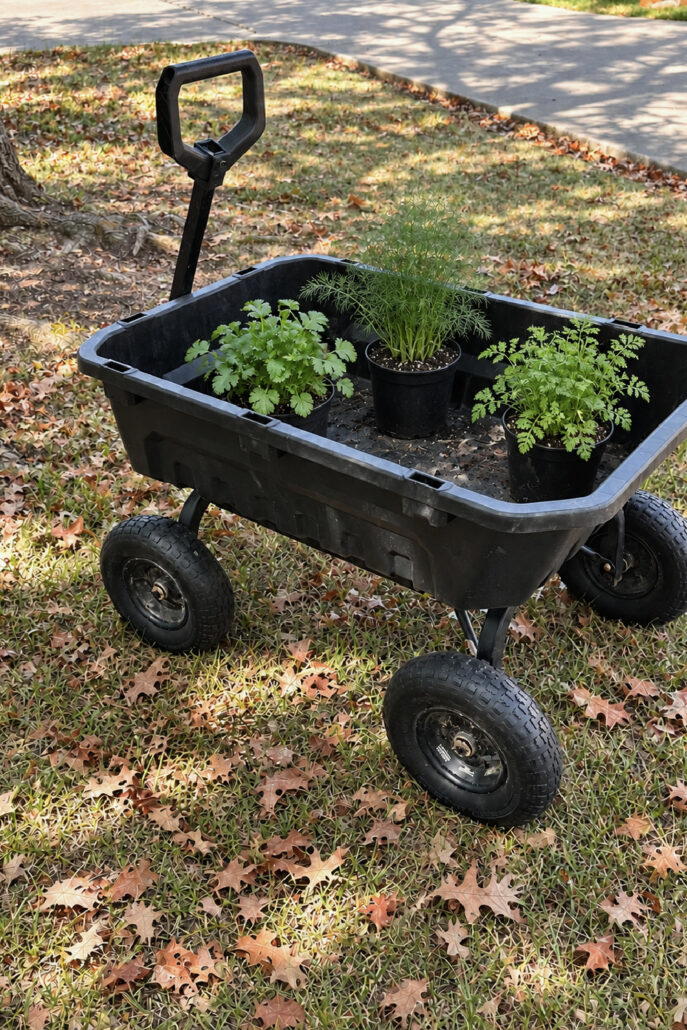
Remove each herb from its nursery pot and plant it at the same depth it was previously growing. Gently fill around the root ball, lightly firm the potting mix, and water everything thoroughly.

I plan to use these containers only for annual herbs, which means I can change the varieties with the seasons without disturbing the perennial plants growing throughout the surrounding garden.

What Happens as the Sticks and Leaves Decompose?
The sticks and leaves will gradually break down beneath the potting mix. As they decompose, the contents of the planter may settle, and the soil level may drop slightly. This is completely normal and doesn’t mean anything has gone wrong.
Because the natural filler only occupies the bottom portion of the container, the annual herbs still have a generous layer of quality potting mix for their roots. At the beginning of each new planting season, I’ll check the soil level and add fresh potting mix or compost if needed.
When replacing the annual herbs, lightly loosen the upper few inches of potting mix and check that the drainage openings are still working properly. If the soil remains wet for an unusually long time, inspect the drainage before adding new plants.
A Simple, Budget-Friendly Herb Garden
I strategically placed this herb garden just off the back porch so fresh herbs will always be within easy reach while I’m cooking.
The repurposed whiskey-barrel containers will hold annual herbs such as cilantro, dill, and chervil, while perennial herbs will grow in the surrounding garden bed. This setup will make planting, watering, and harvesting simple throughout the seasons.

What started with two old rubber whiskey-barrel containers left behind by the previous homeowners is becoming a practical little herb garden just outside our back door. Filling the containers with free yard waste saved money on potting mix, while the surrounding perennial herbs will return year after year. Once everything fills in, I’ll have fresh herbs within easy reach—and I’m pretty happy to give those old, faded containers a useful new life.
Planning a container garden of your own? Save this DIY guide on how to fill large planters cheaply so you can easily find it when you’re ready to start planting.
Happy gardening! 🐞
xo, Do
More Gardening Inspiration
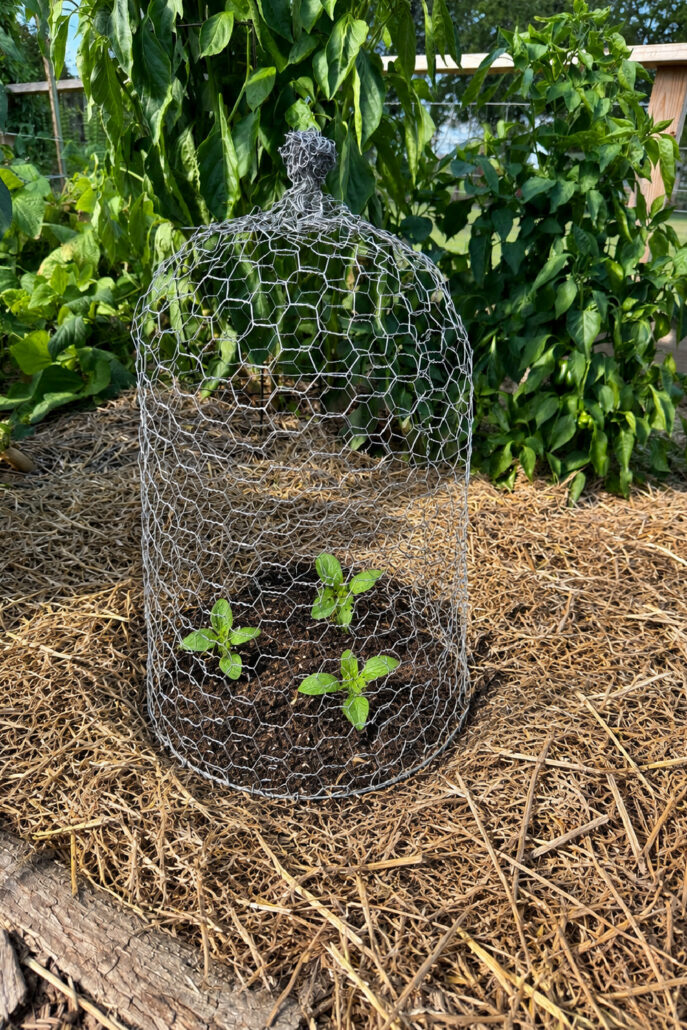
If you’re ready to keep growing, these garden projects will help you prepare healthy soil, start a garden from the ground up, and protect your tender young herbs. Here are a few more simple ideas to inspire your next outdoor project.



I’m in the process of digging up my prized plants because I’m about to put my house on the market. I’m filling the space in the bottom of the large planters (that will hold young trees) with yard waste, kitchen, compost, dry leaves, and then potting soil
I totally understand, Rose. I wish I had brought more plants from our previous home, because the people who bought it let everything die! Yes, I also compost kitchen waste. Wishing you a quick transition in selling your house. 🙂 Thank you for sharing this.